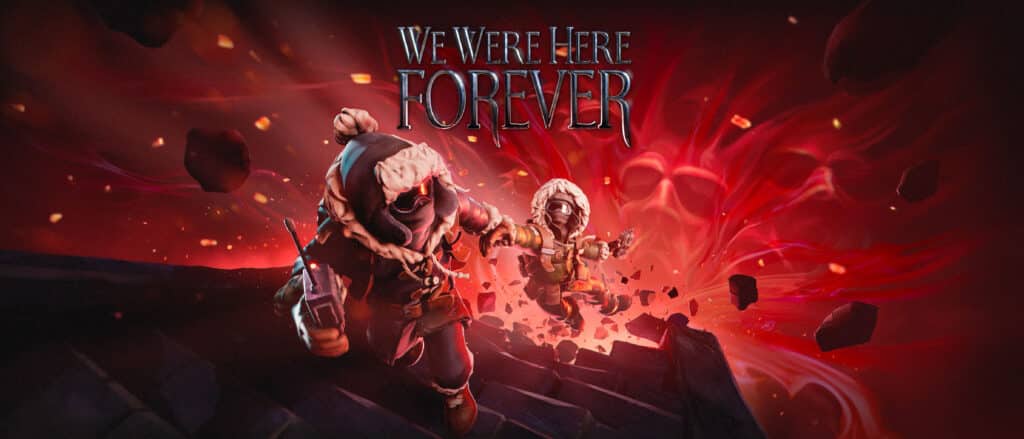
We Were Here Forever is the fourth installment of the We Were Here series. It is a co-op puzzle game where two players have to help each other out in solving puzzles while navigating through mazes and obstacles within a castle.
This guide will cover the second half of Chapter 1’s challenge rooms, from the Trial Arena to the Dice Rooms. Check out our We Were Here Forever Walkthrough Chapter 1 (Part 1) if you haven’t seen it yet.
How to Solve We Were Here Forever Chapter 1 Puzzles (Part 2)
We pick things up from solving the Dial Rooms as you and your partner are once again reunited together, but just not quite yet. Both of you are led into an arena where one must guide the other through the trials that lie ahead.
Trial Arena
The next area is the Trial Arena where the person in the vault room will arrive in the arena pit, while the person from the room will be in the audience section high above.
To start, whoever is at the pit should find the passage leading up to a balcony. Pick up the big metal ball on the right to start the trials. A platform will be lowered down into the pit. The player up top will be able to see a panel that will guide them on how to guide the player below navigate through the trials.
How this works: There will be four different trials, each having different mechanics. The player up top should guide the player below on which platform to step on for most of the time. Symbols will appear on the platform which will serve as markers for both players.

First trial: The player up top just simply has to guide the the player in the pit to go to the symbols on the platforms in the order as shown on the panels from left to right. The player up top has to make sure to plot the path so that all the required platforms will be visited in one continuous path and without looping over since platforms will fall down after a player steps on and gets off of it. Though the platforms with symbols on them stay up when they’re walked over, they cannot be walked over twice.

Second Trial: This requires a bit more speed as there will be a timer and the player’s speed while holding the ball will be slowed down. The player up top can see the five symbols to go to before starting the game, which will then become unseen during the game. Since they have control when to start it, the symbols can be written down or memorized. Once started, direct the player to the first safe platform before the time runs out. Wait for the platforms to reset and then rinse and repeat until the entire challenge is complete.

Third Trial: This is similar to the first trial, but there are now some walls scattered in the pit which will obscure the player at the pit’s vision. There are no time limits for this trial, so take the time plotting the course and guiding the player below on where to go.

Fourth Trial: This trial is similar to the second trial, but with a twist. It still has a timer, but it’s a bit longer now since aside from telling the player below which platform they will be safe on, there will also be three additional platforms that they must not step on. Thankfully, the safe platforms will remain visible for the player up top to see throughout the challenge, but the unsafe platforms will change for every turn. Always have the player below know which platforms are unsafe in every turn.

Once the player below has successfully gone through all the trials, they can place they can put down the ball and proceed to the next section.
Sewers and Caves
You and your partner will be reunited once more in a castle hall. You’ll then see another sketchy creature running into a path that leads to the sewers. The sewers basically have just a linear path, save for a single fork ahead (take the left path to avoid a dead end).
It will then transition into a cave system, which is also a linear path. There’s nothing much to see in the area except for some spiders. You’ll then end up at a huge gate with a bird’s skull on top which will lead to the next area. Have your partner help you lift the gate up together to proceed.

Jesters’ Toybox
After going through the gate, s cutscene will start playing and you will be introduced to the Jester, though only in his puppet form. He will then whisk you both into his magical toybox that has a portal in it. You’ll then find yourselves inside another dimension, together, but on separate sides with another chasm in between you.
There are portals on the walls which are numbered. Going through one of these portals will take you into another section of the area that has a matching number. There are also levers that control see-saw ramps that allow access to different platforms. These levers and ramps are marked by the different suits in a deck: red heart, blue spade, yellow diamond, and green club, and levers can control any ramp/s that has a matching suit regardless of which side of the chasm they are.

How this works: Both players will have to help each other navigate through the platforms and portals to get to the exit. One player (P1) will always start at Portal #1, while the other player (P2) will start at Portal #5. For the sake of simplicity, we will refer to the players at P1 and P2 and the portals as just # and the number, while the levers and ramps will be preceded by their suits.
Here’s the solution, divided into P1 and P2 parts:
- P1 enter #1, cross Club Ramp (go up), use Heart Lever
- P2 enter #5, cross Heart Ramp (left, go up)
- P1 use Heart Lever, enter #2 (go down)
- P2 use Club Lever
- P1 cross Club Ramp (go up)
- P2 use Club Lever
- P1 cross Diamond Ramp (go up)
- P2 use Club Lever
- P1 cross Club Ramp (go up), cross Diamond Ramp (go up)
- P2 use Club Lever, enter #6, cross Heart Ramp (go up), cross Club Ramp (go up), enter #8
- P1 use Diamond Lever, cross Diamond Ramp (go up), use Club Lever, cross Diamond Ramp (go down), use Diamond Lever
- P2 cross Diamond Ramp (go up)
- P1 use Diamond Lever, cross Diamond Ramp (go up), use Club Lever
- P2 cross Club Ramp (go up), enter #9, use Spade Lever, enter #9, cross Club Ramp (go down)
- P1 use Club Lever
- P2 cross Diamond Ramp (go down), enter #8, cross Club Ramp (go down), cross Heart Ramp (go down), enter #6
- P1 use Club Lever, cross Diamond Ramp (go down), use Diamond Lever, cross Diamond Ramp (go down), cross Club Ramp (go down), enter #3 (go up)
- P2 use Club Lever
- P1 cross Club Ramp (go down), cross Spade Ramp (go up)
- P2 enter #6, cross Heart Ramp (go up), cross Club Ramp (go up), enter #8
- P1 use Spade Lever, enter #4, cross Spade Ramp (go up), cross Diamond Ramp (go up), use Club Lever
- P2 cross Diamond Ramp (go up), cross Heart Ramp (go up), cross Club Ramp (go up), cross Diamond Ramp (go up), enter #7
- P1 cross Diamond Ramp (go down), cross Spade Ramp (go down), enter #4, use Spade Lever
- P2 cross Spade Ramp (go up)
- P1 use Spade Lever
- P2 cross Spade Ramp (go up)
- P1 enter #4, cross Spade Ramp (go up), cross Diamond Ramp (go up), cross Spade Ramp (go up)

After successfully navigating the platforms and ramps, you will both end high up at the huge wind key which you should move together in order for it to turn. It will then open up another portal that will teleport you into another section.

Jesters’ Realm
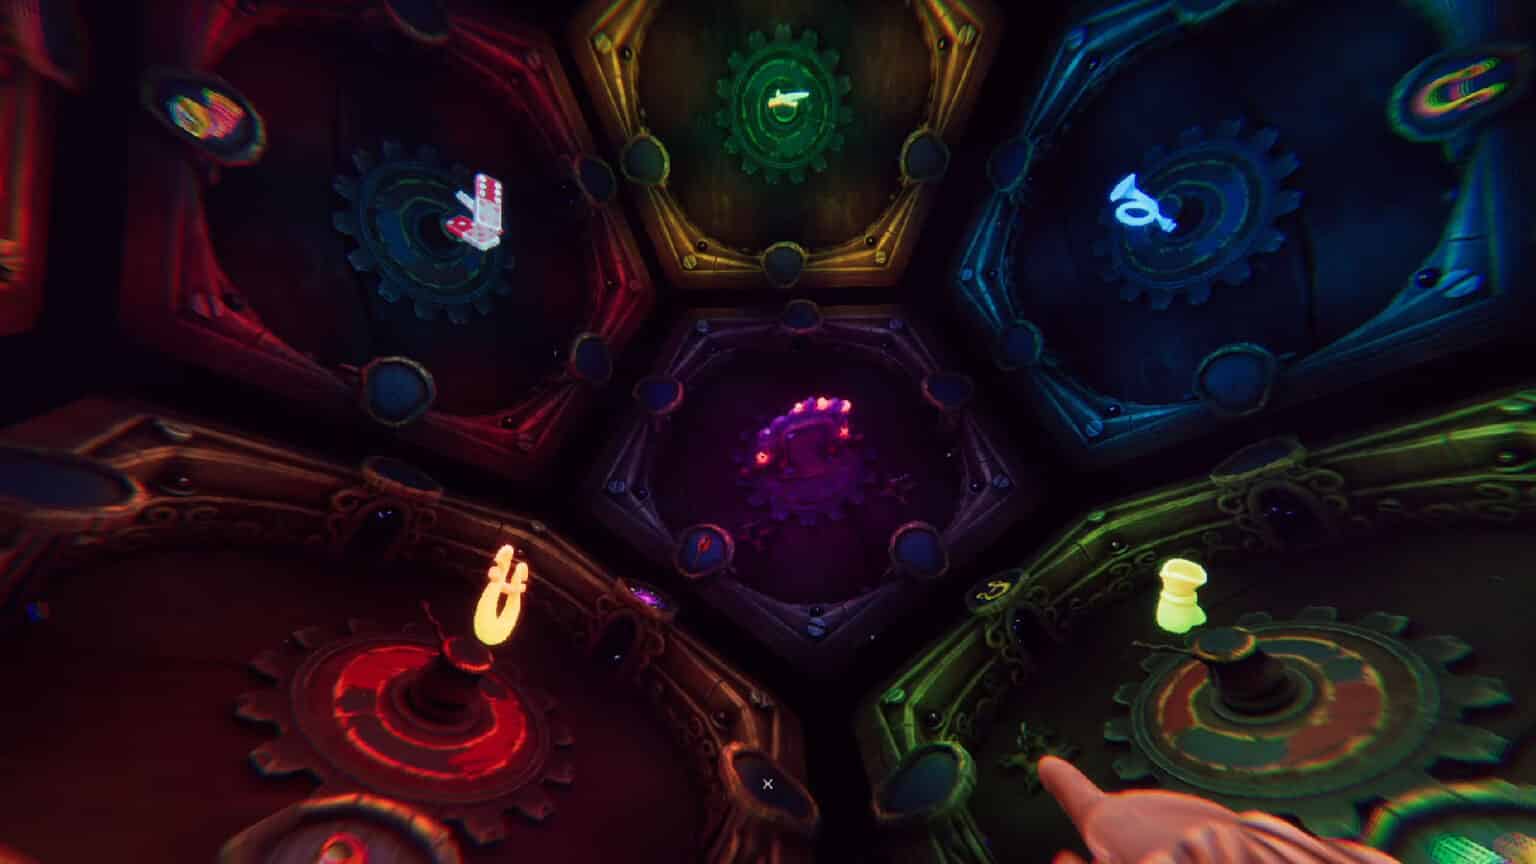
You and your partner will be teleported on to different pentagonal platforms with a capstan in the middle and a bunch of portals on the walls. P1 from the previous challenge will be sent to a platform with a pair of dominos, while P2 will be sent to a platform with a horse head stick. There are other platforms in the area, however most of them are hidden at the start except for one that has an accordion toy in the middle.

The players will not be able to see this on their own platform, but there are icons on top of the portals that matches the thing in the middle the other platforms. However, these portals will just lead back to the same portal they are on unless they are adjacent to the portal that has a matching icon that is on the adjacent platform.
How this works: Each of the players should coordinate and tell each other which portals have what icon on top of them. Then, they have to use the capstan in the middle to rotate the platform until the icon of the portal is in line with the icon of the other platform that they are trying to reach.

Here’s the solution:
- Domino to Accordion – Rotate the room to connect to the Accordion platform and turn the key in it to reveal the Dice platform.
- Horse Head to Green Shoe – Rotate the room to line up the green shoe icon seen on the Dice platform to reveal and reach the Green Shoe platform. Then, turn the key in the Green Shoe platform to reveal the Cards and Banjo platforms.
- Green Shoe to Dice – Rotate to line up the dice icons with the Cards platform, then enter the portal to reach the Dice platform.
- Accordion to Banjo – Accordion and Dice platforms should rotate to line up the banjo icons. The player in Accordion then enters the portal to the Banjo platform.
- Dice to Cards – Dice and Banjo platforms should rotate to line up the cards icons. The player in Dice then enters the portal to the Cards platform and turn the key in it. This reveals all the other platforms that will complete the structure, including the Exit Portal platform.
- Cards to Jester – Banjo and Card should rotate to line up the jester icons. The player in Cards then enters the portal to the Jester platform. At this point, the Jester will appear for a cutscene and takes away the Sword platform.
- Banjo to Horn – Rotate the Banjo platform to line up the horn icons. The player in Banjo then enters the portal to the Horn platform.
- Horn to Harp – Rotate the Jester platform to line up the harp icons. The player in Horn then enters the portal to the Harp platform.
- Jester to Cards – Rotate the Jester platform to line up the cards icons. The player in Jester then enters the portal to the Cards platform.
- Harp and Cards to Exit Portal – Rotate both Harp and Cards platforms until the exit platform icons align. Then, head through the portal where you and your partner will meet again. Turn each of your keys to activate the portal.
Going through the portal will take both of you inside another room which is basically the insides of a huge 6-sided dice. P1 will be at the Sun platform, while P2 will be at the Queen platform. The other platforms are the Egg, Happy Mask, Key, and Globus (orb with crown).

This has the same mechanic where the rooms can be turned to match the icons on top of the portals, except this time the icons can be seen by the player even when standing on the same platform. The catch is that there are portals that lead to a parallel dimension that will separate you from your partner.
In this dimension, the platforms are the opposite or partner of the ones before: Moon, King, Bird Skull, Sad Mask, Scepter, and Exit Portal. However, any platforms that get rotated in either dimension will affect both dimensions.

Here’s the solution:
- Sun to Egg
- Queen to King – The player from the Queen will jump into the other dimension and arrive at King
- King to Sad Mask – The player on Egg should rotate to match the blank icons. The player on King should go through the portal and arrive at Sad Mask.
- Egg to Scepter – The player on King should rotate to match the Globus icons, Egg should also rotate to match Scepter. The player on Egg goes through the portal to Scepter.
- Scepter to Moon – The player on Sad Mask should rotate to match the Moon icons. The player on Scepter goes through the portal to Moon.
- Moon to Sun – Moon and Sad Mask should rotate to match the Sun icons. The player on Moon goes through the portal to Sun.
- Sun to Egg – The other player on Sun goes through the portal to Egg.
- Sad Mask to Globus – Sad Mask and Egg should rotate to match the Globus icons (blank on Egg). The player on Sad Mask goes through the portal to Globus.
- Egg to Scepter – The player on Egg should rotate to match the Scepter icons, then goes through the portal to Scepter.
- Scepter to Key – The player on Globus should rotate until Key icons on Scepter side match. The player on Scepter goes through the portal to Key.
- Globus to Bird Skull – The player on Globus goes through the portal to Bird Skull.
- Key to Egg – The player on Key should rotate to line up the Egg icon, then goes through the portal to Egg.
- Egg to Exit Portal – The player on Egg should rotate to line up the Exit Portal icons. This also lines up the same icons on the Bird Skull’s side. Both players go through the Exit Portal portal.

Once both players are in the Exit Portal platform, use the keys to activate the portal and go to the next section. You will arrive at an empty space with just two stools and a gramophone. Sit on the stools and you will be told the tragic tale of King Bartolomeus. Afterwards, you’ll be chased down by the king, but you and your partner just barely make it out of his castle.

This concludes Chapter 1 of We Were Here Forever. Check out our chapter 2 guide here. For easier navigation, check our complete We Were Here Forever Walkthrough – All Puzzle Solutions:
- Chapter 1
- Chapter 2
- Chapter 3 – Ruins of Rockbury
- Chapter 4
- Chapter 5 – Royal Cemetery
- Chapter 6 – Final Chapter
If you like this Guide, be sure to check out our other We Were Here Forever articles:
Check out this video by Orbital Potato with his friend Retromation as they do more puzzles in We Were Here Forever:
