
The Kill the Messenger Quest is a new exotic quest that Guardians can complete in Destiny 2. Within this quest is the Dead Messenger, a new exotic grenade launcher that guardians would want to get their hands on for its versatility and firepower.
In this guide, we will take a look into the steps on how to unlock the Kill the Messenger quest and how to get the Dead Messenger.
How to Get the Dead Messenger in Destiny 2?
To Get the Dead Messenger Exotic weapon in Destiny 2, you have to complete the Kill the Messenger Quest. These are the steps required to complete the Kill the Messenger Quest in Destiny 2:
- Get the Season of the Risen Season Pass
- Complete the first two missions of The Witch Queen (“The Arrival” and “The Investigation”)
- Complete the Hard Evidence Quest
- Complete the Rising Tensions Quest
- Complete the Week 1 Quests of Operation Elbrus
- Complete the Vox Obscura Exotic Quest
Get the Season of the Risen Season Pass
Players will have to have the season pass for the Season of the Risen to get access to the Kill the Messenger Quest. The season pass can either be obtained by purchasing the Deluxe Edition of The With Queen DLC, or it can be purchased separately through the Eververse for 1,000 Silver.
Complete the first two missions of The Witch Queen Campaign
Completing the first two campaign missions, The Arrival and The Investigation, will unlock the Hard Evidence optional quest which leads to the Kill the Messenger quest. Both campaign quests have a recommended power level of 1360 and are pretty much straightforward quests.
Complete the Hard Evidence Quest
First, you will have to go to the Evidence Board at The Enclave to initiate the Hard Evidence quest. You will have to recover a sample of an Osmic Fragment in the Quagmire Area of the Throne World.
As soon as you pick up the sample, you will be ambushed by a the Lucent Brood. Defeat all the enemies to survive this ambush, and then head back to the Evidence Board to log the Osmic Fragment sample. Review the case at the board to proceed with the Rising Tensions quest line.
Complete the Rising Tensions Quest
The Rising Tension Quest can be obtained after completing main story mission, The Investigation, an initial quest that leads you to Savathun’s Throne World for a brief meeting with an undercover agent only known as Fynch. You will receive the Rising Tension quest after completing this task and speaking with Ikora Rey on Mars, alongside the first Witch Queen campaign mission.
- Visit the Hangar at the Tower to investigate troubling occurrences relating to the Lucent Hive, as requested by Caital, the Cabal empress.
- Make your way to Europa and select the PsiOps Battleground: EDZ action from the map to begin your journey.
- You’ll combat deadly Hive enemies before chasing one of them down via a series of portals to the end of the level. Each portal has a guard that you must beat with a Relic Sword that was dropped by even more powerful Hive opponents, and the journey culminates in a battle against Mor’ak the Lightstealer at the end of it.
- Mor’ak sends out an invitation and summons Aspects of Savathun. The Psionic Spear, which appears on the left and right sides of the arena, will be used to fight various aspects of Savathun. Go back to H.E.L.M. after completing this task.
- Finally, speak with Lord Saladin once more at the War Table to finish the Rising Tensions quest and unlock the Operation Elbrus weekly quest.
After completing the Rising Tensions Quest, you’ll acquire the Legendary Recurrent Impact Machine Gun and be able to access the next mission, Operation Elbrus, which are weekly quests for this season.
Complete the Week 1 Quests of Operation Elbrus
Week 1 of Operation Elbrus are the first 6 steps that are available once Operation Elbrus Quest is unlocked. Be advised that the PsiOps Battlegrounds that this quest line refers to is the one located in H.E.L.M. and has a recommended power level of 1500.
- Collect 500 Psychogenic Intel: This will be needed to open the Runic Chest in the next step.
- Decode a Runic Chest: A Runic Chest will be available once you clear a PsiOps Battlegrounds run.
- Claim the Psychogenic Decoder: This can be claimed from the Week 1 Challenge rewards.
- Upgrade the War Table: You will receive an Insight from the Psychogenic Decoder to be able to upgrade the War Table at the H.E.L.M. Any upgrade option can be done to fulfill this step.
- Check the War Table: You will receive a transmission that can be accepted at the War Table.
- Hear Saladin’s debriefing: After hearing the debriefing, exit the War Table and re-enter to see a message from Empress Caiatl and get the Kill the Messenger quest.
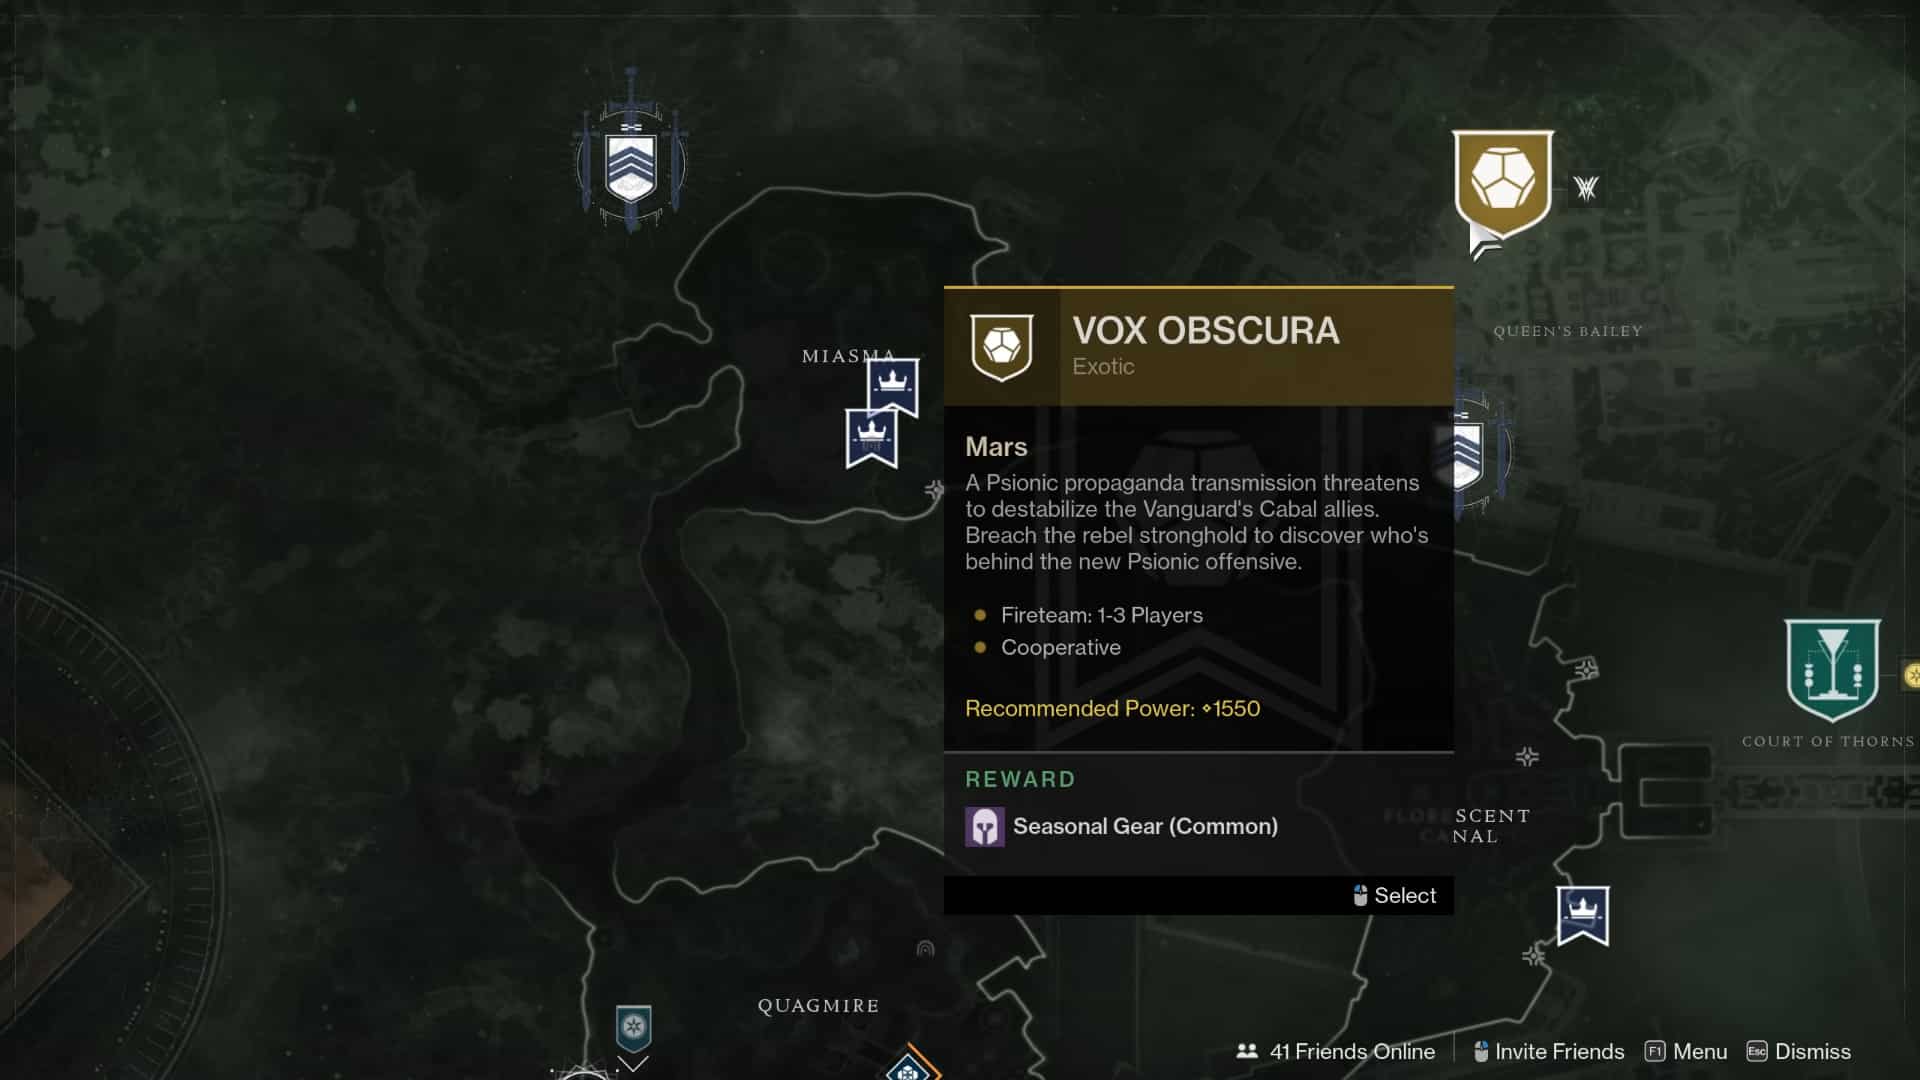
Complete the Vox Obscura Exotic Quest
The Kill the Messenger quest will have you go back to the Throne World and complete the Vox Obscura Exotic Quest. Be advised that this quest has a recommended power level of 1550.
First Section of the Vox Obscura Exotic Quest
- Sneak into the Hangar: You will have to make your way through the enemies and get into the hangar.
- Steal an Interceptor: Inside the hangar, there will be an Interceptor that you can steal. Use it to bust out a hole through the gate of the hangar to make it back outside.
- Clear the Airfield: Make your way towards the airfield where there will be a Goliath Tank that you have to defeat, as well as some ground troops. There will also be a 4:30 timer that will show and you must complete the next steps before it runs out.
- Vehicular Assault: Once the airfield is cleared, ride the airdropped tank to the next destination. The timer will still be running at this point so do not stop moving and try to clear some enemies along the way.
- Eliminate 2 Goliath Tanks: Focus on one tank at a time and try to stay mobile while shooting at them.
- Destroy 3 Signal Towers: Focus on the generators on the base of the towers first to take down their shields. Once down, you can start firing on the towers to take them down and to stop the timer.
- Blast Open the Bunker Door. Use your tank to tear a hole through the bunker’s door for the next section of the quest.
Second Section of the Vox Obscura Exotic Quest
- Race to the Control Room: As soon as you place your rally flag inside the bunker, a 10:00 timer will show up. Make your way through the three rooms while clearing out enemies. There will be Psion Commanders that you can focus on first before you can hack each room’s terminal. Once all three terminals are hacked, the door in the central room will be opened.
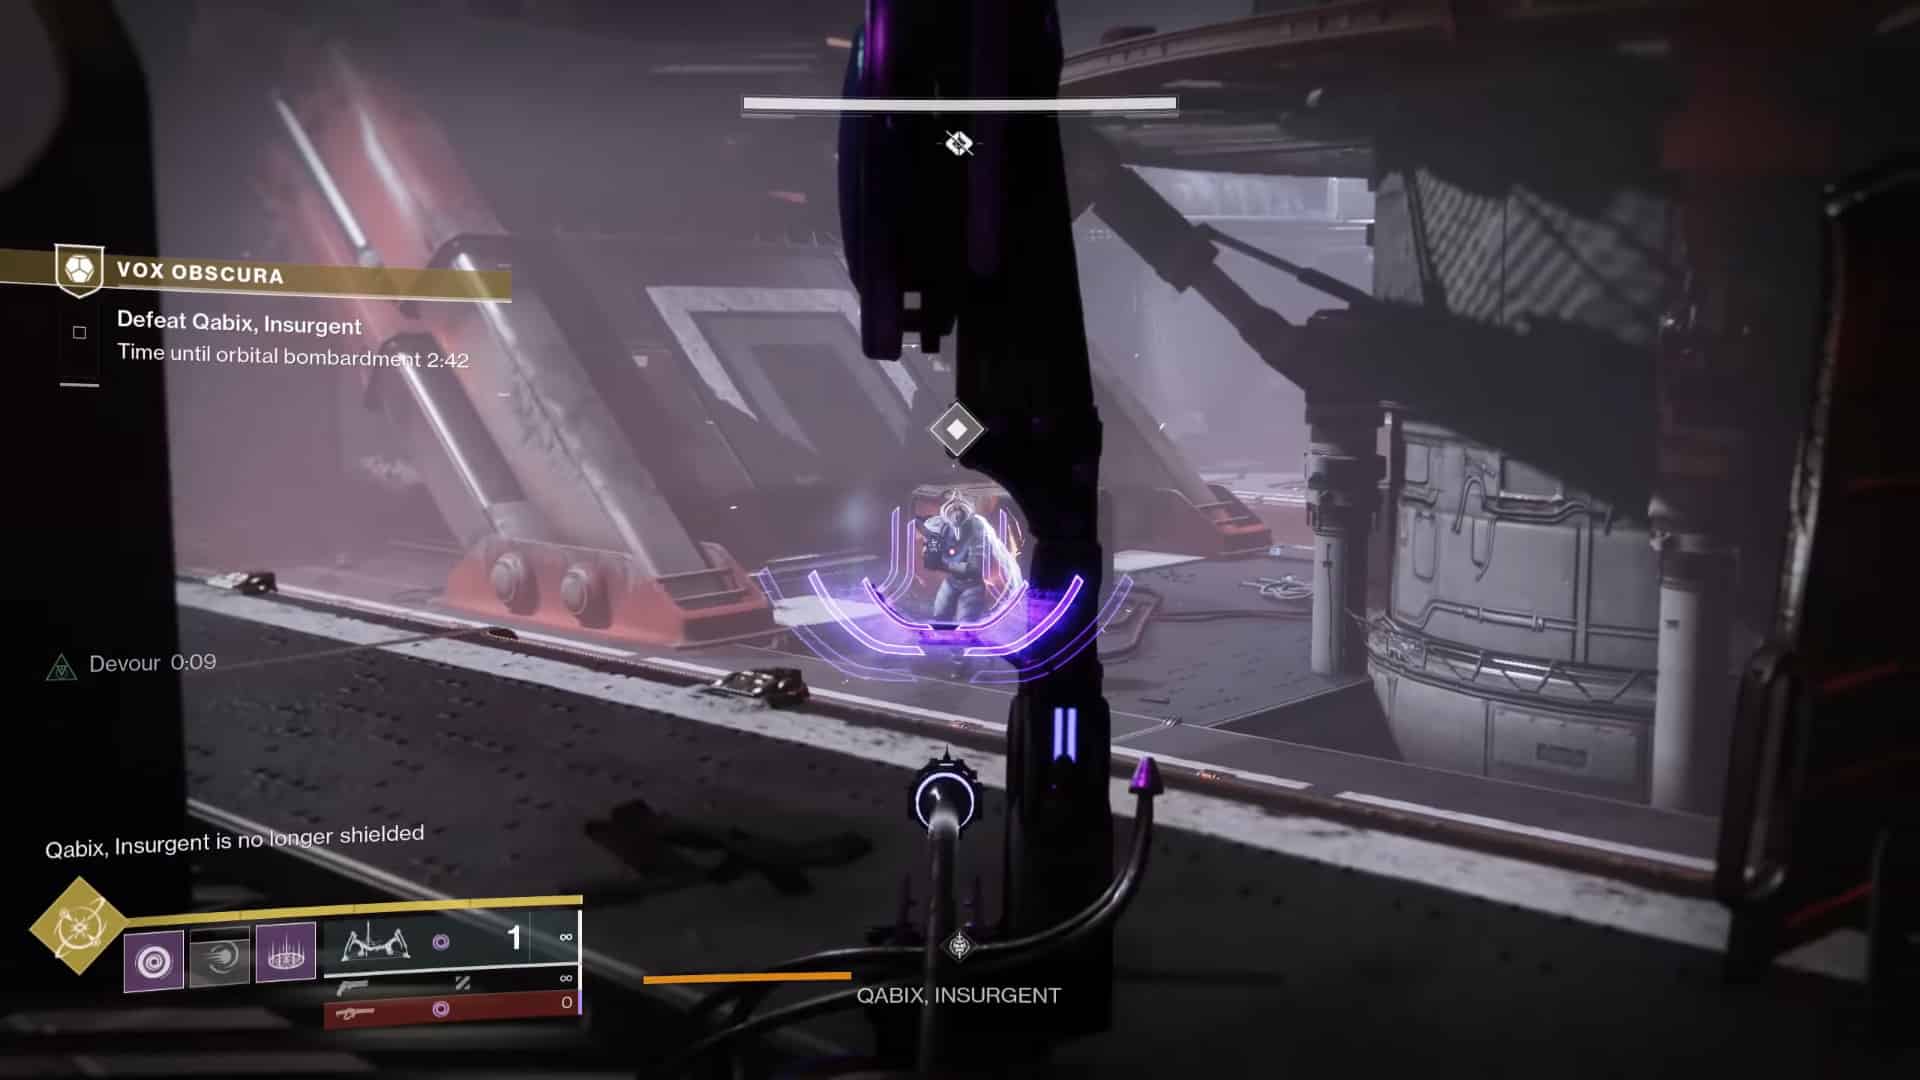
- Defeat Qabix, Insurgent: Qabix is the final boss in this quest and he has three phases. Once you’ve taken out a third of his health, he will enter his second phase. In this phase, Scorpius will spawn in the middle of the room. Focus on clearing these first, and then search for the three Psion Commanders and defeat them to take down Qabix’s shield. Do this again for the third phase to defeat him. The timer will still be running until Qabix is defeated, so make sure to bring your heavy damage dealers.
- Shut Down the Broadcast: Head to the control room and hack the terminal and listen to some dialogue lines from Caiatl.
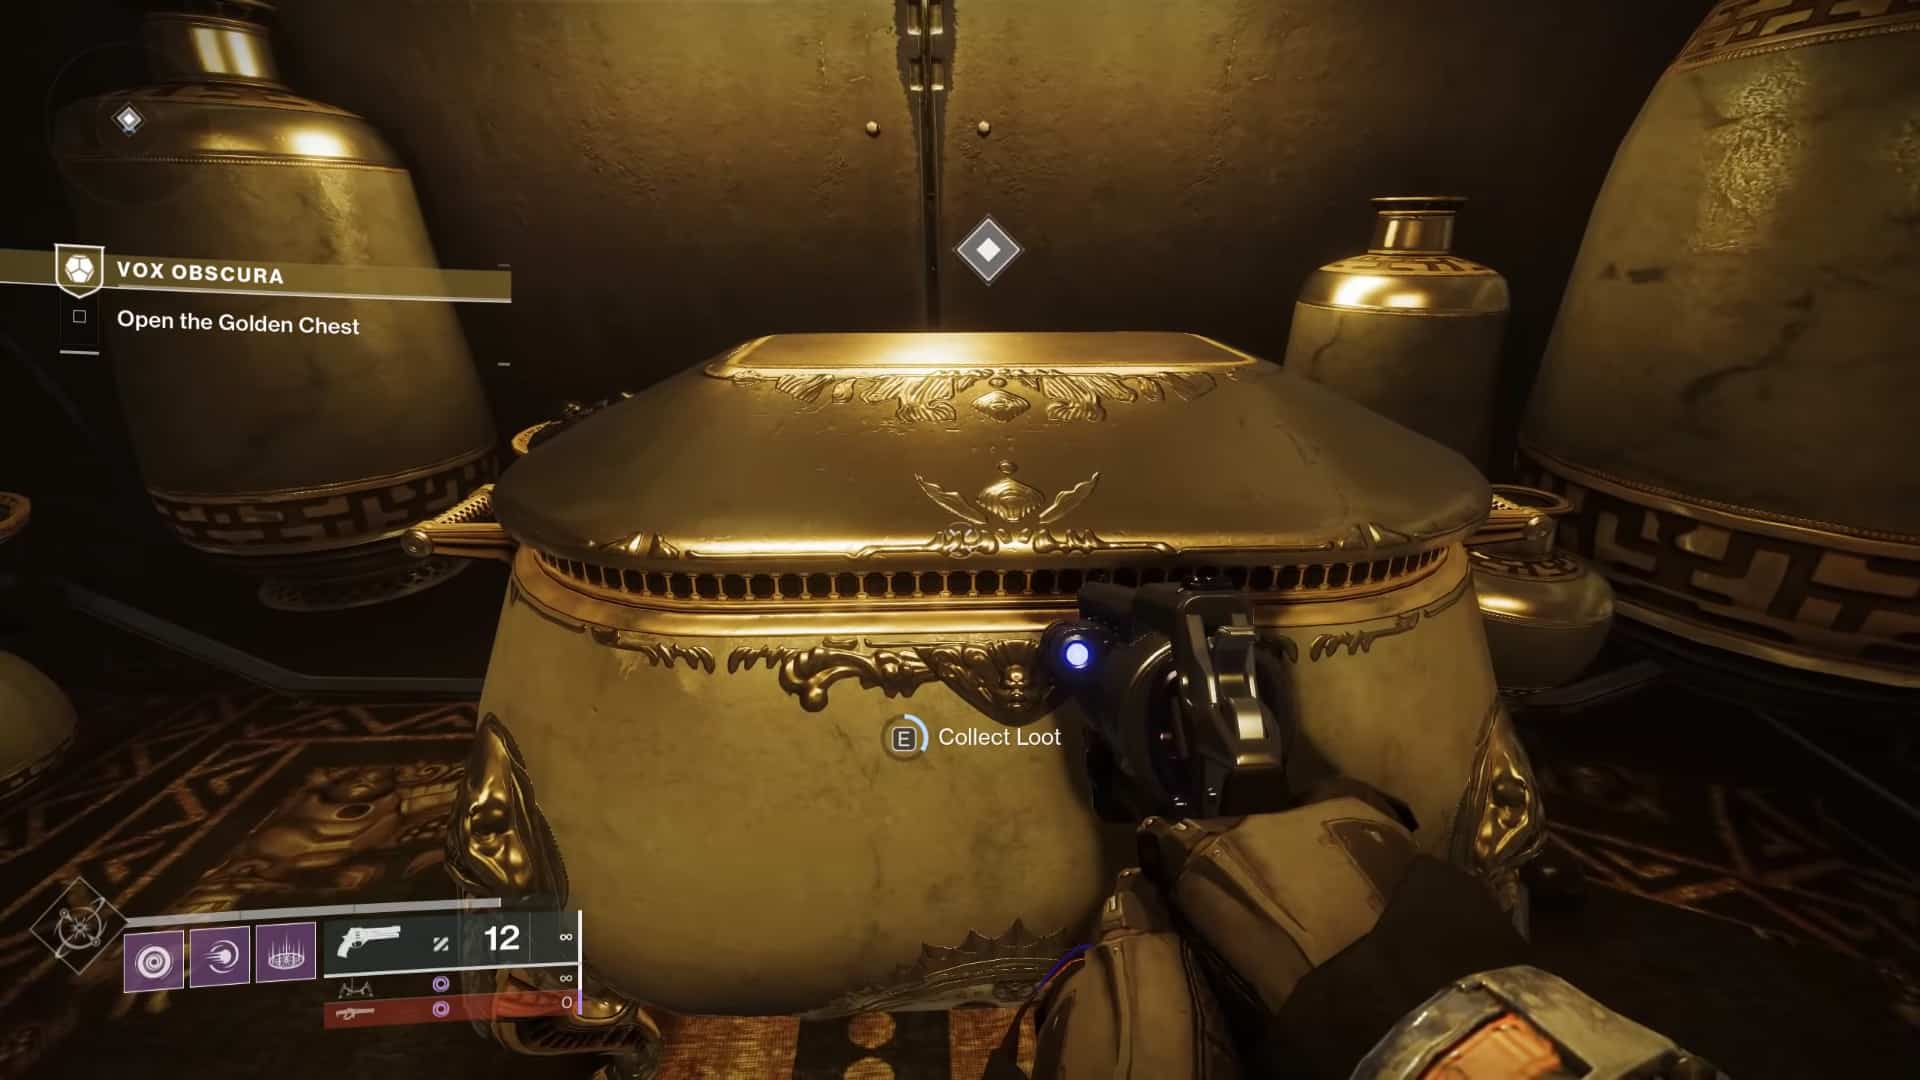
- Open the Golden Chest: To your right will be the Golden Chest where you can get the Dead Messenger weapon amongst other loot.
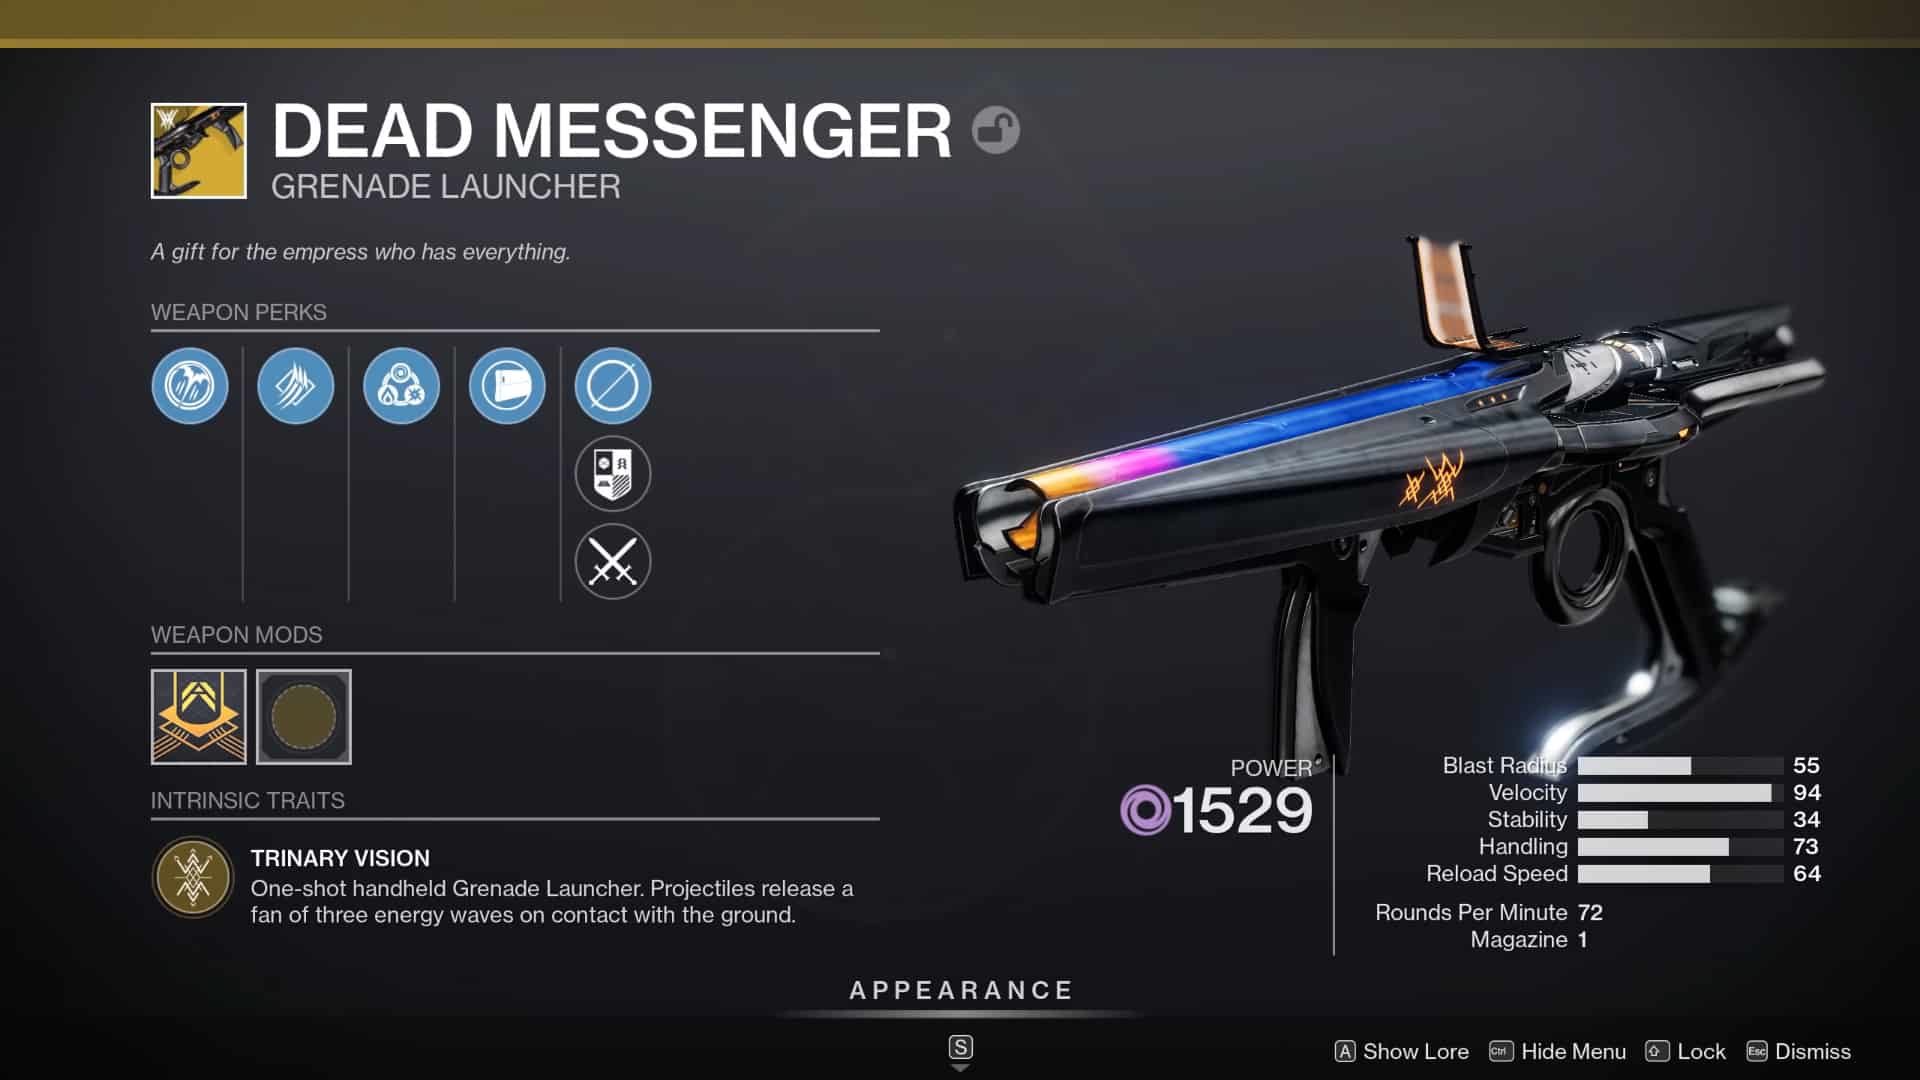
Dead Messenger Exotic Weapon Stats in Destiny 2
Weapon Perks
- Quick Launch: Increases handling speed and projectile speed.
- High-Velocity Rounds: Increases projectile speed and reload speed.
- The Fundamentals: Press the reload button to change the weapon’s damage type between Solar, Arc, and Void.
- Short-Action Stock: Greatly increases handling speed.
Intrinsic Trait
- Trinary Vision: One-shot handheld Grenade Launcher. Projectiles release a fan of three energy waves on contact with the ground.
If you like this guide, check out our Destiny 2 articles:
- Destiny 2 Witch Queen Exotics List – How to Get All 14 New Weapons and Armor
- Destiny 2 The Witch Queen Glaive Weapons Guide
- Destiny 2 The Witch Queen How To Reach Max Power Level Fast
- Destiny 2 The Witch Queen Power Cap
- Destiny 2 Witch Queen – Review
Check out this video by Ebontis on how to clear the Vox Obscura quest:


