
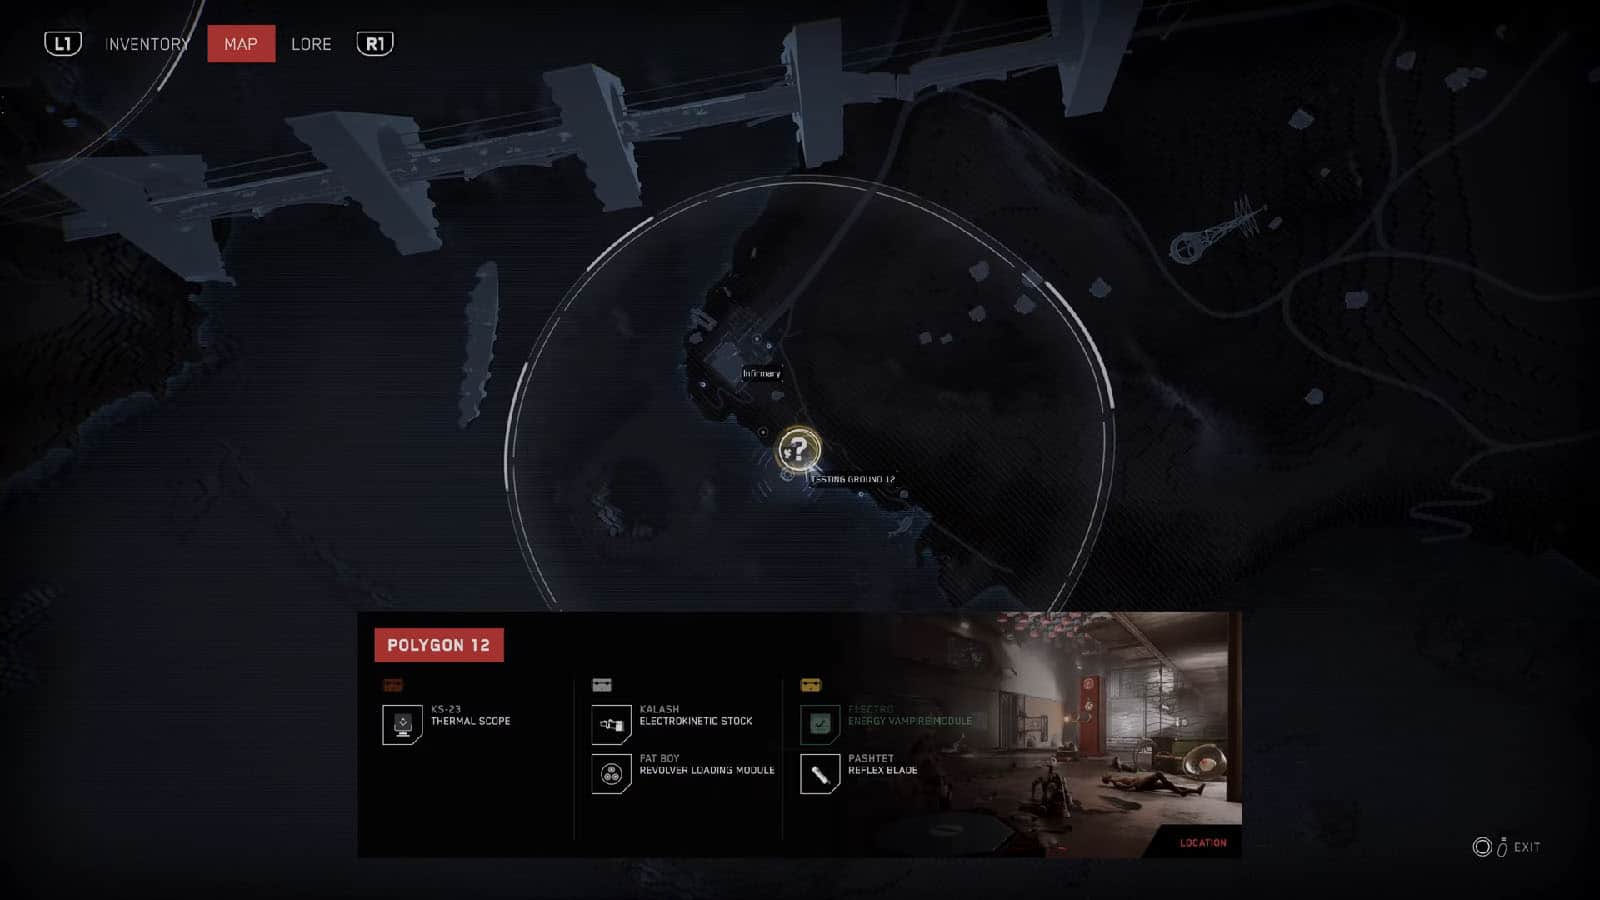
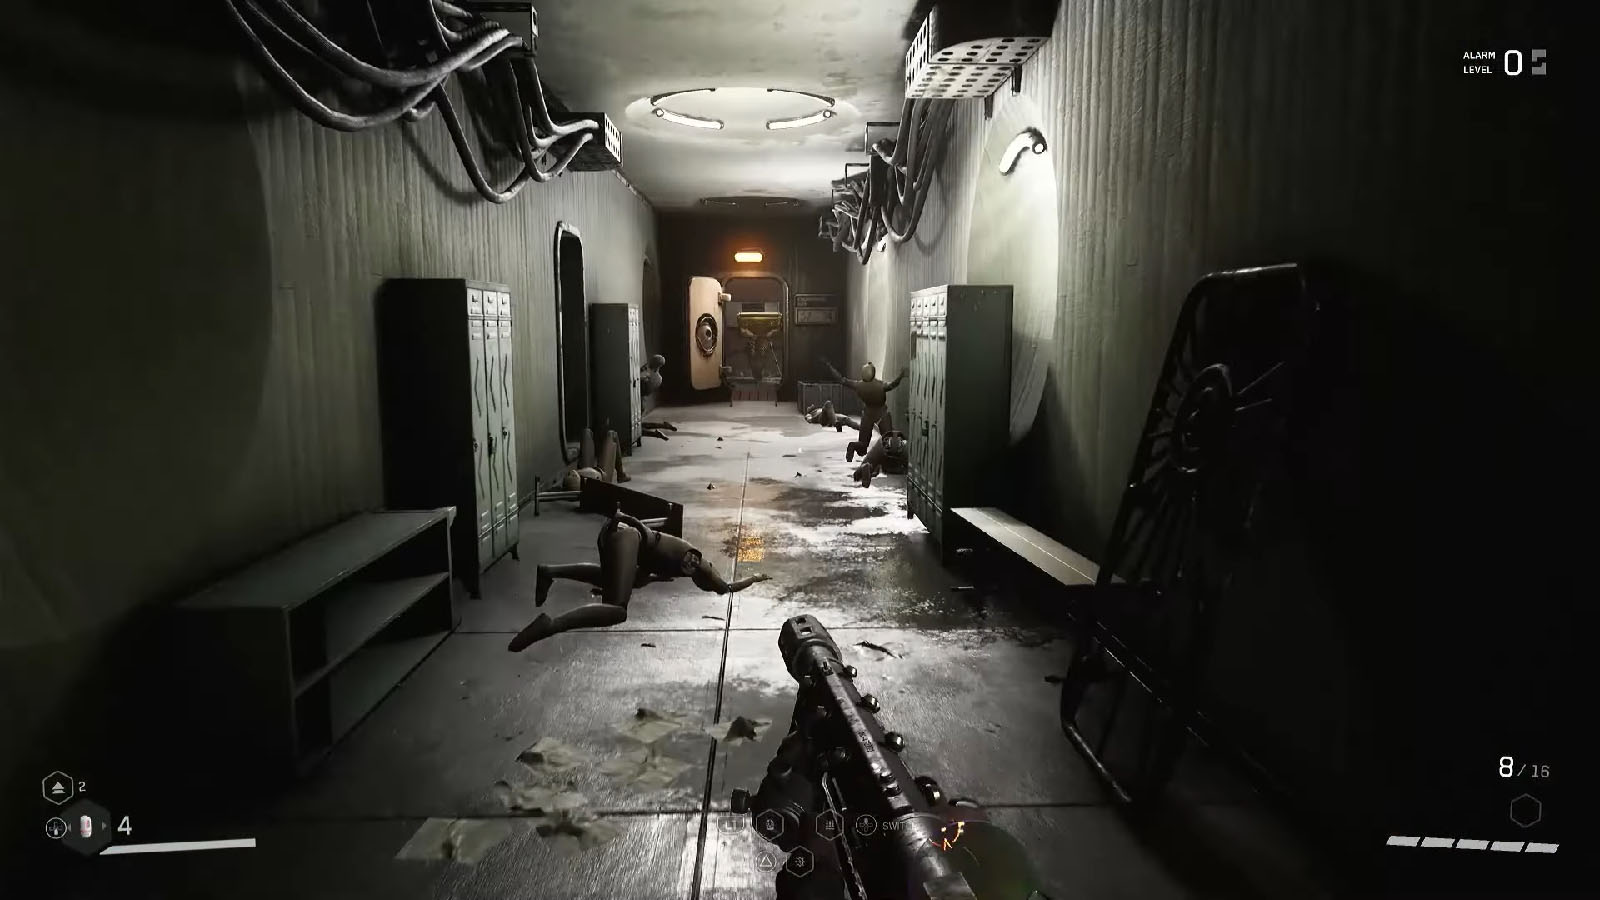
Testing Ground 12 is one of the areas in Atomic Heart that is an optional place to go through to get weapon blue prints and upgrades. Testing Grounds, also known as Polygons, are usually filled with puzzles and obstacles, as well as enemies that patrol the area.
Read ahead as we go through the steps on how to complete Testing Ground 12 in Atomic Heart, as well as share the locations of where the Loot-yagins can be found.
How to access Testing Ground 12
After clearing the Petrov of Opera main quest, head to the marked location southeast of the main bridge. Follow the beachline until you see a mineshaft. Inside this mineshaft is a button that will open the elevator down to the testing ground.
Bronze Loot-yagin – KS-23 Thermal Scope
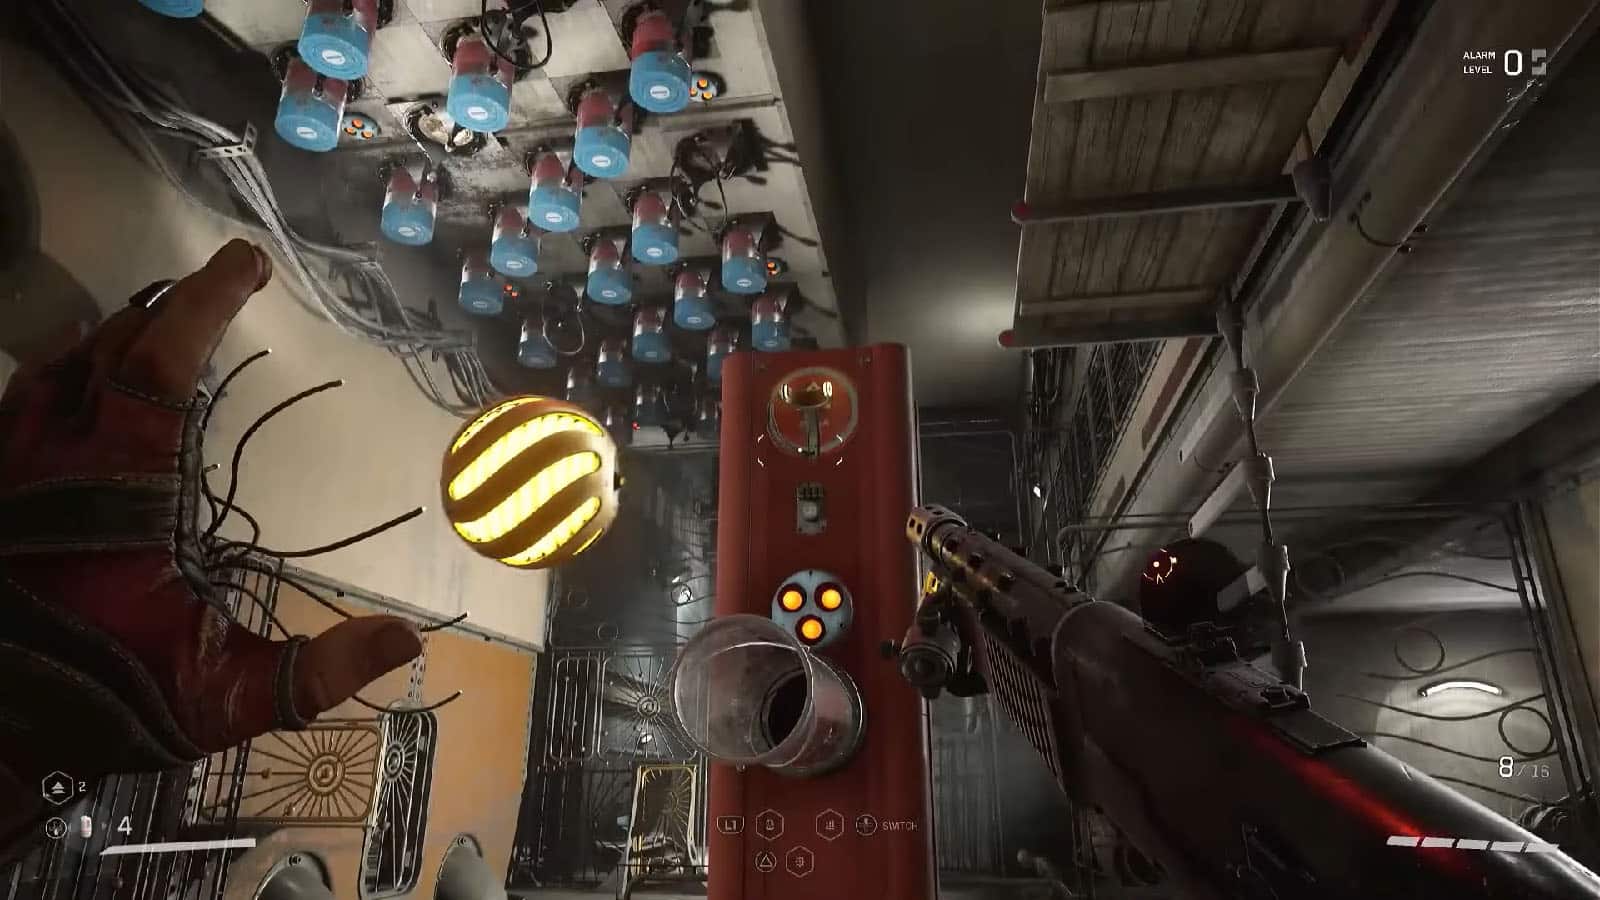
Inside the first room, you’ll find a wheel controlling a revolving platform up top. Turn the wheel so that three dots are on top, then reverse the polarity of the magnets on the platform. Turn the wheel again to two dots and reverse the polarity on the magnets that appear. You should have enough magnet platforms to be able to cross to the other side.

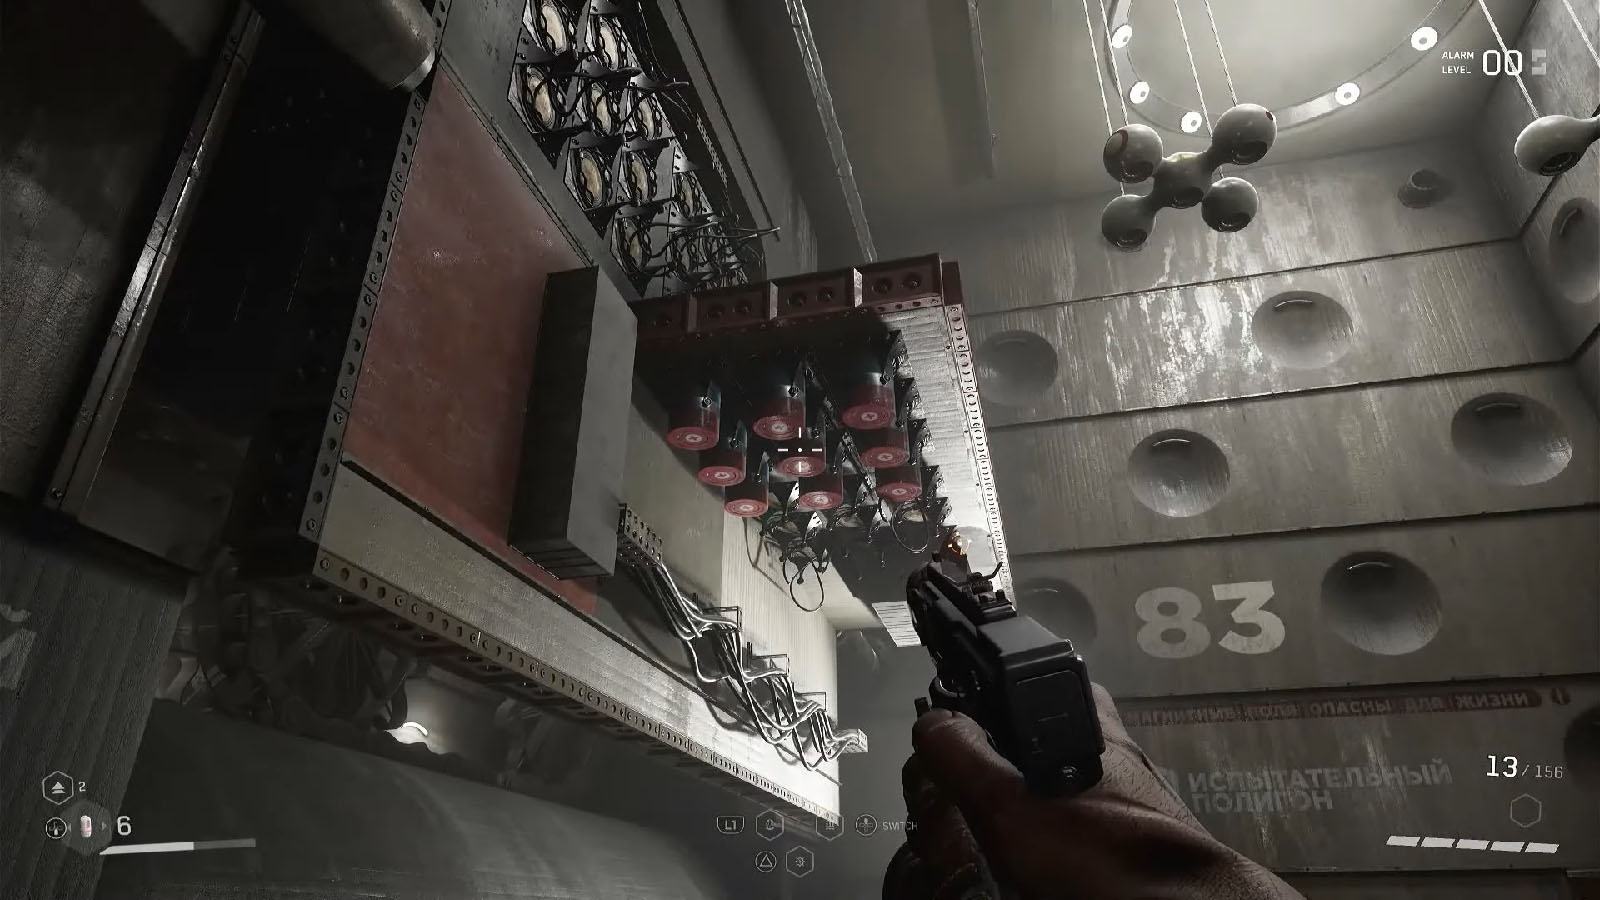
You’ll then come across a locked door. Open this door up using the timing mechanic and the dot matching mechanic. You will then arrive in a room with large pistons and to the right is the room where the Bronze Loot-yagin is. It contains a KS-23 Thermal Scope.
Silver Loot-yagin – Kalash Electrokinetic Stock / Fat Boy Revolver Loading Module
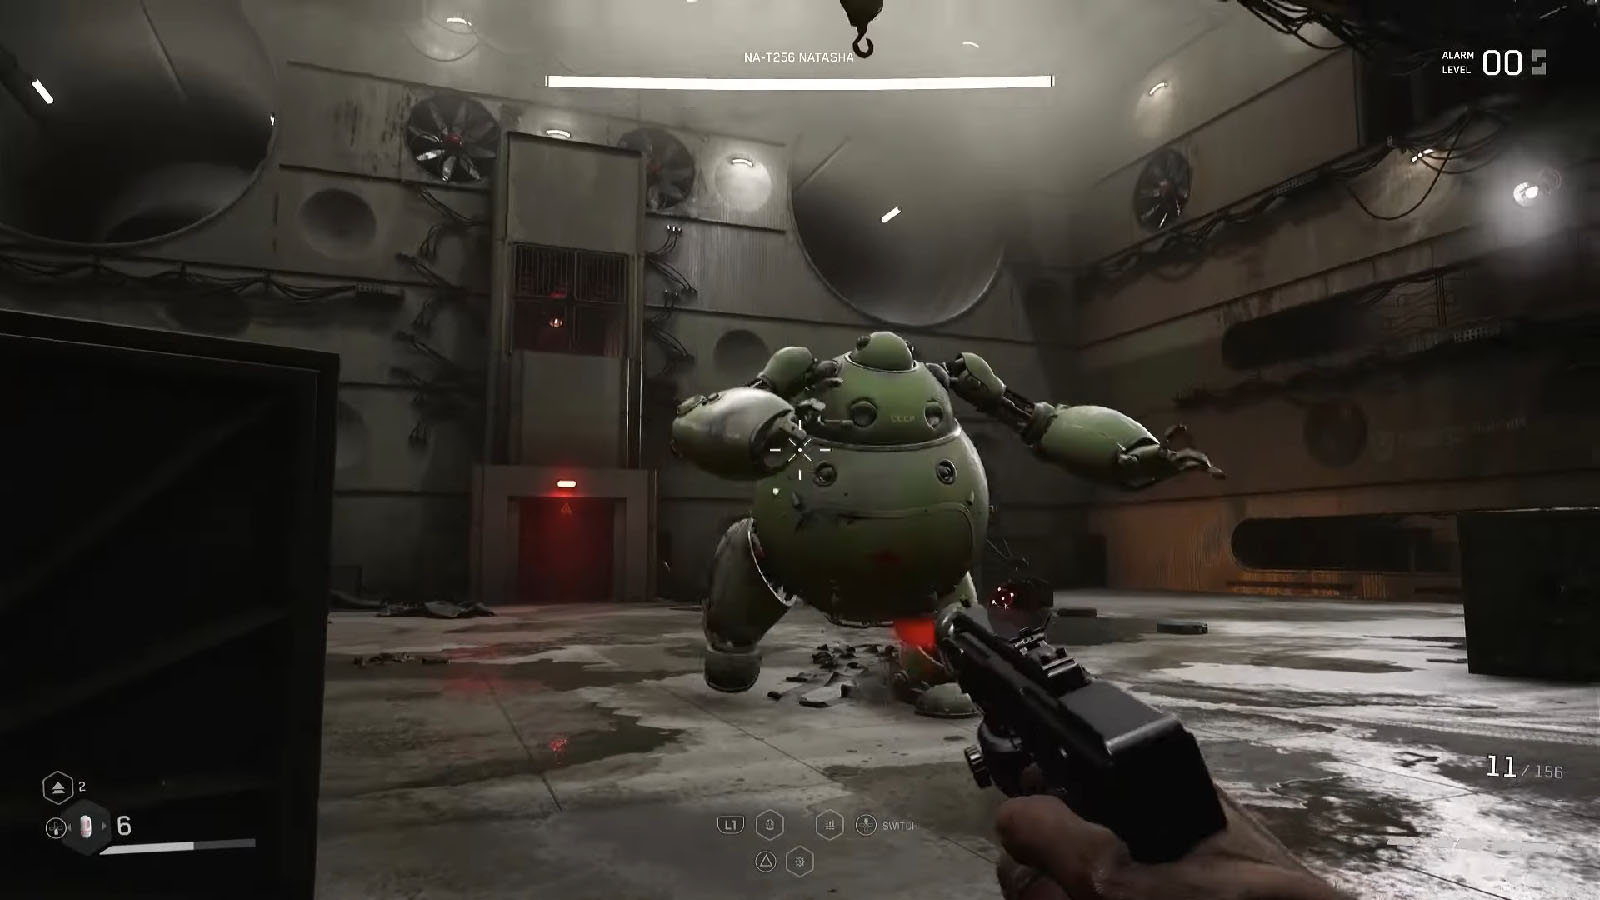
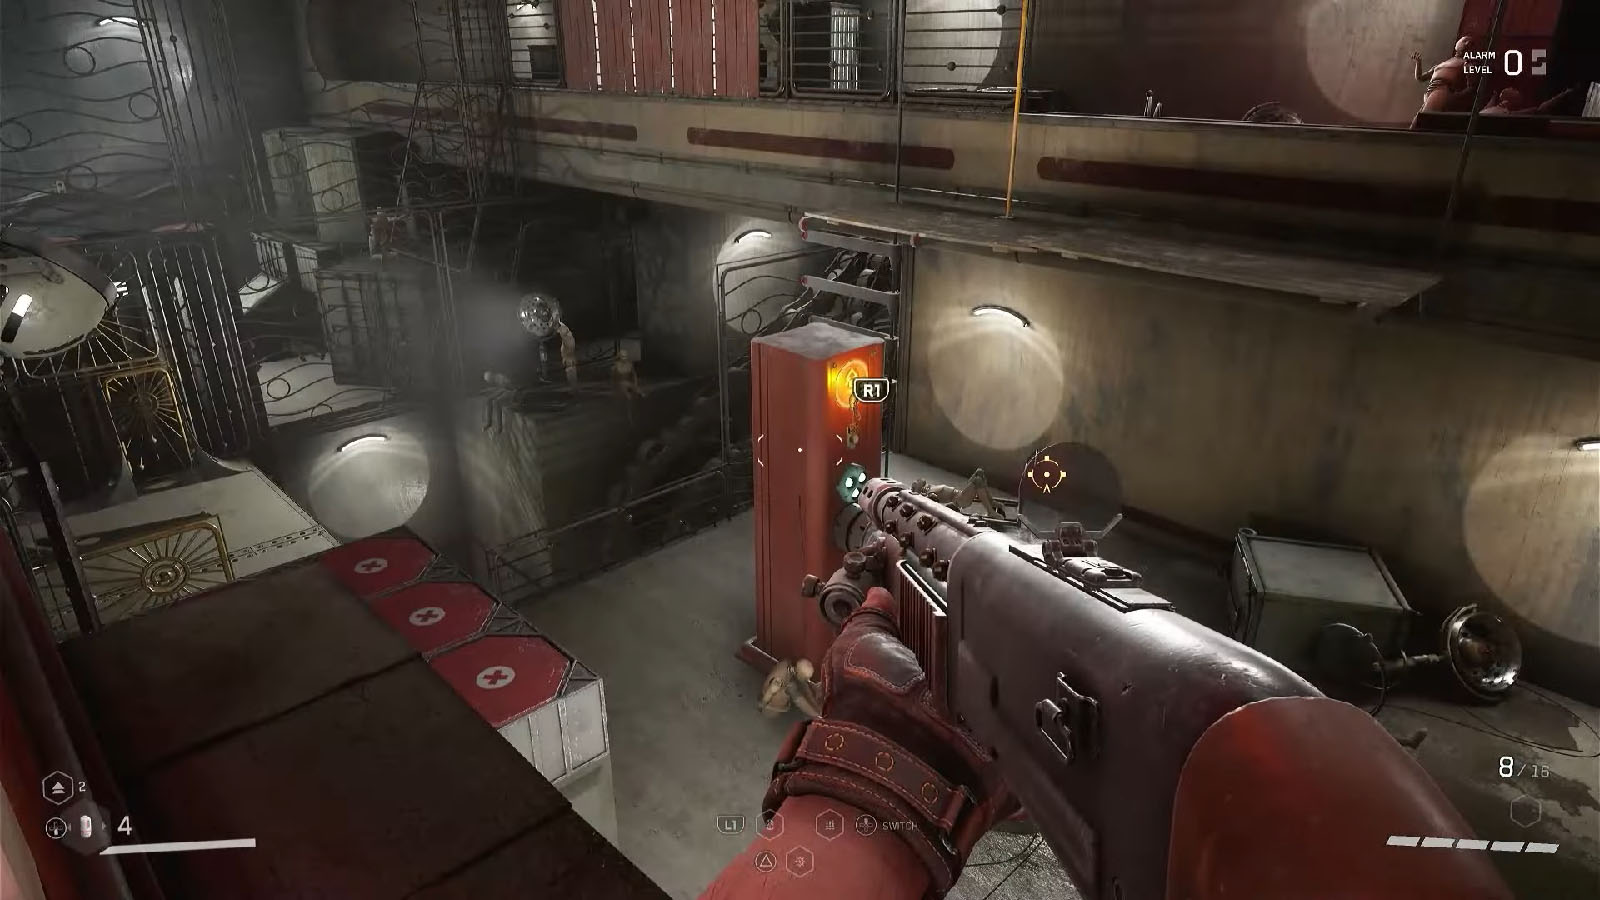
On the next room, you’ll have to fight a Natasha boss. Defeat it, then ride the magnet elevator. Then walk through the corridor and check the room to the left after turning right to find the Silver Loot-yagin. It contains a Kalash Electrokinetic Stock and a Fat Boy Revolver Loading Module.
Candle puzzle
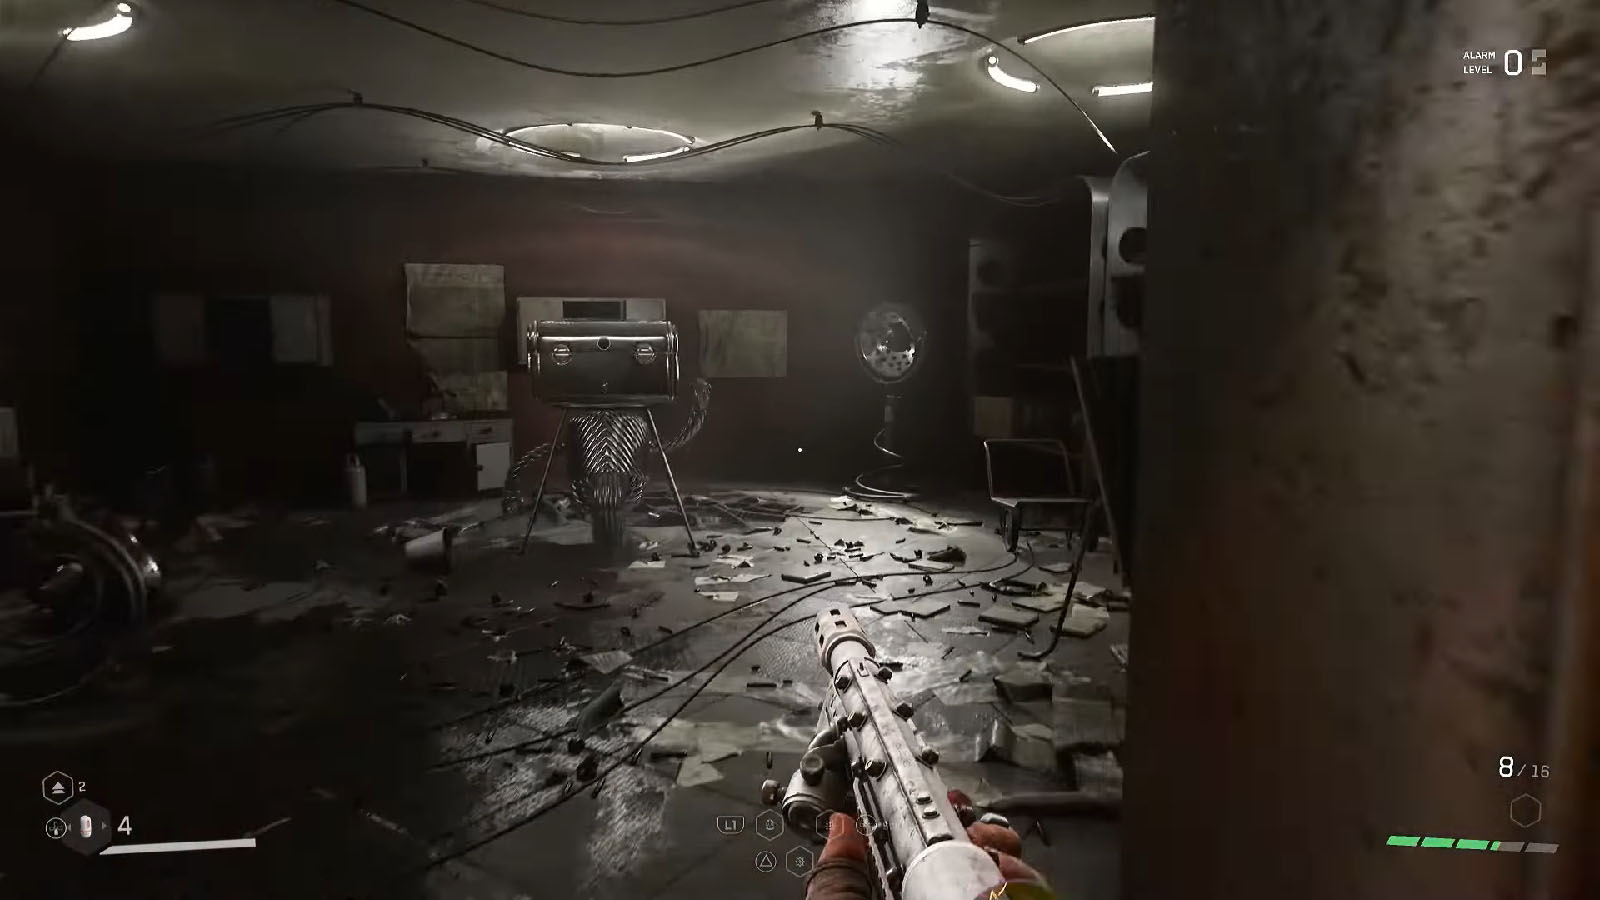
Retrace your steps and enter the doorway you just passed into the next room. Pick up the Candle and place it on the holder nearby to activate the magnets. Reverse the polarity to raise a magnet wall hiding a holder. Move the Candle to the next holder to rotate the platform and unblock the path ahead. Put the Candle back on the first holder, then reverse the polarity to clear the path.
Climb the crates on the right side to reach the upper level, then move the steel gate on the right to be able to see the Candle again. Reverse the polarity first to reveal the hidden holder again, then move the Candle to the holder. Wait for the platform to move three times (platform with gate visible and upright) then return the Candle to the holder and reverse the polarity again.
Move to the other side of the room then reverse the polarity of the other magnet ceiling. Climb on the crates to reach the upper floor and move another sliding gate to be able to grab the Candle again. Place the Candle on the holder to open the exit.
Gold Loot-yagin – Electro Energy Vampire Module / Pashtet Reflex Blade
You should be able to see the Gold Loot-yagin just up ahead from the previous exit. It contains a Electro Energy Vampire Module and a Pashtet Reflex Blade. You can then take the elevator to exit the testing ground.
Check out this video by 100% Guides showing how to complete the Testing Ground 12 in Atomic Heart:


