
Testing Ground 8 is one of the areas in Atomic Heart that is an optional place to go through to get weapon blue prints and upgrades. Testing Grounds, also known as Polygons, are usually filled with puzzles and obstacles, as well as enemies that patrol the area.
Read ahead as we go through the steps on how to complete Testing Ground 8 in Atomic Heart, as well as share the locations of where the Looty-agins can be found.
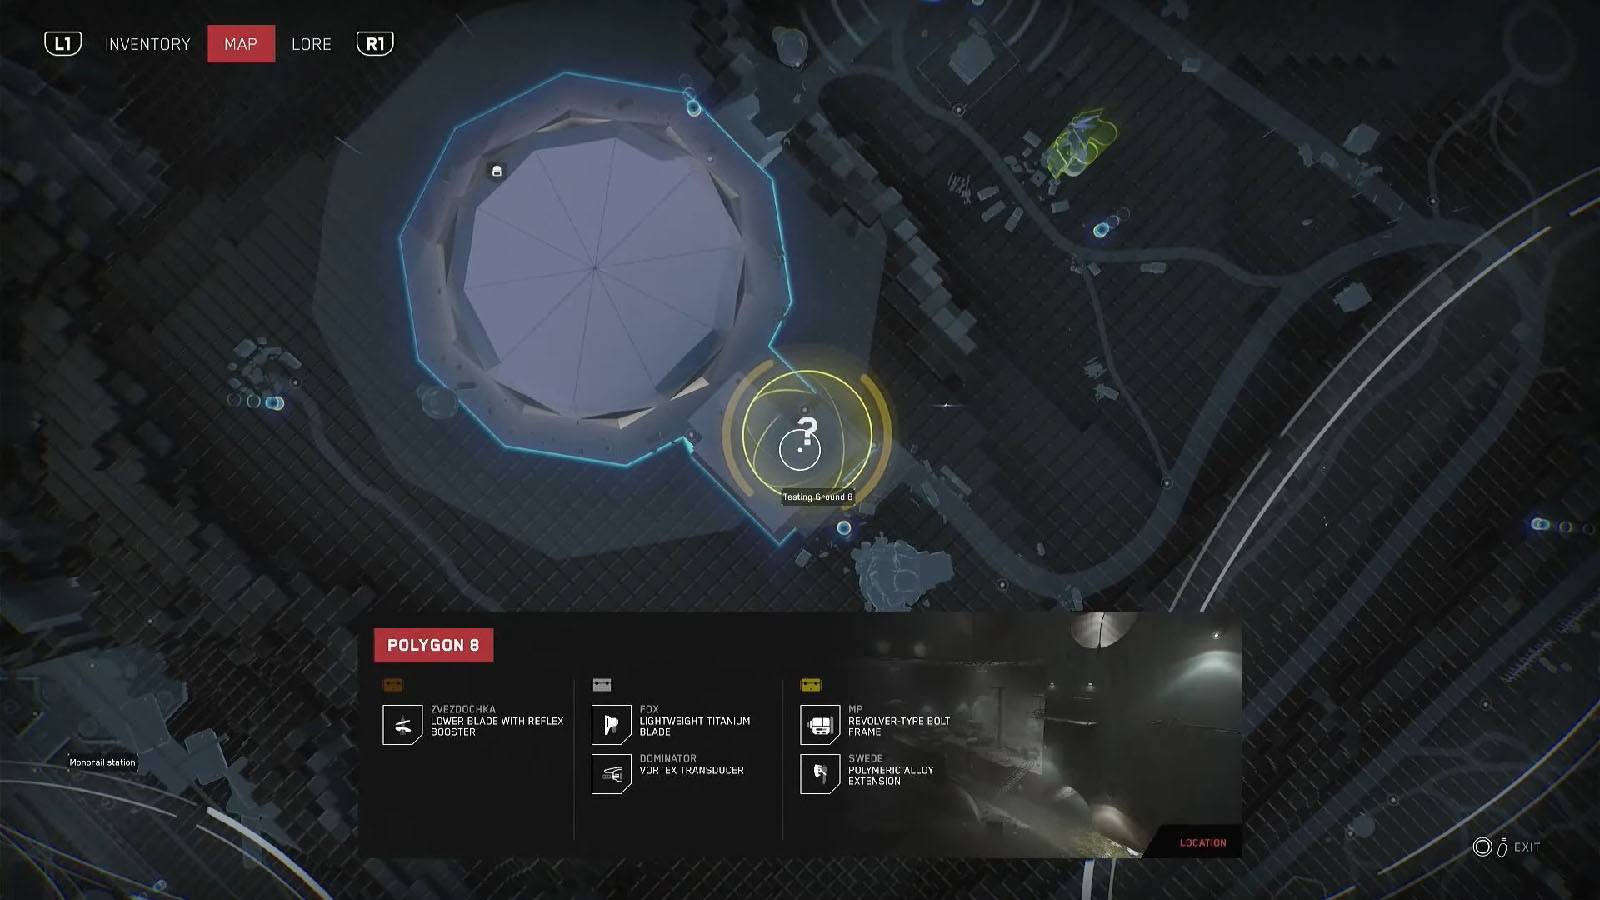
How to access Testing Ground 8
Head to the area marked as Testing Ground 8 in the Computational Center. Then, climb up to the roof of the rectangular side of the building to find the antenna on top.
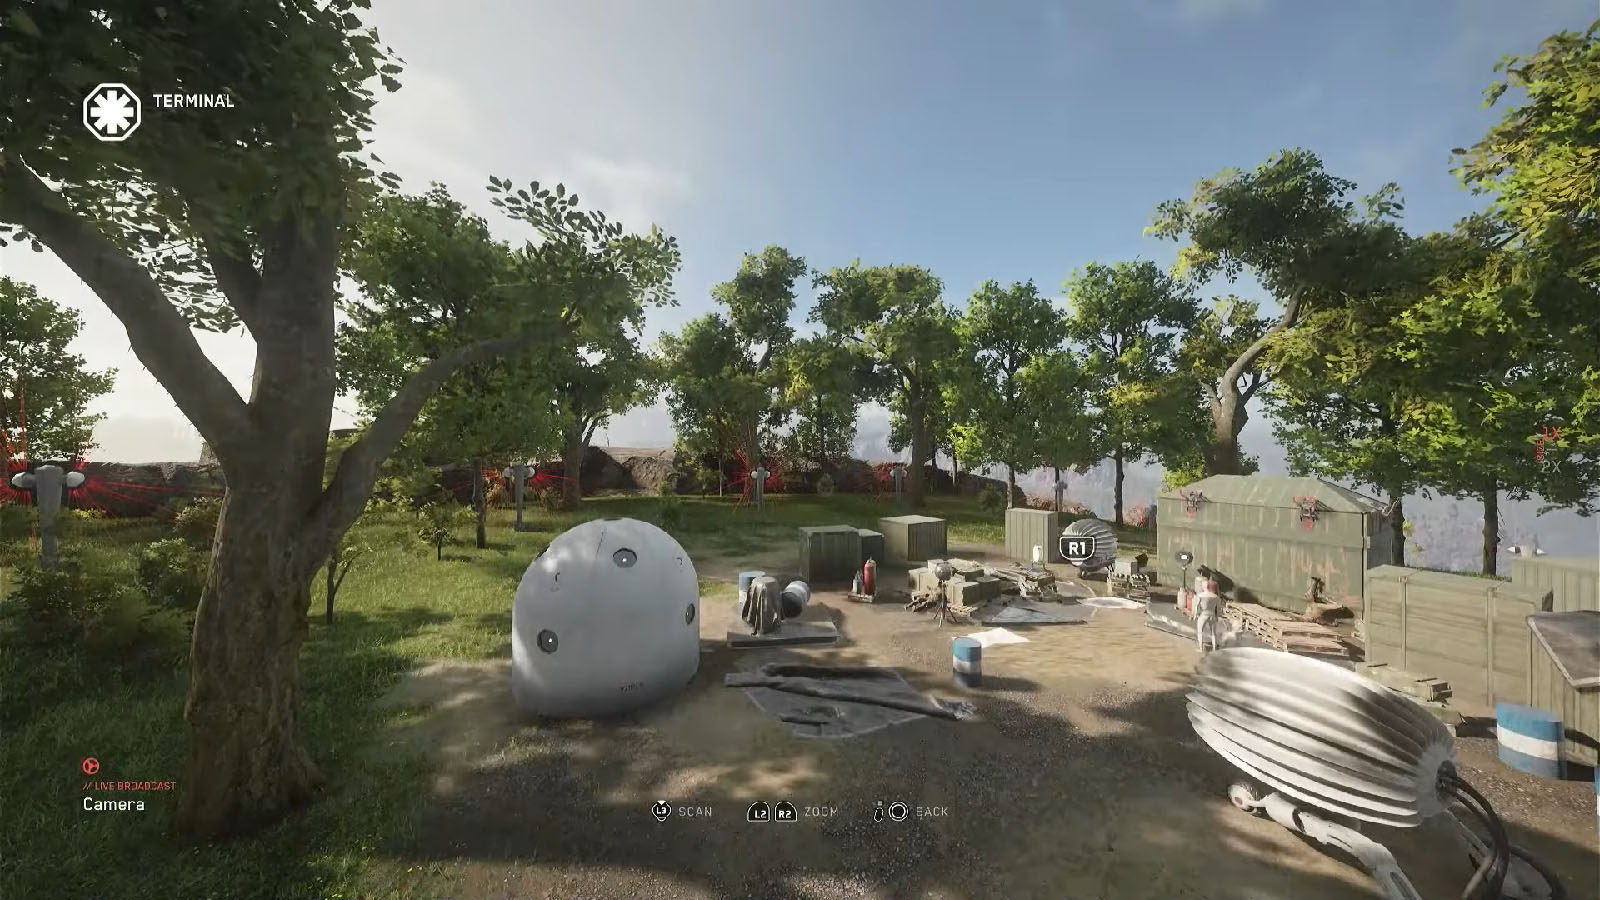
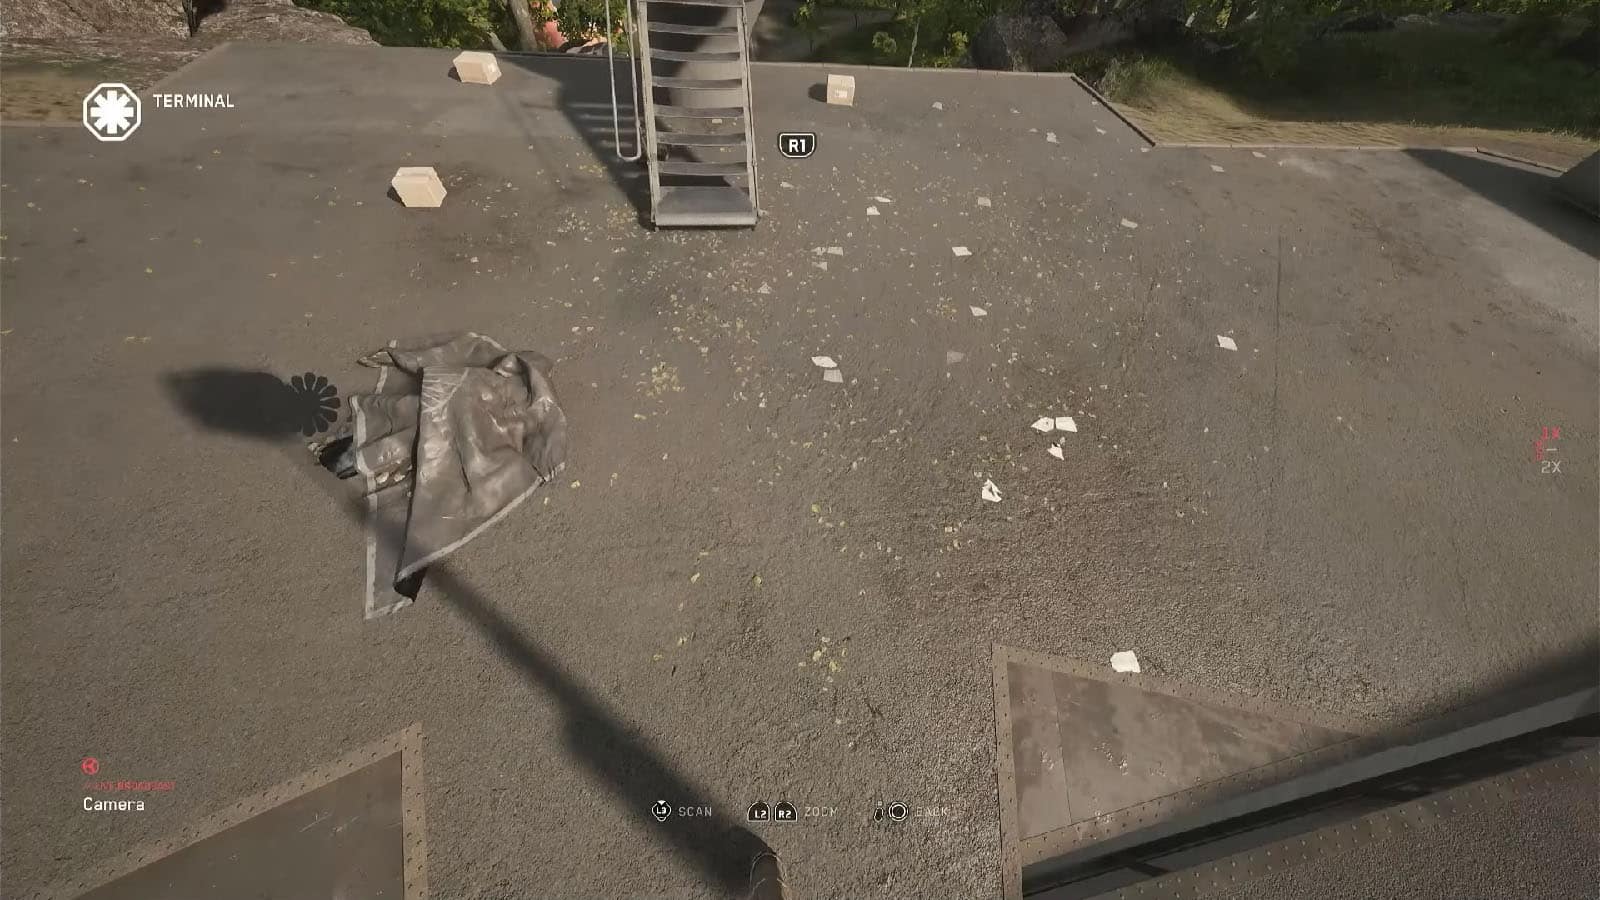
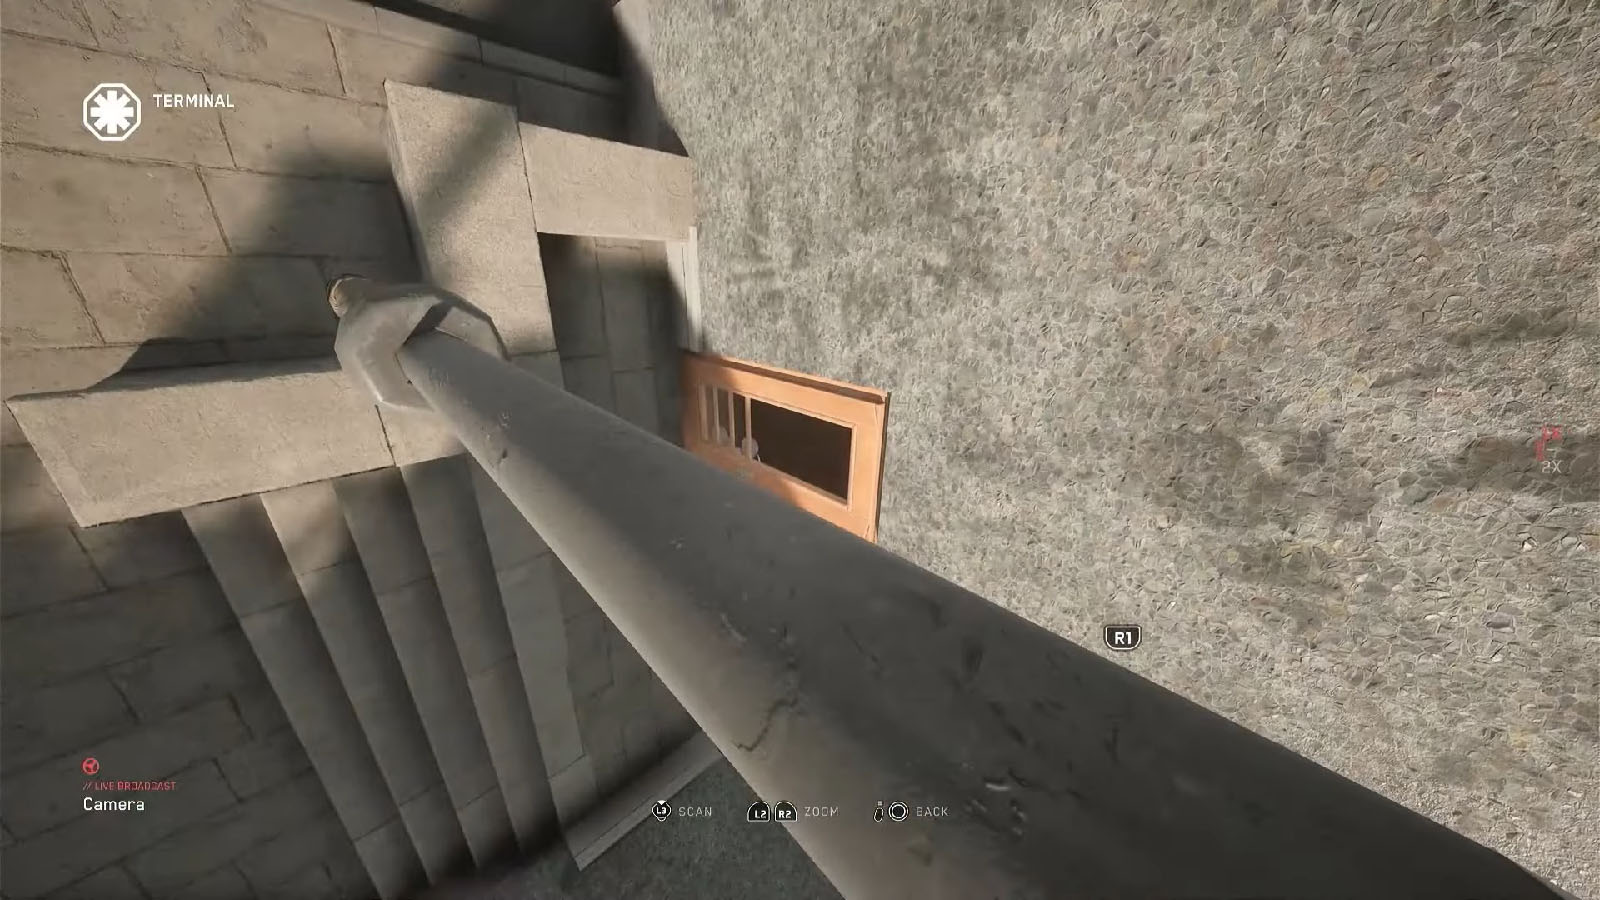
Interface with the antenna to hack the cameras. For the camera close to where you’re standing, point it downwards towards the right to find the switch by the door. For the camera up north, pan the camera down until you see the prompt for the switch. For the camera on the west side, simply point towards the cylinder at the far end to find the switch.
Once all three switches are hacked, you can enter the facility and take the elevator down to the testing ground.
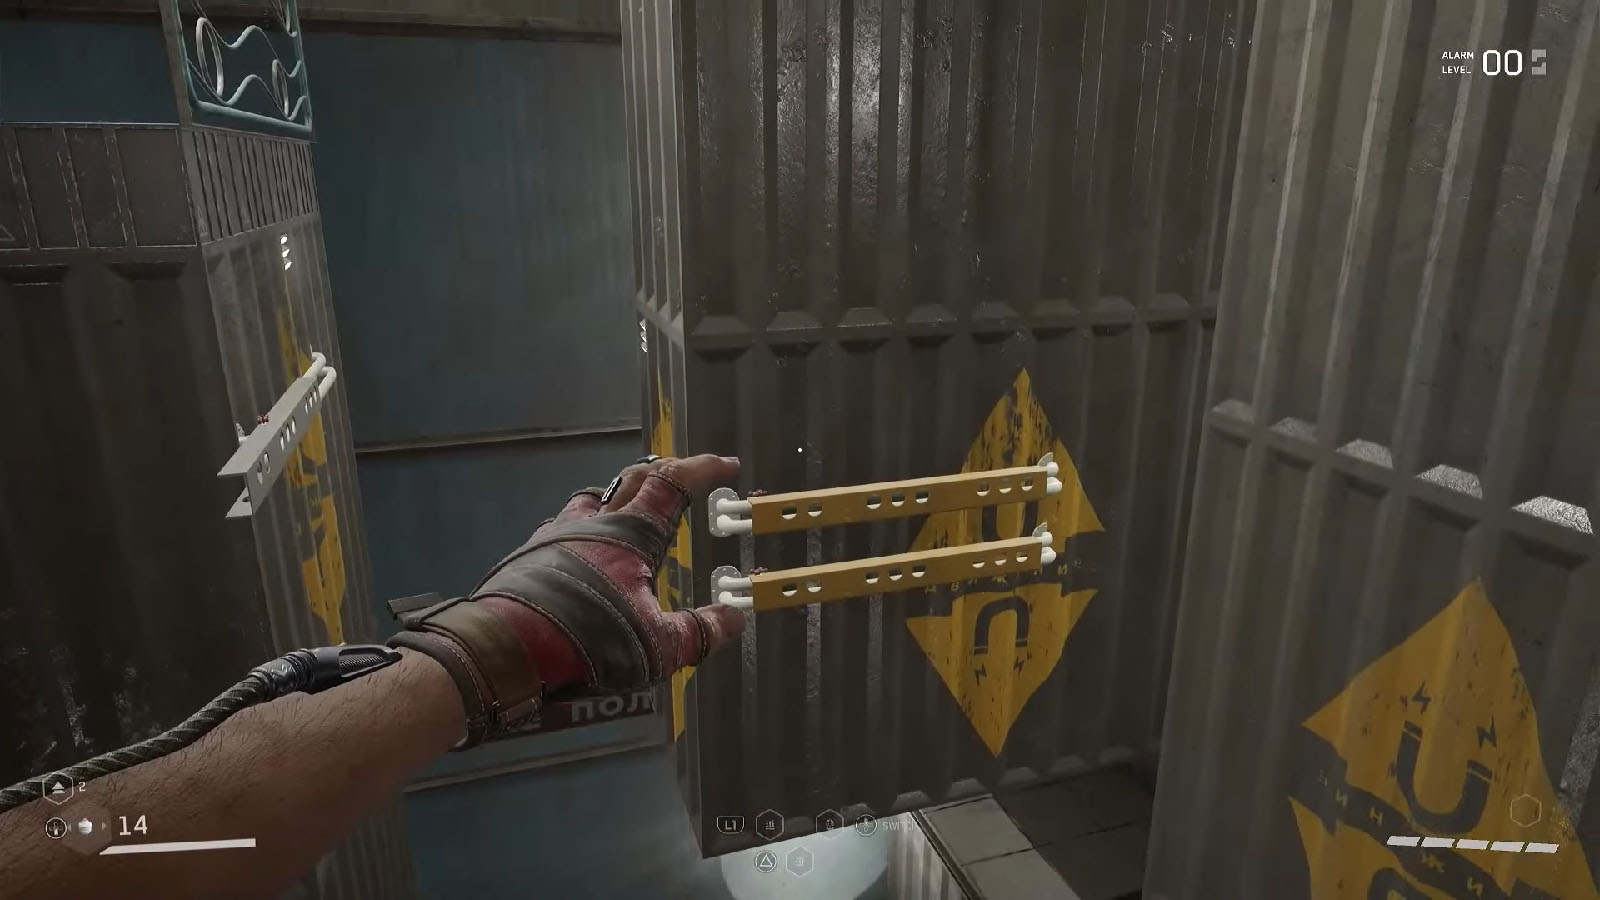
Magnet room
Make your way through the path until you arrive at the magnet room. Reverse the polarity first to raise the platforms, then grab on to the ledge then look behind you to the left to find the next ledge you can jump to. Then, leap on to the next ledge to your left, look to your right and you’ll find a platform to jump to.
Reverse the polarity again, then jump on to the narrow walkway and walk towards the opposite side. Then just simply switch polarities as needed until you reach the exit.
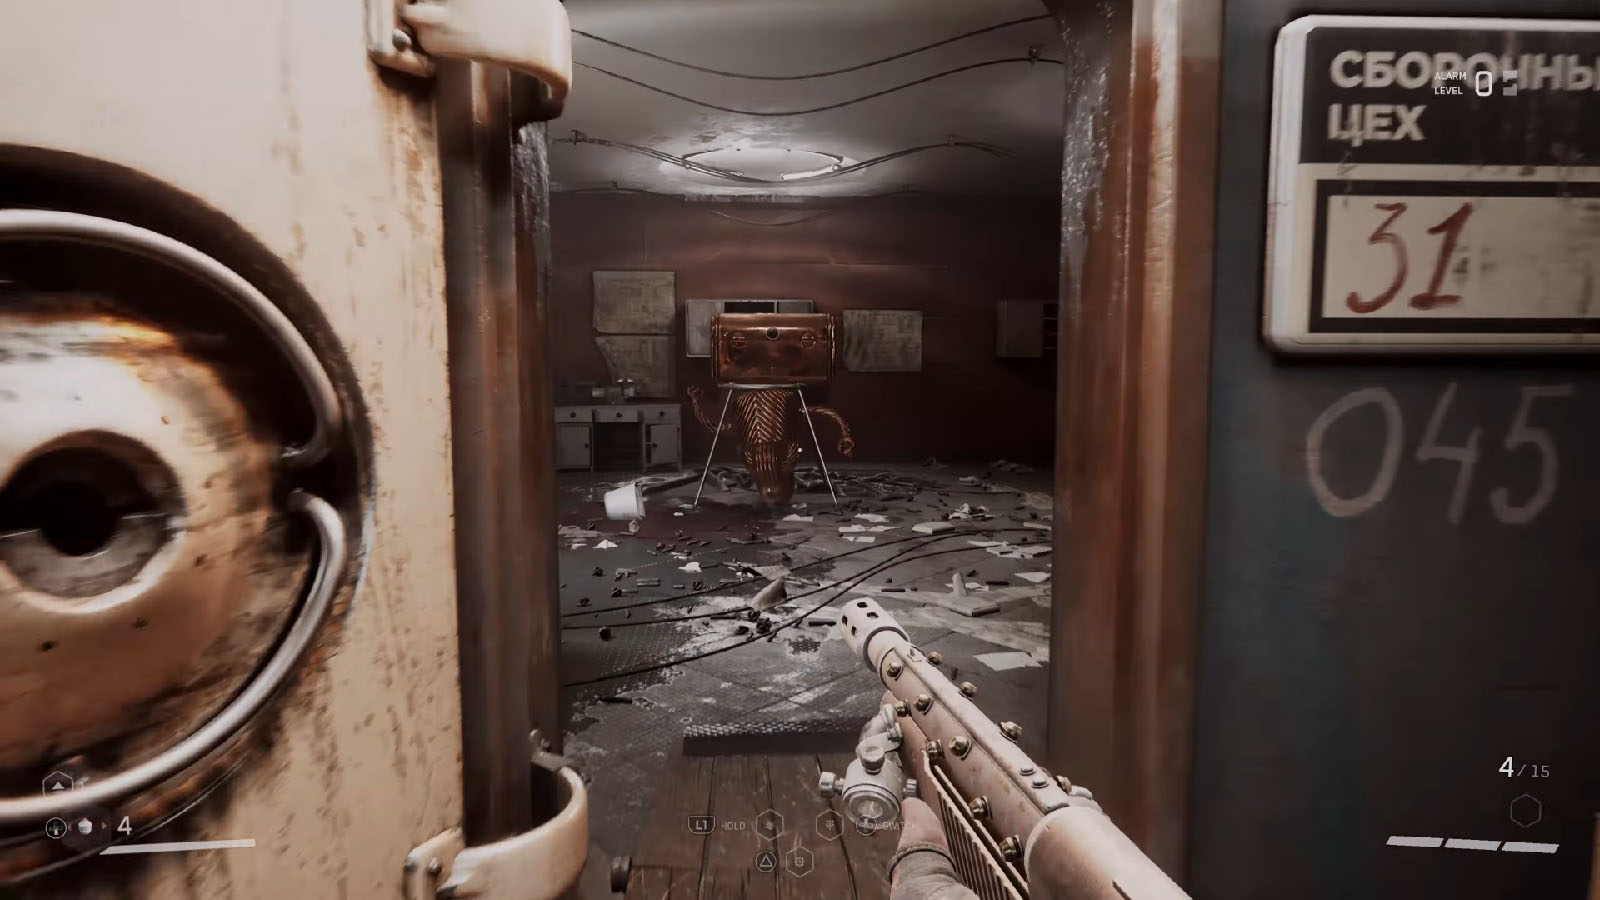
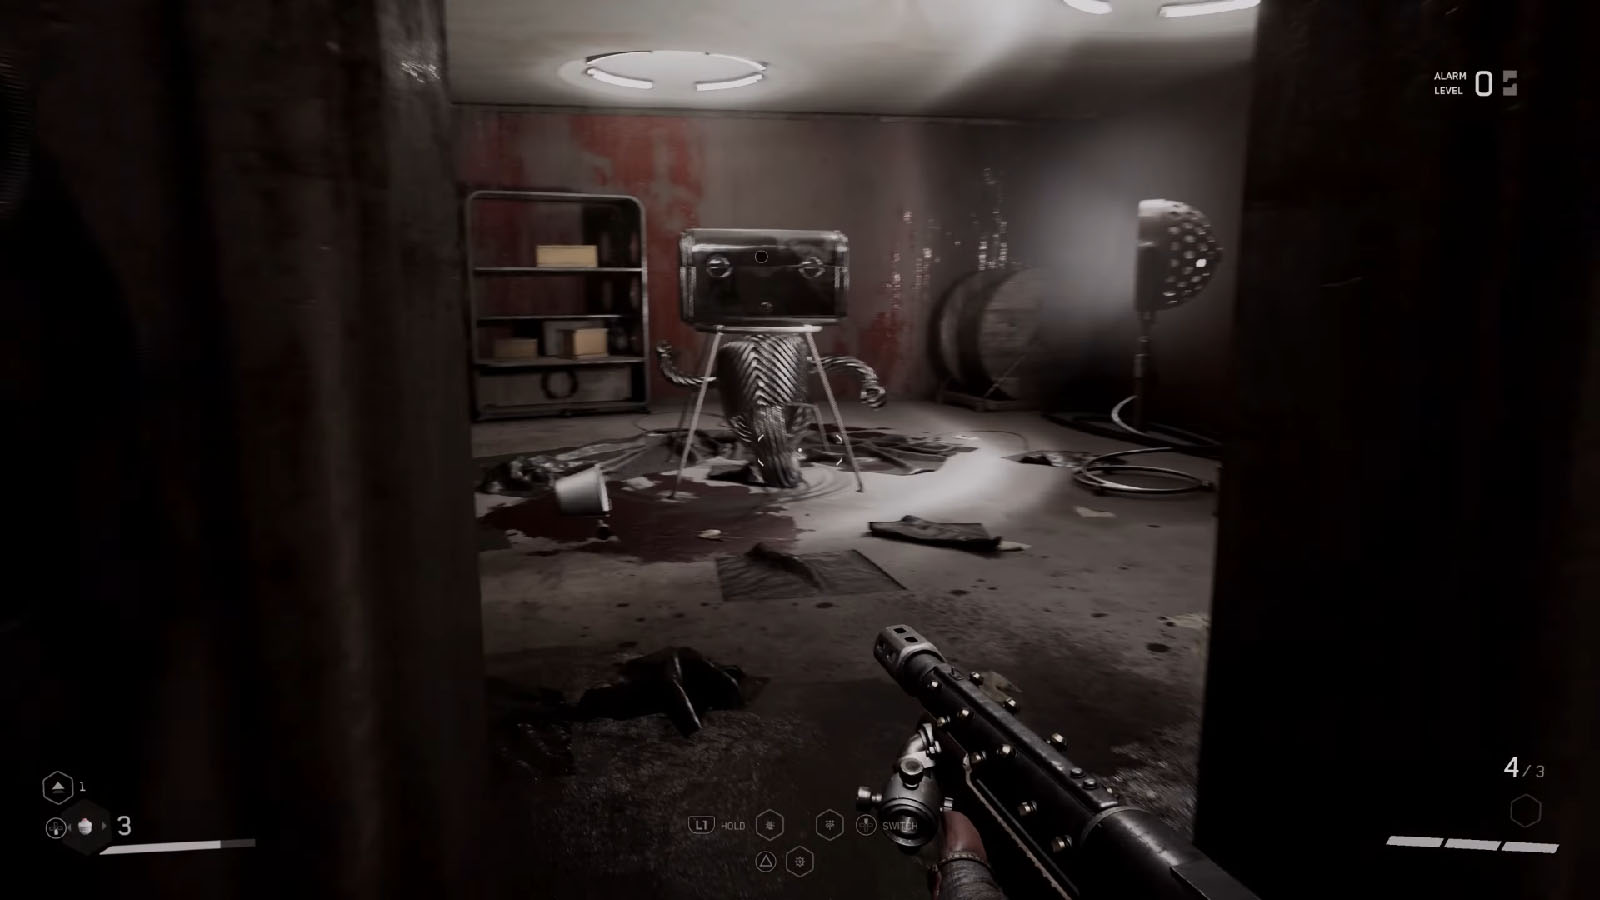
Bronze Loot-yagin – Zvezdochka Lower Blade with Reflex Booster
From the magnet room, turn right and you should see the room with the Bronze Loot-yagin containing the Zvezdochka Extra Saw.
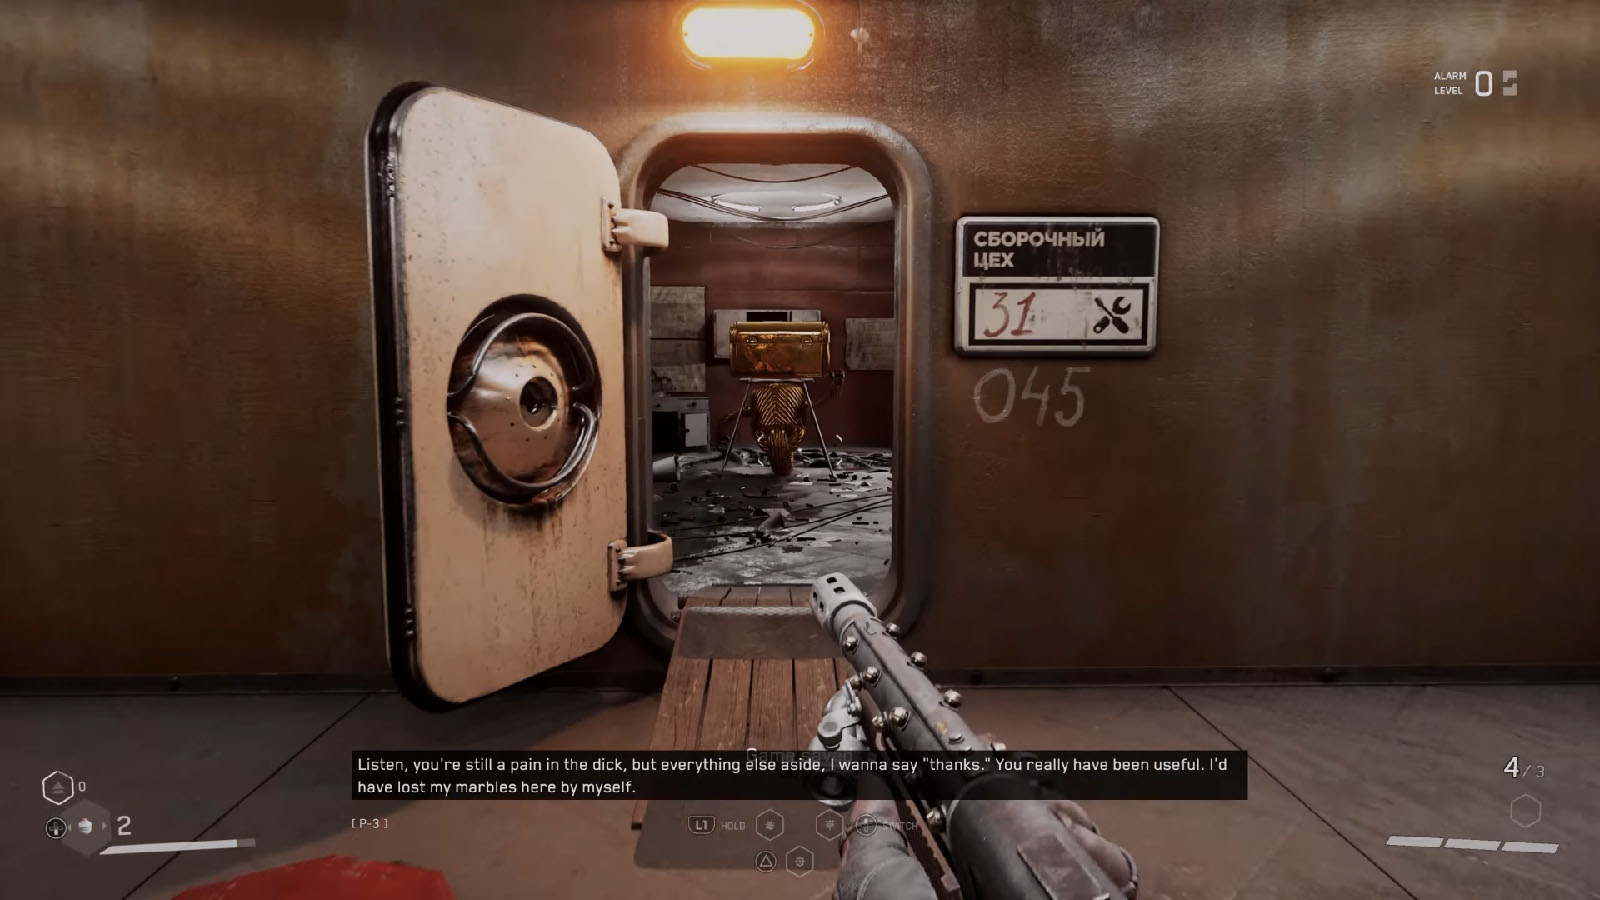
Silver Loot-yagin – Fox Lightweight Titanium Blade / Dominator Vortex Transducer
From the Bronze Loot-yagin, go inside the huge trailer and out the other end. Then, continue straight forward to the other end of the room. Use the crates to climb higher and then leap towards the platform that connects to the exit. Walk along the corridor and you’ll find the Silver Loot-yagin in the room on the left side. This contains the Fox Lightweight Titanium Blade and Dominator Vortex Transducer.
Gold Loot-yagin – MP Revolver-type Bolt Frame / Swede Polymeric Alloy Extension
Continue along the path until you arrive at the room with the suspended platforms. Jump across the platforms to reach the next door. Through the corridor, go inside the room to the right and jump down the hole in the middle to land in Polymer.
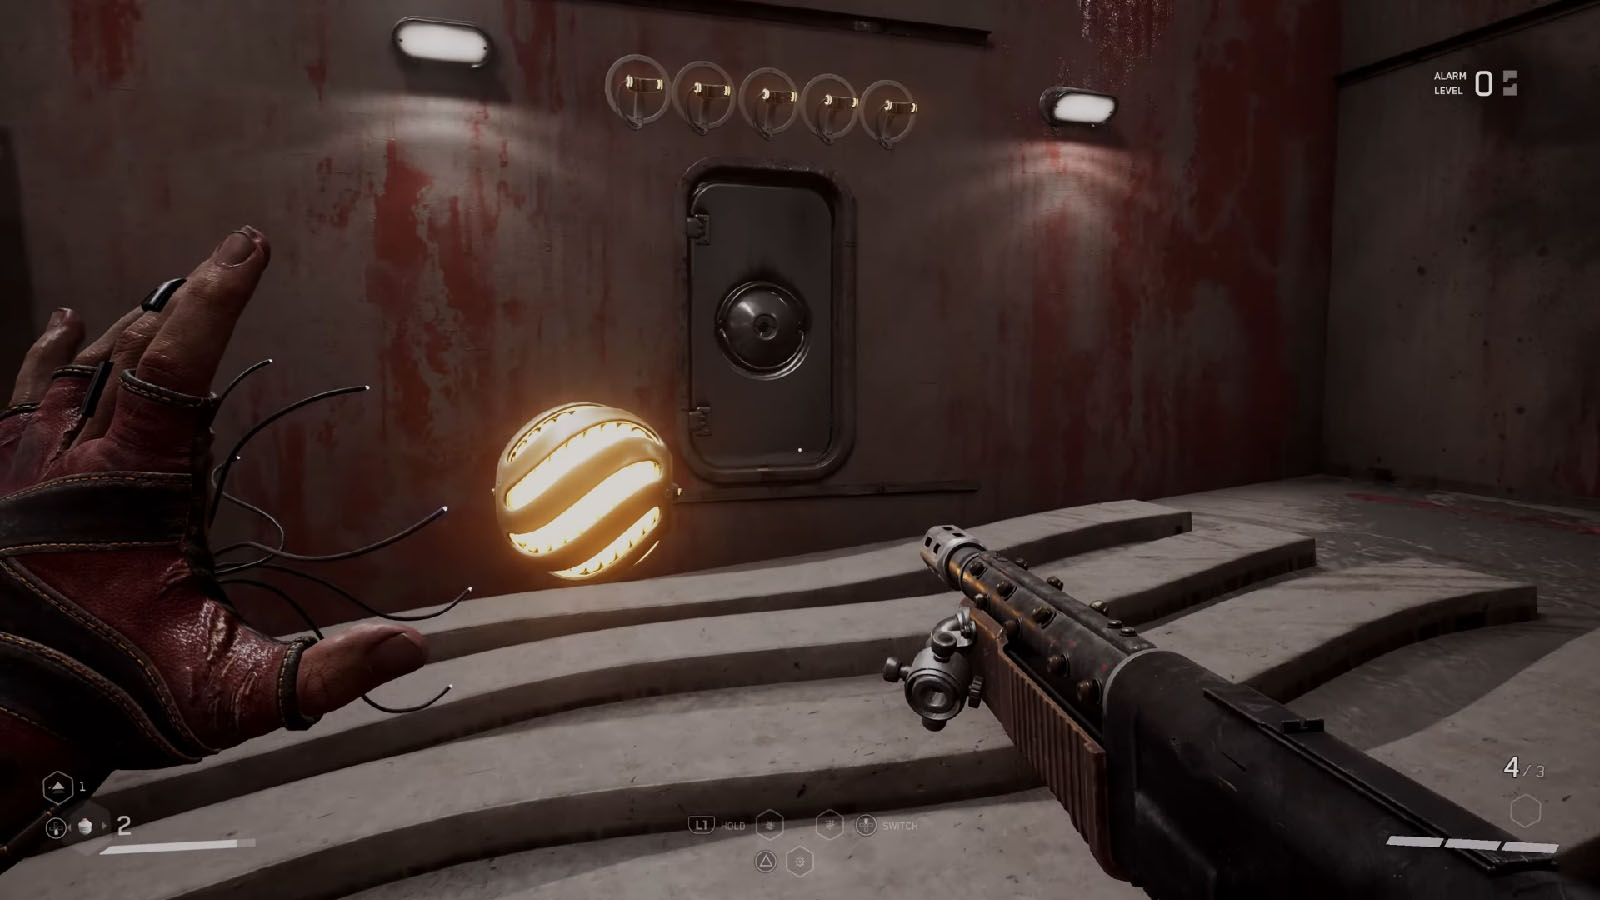
You’ll then arrive at a room with Candles. Grab each candle and place them on the five holders on top of the room. Once all five holders are filled, go into the adjacent room and press the button to open the door.
In the next room, go through the door underneath the stairs on the left, then climb up the ramp up ahead where you should see a Candle you can grab from a distance. Carry the candle back into the previous room and go up the stairs to find a holder where the Candle goes on. Wait for a ledge to get near your and jump towards it, then move along it before jumping towards the pipe ahead.

Look to the left and you’ll see more ledges to jump towards and grab on to. Continue moving towards the left until you reach the platform. Head to the doorway on the left first to grab the Candle, then move it to the holder near the propeller. Make your way on top of the suspended wall, then jump down towards the plank on its side facing the exit. Finally, jump towards the ledges and climb up until you reach the doorway.
Right across the doorway, you should see the Gold Loot-yagin containing an MP Revolver-type Bolt Frame and a Swede Polymeric Alloy Extension. You can then take the elevator to exit the testing ground.
Check out this video by WoW Quests showing how to complete the Testing Ground 8 in Atomic Heart:


