
Broken Control Room is the seventh chapter in Dave the Diver. Dave has now gained access to the Control Room where he will find the cause of the disruption of the Divine Tree. Read ahead as we go through the events of Broken Control Room in Dave the Diver and share some helpful tips for a great playthrough.
See previous: Chapter 6 – Melting Glacier
Chapter Objectives:
Ancient Control Room
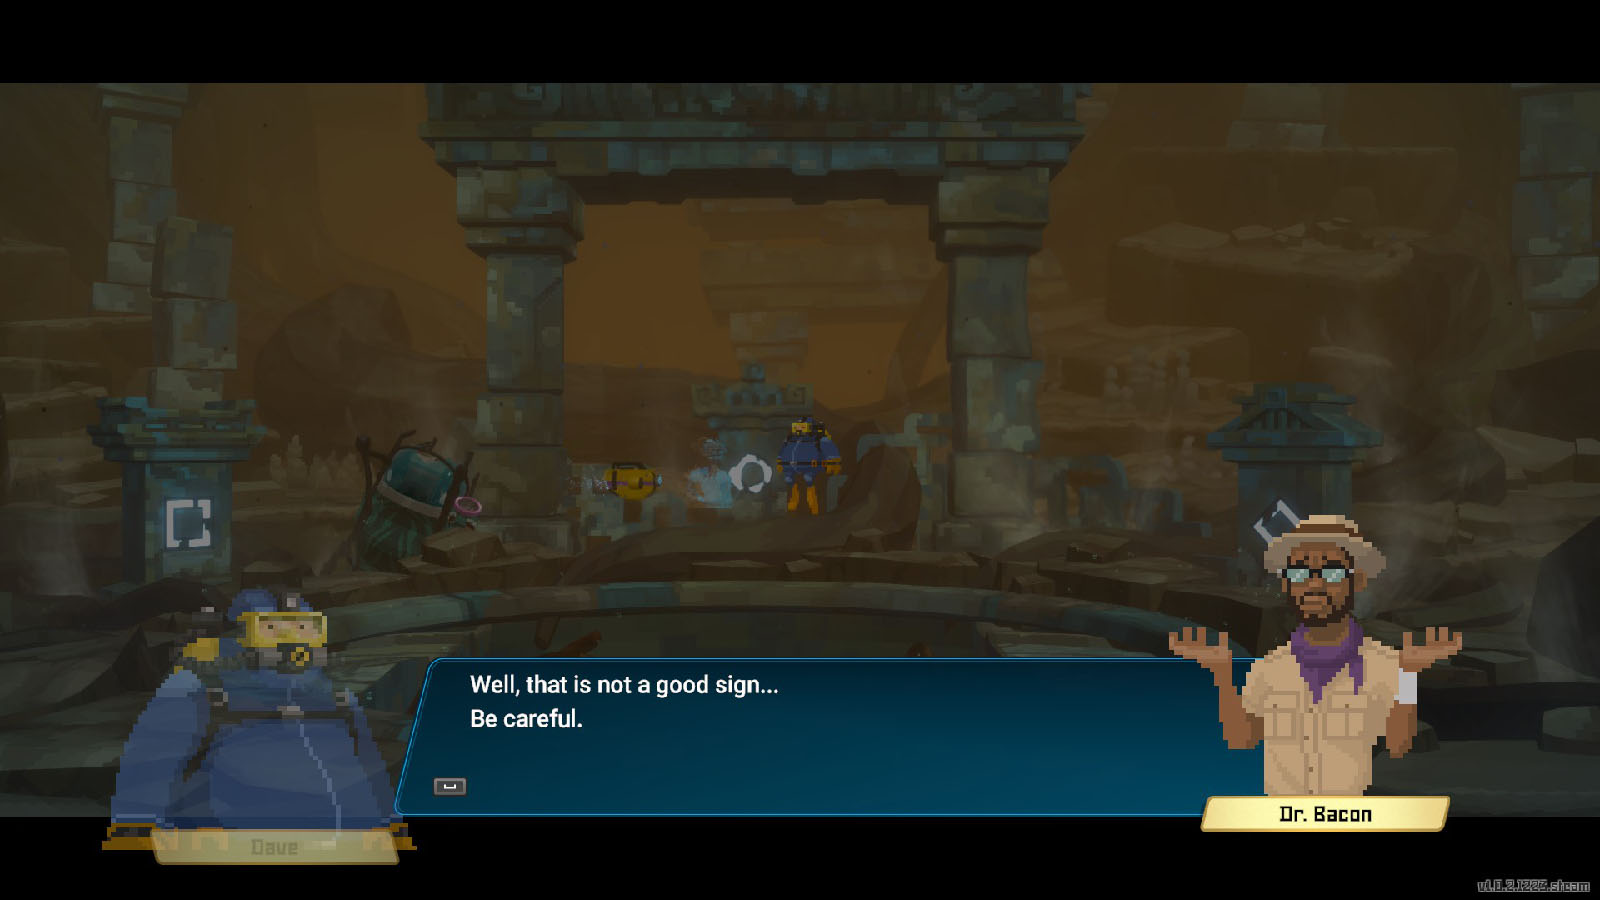
After waiting for two days, Dr. Bacon will arrive with the news that you can now head into the control room.
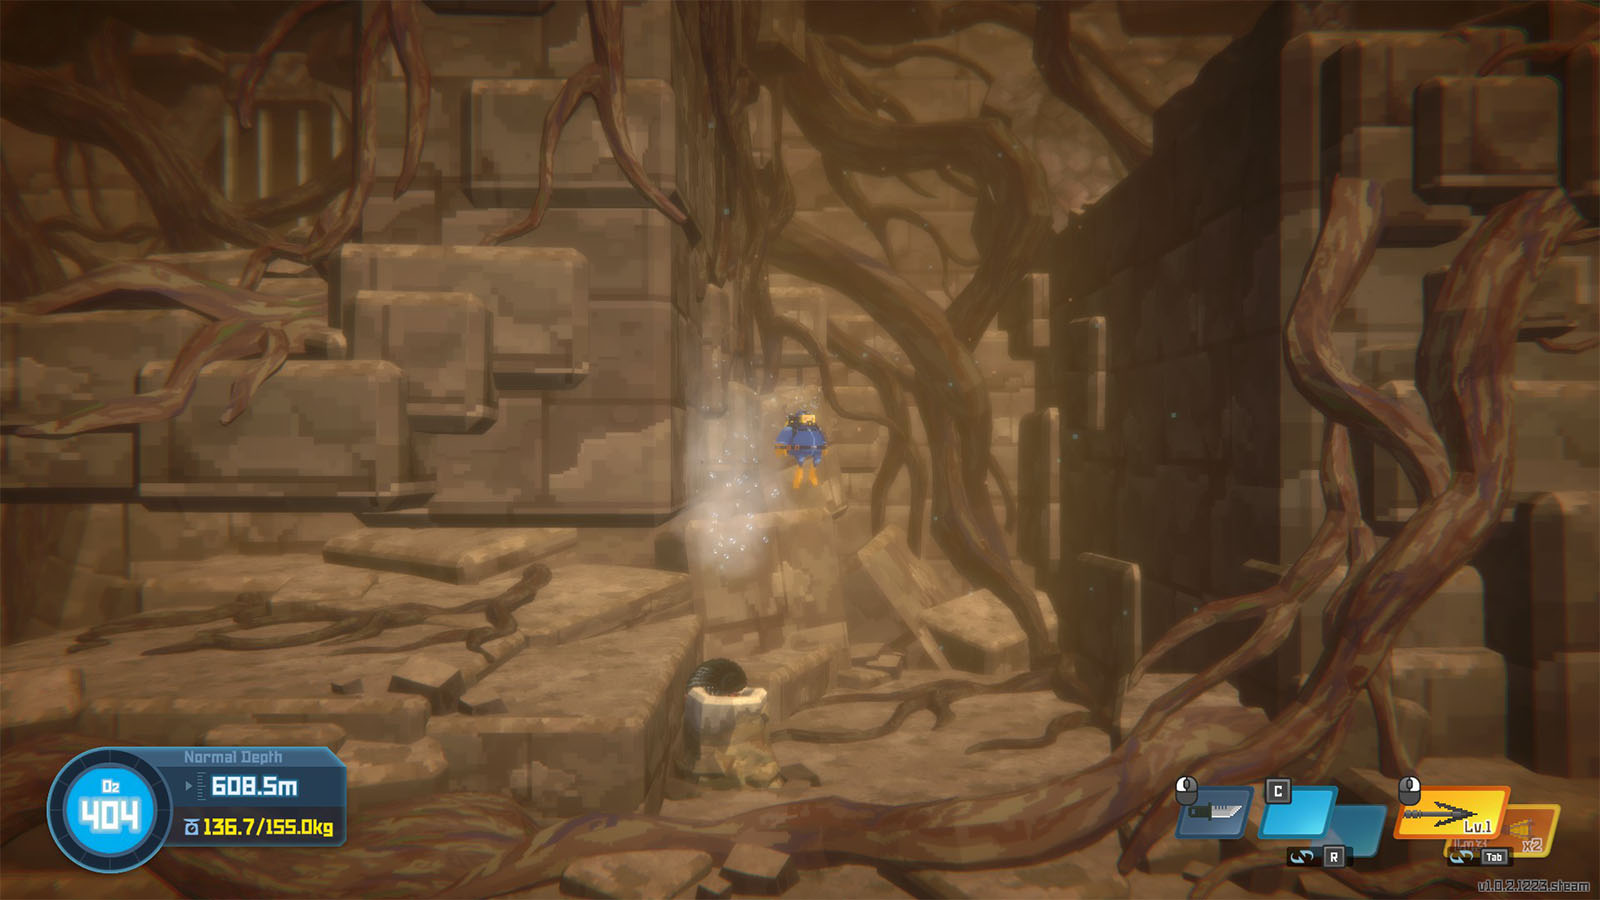
In the first room, your path will be blocked by tree sap from the roots. Look for the mollusk on the floor, carry it and place it on top of the chained slab to weigh the slab down. This will open the gate leading to the next room. However, the mollusk will crawl away, locking you inside the next room.
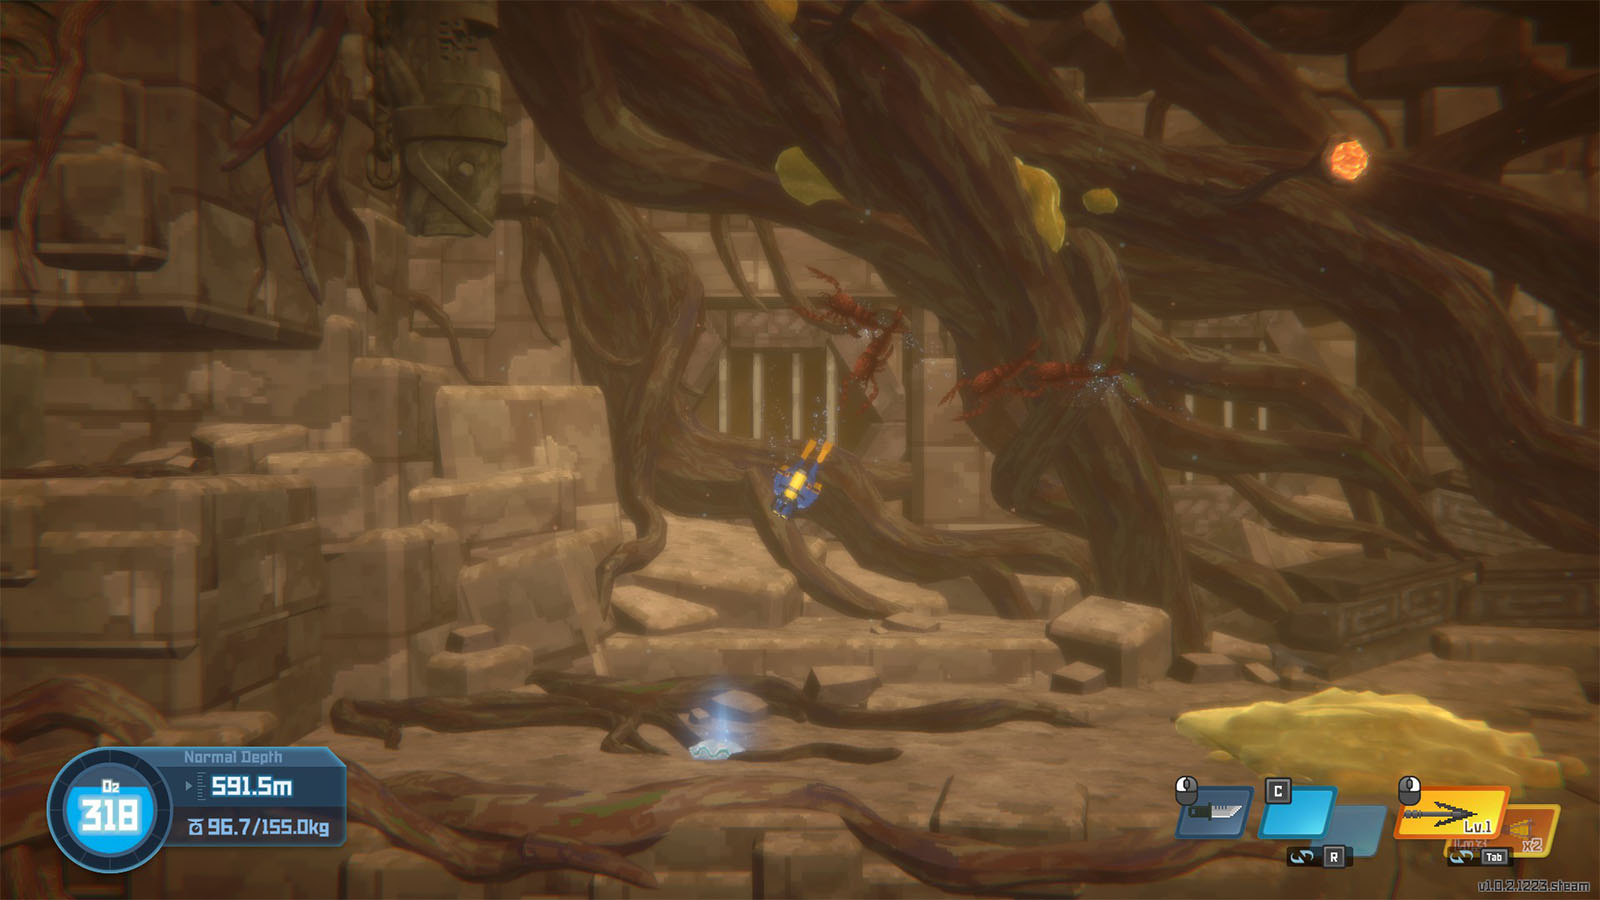
In the next room, there are plenty of aggressive Megalograptus that will attack you on sight. Lure them near the explosive tree fruits, then shoot the fruits to deal explosive damage to the creatures, killing them instantly.
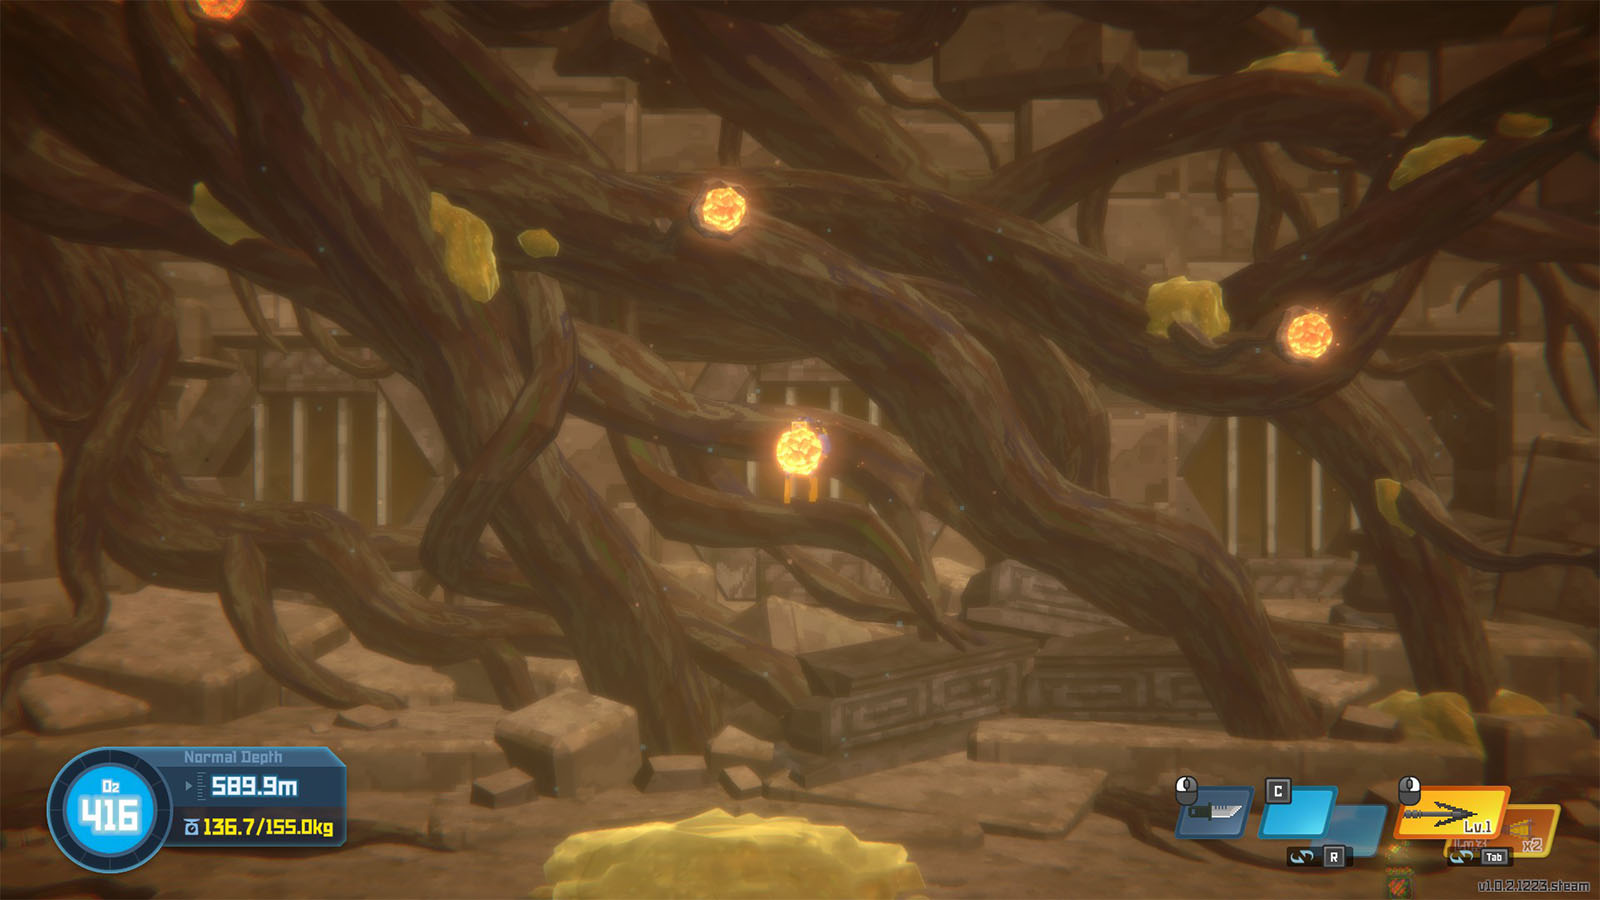
Then, grab hold of the fruit on top of the sap on the floor and drop it on the sap. This will open up a path to the lower room.
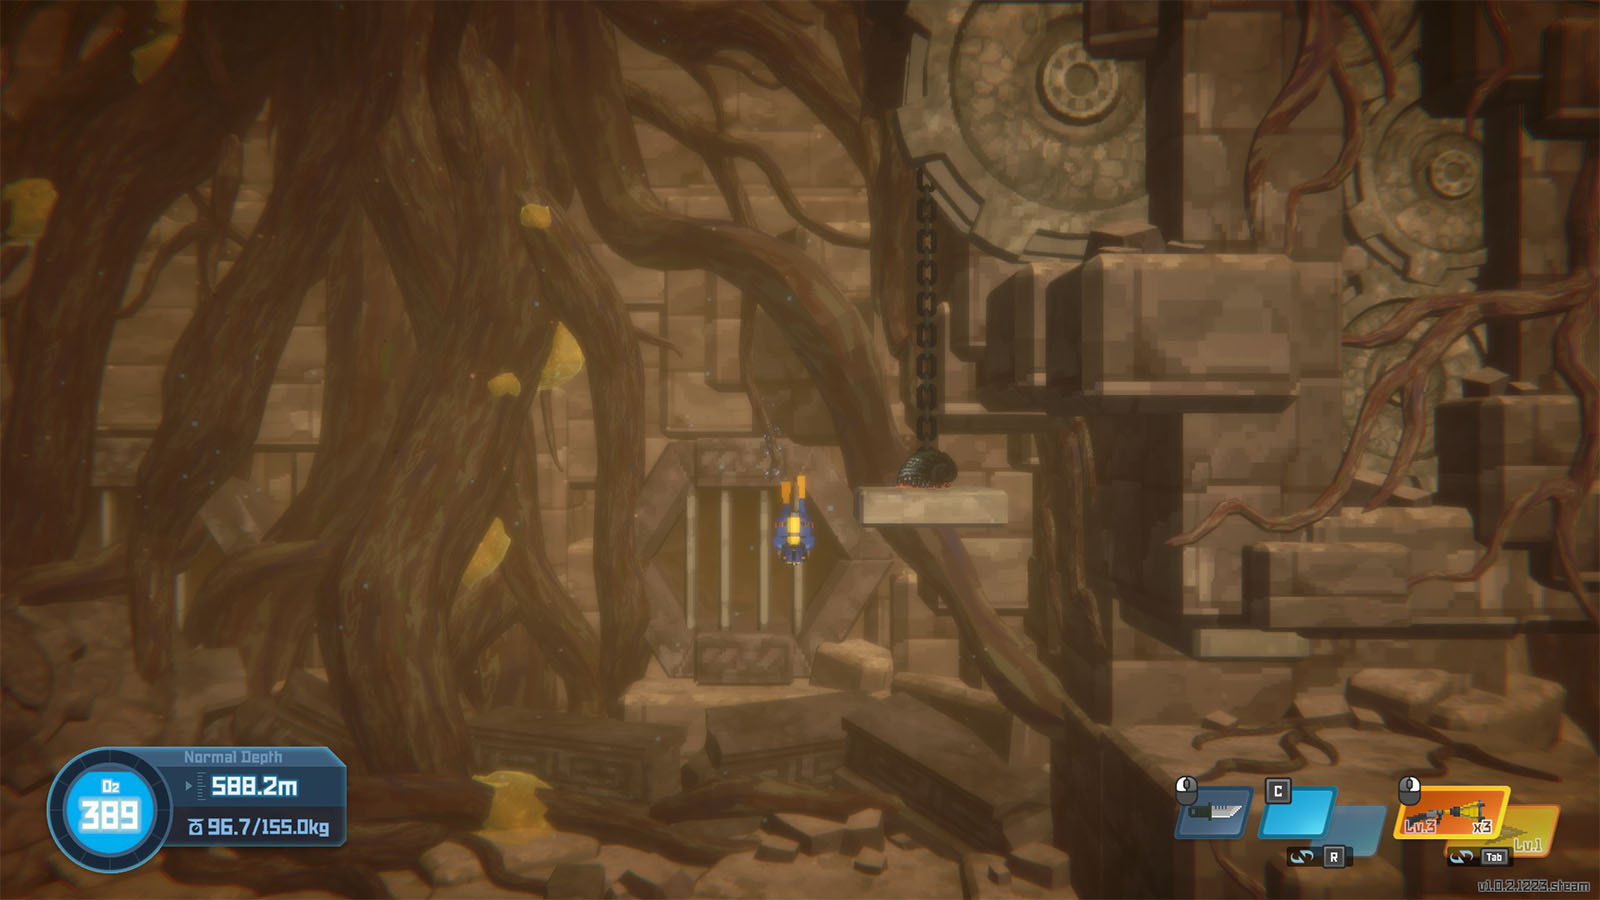
Next, grab the mollusk and drop it on the vent to clear a path to the next room.
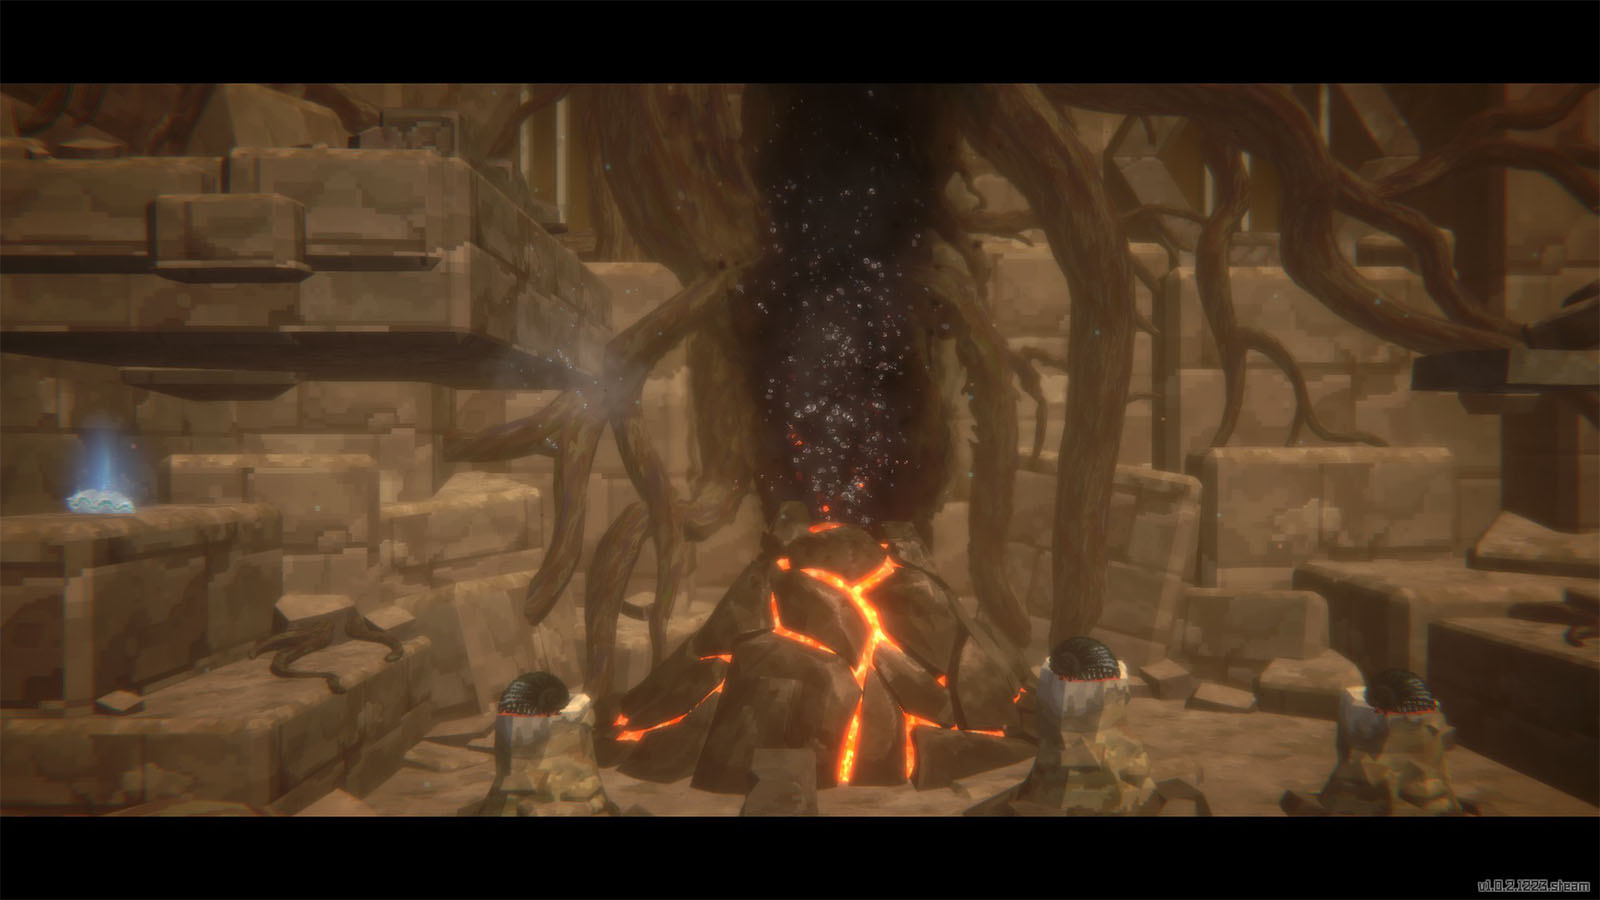
In the next chamber, wait for the mollusk to drop on the vent then pass through. In order to get through this chamber, you will need to place all three mollusks on top of the vents to plug them up which will make the large geyser explode. Placing all three mollusks will be tricky as they will start moving just after a few seconds of landing.

Once the path back to the first room is open, grab the fruit and quickly place it on the blocked door on the left side.
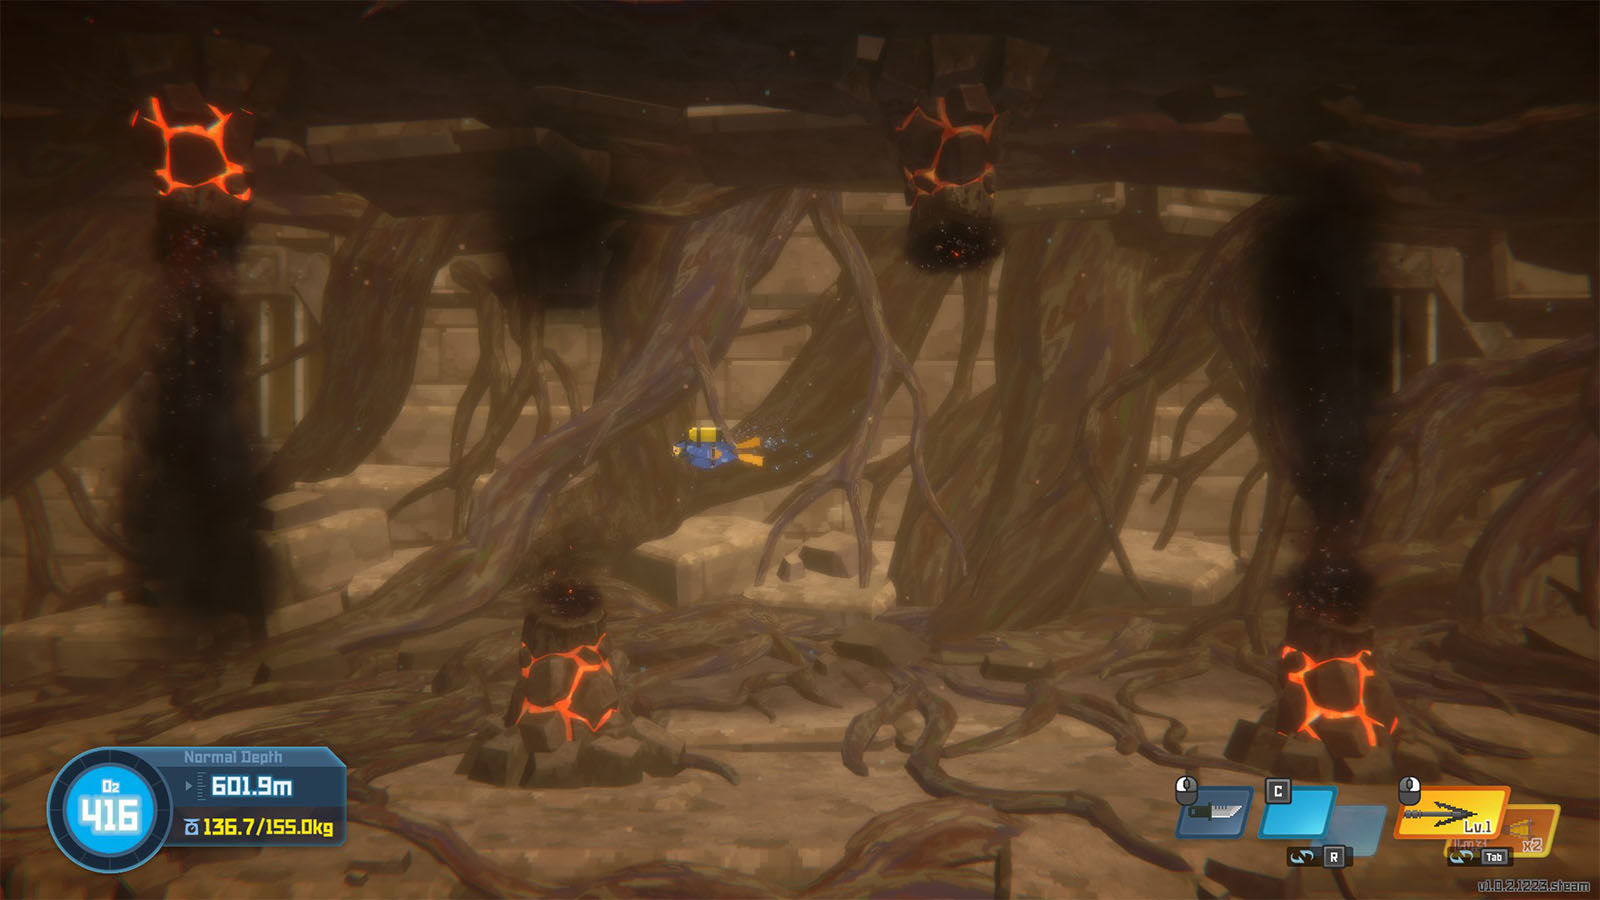
On to the next area, the path ahead will be lined with hot vents that can deal fire damage. Time your movement through these vents; it helps to stay close to the mouth of the vent on one side of the wall as you go through the path that goes down.
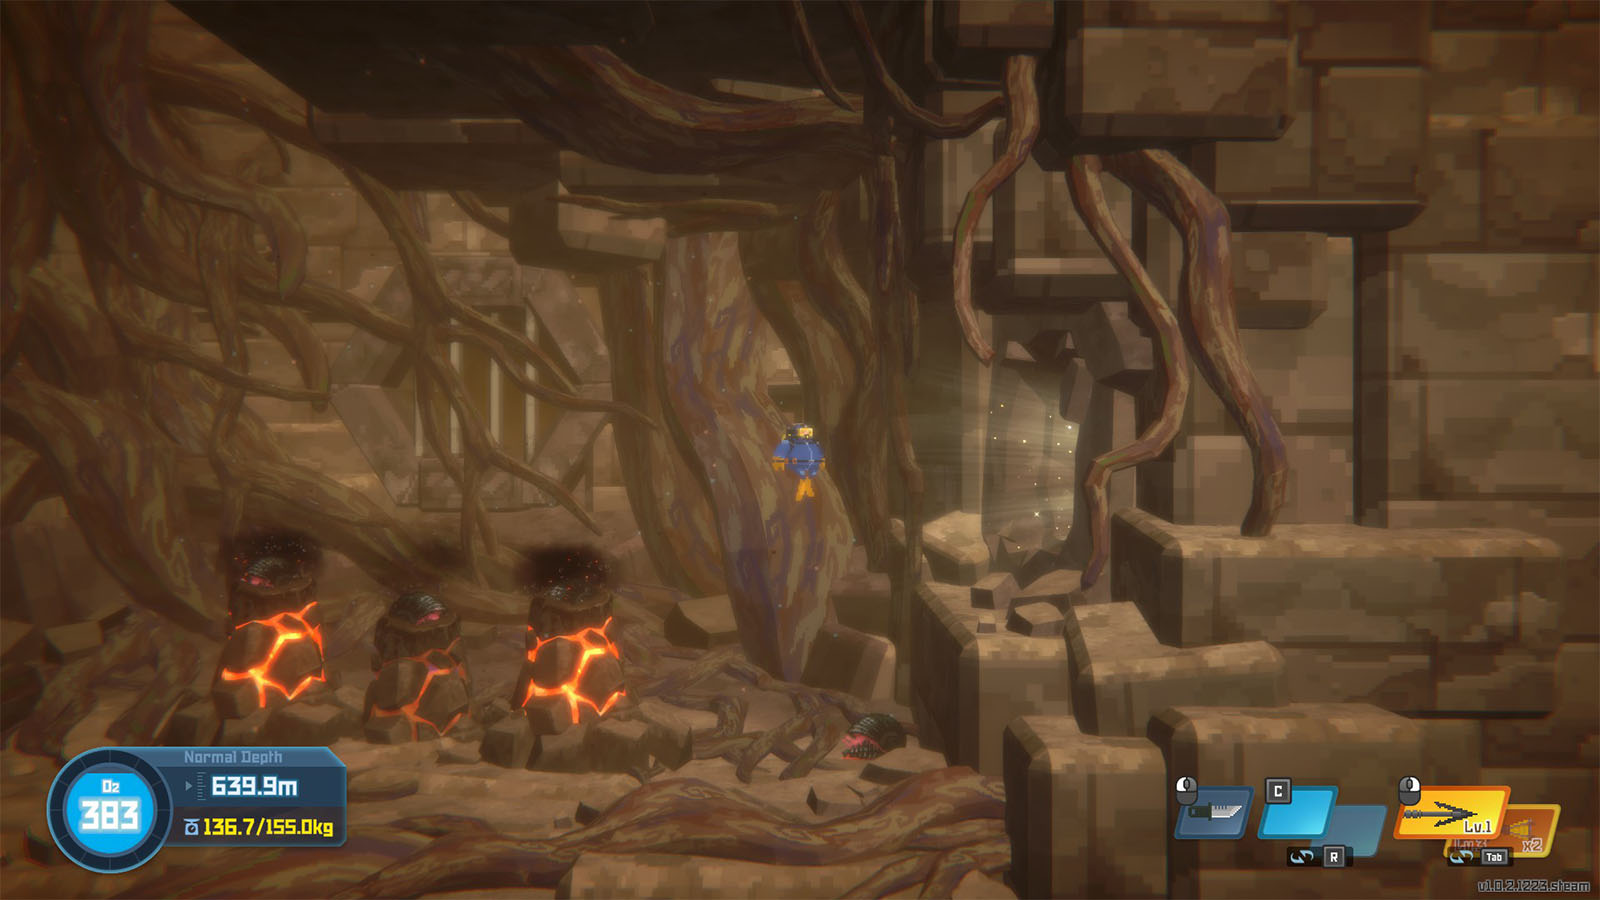
At the bottom of the path are more vents. You can use the mollusks to plug these vents down for a safe passage.
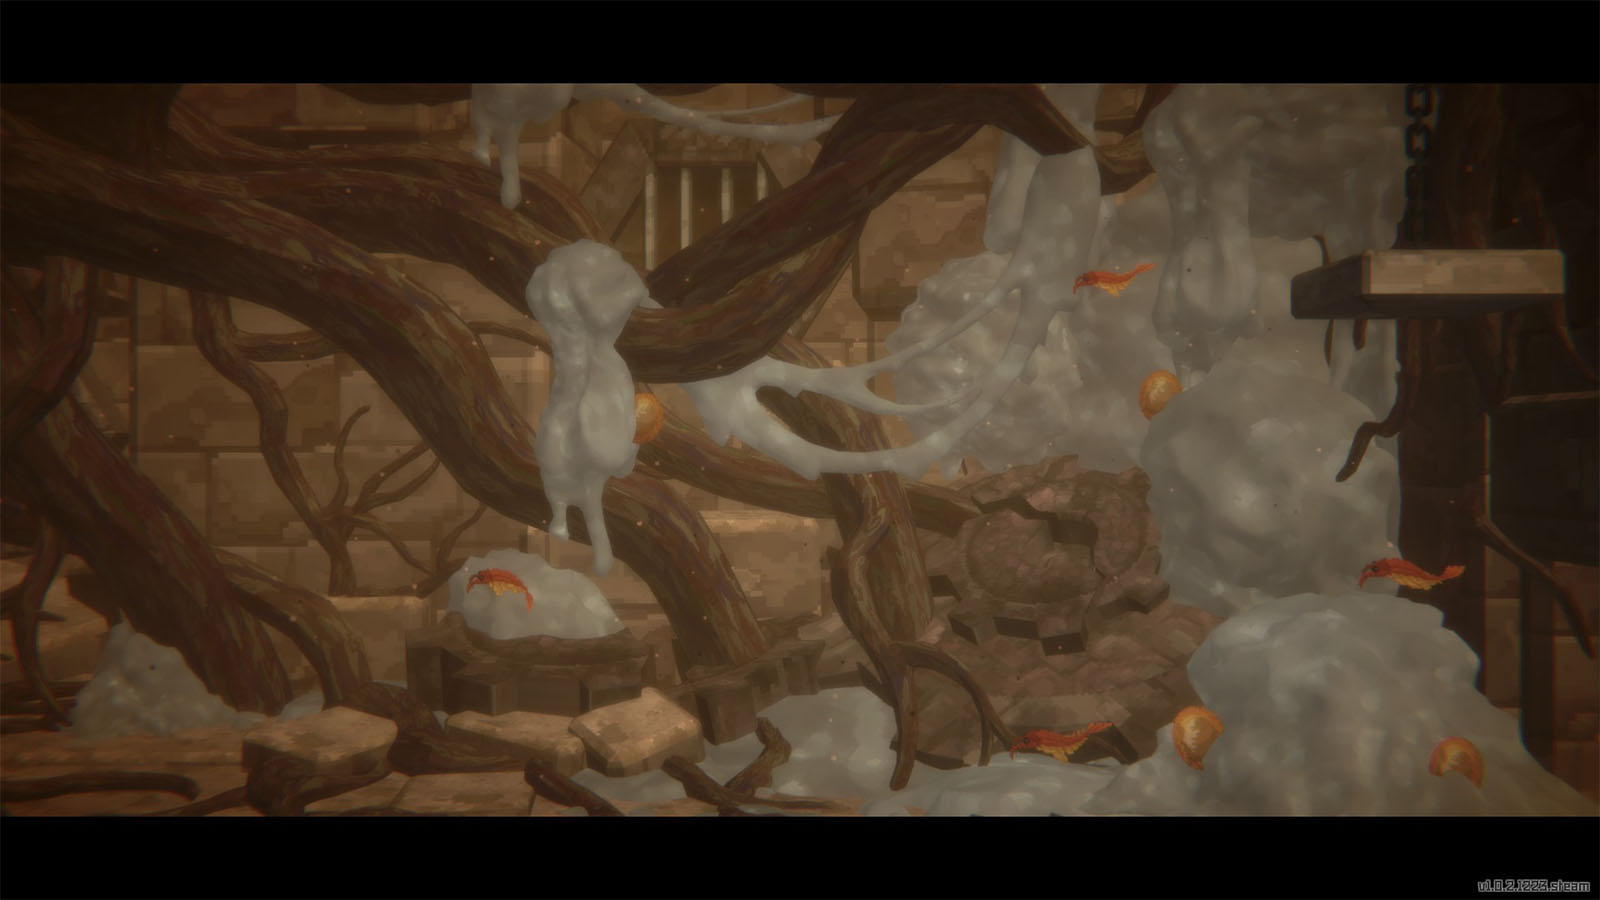
In the next room, you will discover that there are a bunch of eggs stuck on to the roots of the Divine Tree. These soon hatch into aggressive little creatures that will attack you. Defeat all of them, then pick up the mollusk and place it on the slab to open the next gate.
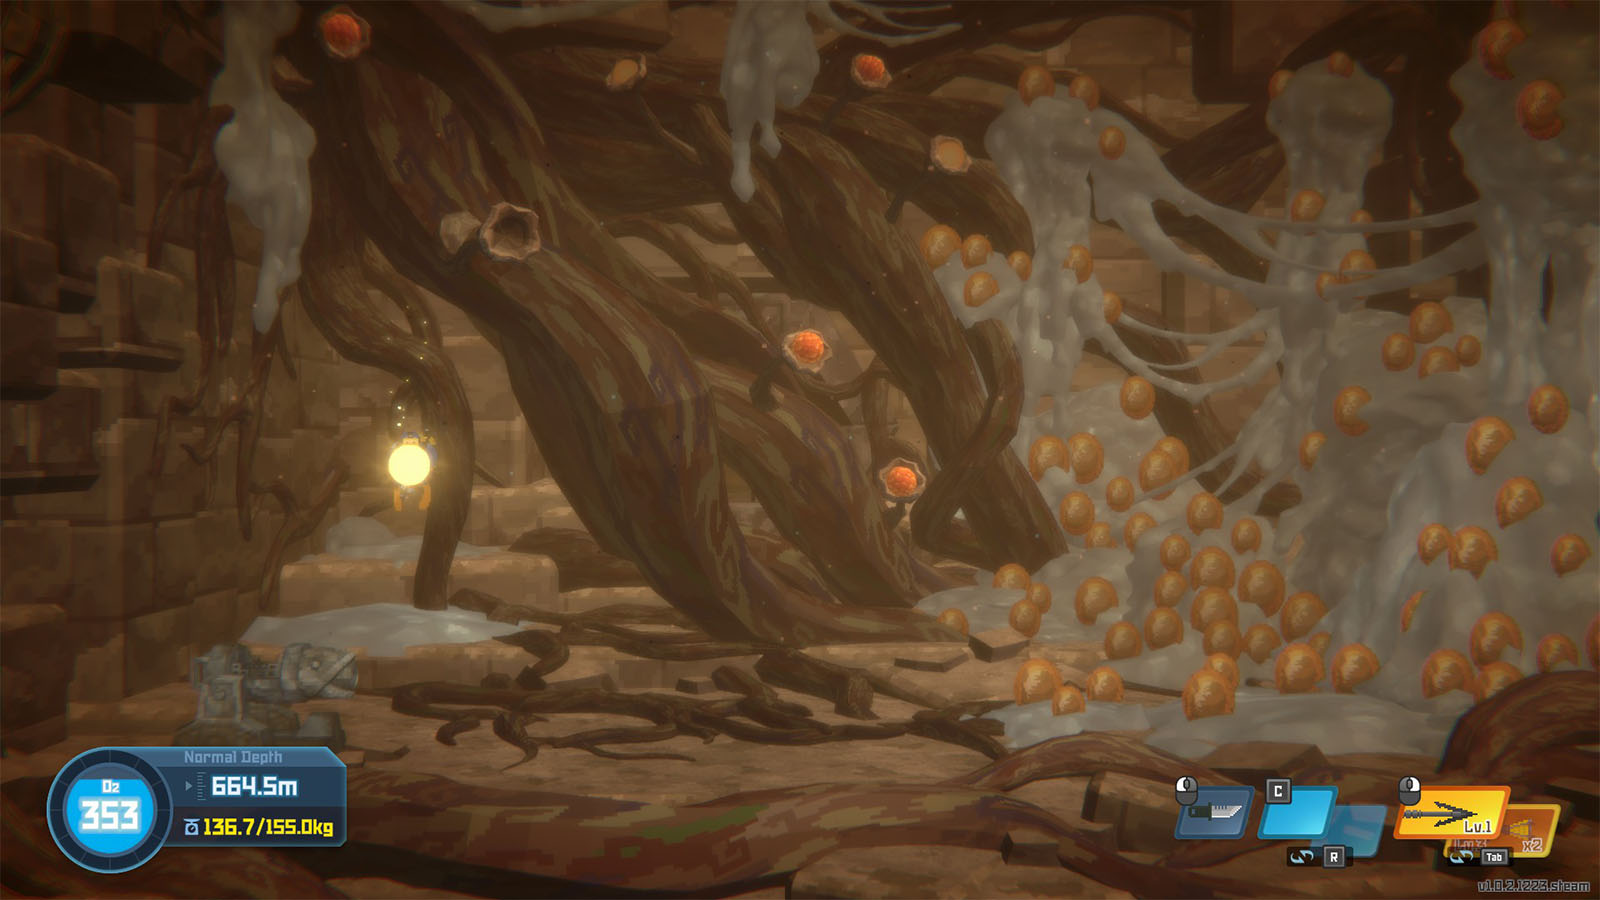
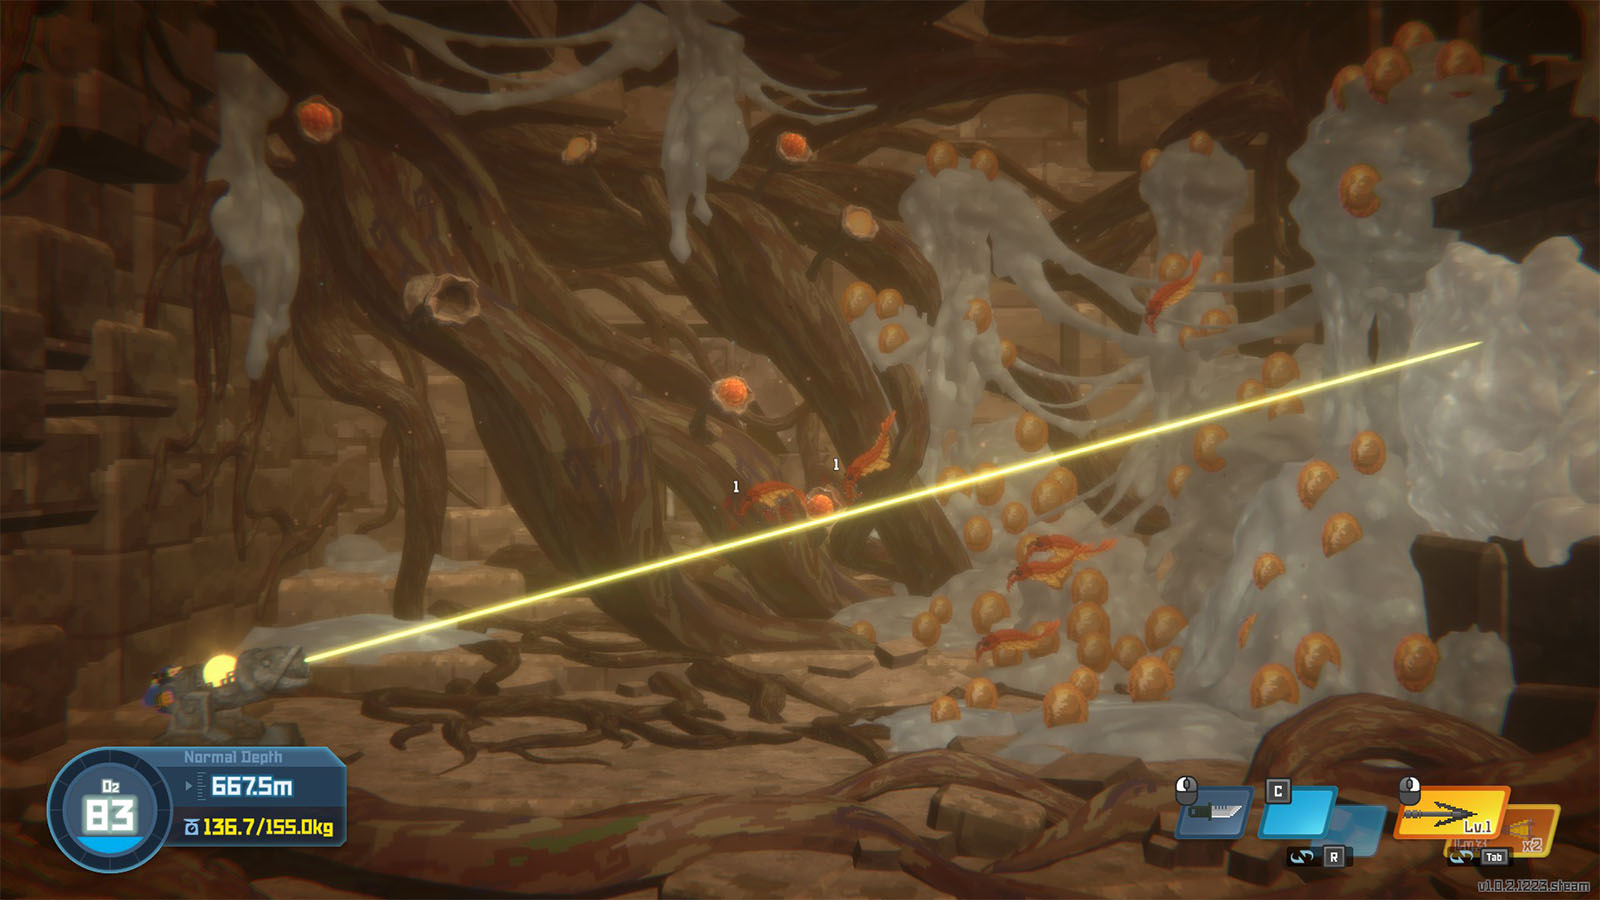
There will be a bunch more eggs in the next room. There’s also a thick coat of mucus blocking the next area. Use the divine tree fruit and place it on the receptacle. Then use the receptacle to defeat all of the hatchlings first. Once done, aim the laser on the mucus to melt it down. Hatchlings will spawn once more. Repeat the process until the third wave has been defeated and you will be able to proceed into the next room.
Cause of the earthquake
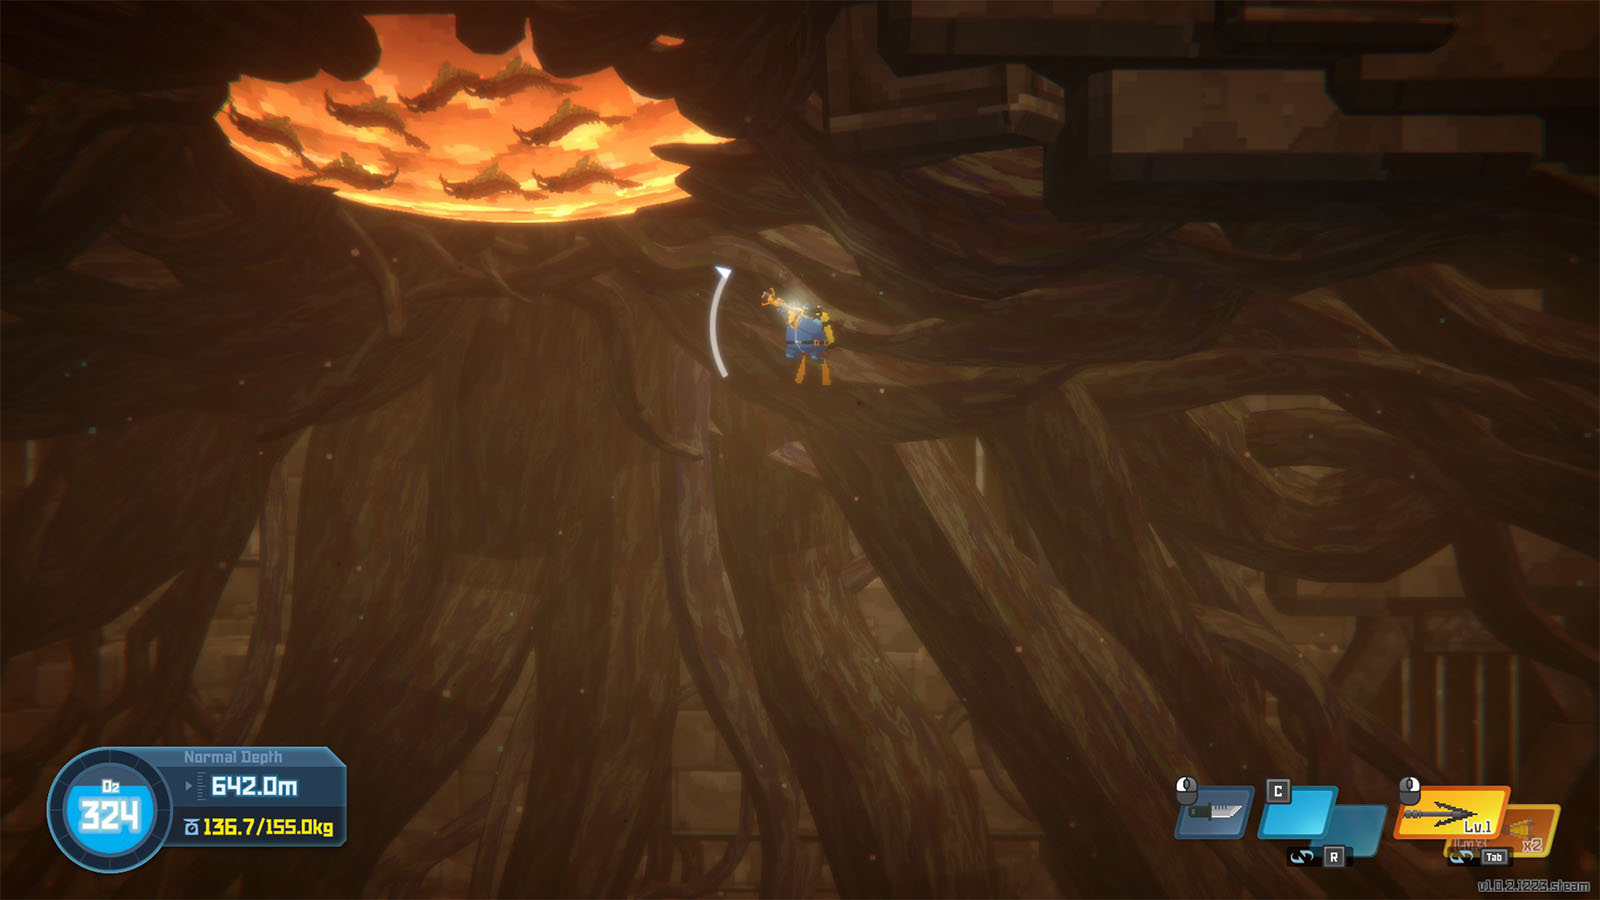
You will then arrive at the core of the Divine Tree where the hatchlings latch on to the core itself. Defeat all of the hatchlings to stabilize the core.
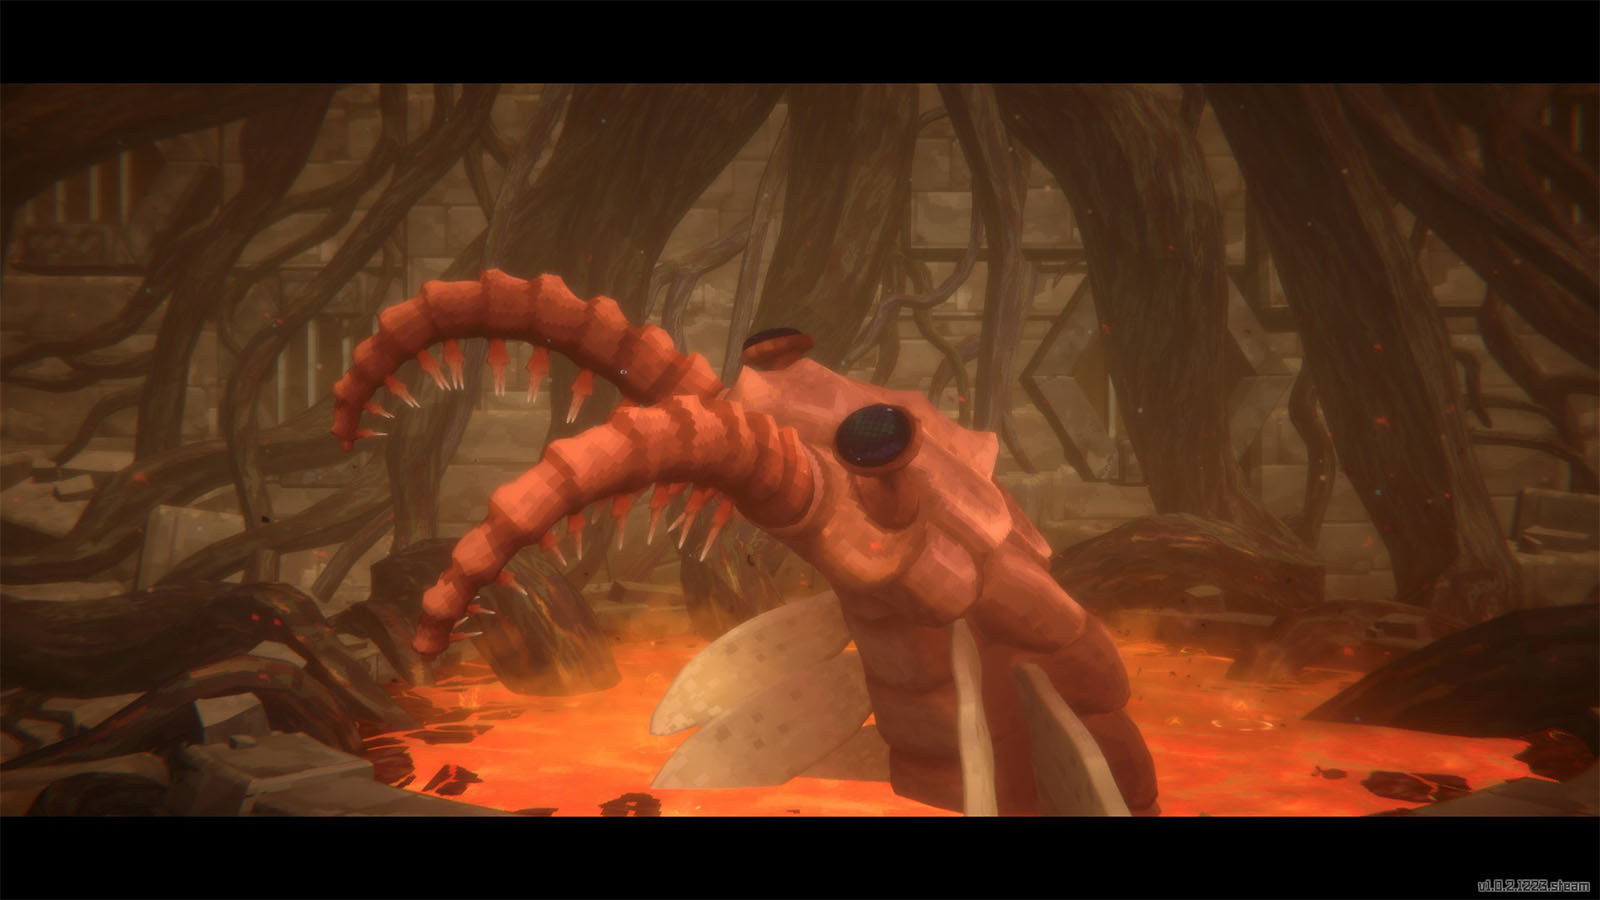
Shortly after, the mother of the hatchlings known as Yawie will appear. Luckily, Dr. Bacon’s drone comes in to help and Duff transforms it into a blaster which can shoot out bullets and slow down time.
How to defeat Yawie

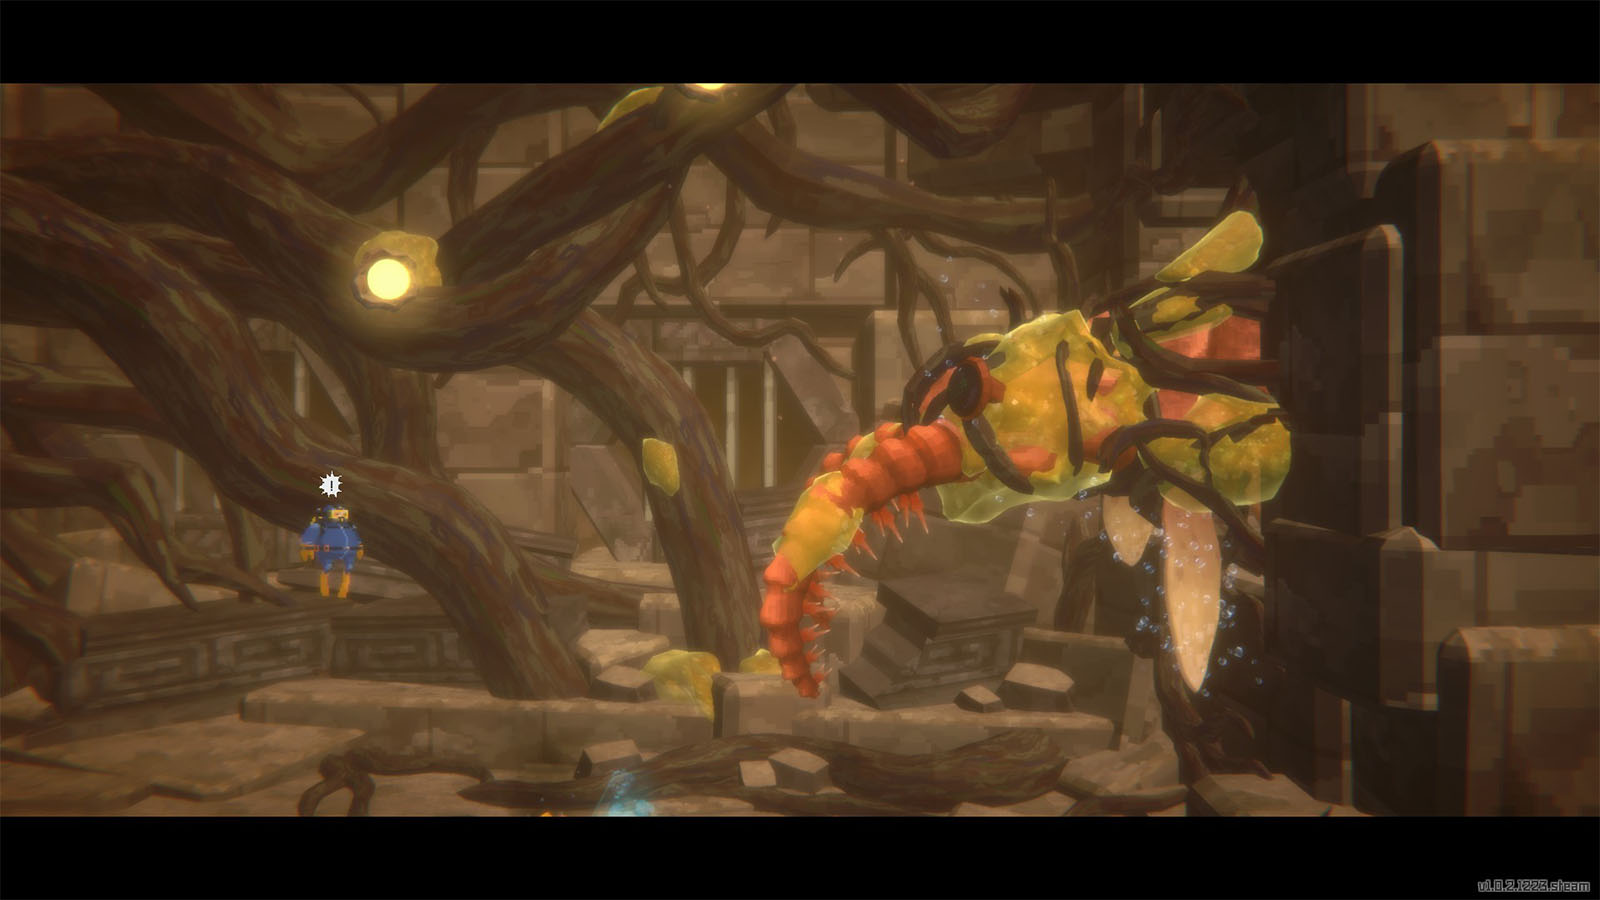
Yawie is a huge ancient Anomalocaris that has a thick exoskeleton and number of attacks. It has the ability to spawn different kinds of hatchlings that can home in on your location.
Yawie has several attacks, including:
- Bite – Yawie winds up and lunges for a bite.
- Hatchling spawn – Spawns hatchlings that swim towards your direction slowly.
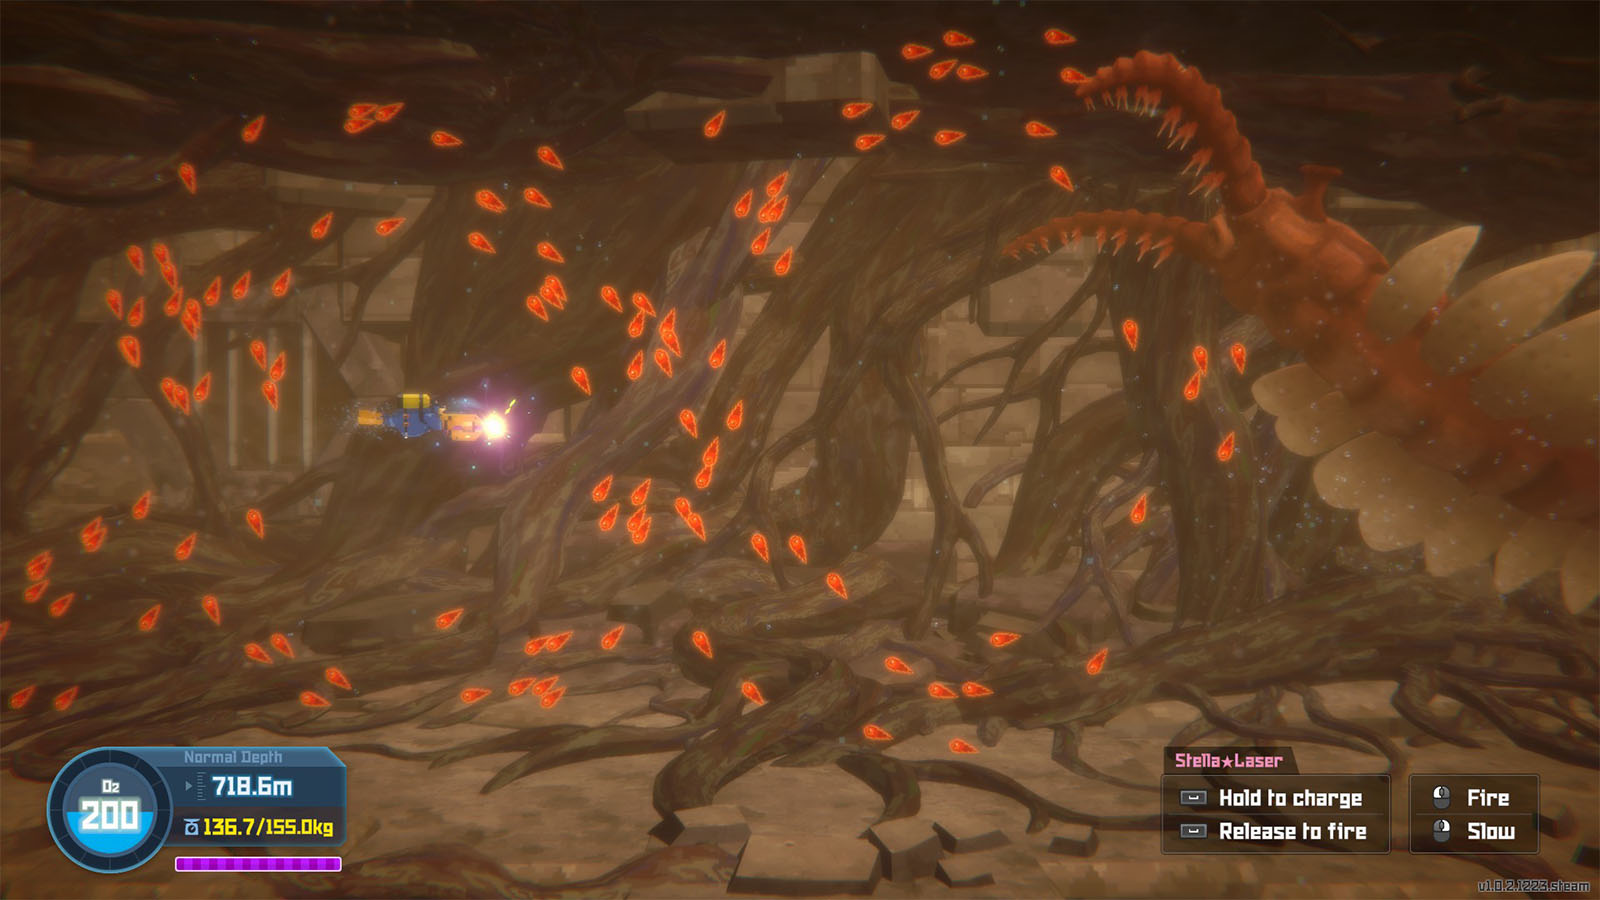
- Energy balls – Spawns energy balls from its tail that explode into smaller projectiles after a few seconds.
- Hatchling swarm – Spawns a swarm of small hatchlings that swim around the arena. Smaller swarms break off from time to time to swim towards your location.
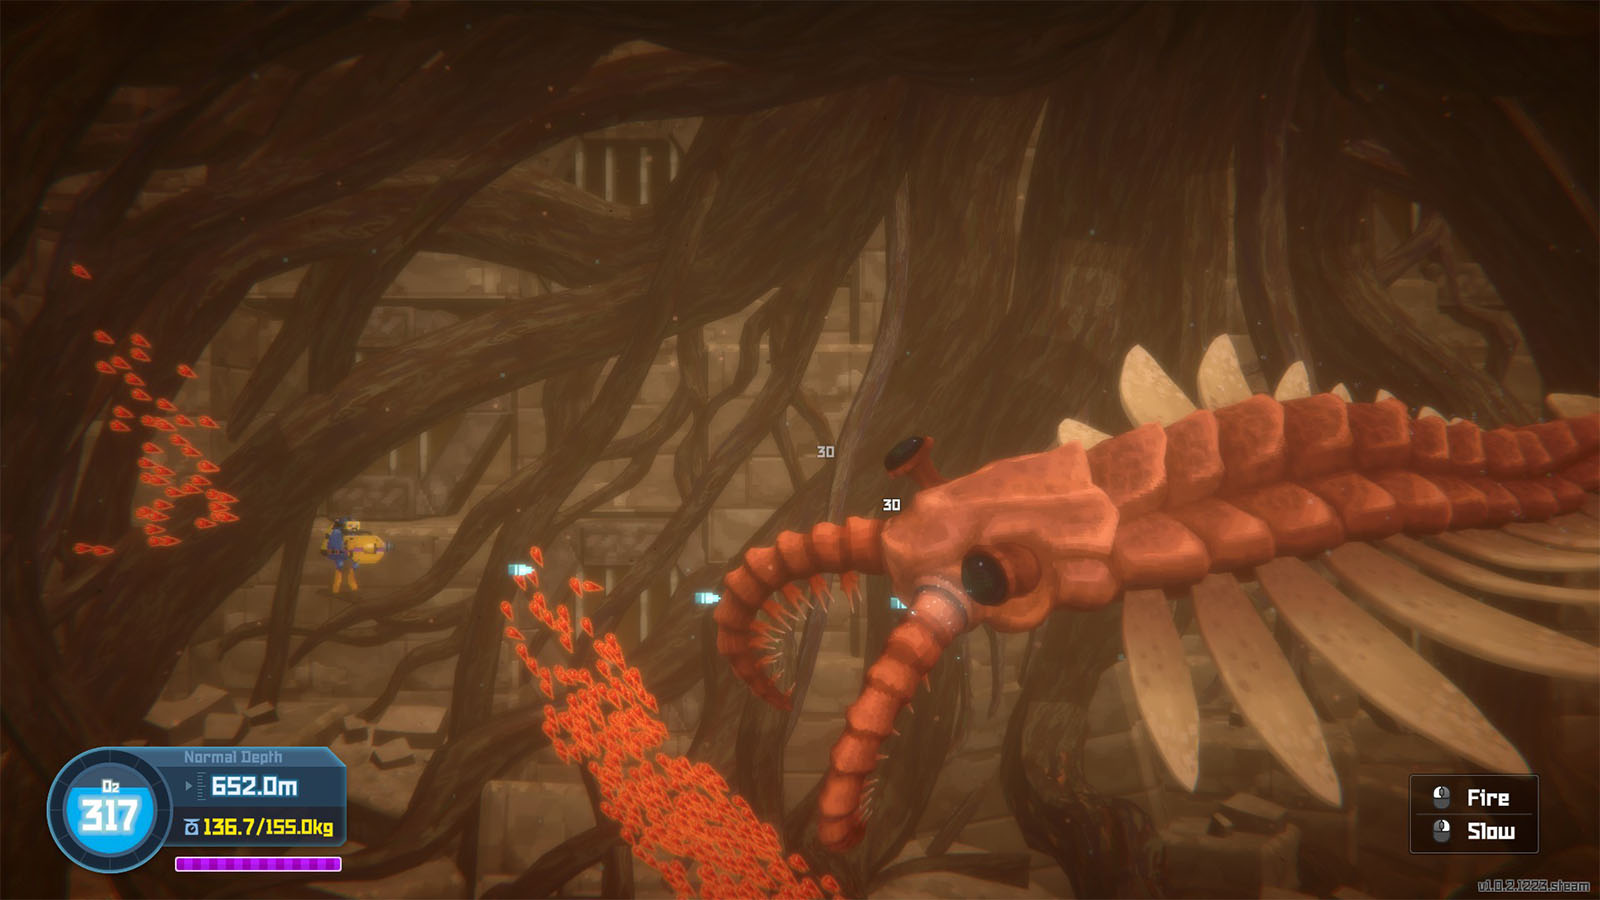
All of the projectiles can be destroyed by the drone blaster, including the hatchling swarm which can only be damaged by the Stella Laser.
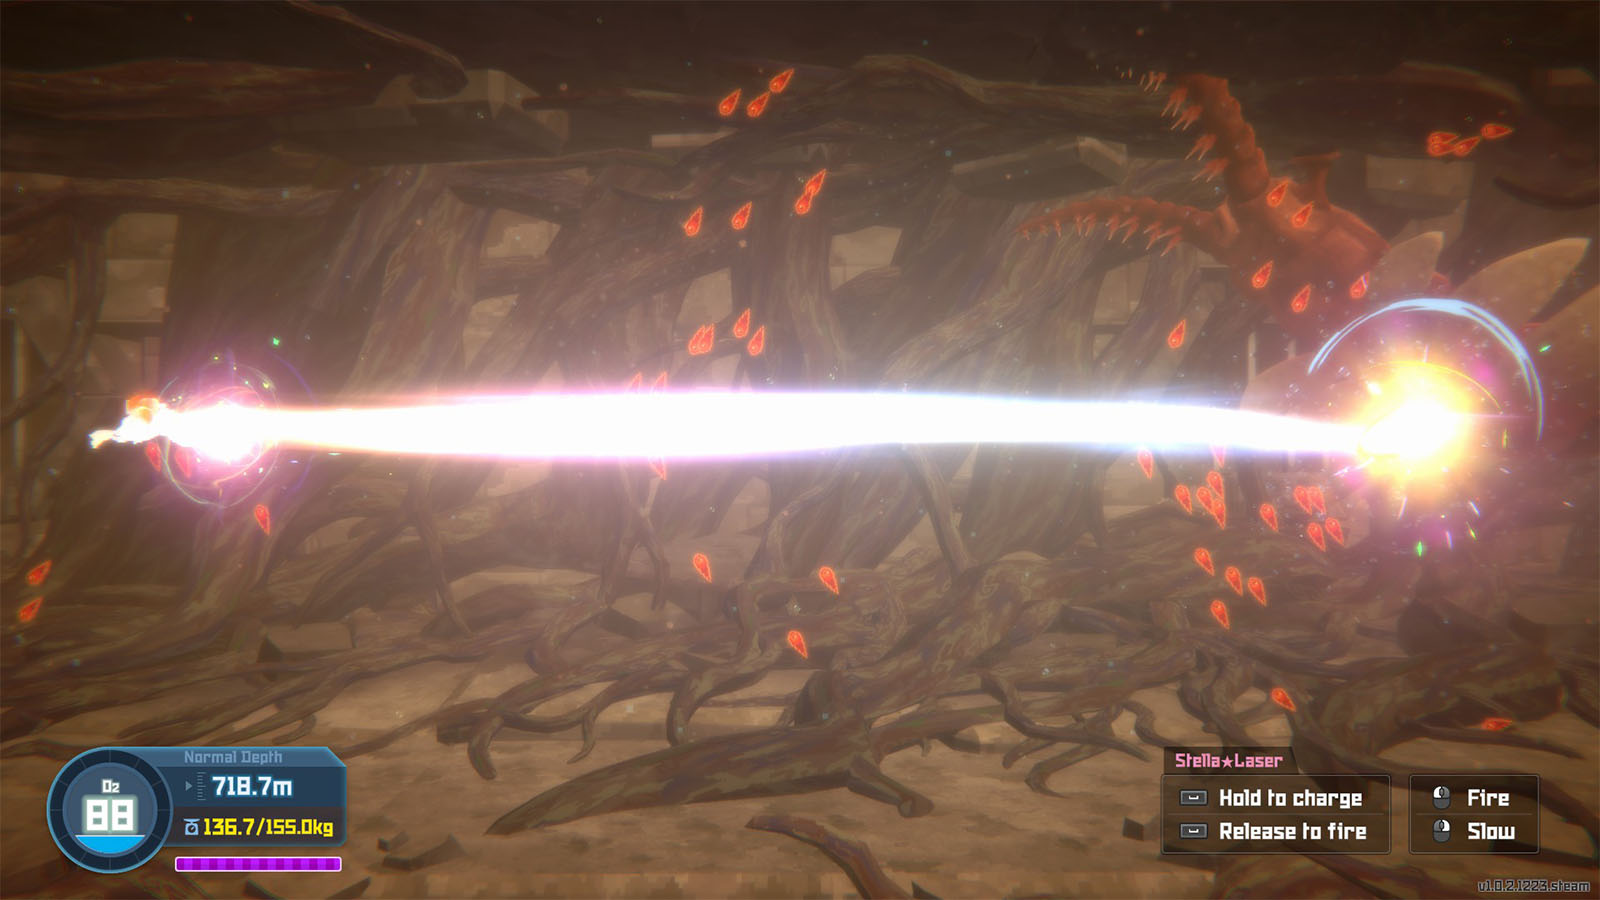
The Stella Laser becomes available in the middle of the fight in the first half when Duff removes the limiter of the blaster. To use the laser, you will need to charge it up first to full, then release the trigger to fire out a powerful beam that deals tons of damage. When charging, you will move slower, and when firing, you will be stopped in place for a few seconds, so try to find the right timing to use the attack.
On its second phase, Yawie will try to flee, but you decide to chase after it. It will then gain new variations of its existing attacks. The attack to look out for is its fire beam which can get tricky to avoid. Once you see its mouth blazing up, slow down time and quickly swim to the floor to get away from the line of fire.
With its last ounce of strength, Yawie turns the tide and chases after you instead. On this third phase, you will be swimming upwards while Yawie chases you down with its fire beam. Pay attention to the timing and slow down the time to quickly move away from the beam. It helps to stay on one side then move to the other side to give you enough space to evade.
You will eventually end up in a dead end. Prepare for two QTEs where you try to avoid Yawie’s attacks. Once successful, it will break the wall behind you and manage to entangle itself within the roots.
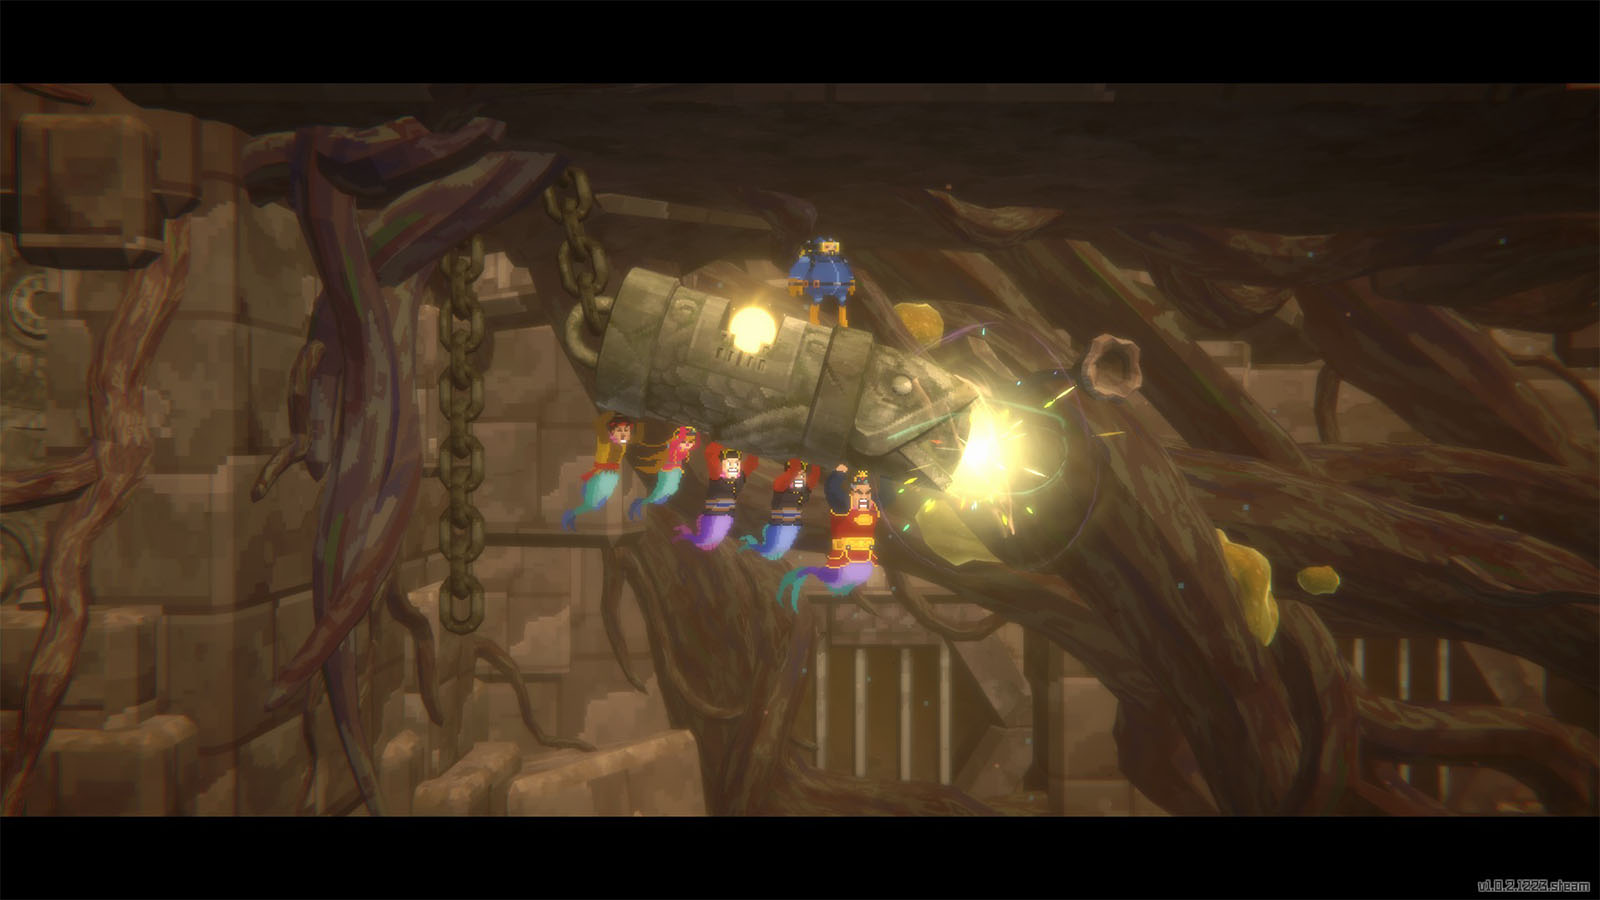
Tenzhin, Ramo, and Suwam will come to your aid. Taking advantage of Yawie’s situation, they quickly use the large Sea People device and aim it towards Yawie. Grab a divine tree fruit and place it on the device. The device will then blast out a beam which eventually kills Yawie.
Everyone celebrates and heads back to Tenzhin’s house. They report that the waters around the village are getting back to normal and the sick villagers are regaining their health back. The chapter then ends as Dave heads back to the boat and finds out that it’s already late in the evening.
See next: Epilogue – Friends


