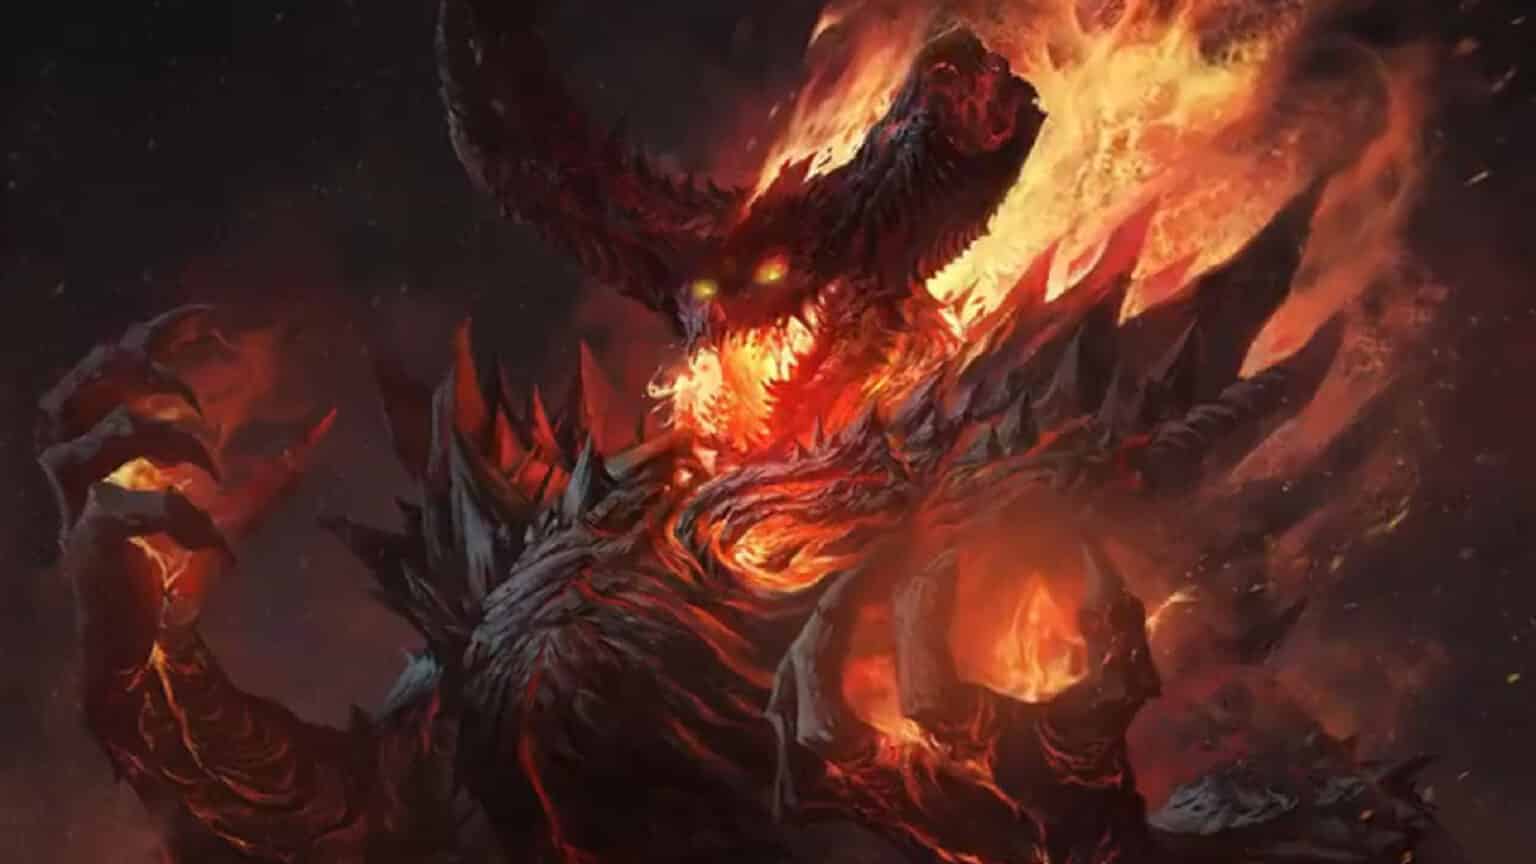
Lassal is the first demon boss that players will have to defeat in the Helliquary Raid in Diablo Immortal. Despite being the first demon boss, Lassal can still become such a challenge to overcome, especially to players who do not know how to deal with its mechanics.
In this guide, we will be talking about how the Lassal Helliquary Raid works and share in some tips and tricks to make this fight as manageable as possible.
How to Unlock the Helliquary
The Helliquary can be unlocked by completing the Library of Zoltun Kulle section of the campaign. Once completed, head back to Westmarch and talk to Deckard Cain. He will then introduce you to Rayek who is the inventor of the Helliquary which allows you to track down Wrathborne Demons.
How to Prepare for Lassal the Flame-Spun
Lassal the Flame-Spun is the very first demon available after completing the intro quest for the Helliquary. The Helliquary does not need to be leveled up higher than the required leveling up step during the into quest to unlock Lassal, but the Combat Rating increase that each Helliquary level provides will help in reaching the minimum challenge requirement. In order to be able to challenge Lassal, you must first reach a Combat Rating of 420.
The next difficulty level is at 1250 Combat Rating; it’s recommended to be a bit over that rating to ensure that you can survive the attacks.
The Lassal Raid requires a total of 8 people. It is recommended to play with an established or leveled up warband to get certain buffs such as revive speed boosts.

Where to find Lassal Helliquary Raid Entrance
The Lassal Raid can be accessed via the Demonic Portal at the Central Square of Westmarch. A huge red portal will appear on the dead tree in the middle of the square which lets you access the Lassal Helliquary menu.
How to Defeat Helliquary Raid Lassal
Lassal’s Helliquary Raid fight is broken down into four phases, each phases getting tougher than the previous one. These are symbolized by its four HP bars; another phase starts once an HP bar gets depleted.
Lassal Phase 1
In the first phase, be careful of Lassal’s jumps and AoE attacks.
- Punch: Lassal punches with its fist. Basically it’s Lassal’s primary attack.
- Jump and Pound: Lassal will jump and pound towards players’ locations several times. The spots that it will land will show a red circle indicator, so try to avoid standing on these spots.
- Super Smash: It will smash the ground with its fist and send shockwaves that cover almost half of the arena. This is telegraphed easily and there’s enough time to dodge from the attack cone as soon as it appears.
- Claw Swipe: It will swipe its claws twice in front of the direction it is facing. Try to stay away from its front side as it can be hard to see this attack coming.
Lassal Phase 2
Lassal will start spawning in adds. Once adds show up, it’s important that everyone in the party prioritize killing them first. If left unattended, they will add up to the damage sources that you and your party will have to worry about.
- Demon Warriors: These deal melee damage and can become a nuisance if left to roam the arena.
- Slagspitters: These are worm-like creatures that will spawn from the ground and around the arena. They will shoot out projectiles that deal considerable amounts of damage, so make sure to get rid of them as soon as possible.
Lassal Phase 3
Entering Phase 3, Lassal will stand in the middle and roar. It will start doing its powerful auto-wipe mechanic, so all players in the party should pay attention on this phase.
- Boulders: Lassal will summon small boulders which immediately move towards the center and form a large boulder. This attack can be done more than once. Avoid getting hit by the boulders as they move. *There are times when the boulders get bugged and they despawn; this usually happens when they meet where Lassal is standing. In case this happens, try to locate where the next boulders will converge and head there to take cover.
- Explosive Punch: Lassal will gather energy on its fist and punch the ground, creating a shockwave that will kill anyone that gets hit. This is an auto-wipe mechanic and the way to avoid getting wiped out is to hide behind the summoned boulder. To tell which side is safe, stand on the side where the boulder’s shadow is casted, which is usually towards the opposite side of where Lassal is standing.
Though some Barbarians can survive the blast with the help of Undying Rage, they will have to run around the arena and try to revive everyone else while avoiding getting hit. This is the most important mechanic that everyone in the party should know before attempting to get in this raid.
Lassal Phase 4
In the final phase, along with its other attacks, Lassal will cast an explosive aura on two random players. These aura will explode after a few seconds.
- Explosive Aura: Lassal will cast the explosive aura on two random players that explode after a few seconds. Players who get this aura should stay away from other party members to avoid dealing damage to them. More importantly, players who have the aura should not stack up on each other, otherwise the explosion will deal fatal damage.
Lassal Helliquary Raid Rewards
Players will get rewarded with these items after defeating Lassal:
- Flame-Twisted Claw
- Provides +30 Combat Rating and +10% Attack Speed (Challenge Rifts only) when placed on a Helliquary slot.
- Mystery Equipment
- Gold
- Chest of Glory
- Only given to the top 3 damage dealers in the raid.
- Scoria
- Bonus Scoria can be earned if playing this raid with a Warband.
These rewards can only be received once every raid, but the rewards get reset twice a week (resets every Monday and Thursday PDT) so you will have two attempts of getting them within a week.

Lassal Helliquary Raid Tips
- It’s best to play in a Warband as you can get the bonus Scoria, plus you can easily communicate with each other and make sure that everyone knows how to handle the mechanic.
- Always prioritize the adds, especially the Slagsplitters.
- As much as possible, try to save your self-revive for the final phase as it’s much easier to still get revived or revive party members in the first phases, while it gets too hectic during the final phase.
If you like this Guide, be sure to check out our other Diablo Immortal articles:
- Diablo Immortal Clans – How to Join and Create Clans
- How to Fix Diablo Immortal cross progression not working
- Diablo Immortal Xbox Release Date & Availability
- Diablo Immortal Light All 9 Lamps Lost Runes Quest Guide
- How to Fast Travel in Diablo Immortal
- Diablo Immortal Leveling Guide – How to Level Up Fast
- Diablo Immortal Redeem Codes June 2022
Check out this video by Stew Gaming | Diablo Immortal talking about how to do the Lassal Helliquary Raid:


