
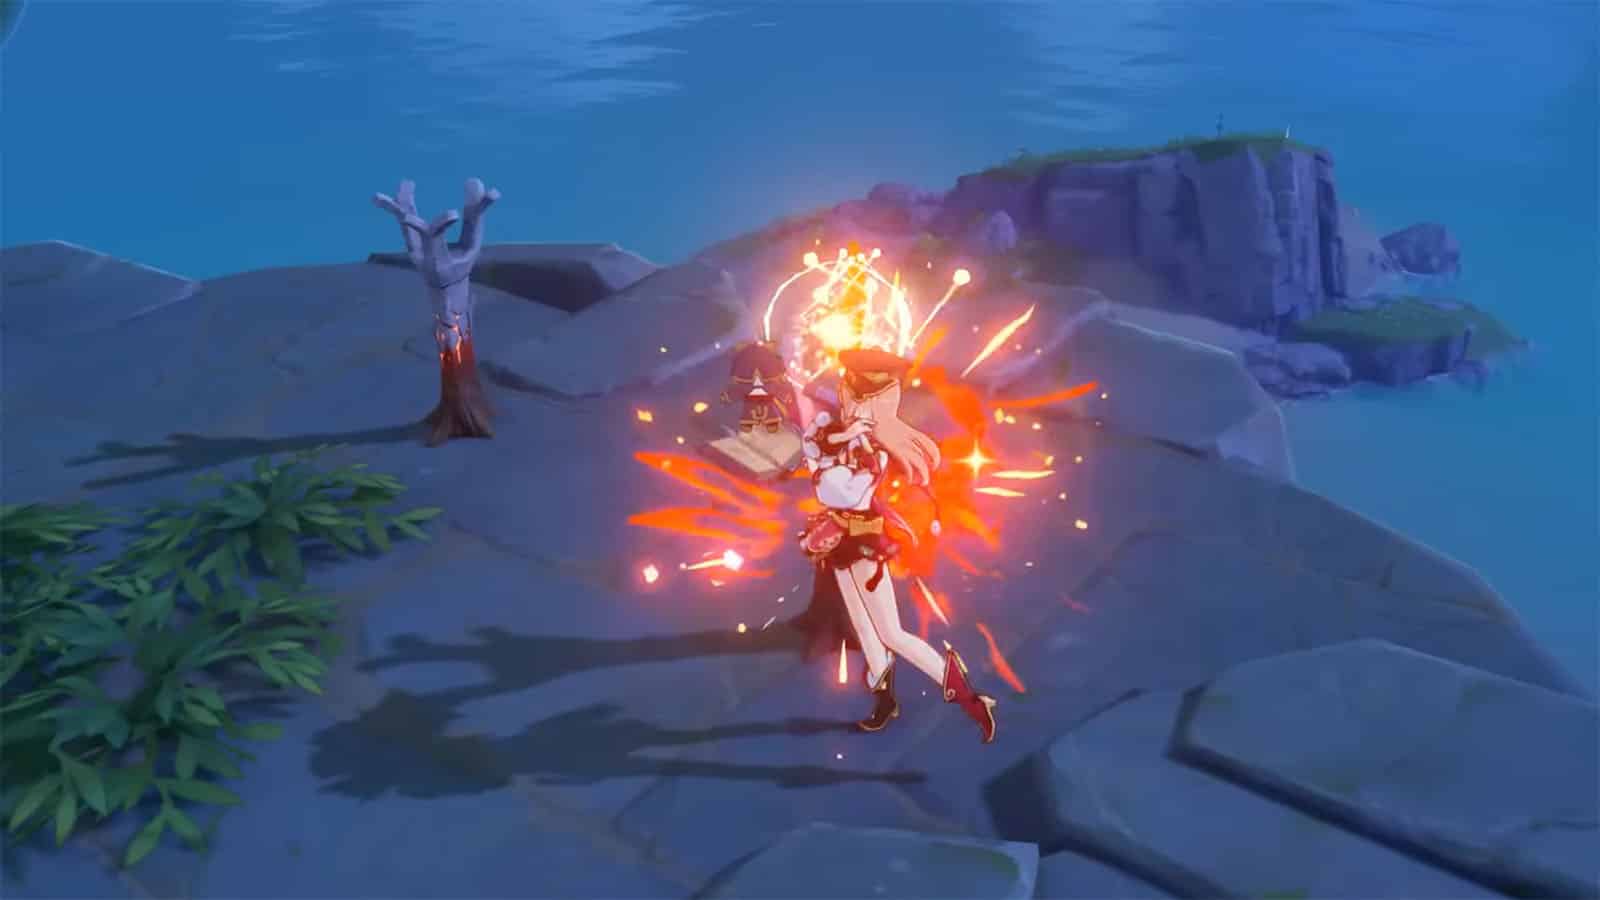
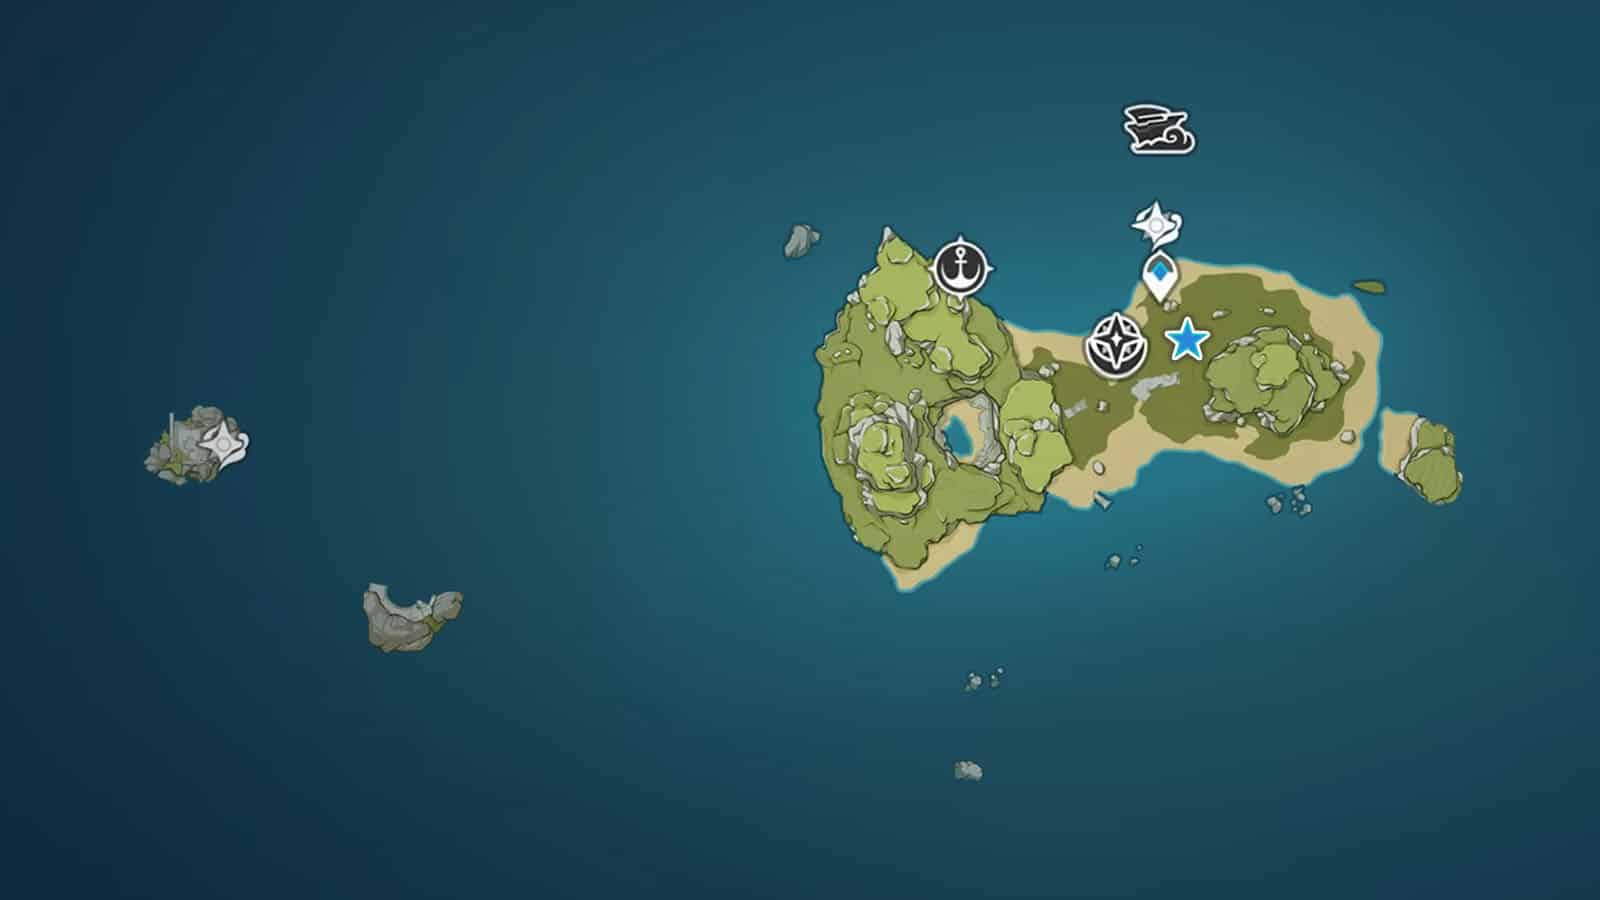
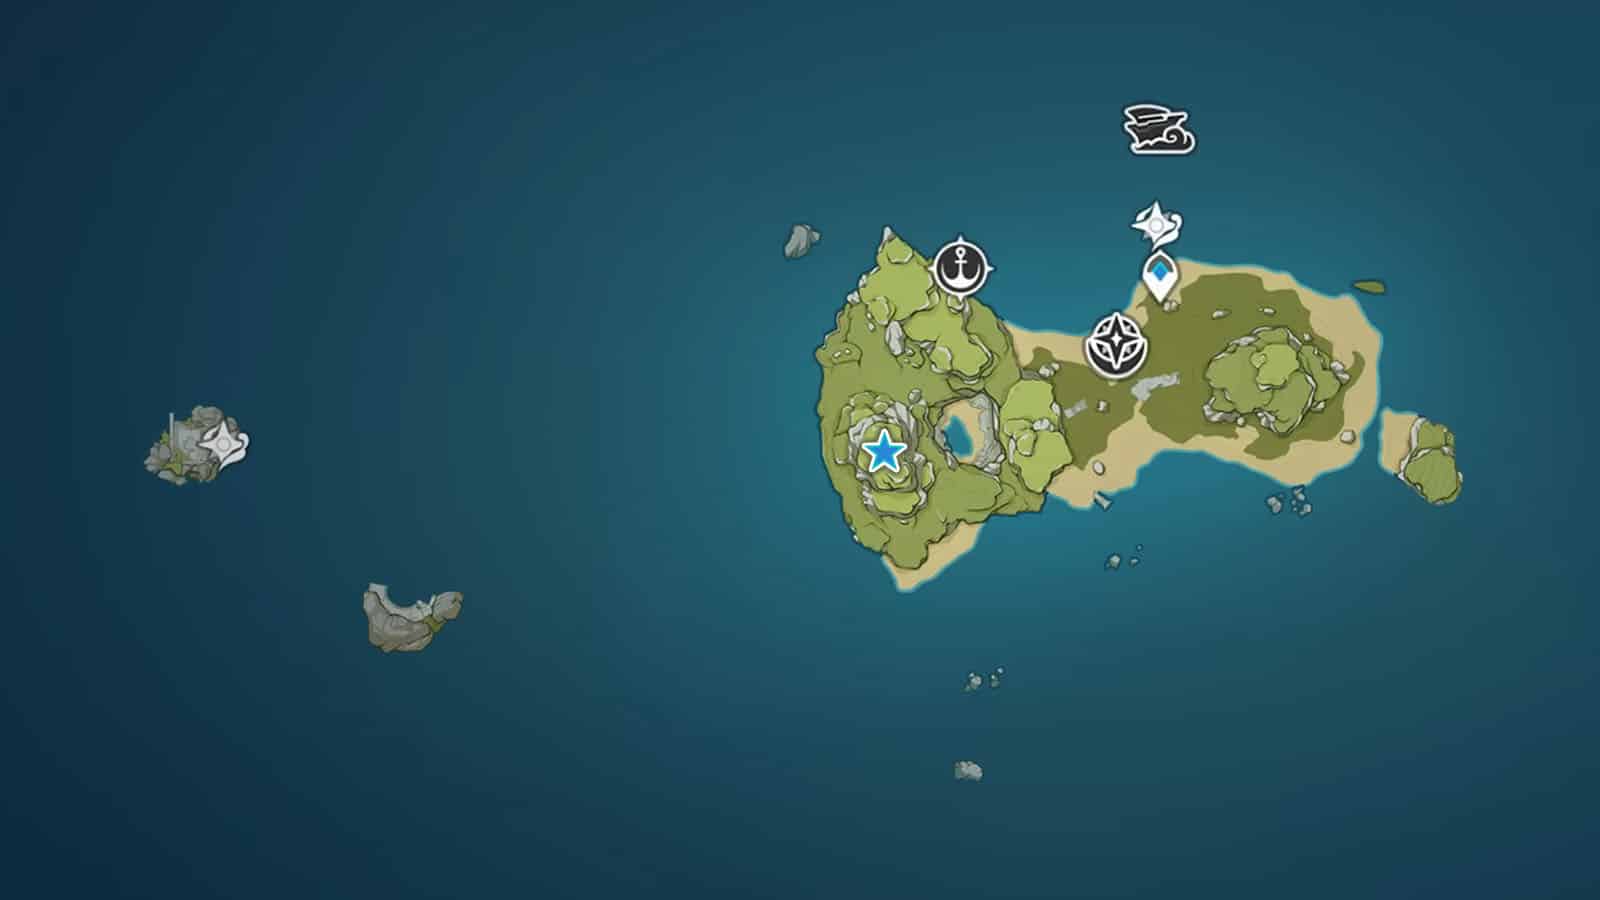
Minacious Isle is an island in the Golden Apple Archipelago which is a limited-time event location that is part of the Summertime Odyssey event in Genshin Impact. This island was a mountain that was once part of Mondstadt, but was then mysteriously got transported into the sea. The island also has another version of itself which has the mountain inverted upside-down.
While exploring this island, players will be able to find that it is riddled with puzzles and challenges that hide away many valuable treasures. We’ll be talking about these puzzles and show how to solve them in this guide.
How to unlock all puzzles in the Minacious Isle in Genshin Impact
To unlock all puzzles in the Minacious Isle in both of its versions, you must complete both the Ancient Azure Stars quest and the Like Rhyme and Song, the Summer Reverie quest.
How to solve the puzzles in the Minacious Isle
Most puzzles in the Minacious Isle are contained within the same version of the island, save for some that just have visual clues on one side that will help you solve the puzzles on the other side. For this guide, we’ll divide the puzzles according to which version or isle they can be found: the Inverted version and the Upright version.
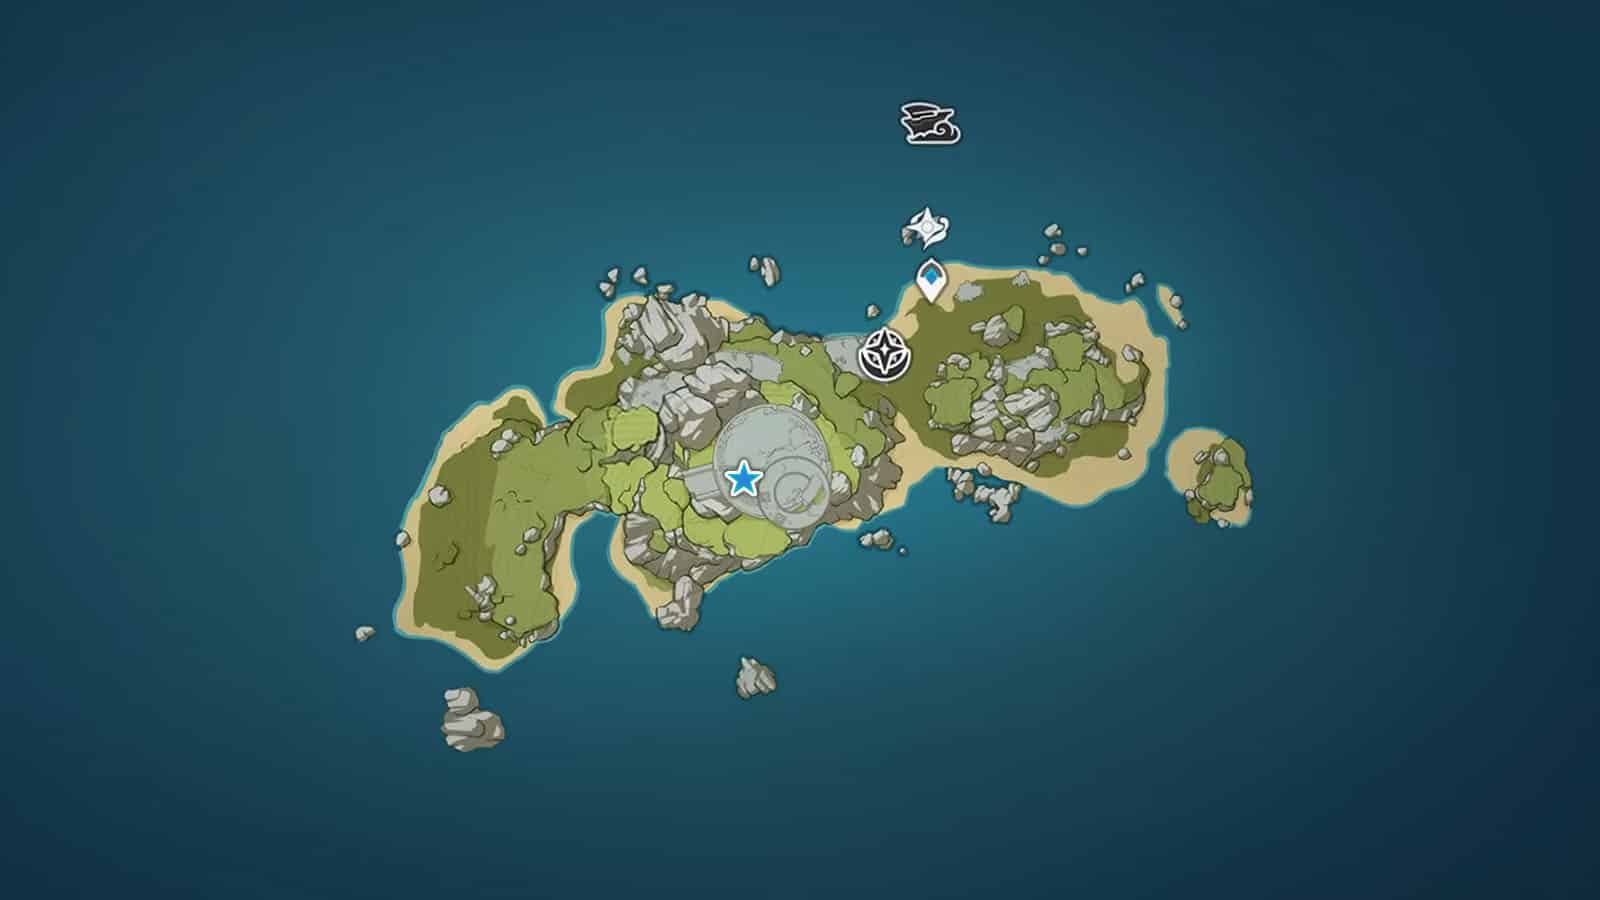
There is also a pool in the middle of the norther part of the islands that lets you travel between the two versions of the islands.
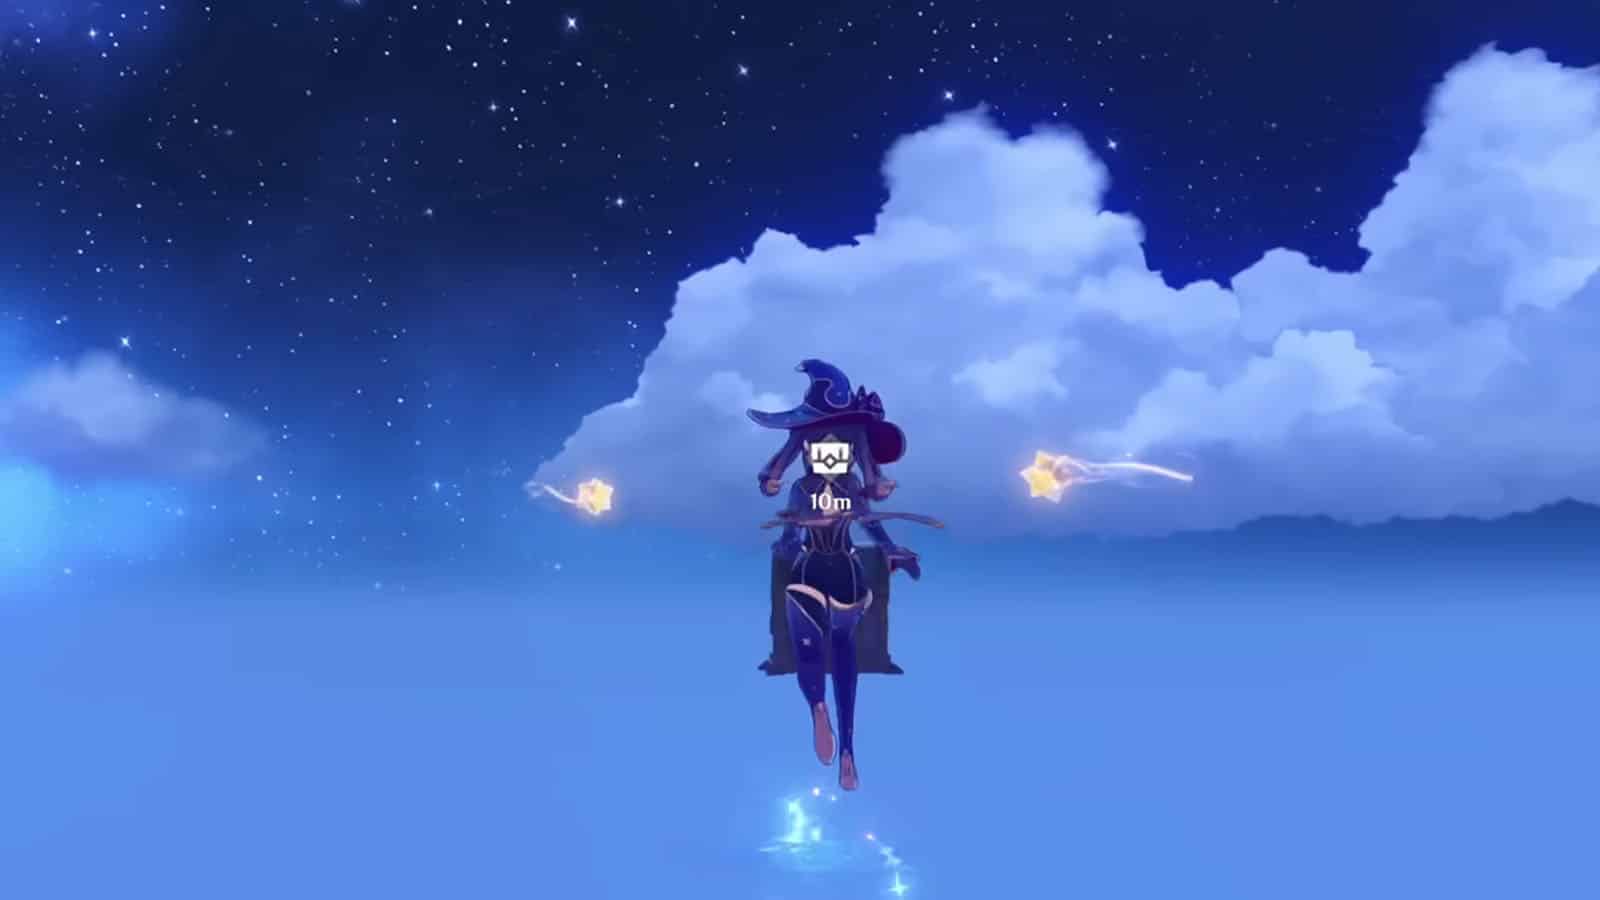
All Genshin Impact Upright Minacious Isle Puzzle Solutions

Torch Puzzle #1 (Upright)
For this puzzle, head towards the east side of the island and climb the mountain to find four unlit torches. The same torches can be found in the Inverted version, with two of them being lit. The land distortion has also flipped the land that some of these torches are on upside down.
To solve this puzzle, you will have to light the first and third torches starting from the left (facing towards the sea) to unlock the chest nearby. Reward: Common Chest
Torch Puzzle #2 (Upright)
For this puzzle, head to the south side of the tower where a pool can be located and then proceed to enter the tower through an opening. You’ll then see a room with an astrolabe and three unlit torches. There is also a fourth torch behind the rubble to the left.
To solve this puzzle, quickly light up the torches using a Pyro attack before the timer runs out. The timer starts as soon as the first torch is lit. Reward: Exquisite Chest
Switch and Jar Challenge
For this puzzle, you have to prepare and get a Sea Salt-Crusted Key from the westmost island in the Inverted version of the island. Go inside the hole in the island and climb the next hole that you see inside. Defeat the hilichurl and then break the rocks that it was digging at to find the key.
Back in the Upright version of the island, you will have to pull switches that are on the walls of the tower. Start from the first floor in the towers where the previous torch puzzle was and head to the rubble on the right to reach the first switch. After pulling this switch, a timer will start so you will have to be quick.
Turn around and head to the corridor where you first entered the room and you’ll find the second switch. Turn back around again and climb the vines that lead to the upper floor where you’ll find a locked gate. Use the Sea Salt-Crusted Key on this gate to enter.
You’ll then find a room with another astrolabe and a bunch of vases. Inspect the first vase near the gate to get another Sea Salt-Crusted Key. Your objective is to break all the vases in the room as quickly as possible. The timer starts when the first vase is broken. After breaking every vase, the chest nearby will be unlocked. Reward: Exquisite Chest
Once the vases are all broken, head towards the next corridor to find a Starlight Coalescence and follow it. Head to the hole in the wall in the upper floor to find another one and you’ll unlock another chest. Reward: Common Chest
Torch Puzzle #3 (Upright)
For this puzzle, continue heading up the tower where you’ll find yourself trapped inside a room with three torches, two of which are misted. There is a fourth torch behind a pile of boulders which can be broken.
To solve this puzzle, use an Anemo skill on the misted torches and then light all four of them using a Pyro skill. Once every torch is lit, the gate will then be opened once more.

Torch Puzzle #4 (Upright)
For this puzzle, head to the area north of the tower where you can access the Cryo monument, but instead of gliding down towards it, enter the crack on the wall that is directly across it. You’ll then find yourself trapped behind a gate, but you just need to light up the torches inside using a Pyro skill to open the gate.

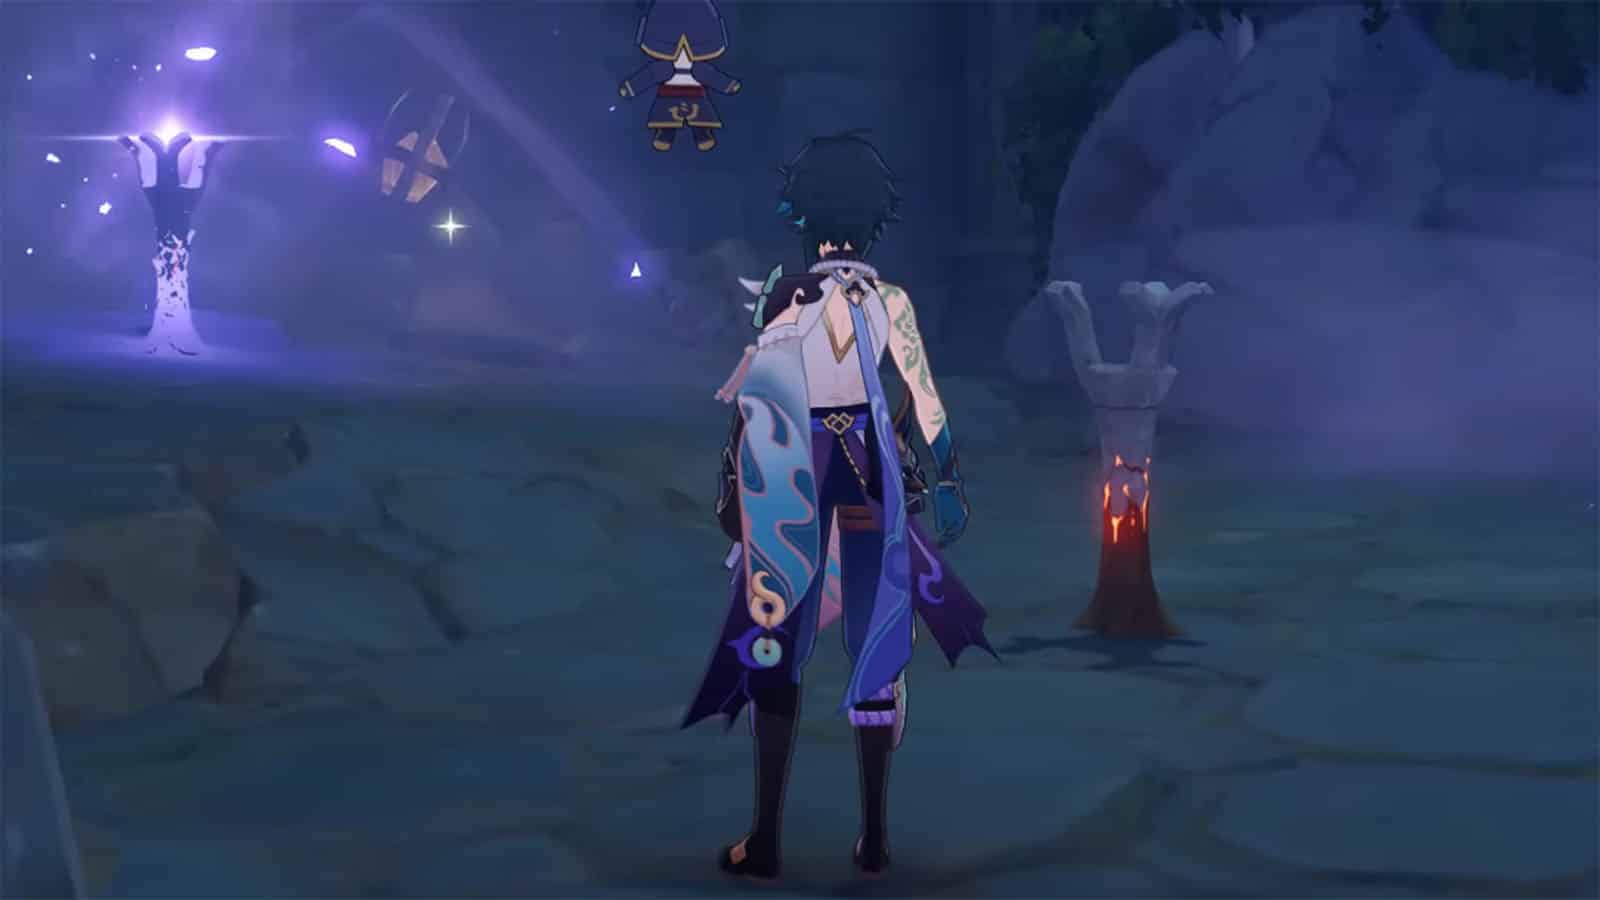
Rune Puzzle
For this puzzle, head inside the mountain through the tower where you’ll see runes that are etched on the wall that are either lit or unlit. Interacting with these runes will change their state from lit to unlit and vice versa.
To solve this puzzle, you’ll have to light up or power down these runes, from left to right: 1st = off, 2nd = on, 3rd = off, 4th = on, 5th = on. Reward: Exquisite Chest
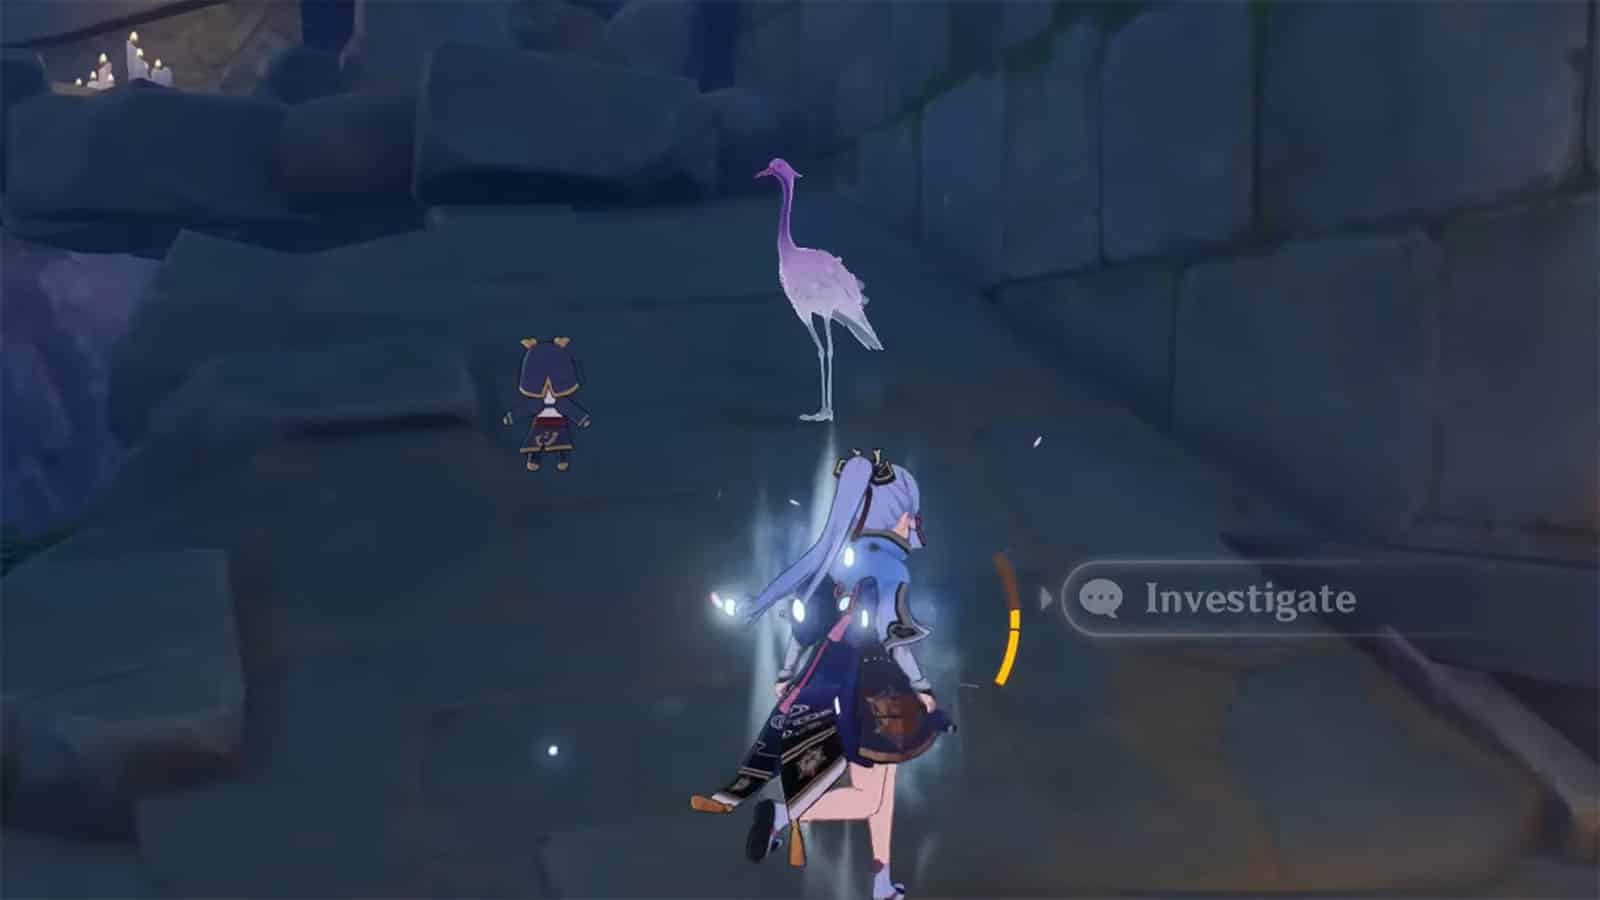
Dream Form Puzzle #1 (Upright)
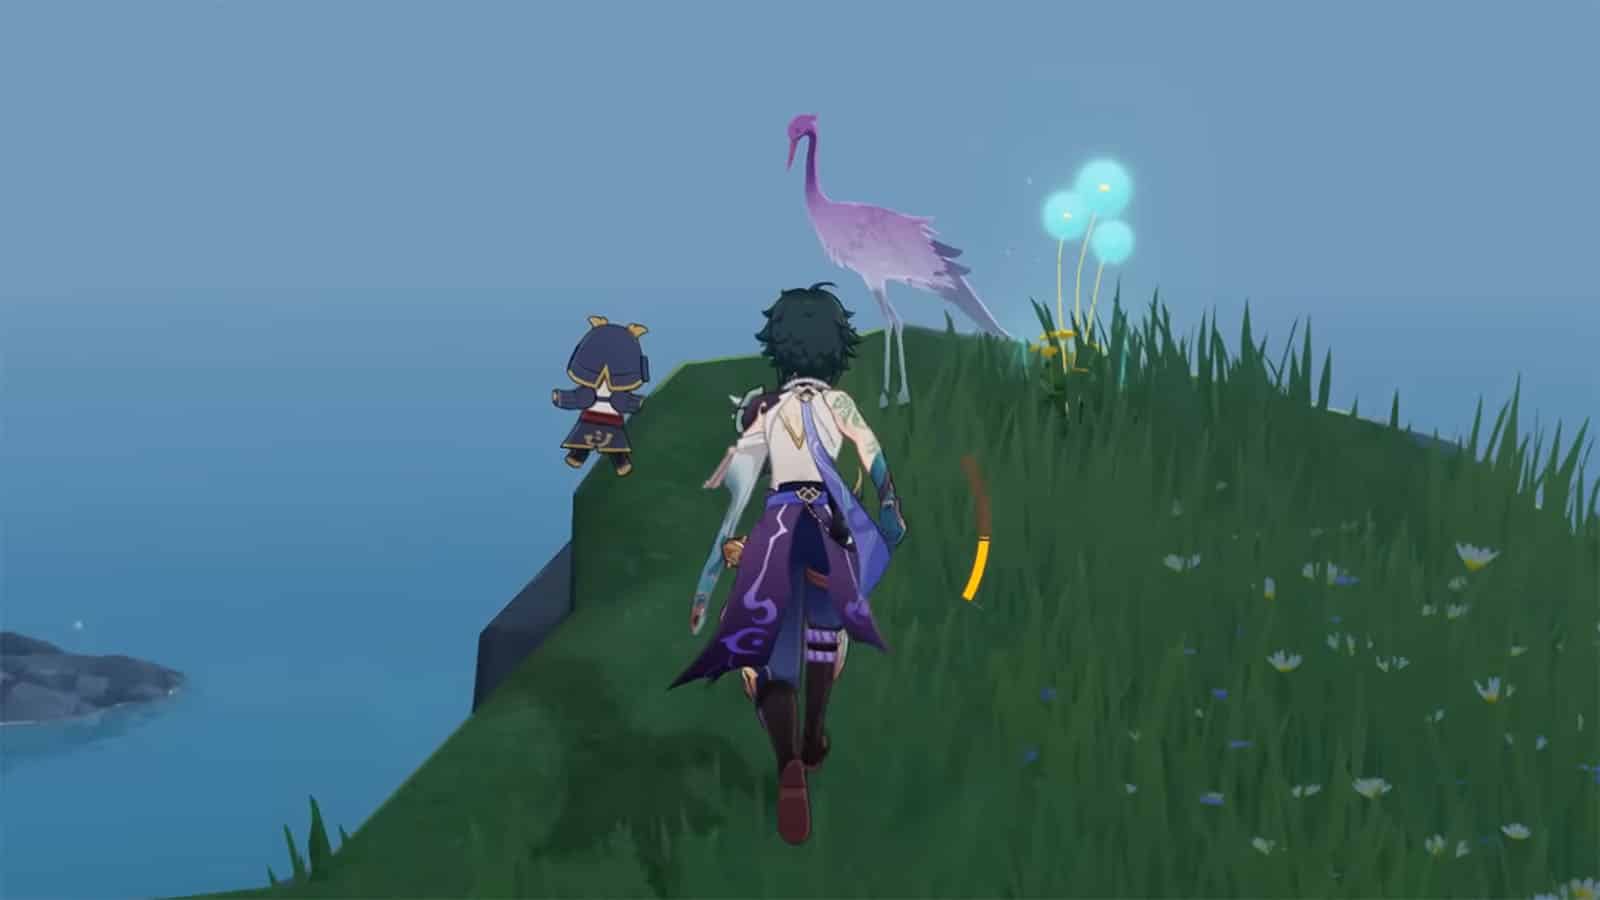
For this puzzle, you’ll first have to activate the Cryo monument that is located within the tower in the mountain. Afterwards, you’ll see a Dream Form of an Azure Crane near where the Cryo monument is.
To solve this puzzle, simply follow the crane as it moves through the tower and back near the main waypoint of the island. You’ll then see four torches appear around the locked chest which you’ll then have to light up with Pyro attacks to unlock the chest. Reward: Exquisite Chest
Dream Form Puzzle #2 (Upright)
For this puzzle, you’ll first have to activate the Cryo monument that is located within the tower in the mountain. Afterwards, head to the southwest peak of the island where you will see a Dream Form of an Azure Crane.
To solve this puzzle, simply follow the crane as it moves across the map. It will sometimes turn into a Forest Boar, and in one point, it will appear to hover in the air as it stands on top of an invisible platform. Once it reaches its destination, it will unlock a chest nearby. Reward: Common Chest
Dream Form Puzzle #3 (Upright)
For this puzzle, you’ll first have to activate the Cryo monument that is located within the tower in the mountain. From the monument, follow the path up the tower until you see a clearing with two Dream Forms standing on pressure pads.
To solve this puzzle, simply stand on the third unlit pressure pad to unlock the chest nearby. Reward: Common Chest

Astral Stars Puzzle #1 (Upright)
For this puzzle, you will have to scale the tower to reach its top open area floor where you will see a set of seven unlit Star Guides.
You can interact with the Star Guide to rotate them facing one of its adjacent guide, while striking them with your weapon will activate them, shooting out a beam that will connect it to its neighbor.
To solve this puzzle, locate the middlemost Star Guide and then rotate the two guides that are directly adjacent to it, forming a somewhat straight beam with the three guides. Next, for each of the ends of this line, have their respective adjacent guides point towards them, forming an H with all beams connected. Reward: Precious Chest
All Genshin Impact Inverted Minacious Isle Puzzle Solutions

Jar Challenge (Inverted)
For this puzzle, use your Wavestrider and go to the westmost island. Enter the ruins through the hole on the ground and you’ll find an astrolabe surrounded by vases. You have to break all the vases as quick as possible to open the locked chest nearby. The times starts once the first vase is broken. Reward: Common Chest
Dream Form Puzzle #1 (Inverted)
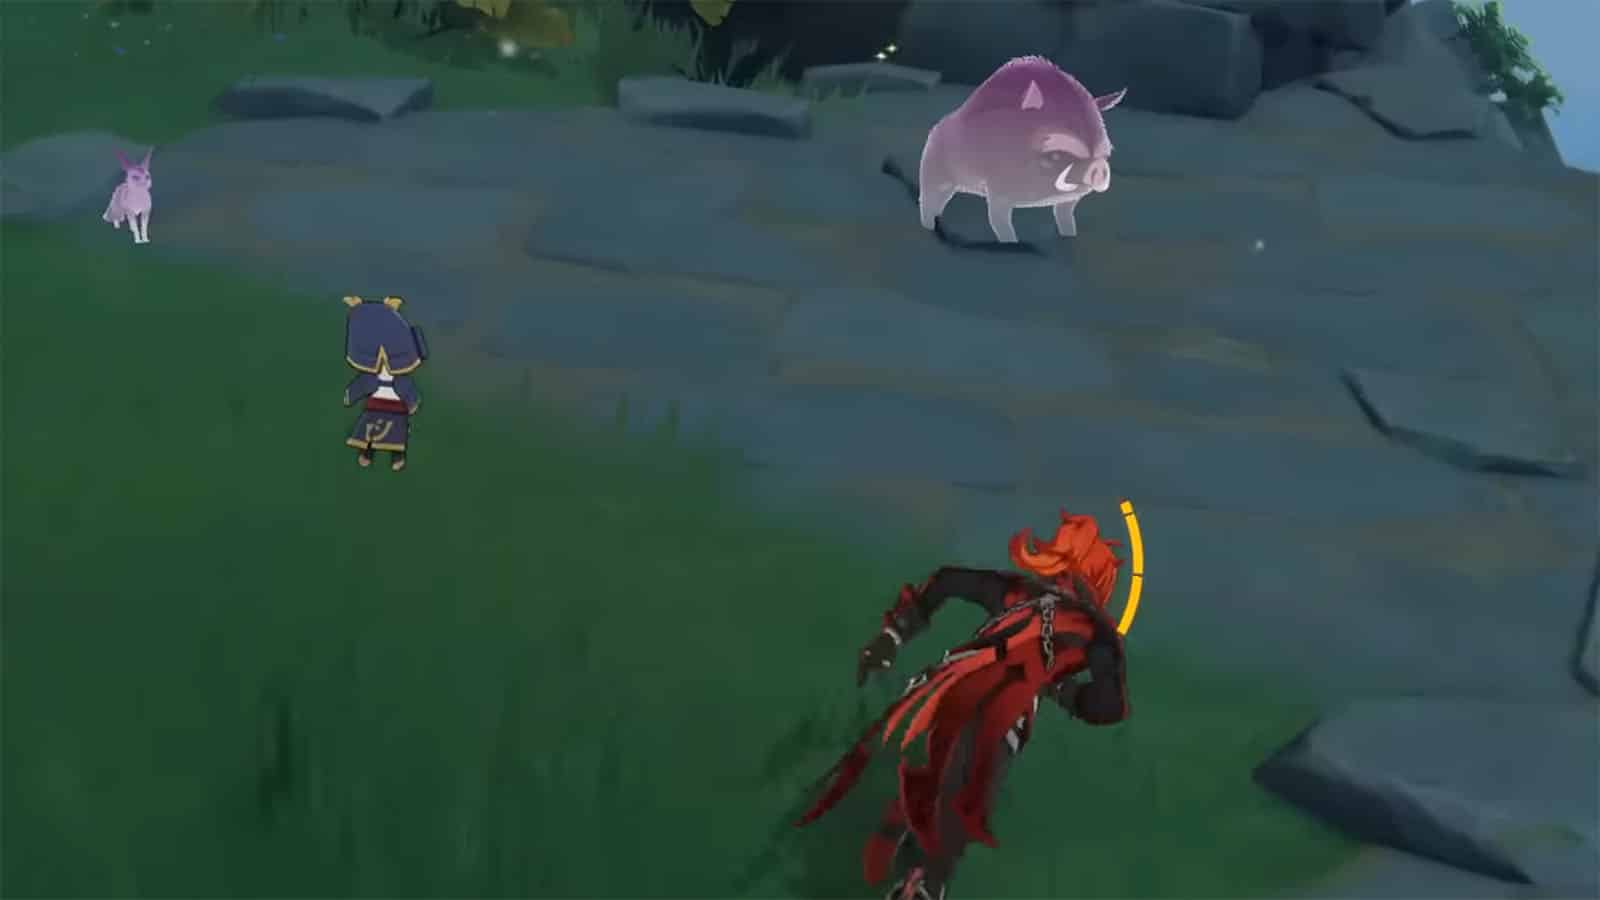
For this puzzle, you’ll first have to activate the Cryo monument on the west side of the island. Then, head to the field near the Temple of the Star Latitudes entrance where you will find the Dream Forms of an Azure Crane, a Forest Boar, and a Crimson Fox.
To solve this puzzle, approach each Dream Forms to make them move to their next destination. Once a Dream Form is standing near the locked chest, stop pursuing it. Then repeat the process for the other two Dream Forms until all three are gathered around the chest. Reward: Exquisite Chest


Astral Stars Puzzle #1 (Inverted)
For this puzzle, head to the head to the west side of the island within the inverted mountain where you’ll see the Elemental monuments and a bunch of unlit Star Guides.
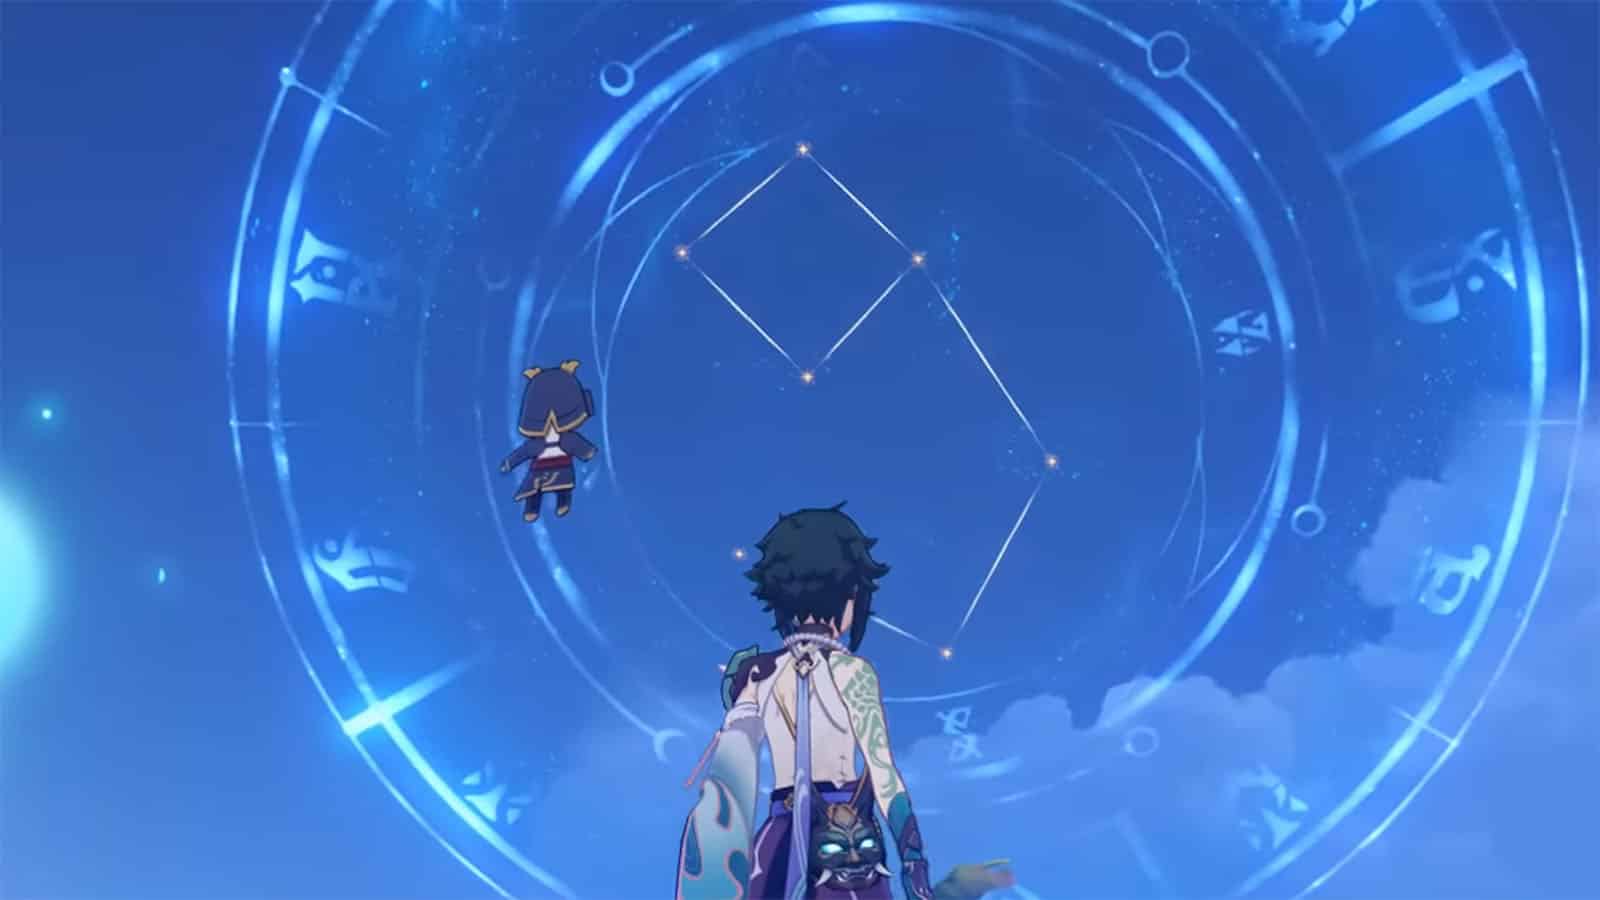
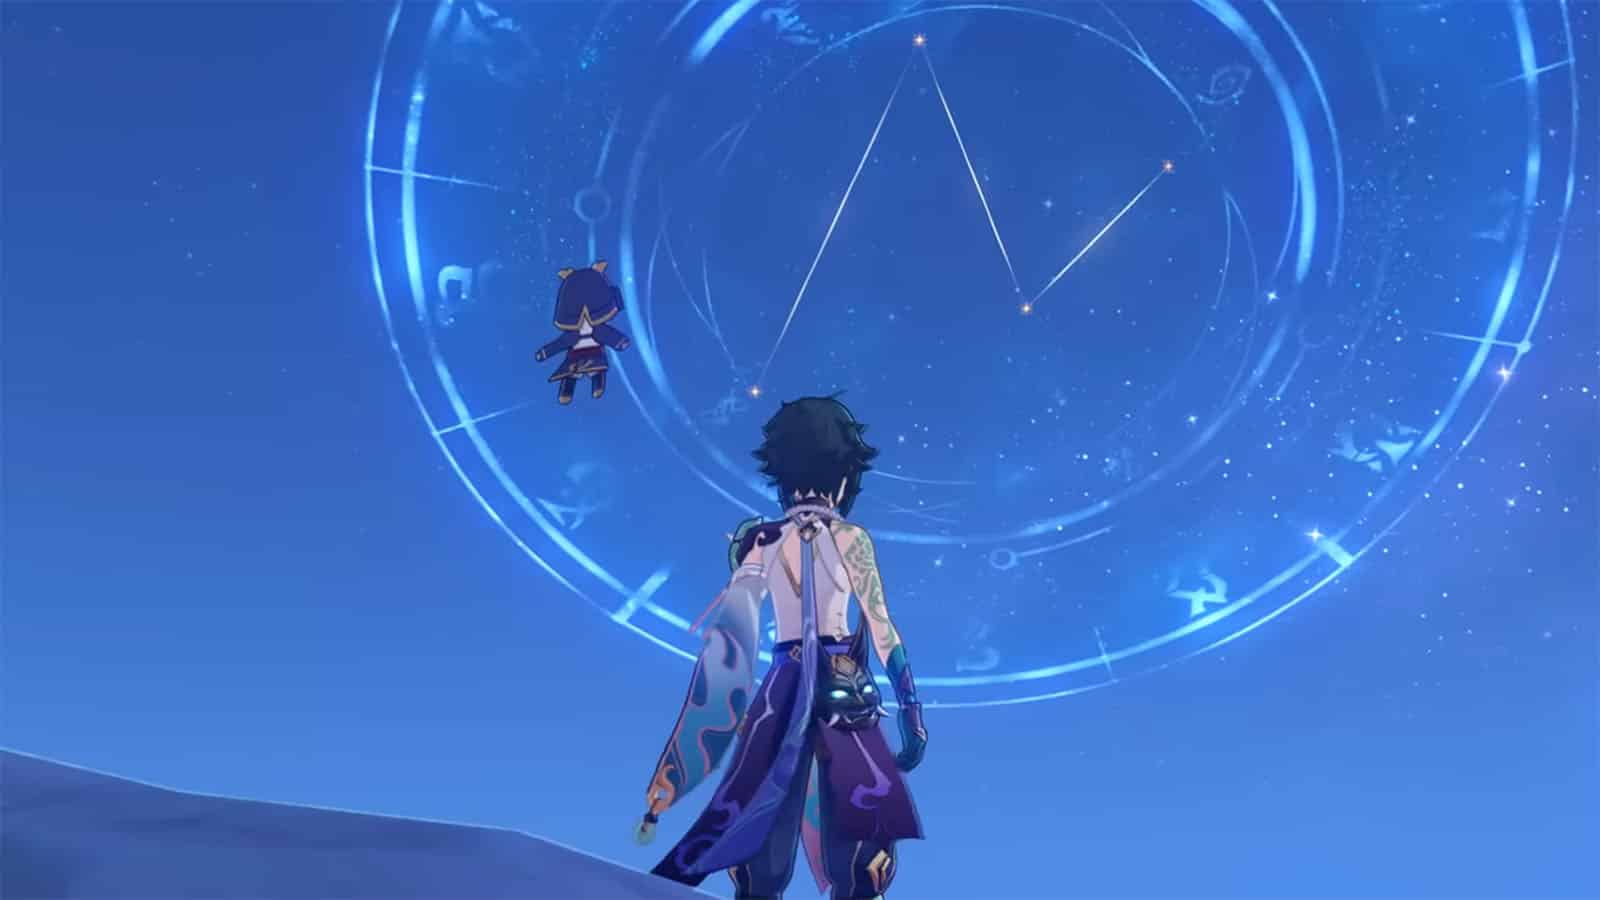
To solve this puzzle, use the Anemo pinwheel to create the wind current upwards and ride it to see a view of the entire island. You will notice that there is a constellation overlaid on the island itself and this is the pattern that you’ll need.
Then, go back down and start off at the Star Guide nearest the Pyro monument, then rotate the guides in this manner following the beam: 1st guide to 2nd = activate, 2nd = right, 3rd = right, 4th = right, 5th = connect back to 3rd. Once the guides are rotated correctly, the nearby chest will be unlocked. Reward: Precious Chest

Astral Stars Puzzle #2 (Inverted)
For this puzzle, head to the west side of the island within the inverted mountain where there is a wind current that will boost you straight up. Then, glide towards the northern most peak where you’ll find unlit Star Guides and a projection of a constellation in the sky.
To solve this puzzle, simply copy the the constellation in the sky through the Star Guides by rotating them to the right position. Starting from the farthest left guide from the projection: 1st guide = right, 2nd = right, 3rd = right, 4th = right, 5th = right, 6th = mid right to 7th, 7th = mid left connect back to 4th. Reward: Exquisite Chest

Astral Stars Puzzle #3 (Inverted)
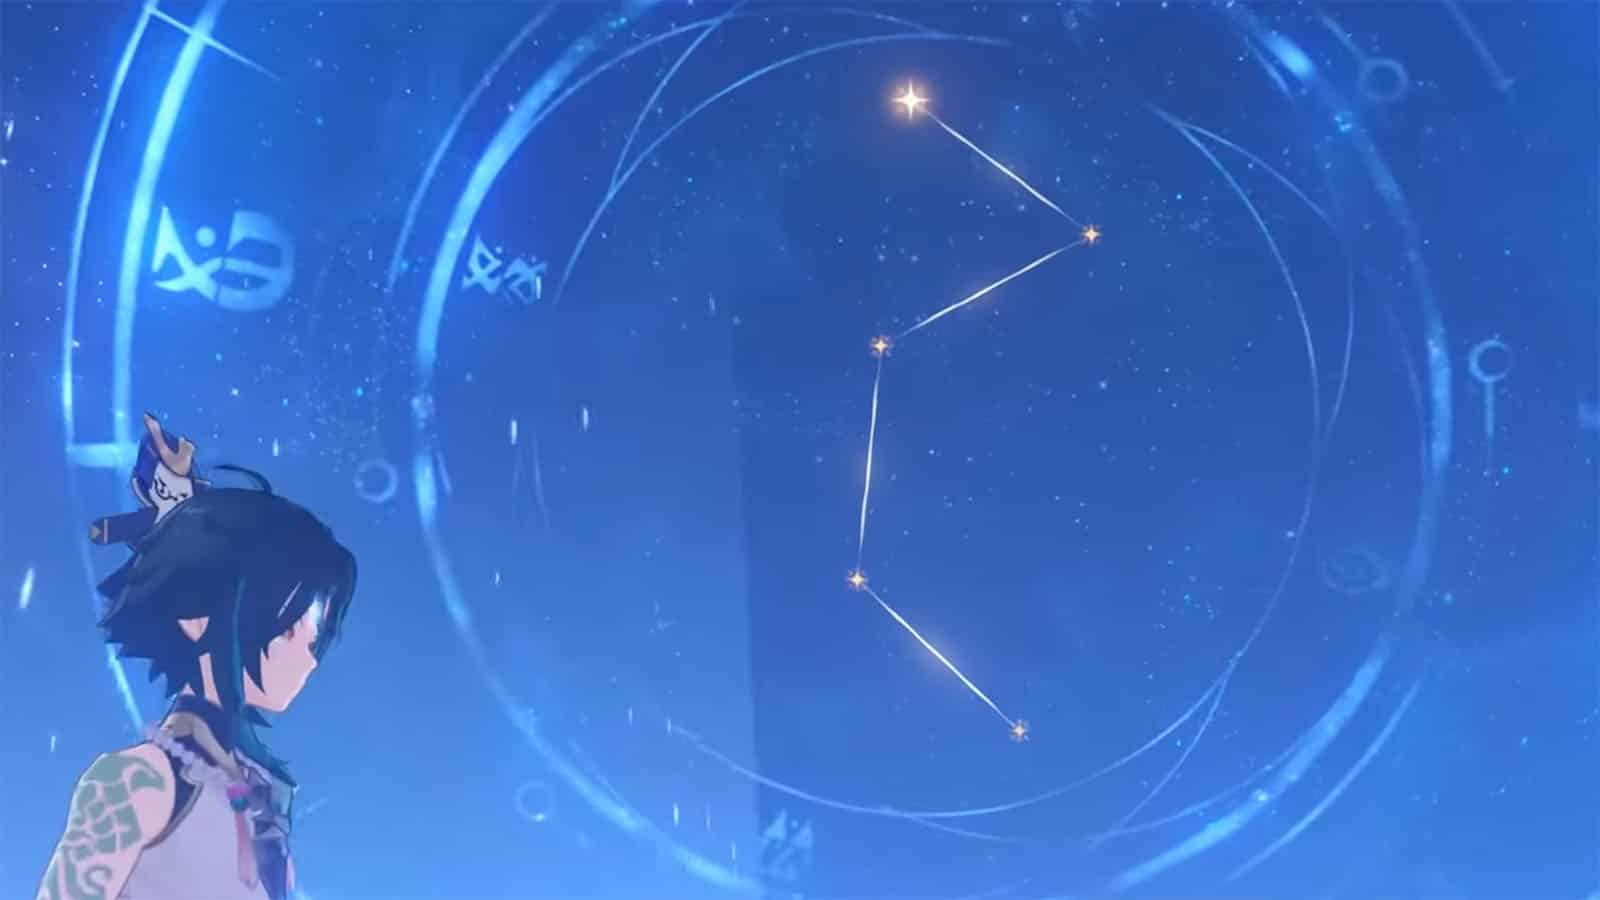
For this puzzle, take the wind current back up from the inverted mountain and glide towards the southeast side where you will see four unlit torches and a constellation projection.
To solve this puzzle, you will have to light up the torches in the right order and as a clue, the “height” of the stars tell which torch goes in what order. Light the torches in this order, with torch #1 at the leftmost side: #2 > #4 > #3 > #1. Reward: Common Chest
Astral Stars Puzzle #4 (Inverted)
For this puzzle, take the wind current back up from the inverted mountain and glide towards the peak to the west where you will see two pressure pads and a constellation projection.
To solve this puzzle, you will have to step on the pressure pads in the order shown by the stars on the constellation from top to bottom. Step on the pressure pads in this order: left > right > left (then step off) > left > right. Remember to step off from the pad from the third star to deactivate it and step on it again for the fourth star. Reward: Common Chest


Astral Stars Puzzle #5 (Inverted)
For this puzzle, you need to climb the peak on the east side of the island. You can also take the wind current inside the inverted mountain and then head east to use another set of wind currents leading to the eastern peak. Once you arrive, you’ll see three pressure pads and a constellation projection.
To solve this puzzle, simply follow the same mechanics from the previous puzzle, making sure to not step on the middle pad until you need to. Step on the pressure pads in this order: left > right > middle > left > right. Reward: Common Chest
Genshin Impact Elemental Monument Puzzle Solution
For this puzzle, you will have to collect 8 Starlight Coalescence which can be found in both the Upright and Inverted islands. There are 18 of these in total, but only 8 is needed for this puzzle. Afterwards, you will have to complete a constellation using the Starlight Coalescence that you have collected which will lead you to several Chests.
There are 7 easy to get Starlight Coalescence in the Inverted version of the island and 1 in the Upright version:
- Head to the tower and change the weather to cloudy by activating only the Anemo monument. Then, take the wind current upwards and glide towards the southwest past the runes and on to a ledge where you’ll find one Starlight Coalescence.
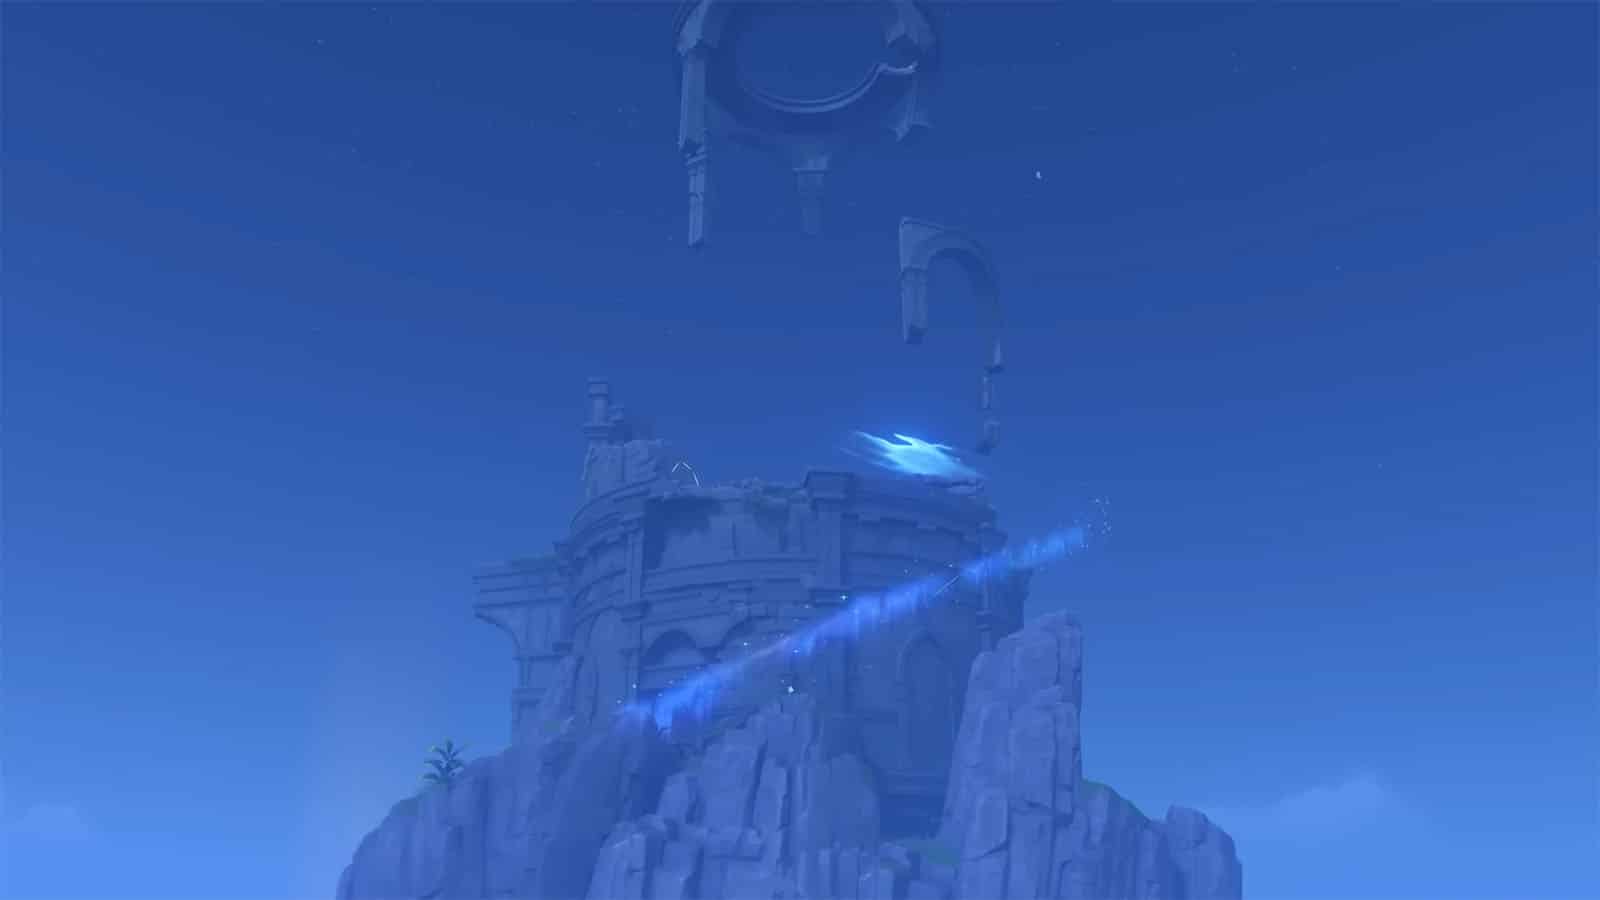
- Head back to the base of the tower and reset every monument (no stars above them means that they have been reset). Then, activate the monuments in this order: Pyro > Anemo > Cryo > Hydro. This will then open a portal above. Use the wind current to reach this portal (in case the portal does not work, make sure that the monuments have been reset, or better yet, reopen the game). You’ll then be teleported to a platform high up in the sky where you’ll find 3 Starlight Coalescence and a Luxurious Chest.
- Switch the weather to cloudy by activating the Anemo monument and then head to the east peak of the island. On the south side of the peak is a ledge where another Starlight Coalescence can be found.
- From the ledge, glide down and head towards the southeast side of the peak to find a pile of boulders. Destroy this pile to reveal another Starlight Coalescence. Follow this one around and it will lead you back to the peak where you can capture it.
- Head back down to the base of the cliffs and find the shining starlight on the side of the rockface. Interact with it to reveal another Starlight Coalescence. Follow it and it will go through the pool to get to the Upright version of the island. Follow it once more to the eastern cliffs where you can capture it.
- From the site of the previous Starlight Coalescence, glide down towards the northern side of the cliff to find an Anemo pinwheel. Activate it to summon an upwards wind current. Once at the top, you’ll see a Starlight Coalescence floating towards the middle of the island. Head towards it and you can land near it since there is an invisible platform underneath it.
Once you have 8 Starlight Coalescence, change the weather back to sunny by activating the Pyro monument and scale the tower on the Upright version of the island until you reach the very top where you can see Mona. Then, approach the pedestal where you can deposit your Starlight Coalescence. Afterwards, the Luxurious Chest will be unlocked and a starlight path will be revealed after depositing the third piece.
After opening the chest, another Starlight Coalescence will appear. Follow this through the starlight path where you will find another Luxurious Chest. Then, follow it once more as it creates a new starlight path, but make sure to follow it closely and don’t go ahead as it will stop creating the path at a certain point.
Once it stops, touch it to be transported into another location. You’ll then see it again with another Luxurious Chest nearby. Touch the Starlight Coalescence once more to unlock the chest and see a short animation where the sky clears up.
If you like this guide, be sure to check out our other Genshin Impact articles:
- Genshin Impact Version 2.8 Full Patch Notes Released
- Genshin Impact Version 2.8 Weapon Banner Announced
- Genshin Impact Fatui Harbingers Teaser Trailer Revealed
- Genshin Impact Sumeru and Dendro Characters Officially Revealed
- Genshin Impact Character Demo Shikanoin Heizou Video released
- Genshin Impact New Diluc and Fischl Outfits Official Teaser Revealed
Check out this video by KyoStinV showing how to solve the main constellation puzzle in the Minacious Isle:
Image credits to WoW Quests and KyoStinV (YouTube).


