
It’s been a week since we got access to the Seraph Station and got our hands on the Revision Zero exotic pulse rifle. Since then, we’ve been destroying security drones and looking for secrets. But we always knew that this gun can become so much more.
In this guide, we’ll tell you what you need to know in order to upgrade the new exotic pulse rifle, including how to upgrade its intrinsic perk and catalysts of your choosing.
How to Upgrade Revision Zero
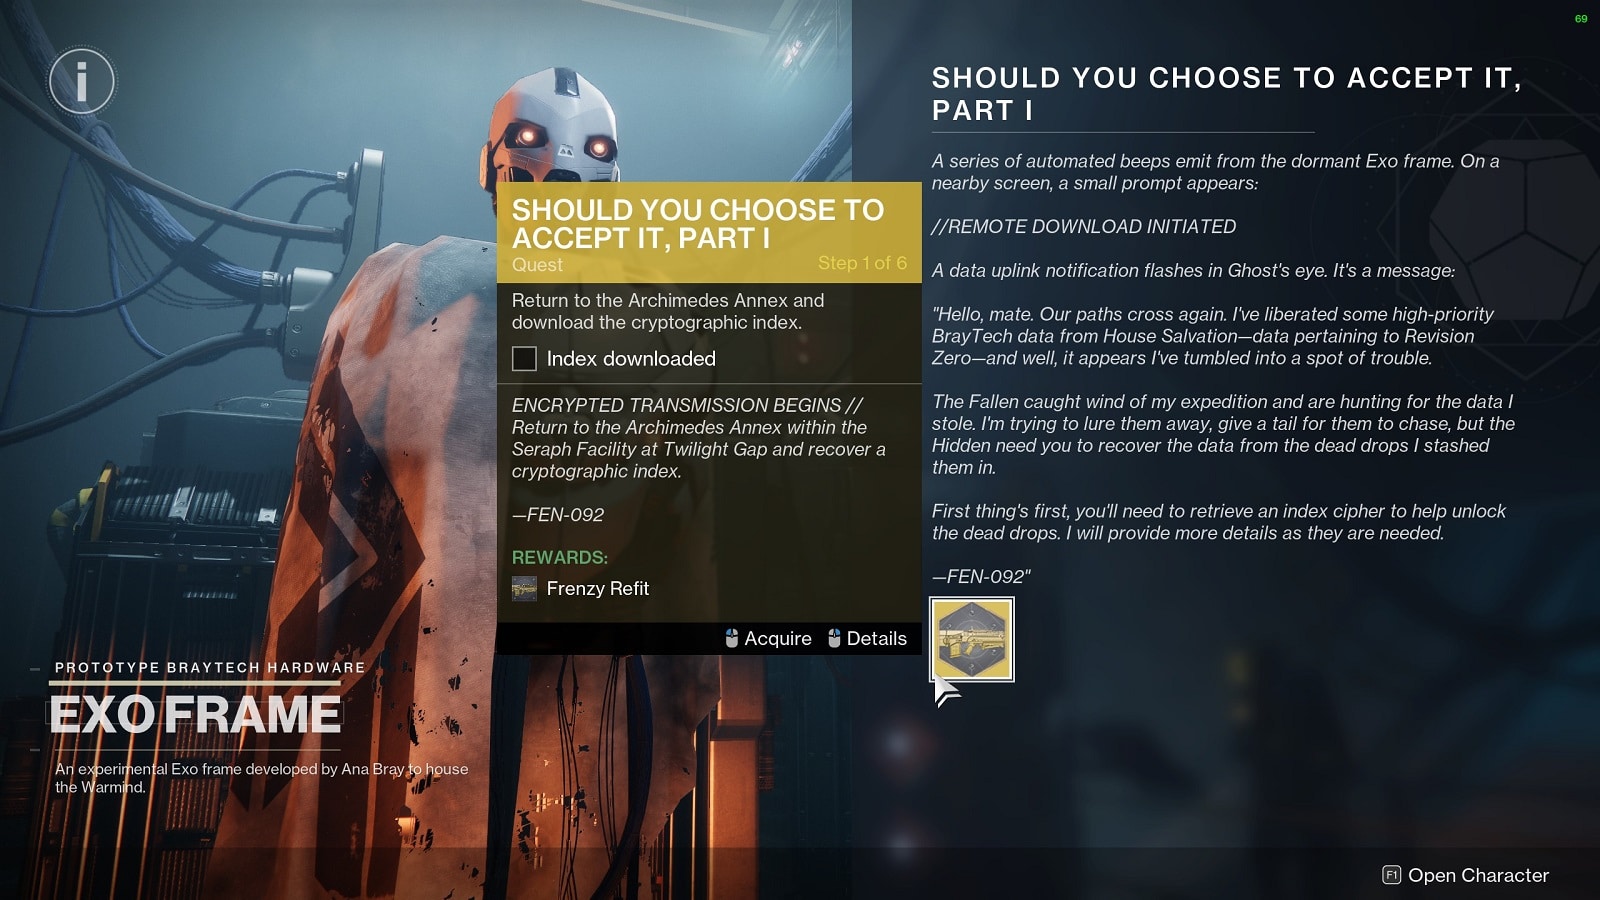
The path of upgrading the Revision Zero Pulse Rifle starts with making progress with the “More Than a Weapon” seasonal quest. At the end of Step 33, you’ll be given a new quest called “Should You Choose to Accept It“. And it is through this quest that we are able to upgrade the Exotic weapon.
The Should You Choose to Accept It is a multi-step quest that comes in numerous parts. As of December 27, 2022, Part I is unlocked, allowing us the opportunity to obtain the Hunter’s Trance II Intrinsic perk and the Frenzy Refit catalyst that unlocks the Frenzy trait for the weapon. Additionally, completing Part I unlocks barrel mods to further customize your playstyle.
Note: Upgrading the weapon requires doing Parts I - IV in sequence. To get to the subsequent parts, you'll need to have done the part before that. If it meant to be done on a weekly basis but you can choose all the steps in one session when all parts are available.
Should You Choose to Accept It, Part I Steps
Step 1 – Return to the Archimedes Annex and download the cryptographic index. The Warmind Launch Facility Arena is now available under the Seraph’s Shield quest on Map screen.
The only thing of note about this mission is the final encounter with Sumok, Ravager of Torobatl. When its health is low enough, it’ll put up a shield and the only way to destroy it is to walk over the Hive Wells from defeated Wrathborn Knights to damage the shield. The mission ends when you have downloaded the cipher.
Step 2 – Travel to Europa. When you arrive planetside, you’ll need to complete patrols and defeat combatants to decrypt the passcode cipher.
Step 3 – Locate the dead drop in the Perdition Lost Sector of Cadmus Ridge, and upload the cipher.
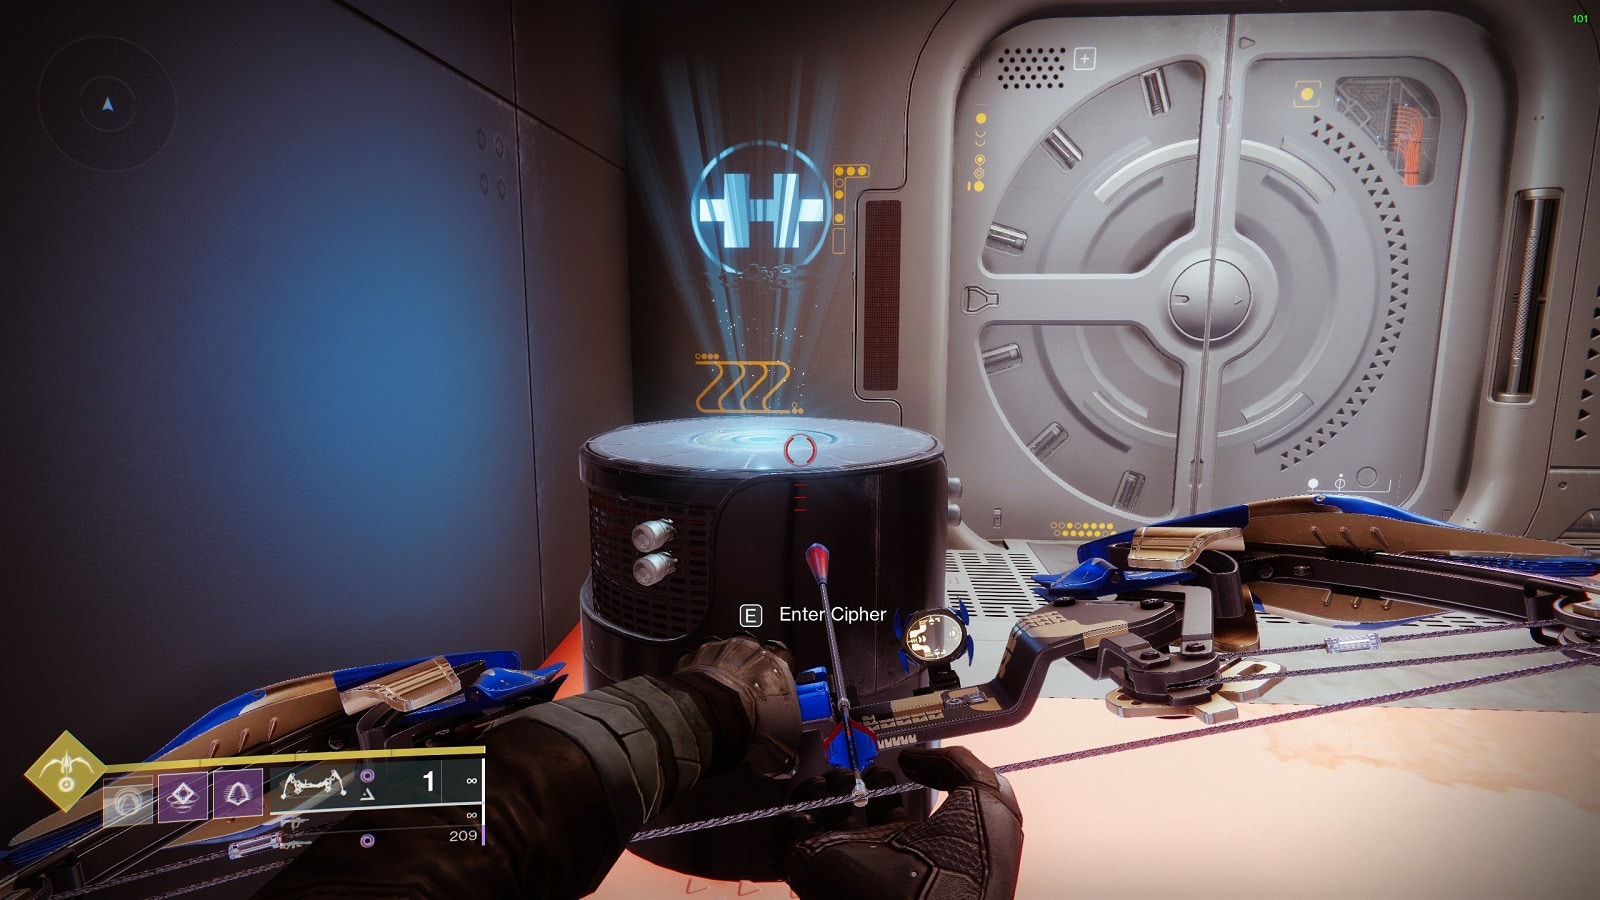
The dead drop can be found at the end of the lost sector. Just be careful about staying around. It’ll do a Mission Impossible and explode a few seconds later.
Step 4 – Launch “Operation: Seraph’s Shield” on Legend difficulty and find the weapon schematic.
For this part, playing on Legend is just a slightly harder version of the base version. The enemies hit harder but there won’t be Champions to worry about. Also, you can change your equipment on the fly. (For an easier time, I recommend doing the whole quest on an Arc subclass.)
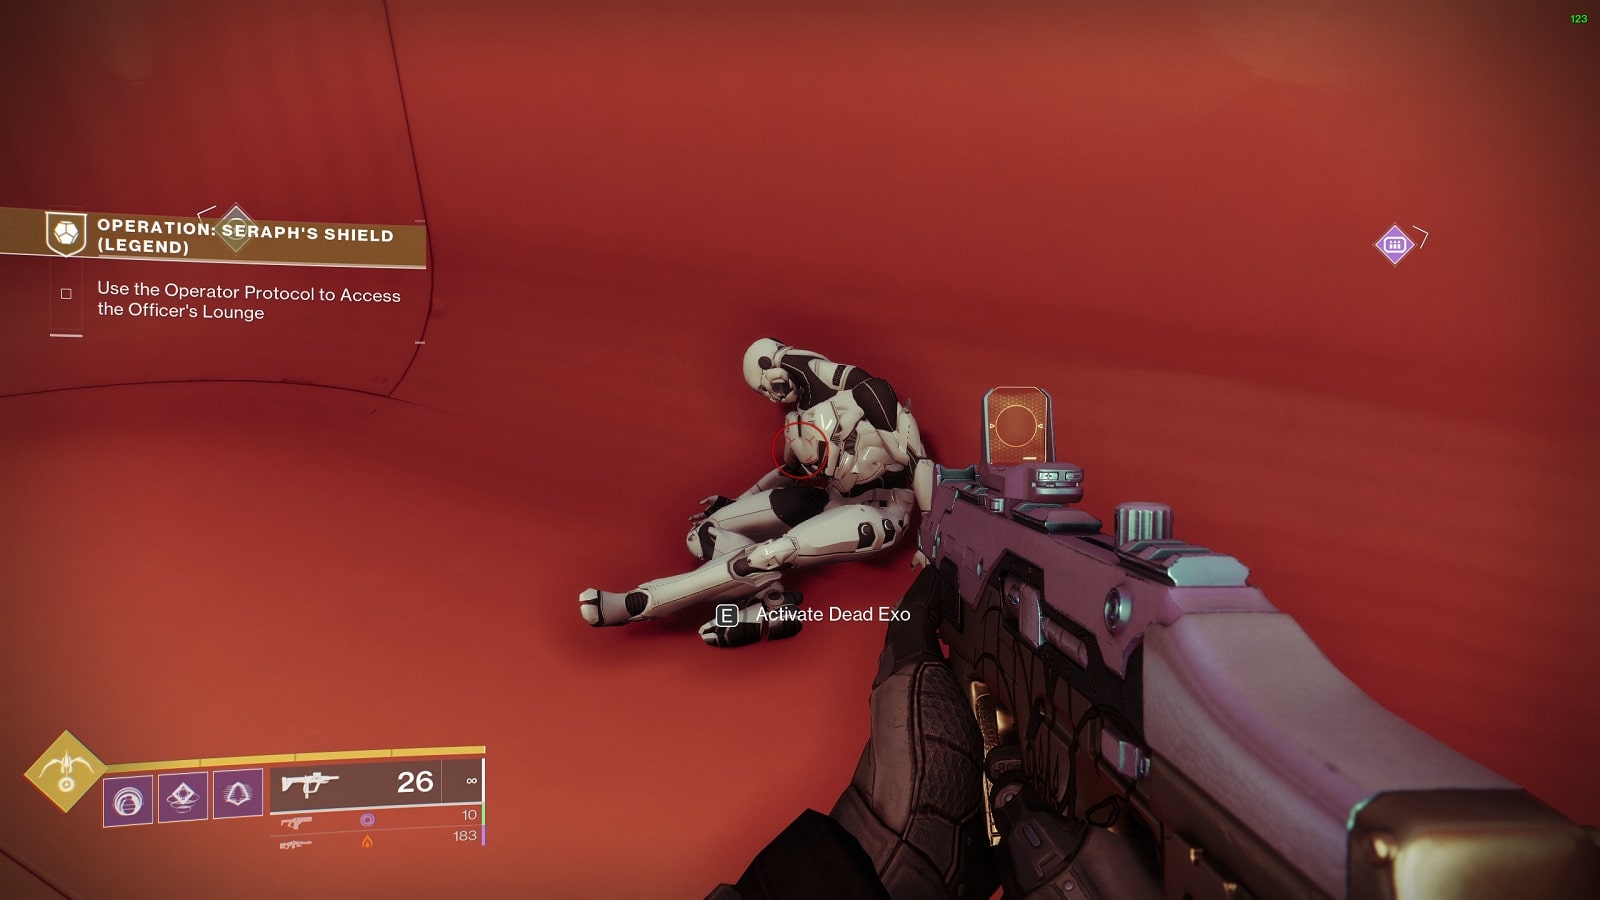
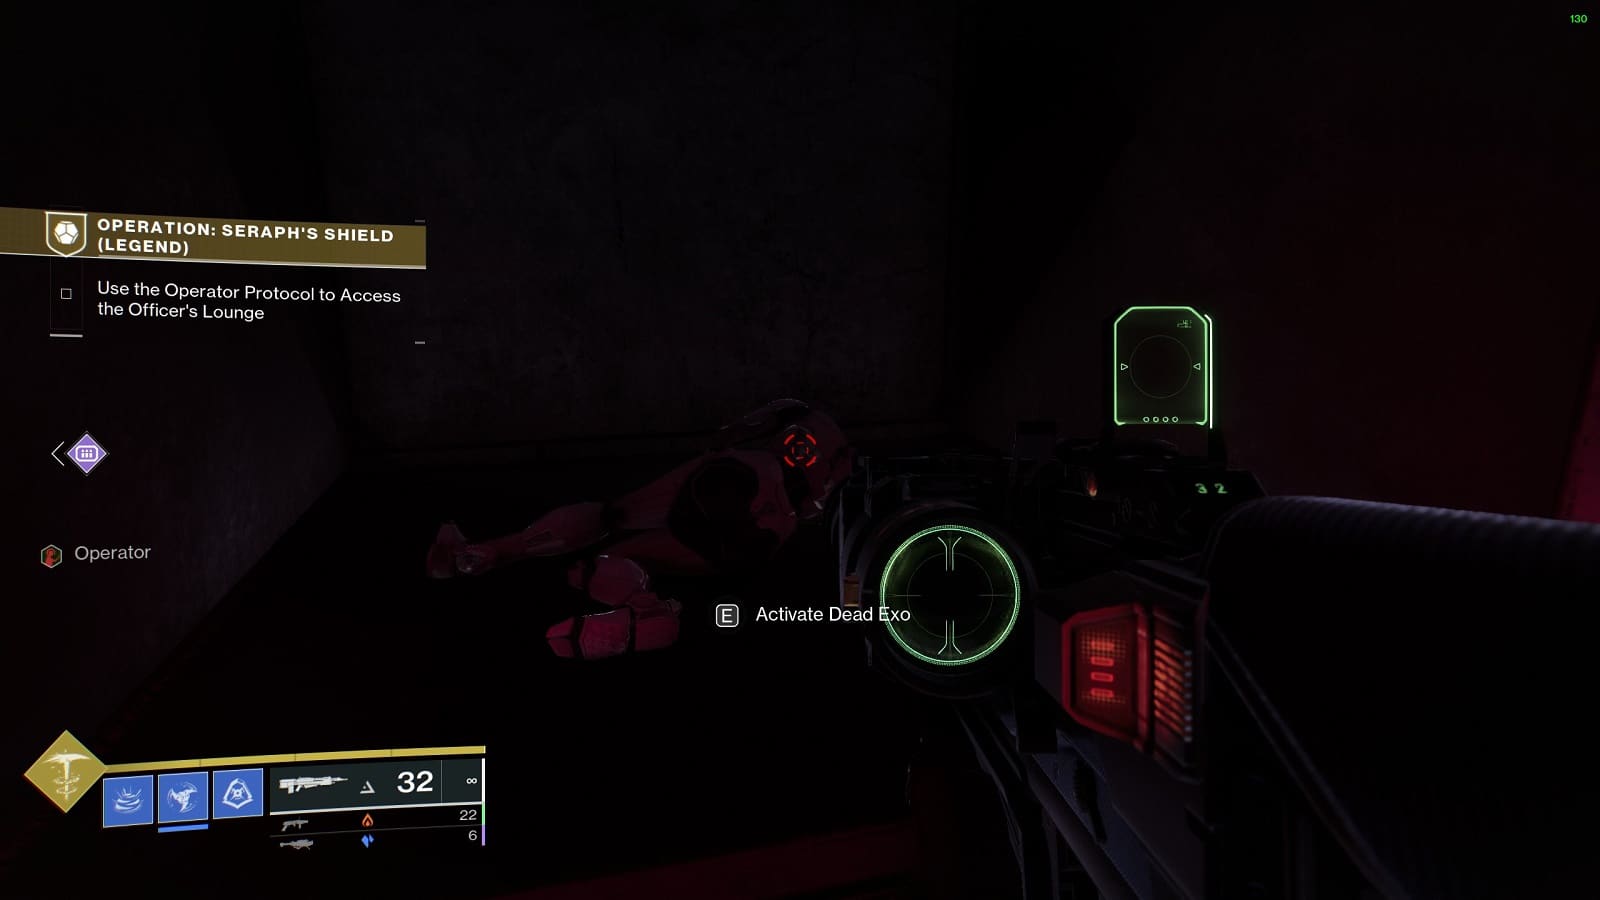
The weapon schematic can be found on the body of a dead exo after completing the decontamination chamber puzzle down in Engineering. (The one with the nine consoles and the floor path you must follow.)
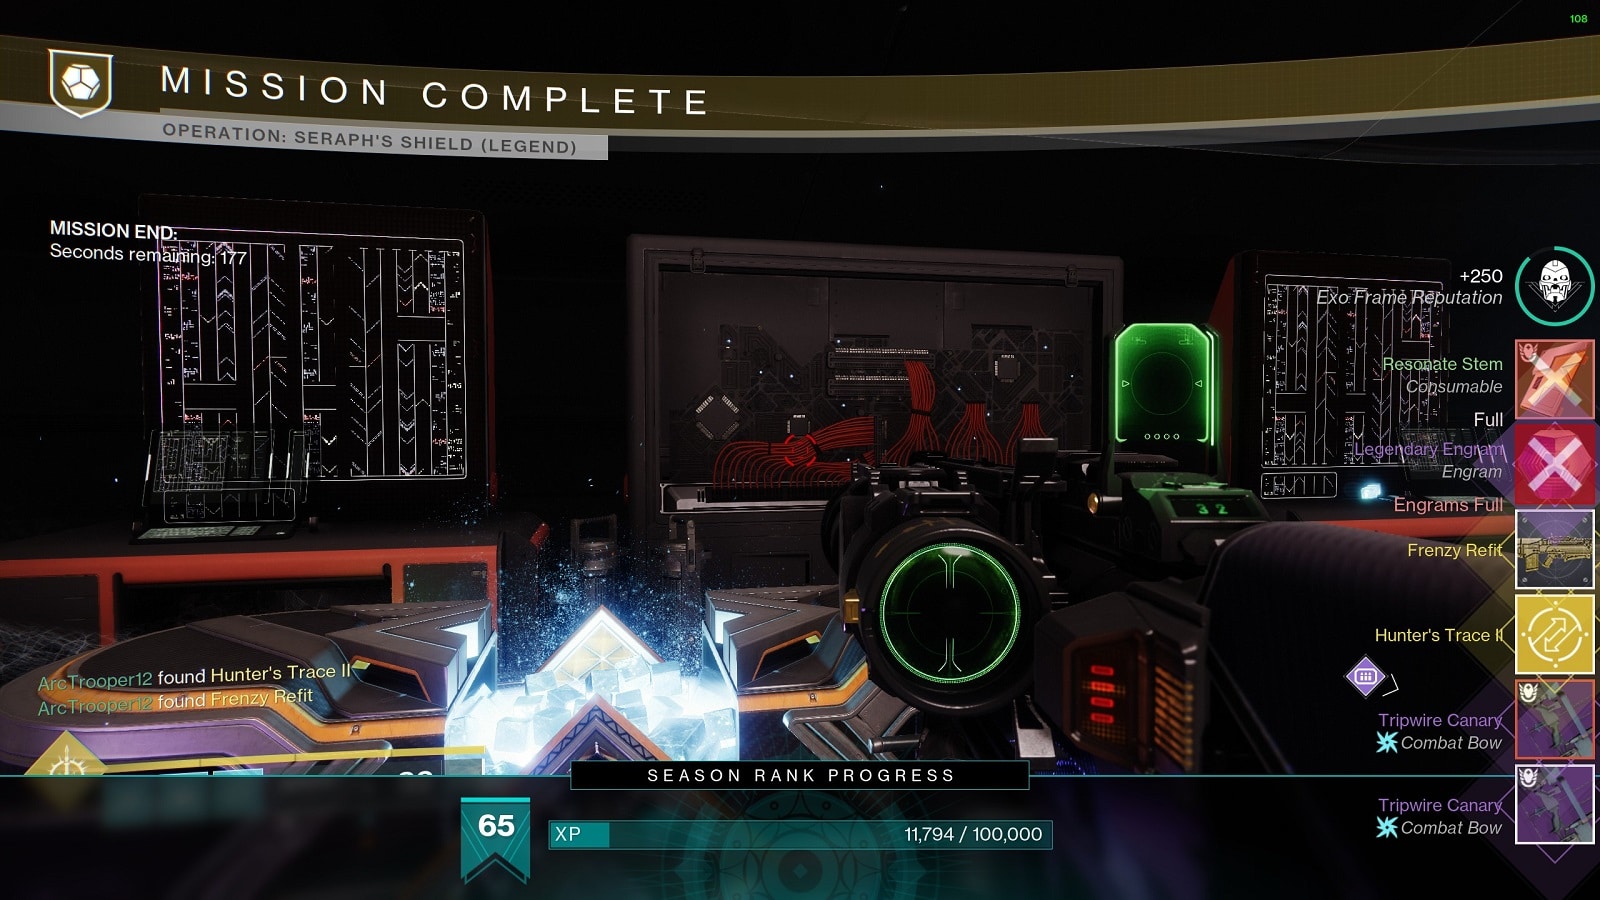
Step 5 – Complete the quest on Legend difficulty to successfully obtain the catalyst.
All that’s left to do now is to finish the mission and get your hands on the catalyst.
After you’re done with the rest. Go back to the Enclave on Mars and reshape the weapon over at the relic.
Should You Choose to Accept It, Part II Summary
Entirely the same as Part I with the exception that you’ll be defeating enemies and doing patrols on the Moon. Once you have enough to decrypt the cipher, you need to reach the end of the K1 Logistics Lost Sector, defeat the boss, and then upload the cipher in the room behind the chest.
After that’s done, you’ll then need to Operation: Seraph’s Shield again on Legendary to locate the dead Exo’s body and to finalize everything by completing the mission.
The dead exo can be found at the end of the second vent with the blue glowing pipe. This is the same vent where you need to shoot the panel through a slit with the Operator buff on in Engineering beyond the decontamination room.
After you’ve found the next upgrade, finish the level to unlock the next set of upgrades for the Revision Zero which includes better stats and access to the gun’s third-column traits.
Should You Choose to Accept It, Part III Summary
You know the drill by now, complete the weekly story update and you’ll get the third part of the weapon quest. For this upgrade mission, should you choose to accept it (get it?), return to the Archimedes Annex and download a new cryptographic index.
You’ll be taking down Sumok, Ravager of Torobatl. The only way to destroy this ogre’s shield is to stand in the pool of reclaimed light after defeating the surrounding knights.
After downloading the codes, you’ll be asked to go to the EDZ and do some patrols and kill enemies to unlock the code. To fully unlock the code, you’ll need to go to the end of the Terminus East Lost Sector and interact with the cipher beside the chest to upload the codes. Now it’s time to go back to Seraph Station to look for another dead Exo.
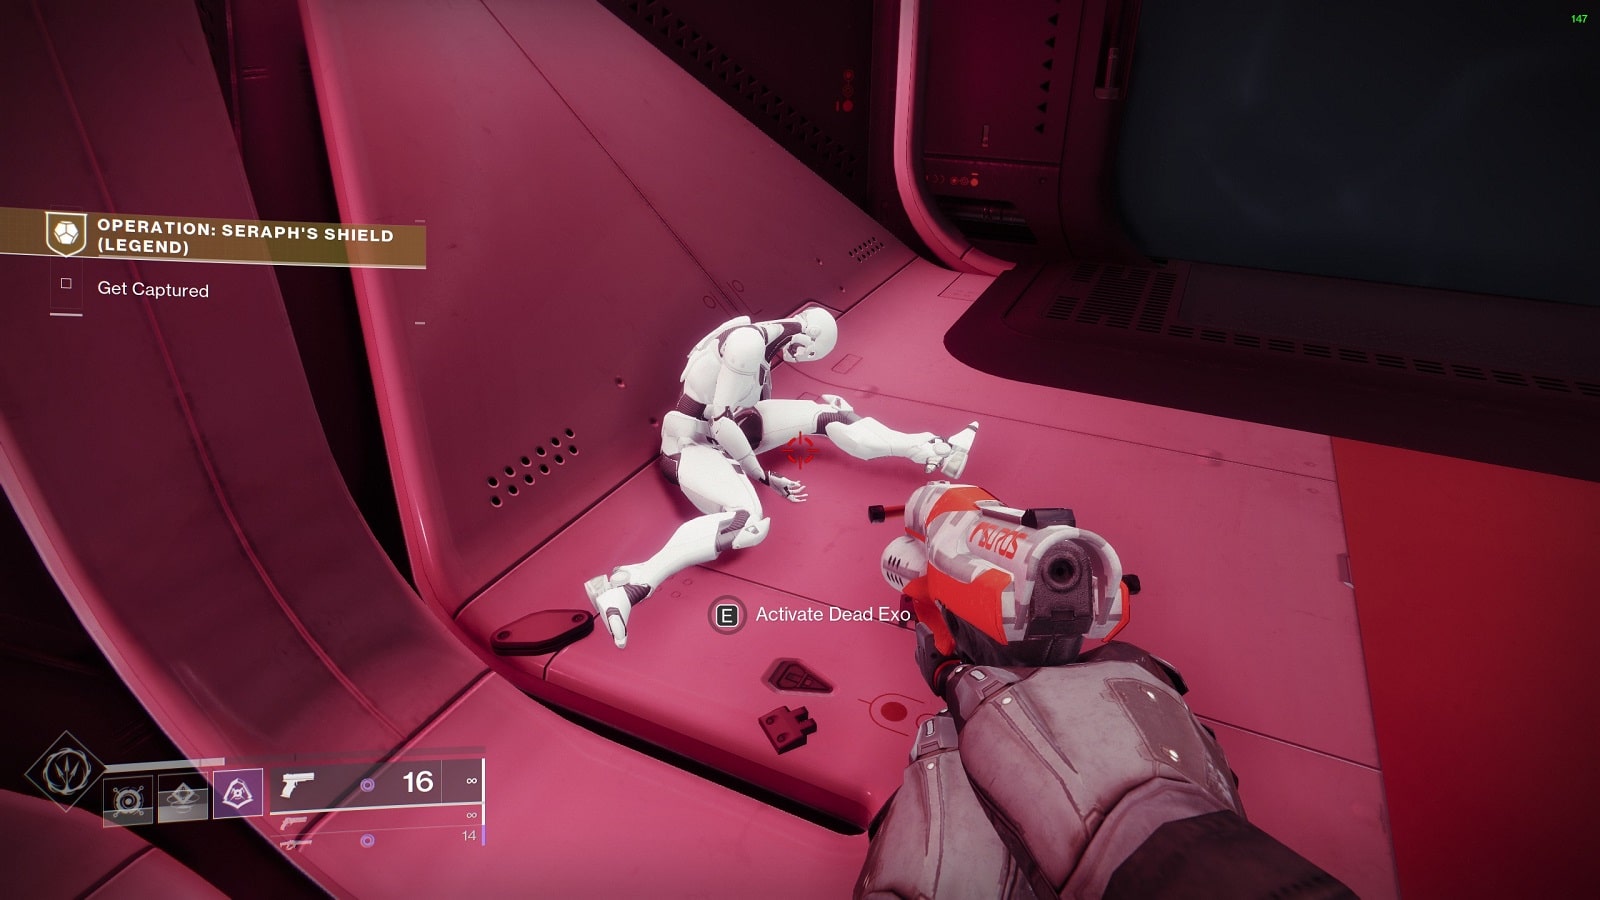
The dead Exo can be found in the right-side corridor of the Atrium inside the Engineering Sector where you need to get yourself caught. You can do this before or after confronting the miniboss.
Alright, now just finish the level to claim the third set of upgrades for Revision Zero.
Should You Choose to Accept It, Part IV Summary
The final part of the quest is a little janky, and it may or may not go as smoothly as expected but at the very least you’ll have access to one of the gun’s most powerful Intrinsic Traits, the 4-Timer Refit.
(What makes this mod so handy is the fact that it returns two super bullets if you hit crits with all for super bullets. Limited use in PvP and PvE but if you make it work, six shots are absolutely devastating.)
After doing the regular intro mission, Part IV takes us all the way back to the Cosmodrome for a bit of grind- pardon, deciphering. The dead drop is located in the Exodus Garden 2A Lost Sector. You know, the one beside the spider tank at the bottom of the map.
The dead drop is right behind the chest, next to a corridor entrance. The next part is to look for the dead Exo.
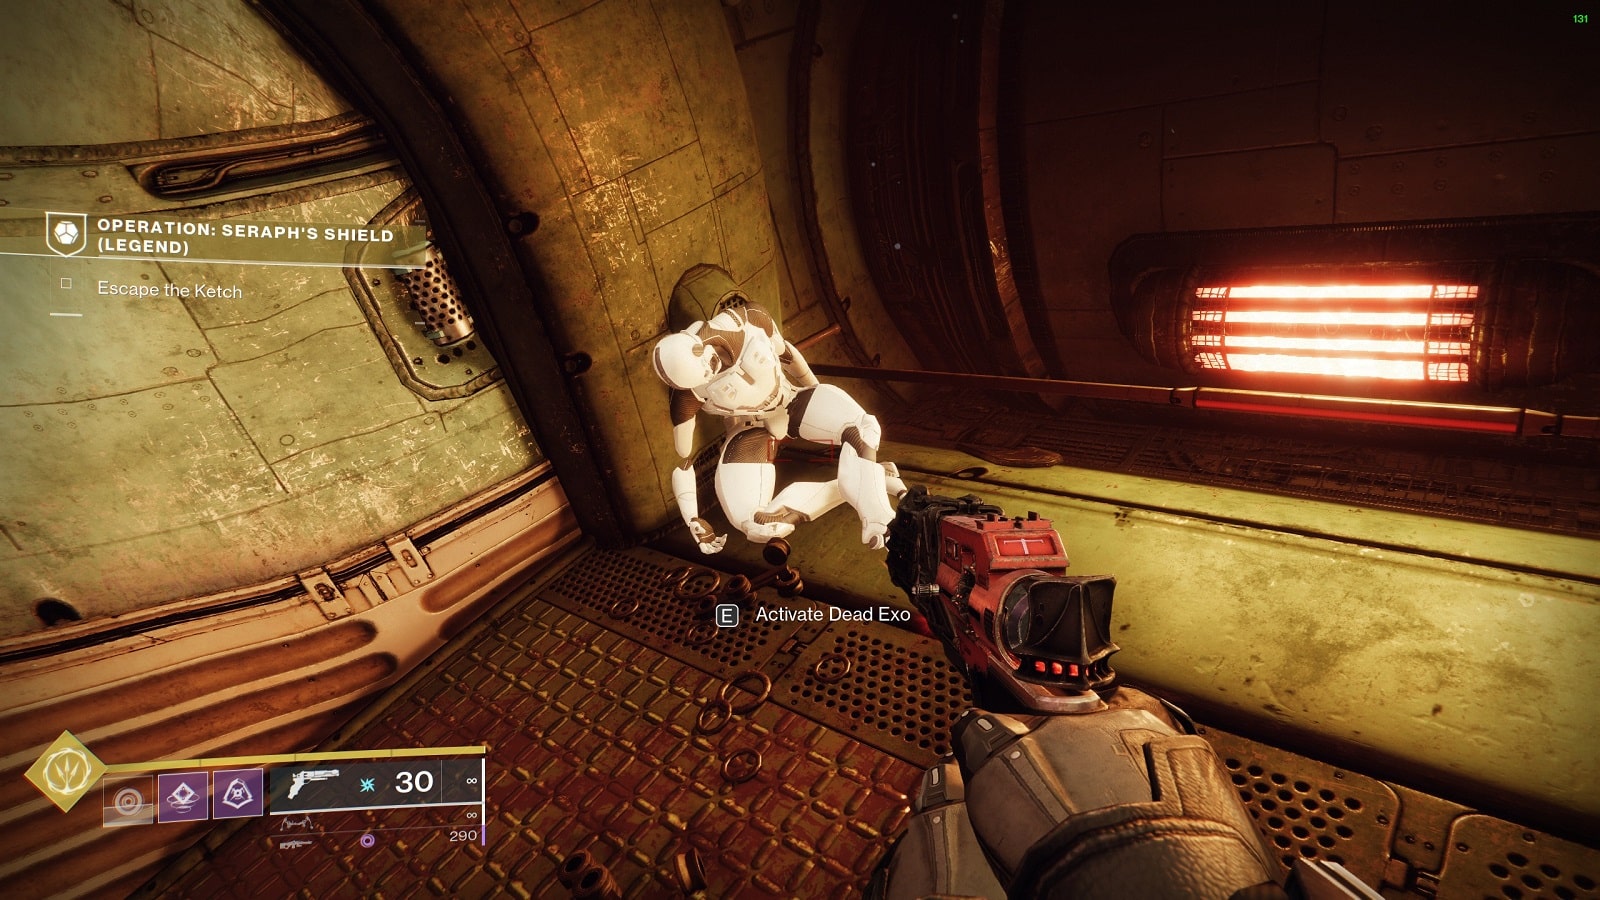
The dead Exo is found on the enemy Ketch. It’s located inside the cell to your right when you first “bust out”. The cell may also have some Braytech frames held captive. It’s missable so there’s always a chance that you may overlook it.
Oddly enough, finishing the mission and crafting the mod is not the end of the mission. We were surprised to find that the quest didn’t complete itself. Turns out, we had one final task to do before ending the quest.
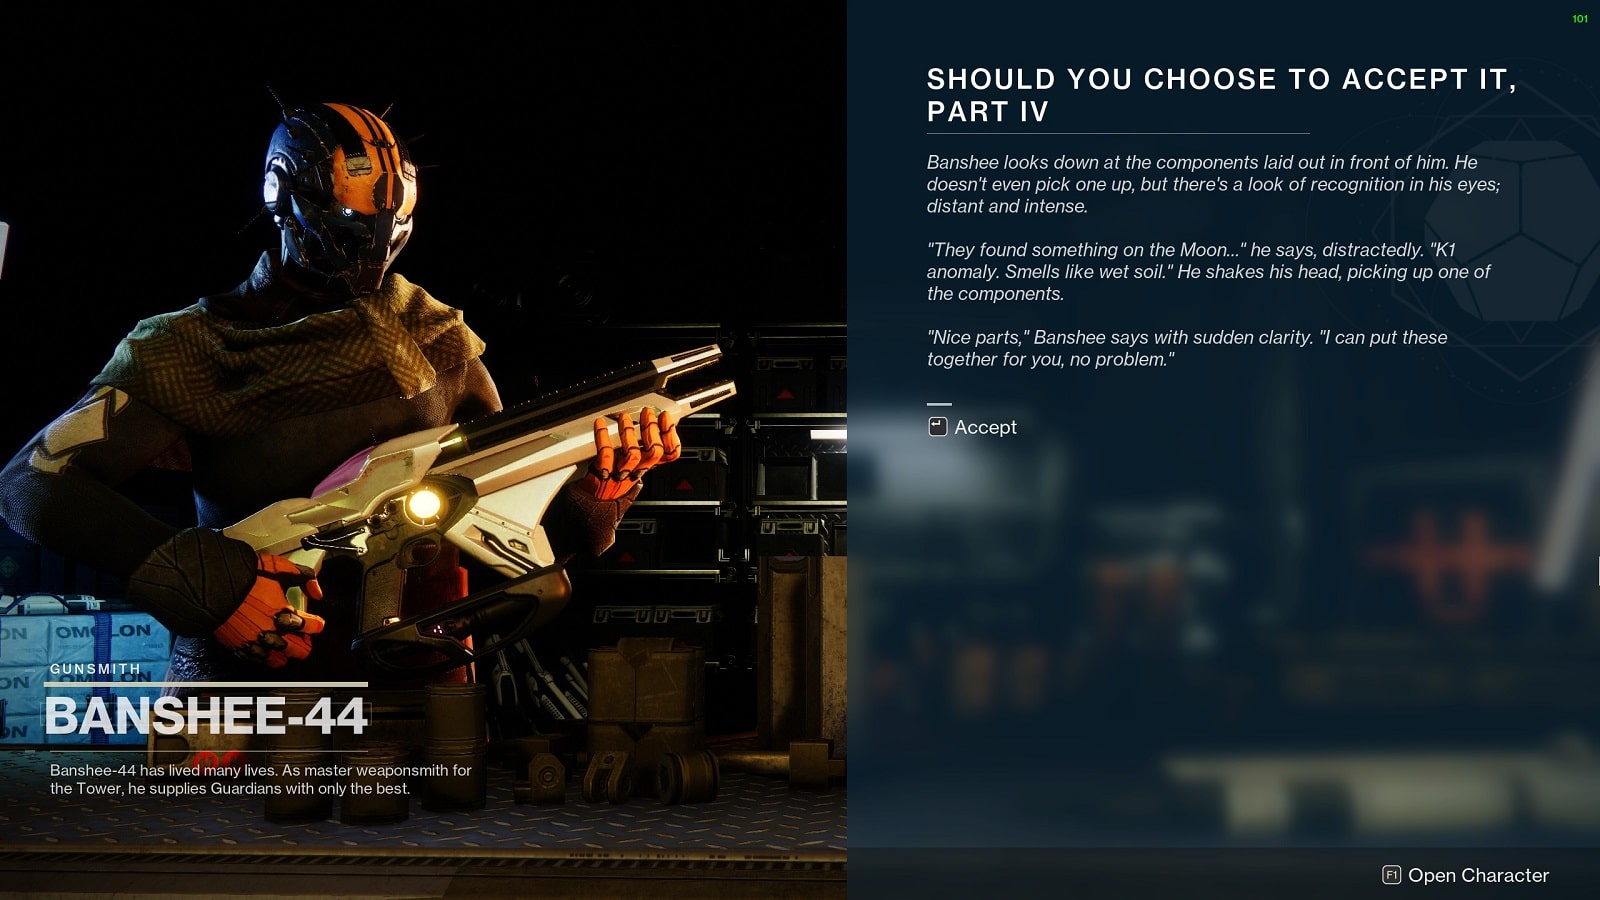
Turns out, we needed to give the Revision Zero parts to a weapons expert for a final inspection. The only one that comes to mind was Banshee-44, and that’s who we went to. After giving the parts the once over, the eccentric Exo gave us his stamp of approval and sent us on our way.
And that’s all the upgrades for Revision Zero accounted for. What a wild ride it has been over the last month.
Revision Zero Intrinsic Trait
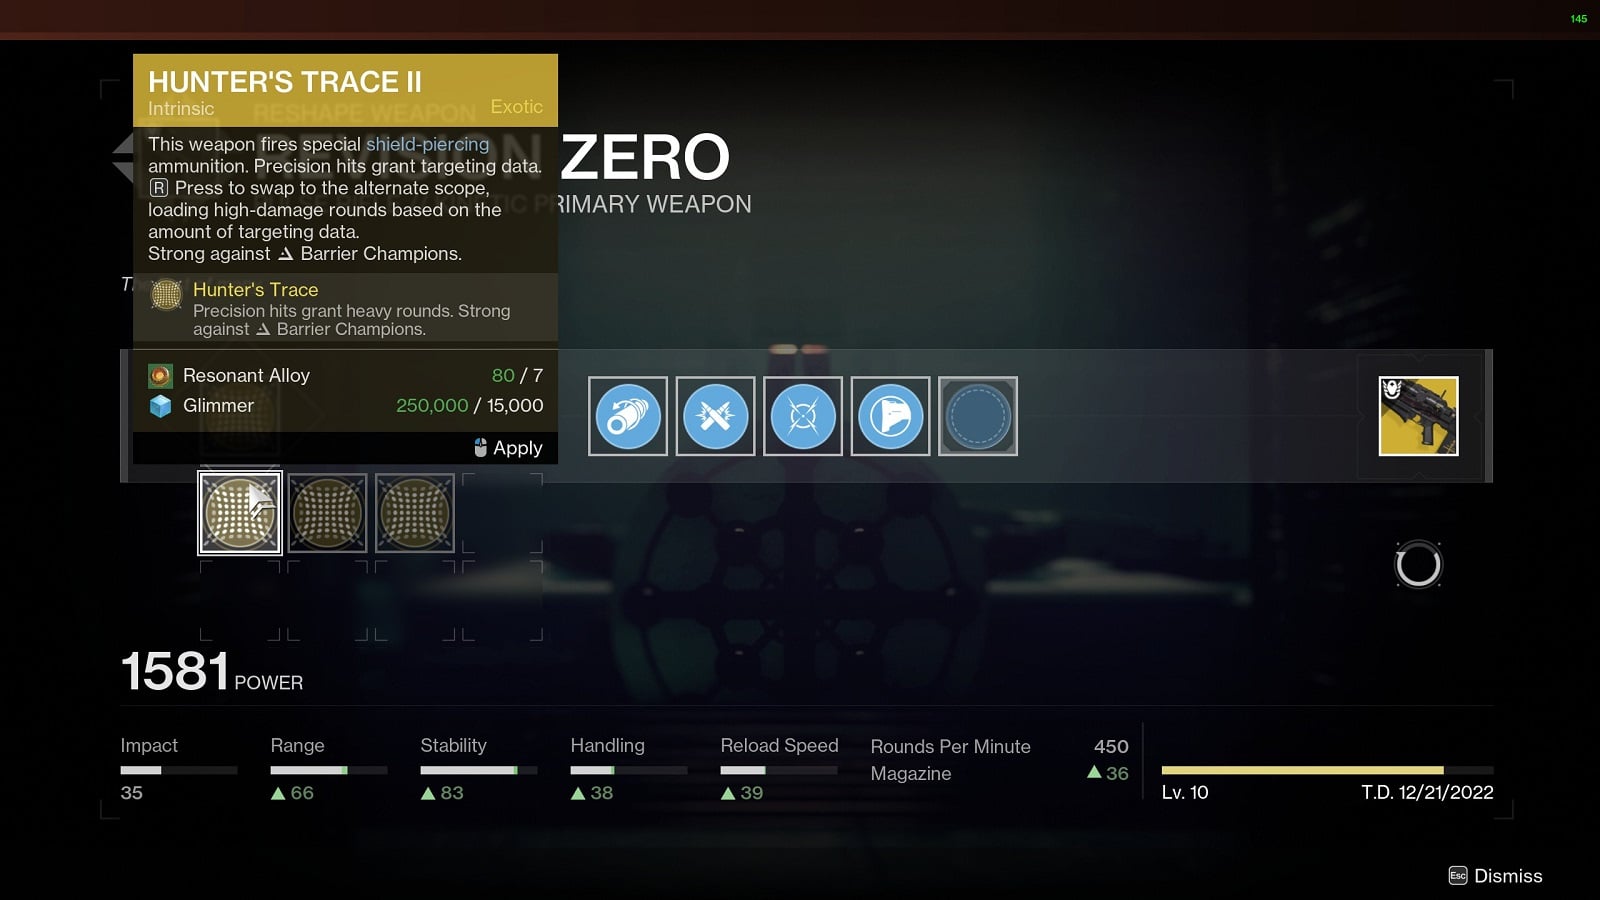
At the end of “Should You Choose to Accept It, Part I“, you will have unlocked the Hunter’s Trace II Exotic Intrinsic. It offers a stat bump for Range, Stability, Handling, and Reload Speed. What’s better is that you don’t even need to second guess about upgrading. The Intrinsics are all stat bumps with the fourth one giving the most stats.
Upgrade Cost:
- 7 Resonant Alloy
- 15,000 Glimmer
The cost remains the same for the rest of the upgrades.
Revision Zero Catalysts
The catalysts for Revision Zero are what give that “punch” to each frame. While range and precision with any pulse rifle, there’s nothing wrong with changing things up.
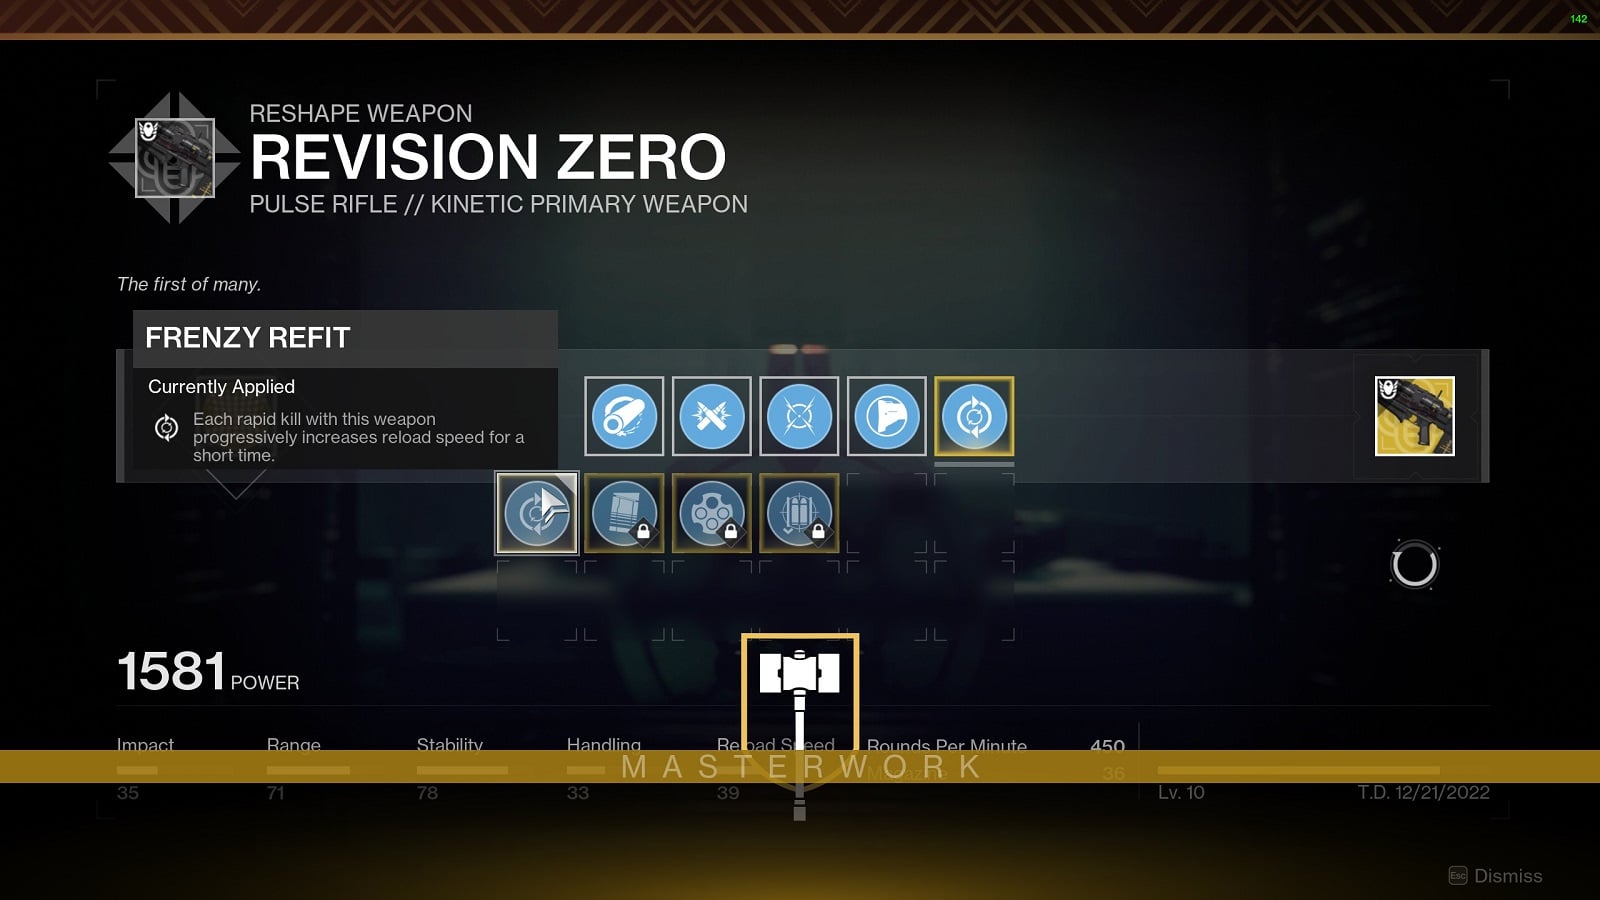
Frenzy Refit
- Each rapid kill with this weapon progressively increases reload speed for a short time.
Awarded from the quest “Should You Choose to Accept It, Part I,” available at the Exo Frame at the H.E.L.M. after completing Step 33 of “More Than a Weapon.”
Pressurized Refit
- Improved stability and accuracy as the magazine gets lower.
Awarded from the quest “Should You Choose to Accept It, Part II,” available at the Exo Frame at the H.E.L.M. after completing “Should You Choose to Accept It, Part I,” and Step 39 of “More Than a Weapon.”
Outlaw Refit
- Precision kills greatly decrease reload time.
Awarded from the quest “Should You Choose to Accept It, Part III,” available at the Exo Frame at the H.E.L.M. after completing “Should You Choose to Accept It, Part II,” and Step 46 of “More Than a Weapon.”
4-Timer Refit
- Rapidly landing precision hits will return two rounds to the magazine.
Awarded from the quest “Should You Choose to Accept It, Part IV,” available at the Exo Frame at the H.E.L.M. after completing “Should You Choose to Accept It, Part III,” and Step 53 of “More Than a Weapon.”
It only costs 300 Resonant Elements to equip a new Catalyst. It’s the same cost as fully extracting a red border weapon. Not bad if you want to experiment a little bit before making multiple guns for different use cases.
The Revision Zero pulse rifle is truly one of a kind in Destiny 2. In less than a month, we’ll be seeing this weapon in all of its glory when all the upgrades are unlocked. Check back here with us for updated steps for the rest of the Should you choose to Accept quests.
Check out our other related guides in this Destiny 2 Season of the Seraph:
- All Destiny 2 Security Drone Locations: Season of the Seraph
- Destiny 2 Season of the Seraph – How to get Revision Zero Exotic Pulse Rifle
- Best Pulse Rifles in Destiny 2
Check out this video from YouTuber xHOUNDISHx where he shows us how to complete the first part of the Revision Zero catalyst quest.


