
Ready or Not Mods are created by players for players to make the game more enjoyable.
One good thing about Ready Or Not is that it allows players to easily put their own mods into the game. The devs at VOID Interactive even promoted a Discord channel through a tweet for those who are interested at modding the game.
What are mods in Ready Or Not?
Mods, short for modifications, are very common among PC games. Video game modding is the process of altering one or more aspects of a video game, such as how it looks or behaves, by players or fans.
Video game modding is a subset of general modding. Modifications can range from minor tweaks and changes to complete overhauls, and they can increase the game’s replay value and interest by increasing the variety of options.
If you like to try out mods but you’re a bit iffy about it because the steps look complicated, don’t worry! We’ve broken down the modding process into simple steps for you.
Caution: BEFORE TRYING IT OUT, make sure to make backups of the files/folders that you will be modding in the event that you’ll need to revert or switch back to the main game’s assets.
Below are the best mods that you can use in Ready or Not, and follow the steps on how to install them.
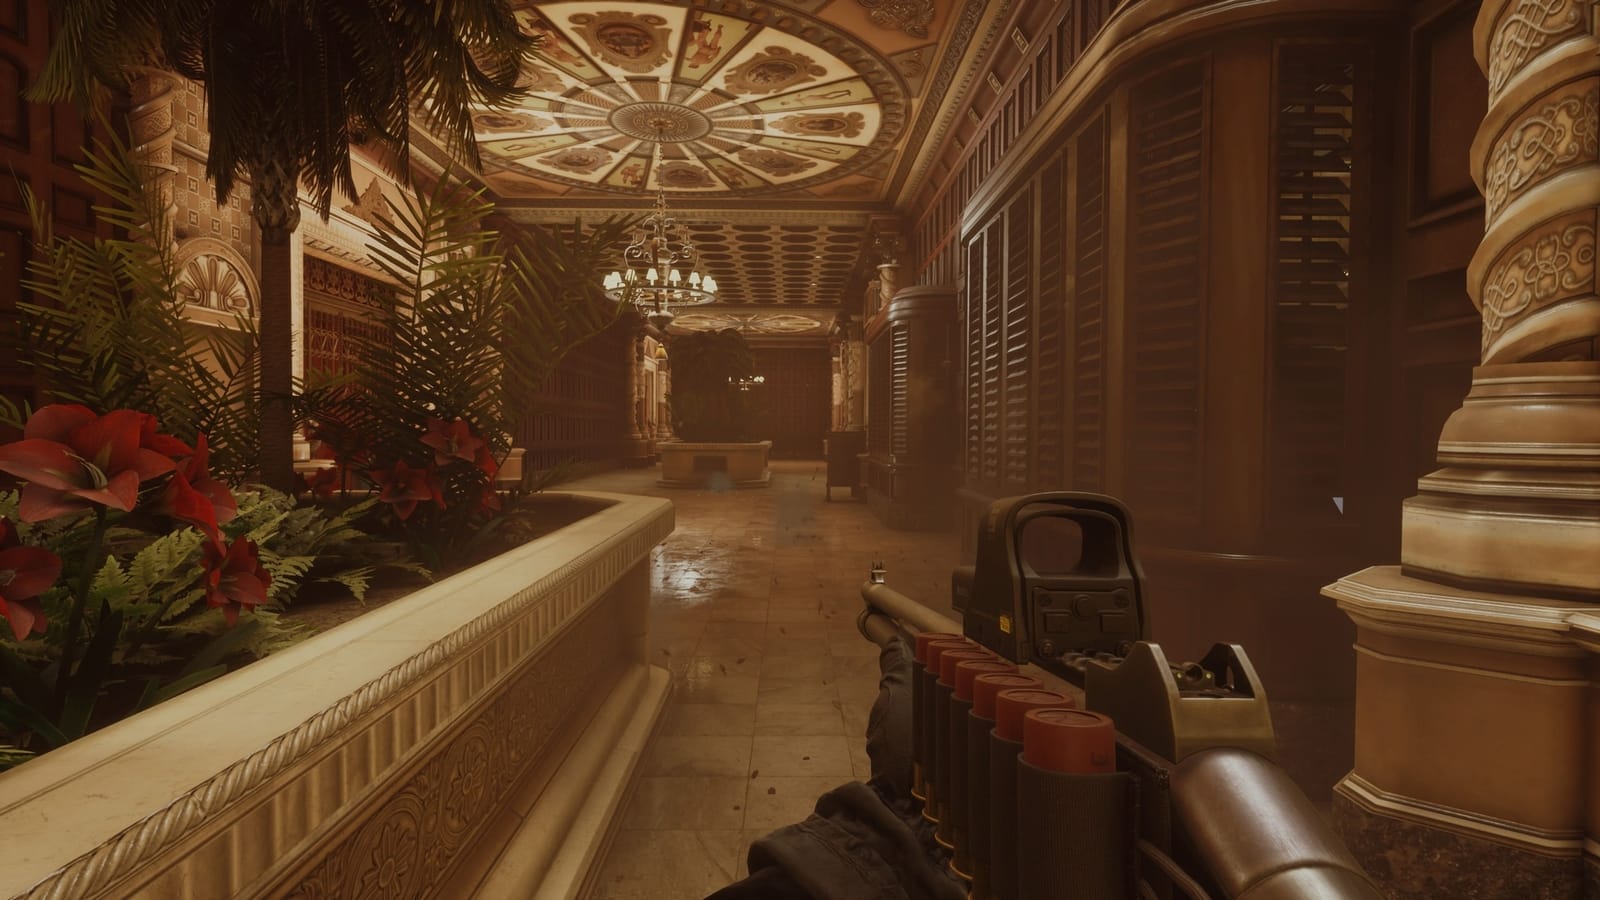
How to add Modded Guns and Equipment in Ready Or Not?
First, locate the “Paks” folder of your game by following these steps:
- Go to Steam > Library
- Right click on Ready Or Not > Click on Properties
- Select Local Files > Browse
- At this point, your File Explorer window will open showing your Ready Or Not folder. (SteamLibrary > steamapps > common > Ready Or Not)
- Go to ReadyOrNot > Content > Paks
Now that you know where the Paks folder is, it’s time to download some mods. You can go to the dedicated Discord Channel (Modded Or Not) and download the mods from there. For in-game models such as the guns or other equipment, you want to download the “.pak” files.
Once you have the mod downloaded, you can simply drag and drop the .pak file into your Paks folder. (From one mod lover to another, we suggest to make a backup of your original Paks folder and save it somewhere in case you run into some issues with some mods)
How to put Modded Sounds in Ready Or Not?
The steps are almost similar, but do take note that sound mods require total replacement of a sound file. Make a backup of these sound files before trying out the sound mods.
Download the sound mods that you want from the Modded Or Not Discord channel. What you want to look for are the “.bank” files. Also, take note: all of the .bank sound files follow the same filenames of the original files; do not change the filenames.
With modded sounds, you’ll just have to follow the same steps to locate the Paks folder, but stop just at the Content folder (SteamLibrary > steamapps > common > Ready Or Not > ReadyOrNot > Content), then follow these steps:
- Go to FMOD > Desktop
- Inside the Desktop folder, locate the .bank file with the similar name to the one you downloaded
- Delete the file (make sure to have it backed up)
- Drag and drop the modded sound file into the folder
Some of the mods may come as a zipped file, so just use a zip tool program to get the files from within.
If you have followed the steps correctly, it should change the different sounds that you hear in-game. If you want to change the voice of the tactical operations center or TOC, that is covered on this next step.
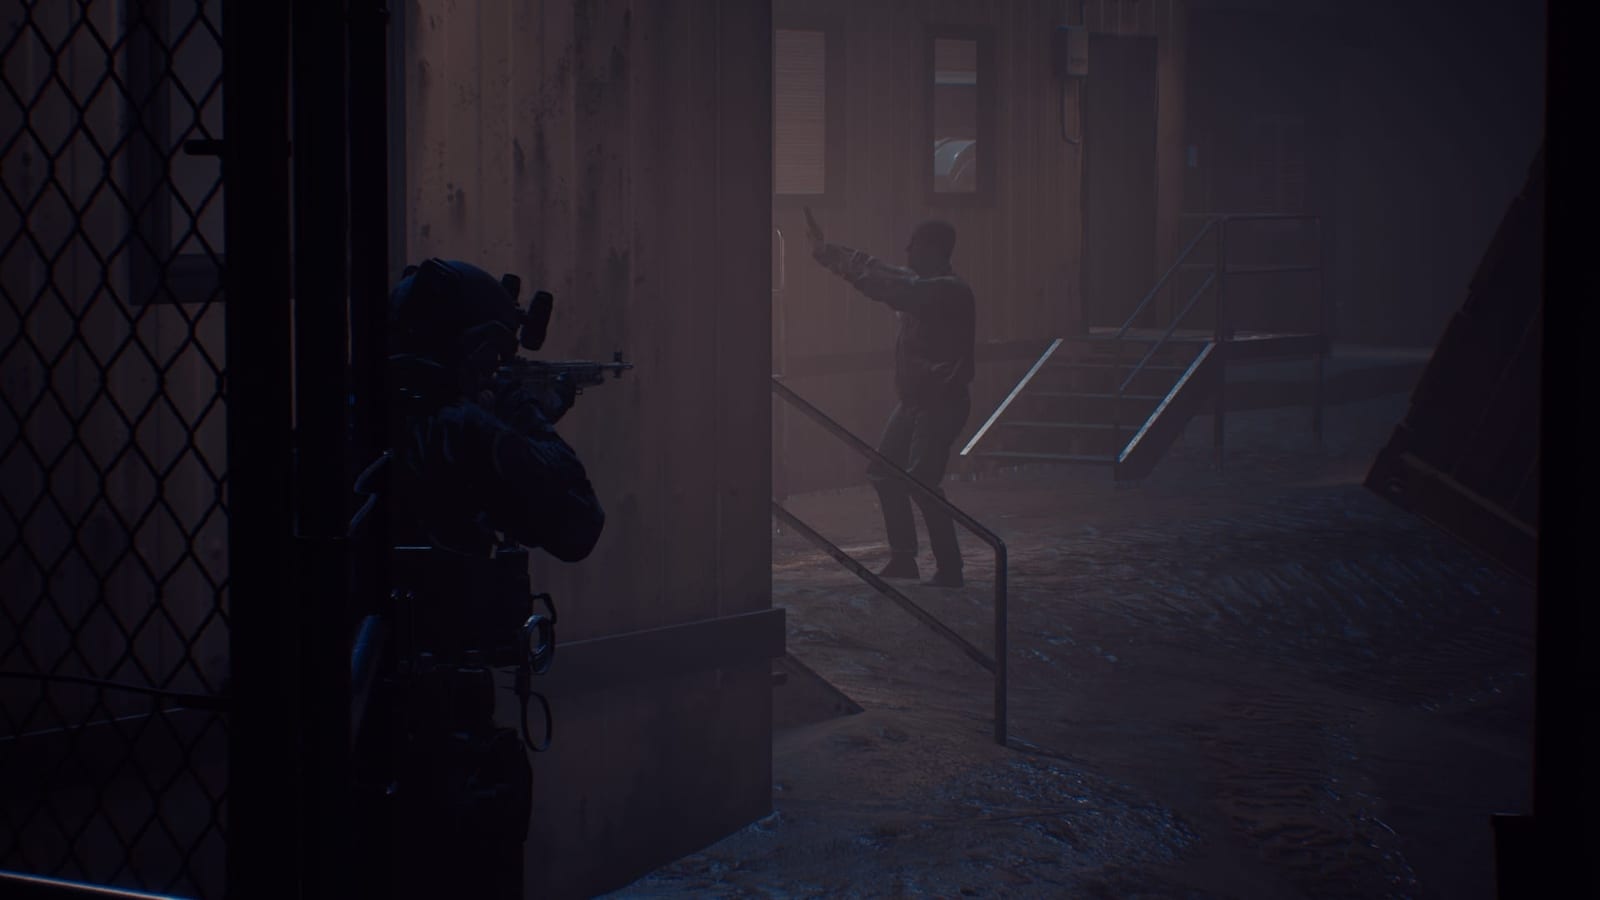
How to change the TOC Sounds in Ready Or Not?
The TOC are the people that you hear talking to you and your squad over the radio. There are also mods available on how you can change the voice or the voice lines used by following the steps below.
- Locate the Content folder
- Select the VO folder (SteamLibrary > steamapps > common > Ready Or Not > ReadyOrNot > Content > VO)
- Locate the TOC folder
- At this point, you can either save a backup of this folder somewhere else then delete it from the VO folder, or rename the folder to something else e.g.: “original_TOC“
- After deleting/renaming the folder, copy the entire modded TOC folder into the VO folder
Same as the sound files, the TOC folder may come inside a zipped file, so just use a zip tool program to get the folder from within.
If done properly, all the TOC voice lines in your next game session should be changed to your selected mod.
We hope that you’ll have fun with all the mods that you add. This might change in the future once the devs finally release their own modding tools or decide to use the Steam Workshop.
If this guide helped you, you may like to check out our other Ready Or Not articles:
- Ready Or Not Crashing? How to Solve It
- Ready Or Not – All Tactical Equipment, Devices, and Grenades List
- Will Ready Or Not be Available on Xbox, PS4 or PS5?
- Ready or Not Player Limit – Multiplayer Support
Also check out this AI mod video for Ready or Not Mods by the15minutegamer:


