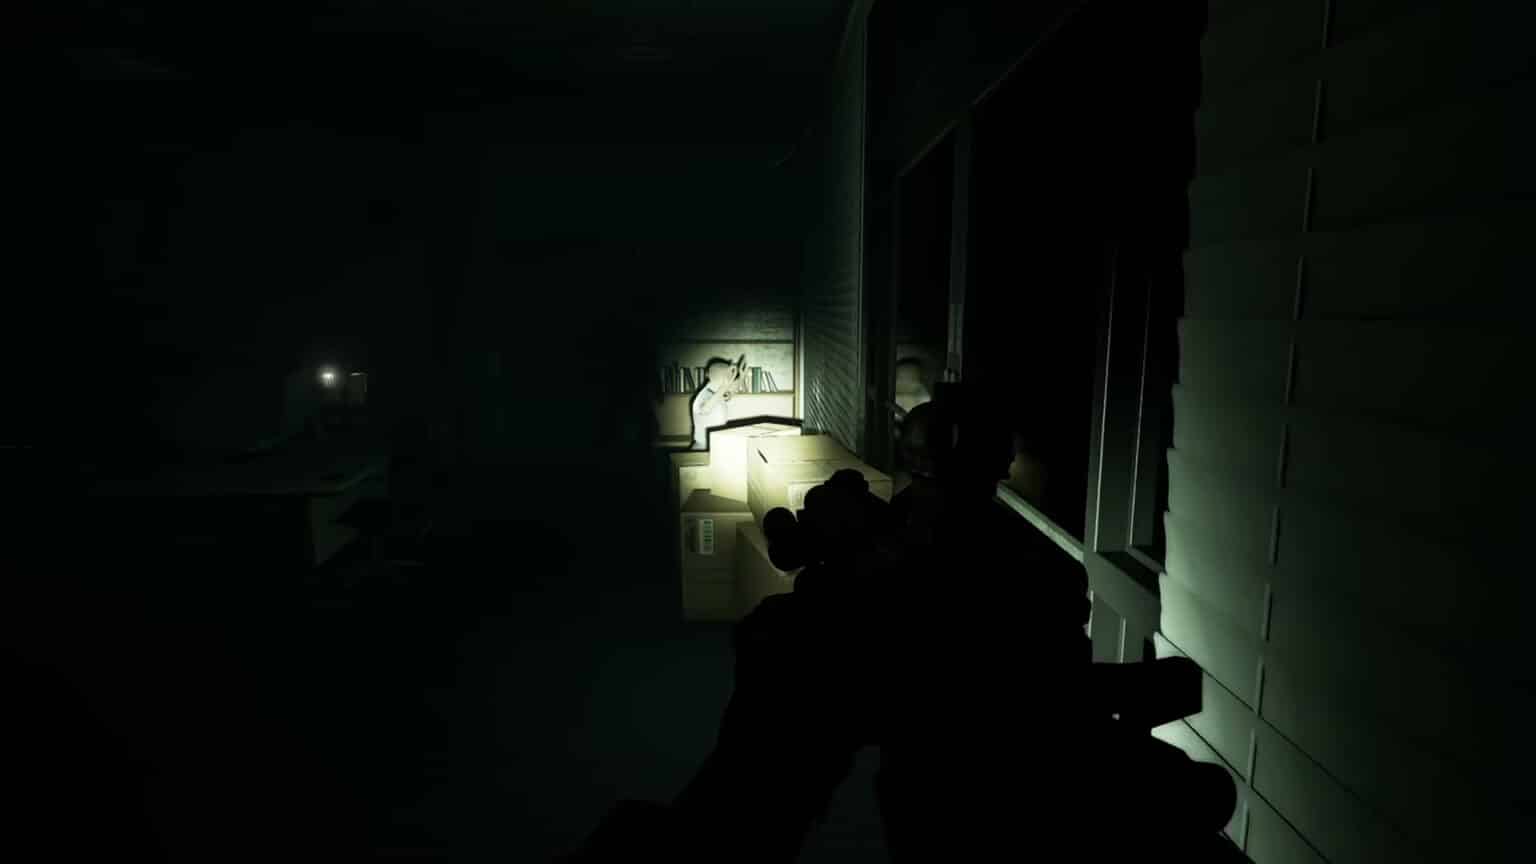
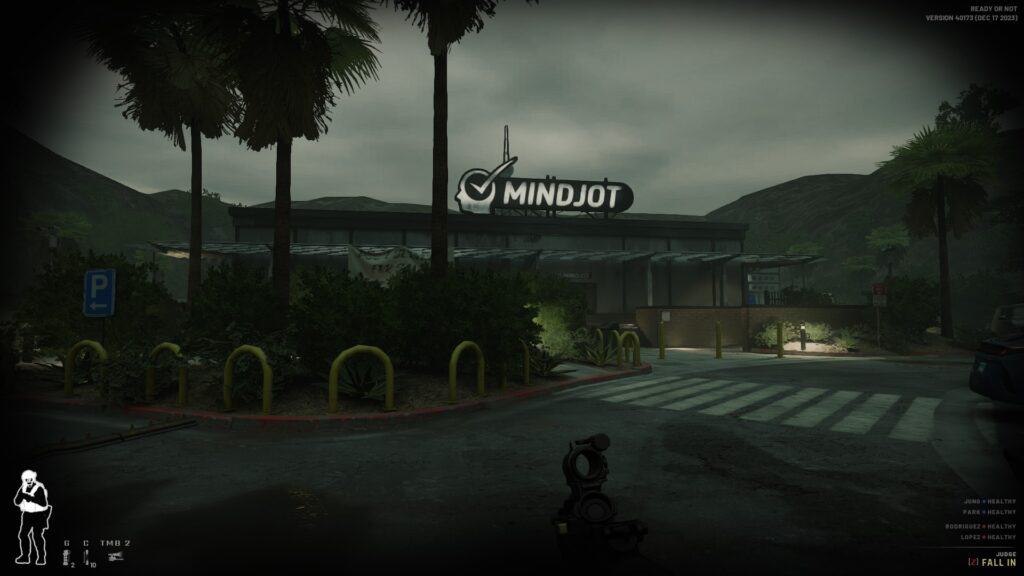
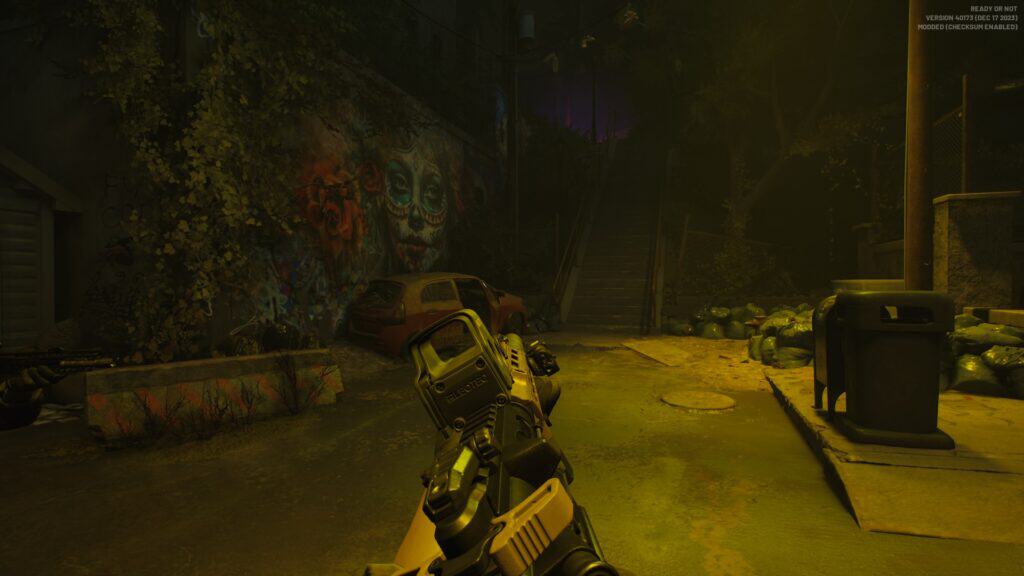
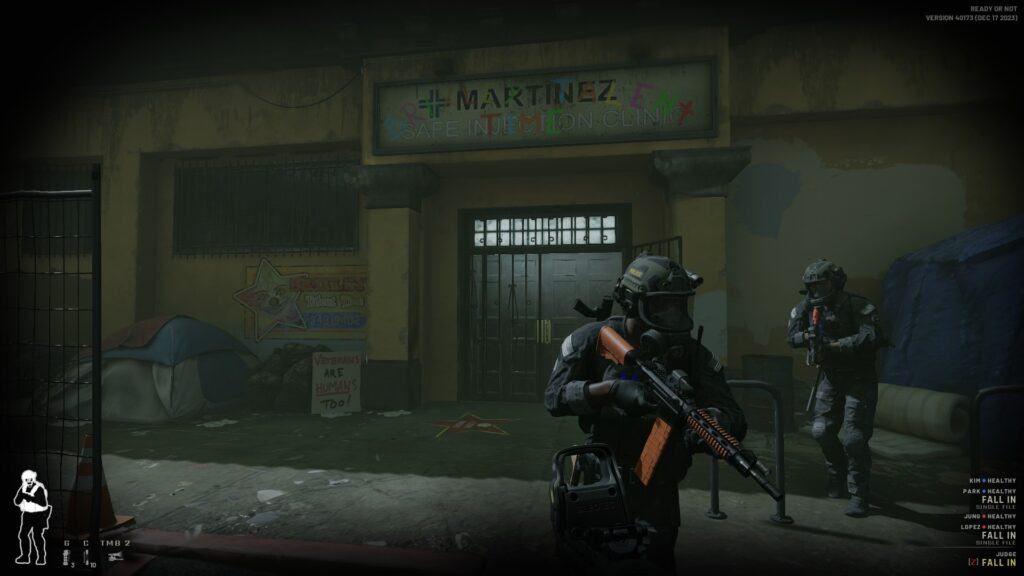
Most of the maps in Ready Or Not are poorly lit or even pitch dark at times, by design or by your squad’s intention. Sure, you can add the night vision goggles, but there are other headwear that you may need. This is where the flashlight comes into play.
How to Equip and Use the Flashlight?
The Flashlight is actually an attachment that you can put on your primary weapon. It can be found under the overbarrel category when using a weapon bench.
There are multiple weapon benches in the station, with the closest one just behind your locker in the locker room and beside the huge mirror. There are also some benches near the firing range and the quarter master.
By default, the flashlight key is bound to the thumb mouse button 2 or TMB2. This is useful for people who have gaming mice, but for those who use a regular mouse or would like to use a different key for the flashlight, you can simply re-map the bindings in the game’s settings.
How to Use the Flashlight effectively?
Flashlights don’t just illuminate a spot that you want to see. With the lack of multiple hand signals, some players have used the simple attachment to communicate with each other without ever making a sound just for the sake of an added challenge and immersion.
Squads do this by agreeing on simple flashing or strobing codes beforehand, and then ensuring that aside from having trigger discipline, they’ll also have flashlight discipline so that they can communicate effectively.
There’s no consensus within the game’s community yet on what the standard codes are, but it’s just going to be a matter of time. You and your friends can try this out and make up your own flashlight language, too.
This YouTube video from Karmakut is an example of the flashlight comms in action.
If this guide helped you, you may like to check out our other Ready Or Not articles:
