
Testing Ground 2 is one of the areas in Atomic Heart that is an optional place to go through to get weapon blue prints and upgrades. Testing Grounds, also known as Polygons, are usually filled with puzzles and obstacles, as well as enemies that patrol the area.
Read ahead as we go through the steps on how to complete Testing Ground 2 in Atomic Heart, as well as share the locations of where the Loot-yagins can be found.
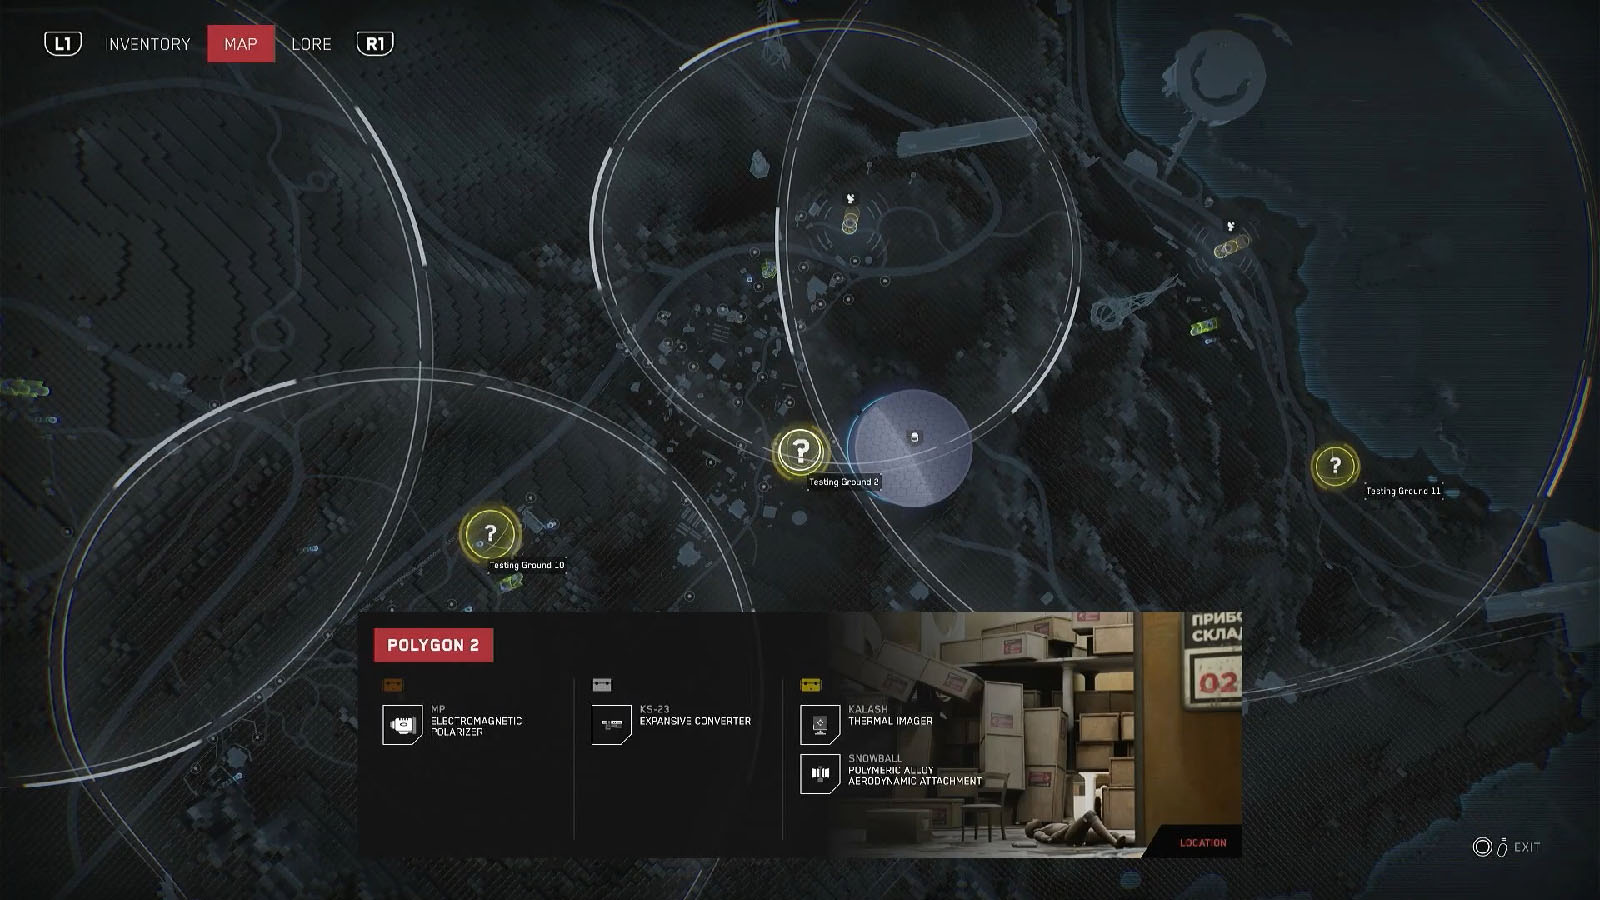
How to access Testing Ground 2
Head to the area marked as the Testing Ground 2 and look for the building that has a blue roof. The door to this building will still be locked, so look for the nearby platform directly south of this building.

Interface with the antenna on top of the platform and access the camera to the west of the blue-roofed building since it has a clear view of that building, so that you can hack its door open. You can then head over to the building and ride the elevator down to the testing grounds.
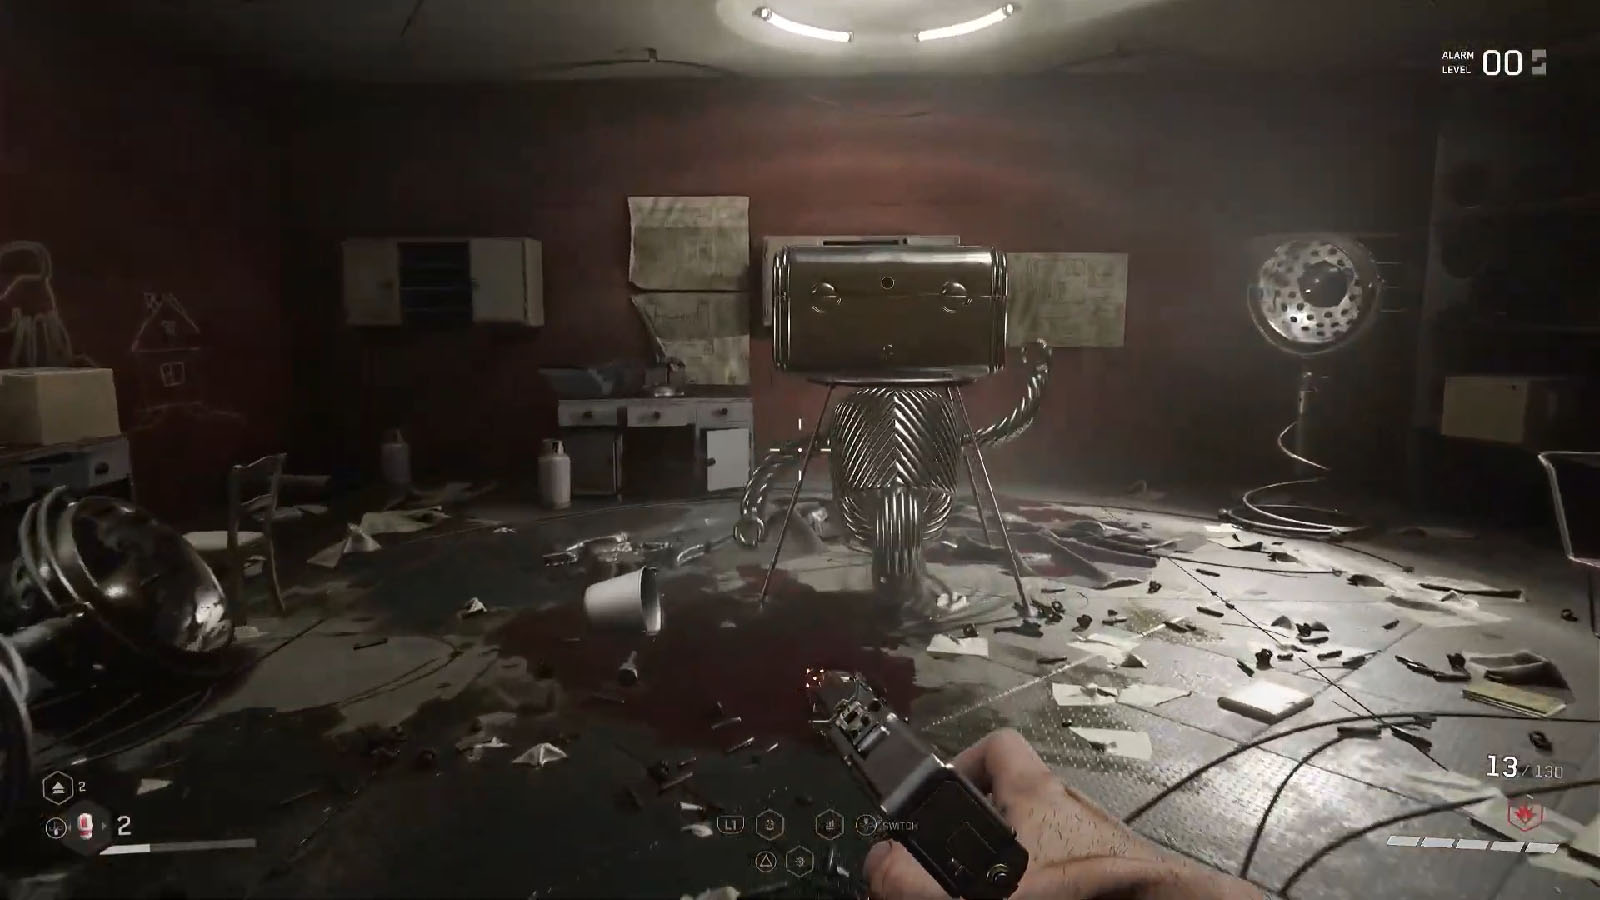
Bronze Loot-yagin – MP Electromagnetic Polarizer
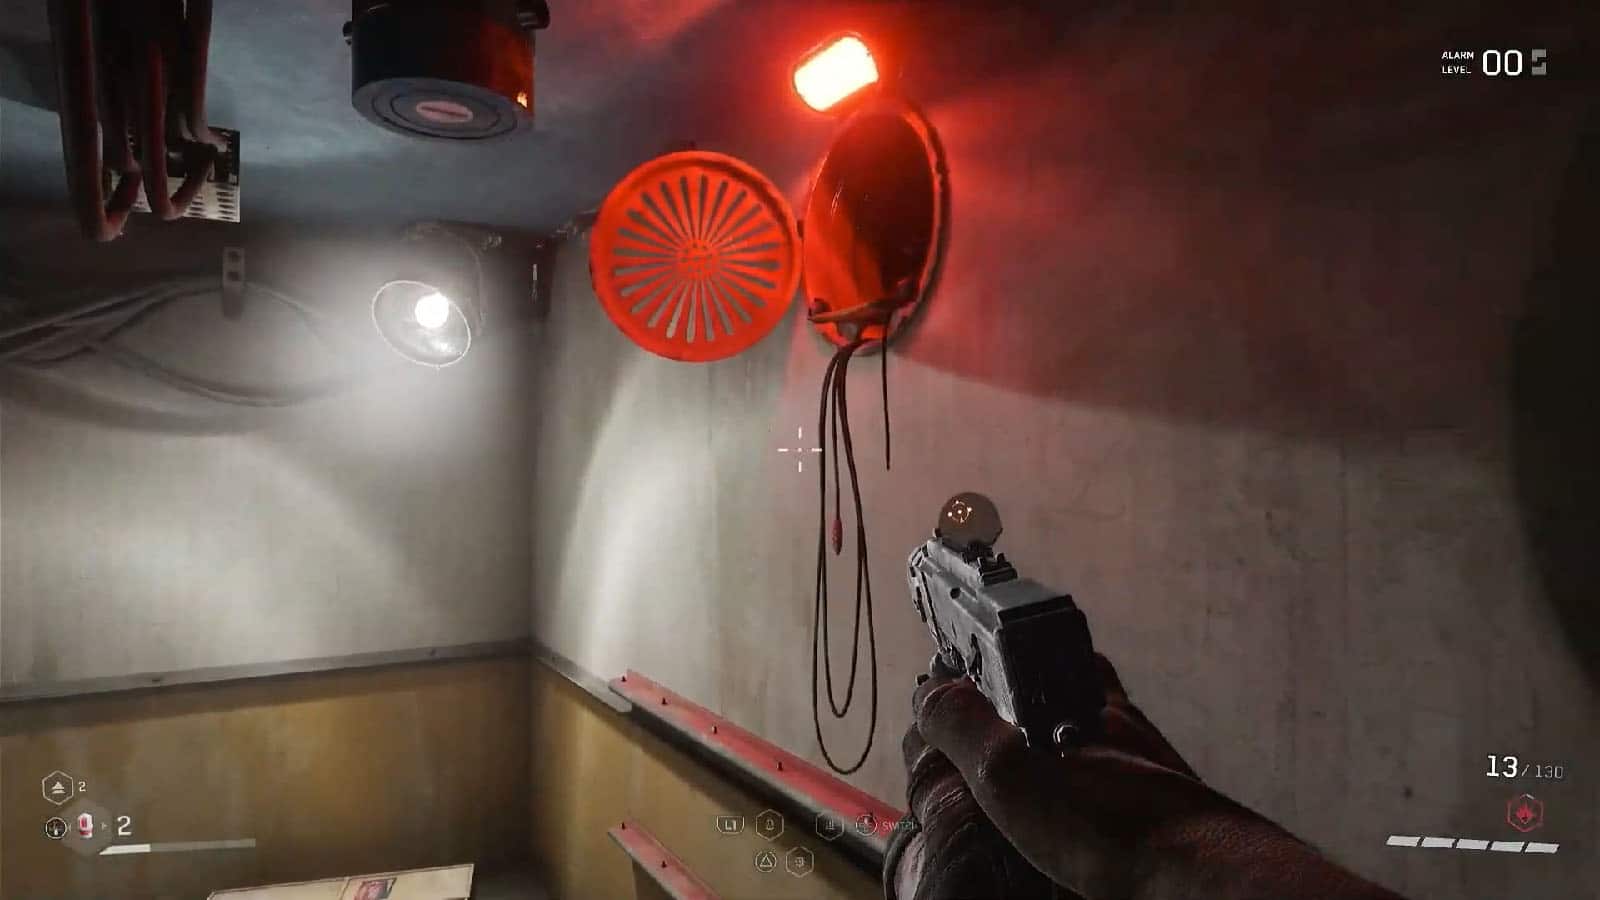
Immediately as you exit the elevator, turn left, then turn left again, then go straight through the corridor into the next two adjacent rooms where you’ll find a magnet door. Reverse the polarity of the magnets through the window to open the door. Then turn the wheel near the window until the three dots are positioned on the top of the wheel.
Make your way through the revolving platform, then turn the next wheel until the four dots are on top. Jump to the next revolving platform, then go through the door behind the cabinet. The room on the right has the Bronze Loot-yagin which contains the MP Electromagnetic Polarizer.
Magnet room #1
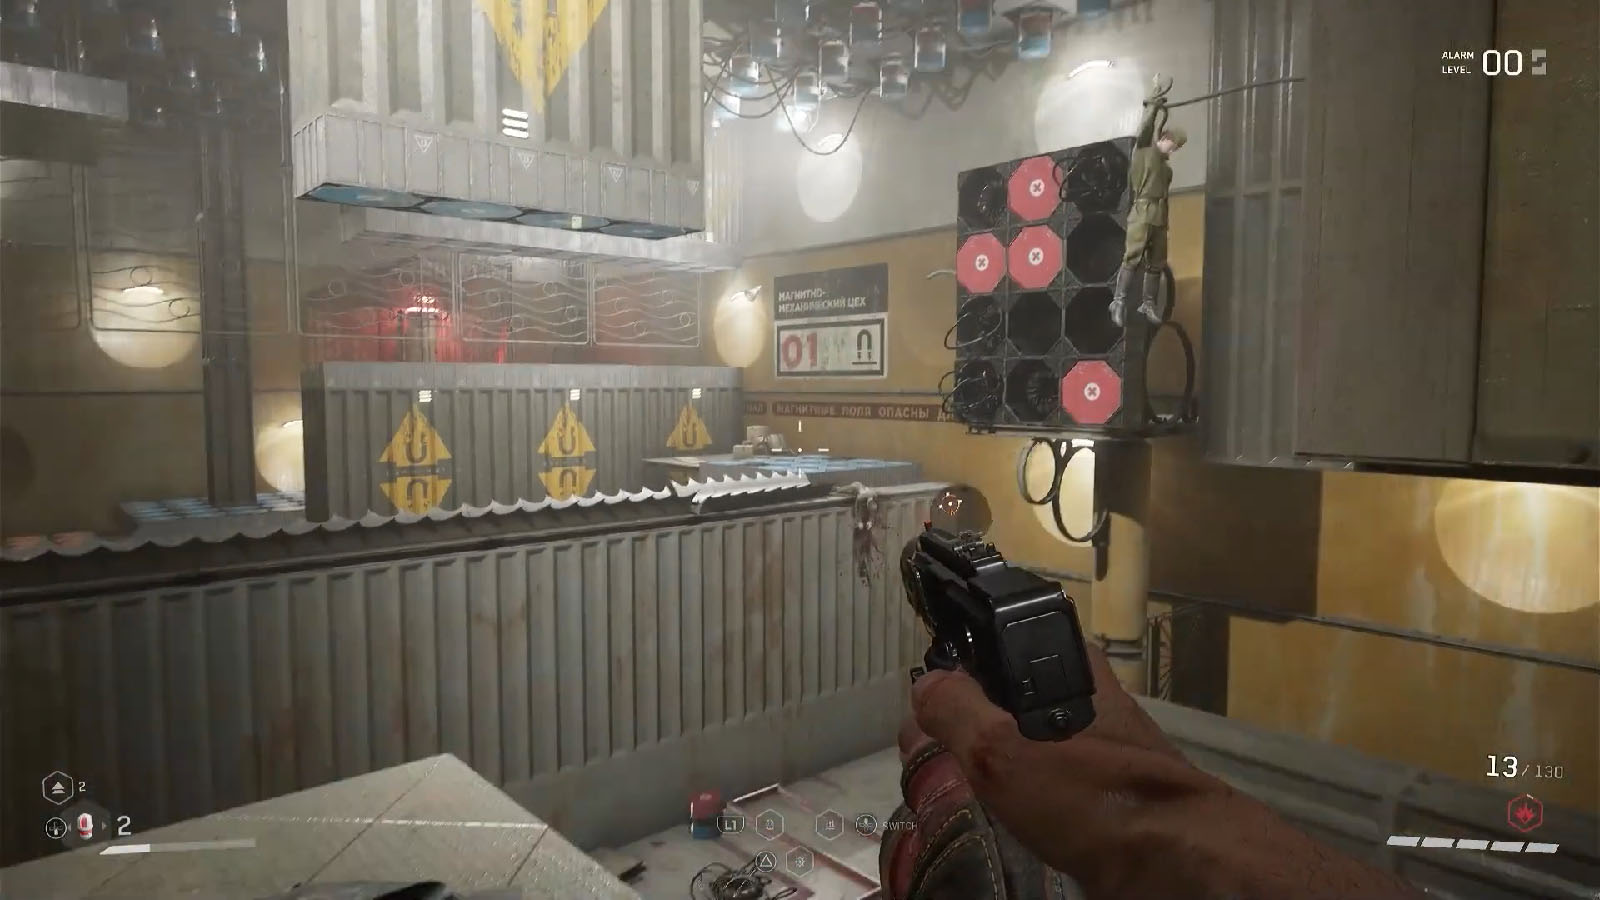
For this room, look for the magnet wall that have ledges that you can grab on to. Reverse the polarity, then immediately grab on to the ledge as it goes up. Move towards the next wall to the right, then move towards the left where you’ll have to jump towards the next red platform.
Reverse the polarity again to lower the next platform across, then leap to it. Then you’ll need to alternately reverse the polarities to cross the next remaining platforms and reach the ledges ahead. You’ll eventually arrive at a magnet wall that goes sideways that can bring you closer to a vent.
Silver Loot-yagin – KS-23 Expansive Converter
Make your way through the vents until you arrive at a room. To the right is a room where you can find the Silver Loot-yagin and get the KS-23 Expansive Converter.
Magnet room #2
Head back to the place where you crawled out of the vent and reverse the polarity of the magnet nearby to reveal a door to the next magnet room.
To cross this room, start by reversing the polarity and go towards the right side; you can jump and clear the magnet wall or move it away to access the next platform. Then, alternately reverse the polarities again as needed so that you can cross over to the next platforms. The door leading out of this room is gated and the entrance is on the top.
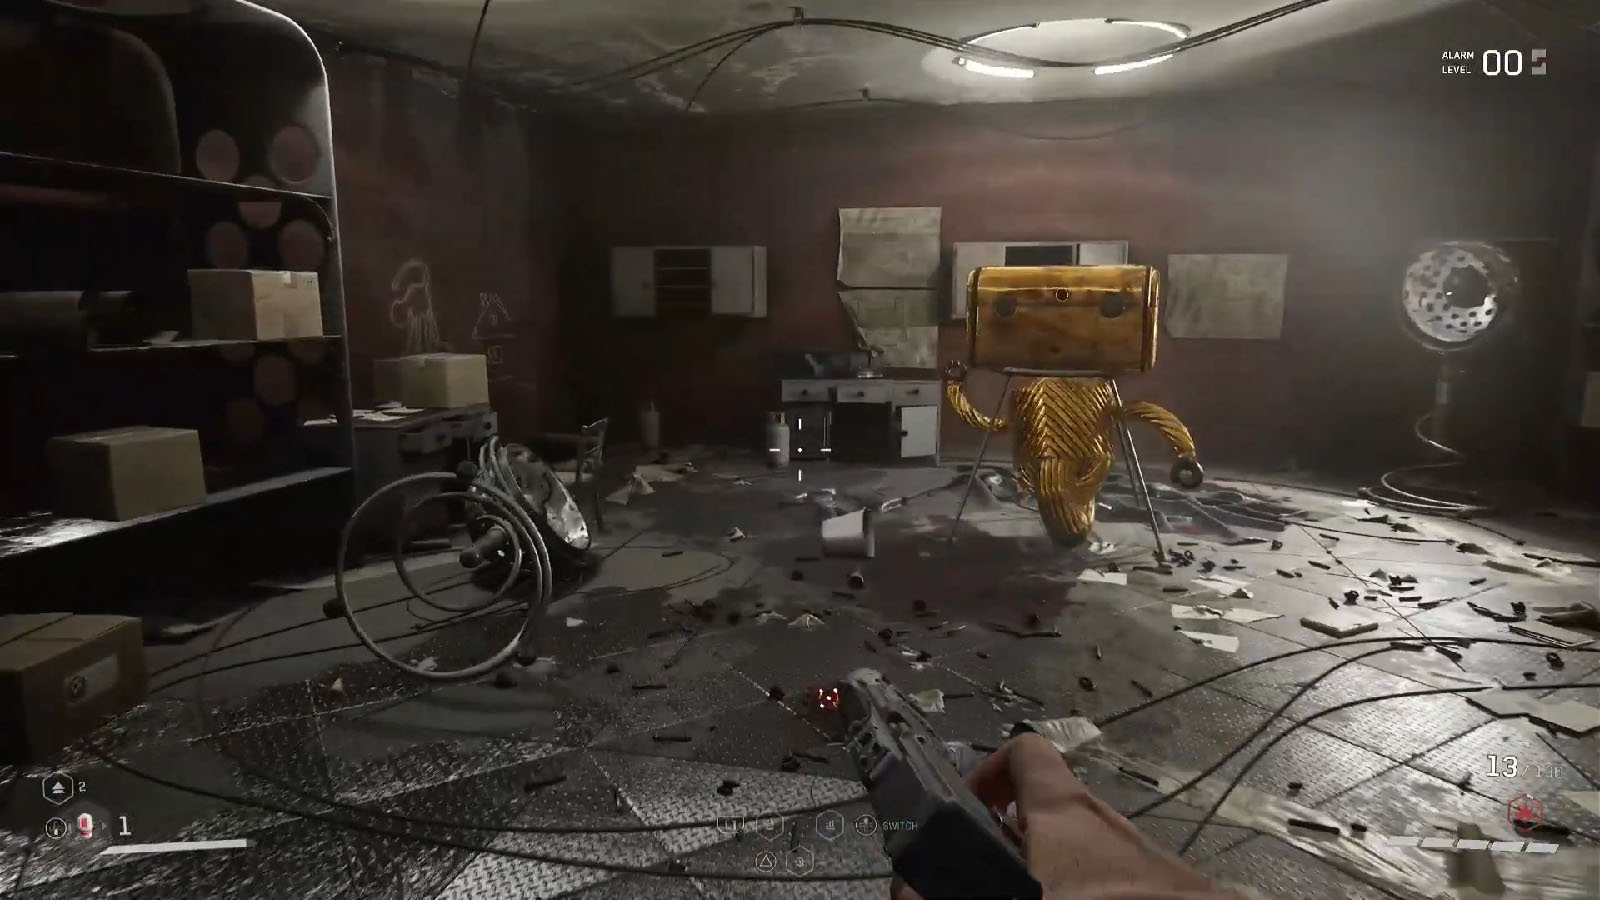
Gold Loot-yagin – Kalash Thermal Imager / Snowball Polymeric Alloy Aerodynamic Attachment
Turn right inside the next room and you’ll find the room that has the Gold Loot-yagin which contains the Kalash Thermal Imager and Snowball Polymeric Alloy Aerodynamic Attachment. You can then ride the elevator to exit the testing ground.
Check out this video by 100% Guides showing how to complete the Testing Ground 2 in Atomic Heart:


