
Ketchcrash is the newest seasonal activity in Destiny 2 where Guardians take part in the intergalactic naval battles against space pirates. Though the setting where the fights happen is quite different from previous seasonal activities, the objectives are still the familiar ones, with some few changes on the mechanics to keep things interesting.
In this guide, we will walk you through the Ketchcrash activity and share some tips and tricks on how to complete the Destiny 2 Ketchcrash mission quickly.

How to unlock the Destiny 2 Ketchcrash Activity
To unlock the Ketchcrash activity, you must first go through the seasonal mission where you have to rescue Spider from being captured. Once Spider is free, you will meet him at his base where he will give you the Ahoy and Aweigh quest. This quest will require you to clear your first Ketchcrash activity.
After clearing Ketchcrash for the first time, it can be done again by going to the H.E.L.M. and you will see the activity on the left hand side.
How to complete Destiny 2 Ketchcrash Mission
Ketchcrash has five main parts, with the last part putting you and your fireteam against the boss. This activity can be played with a 6-man fireteam or less and it is recommended to have at least 1520 power level before joining the activity.

Part 1: Defend from the Pirate attack
For the first part, you will spawn on your ship that is being boarded by pirates. You will have to defeat the first few waves as the continue dropping off from skiffs.
Once enough pirates have been defeated, your next task is to align the Cannon Accelerators. There will be four spots on the ship’s deck where you and your teammates will have to occupy. Stand in the circle for a few seconds until the Cannon Accelerators are aligned, after which a new wave of pirates will be dropping in.
Do your best to keep these pirates away from getting into the circles as they can mess up with the charging of the cannon. After holding the spots long enough (as shown by the progress meter) you will hear a whistle signaling you and your fireteam to enter the cannon and get yourselves launched to the pirates’ ship for a counter-attack.
Once you have boarded the pirate ship, interact with the console in the center of the chamber to proceed to one of three possible sections of the ship.
Part 2: Sabotage the Ship #1
The second part of the activity will have you go one of the three possible sections of the ship. The second and fourth parts that you will have to clear will be different in each run, but you will not go through the same room in the same run twice.
- Ether Storage
For this room, you will have to destroy cannisters that are scattered within it using Ether Charges. These charges are dropped by Gunnery Mates and they usually drop five of them at a time. Once you pick up a charge, you will need to throw it towards a glowing cannister. It will explode, destroying the cannister with it.
There are some cannisters that a close to each other and throwing a charge in between them will cause both to be destroyed at the same time. Also, these charges can also be used against enemies that will continuously swarm the room until all cannisters are destroyed; be careful when throwing charges as it may be accidentally intercepted by a nearby enemy, causing it to explode and deal friendly fire damage to you and your mates.
- Maintenance Bay
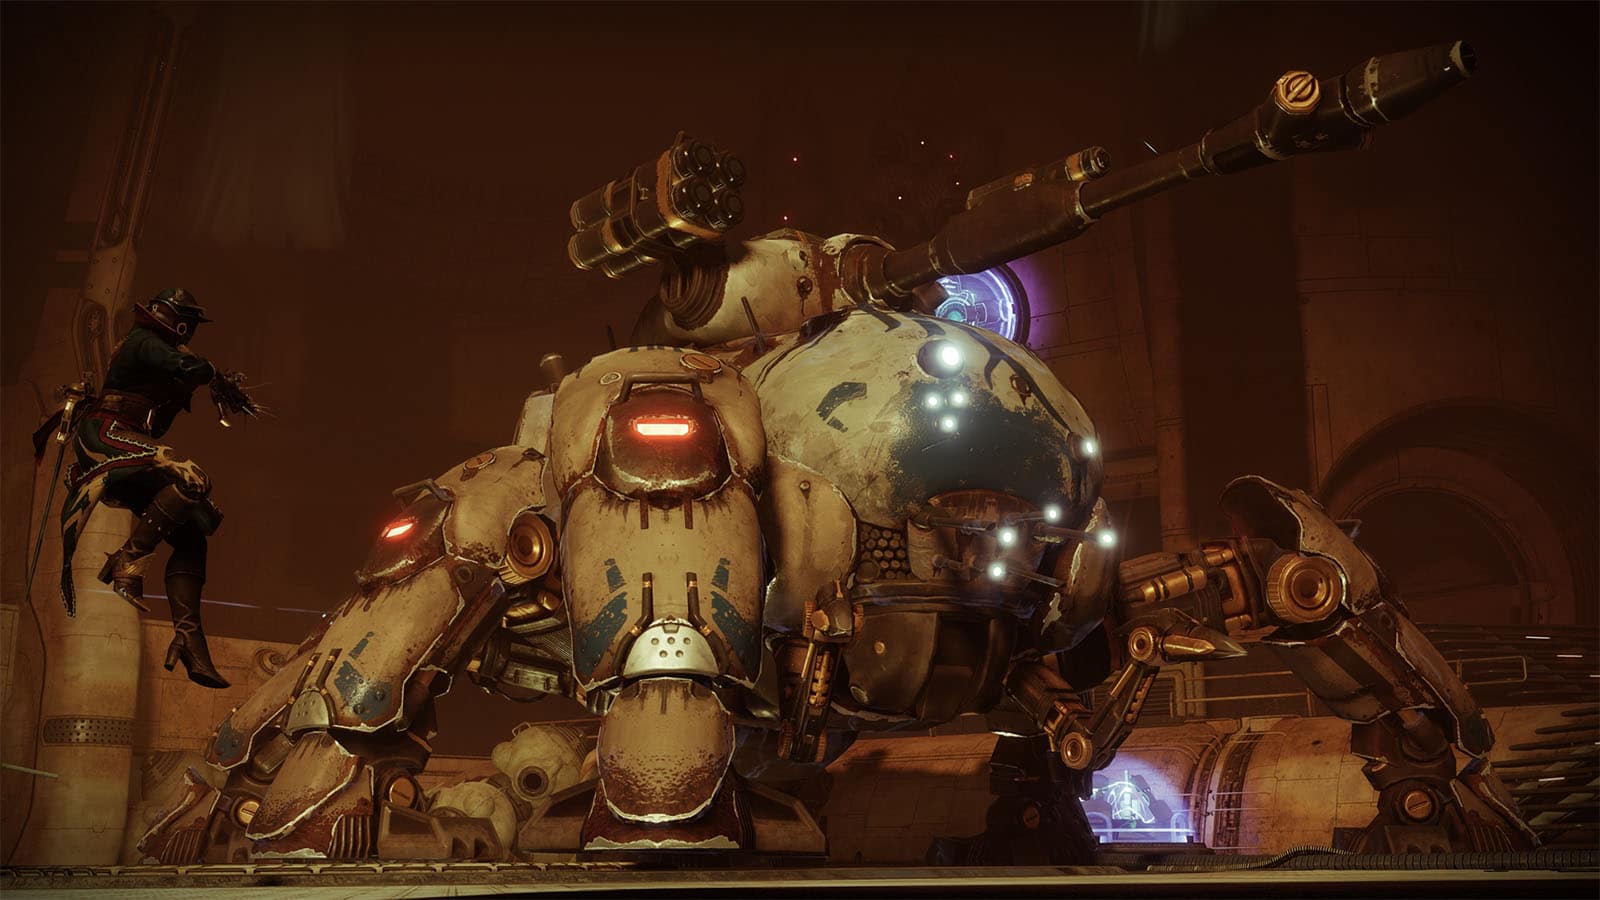
For this room, you will have to face against two Walkers. Deal damage to them until they get their invincible shield. You will then have to defeat a Scorch Captain that is wielding a Scorch Cannon. Once you obtain the cannon, you will then have to shoot five of the shield generators to bring the Walker’s shield down.
Make sure to hit the shield generators as the cannon only has ten shots in it, otherwise you will have to wait for another Scorch Captain to spawn. In case you have some ammo left on the cannon, use it to destroy the other shield generators that are pointing to the other Walker.
Continue with the DPS phase on the Walker until it reveals its weak spot. Shoot ithe weak spot to bring it down faster.
- Below Deck
For this room, you will have to defeat the ship’s Security Optic which looks like a giant cybernetic eye in the middle of the room. But first, you will need to hack into three of its terminals which are guarded by Security Servitors.
Defeat these Servitors in order to gain access to the terminals. Hacking will commence as soon as you step in range within the terminal. Once all three terminals are hacked, you can then deal damage to the Security Optic.
Be careful when fighting against this sub-boss as there will still be a lot of adds that will show up, plus it the Security Optic will shoot out a cone of light to where it is looking at that causes a movement speed debuff to anyone that gets caught under its gaze.
Part 3: Captain’s Quarters
After clearing the second part, you will then gain access to the Captain’s Quarters where more adds will be spawning. Despite the name of the room, you won’t be fighting any major bosses yet as there will only be enemy servitors present. Once the room is cleared, access the central terminal to proceed to the next room.
Part 4: Sabotage the Ship #2
The fourth part of the activity will be another room between the remaining two rooms that you haven’t encountered yet in part 2. There will not be any additional mechanic if any of the three rooms are encountered as the fourth part of the activity.
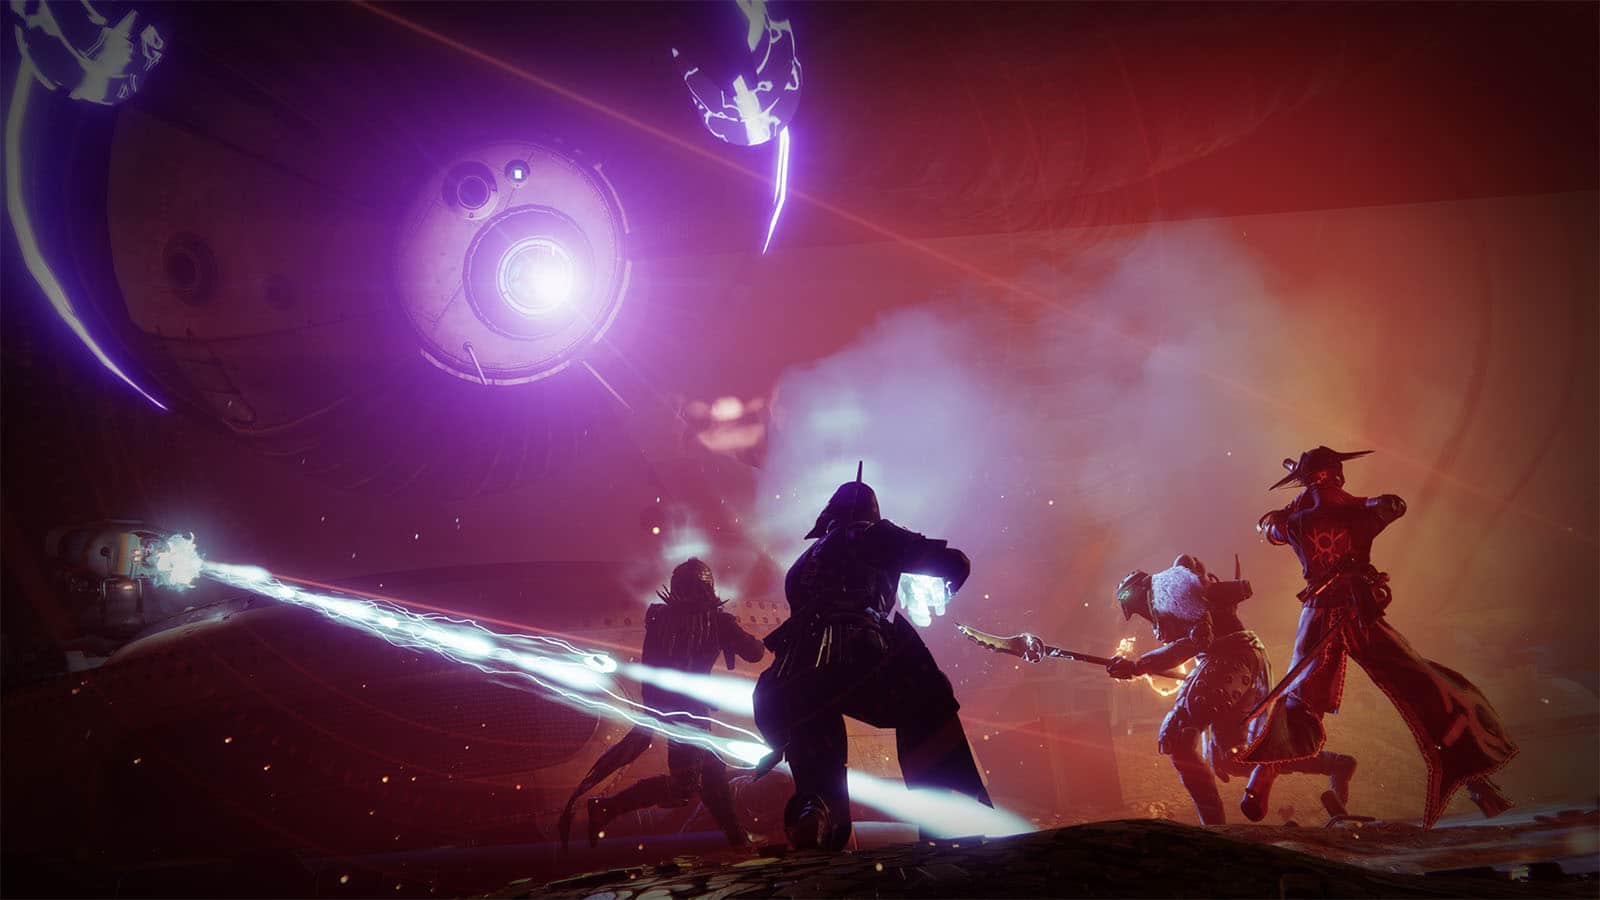
Part 5: Boss Fight
Finally, you will arrive at the top deck of the pirate ship where you will encounter the boss of the week. There will be new bosses that will appear in this final leg which changes every week.
- Aye-I, Privateer
For the first week, you will have to defeat Aye-I, Privateer which is a pumped up version of the Gunnery Mates. Once its HP reaches a certain threshold, it will call upon its Servitors that will give it an invincibility shield. You will need to destroy the Servitors first in order to bring down the shield and continue dealing damage to the boss.
- Ransaaks, Privateer
For the second week, you will have to defeat Ransaaks, Privateer. It has three damage phases wherein each threshold reached will be marked by a wave of dozens of adds, along with Ransaaks heading outside the top of the ship, and heading back in. The difficulty in the fight relies on how good you or your fireteam is at controlling the swarm of adds that will be flooding the arena.
Destiny 2 Ketchcrash Rewards
Defeating the boss will reward you a loot chest that contains the following:
- One Season of Plunder Gear
- Map Fragments
- Glimmer
How to summon crewmates in Ketchcrash
You can summon crewmates to aid you in battles in either the Ketchcrash or in the Expedition missions.
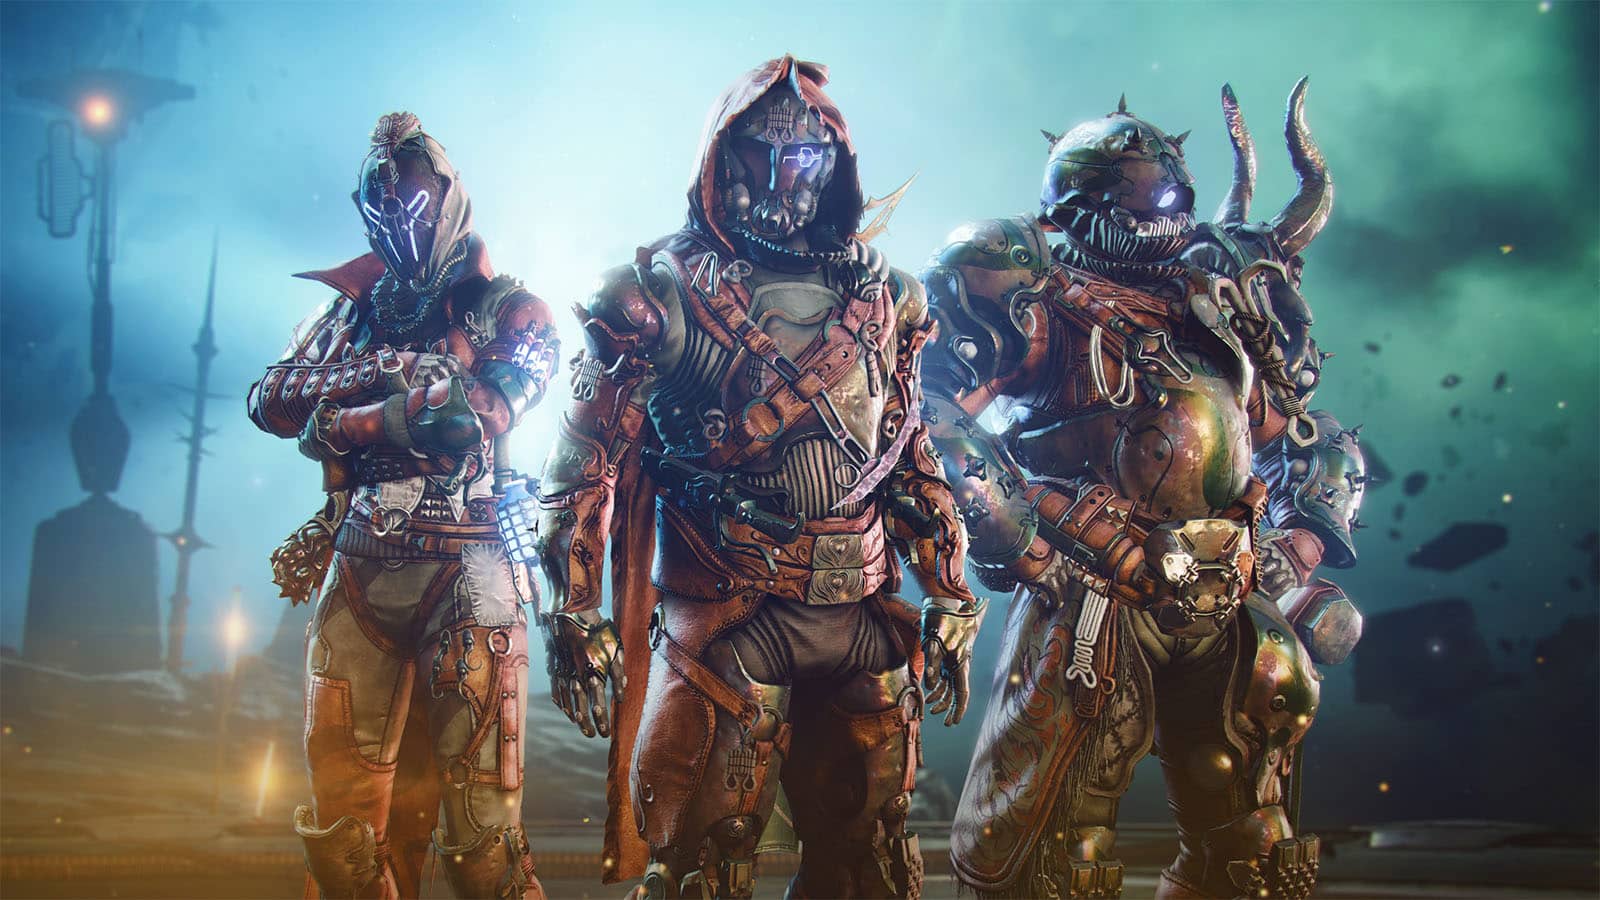
First off, you must have them unlocked over at the Pirate Crew menu within the Star Chart at the H.E.L.M.. There are three types of crewmates that can be summoned in an activity: SCUR-V, Halsiks, and the Skiffblades. Each type can be unlocked using Reputes which can be gained by completing certain seasonal challenges. These crewmates can also be promoted to higher ranks, but they can be summoned even at base rank.
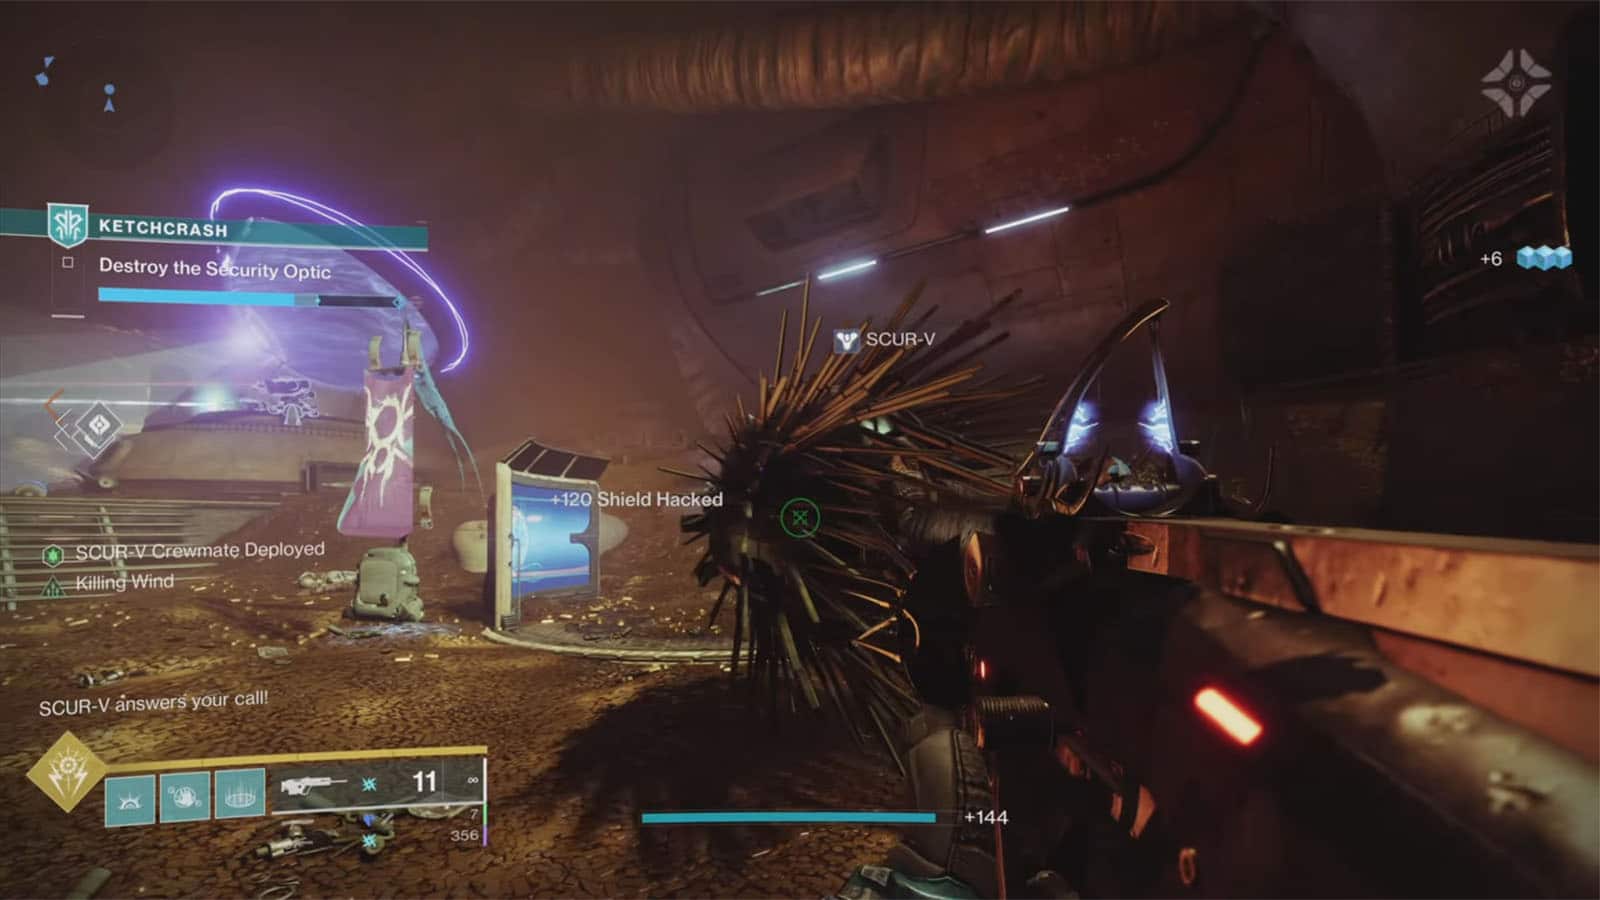
To summon them in battle, you must find the rally flags that appear within the map of the current activity. These flags can appear as different colors which will tell you what crewmate will be summoned: violet for SCUR-V, yellow for Skiffblades, and teal for Halsiks. Once summoned they can stay in battle for a few minutes before they despawn or die, after which you can interact with the same flag to re-summon them. Each of these crewmates provide a buff when they are out on the field:
- SCUR-V: increased reload speed
- Halsiks: increased precision damage
- Skiffblades: increased melee damage
If you like this guide, be sure to check out our other Destiny 2 articles:
- All Season Pass Rewards for Season of Plunder Destiny 2
- New Arc 3.0 Aspects and Fragments in Destiny 2
- New Seasonal Artifact Mods for Destiny 2 Season of Plunder
- Destiny 2: How to Solve All Cryptic Quatrains II Riddles
- Destiny 2 Weekly Reset August 30 Season of Plunder – Story Continuation, Weekly Activities, Vendors, and More
- Destiny 2 King’s Fall Raid – How to Beat All Encounters
- Top 12 Best Weapons God Rolls to have for Destiny 2 Season of Plunder
- Destiny 2 Season of Plunder Exotic Weapons & Armor
- Best Destiny 2 Arc 3.0 Warlock Build
- Best Destiny 2 Arc 3.0 Hunter Build
- Best Destiny 2 Arc 3.0 Titan Build
Check out this video by Darkhowl Gaming showing how to clear the Ketchcrash activity:


