
Oryx, the Taken King, and King’s Fall make their glorious return after nearly half a decade in stasis. But not content with rehashing the same old Raid, Bungie saw fit to make sweeping changes this Destiny 2 Season of Plunder. The newly returned raid is going to be a thrilling experience for new players and grizzled veterans. (Don’t worry guys, it’s almost like how you guys remember… if only with a new coat of paint and subclass 3.0 friendly.) Here’s our guide on how to beat King’s Fall in Destiny 2.
Destiny 2 King’s Fall Raid Preparations
Before you run the raid, you need to make sure you’re kitted out for all the different situations that you may encounter. The best gift you can give to your fire team is just to be flexible. Whether that’s just having multiple characters at the ready or just prepping one character with many different build options – either of these will greatly increase your chances of accomplishing the raid. Luckily though, the power level cap for this raid is 1560.
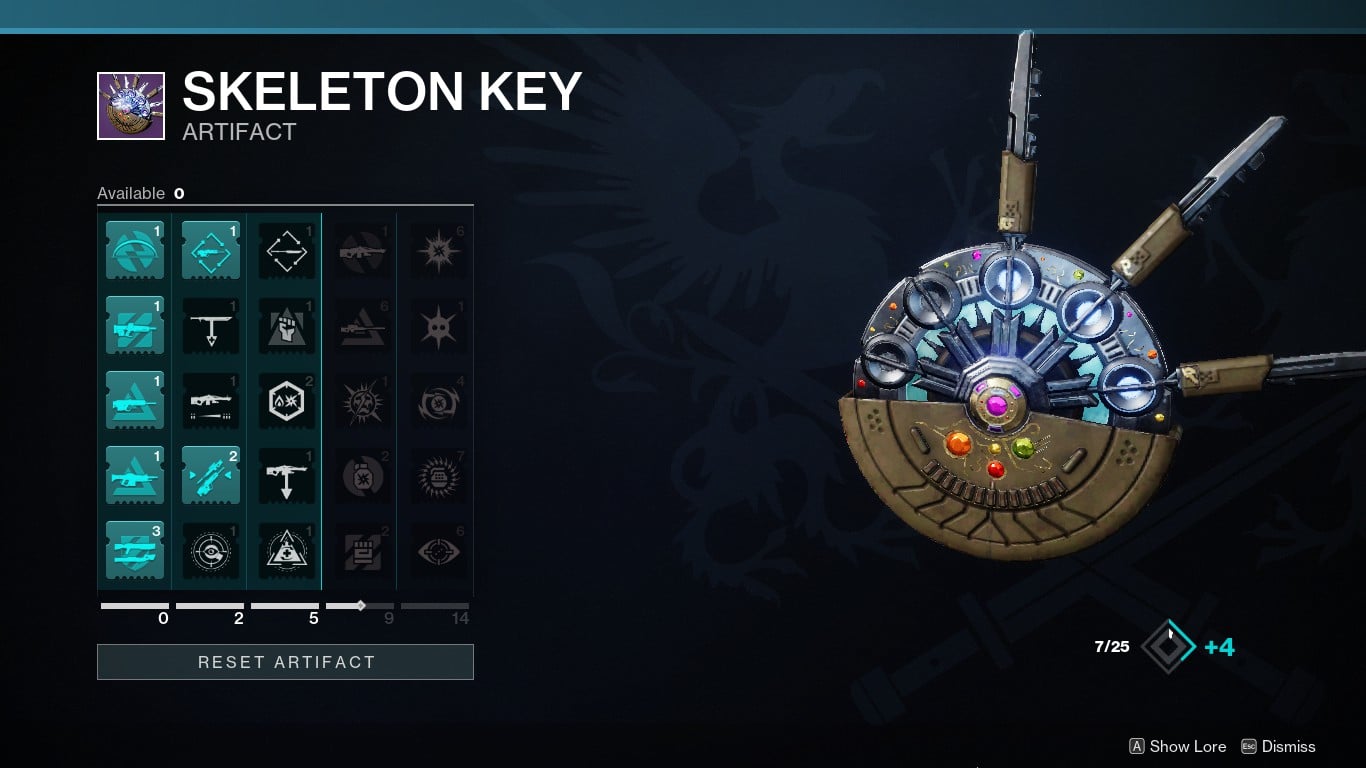
Looking at the Artifact mods for this season, there’s nothing really that stands out that’s incredibly broken. No Classy Restoration.
But here’s what we recommend for this raid: (Tier 5 mods)
- Sundering Glare
- Rapid precision hits against distant combatants weaken them for a short duration.
- Thunderous Retort
- Grants bonus Arc Super damage if cast while critically wounded or while amplified. Lasts until the end of the Super activation.
Sundering Glare actually gives you a 20% debuff after landing precision hits. And no, it doesn’t stack with weapons like Divinity which results in 30% debuff. Still, it may prove to be more useful in some encounters and there are a lot of these encounters where there’s enough distance for Sundering Glare to take effect.
Another thing you would want to do is to have max Resilience. Ever since Bungie made the changes to the stat, having 100 Resilience or more makes a helluva lot of difference. And from what we can tell, anything in the, let’s say, 60 range and you’re bound to be one-shot most of the time.
Make sure to grab Raid Banners! It’s going to help. A lot.
So, before we go into the raid itself, let’s go through the challenges.
Destiny 2 King’s Fall challenge modes per encounter
- Challenge Totems – The Grass is Always Greener – Players cannot take the same Brand type twice in a row.
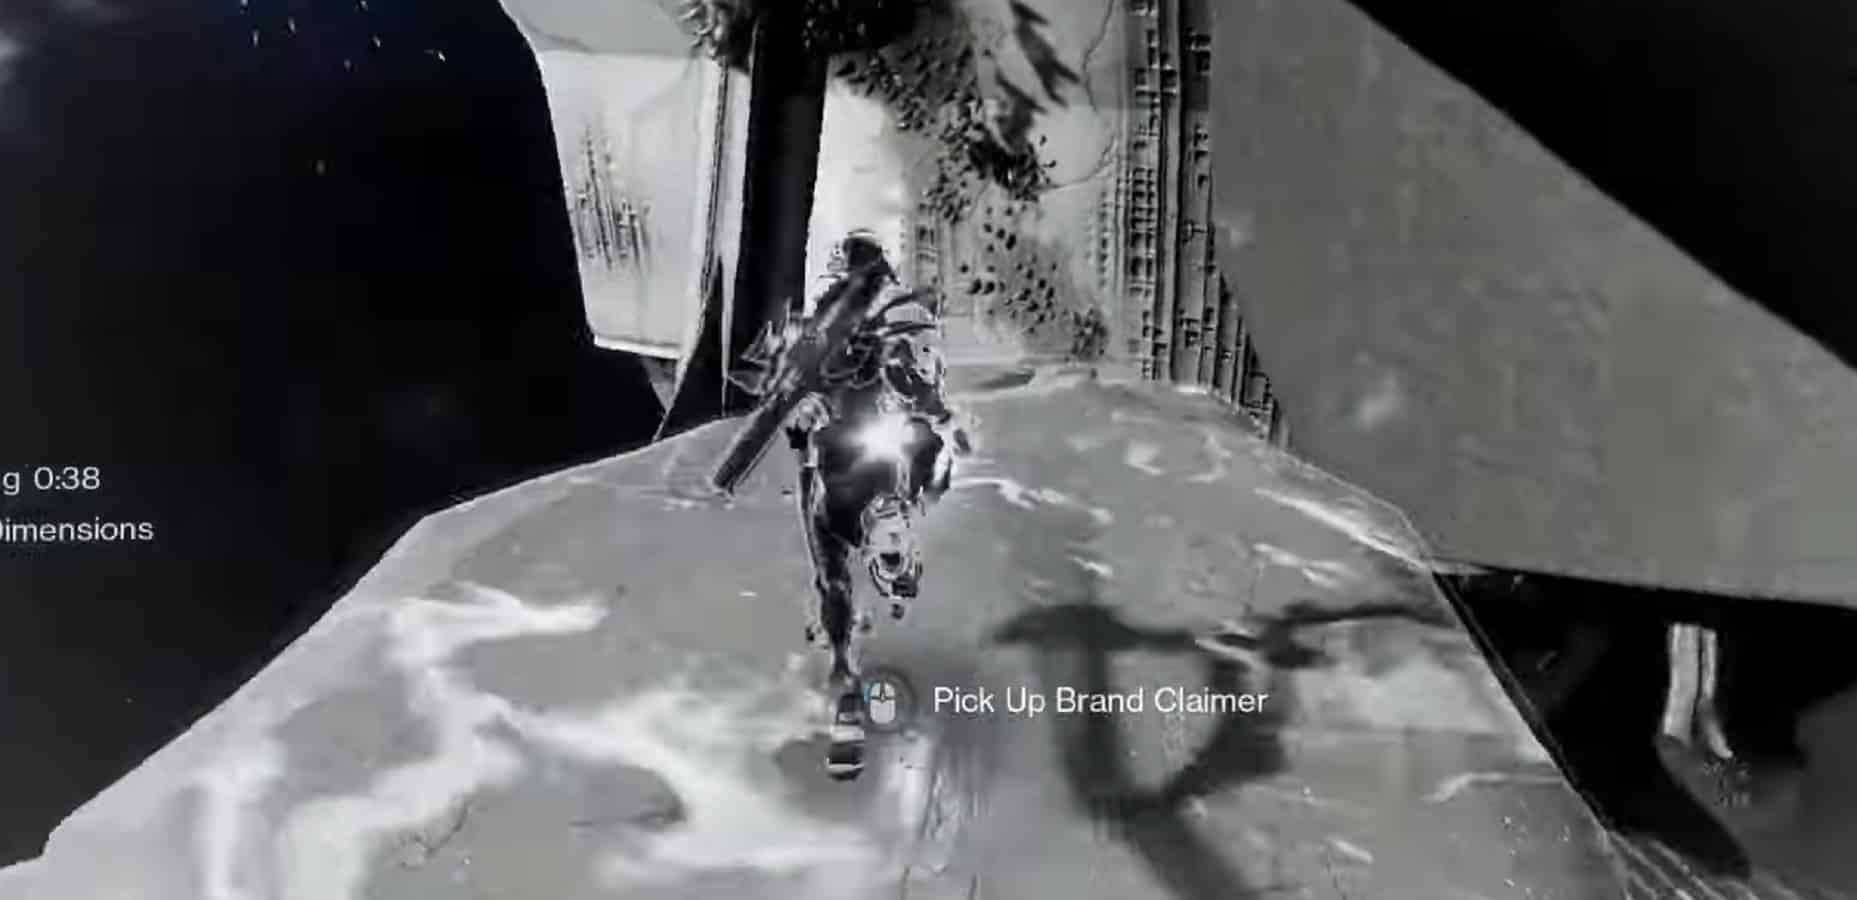
- Challenge Warpriest – Devious Thievery – Players must steal the Brand of the Initiate within a couple of seconds of taking the Brand Claimer buff.
- Challenge Golgoroth – Gaze Amaze – The gaze holder must stand in the Pool of Unclaimed Light when swapping the gaze.
- Challenge Daughters of Oryx – Under Construction – Players cannot not stand on the same plate twice in a single phase.
- Challenge Oryx – Hands off – Players must not kill the same Ogre or Light-Eater Knight throughout the encounter. (Knights located on plates do not count.)
Destiny 2 King’s Fall Raid Walkthrough
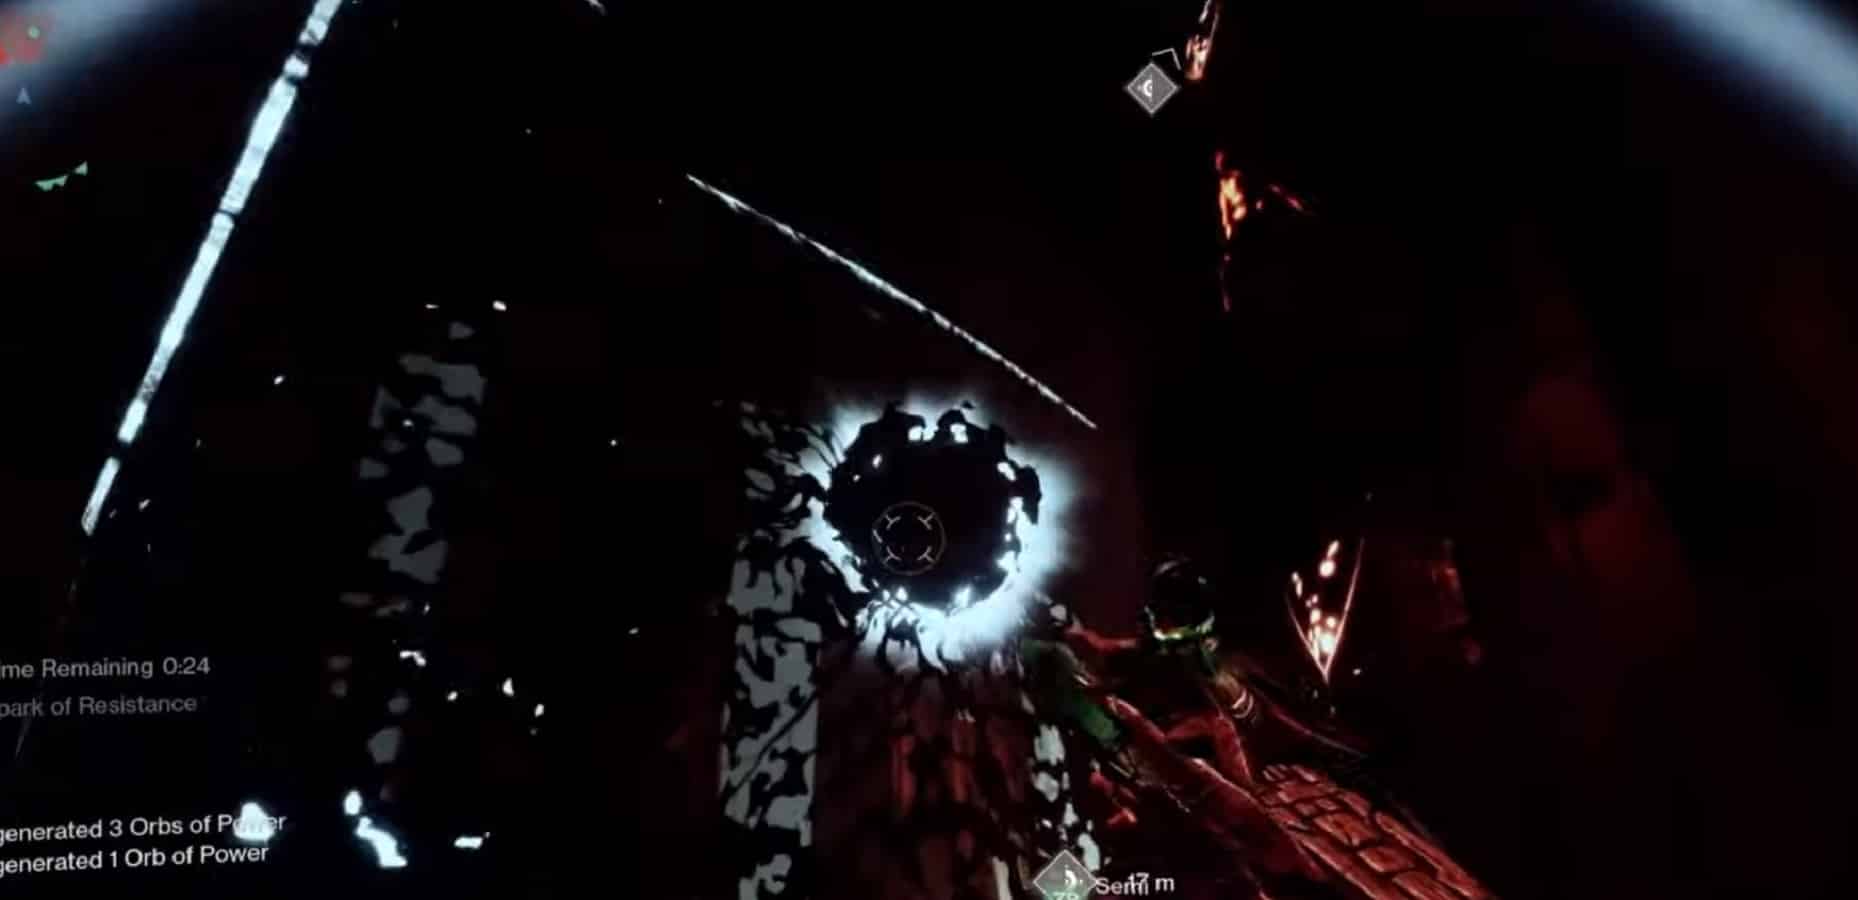
King’s Fall Introduction
The opening sequence of the raid is very simple. Your entire team will spawn in at the back of the dreadnaught. You should shoot the ball of darkness that’s keeping the barrier up and from there you all should have access to the Hall of Souls.
You have the option to split your team into 3 groups of 2. Two teams will be splitting off into the side chambers while the third team of 2 is tasked with Add clearing. One member of the team will be grabbing a floating orb that is suspended chasm. The other member should be shooting the enemies that spawn the moment the orb was grabbed.
At this point, both the runners should be walking at the exact same time and dunking their orbs on the same relic at relatively the same time. There will be 6 receptacles (3 on each side of the chamber), and you’ll need to keep doing this a total of 12 times – 6 orbs on either side.
As the encounter progresses, your team will need to venture deeper into the rooms to get their orbs. But that shouldn’t be much of a problem.
The only thing to keep in mind for this part is having the bodyguards shoot the balls of darkness that keep the barriers up since the carriers themselves won’t be able to.
After finishing the encounter, a group of Hive enemies will spawn in the next room. Get rid of them and the portal in the far end will open up leading to the first jumping puzzle.
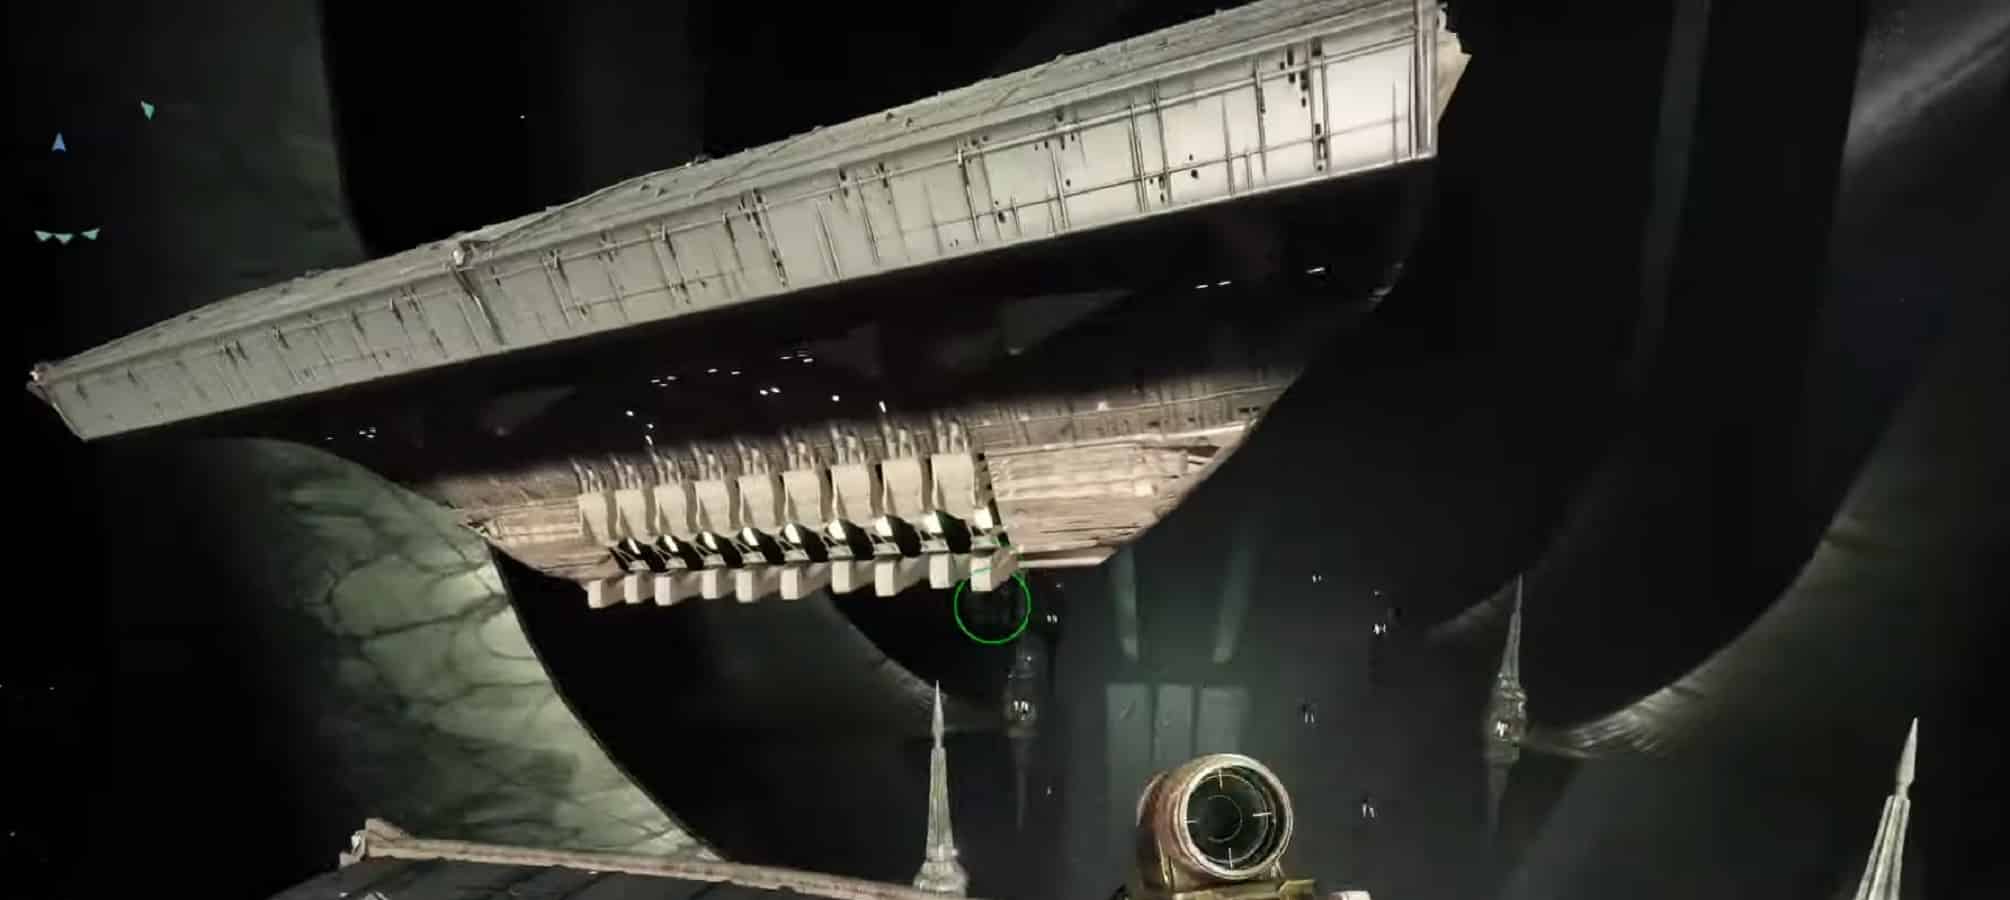
King’s Fall 1st Puzzle – Jumping
In this part, your team is going to cross a huge chasm using swinging pot structures as a bridge to get to the other side. It’s often best to wait until they before cross the center point of their swings to jump.
Afterward, you’re going to be tomb-ship jumping. This part is all about knowing which tomb ships to jump onto and when. Knowing which ship to avoid and which ones to take are key to this puzzle. You’ll figure it out eventually.
Once the team clears that first part, they will be on another platform where they will need to spawn to spawn a tomb ship in order to progress. There are 2 plates on either side of the spawn point where two members stay in order for the tomb ship to sail past and reach the other side. They’re also the ones deactivating the barrier.
There is also a hidden chest in this part. When you jump on the departing tomb ship, you should take a left up the hidden ramp instead of going forward past the barrier. Keep going up until you reach a small access door. The door will only open if both plates are active. Once it opens up, however, you should see the chest on the other side.
After making it across, two members need to step onto plates allowing the last members to catch up with the rest of the team. Once you’re all safely on the other side, it’s time to face the first real encounter.
The Annihilator Totems in King’s Fall
Let’s start with the Totems encounter. There are two Annihilator Totems on either side of the chamber. For those who don’t know, an Annihilator Totem is an area where there must be someone standing in a certain area. Failure to do so will result in the Totem exploding and wiping your entire team.
You have to keep two annihilator totems from wiping the fireteam by standing near it with a buff.
The encounter starts in full the moment someone attacks the enemies gathering in front of the barrier by the doorway or picking up the orb. It is highly advisable to have the entire team toss their grenades at the kneeling enemies first and then run to their assigned totems. You’re doing this to make the runs of the first round to the center a little easier. Two players can stay behind while the rest go to the side rooms.
Next, the left side orb will turn into “Brand of the Unraveler” and the right side turns into “Brand of the Weaver”. While different in name, both orbs do the same exact thing. Players in the center room need only walk to them to become “Brand Claimers” after dealing with a blightguard first.
The players picking up the brand aura on either side will have 30 seconds to transfer the orbs’ power to the next set of players coming to the center. The reason these auras are important is that once you enter the rooms on the side you will take damage over time which will eventually kill you. But if you are standing within the aura, you will not take damage. Also, if no one comes to you to “steal” the brand, you will just flat out die where you stand.
If there are no players within the aura, it will disappear and the orb will reset back to its original platform in the main room. If that happens, that means something has gone wrong and the team should just repeat the process from the start.
Killing the enemies around the totem imbues the player with Deathsinger’s power. You want to keep stacking this up as much as you can because this is what actually charges the runes at the central chamber. Standing on the central plate passes the power and contributes to progress.
It’s all about coordination here. We’ll go over the runner’s part in a bit but just know that it’s your job to keep the team updated with how much time you have left on your timer so that they know that they need to move as if they have the fires of hell coming up behind them.
Once you’ve made the handoff, head straight to the central plate to begin the process of removing stacks. From what we can tell, the stacks go down by 2 every second. And it takes roughly 10 stacks to power up a row of runes. So, maybe consider averaging 10 stacks per trip to center.
A few things to note:
- Clearing all charges of Deathsinger’s power is highly recommended. You will not be able to receive the Brand if you have any remnants of Deathsinger’s Power. But if your team is coordinated enough, you can somehow work that into your plans. Otherwise, just keep to 0 just in case you need to be tagged as “it” as a backup plan should things go sideways.
- Whatever you do, do not leave any of the plates unmanned. The totem timer is constantly in effect and if you leave any of them, they’ll explode really fast.
It is best to assign each player to groups 1, 2, and 3 to keep things organized.
Moving on to the runners’ part.
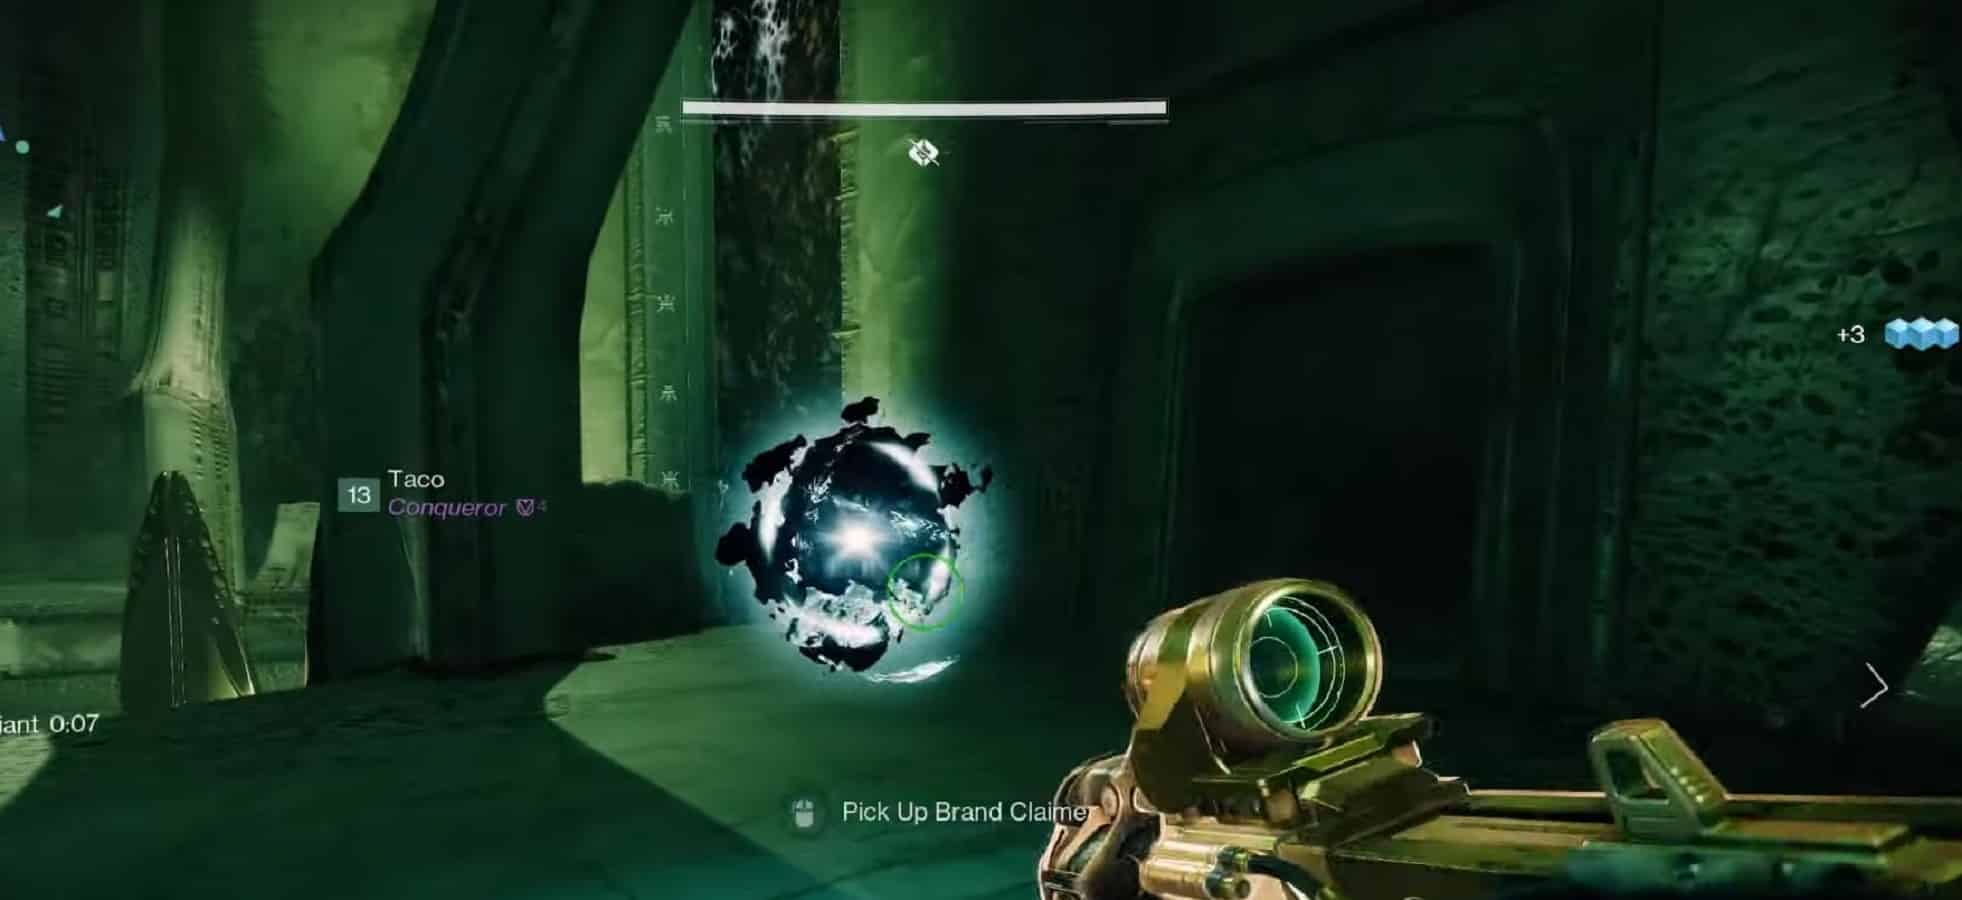
While on the center plate, runners will have to constantly shoot adds. Eventually, a Wizard will spawn on the upper floor followed by a Blightguard. Killing the guard result in a “Brand Claimer” spawning on the platform. Picking up the brand makes that player into a brand claimer for the next 30 seconds. They’ll then need to head to their respective totems to “steal” the brand.
It’s generally a good idea to sprint to your friends when you are the claimer. For one, you may have 30 seconds to do your thing but the one on the totem has had their Brand for longer and have less time than you do. Secondly, if you stop and kill the adds while approaching the totem, that’s fewer adds for the one on the totem to kill.
The players in the side rooms will have to contend with Hive Acolytes, a Boomer Knight, and the occasional unstoppable ogre. Occasionally, you may find yourself dealing with a stray Thrall who wandered in from the central chamber. Sword-wielding Knights do enter the fray later on in the encounter as well.
The thing you want to note though is you’ll want to keep a sniper or linear fusion handy to quickly deal with the wizards that spawn on high ground in the area where the middle plate is. Sundering Glare is clutch here if you manage to land successive critical hits.
Just keep repeating the process until enough power is on the plate. Players can track the progress by looking at the door frame in the central chamber and seeing the glyphs steadily light up. A chest will spawn in the middle of the room which contains shards and possibility other raid loot.
Once you have proven your worth, it is time to face the Warpriest.
The Warpriest Boss Encounter in King’s Fall
The Warpriest will invite you into the next room to fight him. He is the first boss encounter for the raid.
The Warpriest’s room is divided into three sections:
- Upper Left
- Lower Middle
- Middle Right
Each section has its own plate which becomes instrumental in fighting the boss later on in the fight. For starters, the raid team should form three teams of two – that’s one group for each plate.
A few to note before the fight:
- Stunning the boss during the damage phase is essential. If you allow him to do his thing, the Warpriest can absolutely decimate your entire team in a flash. Once again, long ranged weapons like sniper rifles and linear fusion rifles are going to take center stage in this fight. Rocket launchers do ok here but they shouldn’t be your first option.
- Coordinate wells and Titan barriers to mitigate incoming damage.
- Use your favorite primary weapon on the adds. There will be a lot of them.
After you’ve discussed the roles, it’s time to start the fight.
To activate the fight, simply stand on all three plates at once.
The Warpriest is immune to all damage when first starting the encounter. Once you start the encounter, you’ll have hive enemies spawning out of all doorways. These adds should simply be killed off as soon as possible.
Once the red bars have been dealt with, Wizards will spawn in. They are the in-between that signals the next phase. Kill them as normal. Once Major Knights start spawning on all three parts of the arena, you should get ready for the lead-up to the damage phase of the encounter.
Glyph Reading Sequence
Once you’ve killed them, you should see the message: “Glyph reading sequence started.” That’s the puzzle before the damage phase. This is where you must step on the plates in the correct order so you can damage the boss. The order that you must step on the plates is different every time but the order is always revealed on the back of the giant pillars.
It is the job of the team in the middle to call out which of the pillars do light up. The catch here is that the one standing on the plate is the only one who can see the glowing pillar. They need to call out whether the sequence starts from the right, left, or middle. (You can tell if the sequence starts at the center if neither left nor right are glowing.)
To start the sequence, the player simply steps off the plate. Then the message, “Glyph sequence started” should pop up.
Players on the upper plates have vision on the backs of the pillars opposite to them. They can call out if the one they see is lit. If not, they can cross that out. If the other team doesn’t see a light from their vantage point, assume it’s middle.
Let’s go through an example. If the sequence starts at the left. A person from the left team steps onto the plate. They can see if the right pillar glows. If it does not, assume the center pillar through the process of elimination. The final team steps on their plate to finish the sequence.
If someone steps on a plate in the wrong order or you take too long to activate the plate. The plates will glow red and you’ll have to start over again. Messing up too many times will result in an instant team wipe.
If done correctly, the person who steps on the last plate will receive the “Brand of the Initiate”. Players within this aura which is a bright red dome will be able to freely damage the Warpriest. Do note that the aura only covers a certain area so it may be wise to have all players gather in one stop in order to fully take advantage of this damage phase.
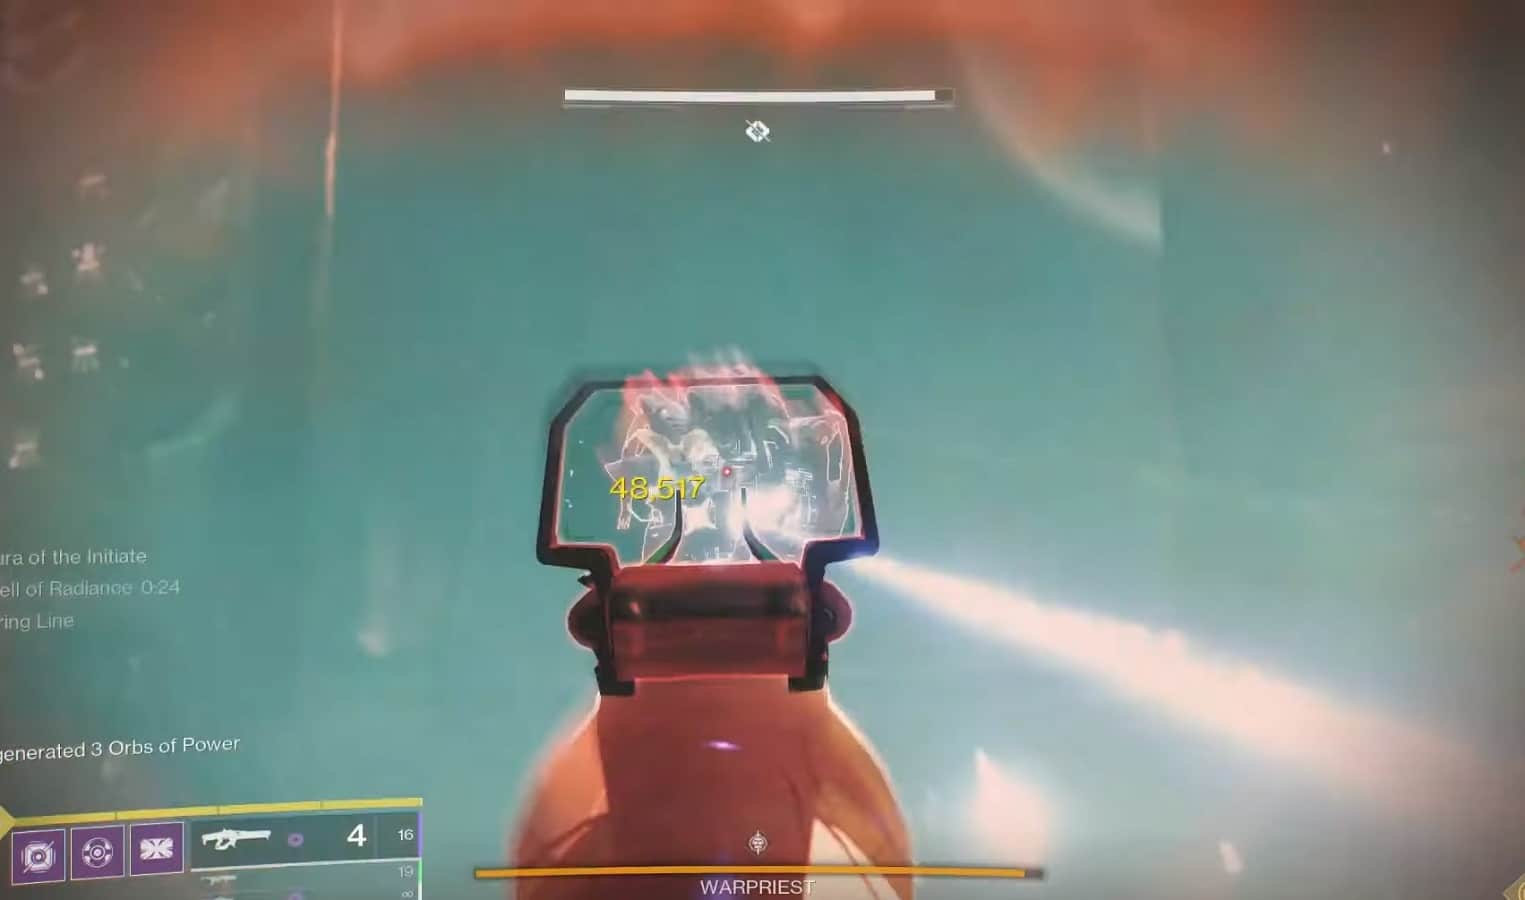
The Damage Phase in King’s Fall
This next part talks about the unique properties of the “Brand of the Initiate”.
Once the team has chosen a spot to deal damage, all players should converge on that spot and start pummeling the boss. But ten seconds isn’t enough to deal significant amounts of damage. So, you’ll need to extend the timer.
A little while after the brand has been set, a Blightguard will spawn into the arena somewhere behind one of the three pillars. One player should break off from the rest of the team and hunt this knight down. Once killed, they drop the “brand of the claimer”. Pick it up and head back to the group.
Your team can elect to go down as low as possible but you may want to claim the brand with 3 seconds remaining, just to be on the safe side. You then are the one to count down until the damage window closes.
A second knight spawns during this damage phase. The thing to note though is that this knight appears the moment the first knight dies. This is important because if your team is running the clock, and you send out someone when the first transfer is made, that person might not have enough time to kill the second knight and return back.
So take this time to extend the damage window for maximum effectiveness.
After the final stack is removed, the aura will disappear and the Warpriest will call for his Oculus.
The Oculus is essentially a giant ball of darkness that wipes out anything it touches. To survive the attack, the entire team must stand in the shadows of one of the three pillars. This will block line of sight long enough until the attack dissipates. Once this happens, the boss fight gets more intense. Once a pillar is destroyed by the Oculus, it will disappear for the rest of the encounter. So you’ll need to stay mobile and finish the fight quickly. Otherwise, you’ll lose cover eventually and instantly wipe.
Rinse and repeat
After the Oculus, this process repeats itself until the Warpriest is defeated or you wipe.
If you want to know the order for the subsequent phase, you will need to step on the plates. Instead of that Totem lighting up on the back, you will have a bright vertical light glow in place of the pillar.
It is very possible to kill the Warpriest in as little as two damage phases, leaving two pillars still intact. Gathering in the middle is going to end up being the easiest so if you know your team can finish the boss before the Oculus will occur, grouping up in the middle is not a terrible idea.
Overall, this fight is about high damage and quick grouping. The damage phase is a stressful situation so give yourself some time to learn what you will and will not be able to get away with.
But that is your Warpriest strategy guide. Next up is the Maze and the next boss, Golgoroth.
King’s Fall 2nd Puzzle – Golgoroth’s Cellar
The 2nd puzzle of the King’s Fall Raid, Golgoroth’s Cellar is a labyrinth of pillars and tunnels. You’ll want to stay on top of the pillars and avoid the holes wherever possible.
The safe path goes as follows after entering the first intersection:
- Right
- Left
- Left
- Right
- Forward
Turn at every intersection and you should be fine.
The second hidden chest in King’s Fall
The hidden chest for this part takes a bit of effort to unlock.
At all four corners of the labyrinth, there are 5 plates that need to be pressed in order to open the door at the very center where you usually go forward. 4 of the plates are in the corners. While the 5th plate is only accessible by jumping over pillars and the door on the left side of the center.
Your team will have to take turns stepping on the plates. If the plate turns red, then it’s out of sequence. If it turns green, however, then it’s the right one. Through the process of elimination, you’ll have to figure out the sequence until all plates turn green. Think of it as Simon Says… but with plates.
It is also worth noting that you should not step away from your green plate. If you do, you’ll have to start the sequence again.
Once all plates are set, the doors will unlock and the chest can be looted.
And with that out of the way, let’s go face Golgoroth.
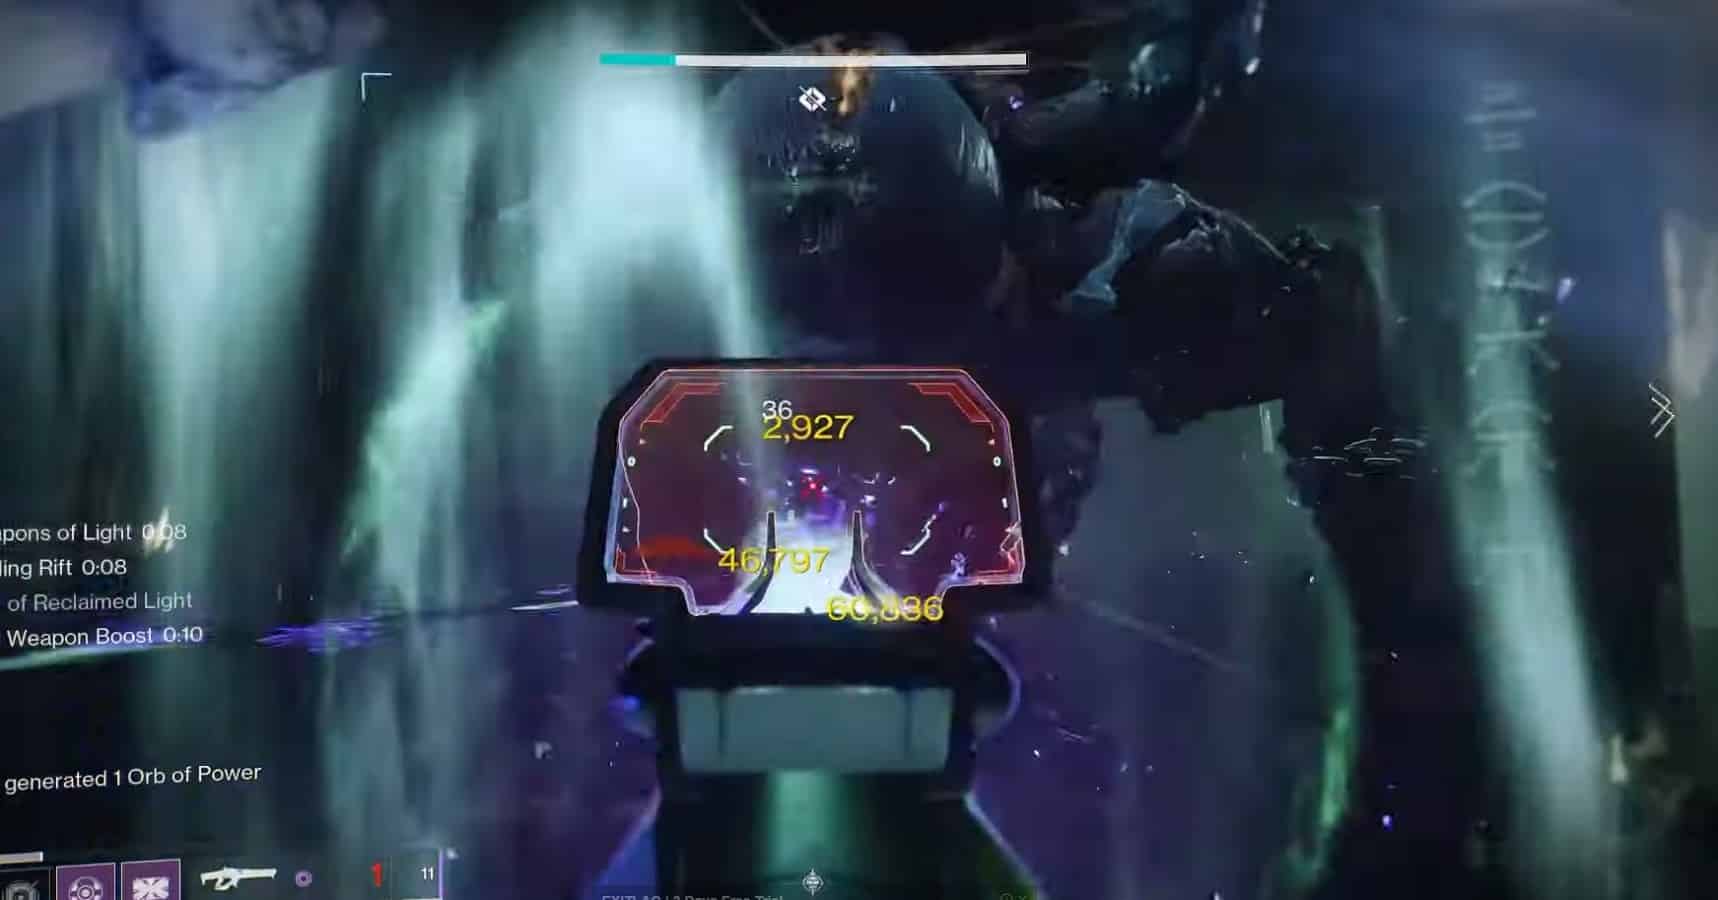
Golgoroth Boss Encounter in King’s Fall
Golgoroth is the second boss of King’s Fall. He’s one nasty oversized Orge and has been the bane of many raid teams in Destiny 1.
Focus your rage on Golgoroth because he sure as hell is going to focus his on you.
First things first, you should split your group into multiple teams of multiple teams.
The first set of teams is for ad control and should be split three and three on the left and the right. The second set of teams is for boss damage where you have taunters and DPS. There should be two taunters and two DPS. Everyone else who does not have a current role must clear quickly clear adds.
There are four components to the Golgoroth fight.
- Ad control,
- Focused Rage
- Pools of Reclaimed Light
- Totem of Ruin
The Totem of Ruin returns from Destiny 1 but functions differently in Destiny 2. In the first game, whenever someone dies, a rune will light up. But since the introduction of tokens, that mechanic is obsolete. So now, whenever a droplet is left on the ceiling after the DPS phase, it will light up a rune. And if all 6 runes light up, it’s a raid wipe.
So it is highly advisable to destroy all the droplets before ending the damage phase so that they won’t bite you in the butt later on in the encounter.
To start the fight, shoot the floating orb on the ceiling. It will drop down and Golgoroth will rise from the puddle of water. The fight starts out with waves of adds spawning from the back of the area downstairs.
This is a mix of mostly Thrall but they are easy to get rid of. Make sure to deal with the adds as quickly as possible. You don’t want to be dealing with them AND Golgoroth at the same time.
During this entire time, Golgoroth will be active and rampaging around the bottom arena. So be sure to hide behind cover whenever possible. This phase typically does not last very long as the ads are pretty easy to kill.
After all the ads are dead, you can focus your attention on Golgoroth. Split your team accordingly and let’s begin this phase from the perspective of the taunter.
There will be a couple of orbs above the arena. The first taunter gets behind Golgoroth while the others prepare the pool for the damage phase. The moment the pool drops, you’ll want to draw Golgoroth’s gaze. To do so, you’ll have to shoot the crit spot on his back.
After drawing his gaze, Golgoroth will pivot and look in your direction while shooting orbs at you. These are relatively slow orbs but there enough of them in the air and might hit you if you’re accurate with your shots. Plus, they do significant amounts of damage. You’ll be holding his gaze for around 20 seconds.
Now let’s talk about the DPS team. When an orb is shot down, they will create a pool of reclaimed light for a brief time about 20 to 30 seconds. Standing in this pool boosts damage to the point where you can actually deal damage to the boss. A number of the team should start focusing damage on the boss while one person is assigned to add clearing.
A couple of notes for this fight:
- If after 20 seconds Golgoroth does not have a new target to focus, he will behave normally again: eye-beaming random players, and a new set of ads will spawn.
- If the person holding Golgoroth’s gaze dies, he will return to normal. Players in the arena should clear out ASAP and reset before dealing with the new add wave.
The strategy works like so:
Two players, one on each side, need to trade the gaze back forth to each other while the DPS stands in the lower area in the pools of reclaimed light. The players taunting the boss need to make sure they position themselves so that the boss is facing the players standing in the pools below so that those players can damage Golgoroth effectively.
Before passing the gaze to the next taunter, the current holder can count down how much time they have left. At around 8 seconds, the second taunter can start dealing damage to the orb and quickly shooting Golgoroth’s back afterward. Prioritize getting Golgoroth’s gaze first. The DPS team can follow up on destroying the orb.
Once that person has Golgoroth’s gaze, they should dash into a position where the DPS team has a clean line of sight of the boss. So again, coordination is key. If any one part is misaligned, you are needlessly extending the fight.
But just when you thought the DPS has a cozy job of standing in a pool and pumping damage to the boss, they actually get to do something besides shooting the boss. So, one of the players standing in the pool will get receive the “Unstable Light” debuff. Once they have it, you’ll need to separate from the group… and fast.
In a few seconds, the beeping and glowing will intensify and that player will explode, killing everyone around them. And you don’t wanna be the last man standing against Golgoroth. It may be possible to hurt Golgoroth with the explosion but it may be too small damage to count.
Eventually, the damage phase ends. There won’t be any more orbs to shoot and Golgoroth’s back will close. That’s the end of the phase and you’ll need to leave the arena and ready up your add clear formations.
So, this process repeats until the giant ogre dies. It is worth noting that at 25% health, Taken Thrall will spawn instead of Hive Thrall and they will continue to spawn until Golgoroth dies. The Taken Thrall will replace the cursed thrall that spawns and the Taken Thrall will spawn in greater numbers. When Golgoroth’s back is open, that’s the sign the add phase is over and you can DPS his again.
Overall, the Golgoroth fight is about clear communication and near-perfect execution. Making sure orbs go down in a timely manner along with having DPS rail on Golgoroth will be crucial to success. It is possible to take down Golgoroth in a couple of rotations if the fireteam is carrying some serious heaters.
And that’s your Golgoroth strategy guide. Next up, the second jumping puzzle and the Daughters of Oryx.
King’s Fall 3rd Puzzle – Jumping
Once Golgoroth is defeated, you’ll be led to a steep cliff-face with parts of the wall jutting out with enough force to launch a Guardian to oblivion.
To cross safely, you’ll need to move in close enough and trigger the catapult segment. Once it starts retracting, you can proceed normally. They don’t spring instantly so you’ll have time to cross.
Just like any puzzle in Destiny, there’s a clear path to the other side.
3rd Hidden Chest in King’s Fall
Around halfway through the puzzle, you should see some landable platforms on the other side of the abyss. You may want to bring up your ghost to improve visibility. But once you do, you can jump onto them.
To ascend further and locate the hidden chest, you’ll need to bring up your ghost and allow it to uncover the hidden path that’ll lead to the treasure chest. This is a multi-part thing so if you don’t see the next set of platforms, bring up your ghost near the end of the platform you’re on.
After getting the chest, you’ll have to do some platforming to get back to the critical path and it involves chaining platforms using plates. Just look for the enemies on platforms, that’s where the plate will be. Keep standing on the plate until someone makes it to the other side and wait for them to stand on their plate so that you can cross.
Alright! Let’s go to the second to the last encounter, The Daughters of Oryx.
The Daughters of Oryx Boss Encounter in King’s Fall
The daughters of Oryx and Oryx himself are the final encounters in King’s Fall.
The daughters of Oryx are up next.
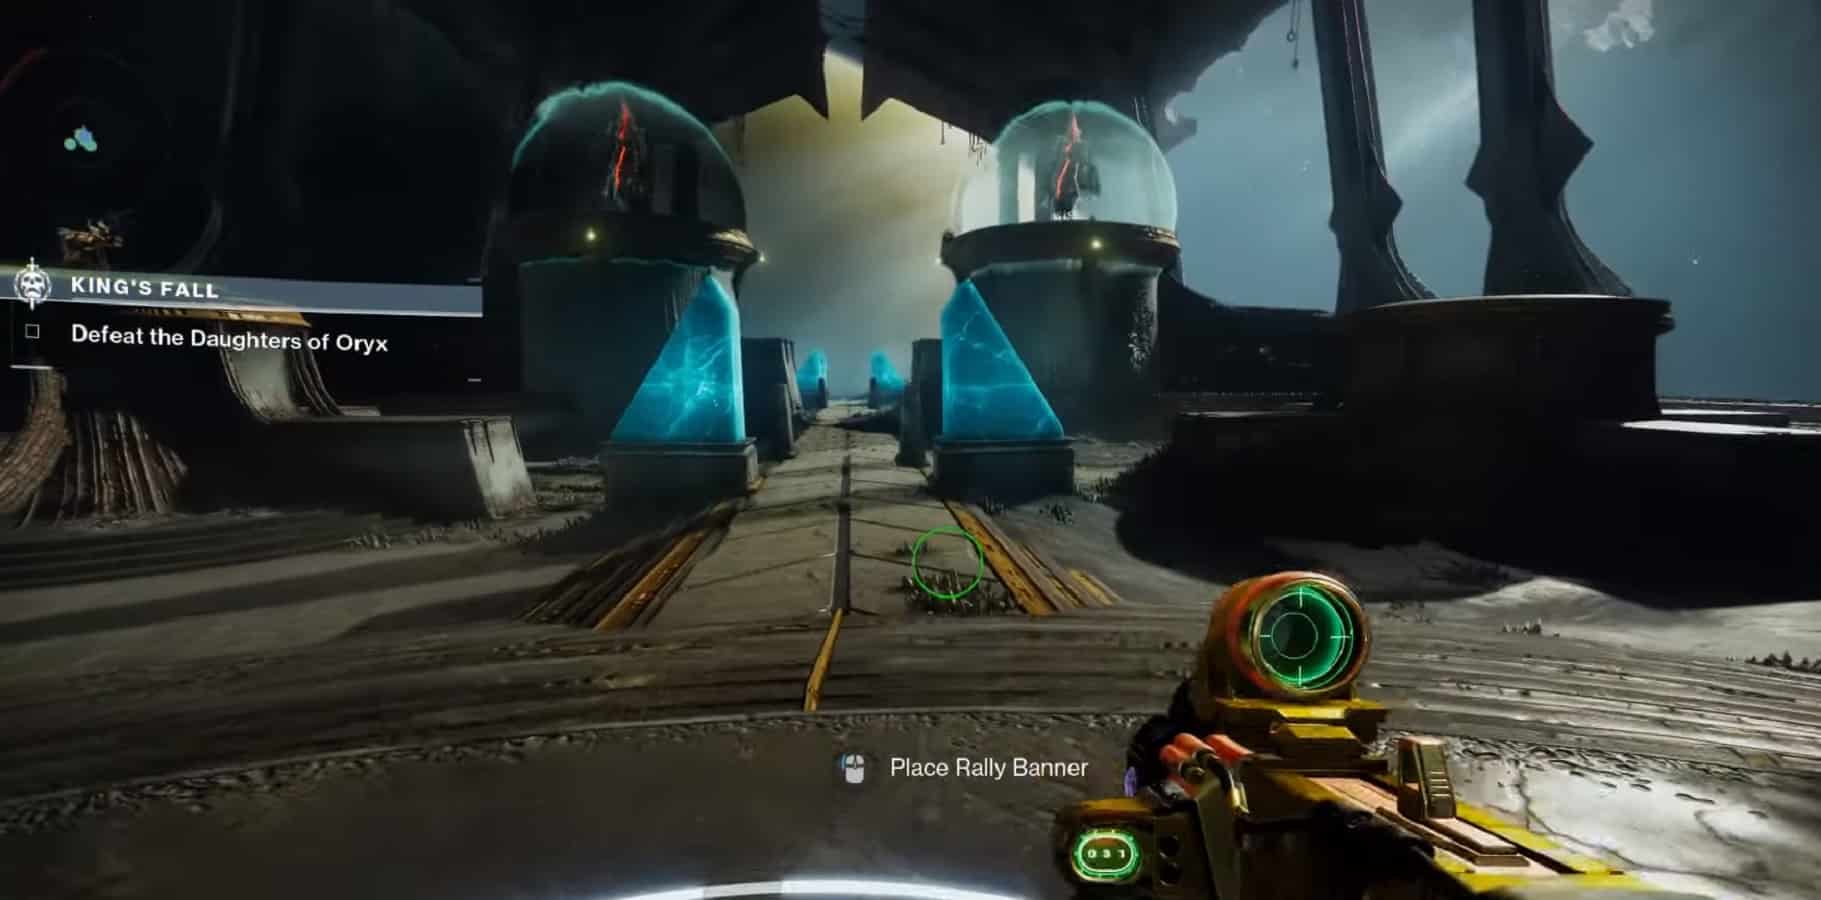
The daughters encounter is short but still demanding in terms of coordination.
Before you start the fight, select a meeting spot for your group for when you attack the daughters. Next you’ll want to assign a player to each of the 4 pillars in the arena. The daughters will be floating in the middle of the room but the encounter does not start until later on. So feel free to wander around, assign positions, and get set up.
To start the encounter, shoot the knight that’s on the plate. This will awaken the daughters and the fight begins. Adds will start pouring into the arena in large numbers. For this iteration of the raid, enemies will have Arc shields, so the person clearing adds should have something like Trinity Ghoul to deal with them.
Now, let’s talk about the plates. An invisible orb will spawn high above one of the plates. It is the job of the team to connect 2 plates in order for a runner to get said orb.
The starting point is designated by the spawning of a knight. The person assigned to that plate kills the knight and sets up the plate. They will then scan the other plates until they see either an objective marker or the orb itself. After calling out the position of the orb, the person under that orb should then activate theirs.
If done correctly, a series of platforms will appear and the person designated as the runner will begin their ascent. It is essential that both players stay where they are. If something happens to break the sequence, the platforms will glow red and it start to damage everyone on top of them.
Before the two plates are connected, however, one of the other four members will become the runner. Their whole model will become mist-like and it’ll be their job to jump up the platforms and collect the orb. It’s always going to be random. So, if you are assigned to a plate, disregard everything. Head to the person with the knight on top of the plate and then quickly head back to your plate once you’ve collected the orb.
Also, it is a good idea to have people shooting at the Fallen Vandals that appear on top of the plates. It is exceptionally helpful to the person who is platforming to the top and collecting the orb.
After doing this a couple of times, the third run will always be the “Brand Claimer” on top of the platforms. This will need picking up and when you head down, it’ll be your job to deactivate one of the daughter’s shields. But which one, you may ask? It’s going to be the one that’s shooting at you.
Once you’ve deactivated the shield, it’s DPS time.
For this part, you and the team will have to decide where to shoot from. It can be really up close by the lip of the opposite pillar or a more sniper-friendly spot, like near the entryway. You will know when the DPS phase is over and when the aura buff when runs out. But be sure to group up NEAR the person with the aura because when one daughter sings, it’ll cause a wipe. And if you’re not near the person with the aura, that’s instant death.
After the DPS phase, the field resets and your team returns to the positions they were previously but this time, you’ll be damaging the other sister.
Keep alternating between them while damaging them equally.
One final important note for this part, if you kill one of the daughters, you absolutely need to defeat the other sister during the next damage phase. If you fail to do so, that sister will sing and instantly wipe the entire raid team.
Sometimes, it may be wiser to keep that one alive for a little longer if you’re not too confident that you can deal with the other sister in the next damage phase.
Once both are defeated, your sweet loot will be in a chest in the middle of the room.
Now, it is finally time for Oryx.
Final Encounter – Oryx, the Taken King
After going to the back of the arena and spawning Oryx, you’re going to observe his movements. This absolute unit of HIve origins is so huge, you won’t miss it.
Update:
Effective weapons against Oryx
As the community slow figure out what weapons really hurt the Taken King, we shall be adding those weapons ,and hopefully you have something like them hidden in your group’s vault.
Linear fusion rifles are the way to go! Stormchaser – Specifically with “Firing Line” and “Clown Cartridge” – does an extremely good amount of damage on Oryx during his damage. The new TAPIAN-4FR works well too. Even better if it has “Triple Tap” and “Firing Line”.
Machine guns and rocket launchers aren’t as good for damaging Oryx but if you insist on using them, go with the Thunderlord with the catalyst and Hothead with either “Exploding Light” or “Clown Cartridge”.
the only sniper rifle capable of doing respectable damage to Oryx is the Whisper of the Worm. Otherwise, you’re bearing going to be scratching him.
Check back with us again once the community has tested out more guns.
Once Oryx parks himself on top of one of your four pillars, he will slam it. This is actually this fight’s version of the Knight spawning plate from the previous battle. This new green glowing plate is where the lookout will go. Same idea as before, the spot where the orb is going to spawn, call out that pillar, and then wait for the chosen runner to do their thing.
It may look like a rehash from the previous fight but don’t sleep on this one. There are an increased number of adds in this fight and the team will have additional tasks on top of clearing the way for the runner.
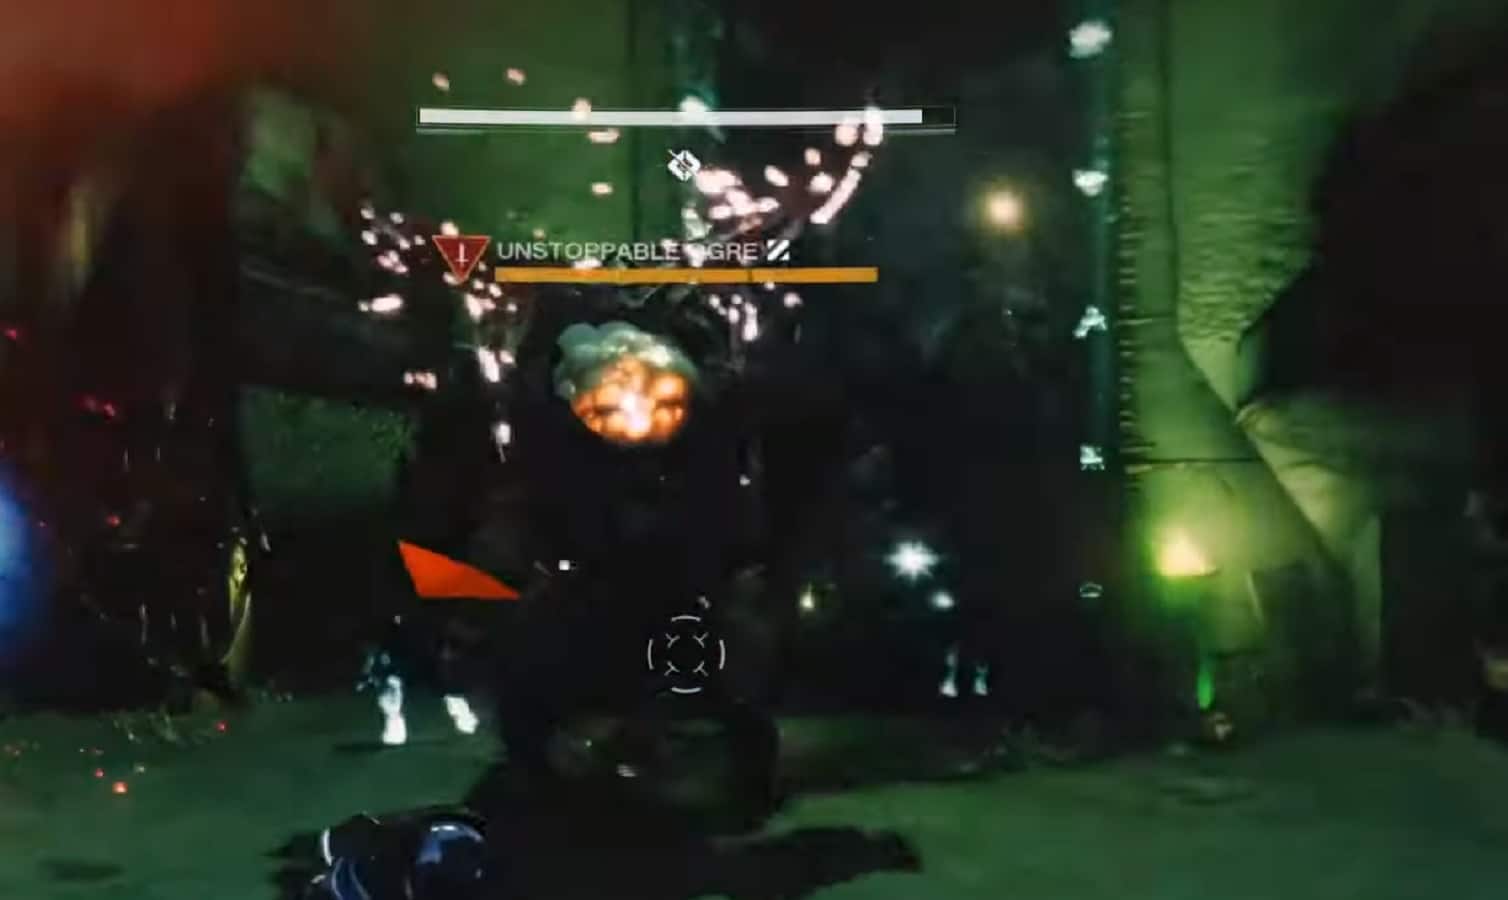
The new twist for the fight involves the spawning of Light-Eater Orges. One will appear near the base of the four pillars and they are top priority targets. Melt them down as quickly as possible.
In their place, they will spawn a Taken orb. Do not, under any circumstances, go near these orbs. They are essential for damaging the boss later on.
Going back to the orb, however. The death of an ogre will result in the spawning in of Light-Eater Knights. One will spawn in the opposite corner of where a Light-Eater ogre has died. And if you don’t deal with them quickly, they will scoop up and eat that ball of light. And you’ll want to do everything you can to prevent that. You want as many orbs as possible during the damage phase.
So as an example, if I destroy my ogre in the front left, the knight will spawn in at the front right. Callouts will be important here, especially if I suddenly get tagged and have to leave my pillar. Someone else has to kill that knight ASAP.
And remember, while this is going on, there’s still the matter of the runners and the plates. Your whole team is spinning plates left and right. So, do your job but more importantly, keep a cool head.
Keep repeating the process a couple of times and by the third time, things get really interesting.
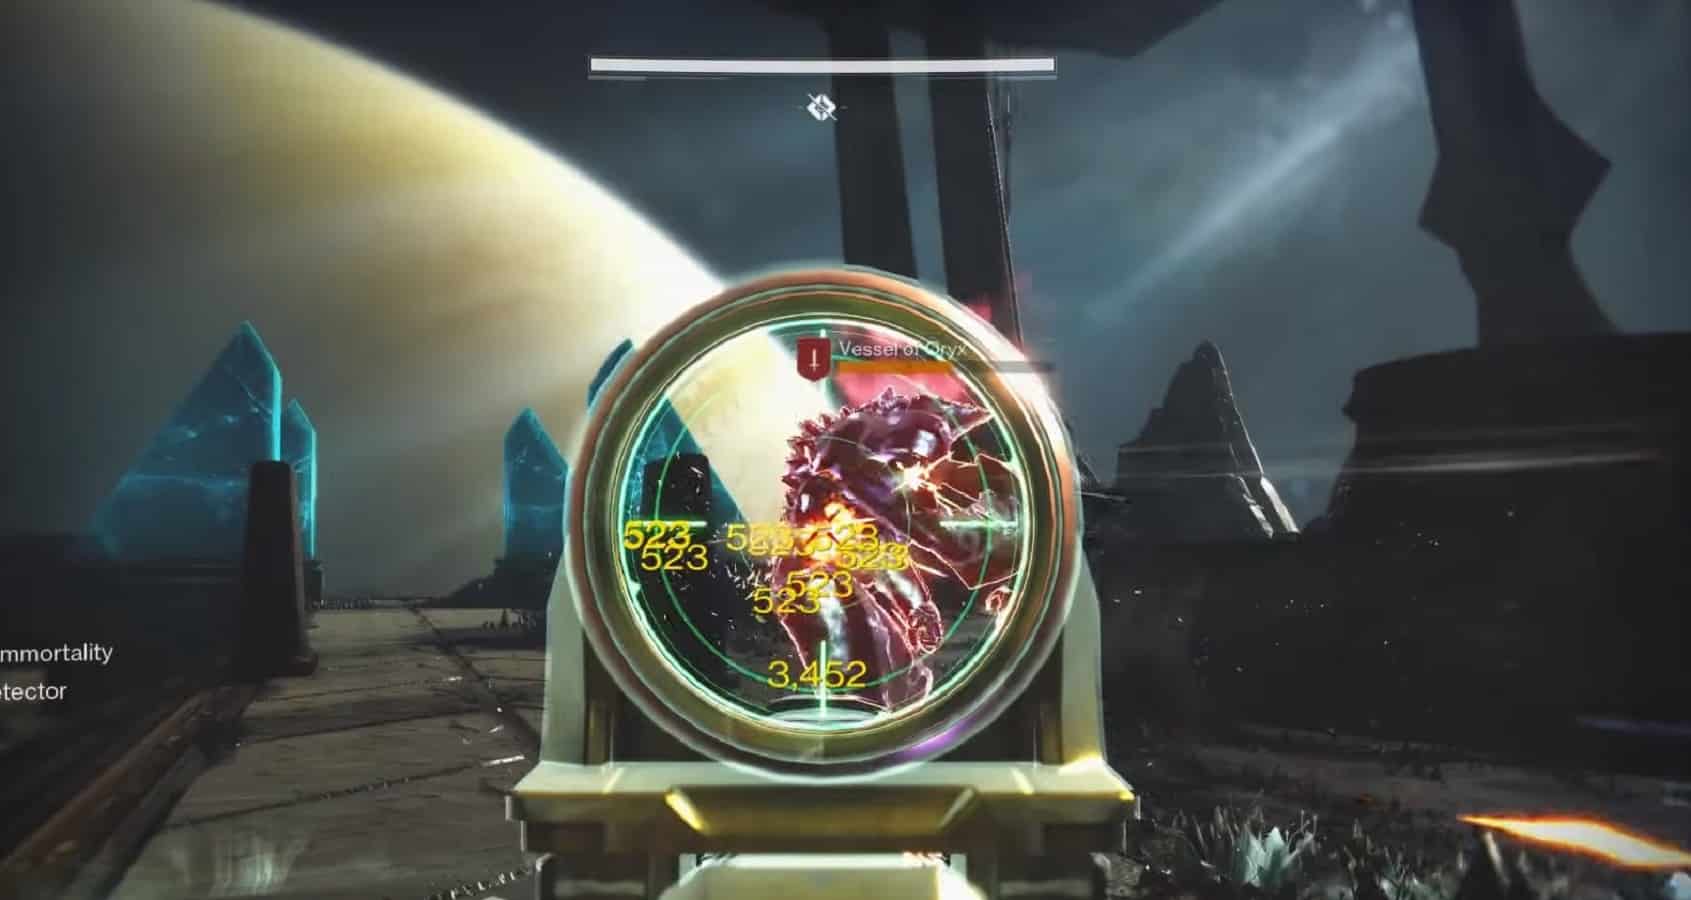
The third trip involves the runner picking up the brand and similar with the daughters’ fight, they’ll need to bring down a shield. So, this new unit called the “Vessel of Oryx” will spawn in the middle of the arena. The runner needs to get close and use their brand to deactivate their shield. Once the shield is down, DPS him down as quickly as possible. Your aim is to take his brand and that will set up the next phase.
A little while later, a message will pop up on the screen. “Oryx calls upon the Darkness”, it will say.
When that happens, everyone assigned to a plate must prepare to go near their ball of corrupted light left over when the Light-eater ogre died. It is best to coordinate with each other to give yourself the highest chance of success but do know that once the channeling starts, there’s no going back. The channeling is complete, that player has successfully detonated their corrupted light.
The second that happens, everyone has to run back to center and to the protection of the player with the aura. Oryx will do an insta-wipe attack but as long as your team is in the bubble, you should be fine.
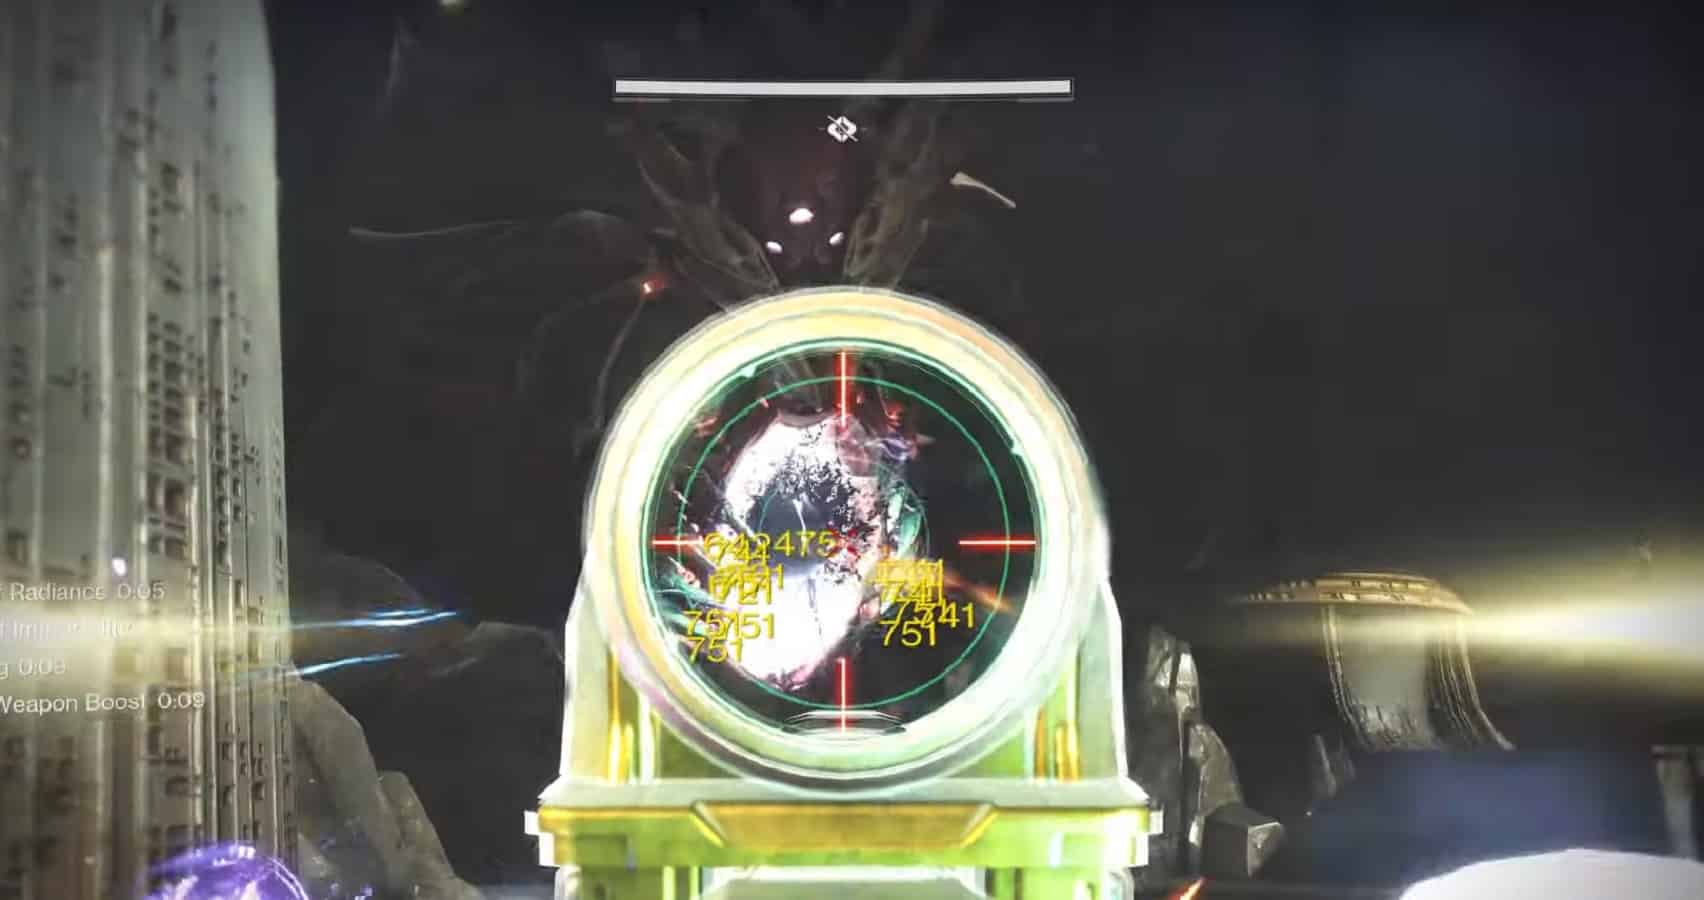
Once Oryx does his attack, his chest will glow brightly. That’s the DPS phase where everyone unloads everything on him. We’re talking snipers, linear fusions. Anything that does burst damage will work here.
With this damage phase done, one of two things will happen.
- If Knights spawn on top of the four plates, that’s the signal when everyone should separate and run for their lives. Oryx is leaving bombs on your last known position and if you aren’t moving, you’re dead. To make it easy for yourselves, have the plate Guardians run around their assigned plates while the others run back and forth along opposite sides of the central plate.
- If no Taken Knights spawn, Oryx will conjure a field of darkness and then he will randomly choose players to be teleported inside. Once inside, the players will have to constantly scan their surroundings and track down a Shade of Oryx. This shade will sometimes go into the arena and deal heavy damage with their sword. If the players do not kill this thing fast, it will wipe the team. The remaining team members outside have a duty to prevent Taken Thralls from entering the field and messing things up for the team that’s inside the bubble.
Once either scenario happens, you go back to normal and resume the preparations for the next upcoming damage phase. Keep repeating the process until Oryx is defeated.
Surprise!
Oryx will have one final card up his sleeve. In this final stand state, Oryx will charge up for one final attack. The team should shoot everything they’ve got. It is a good idea to stock up on Special and Heavy ammo before entering this final stand phase. If you don’t pump enough damage into him in the seconds that he allows you to, your team will instantly wipe.
Two Light-Eater Ogres will spawn in at the front right and left of the arena. They need to be killed as quickly as possible. The moment they go down, 2 players have to start going towards them.
The moment Oryx calls upon the Darkness, these 2 players have to channel the darkness and detonate them before Oryx gets his attack out. The timing of this is crucial. Once the attack gets interrupted, everyone meets at center to do a final round of damage. Hopefully enough to take down the Fallen King.
But if you do, congratulations! You have beaten Kings Fall in Destiny 2 Season of Plunder.
Overall, this final fight boils down to careful planning and execution. But the funny thing about this fight is that randomness doesn’t even play a part. It’s all coordinated. It’s to the point that if something goes wrong, it’s because someone wasn’t doing their job.
But don’t worry too much. You’ve gone this deep into the raid, there’s no reason not to see it through to the very end. What matters most getting everyone involved and hopefully leaving the raid with something good in your inventory.
This concludes the King’s Fall strategy guide. I hope you all enjoyed the raid.
For our other Destiny 2 content:
- Best Destiny 2 Arc 3.0 Warlock Build
- Best Destiny 2 Arc 3.0 Hunter Build
- Best Destiny 2 Arc 3.0 Titan Build
- All Destiny 2 Season of Plunder New Weapons
- Destiny 2 Taipan 4FR and Ammit AR2 new weapon unlock guide
- Destiny 2 Bunker E15 Lost Sector Master Guide
- Destiny 2 Season 17 Previous Season Pass Rewards
Check out this video from Youtuber Datto where he goes through all the raid encounters in both normal mode and challenge mode.


