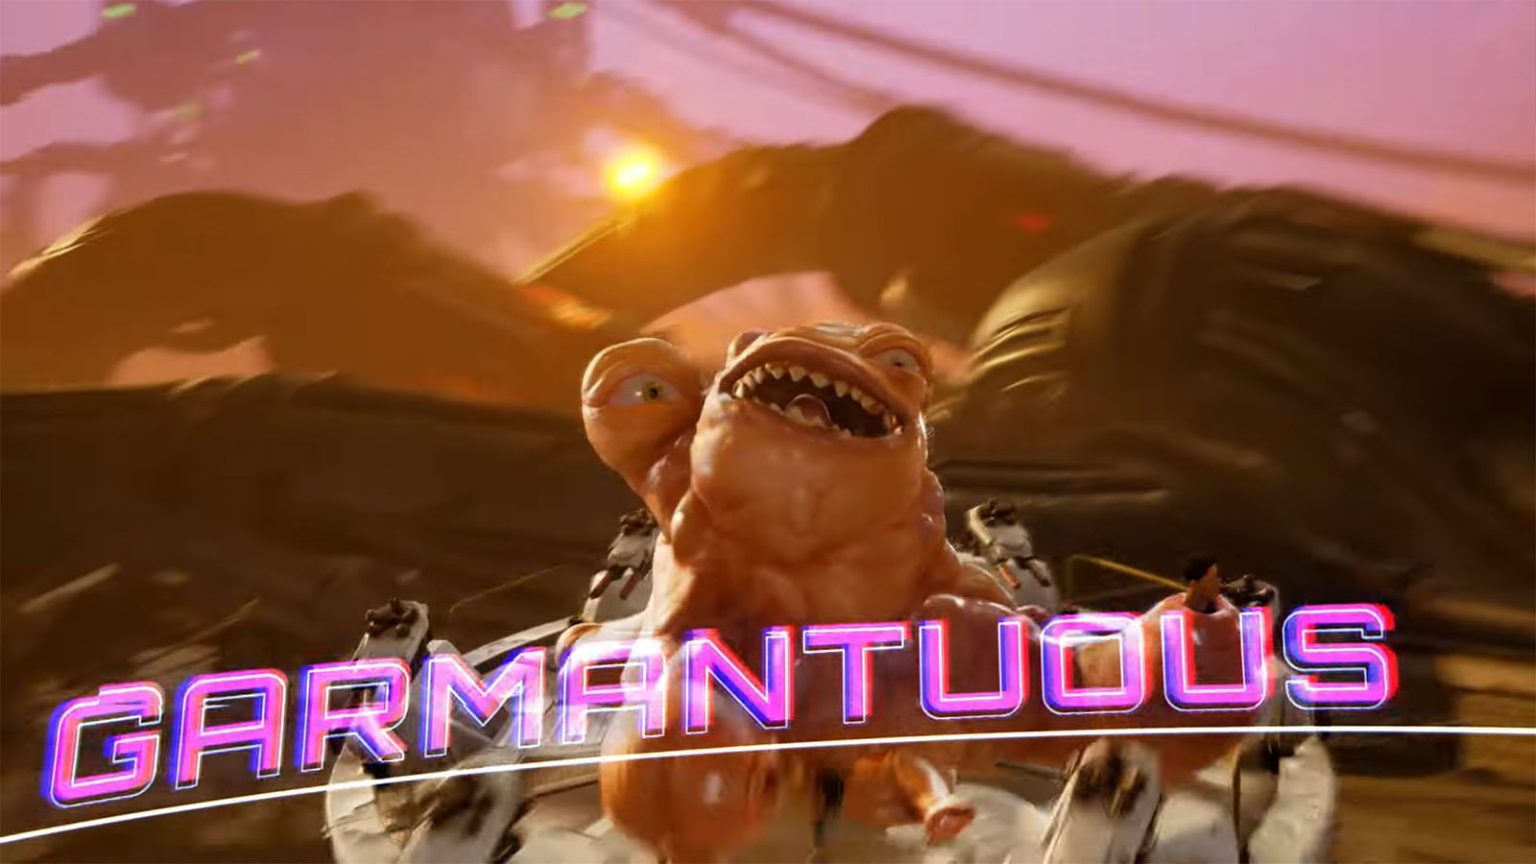
Garmantuous is the seventh and final boss that players will have to face in High On Life. He’s the biggest baddie of the game and is the top leader of the G3. Despite of its slug-like appearance, Garmantuous is capable of moving around quickly and fighting against anyone thanks to its special chair.
In this guide, we will be talking about strategies on how to defeat the Garmantuous in High On Life.
How to beat Garmantuous
After taking on the Garmantuous bounty and getting Lezduit fixed, you’ll then be facing against Garmantuous himself. The fight is broken down into two phases, the first one with him on his special chair, while the second one is with him on the ground. The fight is mainly going to be a bullet-hell battle, so have your dodging skills ready.
First Phase:
Garmantuous will be flying around on his chair while shooting out bullets in different patterns. Some patterns are easy to avoid like the lines and the smaller shapes, but some are just literally walls of bullets. The trick is to focus on the gaps or open spaces instead and aim for them to clear them as they fly through. He can also do a laser attack where four lasers shoot out from the sides of his chair and spin around as he dives forward.
In case you’re low on health, you can try backing away to give more space for you to avoid the bullets until you gain your health back.
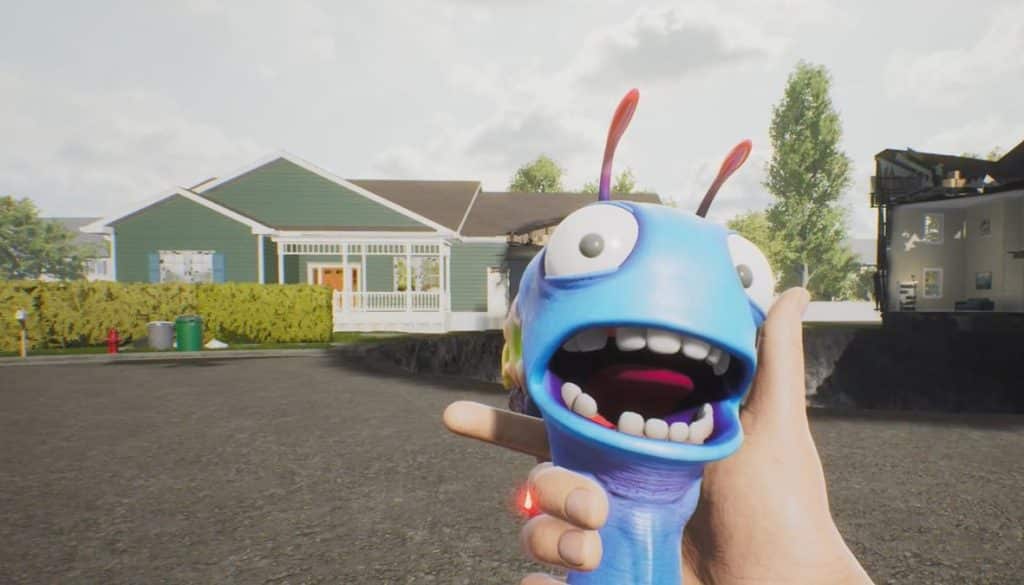
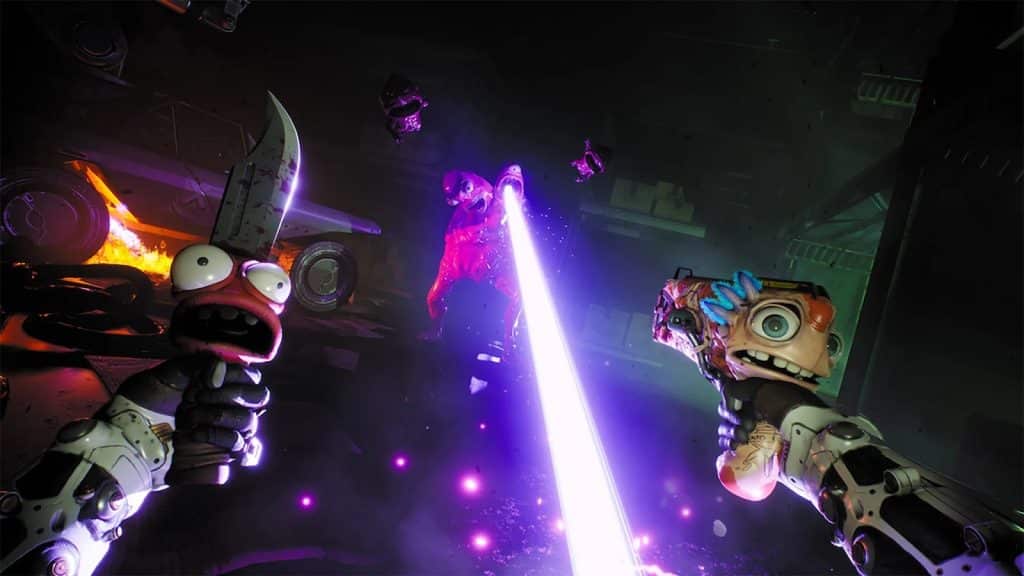
Any gun will work on Garmantuous, but the most effective one is Lezduit as he can take out a huge chunk of health thanks to its continuous plasma arc. The only catch is that if he runs out of juice, it will take him a while to reload. Once this happens, switch to any of your guns. Once you hear Lezduit call out his name, whip him out and continue shooting with him.
After completely destroying his health bar, Garmantuous will crash into the ground and lose his chair. You then have to place the bomb inside his hole to blow him up, but the problem is that the detonator is broken. Garmantuous will recover and a cutscene plays. The fight then continues on to the second phase.
Second Phase:
After the cutscene, Garmantuous will start doing his attacks. One of his attacks is the Sludge Ring, similar to the one done by Jonathan Skrendel. He will still be sending out goops of bullets in different patterns. The bullets can get overwhelming, so in case you need a breather, try back away from Garmantuous as this will give you large gaps in between the bullet shots that you can safely squeeze through.
Once Garmantuous is down, you’ll then receive the Legendary Bounty Hunter achievement. The next part is for you to put Kenny inside the hole to detonate the bomb. At this point, you actually have the option to ignore Kenny’s request and put any of your other guns inside the hole. Doing so will reward you with the Playing Favorites achievement. Whoever you put inside the hole will still survive, so don’t worry.
If you like this guide, be sure to check out our other High On Life articles:
- How to Beat Nipulon Boss Guide High On Life
- How to Beat Dr. Giblets Boss Guide High On Life
- How to Beat Skrendel Bros Boss Guide High On Life
- How to Beat Krubis Boss Guide High On Life
- How to Beat 9-Torg Boss Guide High On Life
- How to Beat 5-Torg: High On Life Secret Boss
- High on Life Blim City Luglox Chests Collectible Locations
- Where to Find the Secret Movie Theater in High On Life
- Where to Find a Drum in High On Life
- All High On Life Guns and How to Get Them
- High On Life Preload Guide
- Is High on Life coming to PS4 and PS5?
- Is High On Life on Game Pass? (Answered)
- How long to beat High On Life
Also watch this video by Manugames92 showing all the possible dialogues during the gun sacrifice part of the Garmantuous fight:


