
This guide will show you where to find all LEGO Star Wars The Skywalker Saga Episode 8: The Last Jedi minikit locations. The Last Jedi is the second-last movie in the sequel trilogy. And though the movie is pretty much one giant chase throughout, you need not feel pressured to do all of them all at once.
If you are having trouble looking for the minikits, the game also provides a “Rumor” for each of them, which gives players a hint as to where to find them. The base price of each rumor minikit is 30,000 studs, although players can reduce this price by a specific proportion by purchasing upgrades.
And yet again, Minikits are the LEGO game collectible that’s been in the series since forever. Collecting the pieces requires players to constantly swap out characters or solve puzzles. It can be tough to spot all of them in one go, but that’s what this guide is for.
There are a total of 5 levels in the episode, and each level houses 5 minikits. All in all, there are 25 minikits In total to collect in Episode 8: The Last Jedi.
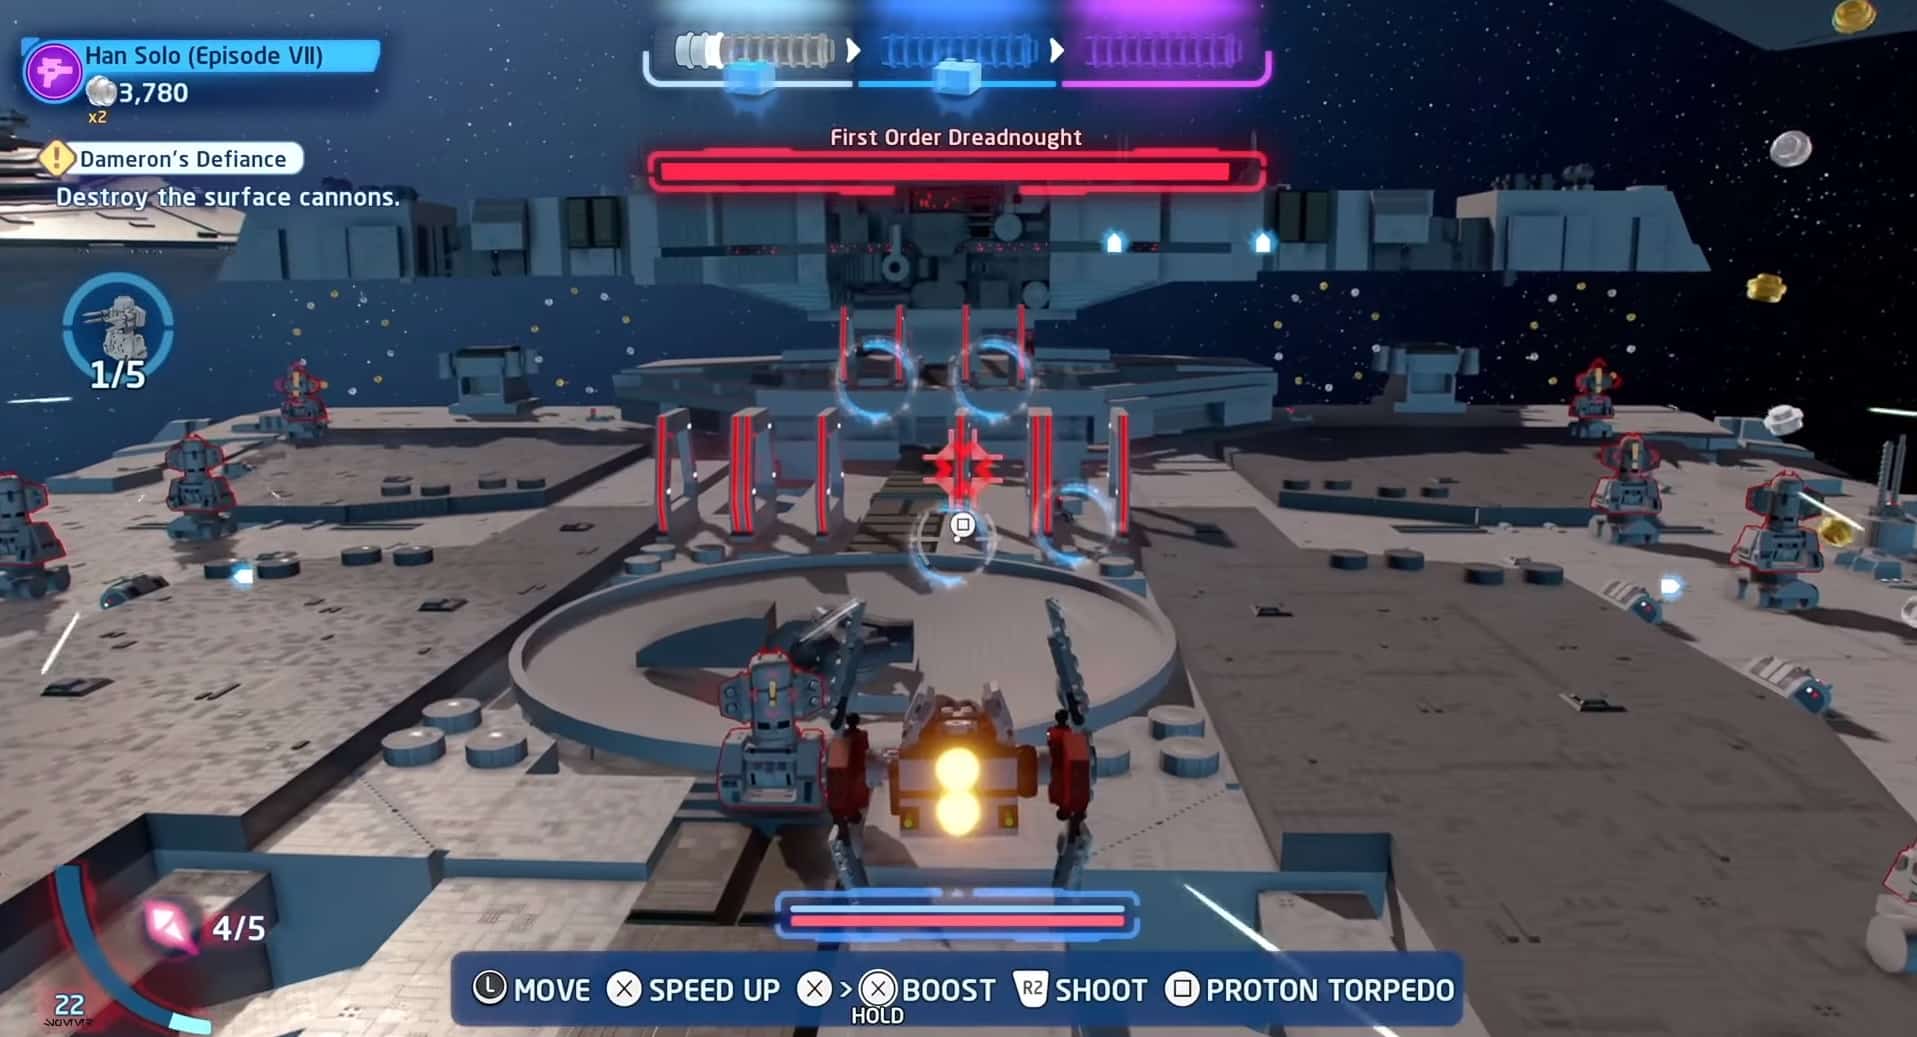
Dameron’s Defiance
Window Cleaner Minikit
There are 10 window-shaped devices on the deck of the Dreadnought. To earn the “Window Cleaner” Minikit piece, you’ll need to destroy them all. Most of them are located in the center under the shadow of the command deck. The others are off on the edges. There are no windows by the side of the Dreadnought or at its belly.
Rumor: “The Dreadnought could do with some deconstruction here.”
Straight to Voicemail Minikit
At the same time, there are 7 antennas for you to destroy as well. There are 4 located at the back; 3 on top of the command deck, and 1 to the right of the Dreadnought. There is 1 antenna along either side of the side’s broadside. The final antenna is located at the bow (or the tip) of the Dreadnought.
Rumor: “Stop the dreadnought from making any communications!”
Trash Collector Minikit
After you’ve cleared out the deck, fly towards the belly of the Dreadnought located underneath the massive ship. At the back of the ship, you can an airlock with a blinking red light on it. Destroy it, and a minikit will jettison into space. Collect it to earn the “Trash Collector” Minikit piece.
Rumor: “So that’s where the trash compactor releases space trash.”

Where Are You Going? Minikit
In the phase where you are in shooting mode, a capsule can be seen floating around the escaping New Republic ships. Shoot and destroy to earn the “Where Are You Going” Minikit piece. It is also possible for a TIE fighter to crash into the capsule. Either way works.
Rumor: “Someone didn’t want to stick around and fight.”
TIE’d Together Minikit
In the third phase of the level, a TIE fighter will spawn holding on to a minikit. It will attempt to escape, but if you’re quick enough, you can destroy it and earn the “TIE’d Together” Minikit piece. It is also possible to destroy it as it leaves the hanger bay.
Rumor: “Look out for the TIE carrying something valuable.”
After getting all Dameron’s Defiance minikits, you’ll get the “Resistance A-Wing” as a reward.
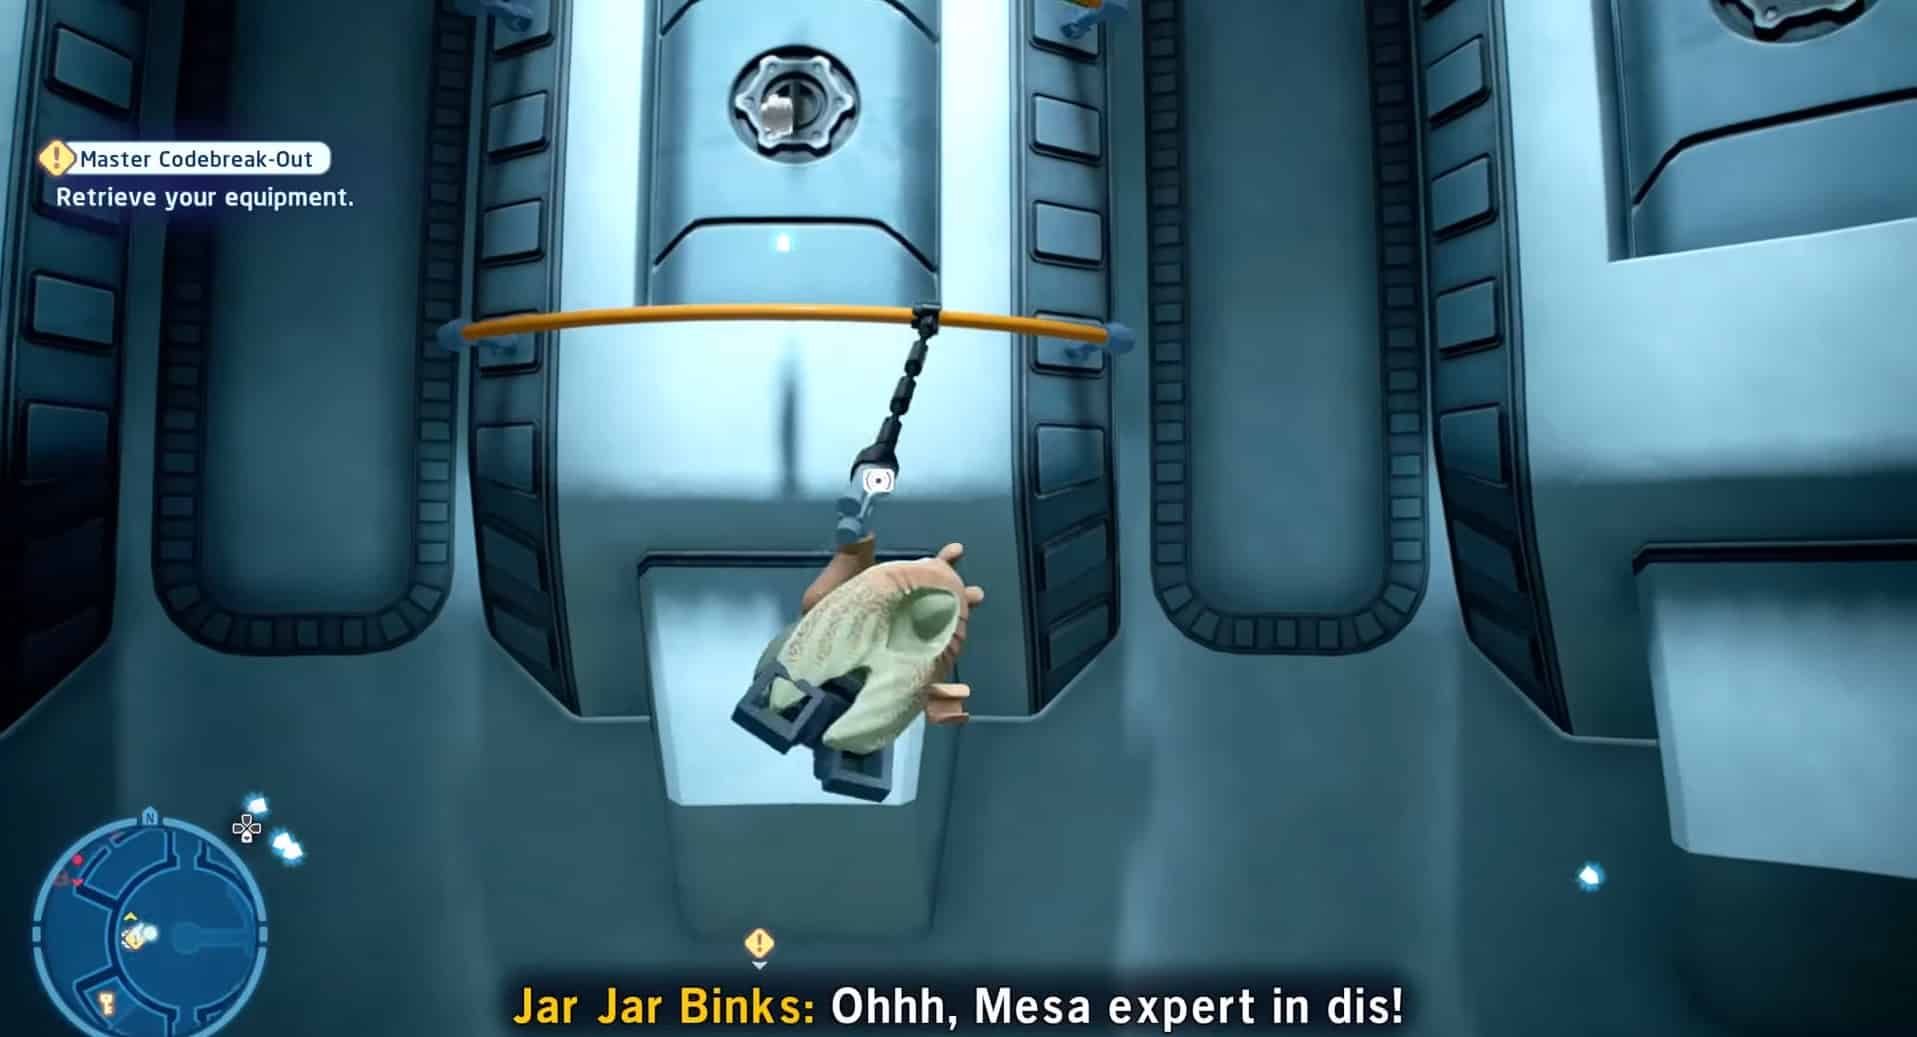
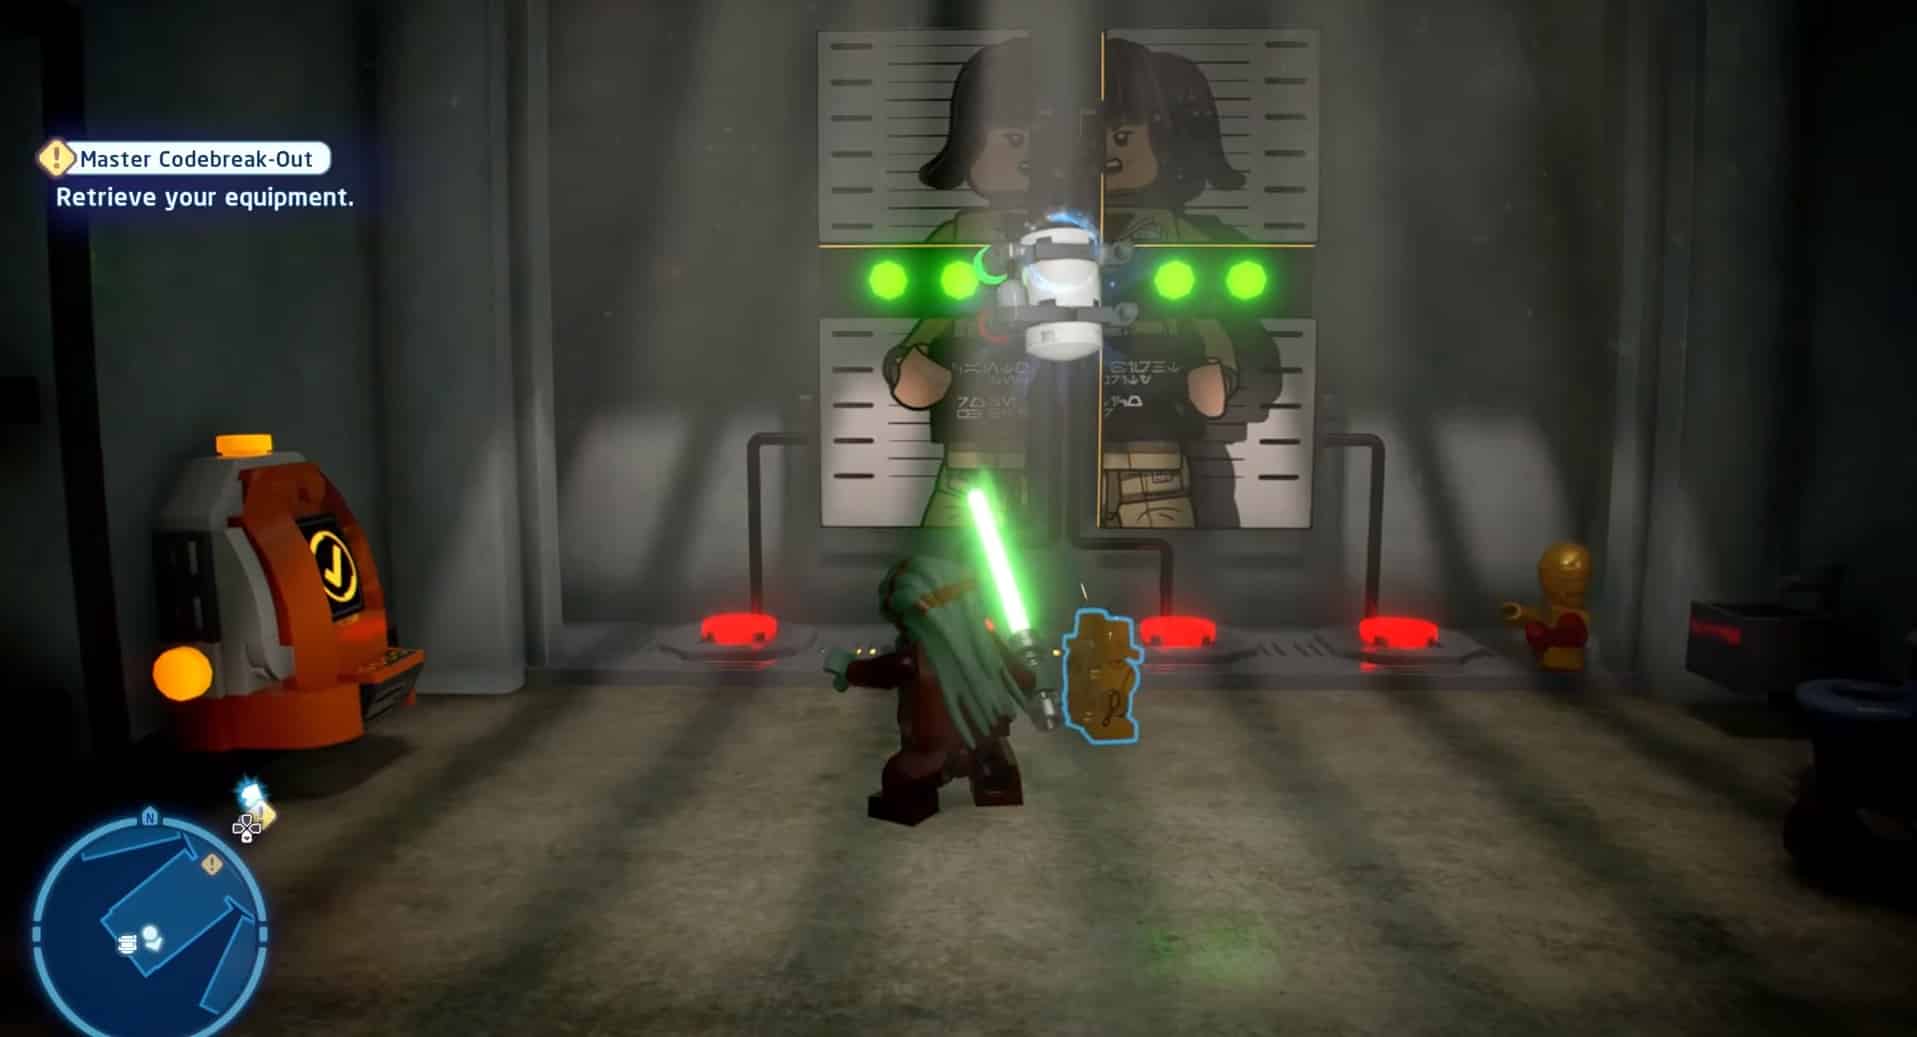
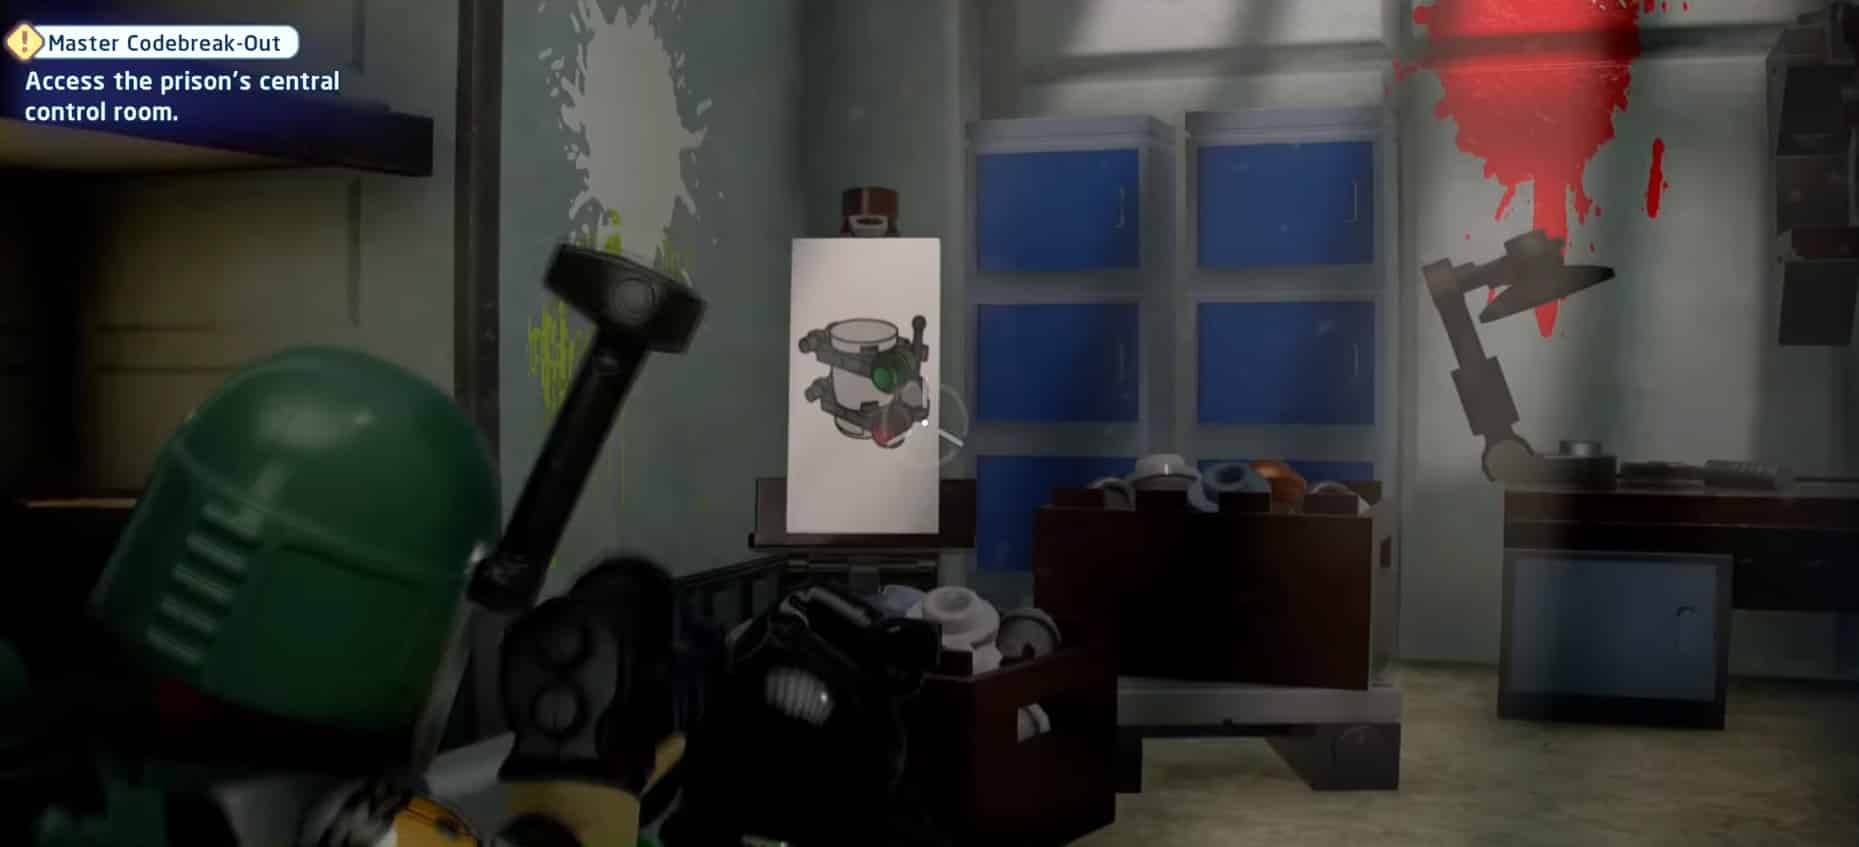
Master codebreaker-Out
Rising Strong Minikit
In the central room, get on top of the power core in the middle of the room. Look East and you’ll see a ladder, use a character that has a grappling hook to get to it. Climb up the ladder until you collect the “Rising Strong” Minikit piece.
Rumor: “The central room has a high ceiling. Anything could be up there!”
In Safe Hands Minikit
Use the catwalks above the prison floor to locate a hidden terminal next to the command room. Use a hacking droid to get the level’s password. Afterward, you’ll want to look for a cell that has a terminal in it. Use your newly acquired password to open it, and that should open the safe containing the “In Safe Hands” Minikit piece.
Rumor: “It’s safe to say to say this safe is in a safe place.”
Rose By Any Other Name Minikit
In the southwest part of the map, you’ll find a cell with a level inside it. Change to force weilder and use your Jedi powers to lift up the level and attach it to the console to the right of the cell. Pull the level, and you’ll have access to the cell. In the back left, you’ll find a console. Change to a hero class character and decipher the code. Once you’ve done that, the back wall will slide open and you’ll see 4 pictures that form a line up image of Han-Solo, Rose, Chewbacca, and Maz. Destroy the furniture in from of the buttons to easily access them.
Despite there being 4 buttons to press, there is no specific pattern to them. All you need to do is to cycle through the images until the “Rose By Any Other Name” Minikit piece appears. Oddly enough, you can walk across all four buttons at a time or just simply keep pressing one single button. Either way works.
Rumor: “There are records of everyone in here. Frame the correct one!”
The Masterpieces Minikit
On the east side of the out walls of the command room, you’ll find a level with a glowing red light on it. Pull it, and you’ll have access to a nearby cell with a dispenser droid inside it. Ride the droid to the southernmost cell. Lead it to a docking station and it’ll open the cell. Ignore the statue in the middle of the room and go towards the painting in the back. Destroy the canvas and easel to loosen the parts of the minikit. Assemble it together to earn the “The Masterpieces” minikit piece.
Rumor: “An artist can find inspiration in just about anything!”
Pipedreams Minikit
In one of the cells, you will a silver chain wrapped around a level. Use a character that throws a grenade and blow it up. Use the surrounding brinks to build a pipe leading to the safe. (That’s down on the d-pad.) Once you’ve done that, pull the lever and it’ll burst the safe from within, exposing the “Pipedreams” Minikit piece.
Rumor: “The plumbing in these cells really needs some work…“
After getting all Master codebreaker-Out minikits, you’ll get the “Libertine” as a reward.
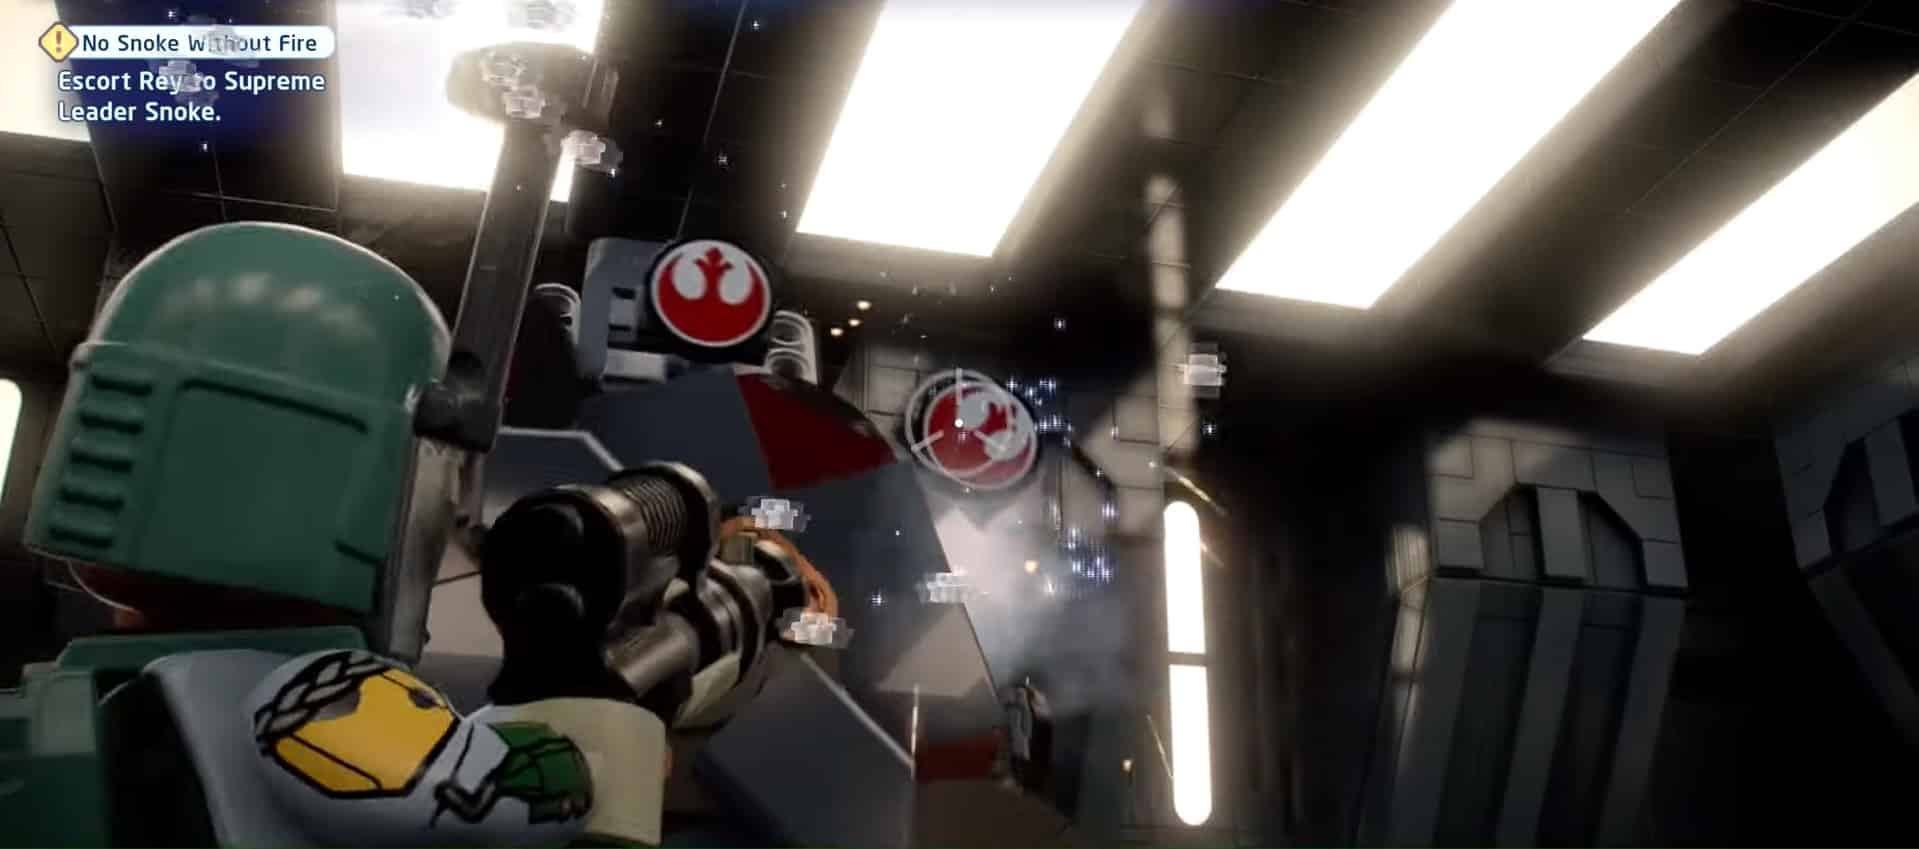
No Snoke Without Fire
Spinning Around Minikit
In the Northern part of the map, there is a room that requires a villain character to open. Inside you’ll see 3 wheels on all three walls of the room. Change to a force wielder and use the force to spin all 3 wheels. Once you’ve done that, the machine in the center of the room will come to life and the container attached to it on the right will open up, allowing you to pick up the “Spinning Around” Minikit piece.
Rumor: “If this one’s stressing you out, try blowing off a little steam first…”
Furiously Fast Firing Range Minikit
Back in the corridor, turn left and to your immediate right, you’ll find a break room, locked with a terminal that requires a villain to open. Inside the room, you’ll find a machine with a gold lock attached to it. Destroy the gold lock with a bounty hunter character, and shoot the target to make the machine come to life. Once activated, a shooting gallery minigame will start. Shoot all the Resistance targets to make the “Furiously Fast Firing Range” Minikit piece appear.
Rumor: “It’ll take some quick shooting to complete this training machine!”
Puzzling Power Cell Path Minikit
In the eastern part of the map, you’ll find a room with a terminal beside it. Change to a villain character to unlock it. Inside you’ll find a guiding puzzle where you’ll move both a battery pack and a power cell. Inserting and removing the battery pack will cause the paddle to move. Keep doing this to create a path for the power cell as you pick it up and move through the maze. At the end of the maze, move the cell into the socket and you’ll be able to pick up the “Puzzling Power Cell Path” Minikit piece.
Rumor: “Moving the power cells around could be useful for something…”
Good Enough Minikit
You can get the “Good Enough” Minikit during the fight with the Praetorian guards. The minikit is just sitting pretty behind Snoke’s throne. Don’t forget to pick it up and then proceed to wipe the floor with the guards.
Rumor: “When you need to hide something but can’t be bothered getting off your throne!”
Trickly Techno Tower Minikit
In the large cavernous area south of the map, you’ll see a techno tower above a pit. Use an astromech to extend the bridge to reach it. Once on it, take a left and climb the tower to the second level. Go around the tower until you come across an atromech terminal. Change into an astromech, solve the puzzle, and then you’ll be able to pick the “Tricky Techno Tower” Minikit piece once the locks released.
Rumor: “It’s almost like this tower was designed to be tricky to climb…”
After getting all No Snoke Without Fire minikits, you’ll get the “TIE Silencer” as a reward.
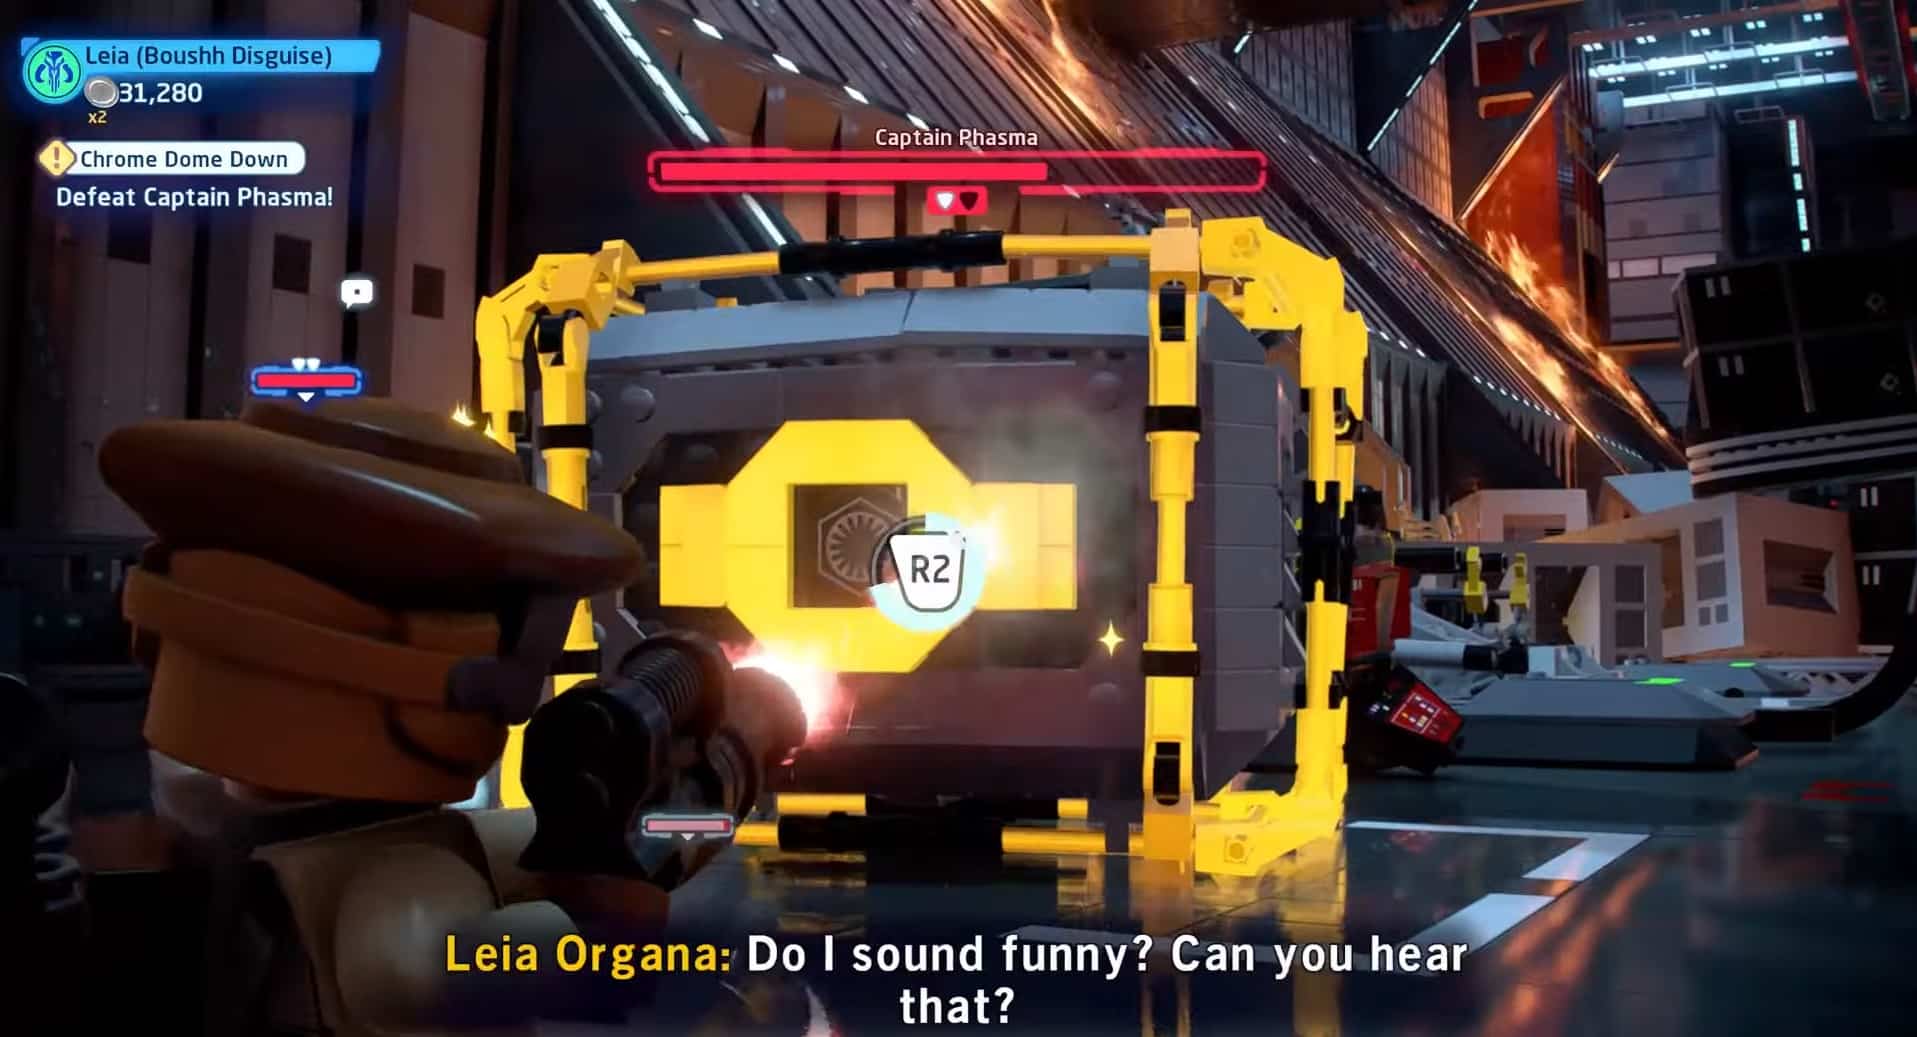
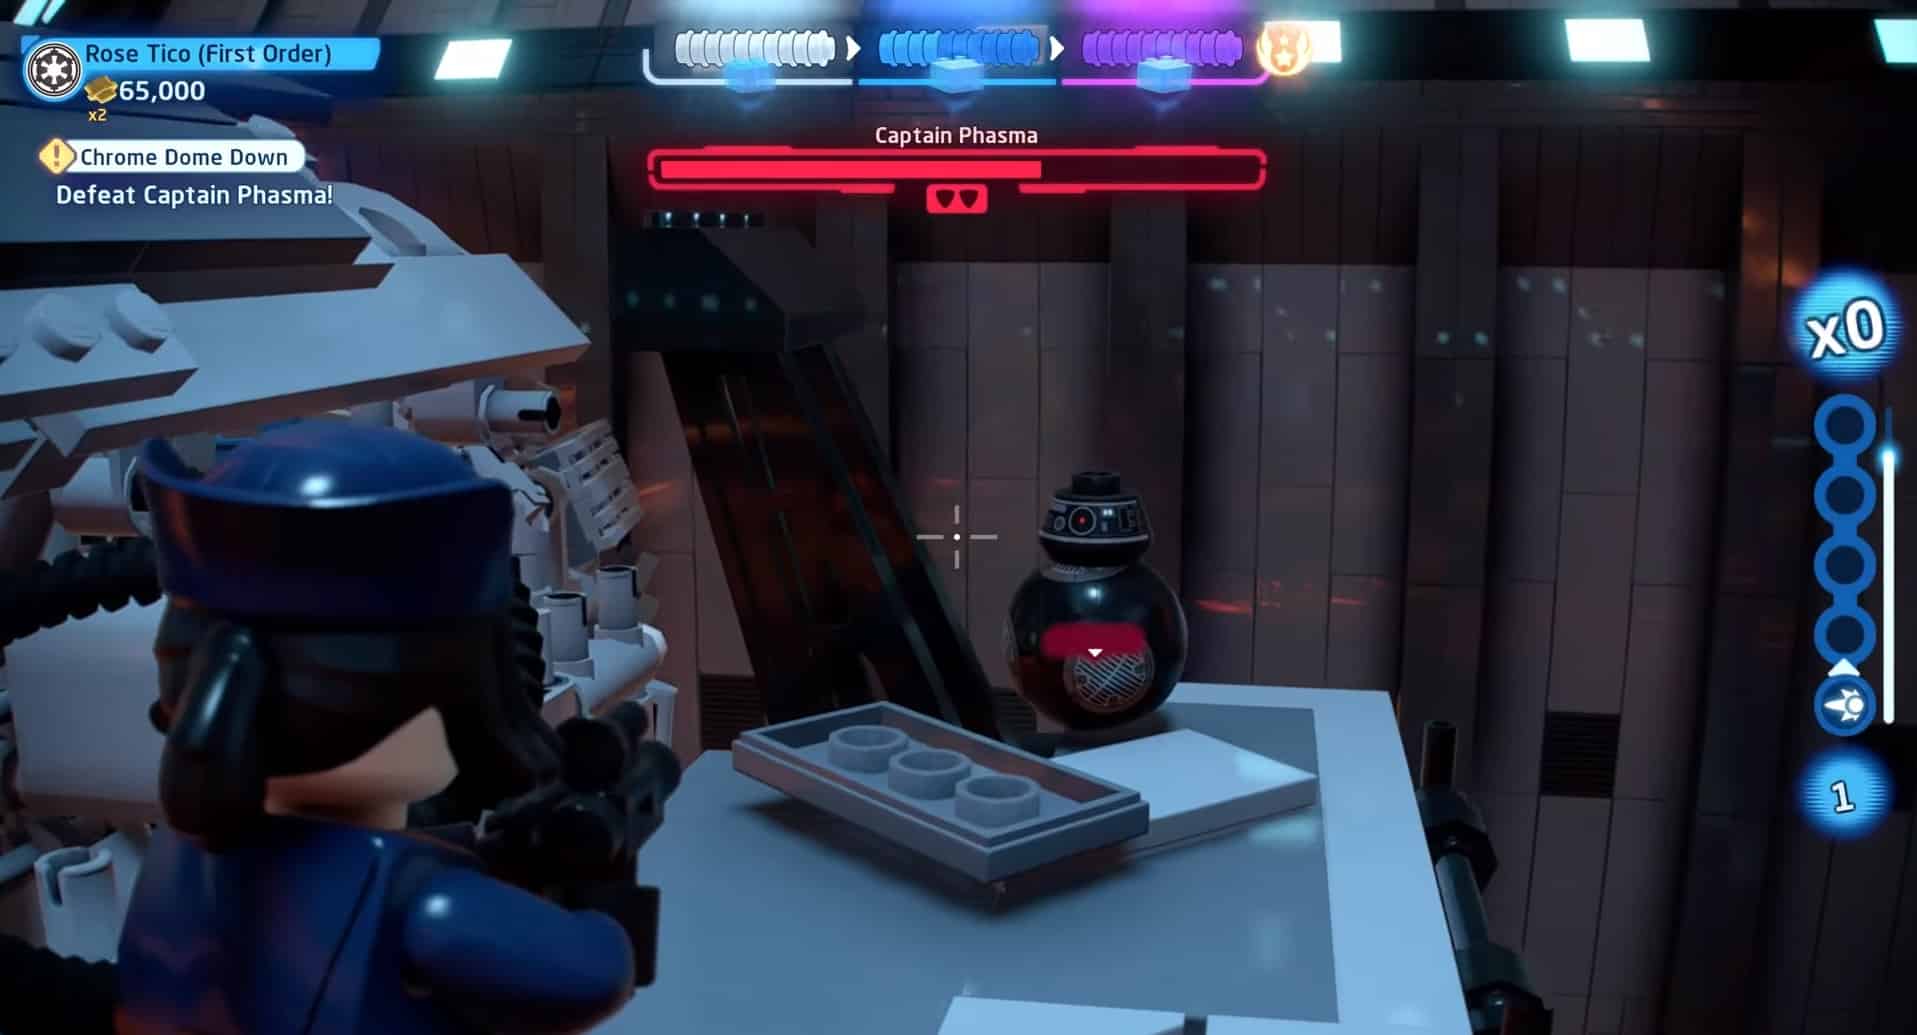
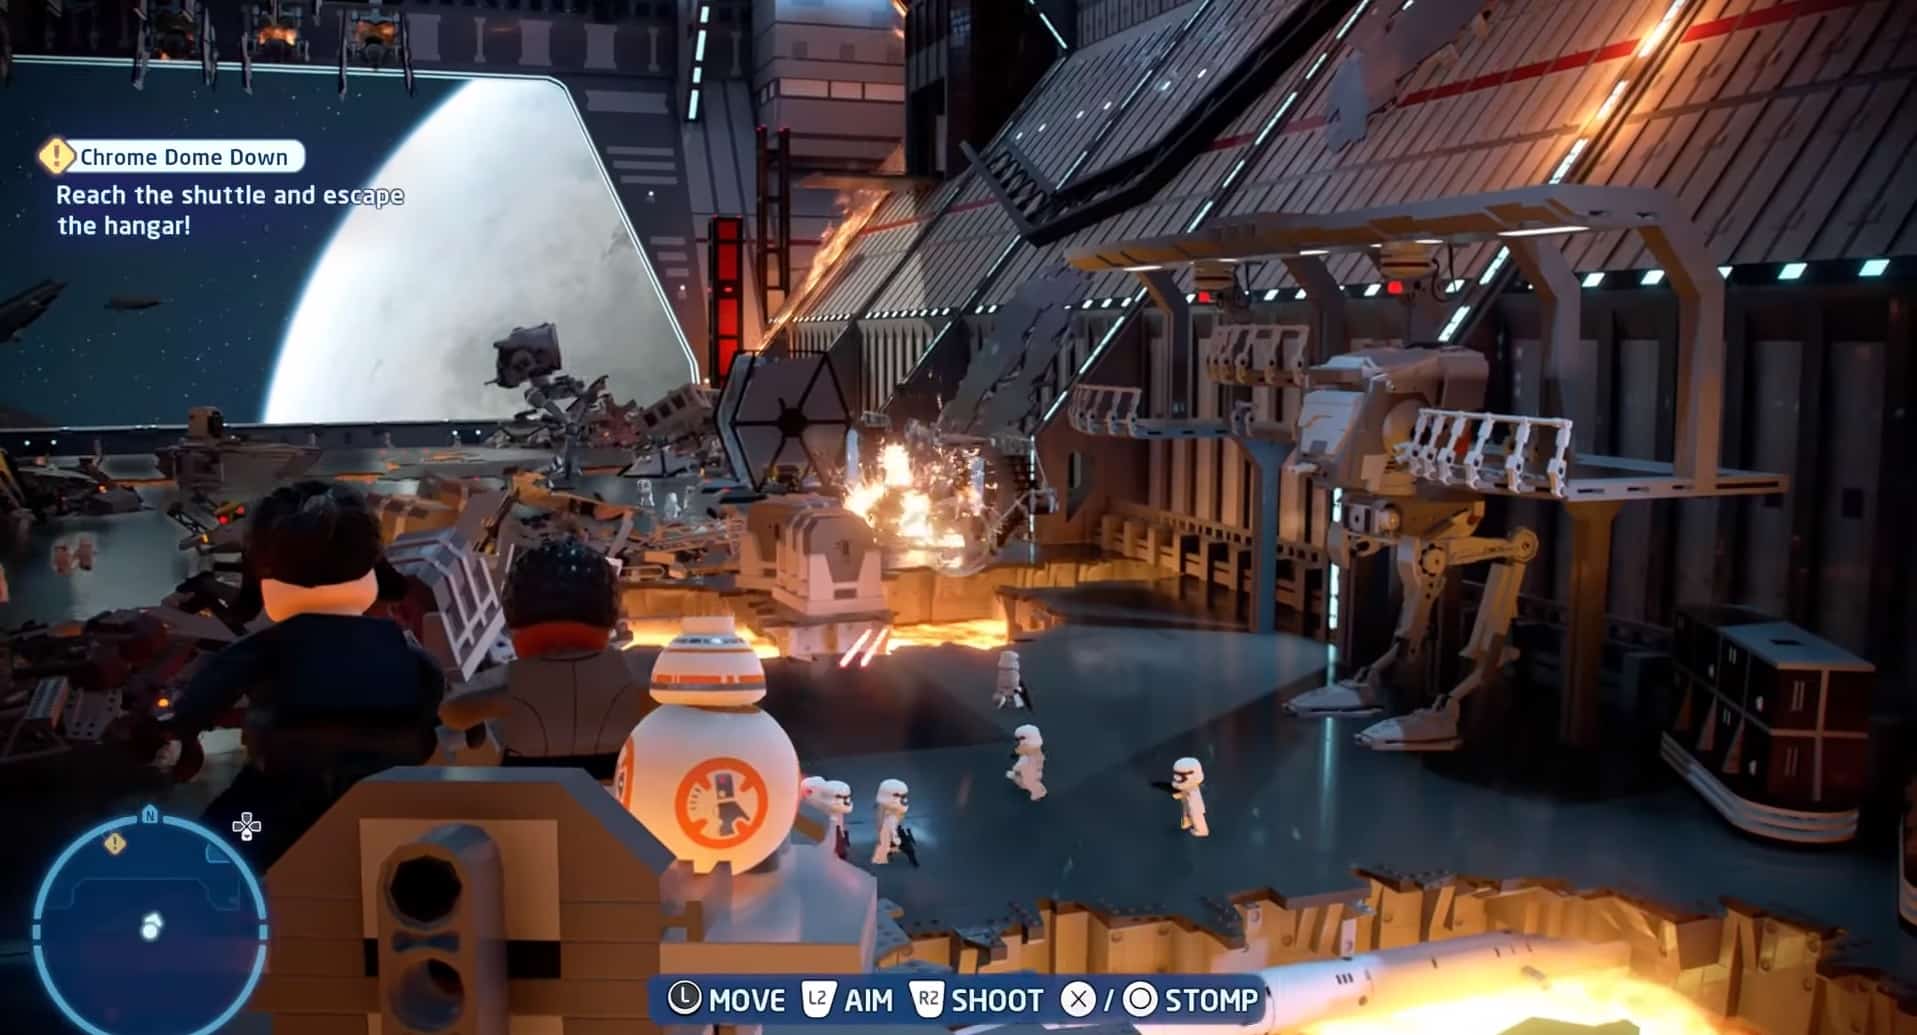
Chrome Dome Down
Golden Opportunity Minikit
In the western part of the map, you can find a golden crate sitting in the middle of the floor. Change to a bounty hunter and shoot it until the “Golden Opportunity” Minitkit piece pops out.
Rumor: “Grab it before it’s too late!”
Through Fire and Flames Minikit
In the southwest corner of the map, you will see a malfunctioning lift. Change to a character that has a grappling hook hang on for a bit until falls down and sets itself back into place. Once functional again, ride the lift to the top where the “Through Fire and Flames” Minikit piece is waiting for you.
Rumor: “Brave the fire to claim the prize!”
Loose Kits Sink Ships Minikit
In the eastern part of the map, you will find a large turbine. Shoot the debris blocking your path and proceed to the back of it. Climb the ladder up to collect the “Loose Kits Sink Ships” Minikit piece.
Rumor: “The ship is falling apart! Snap this minikit on the way out.”
Three Strikes and You’re Out Minikit
To unlock the “Three Strikes and You’re Out” Minikit piece, you’ll need to search for and destroy 3 evil BB-8’s scattered around the map. The first one you can get during the first phase. It is located on the west of the map on top of a platform. The other two can be found during the second stage. One is located at the very back of the map to the north. The last one is located by the turbine. Destroy it, climb the ladder, and claim the minikit.
Rumor: “Those BB droids can be pretty annoying!”
Junk Pile Minikit
When you are in the part where you have to shoot your way out using the AT-ST, there is a minikit lodged in a pile of junk. Use the AT-ST to destroy the pile and expose it. Walk up to it to claim the “Junk Pile” Minikit piece.
Rumor: “Stomp and shoot everything you can!”
After getting all Chrome Dome Down minikits, you’ll get the “Supermacy” as a reward.
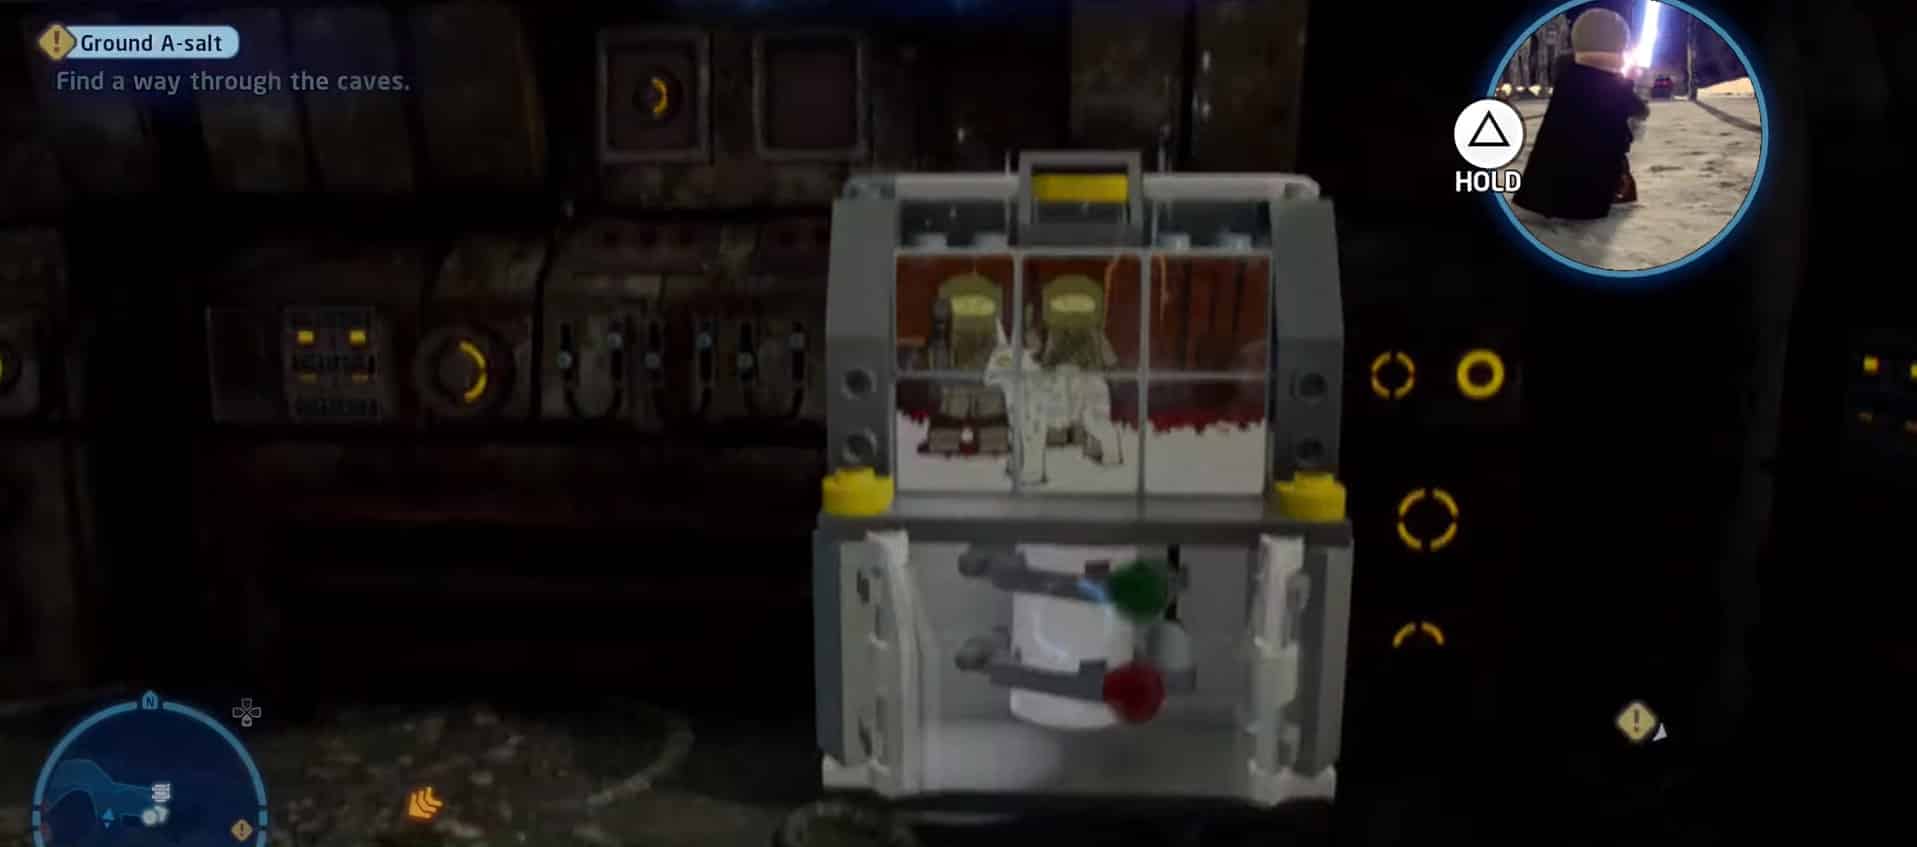
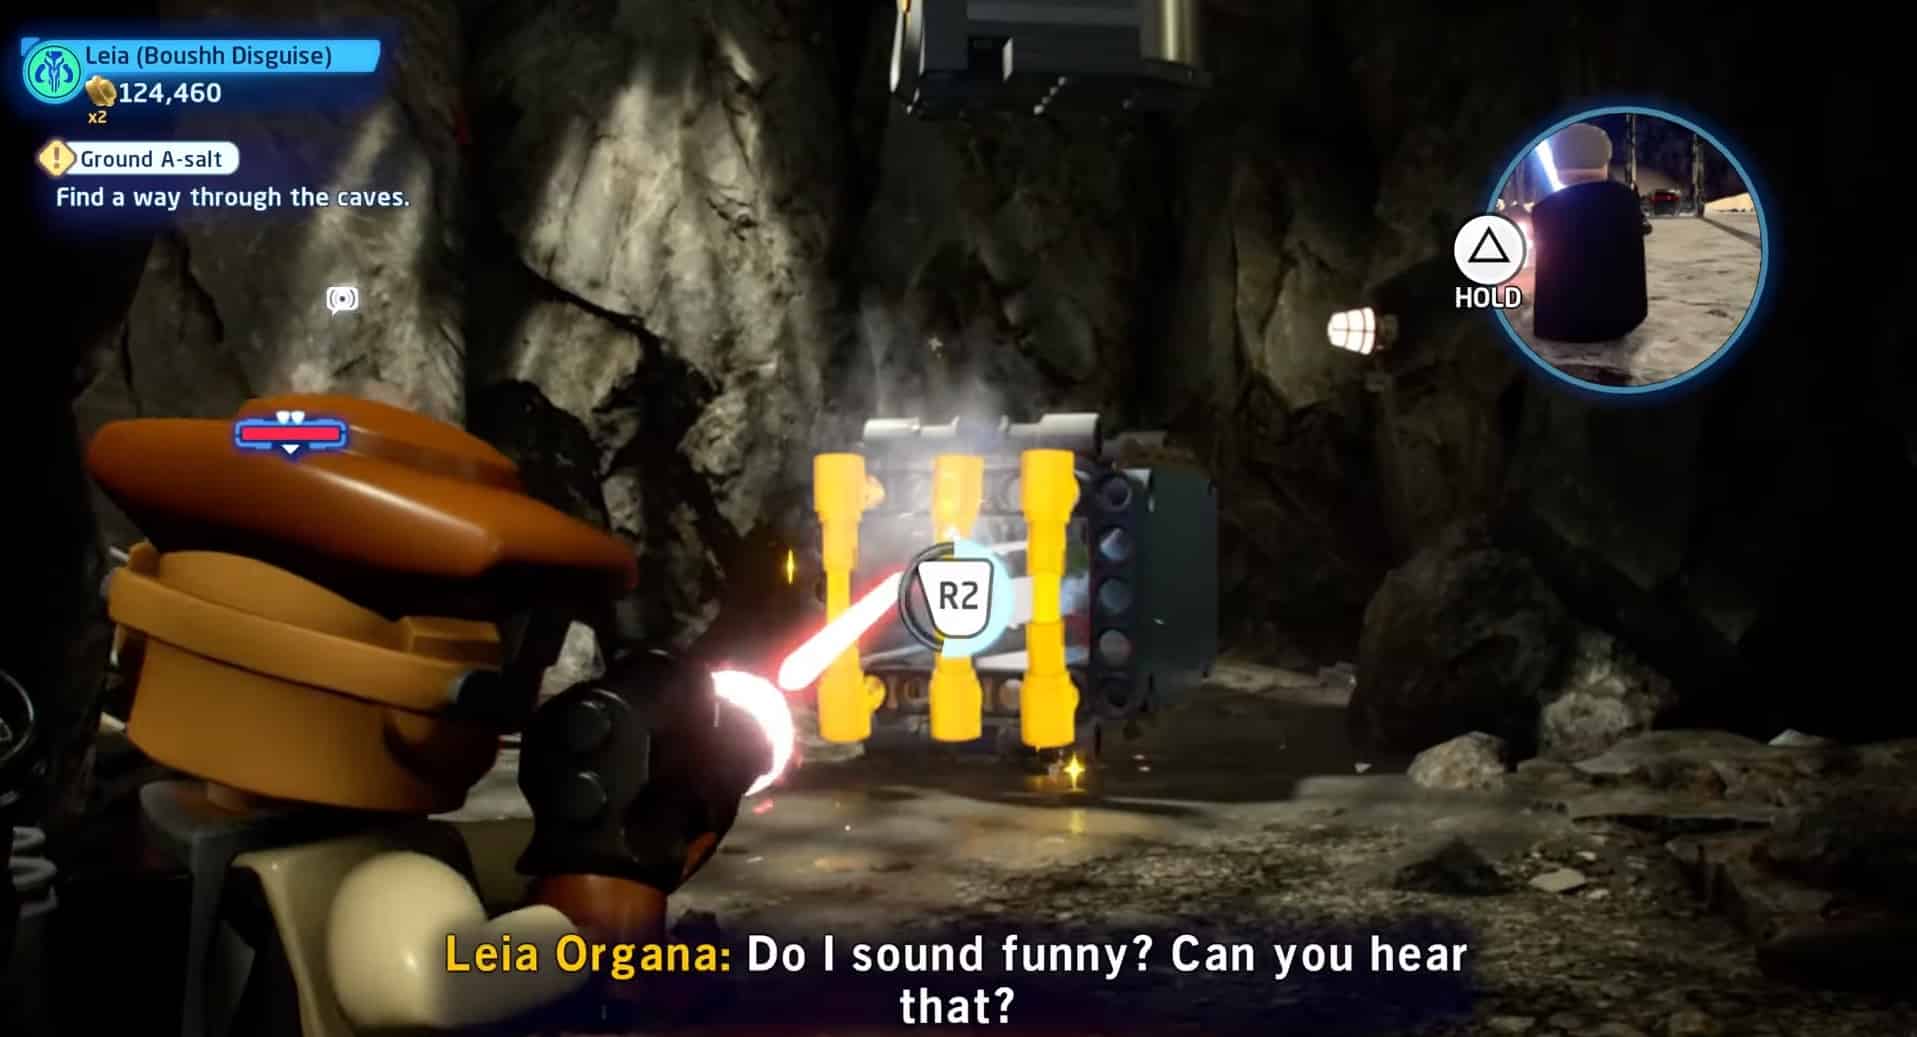
Ground A-Salt
Caved In Minikit
In the area you build the drilling machine, there is a bunch of rocks blocking a shallow nook. Using a Force wielder, lift the rocks and that should be all you need to do to access the “Caved In” Minikit piece.
Rumor: “Look for hidden objects amongst the rubble.”
Rebuilding Hope Minikit
Once you reach the entrance you can blow up with dynamite, head to the back of the cave. You can see an incline guiding you upwards toward a cliff. At the top, there is a puzzle that needs to be assembled using the Force. Using a force-sensitive character, lift the square to form a picture of a couple of Resistance fighters and a Vulptex. The six pieces are all around. Destroy objects to reveal their locations. The final piece is located on top of the ladder opposite the locker.
Once you’ve finished the puzzle, the locker will open up and there’s the “Rebuilding Hope” Minikit piece for you to collect.
Rumor: “Piece together the symbol of hope.”
Crackdown Minikit
After you rode the drilling machine past the red crystal cave, you will notice a wall with a crack on it. Change to a scavenger character and using their Breaker Blaster, break the wall to reveal the Crackdown” Minikit piece.
Rumor: “These caves are unstable, but a slight detour may be worth the risk…”
Vulptex Food Minikit
As soon as you punched through the crystal tunnel, backtrack a bit and there you will find a chamber with a feeding tray and a food dispenser. Move the tray under the dispenser. You then have to pull to the level and the food will dispense. Move the tray back into the holding pen. A couple of Vulptex will come out and start eating the food. When they have had their fill, you are free to assemble the minikit and claim the “Vulptex Food” Minikit piece.
Rumor: “That good boi definitely deserves a treat…”
Crait Expectations Minikit
After the part where you open security doors using a protocol droid, head into the cave where the droid was, and you should a cage with gold bars. Change to a bounty hunter character, shoot the bars and claim the “Crait Expectations” Minikit piece.
Rumor: “Discover and unlock this safely protected object.”
After getting all Chrome Dome Down minikits, you’ll get the “Kylo Ren’s Shuttle” as a reward.
That’s all there is for the LEGO Star Wars The Skywalker Saga All Minikit Locations in Episode 8: The Last Jedi. You can check out our other LEGO Star Wars guides you might be interested in.
- LEGO Star Wars The Skywalker Saga – The Phantom Menace Minikit Locations
- LEGO Star Wars The Skywalker Saga – Attack of the Clones Minikit Locations
- LEGO Star Wars The Skywalker Saga – Revenge of the Sith Minikit Locations
- LEGO Star Wars The Skywalker Saga – A New Hope Minikit Locations
- LEGO Star Wars The Skywalker Saga – The Empire Strikes Back Minikit Locations
- LEGO Star Wars The Skywalker Saga – Return of the Jedi Minikit Locations
- LEGO Star Wars The Skywalker Saga – The Force Awakens Minikit Locations
- LEGO Star Wars The Skywalker Saga – The Last Jedi Minikit Locations
- LEGO Star Wars The Starwalker Saga – The Rise of Skywalker Minikit Locations
Check out this Youtube video from Gaming with Abyss where all the minikits for the Ground A-Salt level are showcased.


