
In Ready Or Not, weapon attachments can be changed or added on workbenches. From these workbenches, weapons can then be customized based on how its user would like it to operate.
Ready Or Not is making some waves right now, especially for fans of tactical shooters. And of course, it wouldn’t be a shooter without guns. Currently, there are a number of guns available for players to use; there are even non-lethal options as well. These weapons can be further tweaked depending on the player’s game style and preference.
How to Change Weapon Attachments?
You can customize your weapon attachments in Ready or Not by visiting a workbench. You have to know that there are different kinds of attachments depending on which gun is placed on the workbench.
Once you’ve arrived at either bench, all you have to do is interact with it and modify your weapon.
It works for both primary and secondary weapons. Attachments are further categorized based on their location on the gun or their main purpose: underbarrel, muzzle, sight, and ammo.
Long Gun Attachments
Underbarrel Attachments
Grips, Laser and Lights to aid you to regulate recoil, acquire targets, and see in low light conditions:
- Angled Foregrip
- Flashlight
- Handstop
- Laser Pointer
- PEQ-15 IR Laser
- Vertical ForegripS
Muzzle Attachments
Barrels, Compensators, Flash Hiders, and Suppressors:
- Compensator
- Flash Hider
- Light Barrel
- Rifle Suppressor
- Short Barrel
- Single Vented Compensator
- Small Suppressor
Sight Attachments
- Bu Ironsight
- HMAA
- Holosight 512
- Holosight XPS3
- M145
- Maelstrom Venom
- Micro Red Dot Sight
- Micro T1
- MRCO Red Dot Sight
- PRO Optic
- Reflex Sight
- SRS Sight
- Viewmark Reflex
- Viewmark Reflex
Ammo Attachments
- Full Metal Jacket (for penetration against armor)
- Hollow Point (for soft tissue damage)
Pistol Attachments
Even if it is not as devastating as your major weapons, especially while battling heavily armored opponents, a pistol is still reliable sidearm will still be crucial in your loadout, and equipping it with the right attachment is essential:
- .357 Magnum
- Five-Seven
- G19
- M2011
- M92FS
- P99
Ready Or not Workbench Locations
There are two different sites where you can customize your weapon attachments and find a workbench: the locker room and the shooting range. Here’s how to locate the workbenches in Ready or Not:
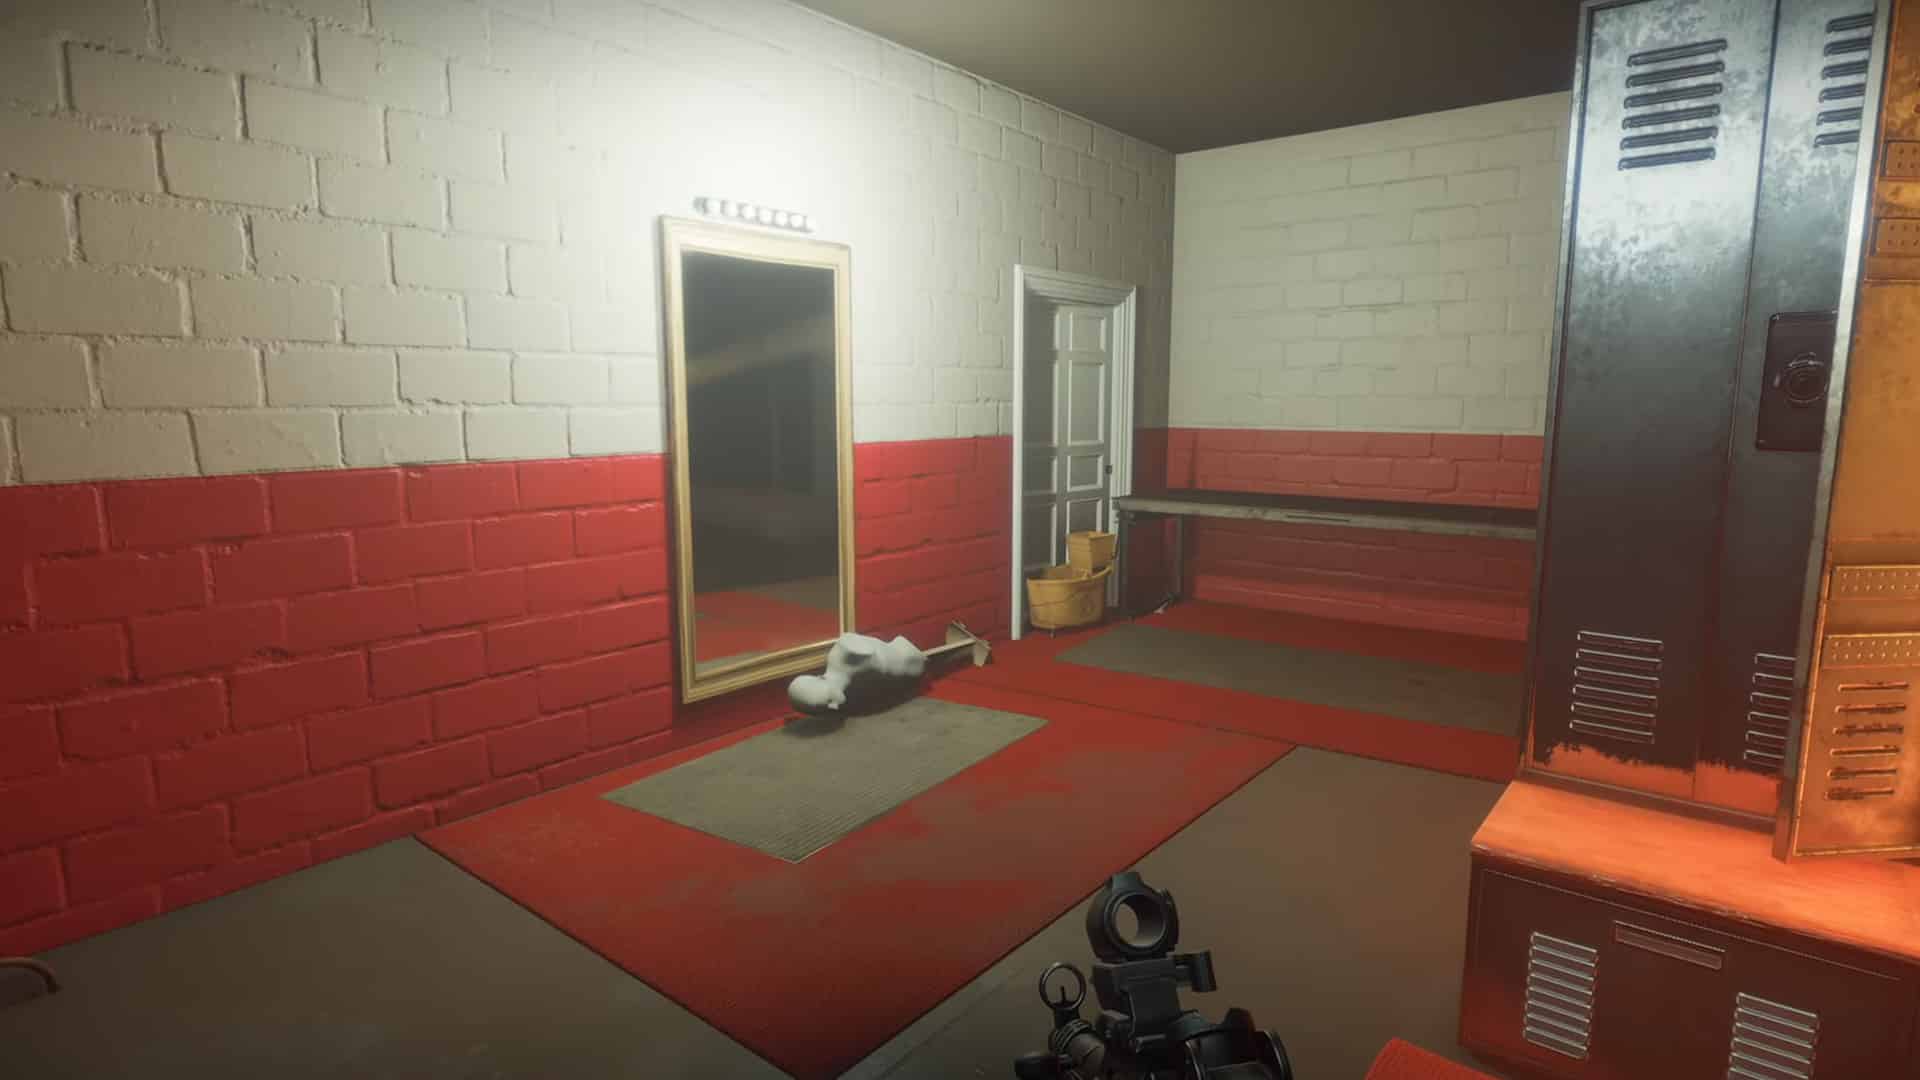
Locker room
This workbench is located behind the player’s dedicated locker where loadouts can be set. It’s near the personalization mirror, and adjacent to the blocked-off white door.
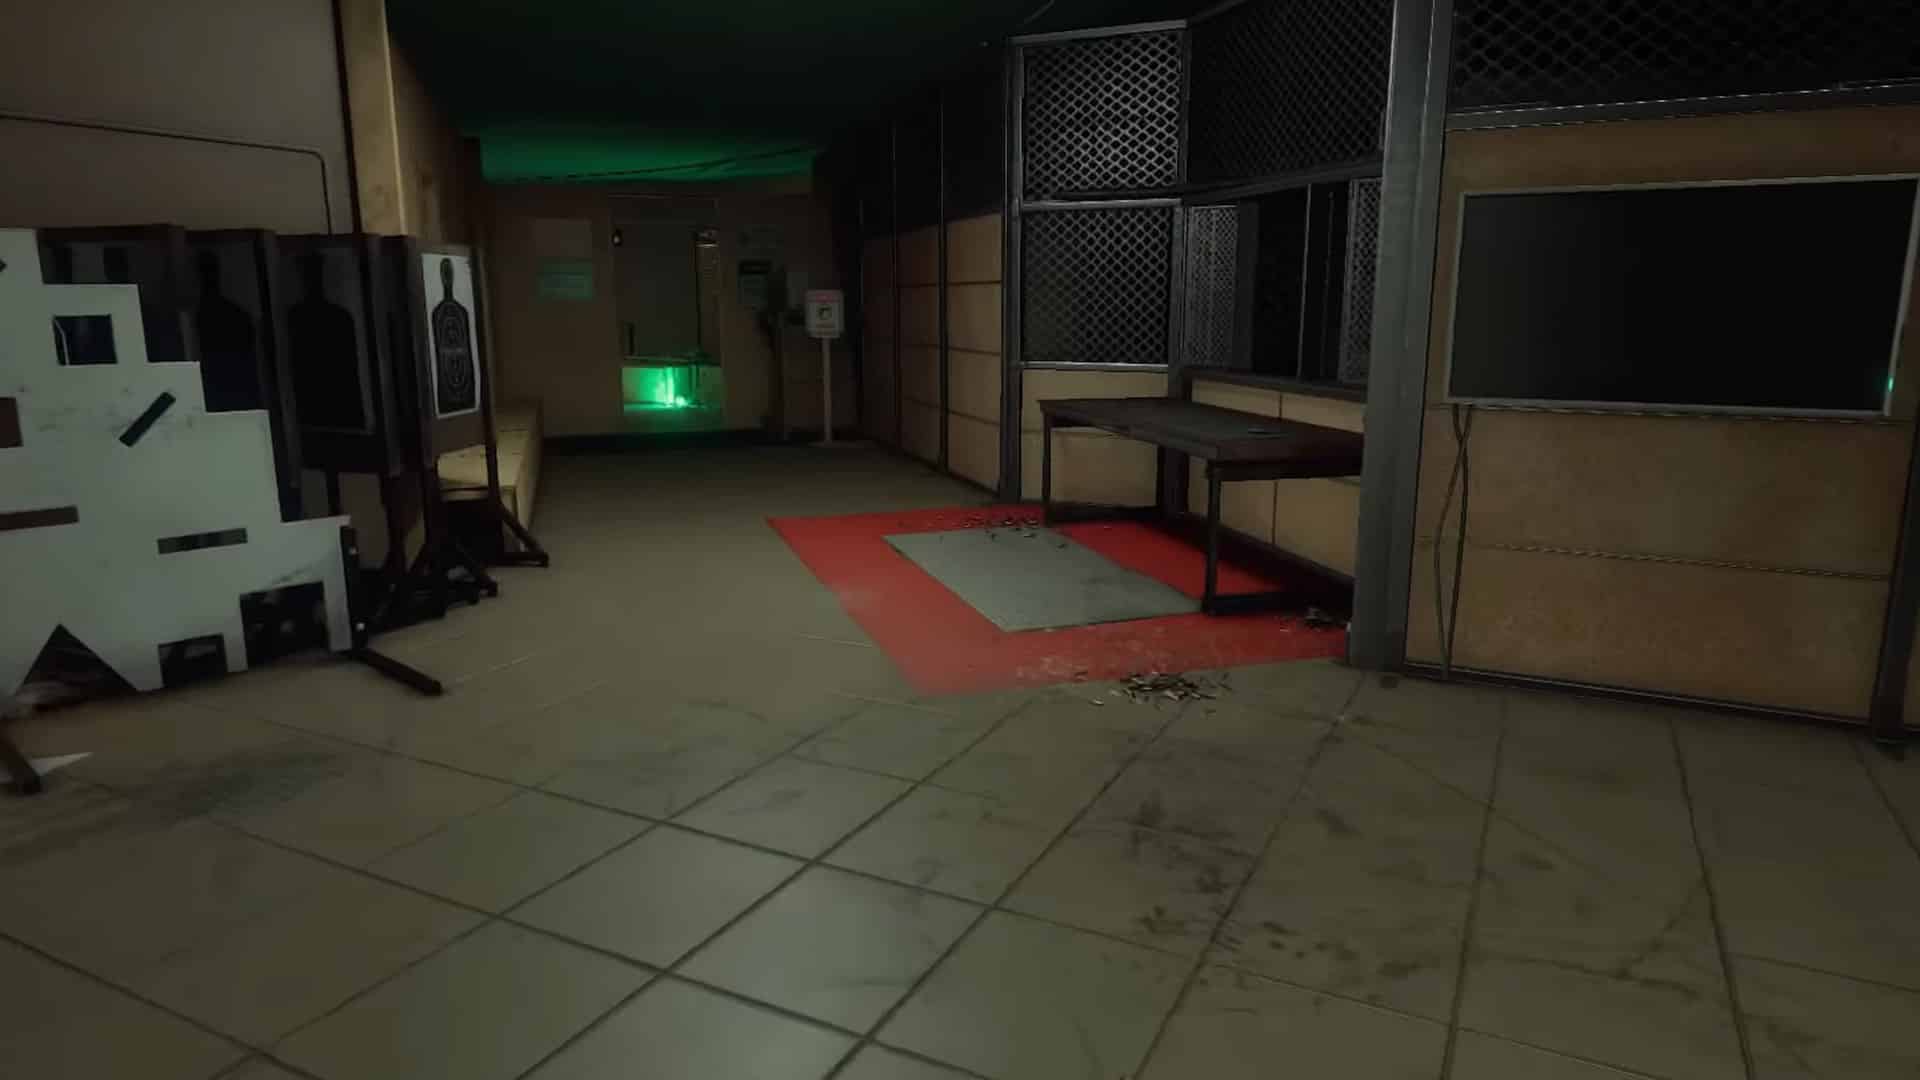
Shooting Range
Going down from where the locker room and the briefing room are is the shooting range. On the left side is the quartermaster’s station where the other workbench is just outside its window.
Do note that workbenches don’t show the “stats” of guns prior to and after customization, so it’s best to have at least the basic knowledge and understanding about the guns and attachments. For this, it’s recommended to utilize the workbench at the shooting range, that way you can test out a gun sans attachments, and then just run over to the quartermaster to tweak it to your liking.
If this guide helped you, you may like to check out our other Ready Or Not articles:
- Ready Or Not Mods – How to Install and Best Mods
- Ready Or Not – All Tactical Equipment, Devices, and Grenades List
- Will Ready Or Not be Available on Xbox, PS4 or PS5?
- Ready or Not Player Limit – Multiplayer Support
- Ready Or Not Crashing? How to Solve It
Also, check out this video by Omnii on how to add and change weapon attachments in Ready Or Not:


