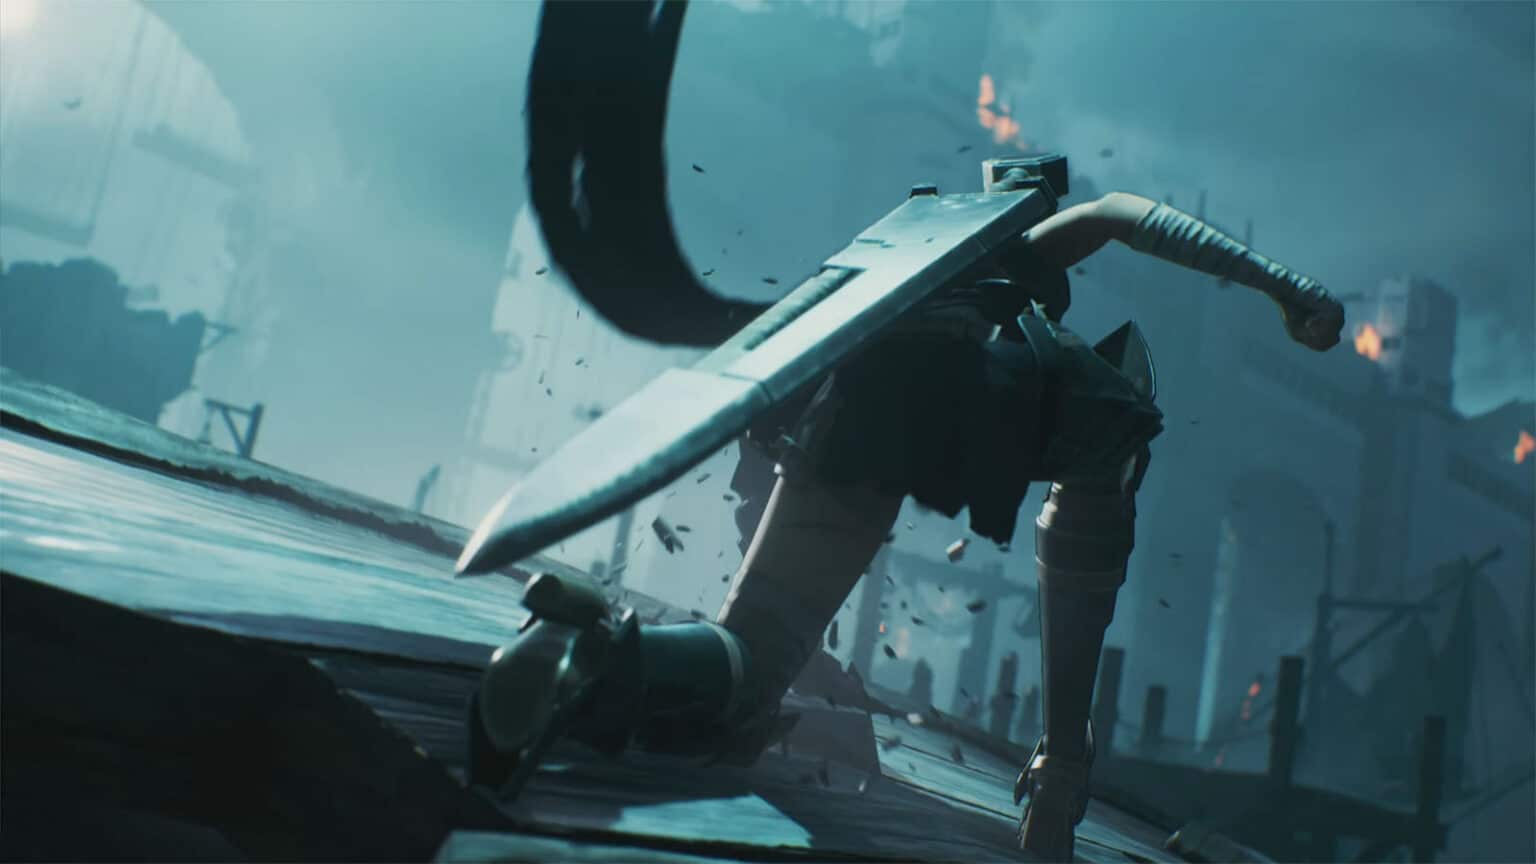
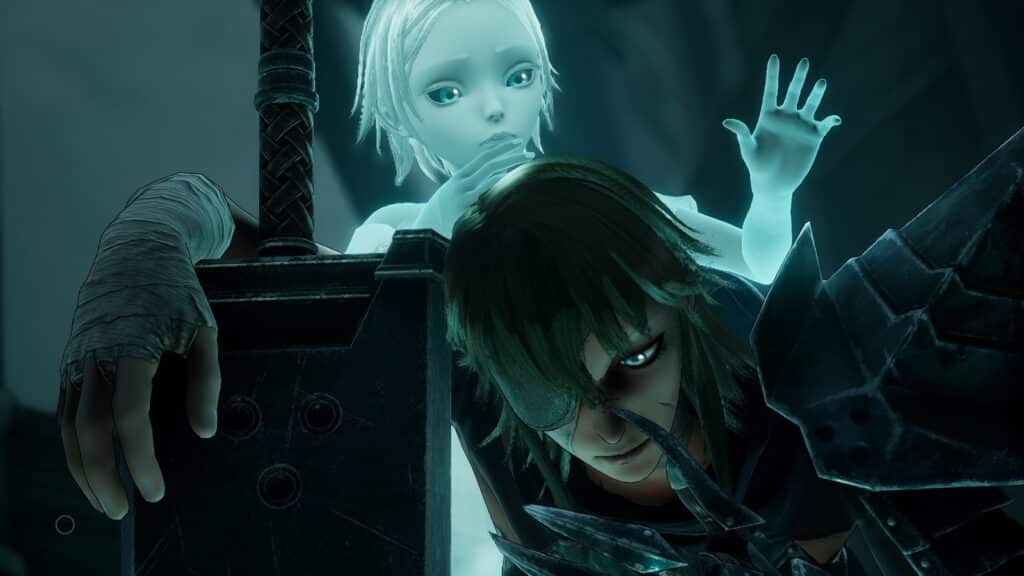
Soulstice is the newest hack-and-slash game to come out in all the major platforms. The game follows the story of Briar and Lute, two sisters who were tasked to to save what’s left of the land after the Tear appeared. Using their unique skills, players will have to go through several chapters to clear out the enemies before them. The first chapter, All the Lost Souls, will introduce the protagonists and will serve as a tutorial for the game’s combat and gameplay.
In this guide, we will be going through Chapter 1: All the Lost Souls, showing any tips, tricks, or collectibles that can be found within the chapter.
But before we proceed to the first chapter, it’s best to briefly go through the early parts of the game.
Difficulty Levels
Upon starting a new game, you will need to choose the difficulty on which you would like to play. This can only be chosen at the start of a new save file.
There are five difficulties to choose from:
- Human – Easiest
- Initiate
- Knight
- Chimera
- Transcended – Hardest
Some trophies/achievements are locked behind certain difficulties. Refer to our Soulstice Trophy Guide to know more about these achievements.

Briar and Lute
Briar and Lute are the protagonist duo of Soulstice.
Briar is an Ashen Knight that is well-versed in combat using her weapons, the Ashen Vindicator (sword) and the Ashen Enforcer (hammer). Throughout the game, she can learn additional combat skills and unlock different kinds of weapons.
Lute is a Shade that has chosen to bind her soul to her sister Briar. She accompanies her sister and provides support during combat by deflecting attacks, slowing enemies, and even dishing out her own attacks as she gets stronger.
Prologue
The first part will let you play out a fight against strong enemies and a boss. This initial fight is set at the “present event” wherein Briar and Lute are already powered up and possess additional skills for combat. After defeating the boss, the story then rewinds back to a day earlier where we find our two heroes arriving at the capital of Ilden where the first chapter starts.
Soulstice Chapter 1: All the Lost Souls Walkthrough
Chapter 1 starts off with a cutscene of Briar and Lute arriving at Ilden via a boat, a day prior from the events in the prologue. There are 5 encounters in this chapter, 1 Challenge of the Void, and 1 Upgrade to collect.
Waterfront, Docks District
The two arrive at the docks. It has been abandoned and trashed, but there are still some crates and barrels that can be smashed to obtain Crimson Tear Residue, Soulstice’s main form of currency (referred to as “residue” from here on).

Make your way through the docks and the platforms until you see the first burning ship. From there, head towards the path to the right to find another burning ship with a glowing purple orb. Interact with this orb to get the Ashes of a Fallen Chimera, which is an item that can be used to instantly revive upon dying in a battle.
Proceed further any you will eventually arrive at your first encounter. You will have to defeat several Broken to clear out the encounter. You will also learn Lute’s first skill which is the Counter Type: Slow which slows down a single enemy when the prompt is timed correctly. Clear out this encounter as quick as possible without getting hit to achieve a Diamond rating.

Further down the docks, you will then get into your second encounter, still against several Broken enemies. You’ll learn how to use Lute’s Counter Type: Barrier that can prevent single melee attacks. This encounter is fairly easy to get a Diamond rating.
Proceed further into the path and you will see a ship that has been turned with its underside up. Do a double jump to scale up on top of it and you will eventually arrive at the next section.

Longshore Wharf, Docks District
Upon arriving at the wharf, a short cutscene will play that shows the Tear growing in size. You will then be ambushed by more enemies for the third encounter, this time there will be Pikemen joining the fight. These are long range enemies that attack by throwing their pikes at you. You will learn another one of Lute’s skill called Counter Type: Deflection which helps deflect incoming projectiles when timed correctly.

After clearing the encounter, make your way further down the path, but before taking the next flight of stairs, proceed further to the left side where you will see a glowing silver orb. Interacting with this orb will unlock the first challenge, Slayer I.
In this challenge, you will need to defeat 10 enemies, both Broken and Pikemen, within just 1 minute. Clearing the challenge in time will reward you with a Malformed Husk Fragment. Collecting three of these fragments will get you a Sturdy Husk Chunk that will increase Briar’s maximum health.

After clearing the challenge, proceed to the stairs and through the door where you will meet Layton. He is an observer, and despite his brash comments, he offers to be an ally. Talking to Layton will give you the option to go to the Shop to buy materials, or purchase new skills for Briar, and once unlocked, for Lute as well.
- Shop
- Emerald Tear Shard – 350 residue
- Sturdy Husk Chunk – 10,000 residue
- Iridescent Ethereal Weave – 10,000 residue
- Skills
- Ashen Vindicator
- Ferocious Assault – 2,000 residue
- Piercing Lunge – 5,000 residue
- Ashen Enforcer
- Thunderous Advance – 4,500 residue
- Arching Onslaught – 9,000 residue
- Soaring Ascent – already obtained
- Roaring Descent – 7,500 residue
- Hammering Rush – 7,500 residue
- Proficiency – already obtained
- Proficiency II – 6,000 residue
- Proficiency III – locked
- Ashen Vindicator
As part of the tutorial, you will need to purchase an Emerald Tear Shard and the Ferocious Assault skill. You can then leave the conversation and proceed to the next section to the left. From here, head to the elevator to the next section.

Docker’s Overlook, Ildenmere Bridge
Upon alighting the elevator, you will face your fourth encounter against Broken and Pikemen. There are several waves in this encounter, and the Pikemen can position themselves away and outside the screen, so make sure to be on top of Lute’s Deflection to avoid getting hit.


Proceed to navigate through the platforms on the side of the wall and you will arrive at the next elevator. It cannot be used at the moment as it is stuck, so you will need to find another way. Head further left where you will find two paths. Take the higher platform to obtain an Emerald Tear Crystal at the end of the path, then head back to the junction and double jump towards the higher platform to the right.
Continue towards the right and clear out the debris blocking the elevator by attacking it. Ride the elevator and you will arrive at your fifth encounter. There will be plenty more enemies at this point and you’ll be fighting on a narrow platform, so try to use your wide attacks and prioritize attacking the Pikemen to mitigate damage.
Finally, use the elevator at the end of the path to reach the top of the wall and end the chapter.

Soulstice Chapter 1 Achievements
- The touch of Chaos: Discover the first Challenge
- May the Torchbearer light our way: Complete Chapter 1
Next guide: Soulstice Chapter 2: Echoes from the Past Guide
If you like this guide, be sure to check out our other Soulstice articles:
- Soulstice Chapter 1: All the Lost Souls Guide
- Soulstice Chapter 2: Echoes from the Past Guide
- Soulstice Chapter 3: Point of No Return Guide
- Soulstice Chapter 4: The Shadeless Guide
- Soulstice Chapter 5: Death from Above Arrowhead Boss Fight Guide
- Soulstice First Echo Memory Guide
- Soulstice PS5 Trophy Guide – How To Get Platinum
Check out this video by theJOSHfeed showing the gameplay for the first chapter:


