Echoes from the Past is the second chapter in Soulstice where Briar and Lute make their way through the high walls that surround Ilden. The walls have been ravaged by the Corruption and it is heavily guarded by powerful enemies.
See previous Soulstice Chapter 1: All the Lost Souls Guide.
In this guide, we will be going through Chapter 2: Echoes from the Past, showing any tips, tricks, or collectibles that can be found within the chapter.
Soulstice Chapter 2: Echoes from the Past Walkthrough
Chapter 2 continues the duo’s journey up the walls of Ildenmere. There are 9 encounters in this chapter, 2 Challenges of the Void, and 1 Upgrade to collect.

Argent Road, Ildenmere Bridge
As the duo ride the elevator going up to the wall, a cutscene will play showing Briar being affected by the sudden wave of energy. As you reach the top, make your way through the debris and ruin to reach the end where two ethereal Cobalt Veins appear.
You will then learn how to use the Evocation Field with Lute which materializes the veins. They can then be hit with attacks to break them down and gain Cobalt Tear Residue, which is used as a currency to enhance Lute’s abilities.

The Evocation Field depends on Lute’s Entropy meter; the more the field is used continuously, the more the meter gets filled up. If it fills up, Lute becomes overcharged and will be out in battle for a few moments. Hitting enemies while the field is up helps lower down the meter and prevent Lute from overcharging.
After getting the veins, go through the gates on the side by breaking through the wooden planks. You will then arrive at your first encounter and get an introduction as to how the Unity mechanic works. Clear the enemies out and then proceed to the next gate.
Head to the side of the gate and there will be platforms that you can traverse that have more floating Cobalt Veins in between. Walk across the top of the gate and head back down to its other side and there are more Cobalt Veins to be found on top of the platforms near the left side of the screen.
You will then arrive at the second encounter where a new enemy will show up. Guards are tanky enemies that have armor that has to be destroyed first before they can be inflicted with damage. You will also learn how to use Lute’s Counter Type: Disruption to help take care of these Guards.

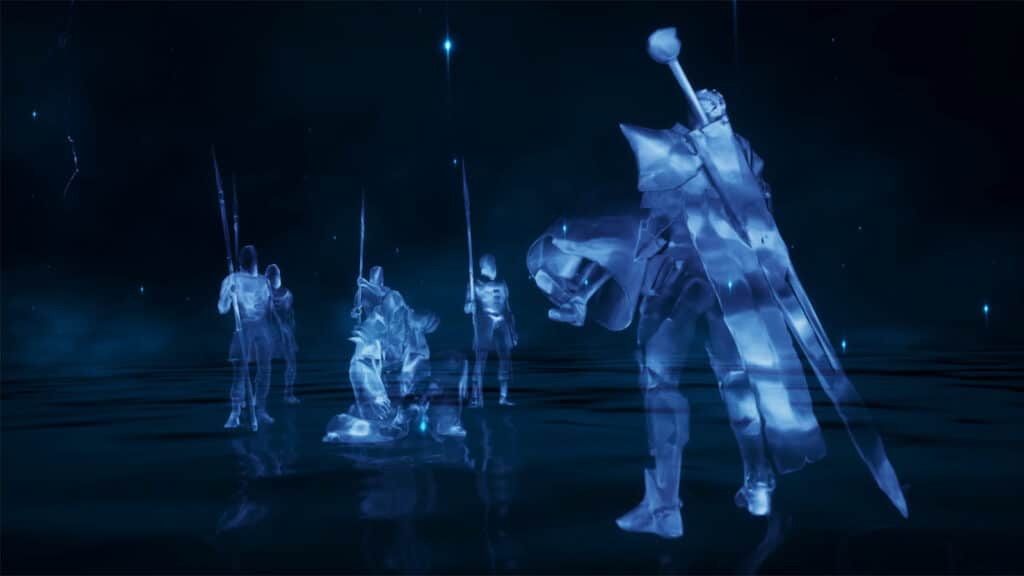
After clearing the enemies, continue down the path until you see a faint trace of an Echo. Use your Evocation Field to reveal the Echo Trace that will lead to a cutscene. Continue moving through the path and you will see a Motherlode. Use your Evocation Field near these huge crystals and hit it as many times as you can to smash it and get more Cobalt Tear Residue.
Continue heading down the path until you see a broken staircase. Head down the gap in the staircase and you will see another Cobalt Vein, and then head back up to proceed to the next area.

Armory of the Militia, Ildenmere Bridge
Continuing down the next section, you will arrive at your third encounter. Clear the enemies out and move forward until you see a red Crystal Overgrowth. You’ll learn a Banishment Field that will allow you to deal damage and break these crystals to proceed to the next area.
Take the platforms to the next room and try to jump the gaps to reach the very end corner where a Cobalt Motherlode is at. Then, jump down to arrive at the fourth encounter. In this encounter, you will face a new enemy called a Griever that can only be dealt damage to when inside an Evocation Field. There will also be Guards spawning and some other enemies; try to avoid the Guard and take care of the smaller enemies first.
Once the enemies have been dealt with, head to the smaller doorway first where you can get some Cobalt Veins, an Emerald tear Shard, and a Crimson Motherlode. Head back to room and you will be ambushed by the fifth encounter. Clear this encounter and head to the other path where you will see the first Challenge of the Void: Defensive II.

In this challenge, you will need to perform 5 perfect counters against the Guard and eliminate all of the present enemies within 1:30 minutes. Time your counters using Lute perfectly for it to count to the objective. Once successful, you will be rewarded with a Malformed Husk Fragment. Afterwards, you’ll be sent back to the previous room where you can continue going past the door to the next section.
Side Passageway, Ildenmere Bridge
You will arrive at the side passageway of the bridge where there are more platforms to the side that lead to a Cobalt Vein. You will also see a gap that is too wide for you to jump, but you will learn how to use the evocation Field to reveal the ethereal outcrop that you can use to cross.

Cross the gap and head to the left where you will see another Crimson Tear Motherlode. There is also a Crystal Overgrowth that blocks another room that has Cobalt Veins and another Crimson Tear Motherlode. Head back out and you will be ambushed for the sixth encounter.
After clearing out the enemies, continue moving towards the right from the outcrop and then cross the next gap once more to reach the area where a Feeble Ethereal Fragment can be obtained.
Head back to the gap you just crossed and jump down it. Continue moving down the path where you will meet the seventh encounter. After clearing it out, proceed until the end of the hallway where another Crimson Tear Motherlode can be broken, then head towards the door to get back inside the bridge.
Armory of the Militia, Ildenmere Bridge
Follow the path and you will meet up with Layton once again. In this interaction, you will be able to upgrade Lute and you need to get one upgrade for her in order to proceed.
Once you’re done with Layton, proceed down the path and you will arrive at the eighth encounter. Clear the Broken and the Grievers and then proceed to the next area where a cutscene will play.
After the cutscene, head towards the side of the bridge first near the door where you just exited to find more platforms that will lead to a fake Motherlode. Attacking this motherlode will spawn enemies instead, which will count as the ninth encounter. This encounter can be easily missed, but it will still count towards the chapter’s score. Once it’s done, head back up and continue towards the bridge.

At the bridge, you will find the huge mechanism that controls the position of the bridges. Before moving any levers, destroy the crystal that surround the central pulley first. Then, pull the lever for both the left and the right bridges first before pulling the main lever which is behind the main pulley. Do it twice so that both bridges are one floor down from where you are standing.

Before moving down, there is a room behind the right lever where a Crimson Tear Motherlode can be found.
As for the bridges, go down the right bridge to get a Cobalt Vein and take on the Challenge of the Void: Untouchable I. Afterwards, head to the left bridge to get another Cobalt Vein and break a Crimson Tear Motherlode.
Head back up and then use the main lever once more to raise both bridges back up to the same level. Head to the left bridge first to grab another Cobalt Vein, and then proceed to the right bridge to reach the end of the chapter.
Soulstice Chapter 2 Achievements
- A powerful aura was here: Witness the first Echo
Next guide: Soulstice Chapter 3: Point of No Return Guide
If you like this guide, be sure to check out our other Soulstice articles:
- Soulstice Chapter 1: All the Lost Souls Guide
- Soulstice Chapter 2: Echoes from the Past Guide
- Soulstice Chapter 3: Point of No Return Guide
- Soulstice Chapter 4: The Shadeless Guide
- Soulstice Chapter 5: Death from Above Arrowhead Boss Fight Guide
- Soulstice First Echo Memory Guide
- Soulstice Chapter 6: The Fall Guide
- Soulstice Chapter 7: Lights and Shadows Guide
- Soulstice Chapter 8: Unstoppable Boss Fight Guide
- Soulstice Second Echo Memory Guide
- Soulstice PS5 Trophy Guide – How To Get Platinum
Check out this video by Lord Datis Gaming showing gameplay for Chapter 2:


