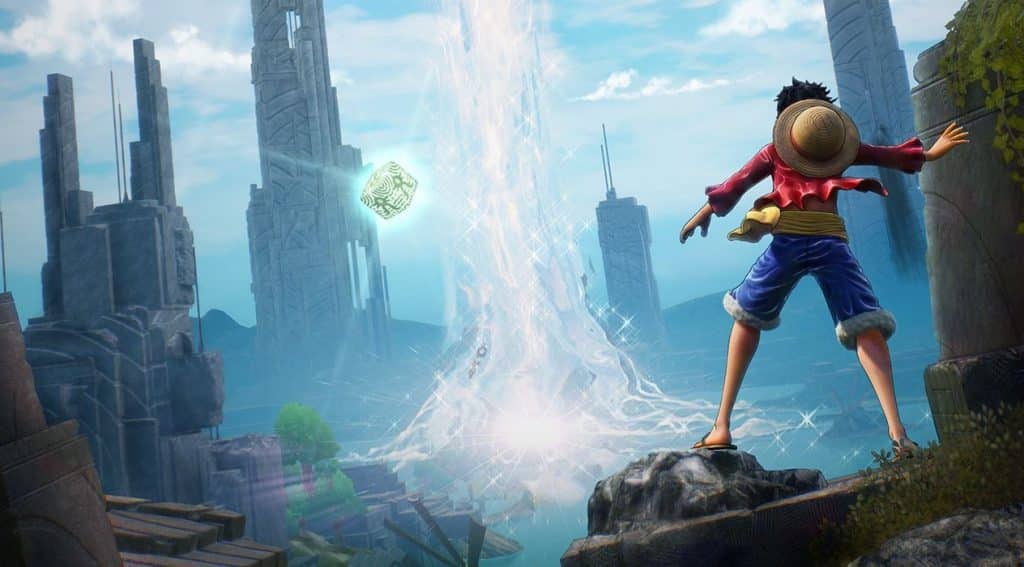
Looting treasures is one of the things that players can do in One Piece Odyssey. Usually, players can find them in chests but there is a type of chest known as Locked Treasure Chests that contain rarer rewards that players can get in the game. In this guide, players will learn about these chests and where to find them, so read on.
What are Locked Treasure Chests in One Piece Odyssey?
Locked Treasure Chests are chests that contain rare rewards such as healing items, accessories, and more. They can only be opened using a Treasure key which is rewarded to players who have managed to complete the Grand Line Quiz Side Quests.
All Locked Treasure Chest Locations
Below are all the locations where to find each Locked Treasure Chest in One Piece Odyssey:
Waford Locked Treasure Chest Locations
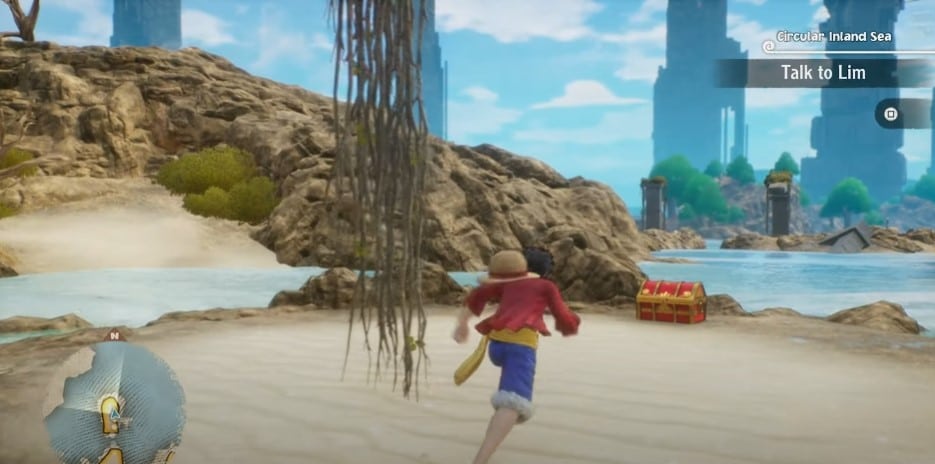
- Chest #1: Waford South – Circular Inland Sea
- The 1st locked chest can be found north of Adio’s Hut. Use Luffy’s field skills to get across the sandy beach. Upon reaching the beach, head north and there are stone pillars with vines at the far end is the chest.
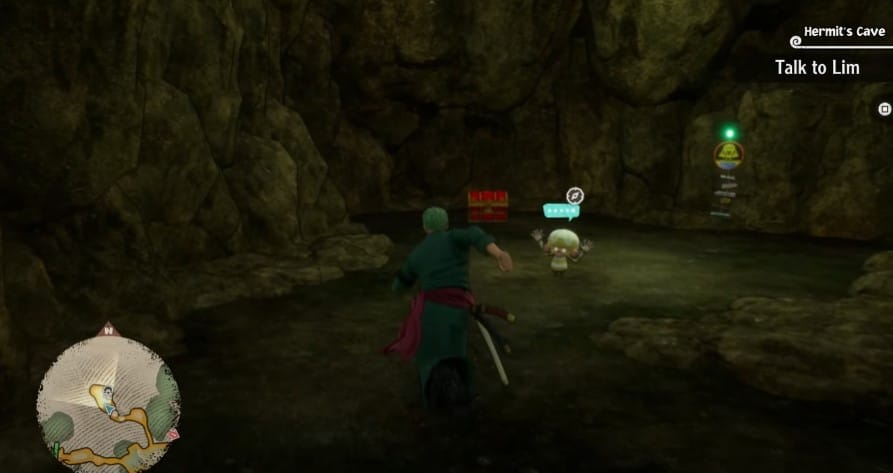
- Chest #2: Waford South – Hermit’s Cave
- From the west of Adio’s Hut, head over the small bridge and enter the cave that Chopper can only enter. Head down and switch to Zoro to cut down the iron bars to see a chest next to madam Julie.
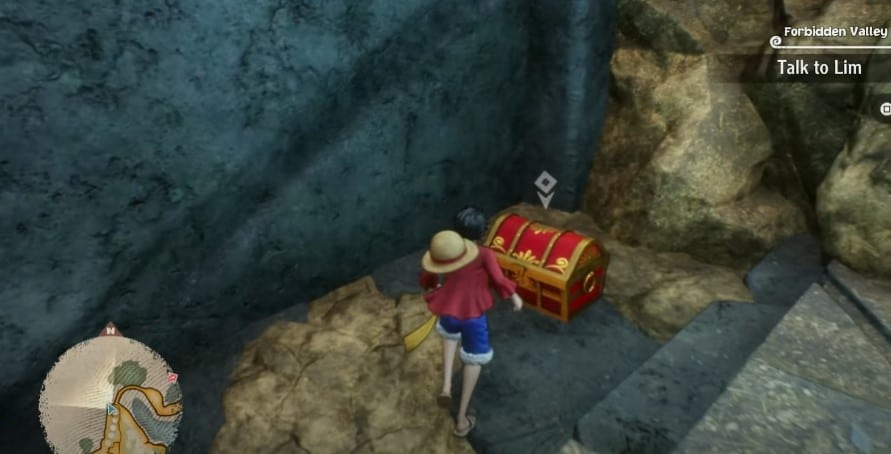
- Chest #3: Waford South – Forbidden Valley
- Located Northwest of the South beach where Luffy and his crew were stranded, follow the narrow part west and there are some gray stone walls that can be climbed. On top is the chest.
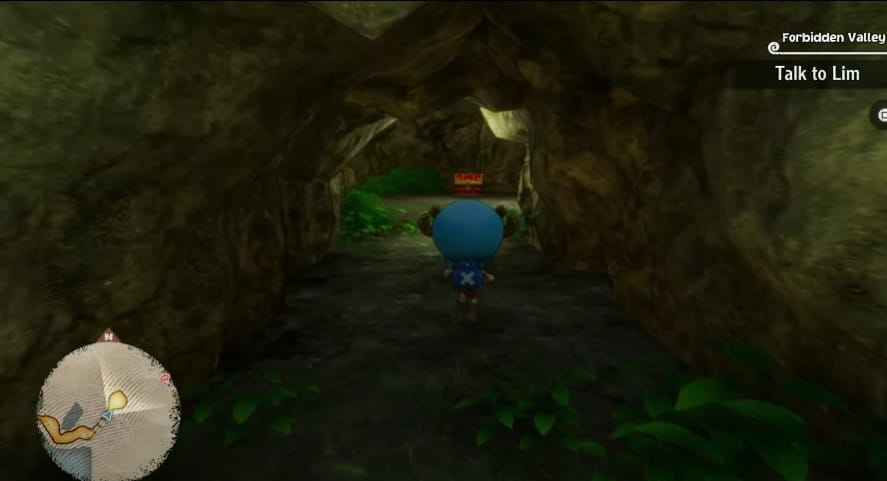
- Chest#4: Waford South – Forbidden Valley 2
- After getting the 1st chest in the forbidden valley, look around for caves that Chopper can get through. In the end, it will lead to a path where the chest is.
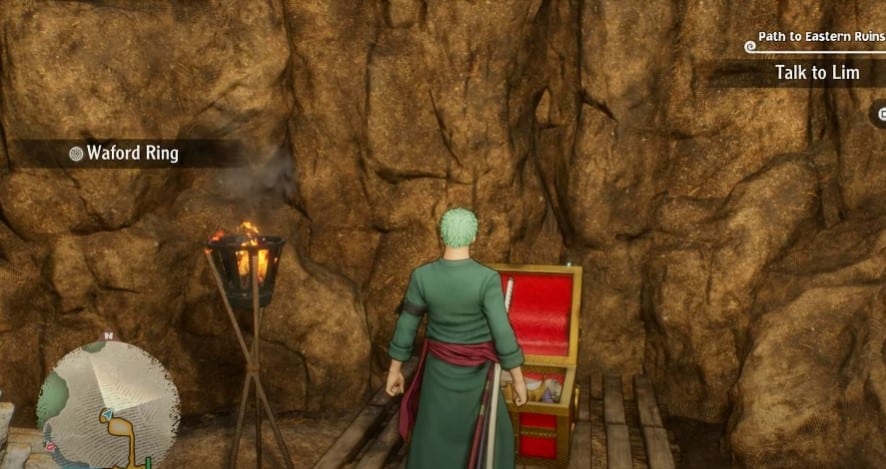
- Chest #5: Waford South – Path to Eastern Ruins
- At the start of Chapter 5, players will have Franky in their party and he can build bridges. In the east of Adio’s Hut, use Franky’s skill to fix the bridge. Afterward, head down to find an outcropping to the north before the door to the Eastern Ruins. Use both Chopper and Zoro skills to get through and there will be a chest near some bones.
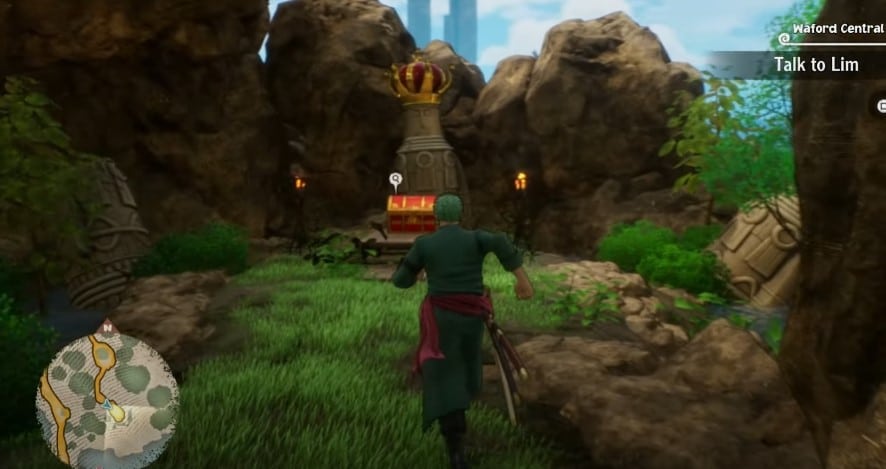
- Chest #6: Waford South – Waford Central
- In the final chapter of the game, players can come across one of the final chests that they can encounter before heading into the Sky Tower. Before heading in, there is a small path nearby that Chopper can go through. Head inside and switch to Zoro to cut down the door at the end. Inside is a chest.
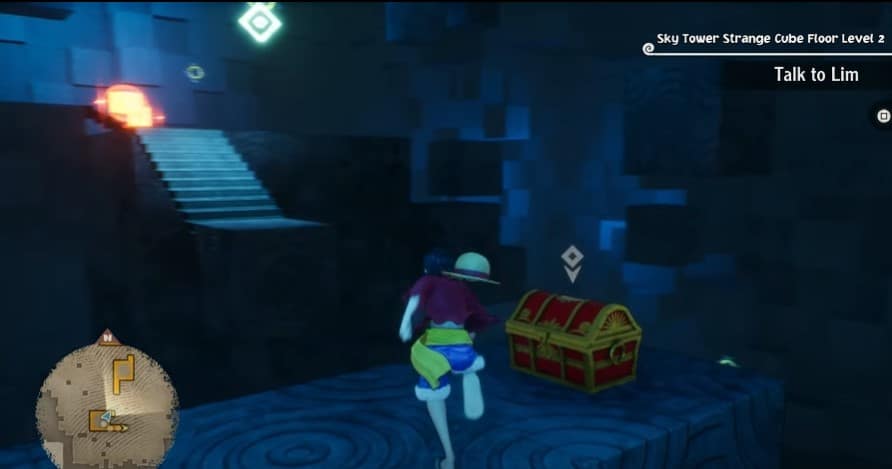
- Chest #7: Sky Tower – Sky Tower Strange Cube Floor Level 2
- Upon Entering The Sky Tower, defeat the orange cube enemies at level 2 and head up the first column of light. Climb the stairs and the chest can be found.
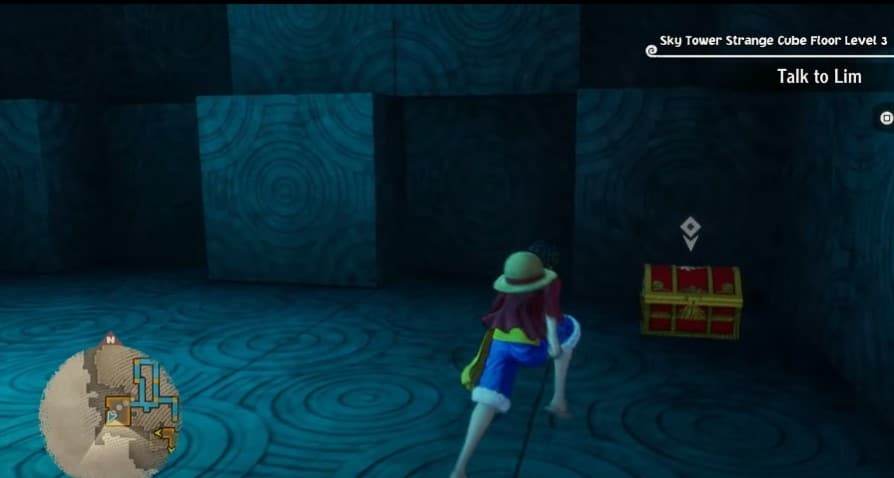
- Chest #8: Sky Tower – Sky Tower Strange Cube Floor Level 3
- The last chest of Waford can be found at the 3rd level of the cube area. Players will need to create a path of cubes using a series of buttons to reach the chest hiding in the southwest corner.
Alabasta Locked Treasure Chest Locations
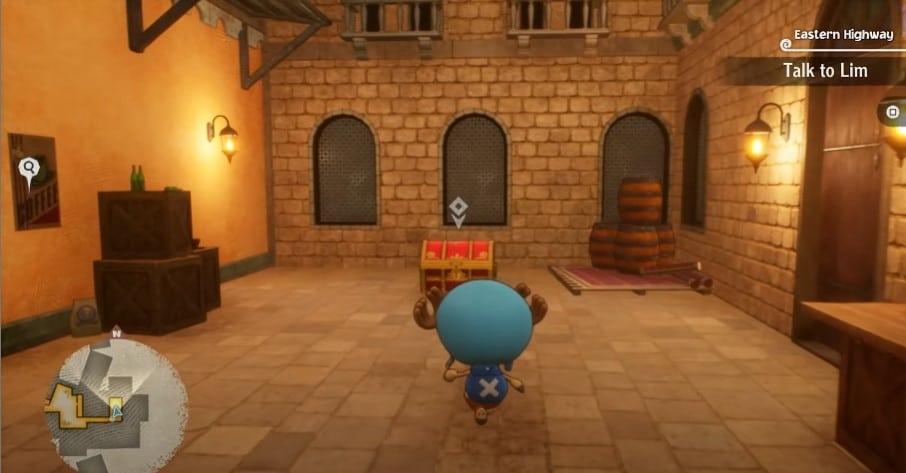
- Chest #1: Nanohana – Eastern Highway
- On the east side of the tavern in Nanohana, head down the street and there is some furniture that Chopper can get through. At the end is the 1st locked chest in Alabasta
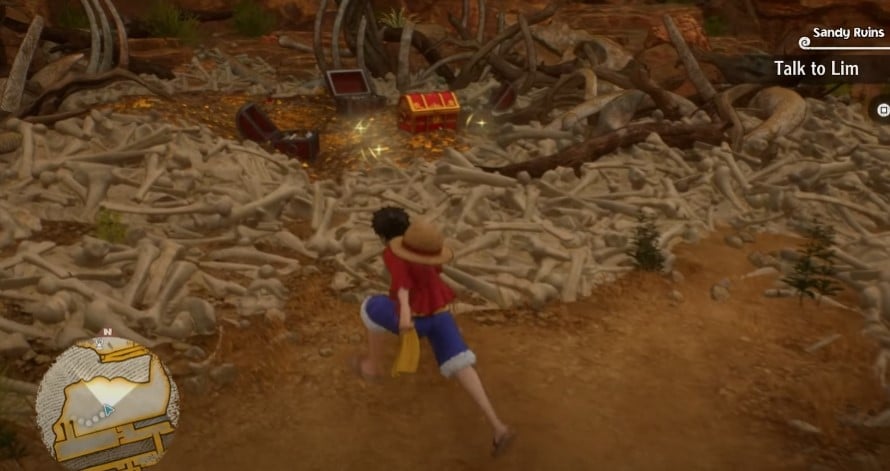
- Chest #2: Great Sand Desert – Sandy Ruins
- After exiting the Sandy Ruins, players will encounter a dragon-like creature surrounded by gold and bone piles. Defeat and there are 4 chests that can be opened including the locked treasure chest.
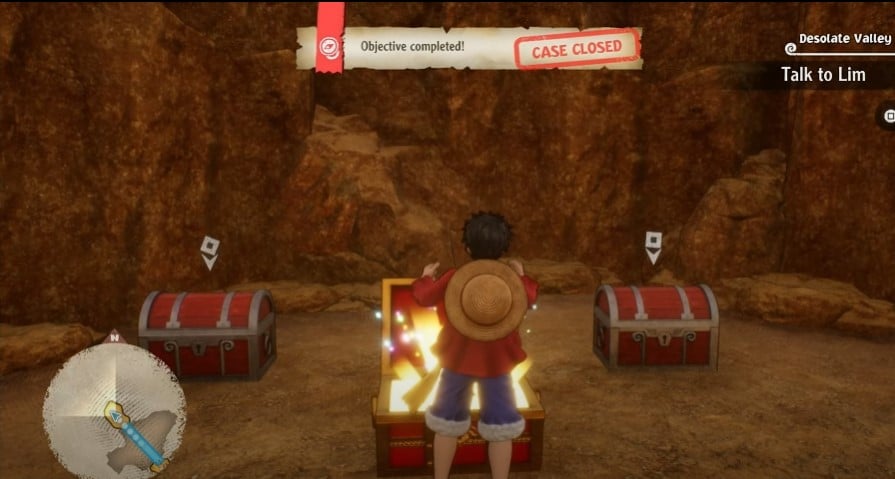
- Chest #3: Desert Near Nanohana – Desolate Valley
- On the top-left corner of the Desert near Nanohana is a broken bridge. Players will need Franky to repair it. Once it’s done, head across and there are 3 chests including the locked chest.
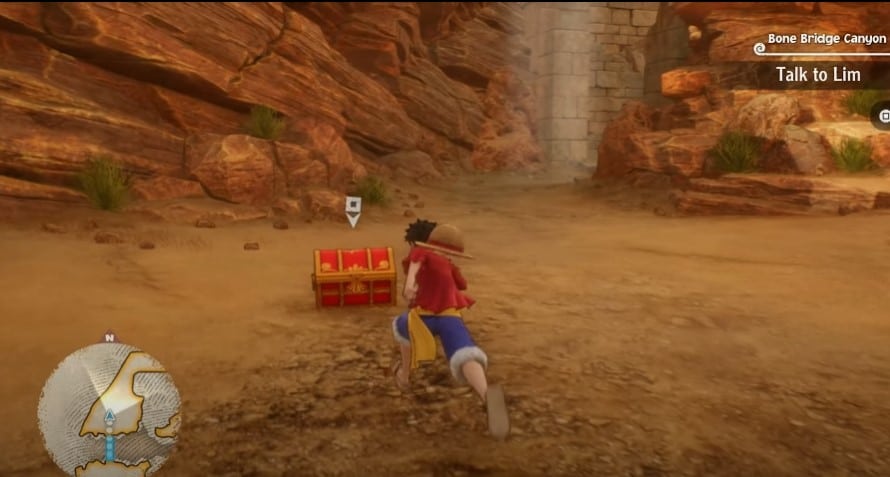
- Chest #4: Great Sand Desert – Bone Bridge Canyon
- The last chest can be found underneath the arch in the Bone Bridge Canyon. Head to the westernmost side of the map and head up north as there is another broken bridge to be fixed. Do that and the last chest for this area has been found.
Water Seven Locked Treasure Chest Locations
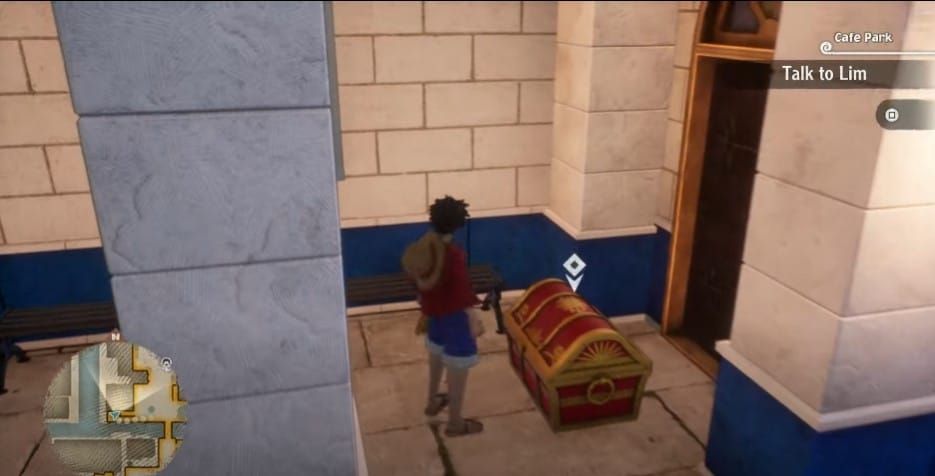
- Chest #1: Water Seven City Area – Cafe Park
- Head straight to the Cafe Park in the Water Seven City Area. There will be a fountain nearby and on the west is a chest.
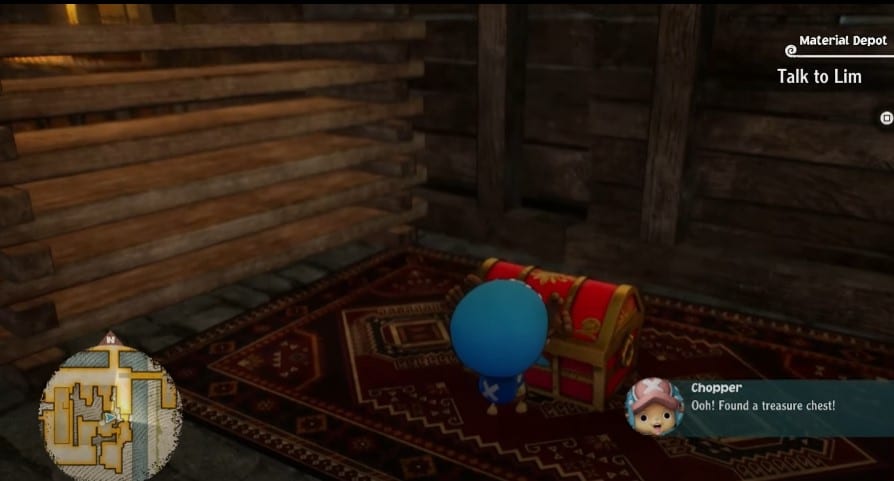
- Chest #2: Dock One – Materials Depot
- Within Dock One, there is a Materials Depot along the south of the map. In that area, head west, and there is a crane that can be operated. Use it using Luffy’s skill. Climb the stairs down and head around the corner until you need Chopper to get through a hole. Deep inside is the chest
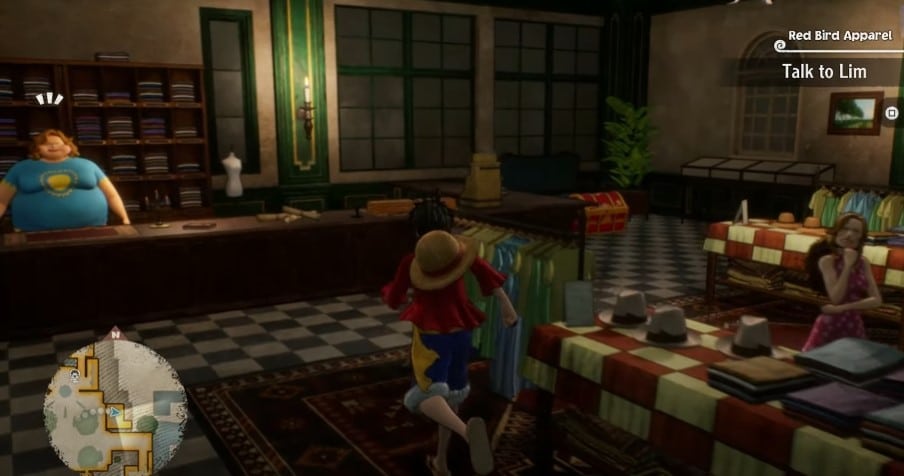
- Chest #3: Water Seven City Area – Red Bird Apparel
- In Fountain Plaza, head east to open the door to the Red Bird Apparel store, and inside is the locked treasure chest.
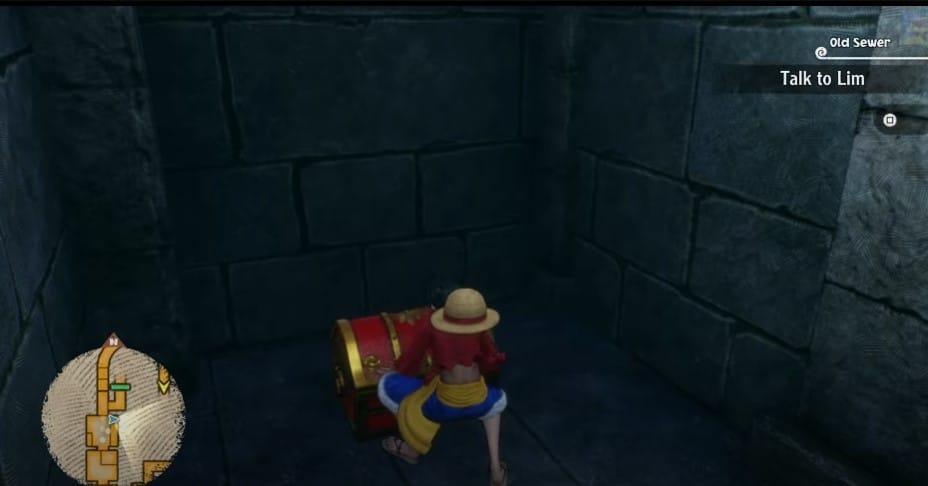
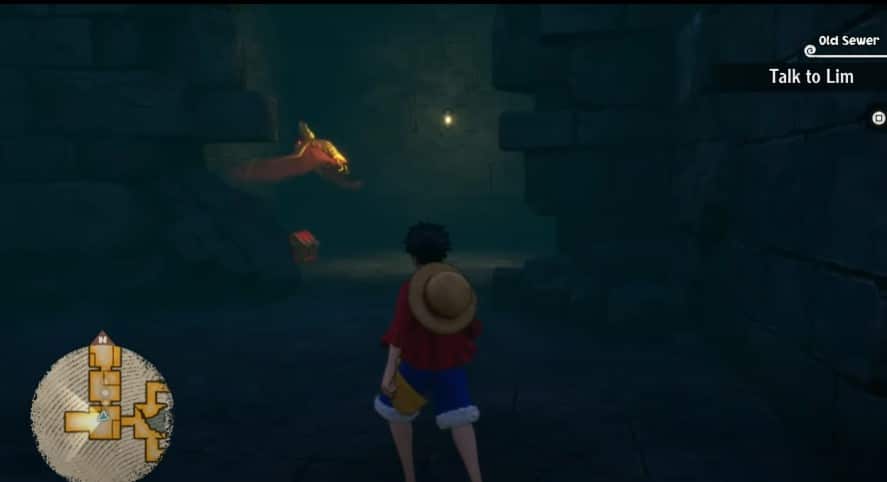
- Chest #4: Old Sewer – Sewer B2F
- Head down to Sewer B2F and use Luffy’s arms to reach the westernmost area where you’ll find a hole in the wall where the chest is.
- Chest #5: Old Sewer – Sewer B2F
- After getting the previous chest, head north using Luffy’s skill on two pipe handles. After crossing over, there is a chest hiding in the corner.
Marineford Locked Treasure Chest Locations
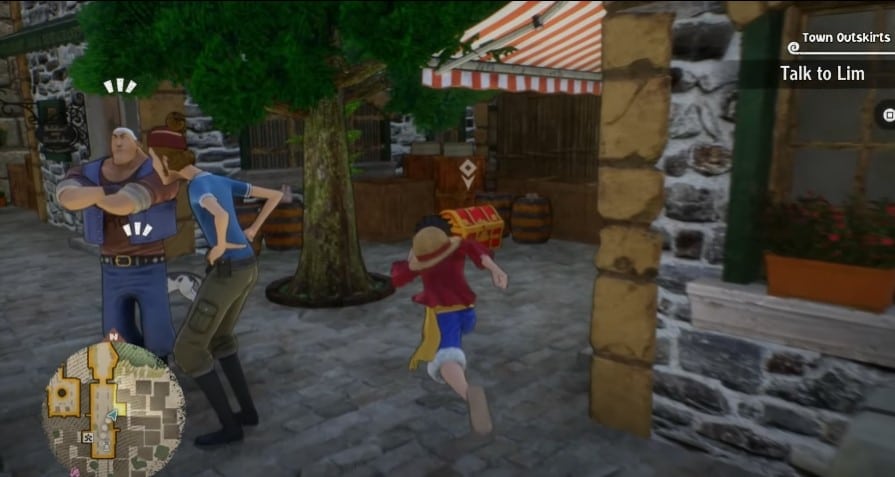
- Chest #1: Town Outskirts
- In this area, there is one locked treasure chest that can be found on the right-hand side of the street near the entrance of the map.
Dressrosa Locked Treasure Chest Locations
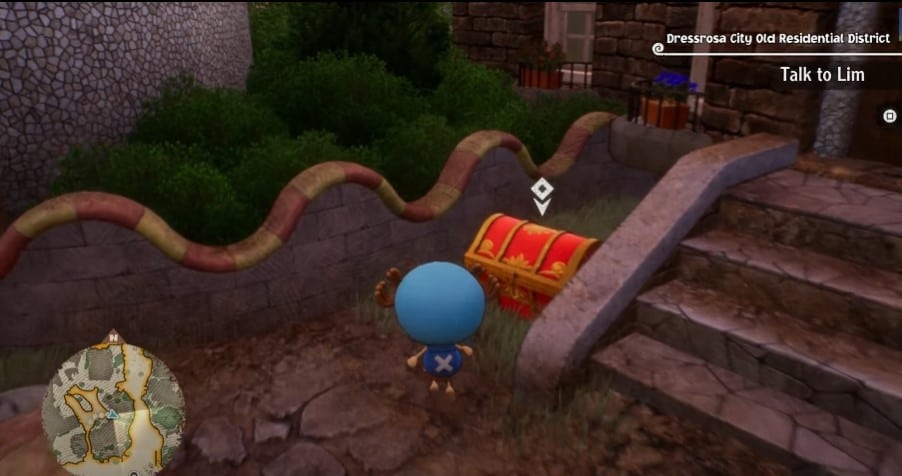
- Chest #1: Dressrosa City Area – Dressrosa City Old Residential District
- Near the Dressrosa City East, find the Yoisa Travel sign and at the northwest is a path that Chopper can be used. Deep inside is the 1st locked treasure chest.
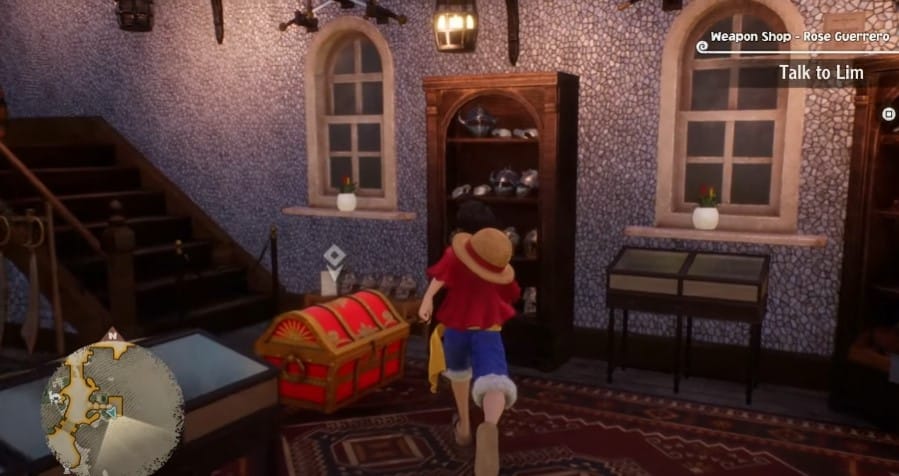
- Chest #2: Dressrosa City Area – Weapons Shop – Rose Guerrero
- head northwest from the Coliseum path as there is a weapons shop across from the Yoisa accessories shop. Inside is a locked chest.
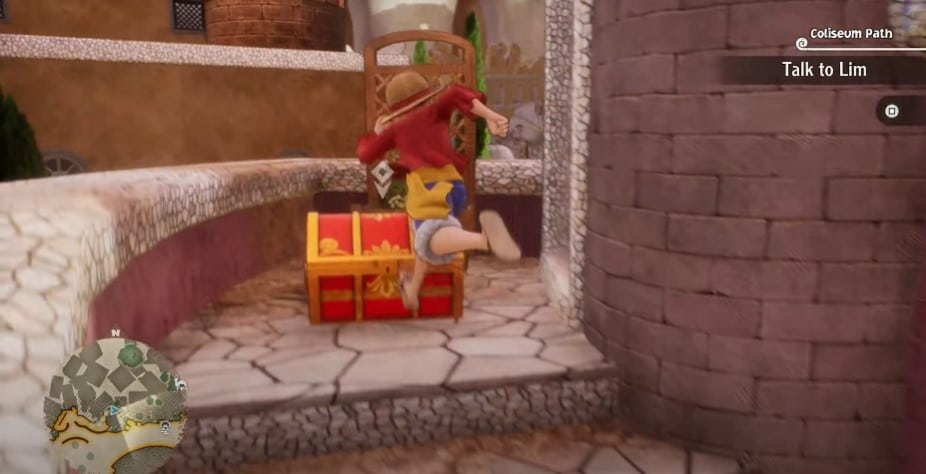
- Chest #3: Dressrosa City Area – Coliseum Path
- From where the Coliseum Path Yoisa fast travel sign, head west and climb up the stairs. This path will lead players to the locked chest.
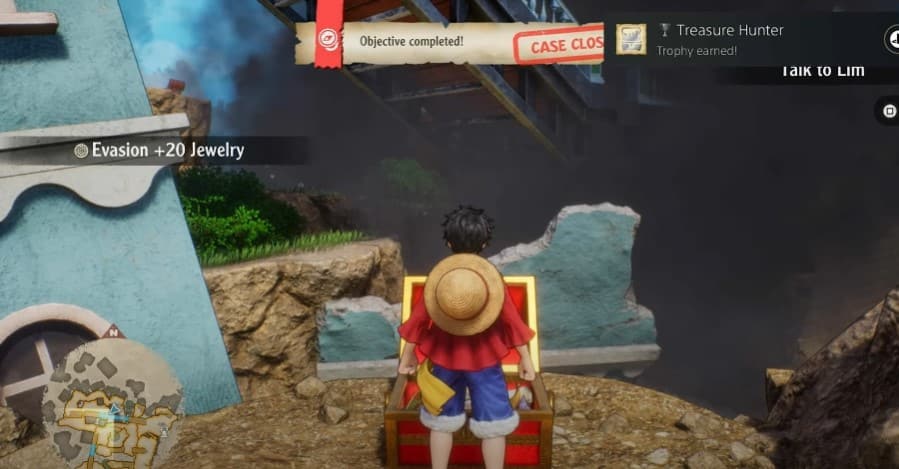
- Chest #4: Dressrosa – New Royal Plateau – 1st Level – Great Fissure
- From the NRP 1F Camp, go north and use Luffy’s skill to reach the vines through a hole formed beneath a staircase. From there, drop down and a chest can be found on the ledge.
And that’s where to find all the locked treasure chests in One Piece Odyssey. If you like this guide, be sure to check out our other One Piece Odyssey articles:
- Will One Piece Odyssey be on Nintendo Switch? (Answered)
- How to unlock secret ending: One Piece Odyssey ending explained
- How to Defeat Divine Breath Final Boss Fight One Piece Odyssey
- One Piece Odyssey Ending Explained
- How Many Chapters in One Piece Odyssey?
- All One Piece Odyssey Outfits & How to Get Them
- Is One Piece Odyssey Multiplayer?
- One Piece Odyssey Berries: How to Earn Money Fast
- One Piece Odyssey Battle Skills Guide
- One Piece Odyssey Length – How long to beat?
- One Piece Odyssey Leveling Guide – How to Level Up Fast
- One Piece Odyssey Trophy Guide & How to Get Platinum
- Is One Piece Odyssey on Game Pass? (Answered)
- One Piece Odyssey Characters: All Playable Party Members
- One Piece Odyssey Voice Actors and Cast List
- One Piece Odyssey Story Explained & Everything You Need to Know
Also check out | Edge’s video on how to find all locked chests in One Piece Odyssey:

