 Chapter 2 Walkthrough")
Alone in the Dark Chapter 2 follows the story of Emily and Edward as they continue the search for Jeremy who has been missing from the manor. Through their search, they get deeper into the worlds that Jeremy has been going into, and they also uncover more about the secrets of the inhabitants of Derceto. Read ahead as we go through Chapter 2 of Alone in the Dark and share some tips, puzzle solutions and collectible locations.
See previous: Chapter 1
After exiting Dr. Gray’s office, Emily meets up with Edward who says that she has gone missing after being in Jeremy’s room. Emily tries to explain what she experienced, but seeing that she’s distraught, Edward advises her to rest up for now as he continues with his investigation.
Objectives:
As you head into the lobby, you will get three objectives to work on. But first, you can explore a bit of the nearby rooms.
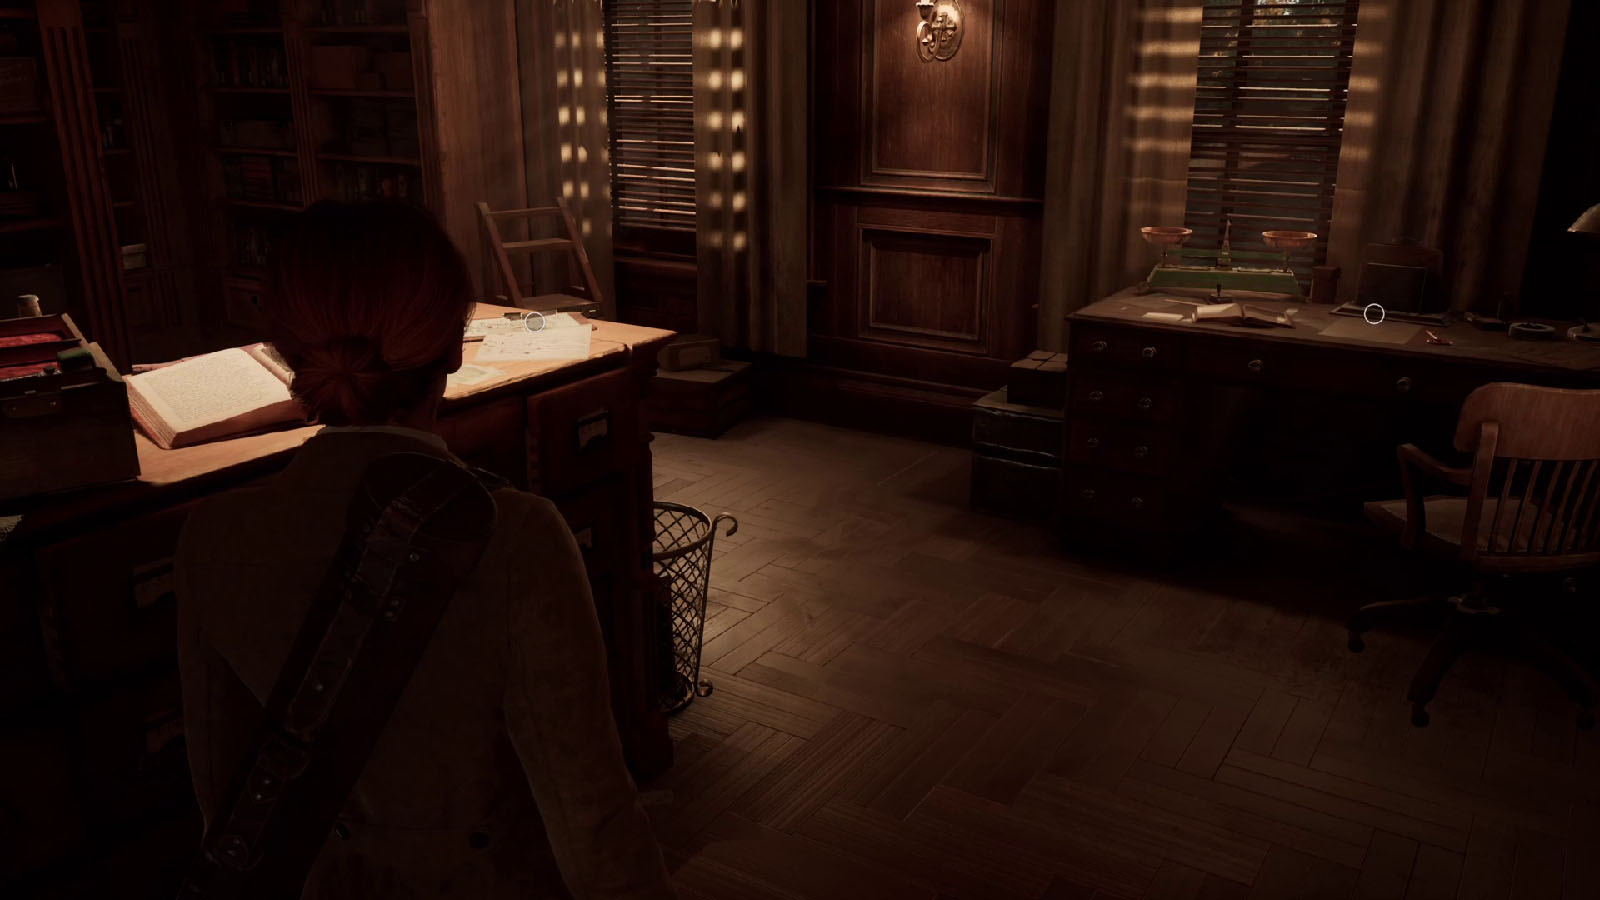
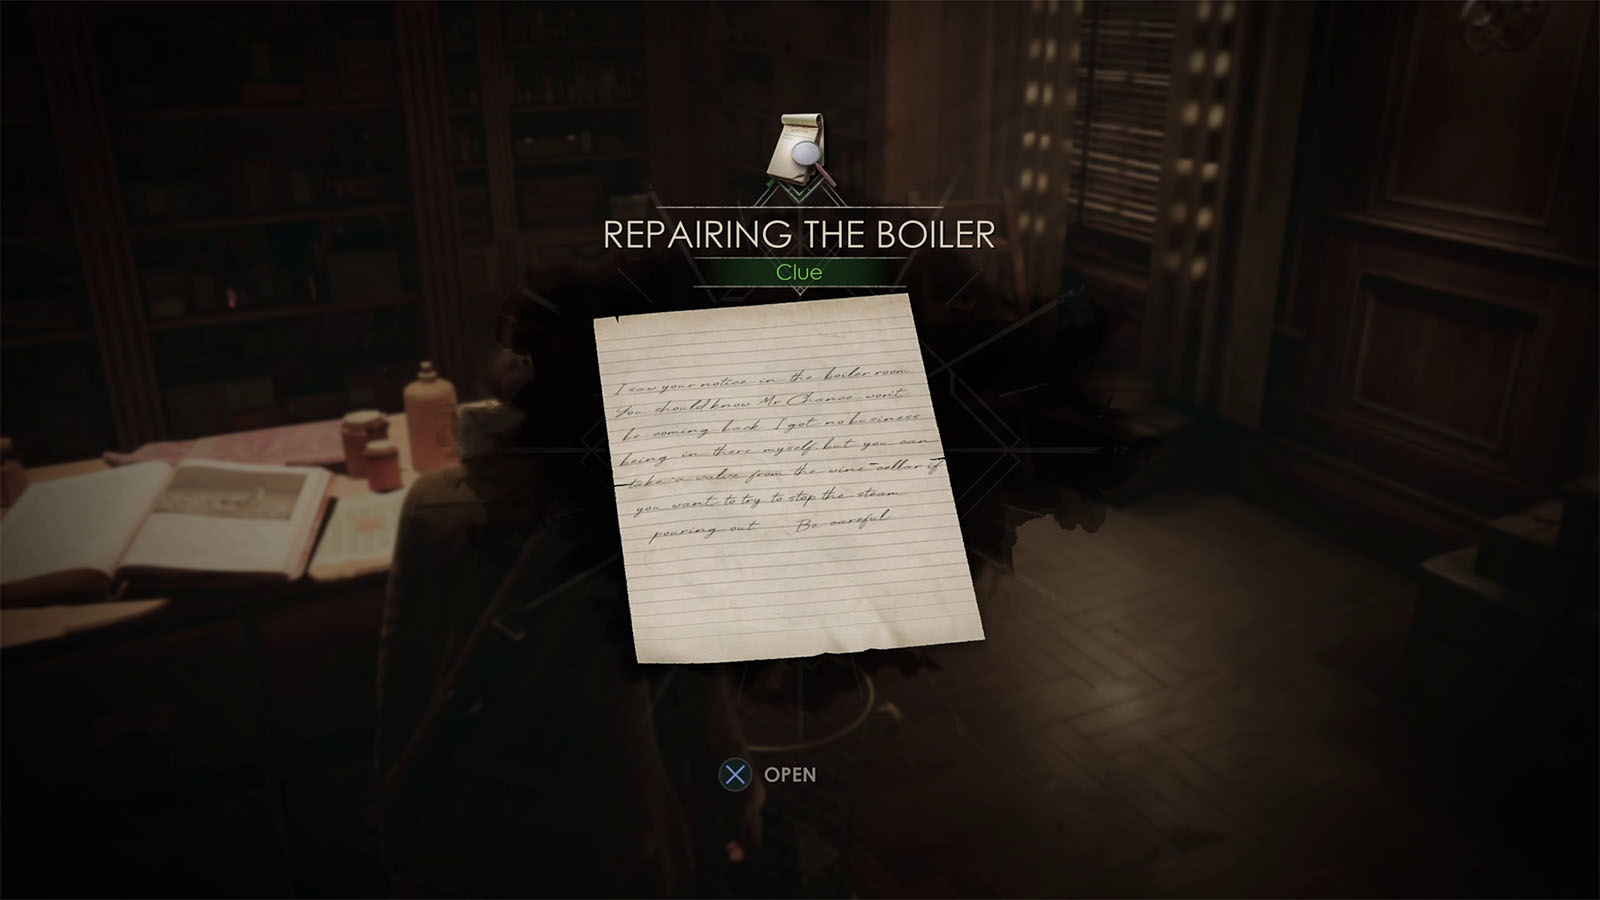
First, head into the reception room and use Batiste’s Keys to open the clerk’s office. On the middle desk is where you can get the Clue – Repairing the Boiler mentioning about a valve in the wine cellar that can help shut down the boiler.
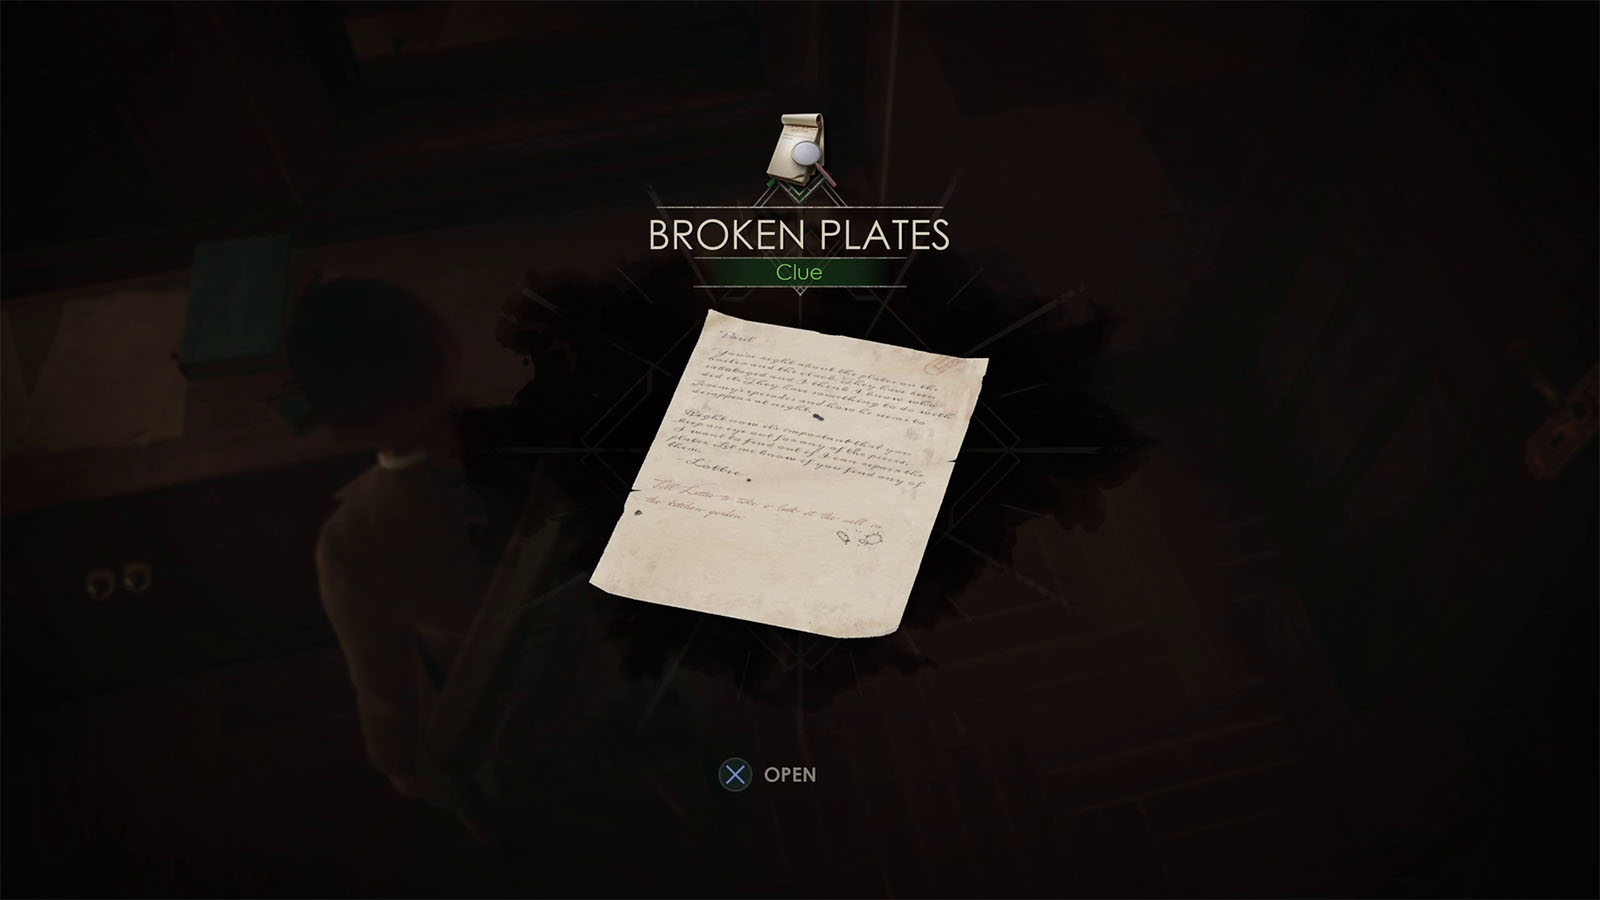
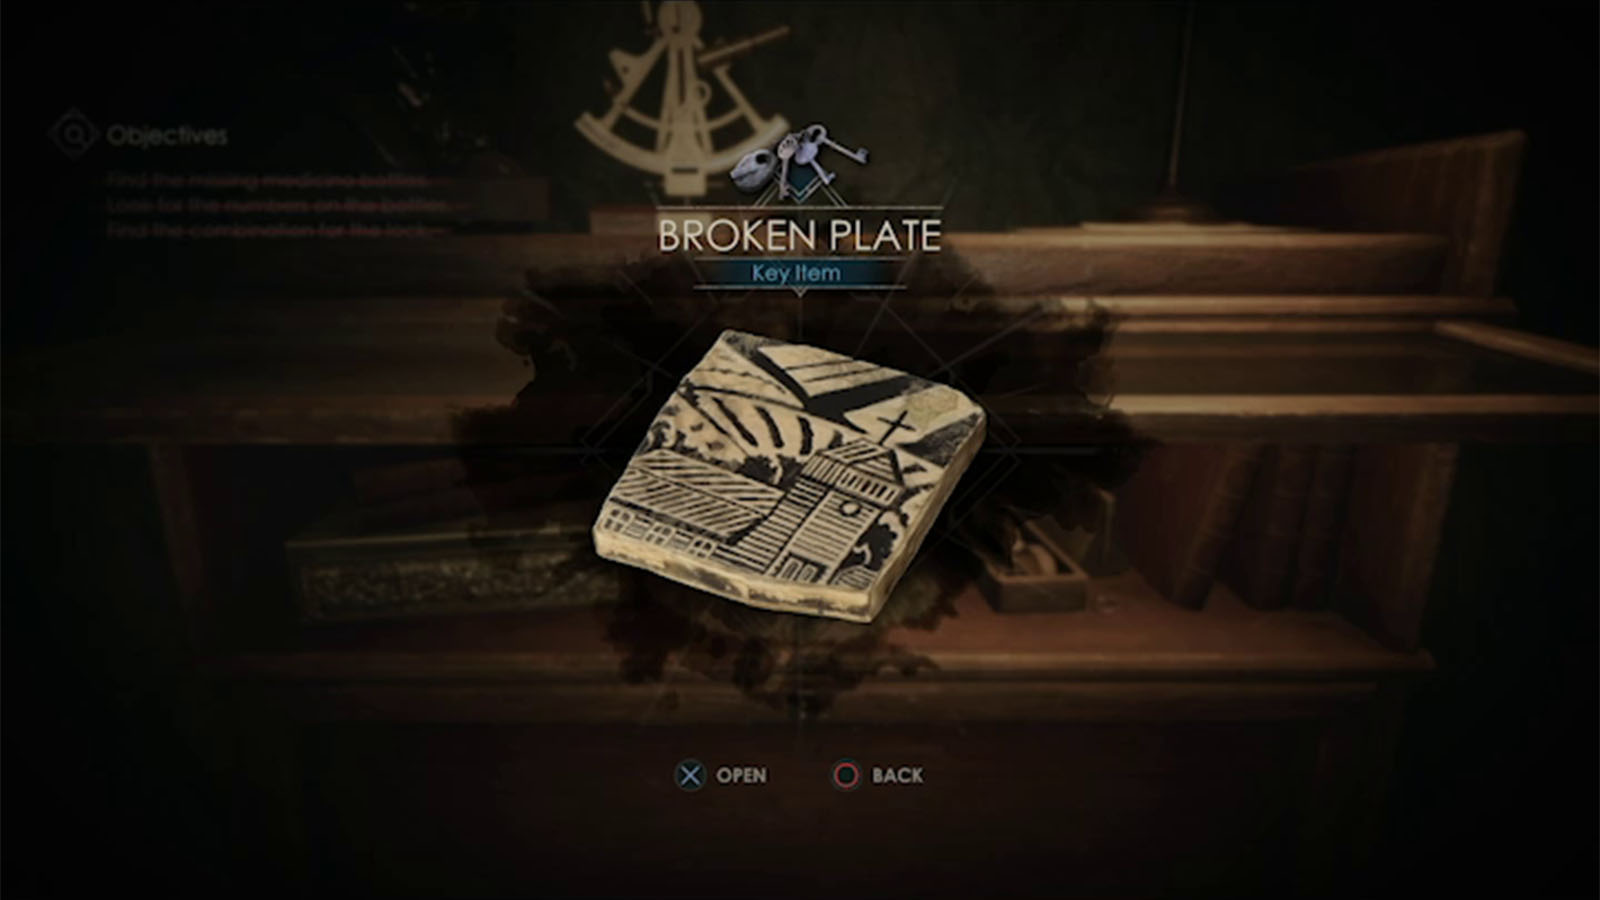
Right by the window next to the door is the Clue – Broken Plates which mentions about the missing plates on the boiler and about the well behind the statue in the kitchen garden.
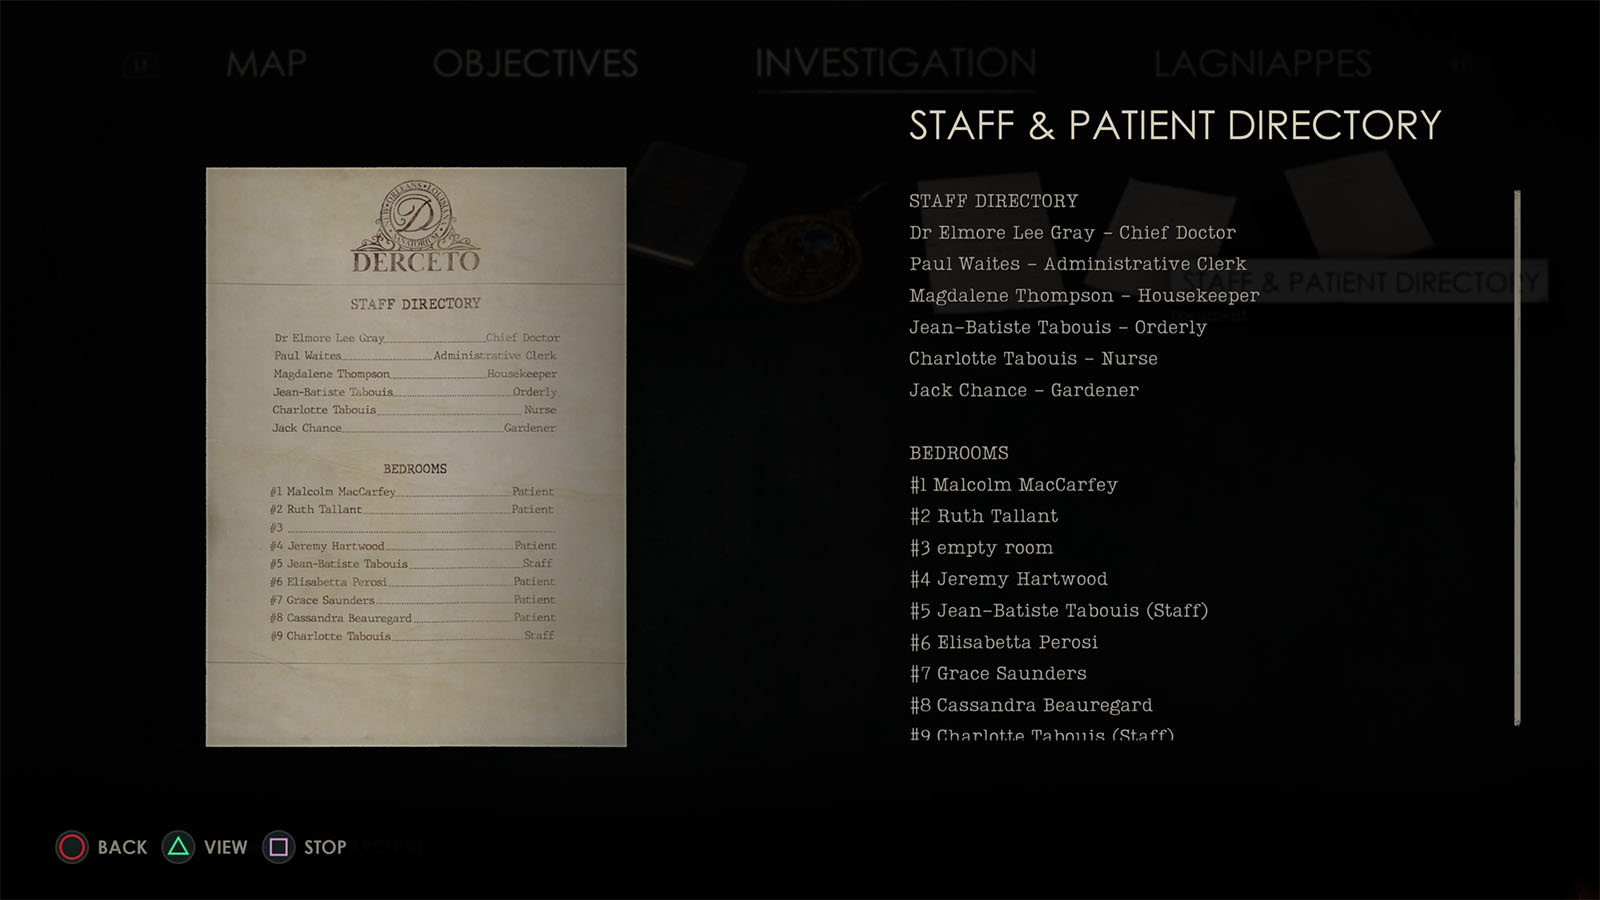
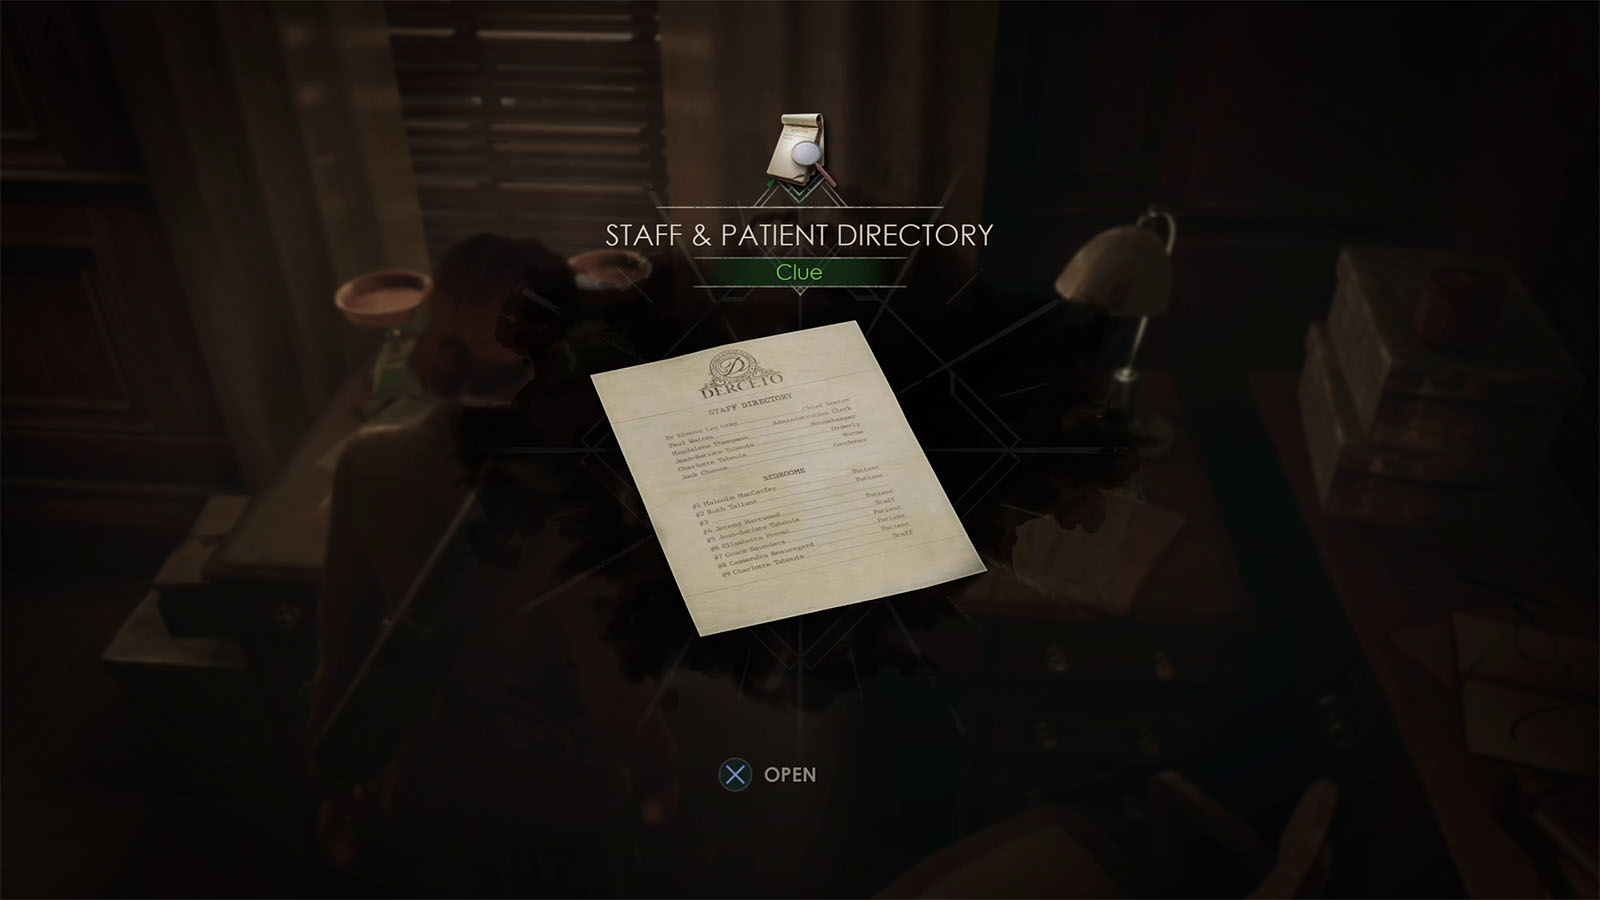
On the side desk nearby is where you can get the Clue – Staff & Patient Directory which shows all of the people that live and stayed in the Derceto manor. Beside the note is the Room Key #6 that opens up Elisabetta Perosi’s room.
Go behind the shelf to find the Clue – Patient Files and the Lagniappe – Rorschach.
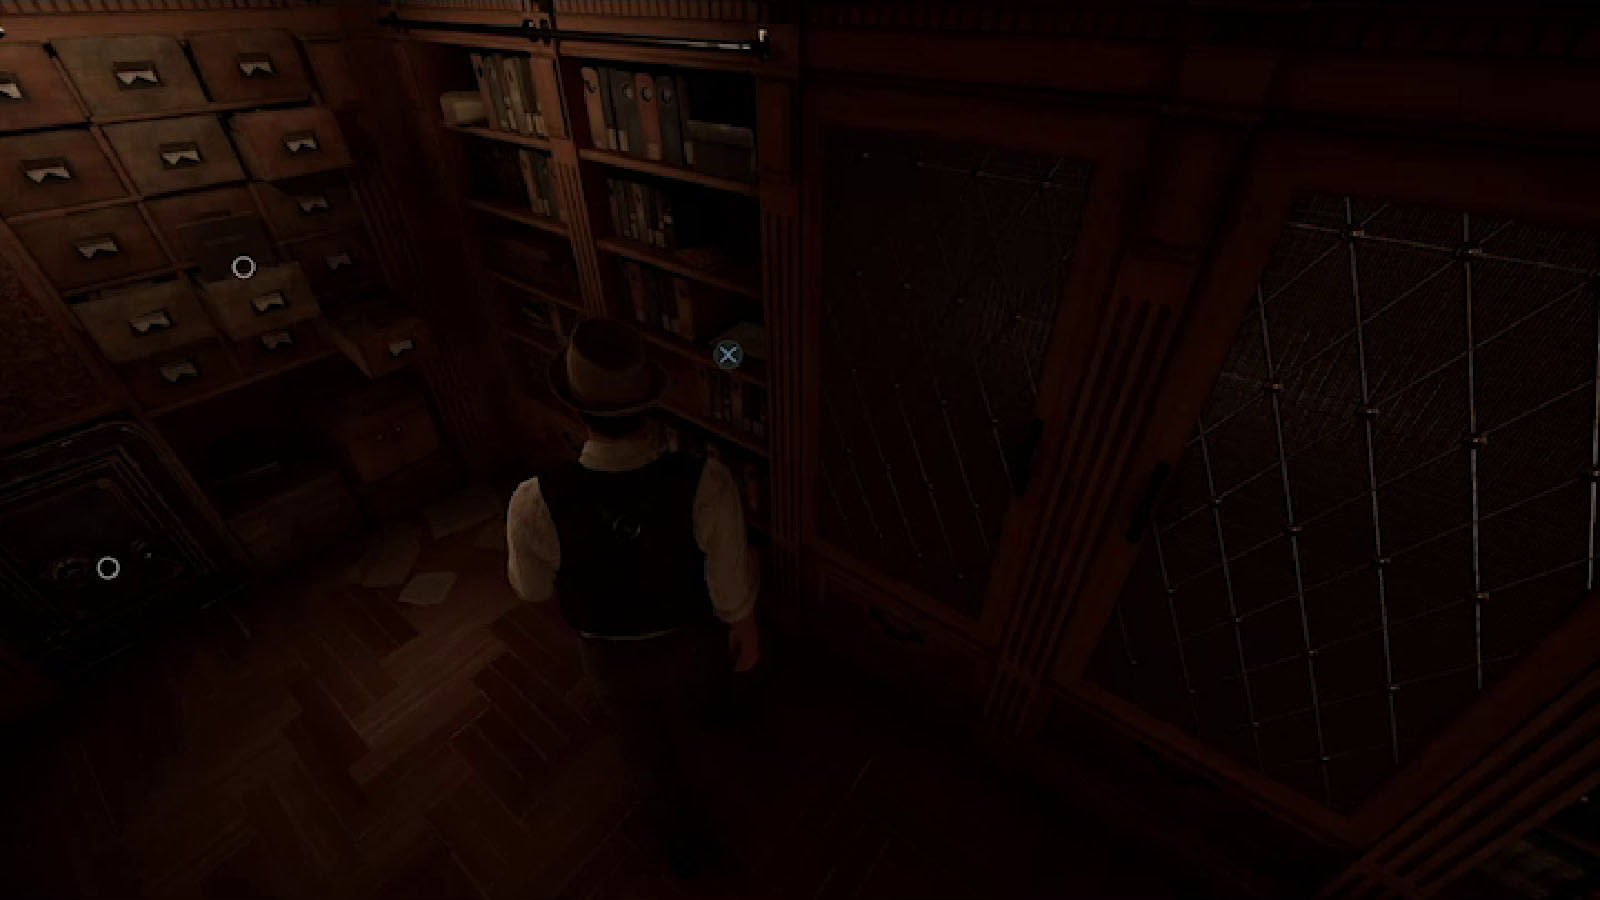

There’s also a safe that has a dial with Roman numerals that you can open using the code 9-1-3. Opening the safe during Chapter 4 will earn you “Dr. Gray’s Office Key” and “The Empty Room” clue. However, opening the safe prior to Chapter 4 will earn you the Lagniappe – Alone in the Dark.

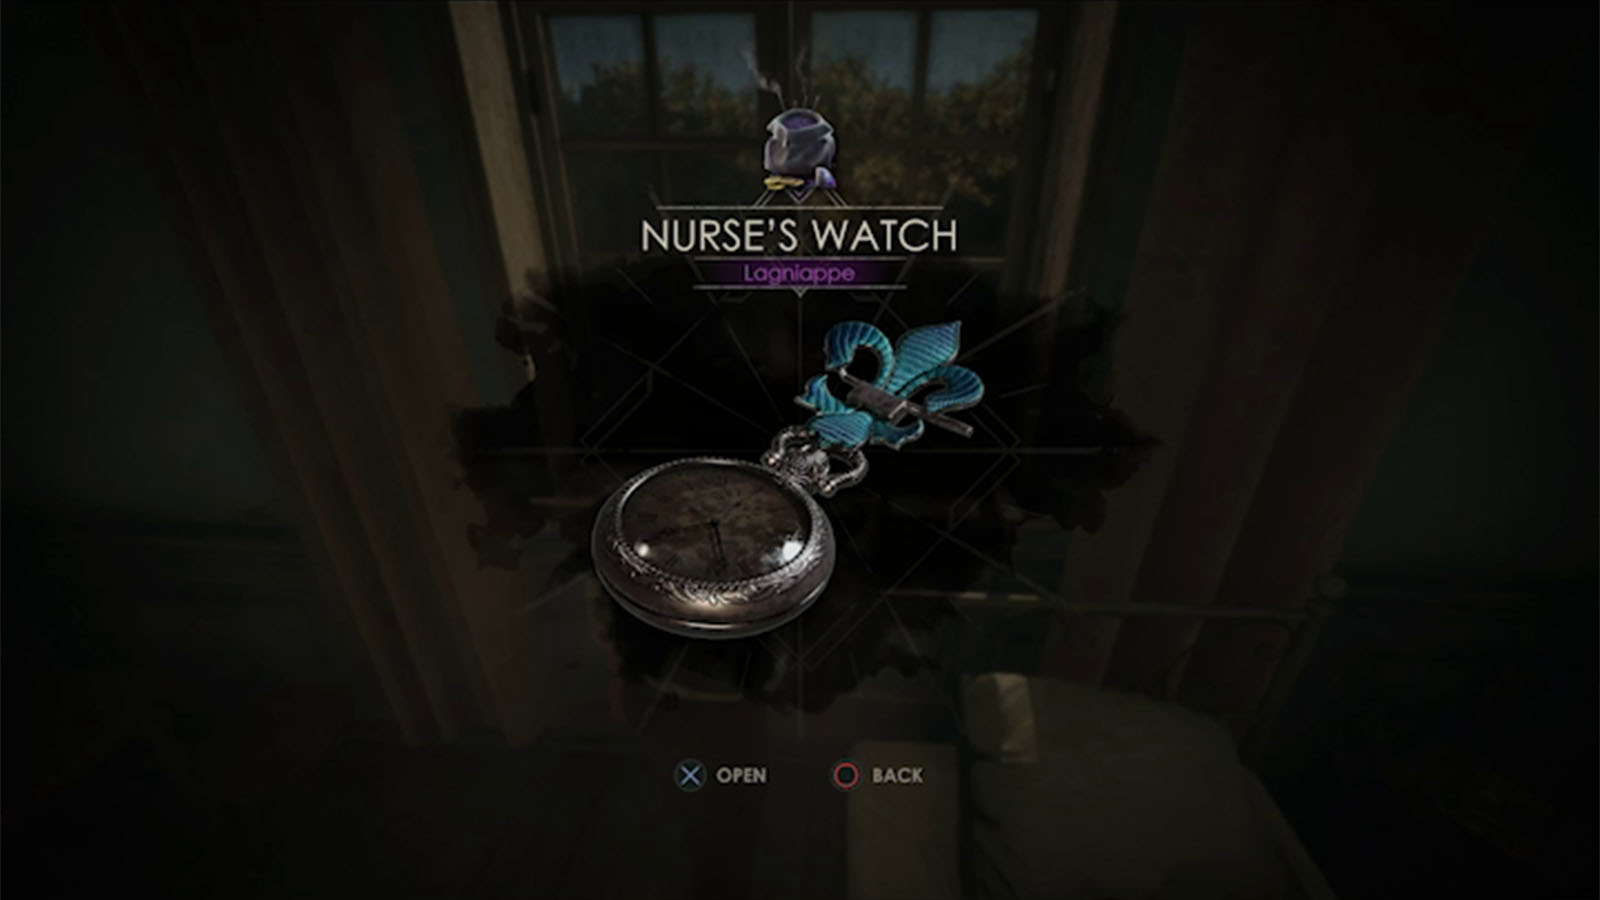
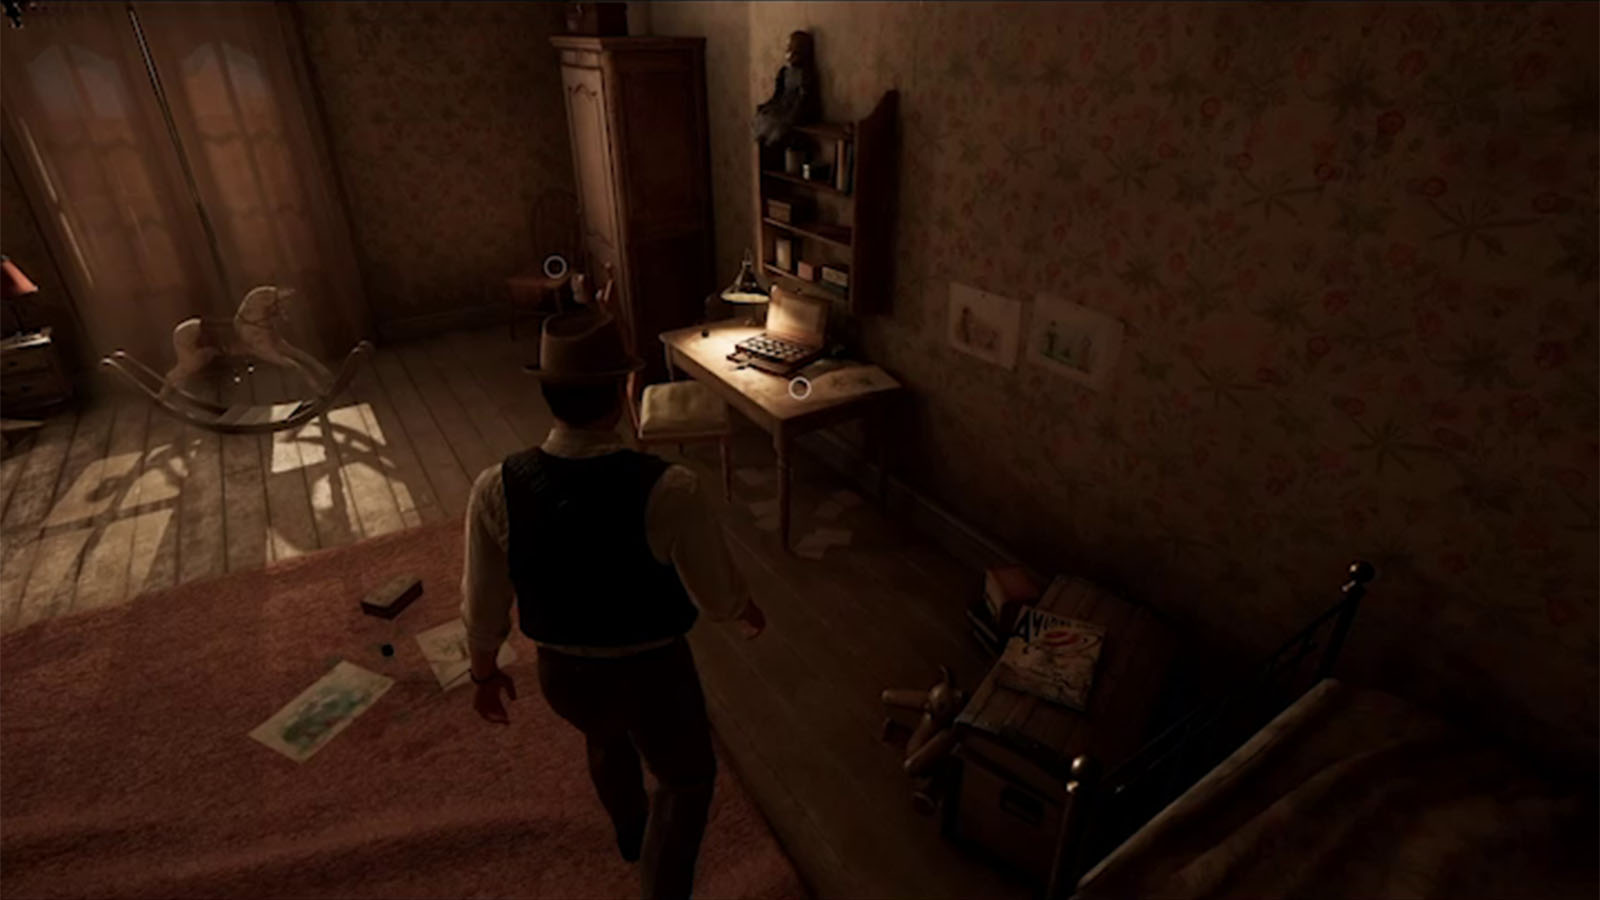
Make sure to check back inside Lottie’s room at the first floor to find that the window has opened up. Interact with the window to close it and find the Lagniappe – Nurse’s Watch on the window sill.
Find the Astronomical Clock mentioned in the Commonplace Book

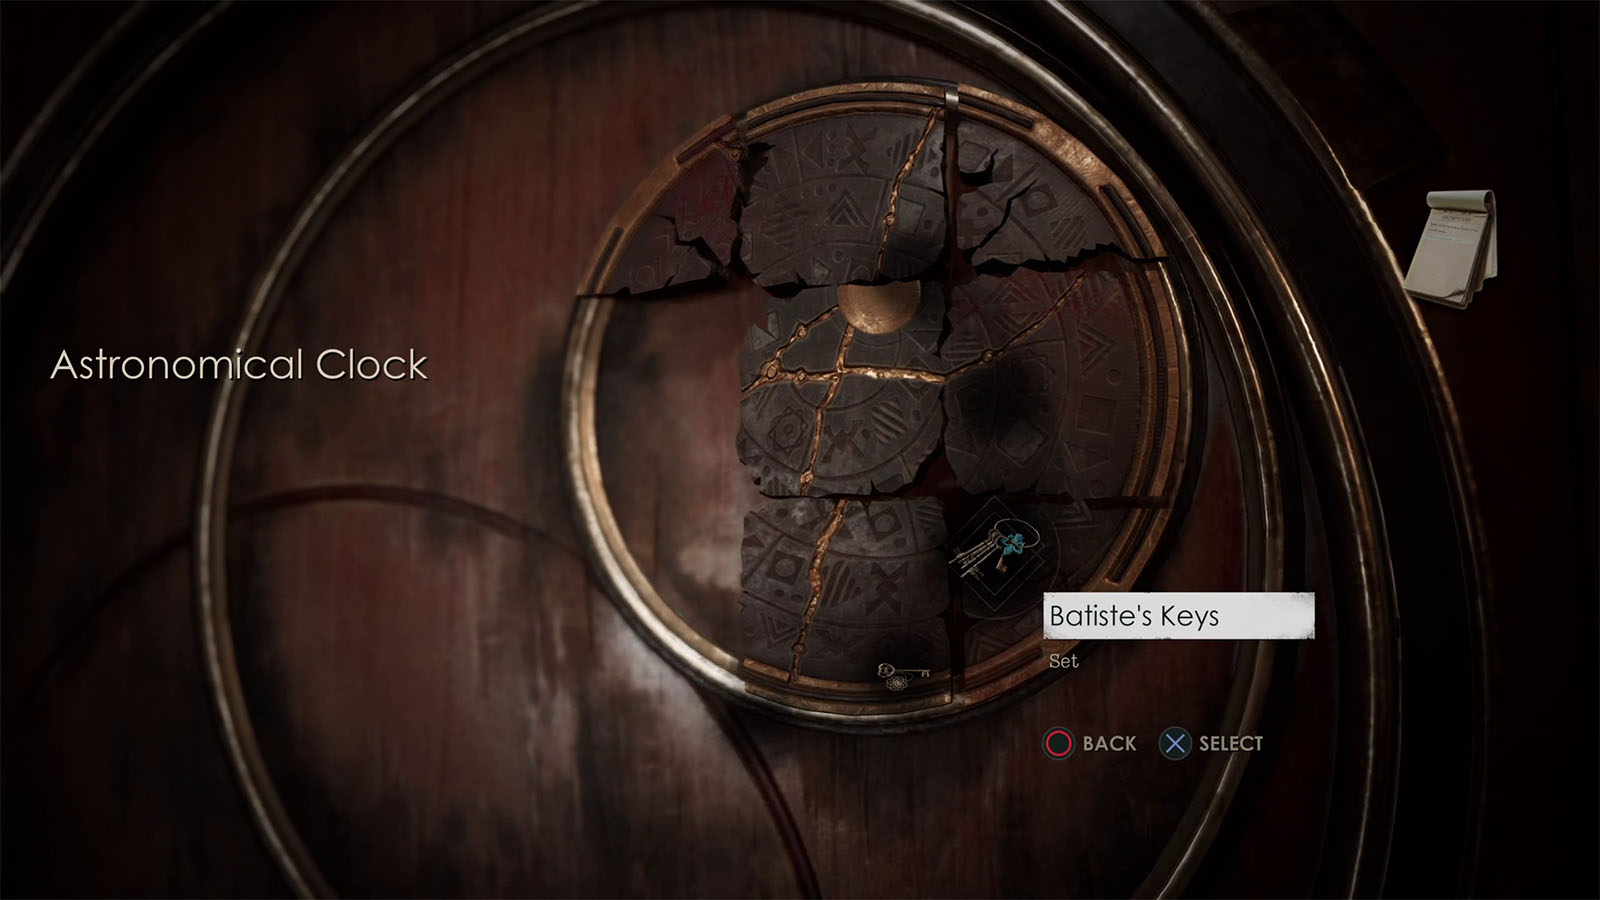
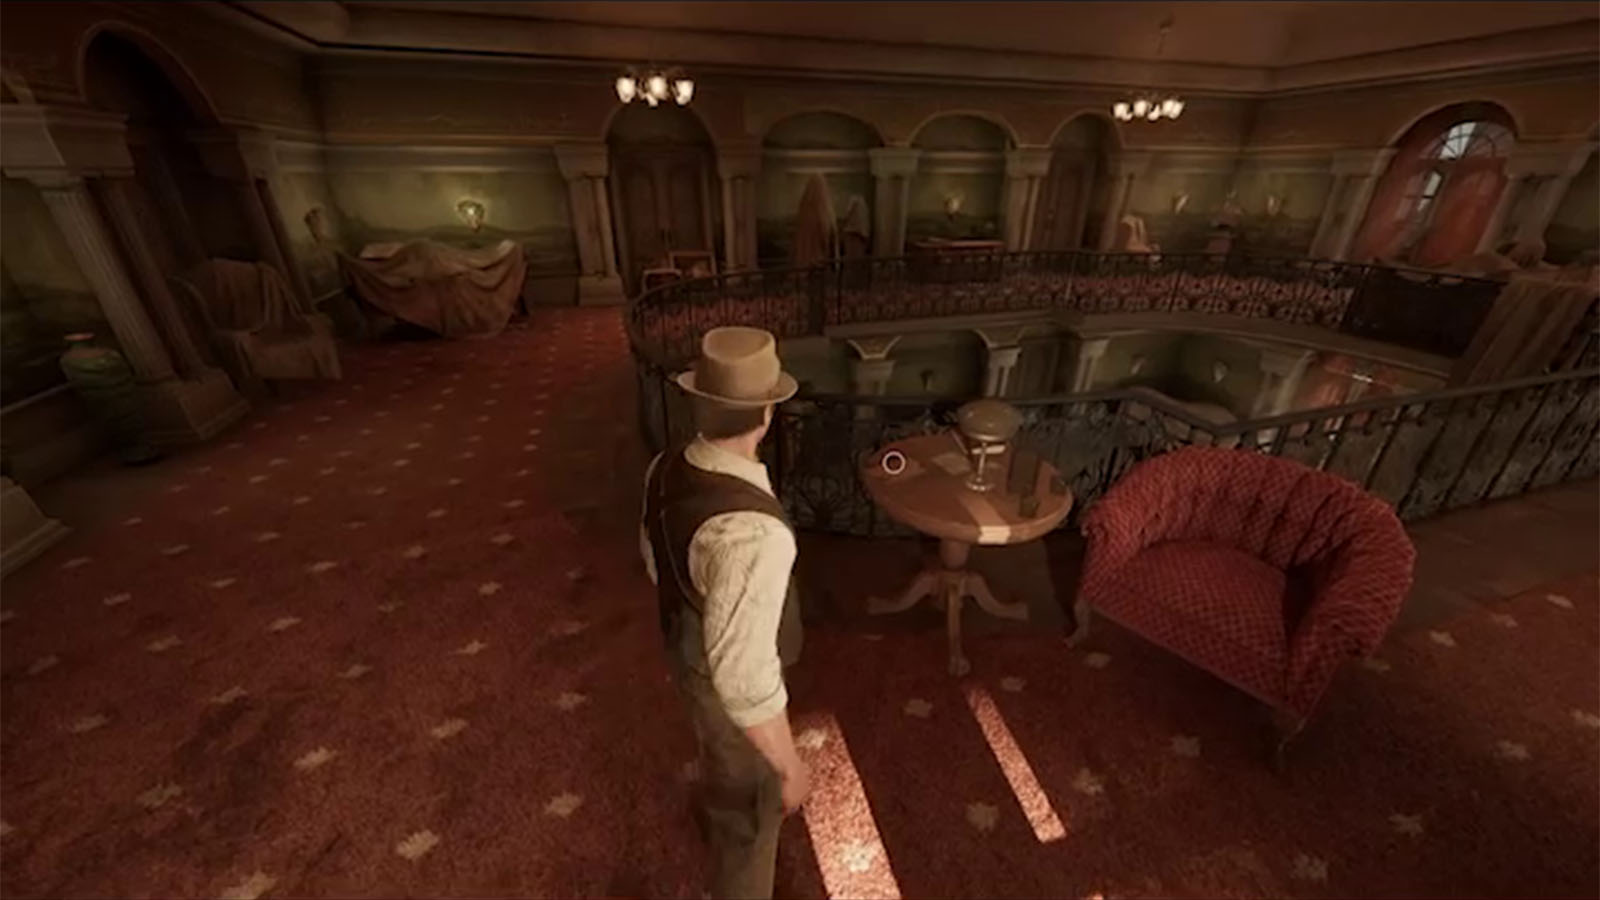
Head upstairs where you will find the huge astronomical clock. Opening its cabinet will reveal another plate puzzle that is missing a few pieces; this particular puzzle also appears in the Commonplace Book. Take note of this for now.
Investigate what Perosi knows

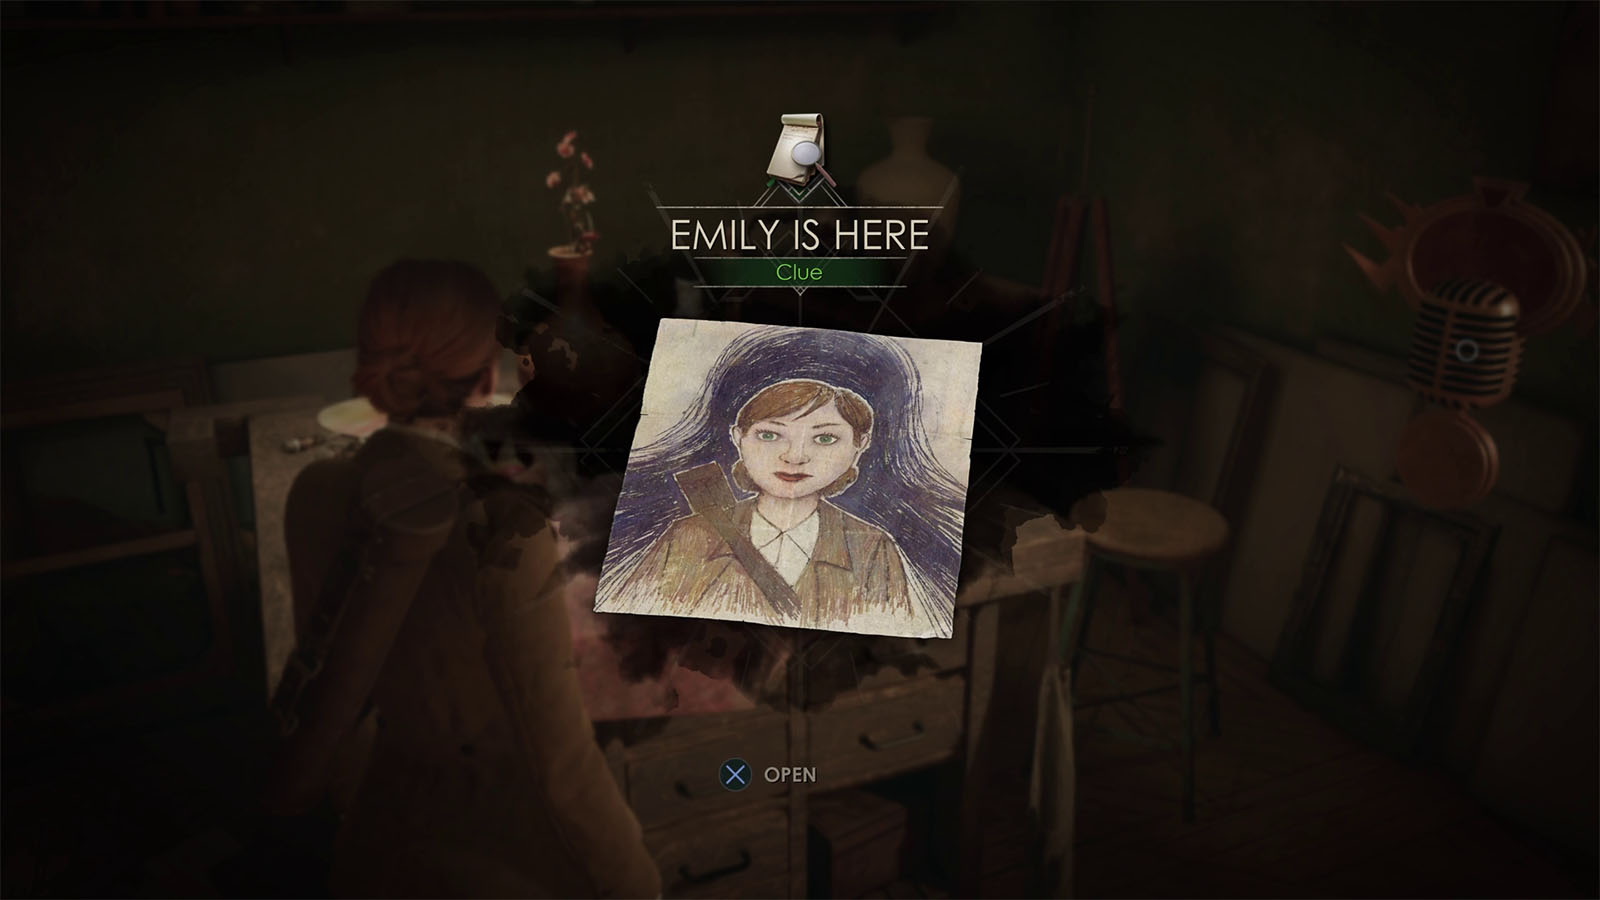
Head towards the door leading to the corridor where Jeremy’s room is at. Playing as Edward will have an additional scene where he bumps into MacCarfey looking for Grace. Check Jeremy’s room first to find the Clue – Emily is Here on the table.
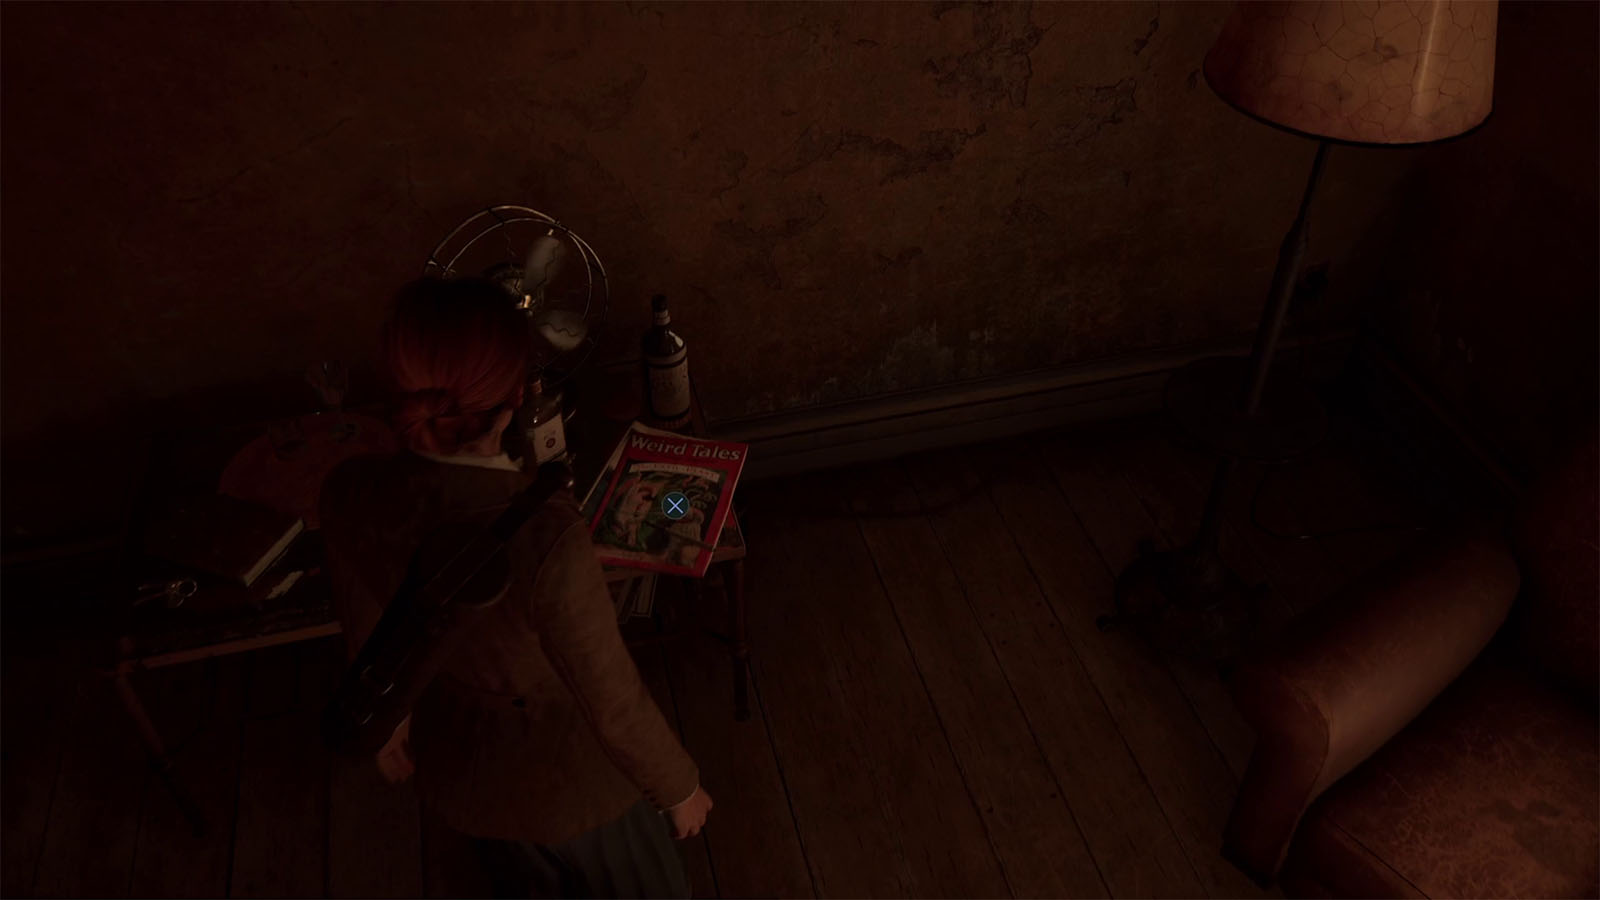

Next, head into Batiste’s room which is the adjacent room to find the Lagniappe – Fountain Pen on the magazine.
Go to the room at the end of the hall to find Perosi’s room; use the Room #6 Key to open it.
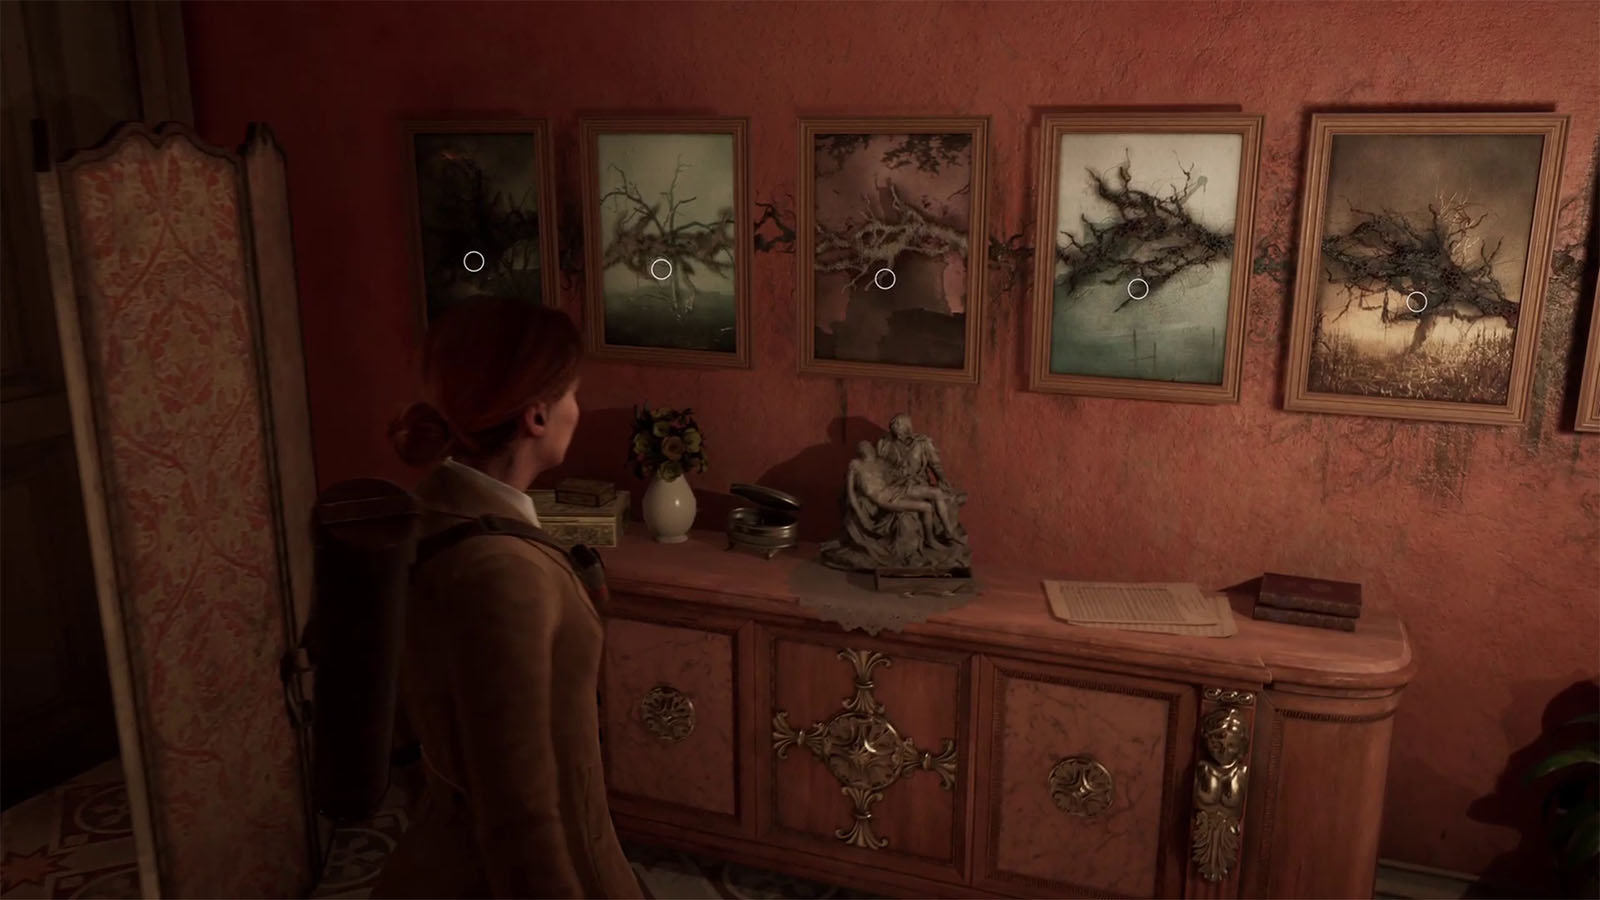
Directly to the left of you are six picture frames that have rot marks on them. Interacting with each one of them will flip them over, revealing a name plate on the other side.
Complete the shape with the rot on the paintings
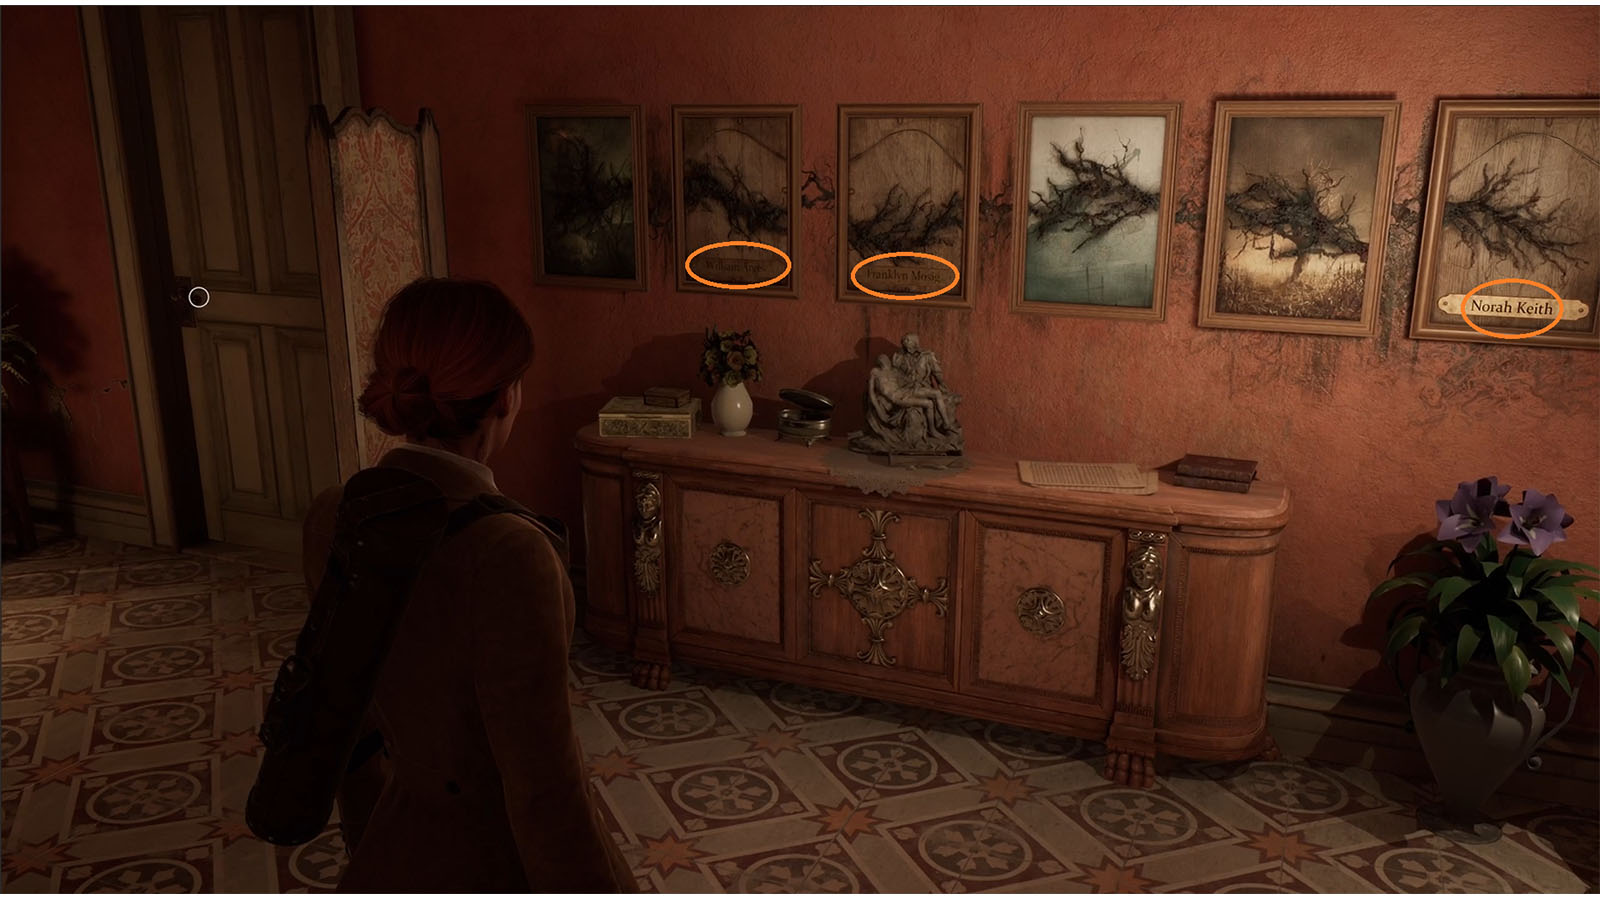
To solve the picture frame puzzle, you will need to flip the right frames to show the ones that have rot on their back sides. From left to right, flip the second (Arges), third (Mosig), and sixth (Keith). This will not trigger anything, but take note of the names on the flipped frames as they will be needed on another puzzle.
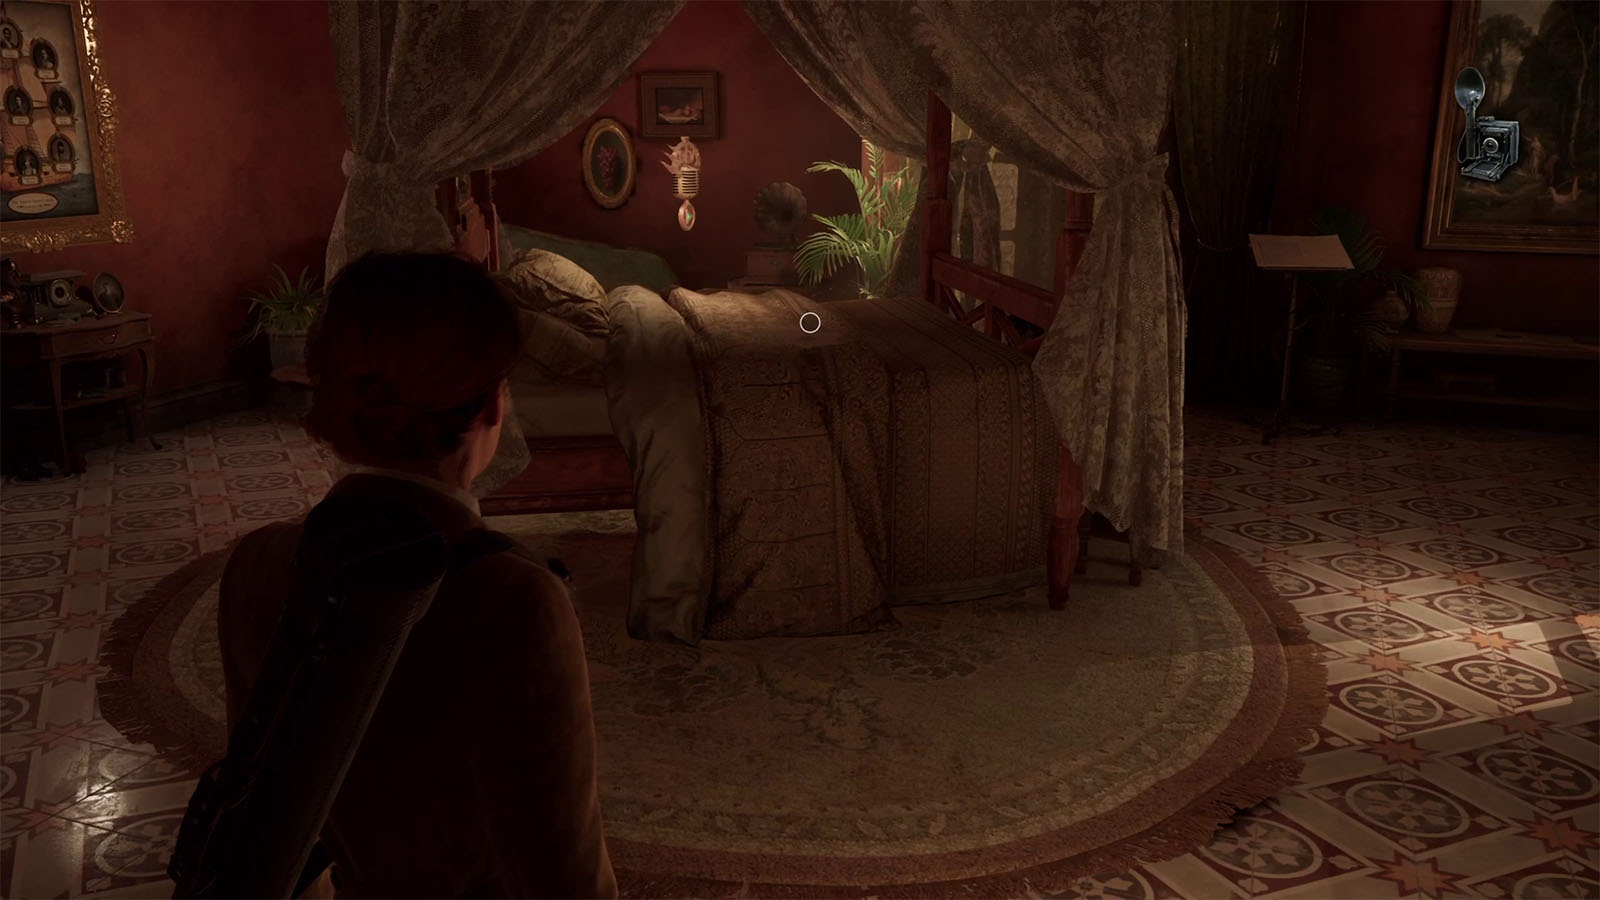
On the bed is where you can find the Clue – I Must Return that talks about Jeremy’s success in crossing thresholds and about a mound outside the oil rig.
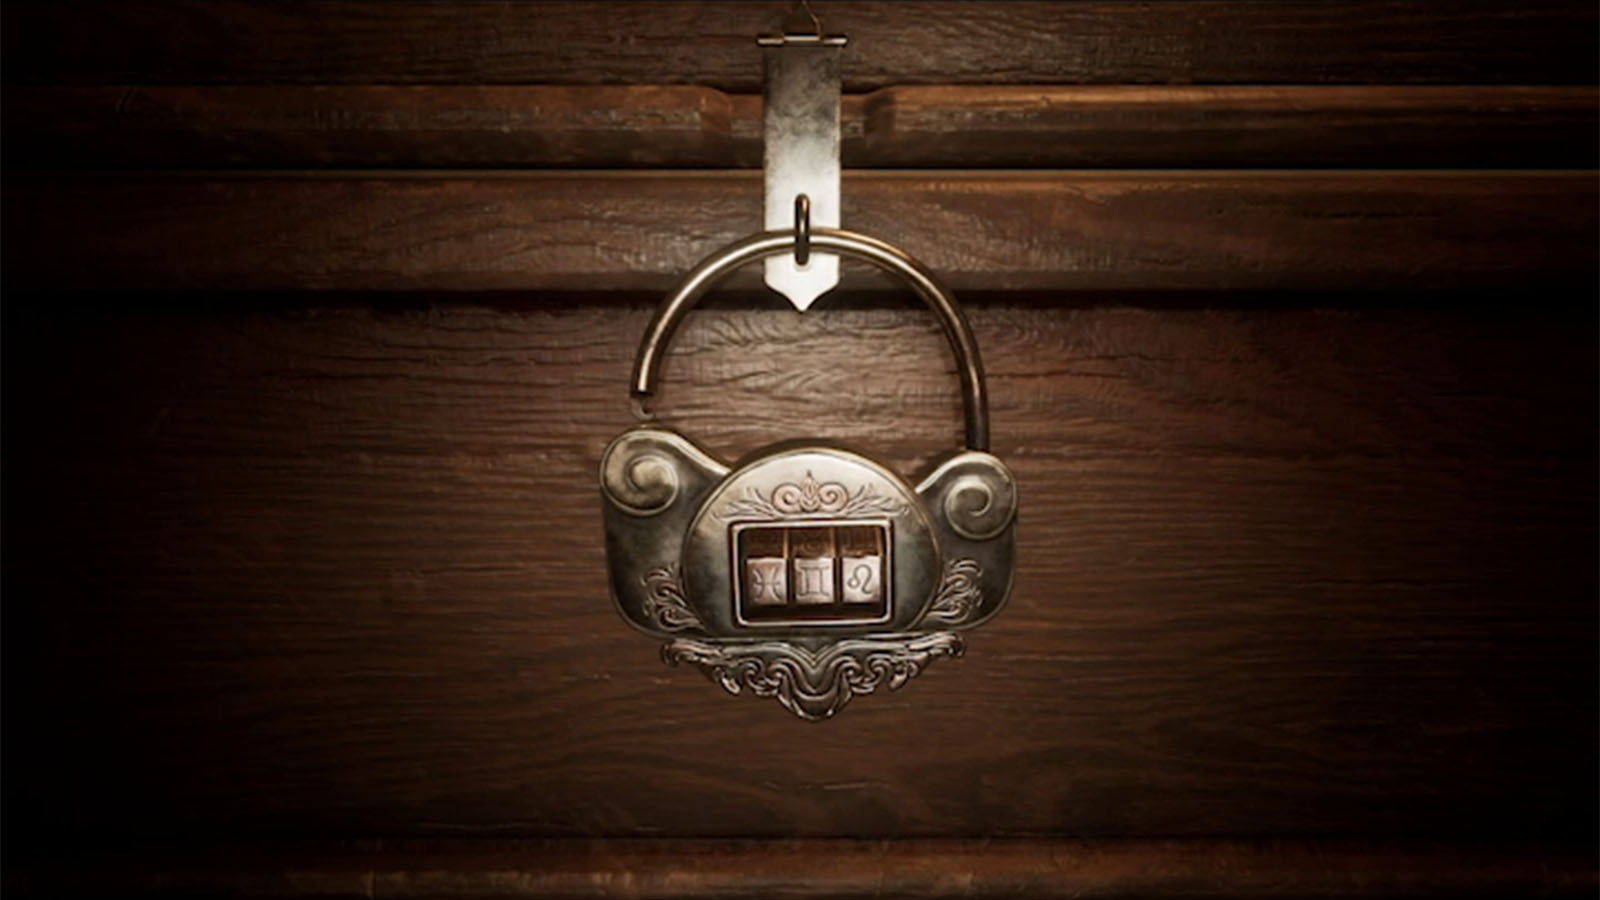
Figure out the combination for the lock using information found in Perosi’s room
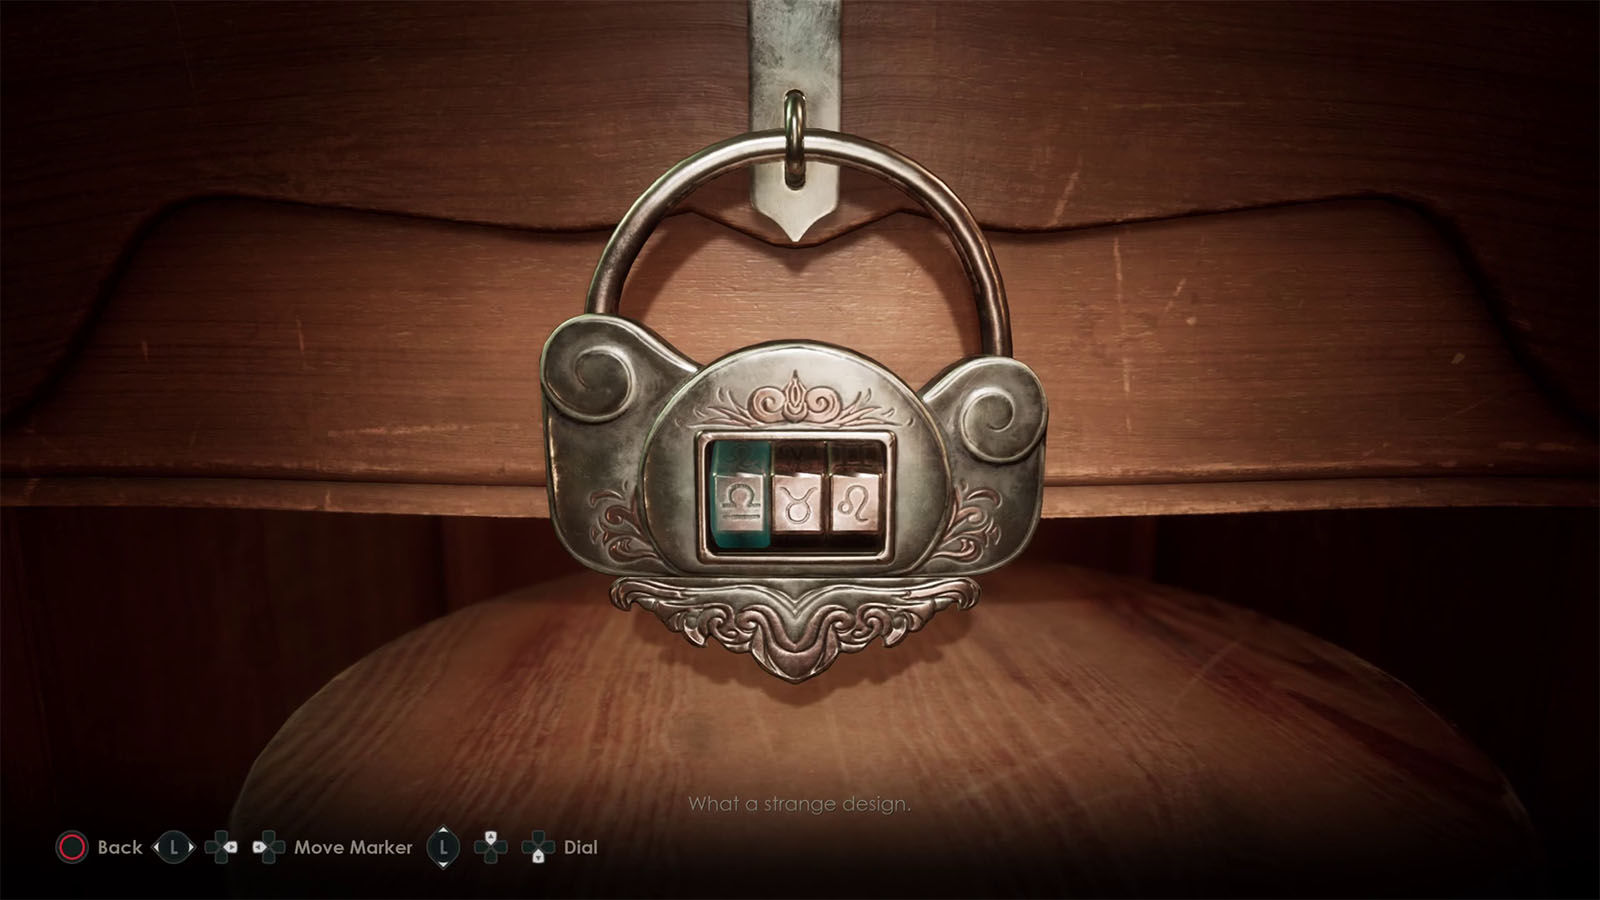
Continue looking through the room and go to the desk that has a lock on it. This is a combination lock that has three dials on it, all showing a symbol of the zodiac.
Cross reference the names of the Astarte Artists to get numbers

Check the painting on the wall which contains portraits of the Astarte Artists’ Colony members, including the ones on the picture frames from earlier. Take note of Arges’ (2), Mosig’s (9), and Keith’s (4) numbers for later.
Cross reference the numbers with Perosi’s Journal to get symbols
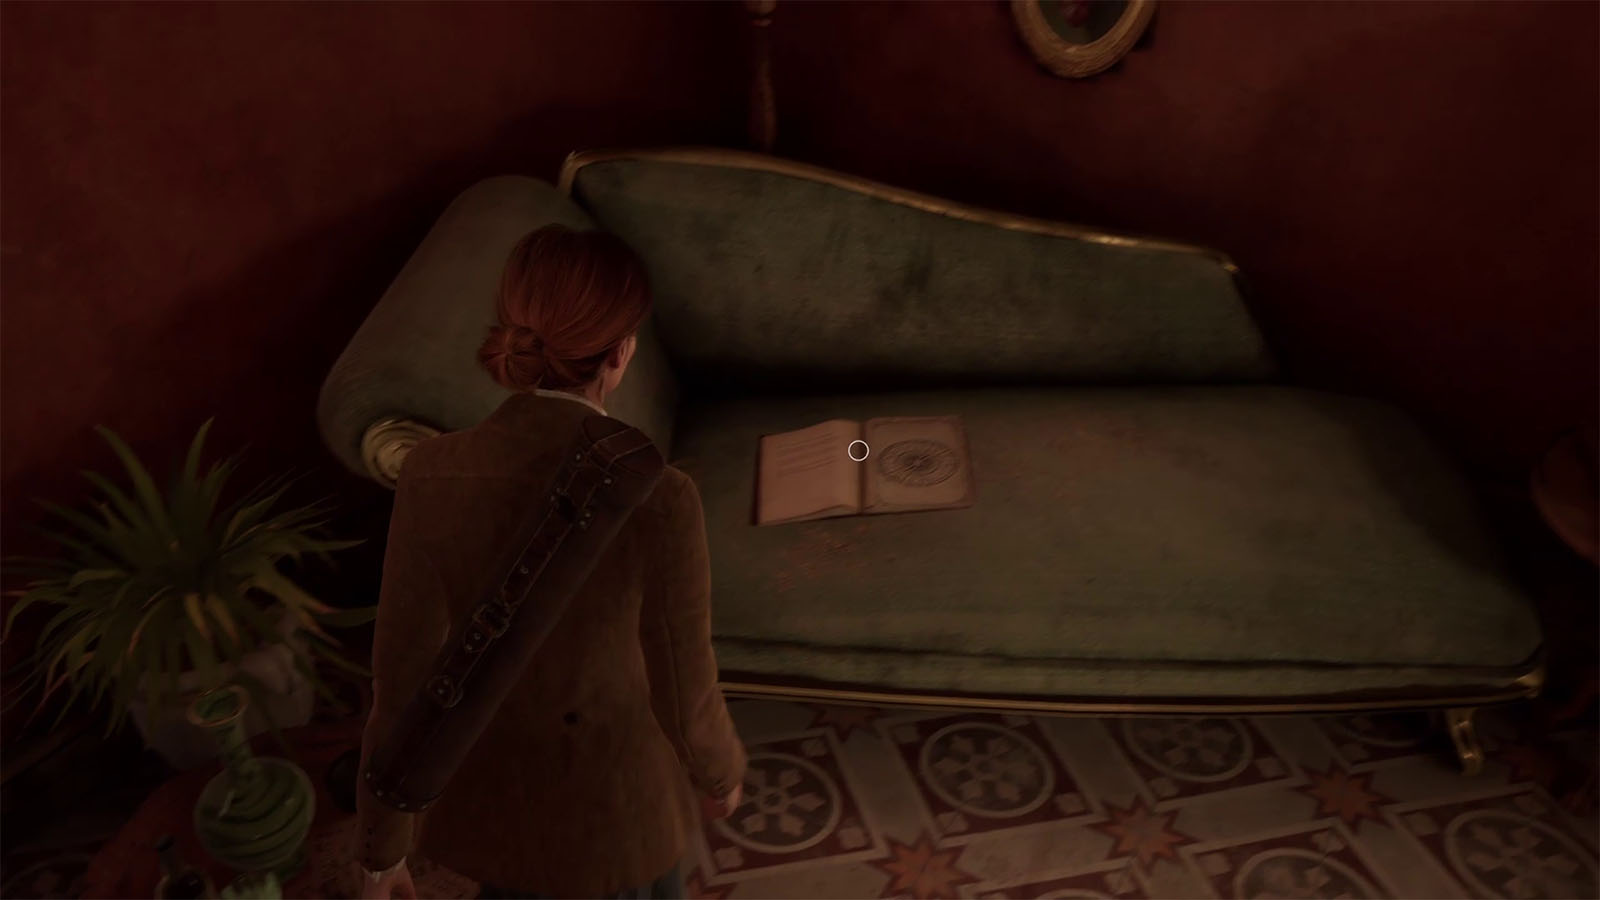
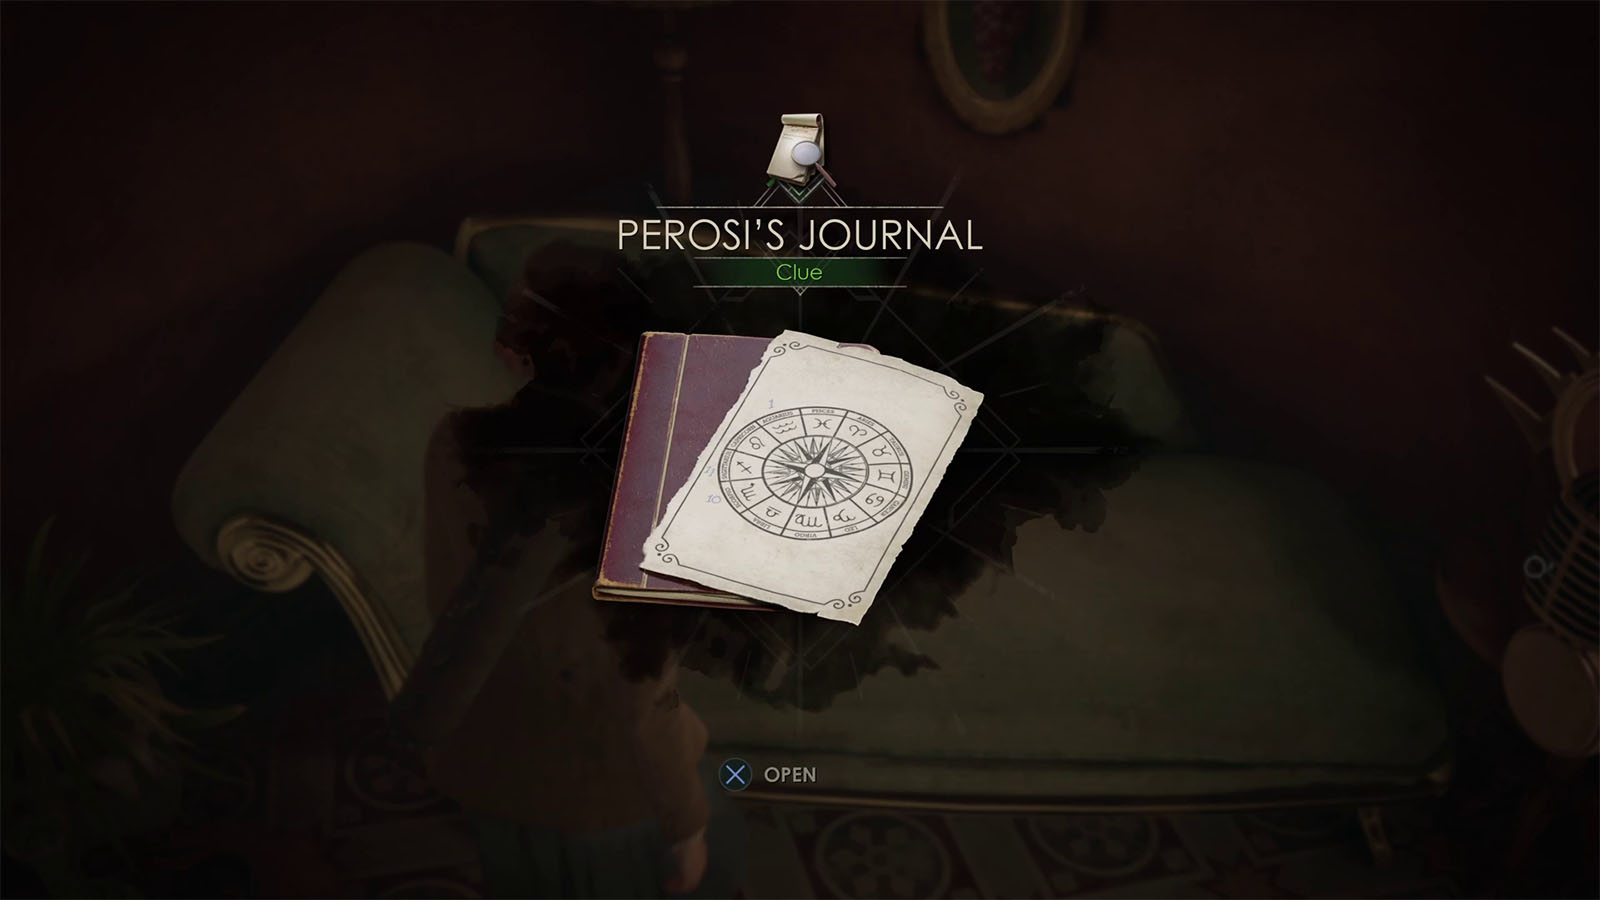
Check the green couch nearby to find Clue – Perosi’s Journal. In this journal is a note that will serve as a key to the puzzle up ahead.
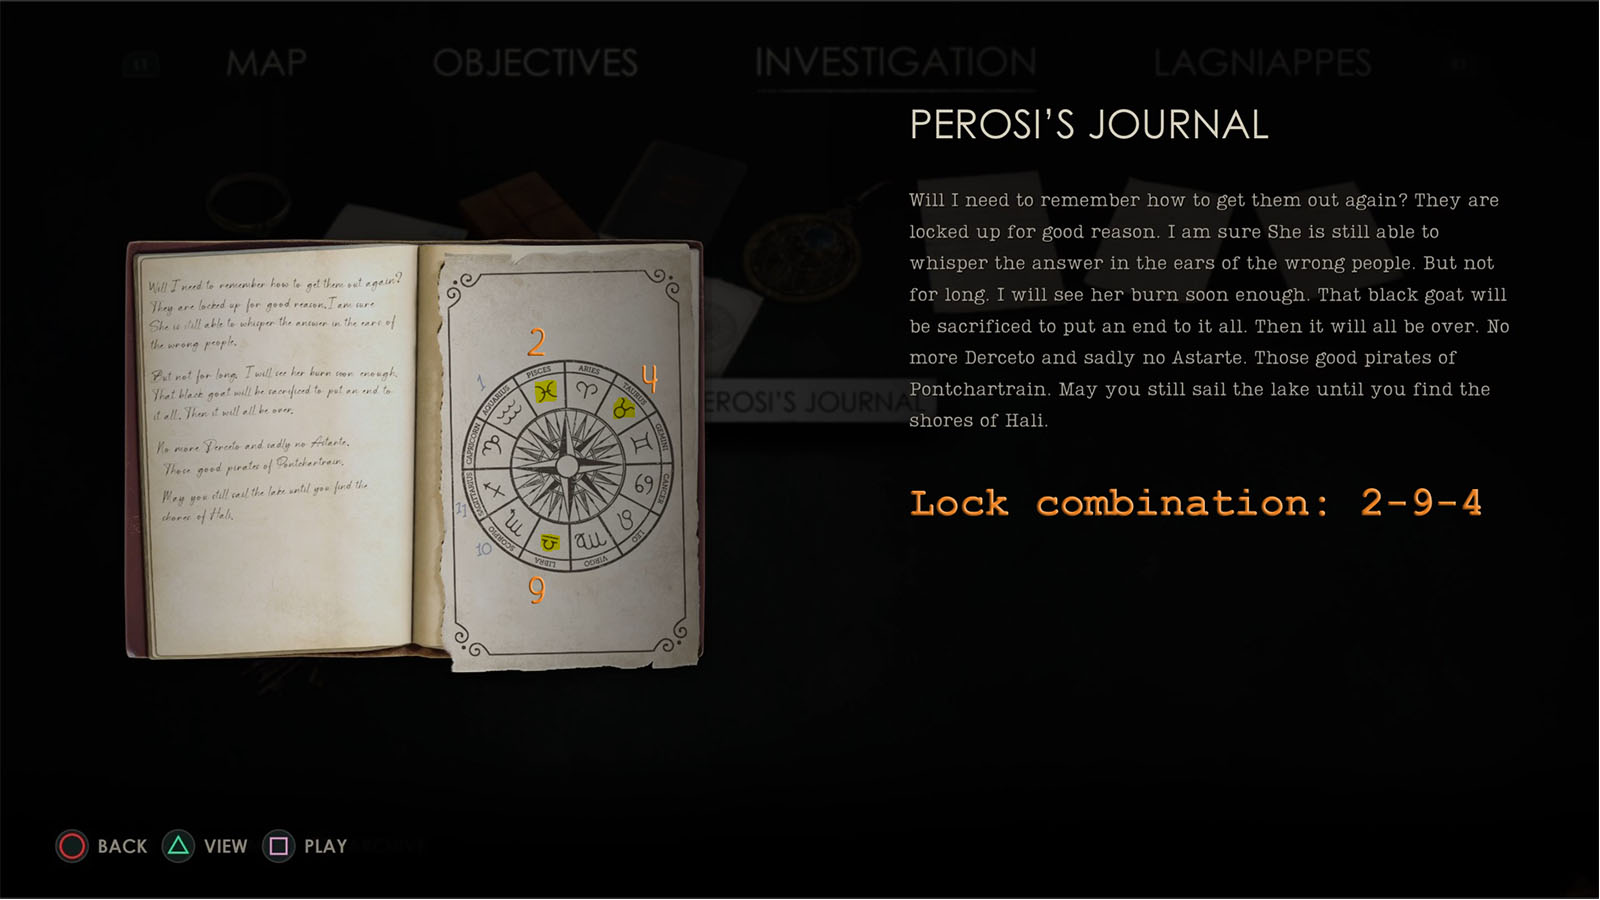
Using the clues that you have found so far from the names on the frame and the number that they are tied to, you can then simply map the numbers around the zodiac circle starting from Aquarius clockwise. Picking out the signs under 2-9-4 will give you Pisces, Libra, and Taurus, or ♓︎-♎︎-♉︎.
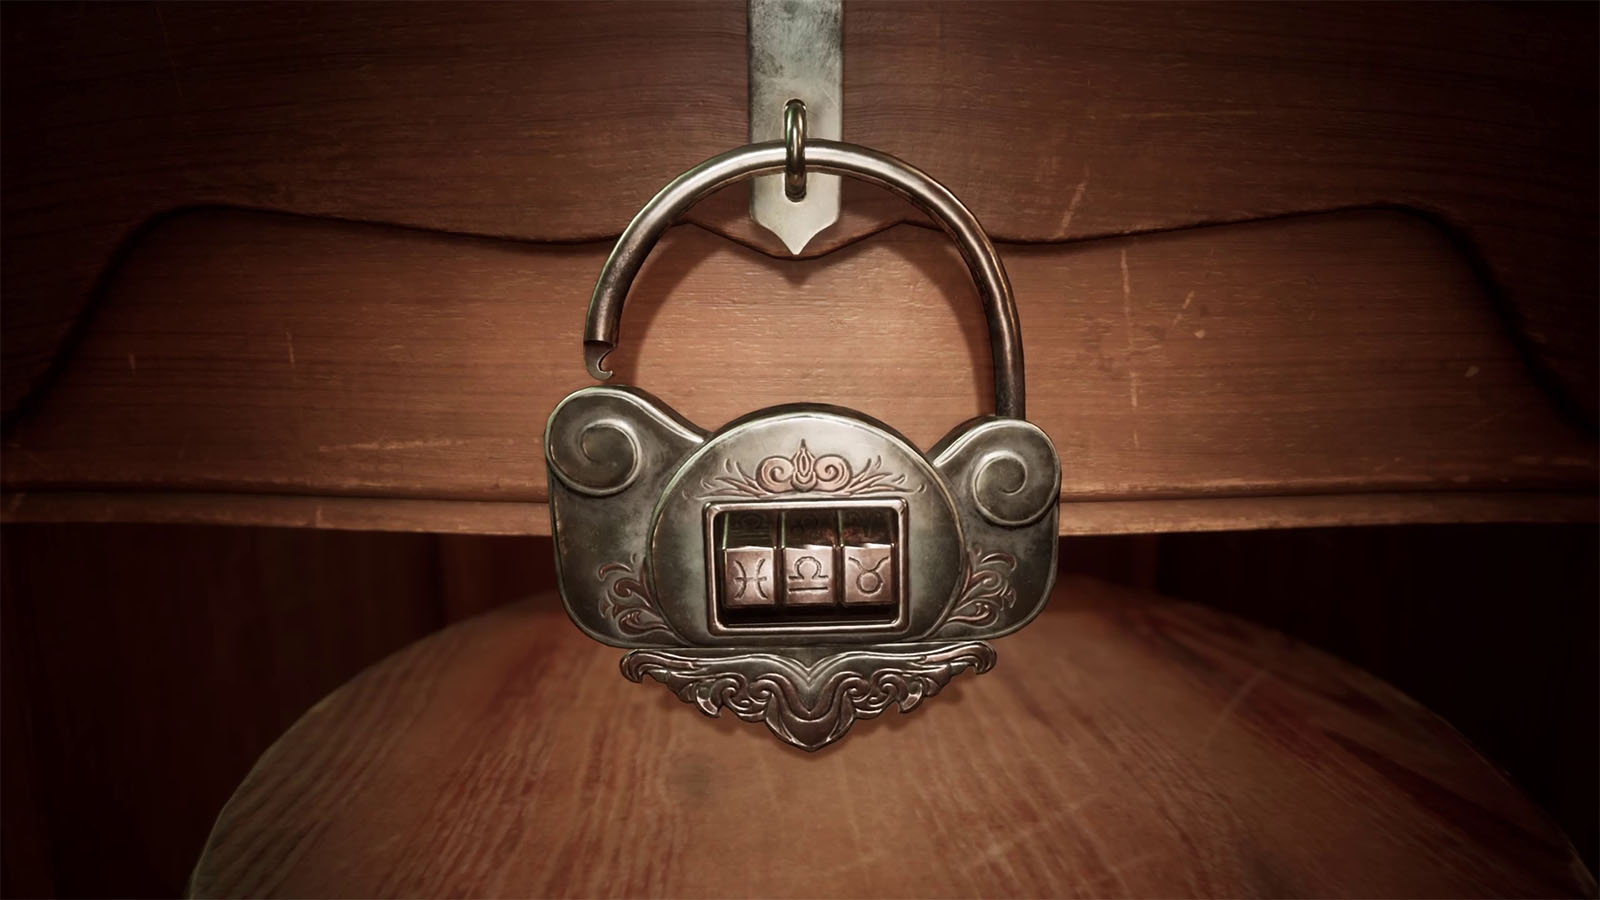
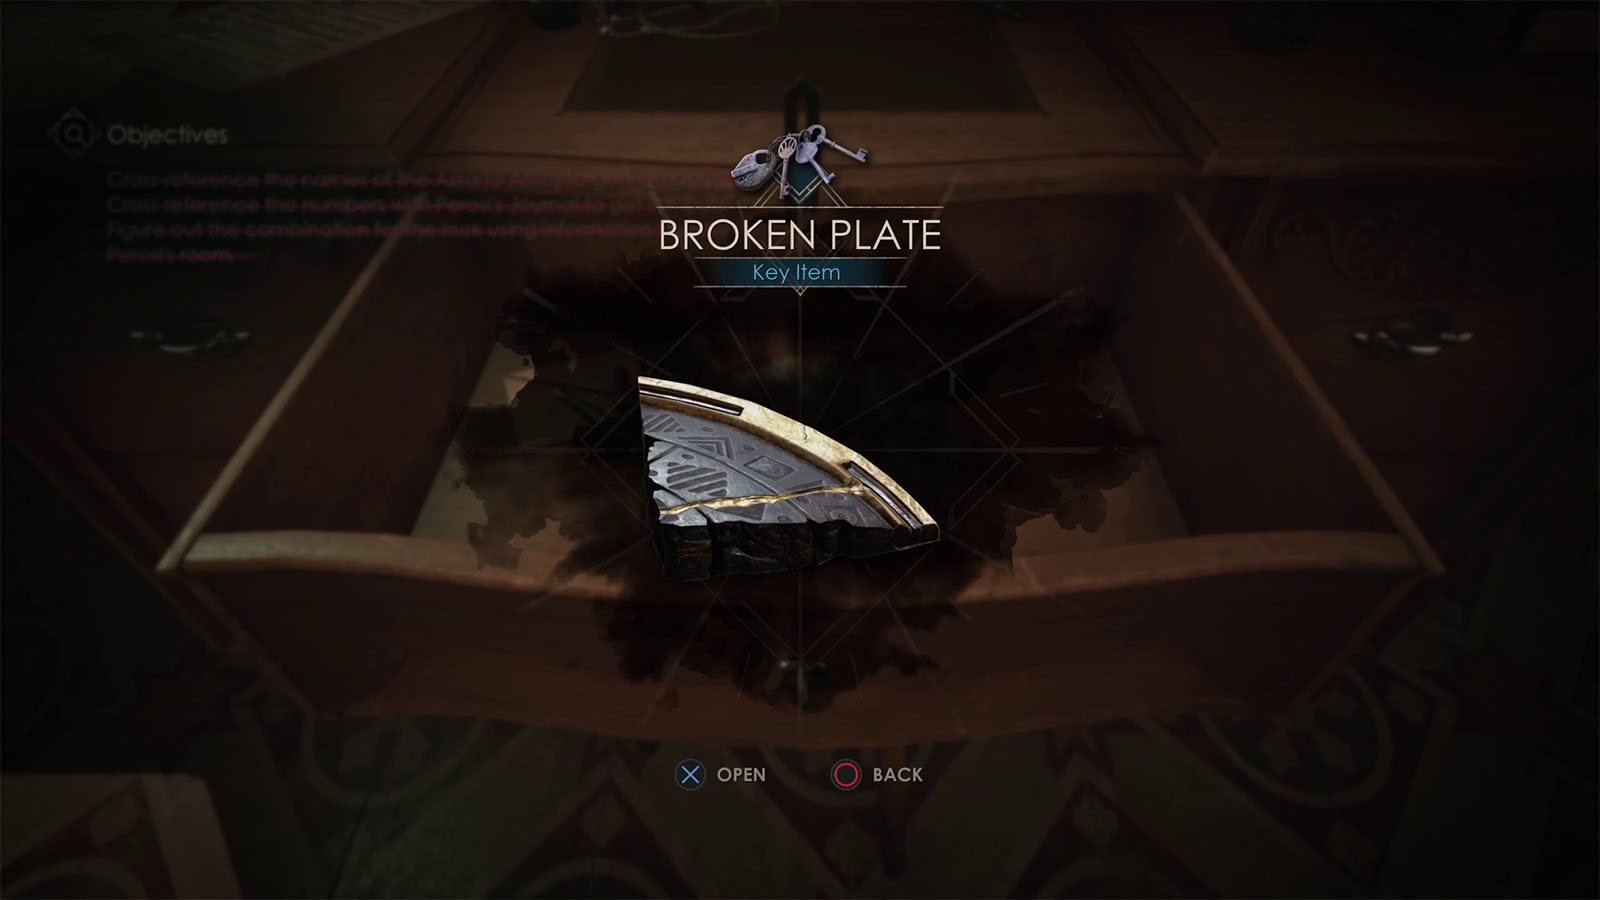
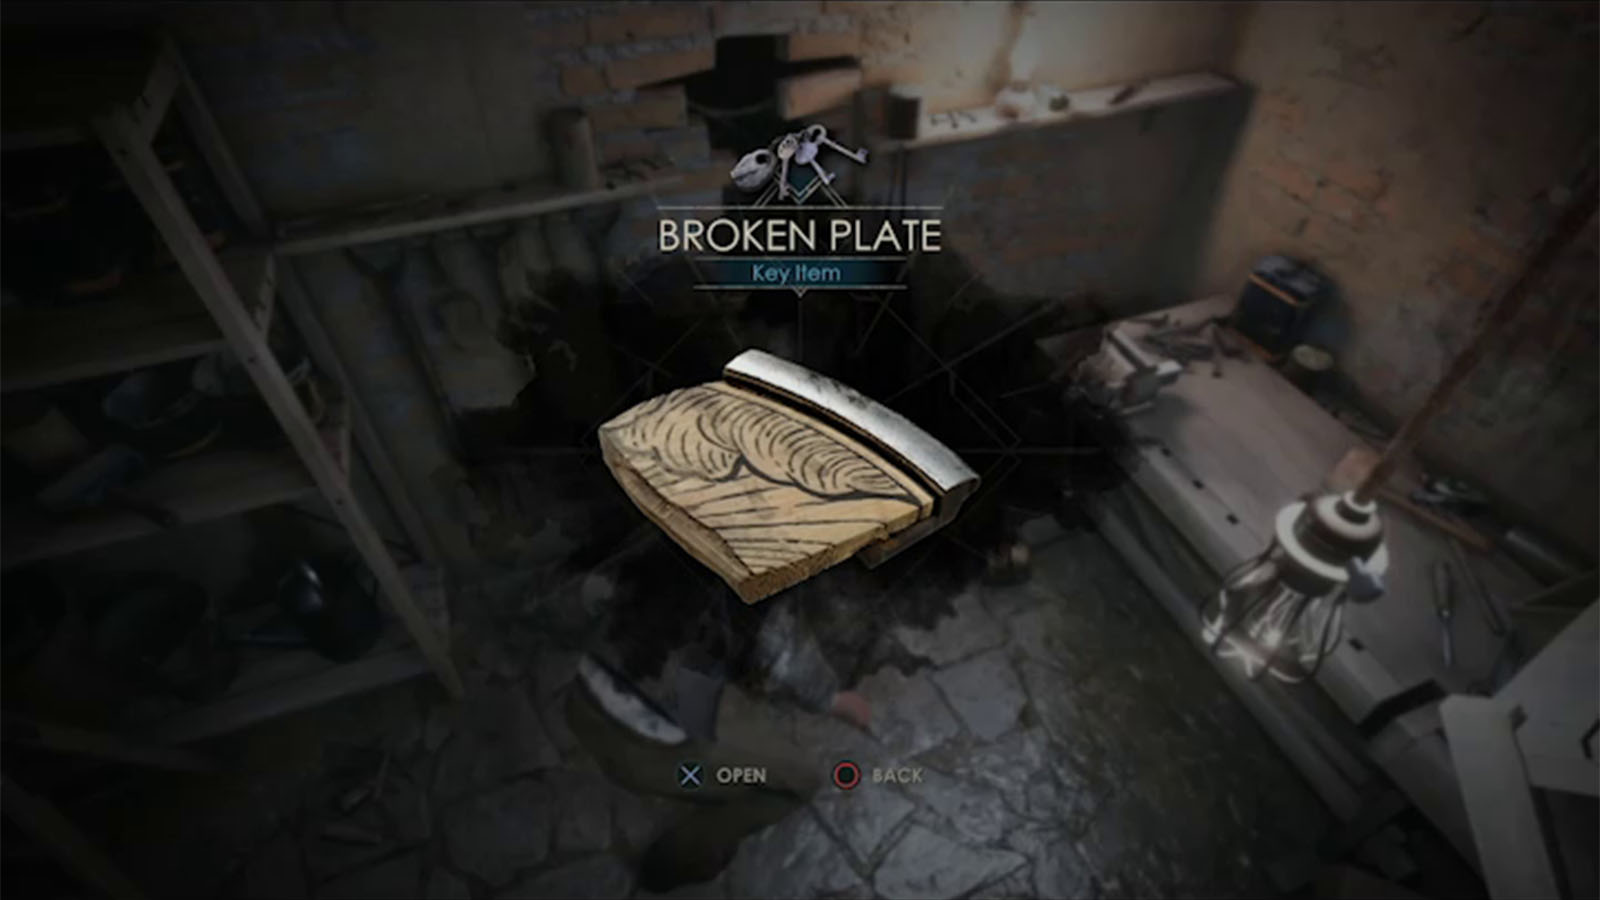
Input that combination on the lock on the desk drawer to obtain the Broken Plate – Astronomical Clock #1 which is the missing piece in the astronomical lock.
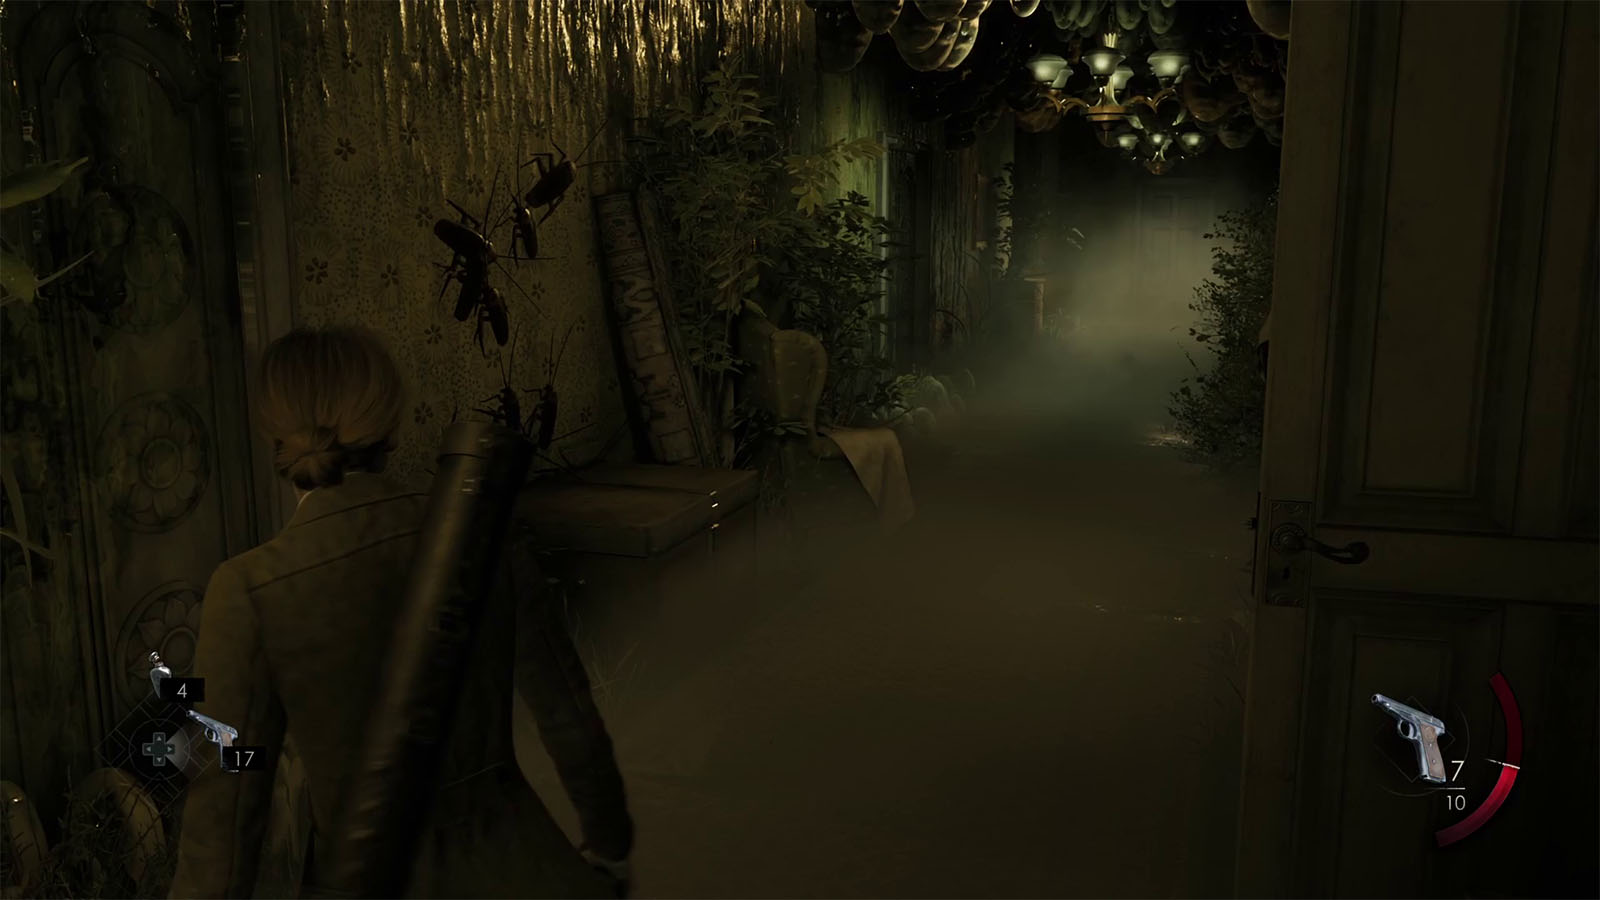
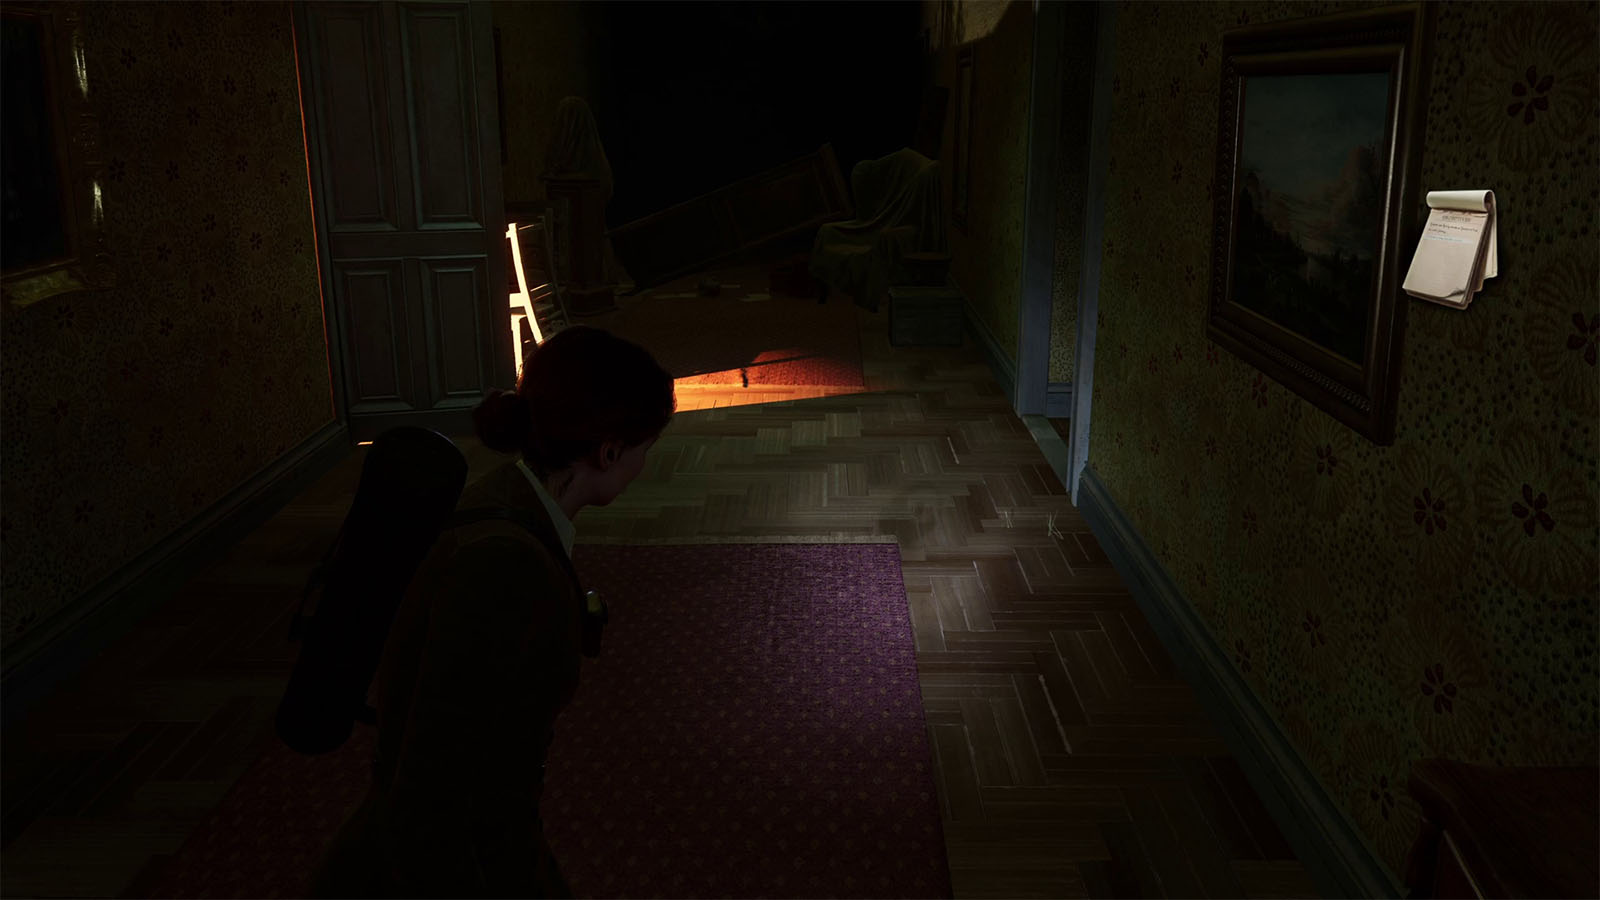
As you head back out into the hallway, you will see that the hallway has changed into a different place full of decay, insects, and slime. Run past through the corridor without getting caught by or stepping on the slime to get to the other door at the end where everything will return back to normal.
Try the keys you got from Batiste
Make your way back through the Piazza and towards the Library where you can use Batiste’s Key to get inside.
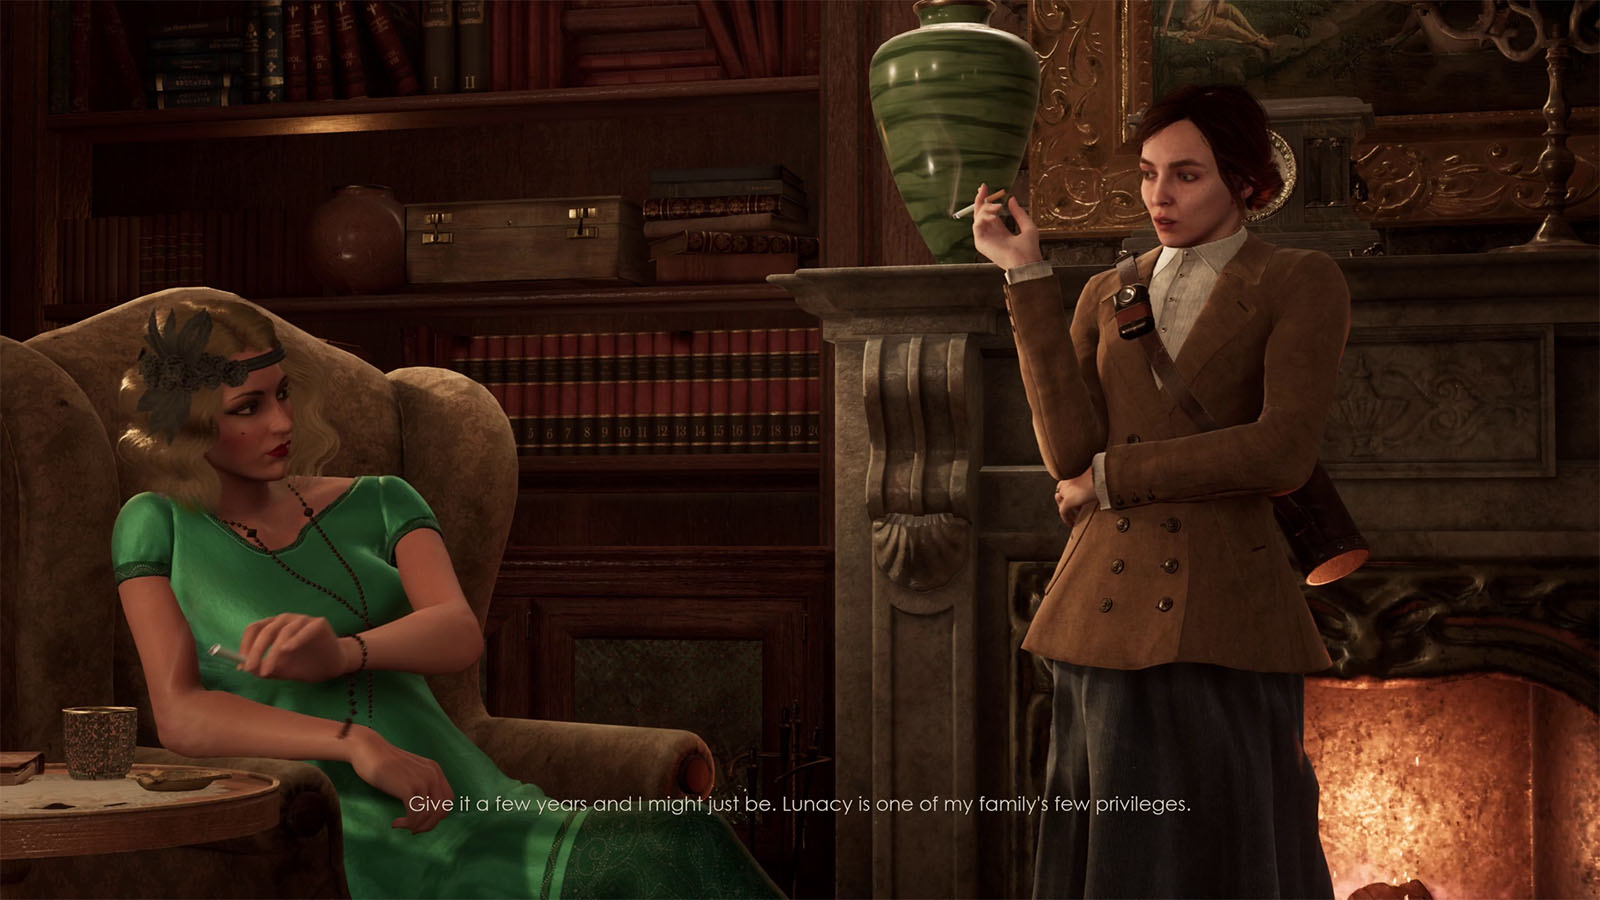
Inside is where you meet Ruth Tallant, one of the patients of Derceto.
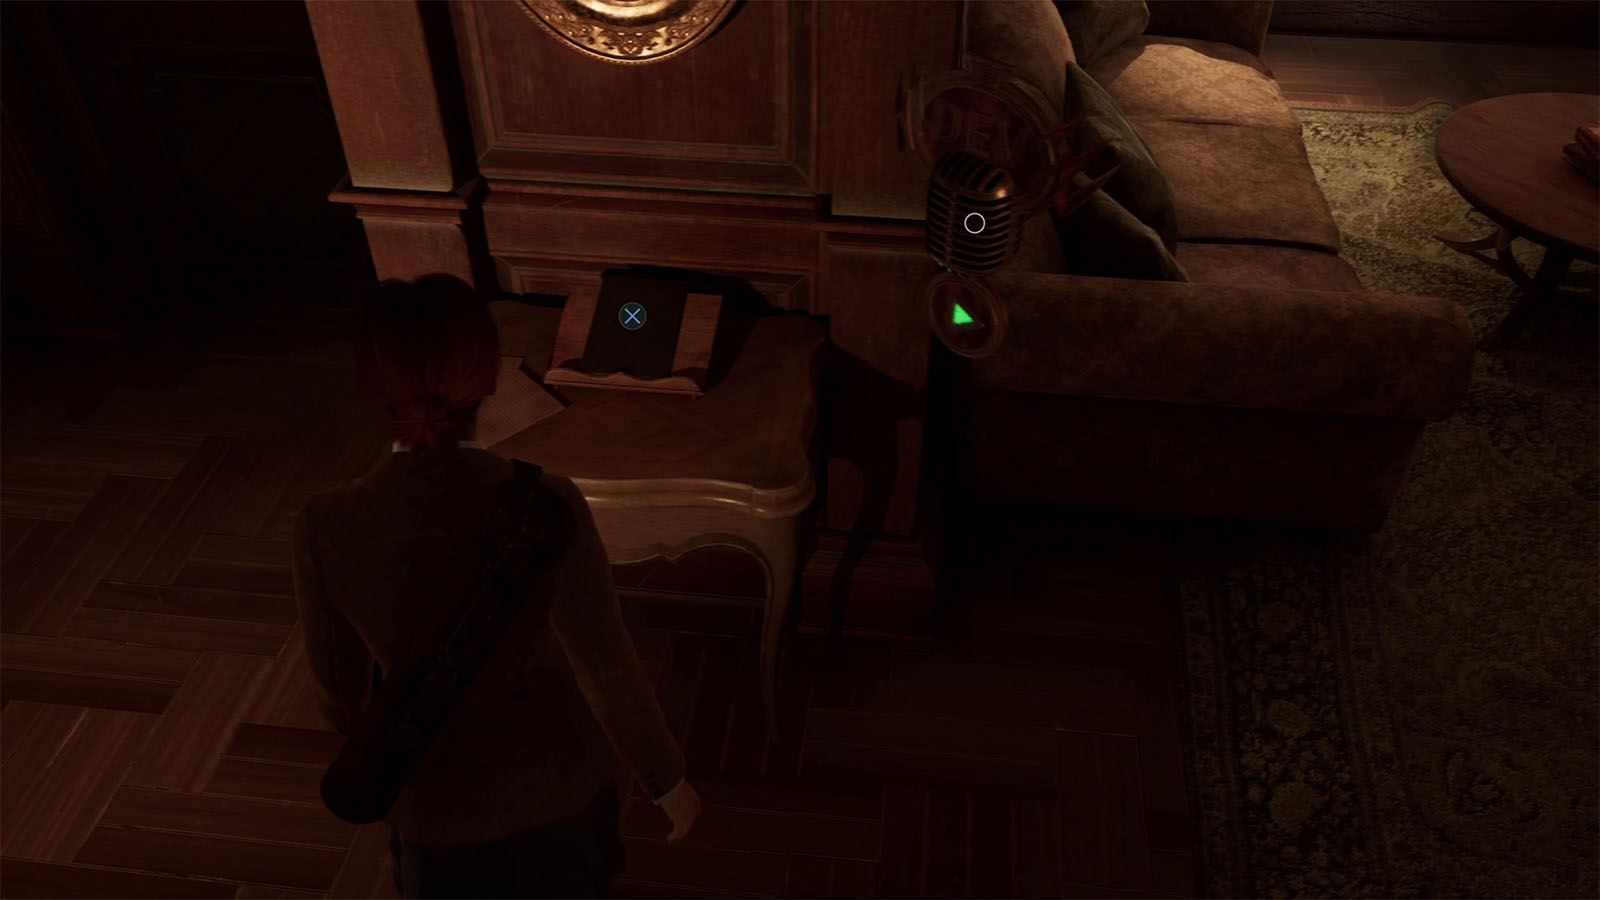
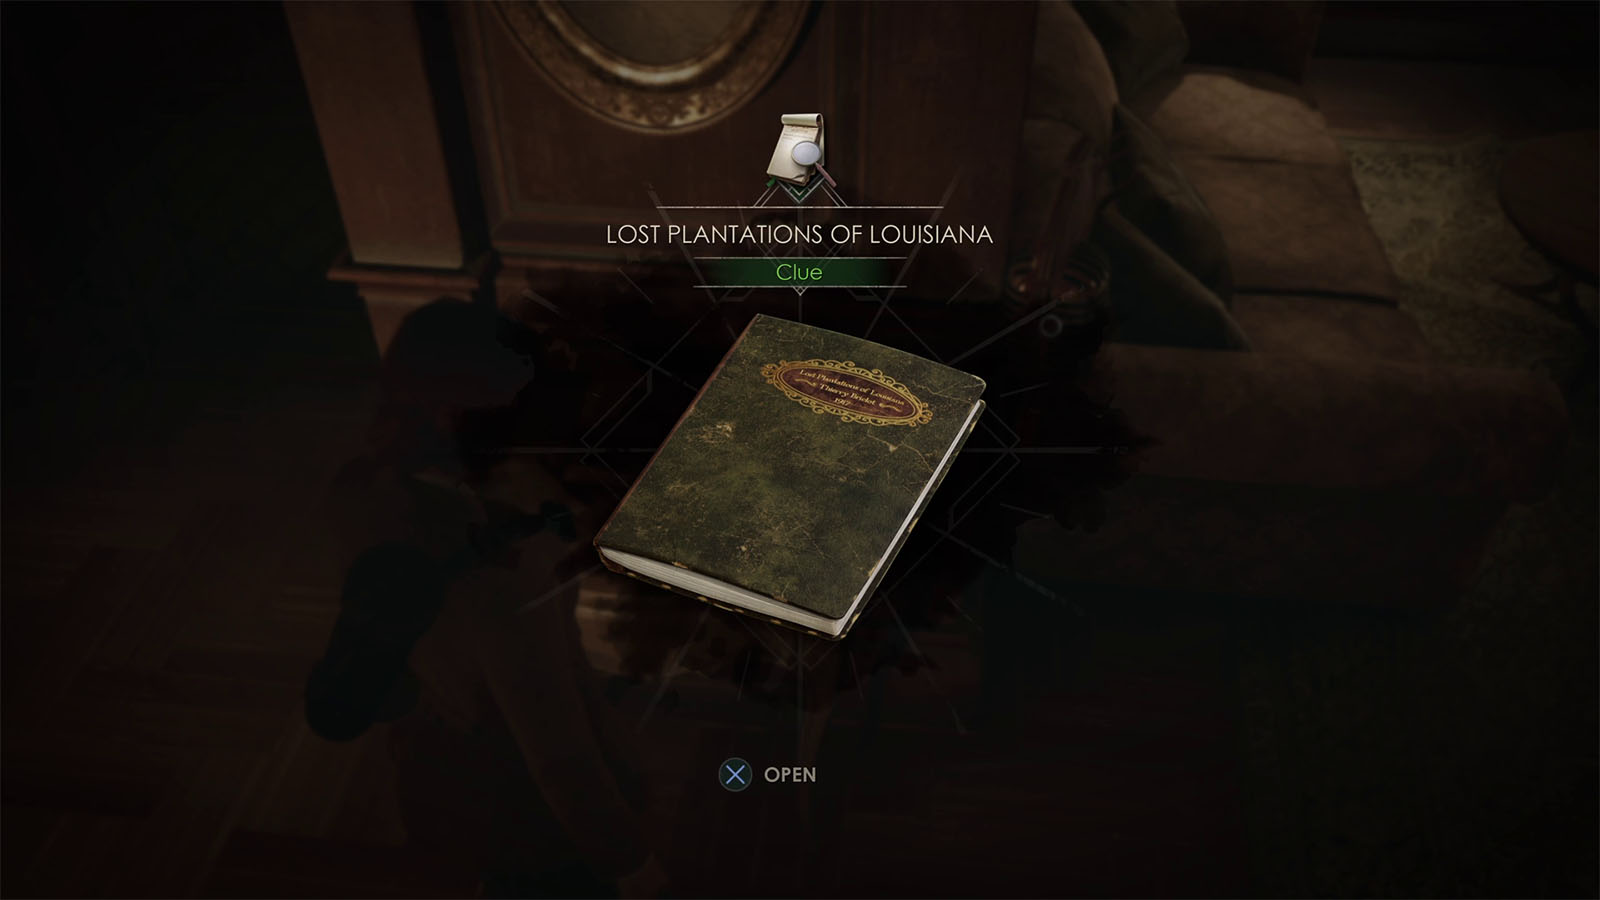
After the chat with Ruth, inspect the book by the door to find the Clue – Lost Plantations of Louisiana. Make sure to check back again with Ruth for another conversation.
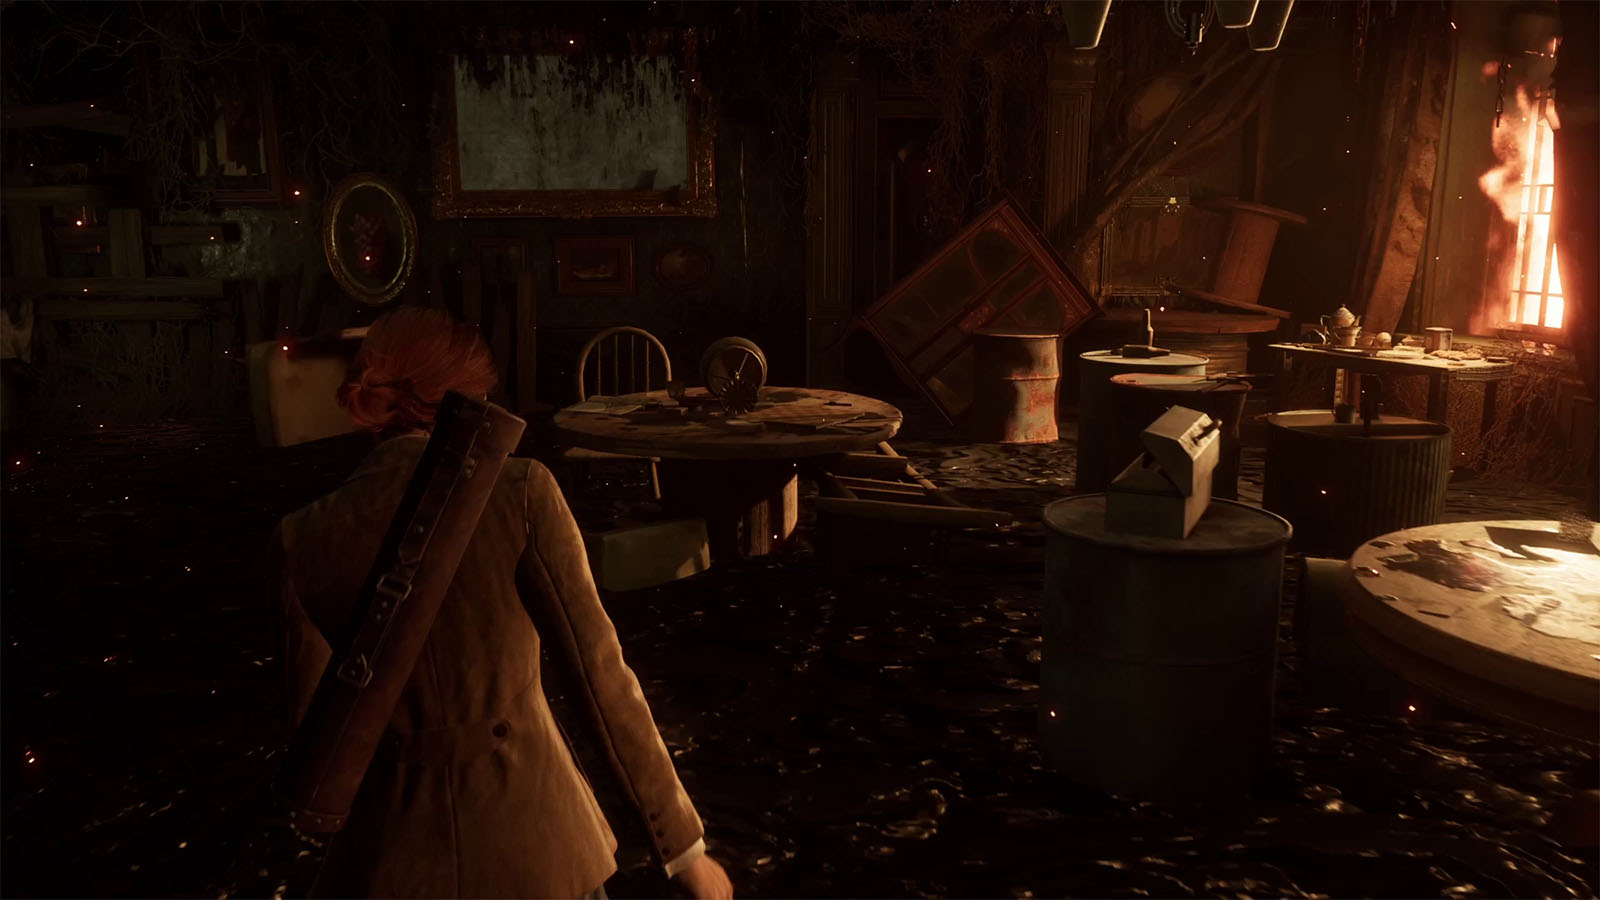
Continue on to the next door leading into the small parlor. Pay attention to the shotgun on the wall to the immediate right as this will be useful later on. To the right is the door going back to the conservatory, however the place will suddenly become flooded as soon as you touch the door.
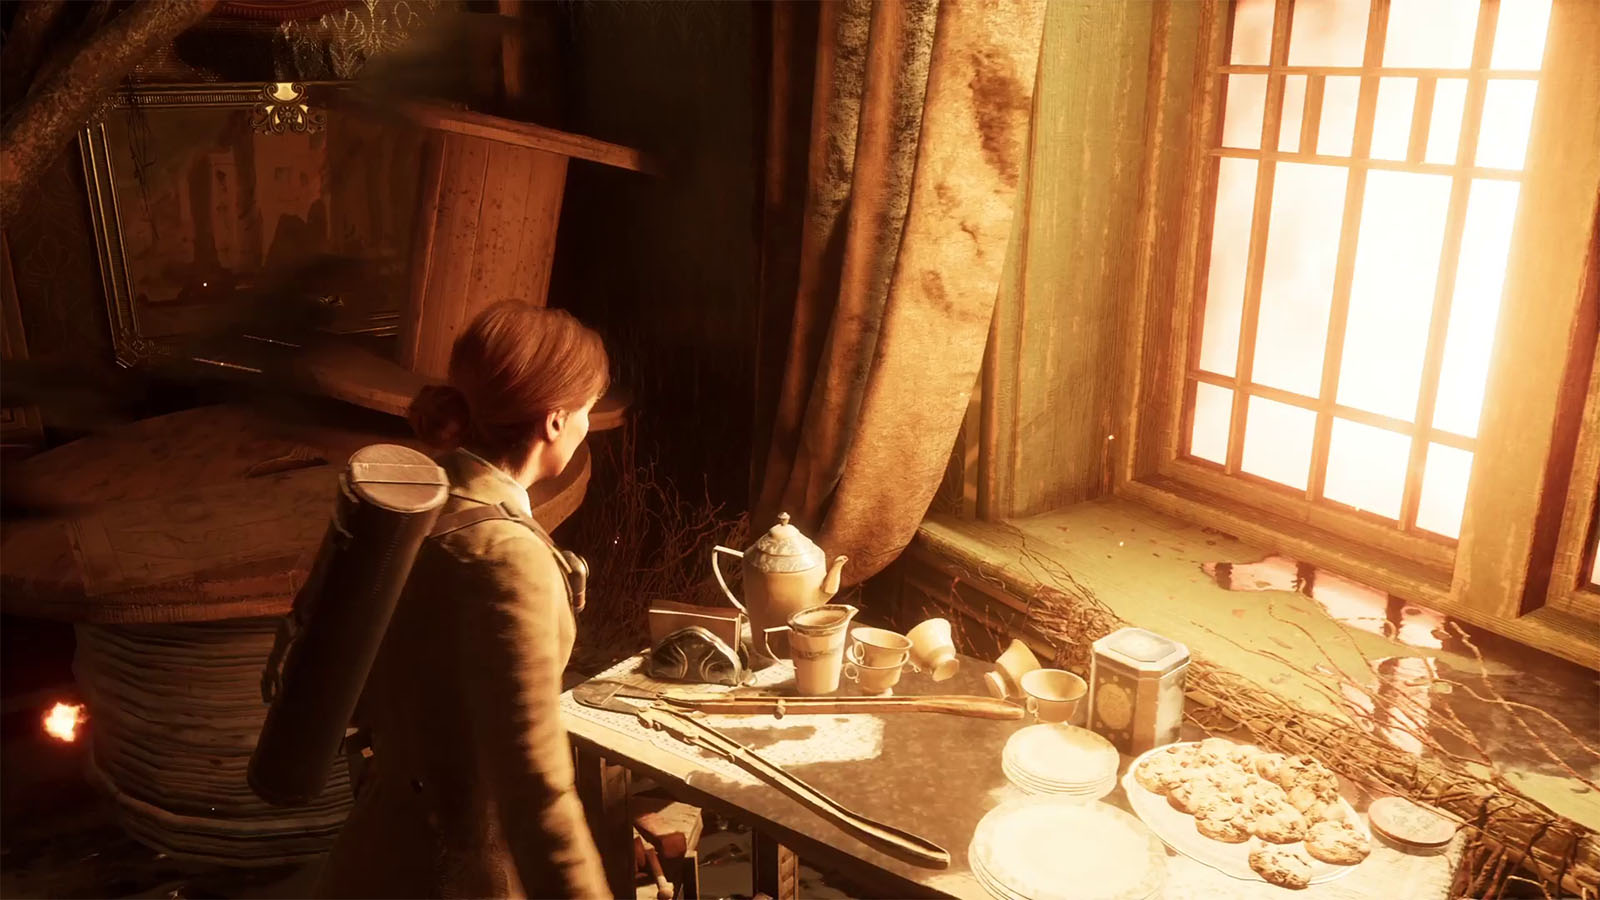
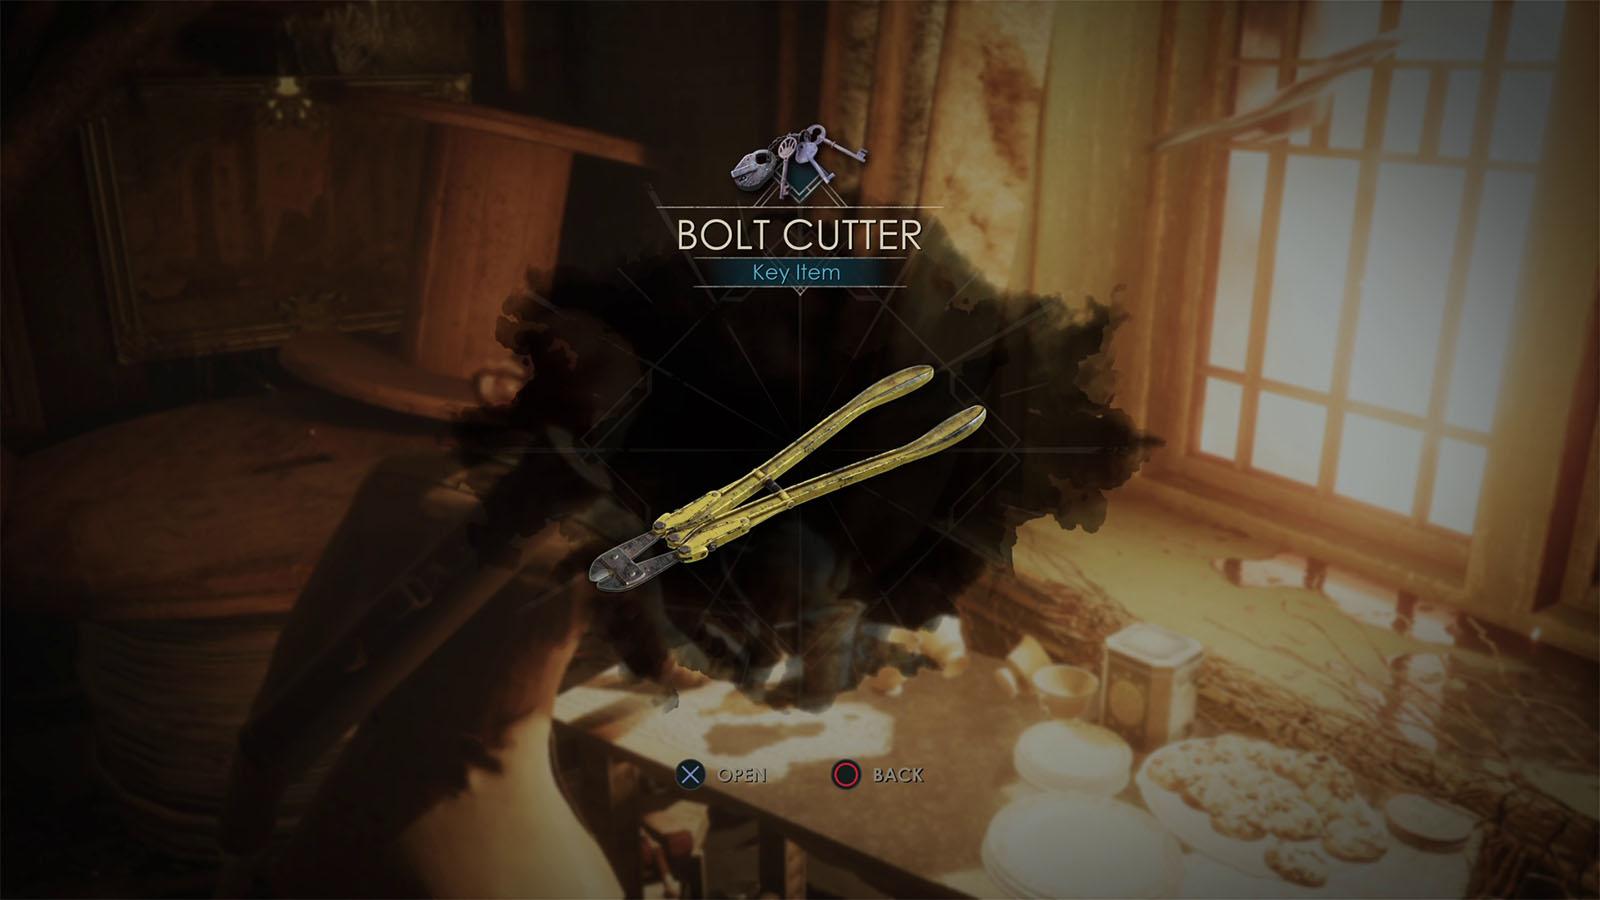
Head towards the other side of the room to where the burning window is to find the Bolt Cutter. Use this to cut open the chain on the conservatory door to go back to normal and gain a shortcut.
Investigate the well in the Kitchen Garden
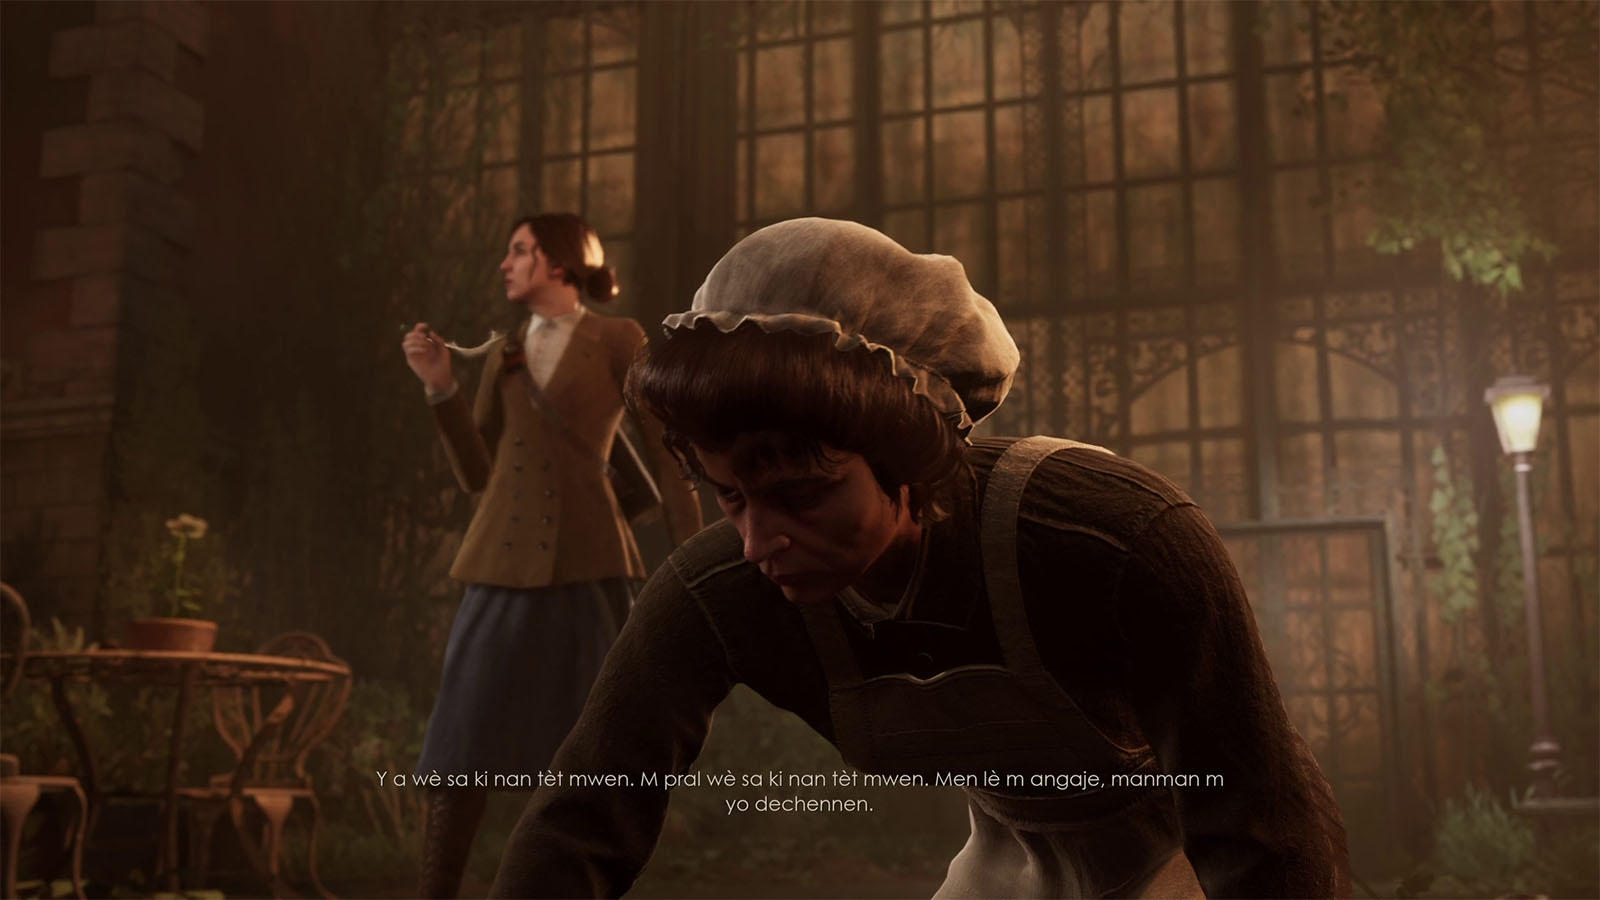
Make your way back to the kitchen garden to start a cutscene with Mags doing a ritual while burying something.
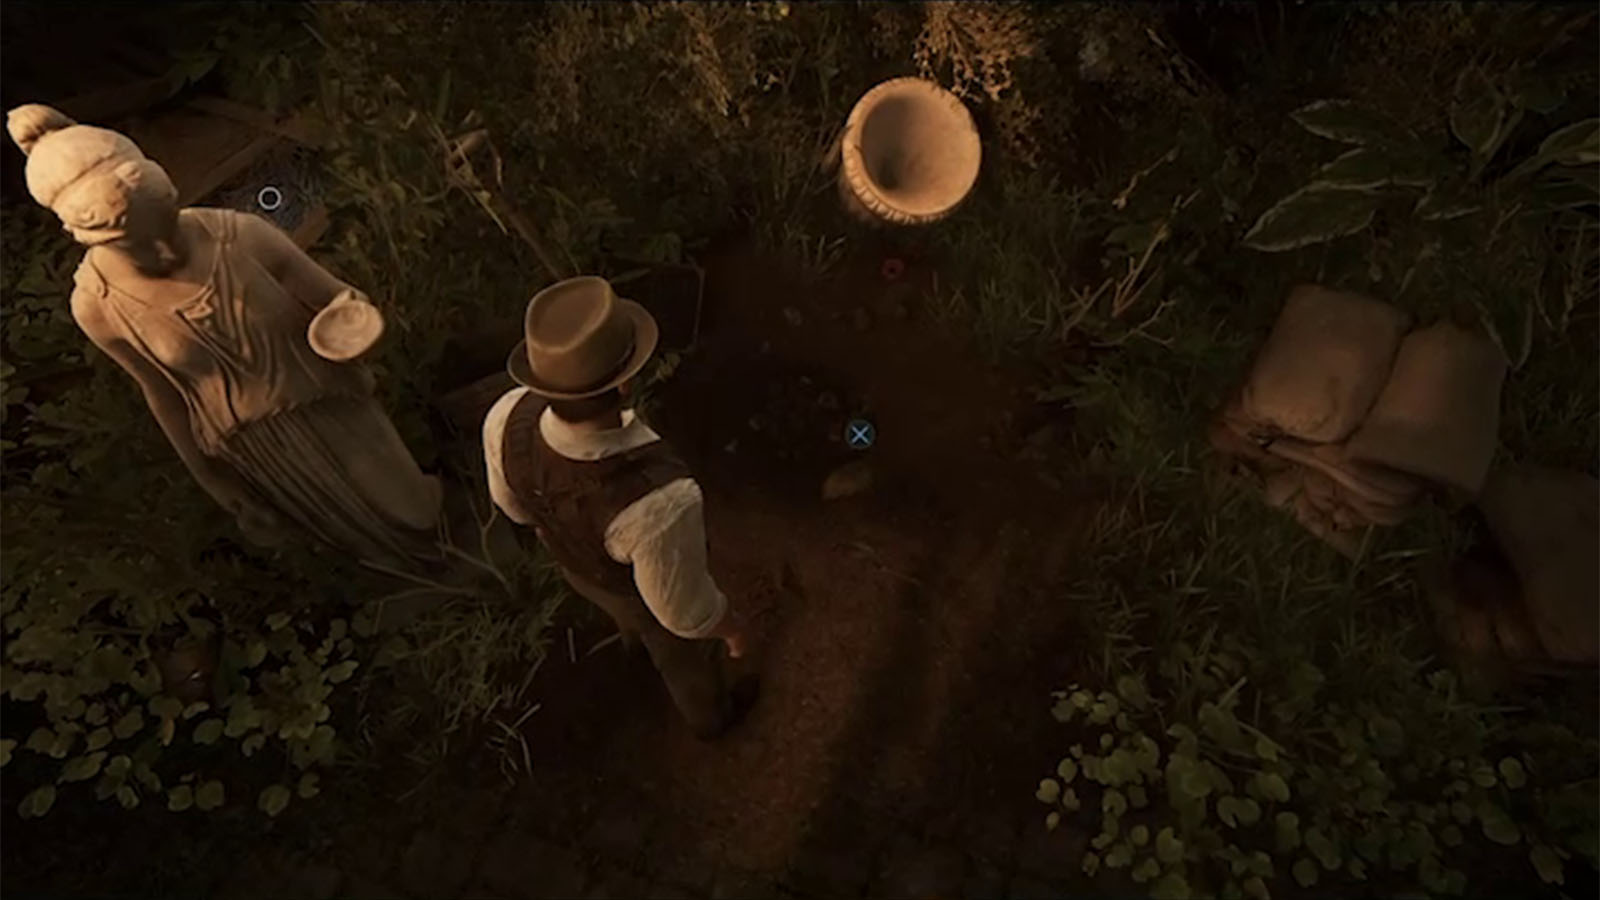
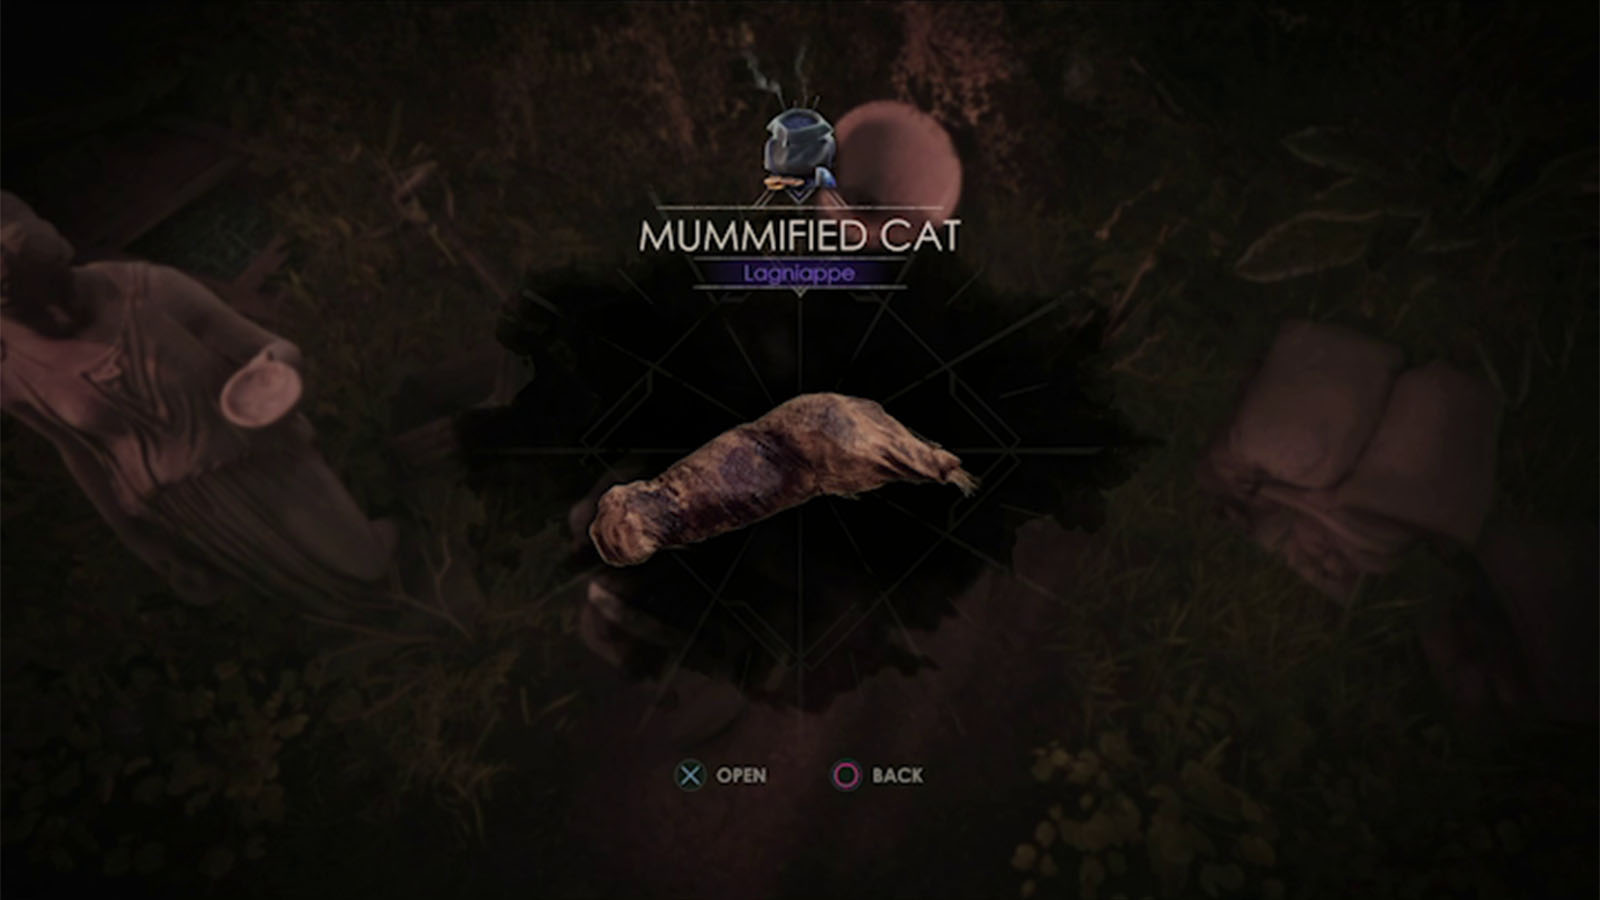
After the talk, you can then check the thing she buried to get the Lagniappe – Mummified Cat. Also check the well behind the nearby statue.
The well has a bucket in it, but is way in too deep.
Find a way to reach the piece of Broken Plate inside the well
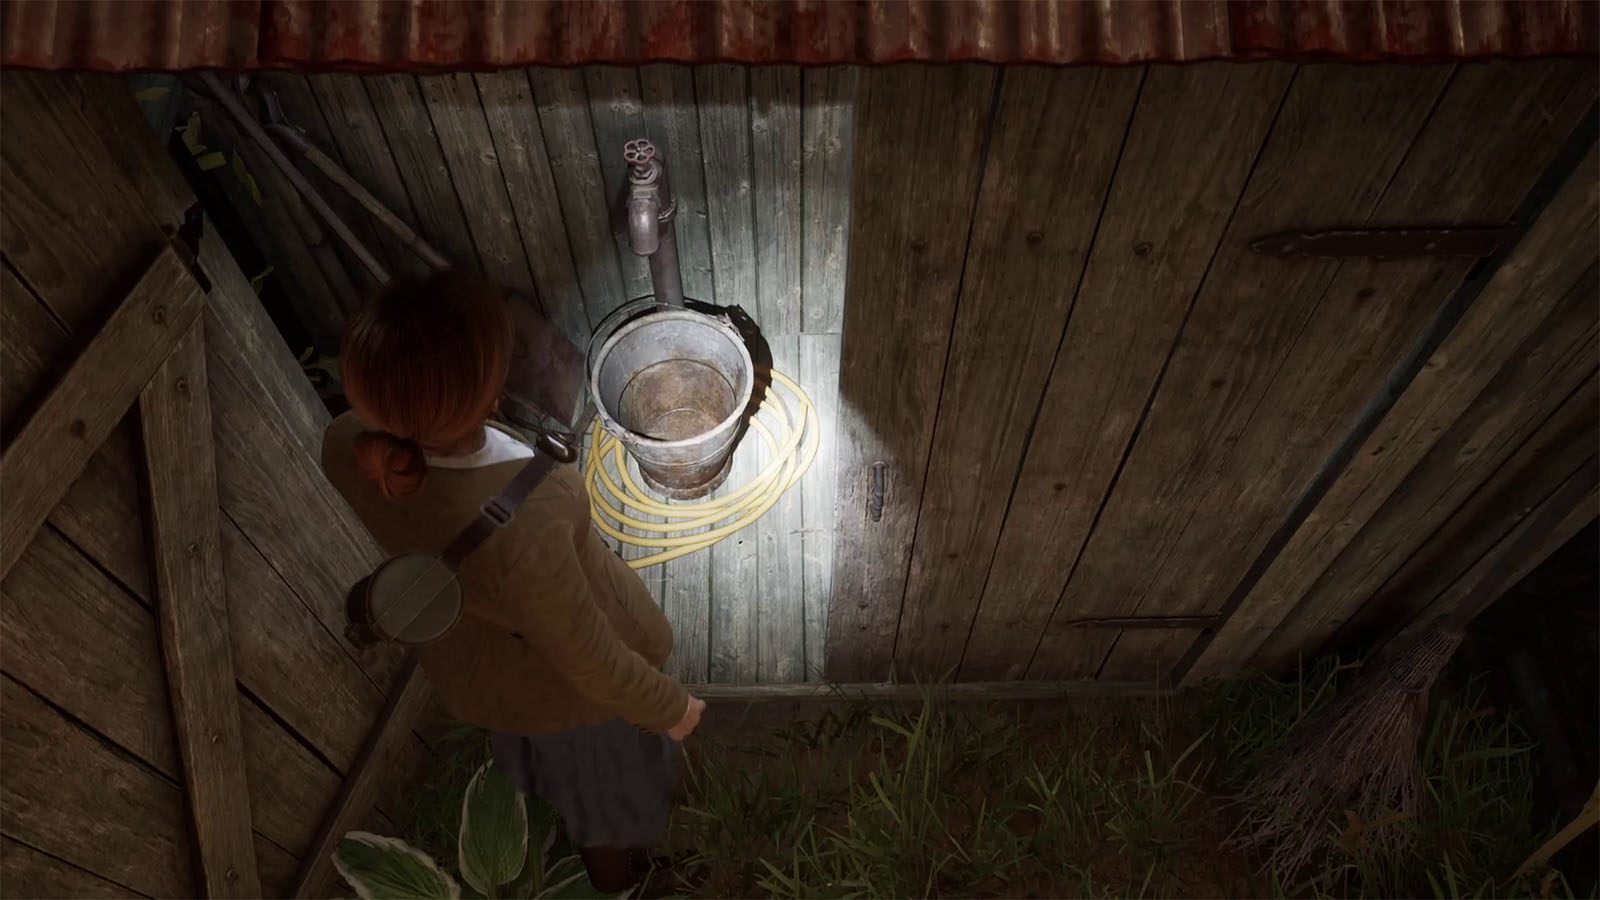
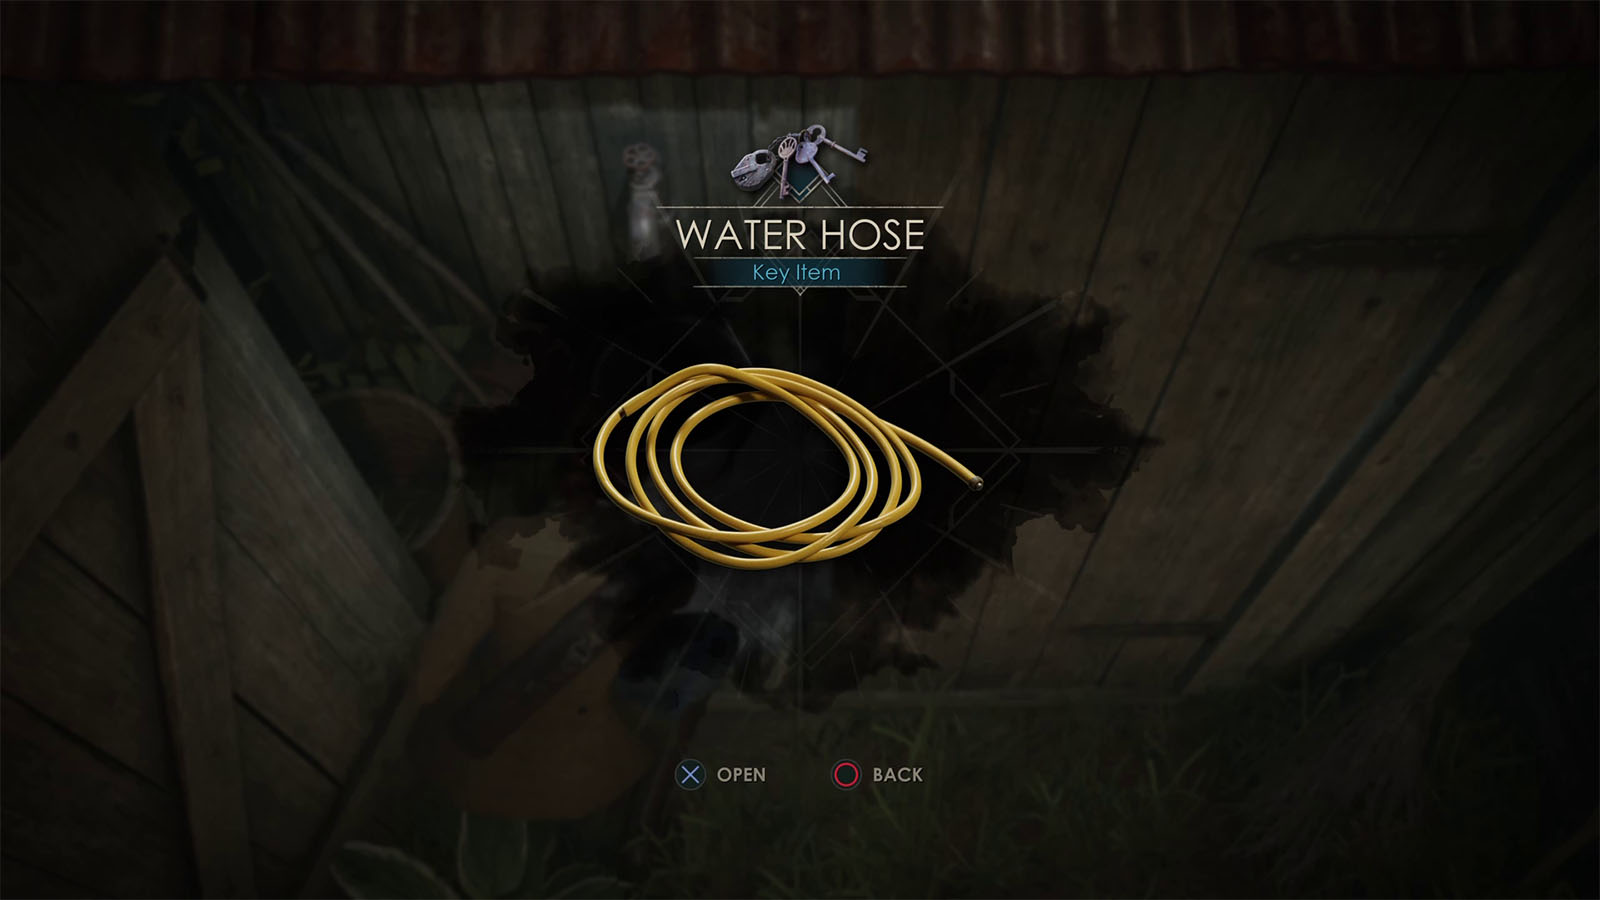
To get the bucket, head on to the shed and use the bolt cutter to open the door. Inside the shed is where you can get the Water Hose. While you’re at the shed, make sure to make the ladder lean on to the piazza wall to gain another shortcut.
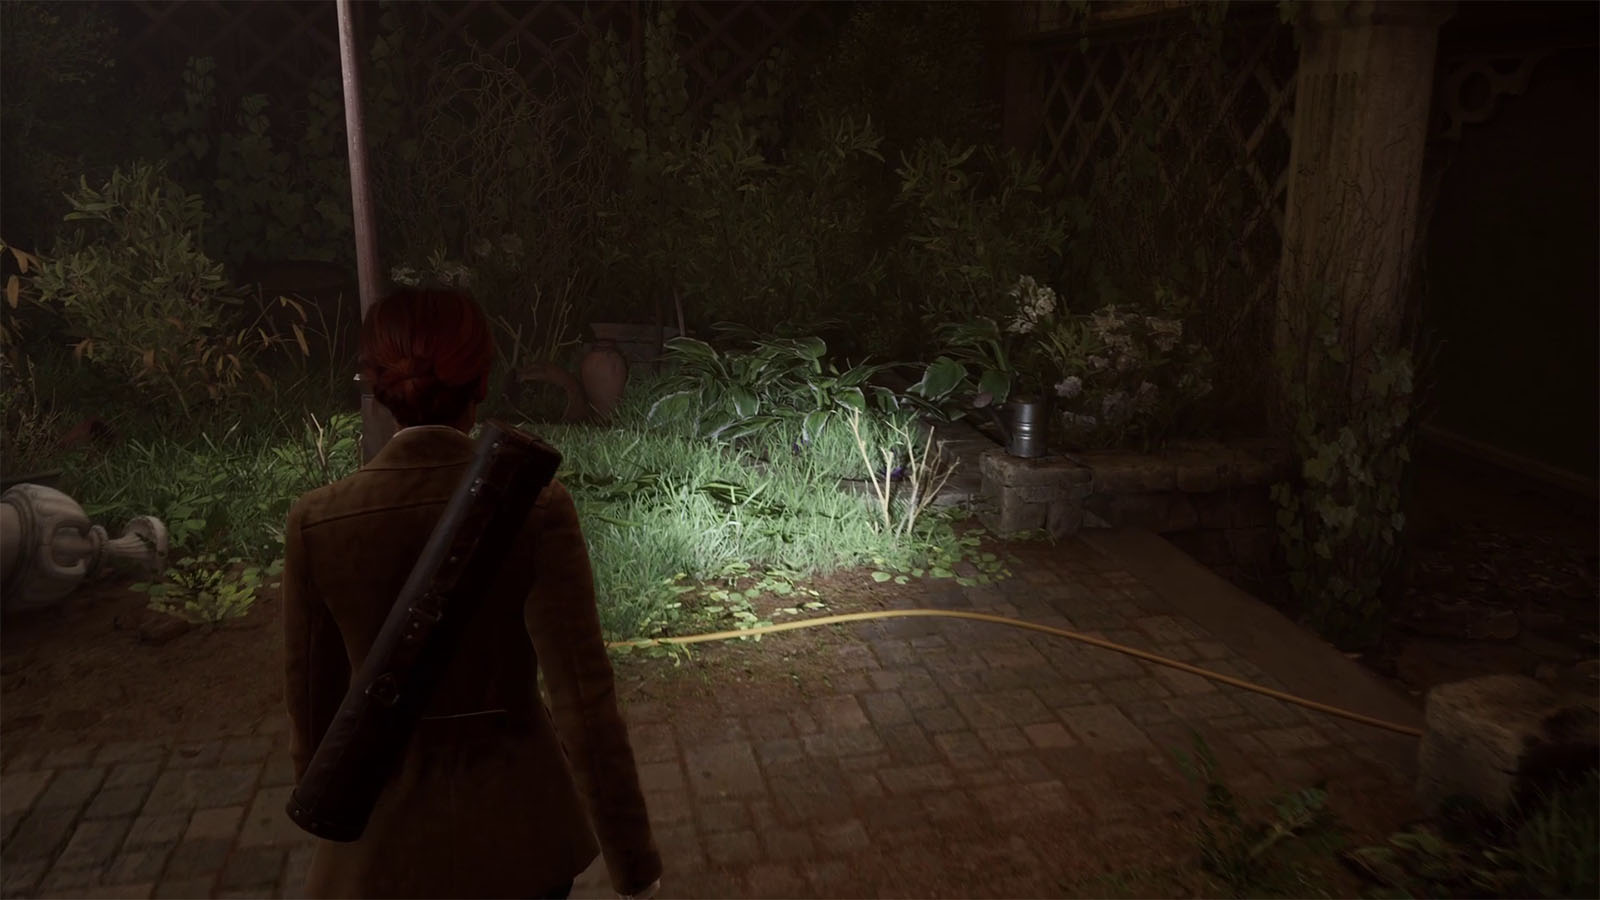

Next, follow the yellow hose nearby towards the left side where it is connected to the faucet. Turn the faucet on to make the water flow.
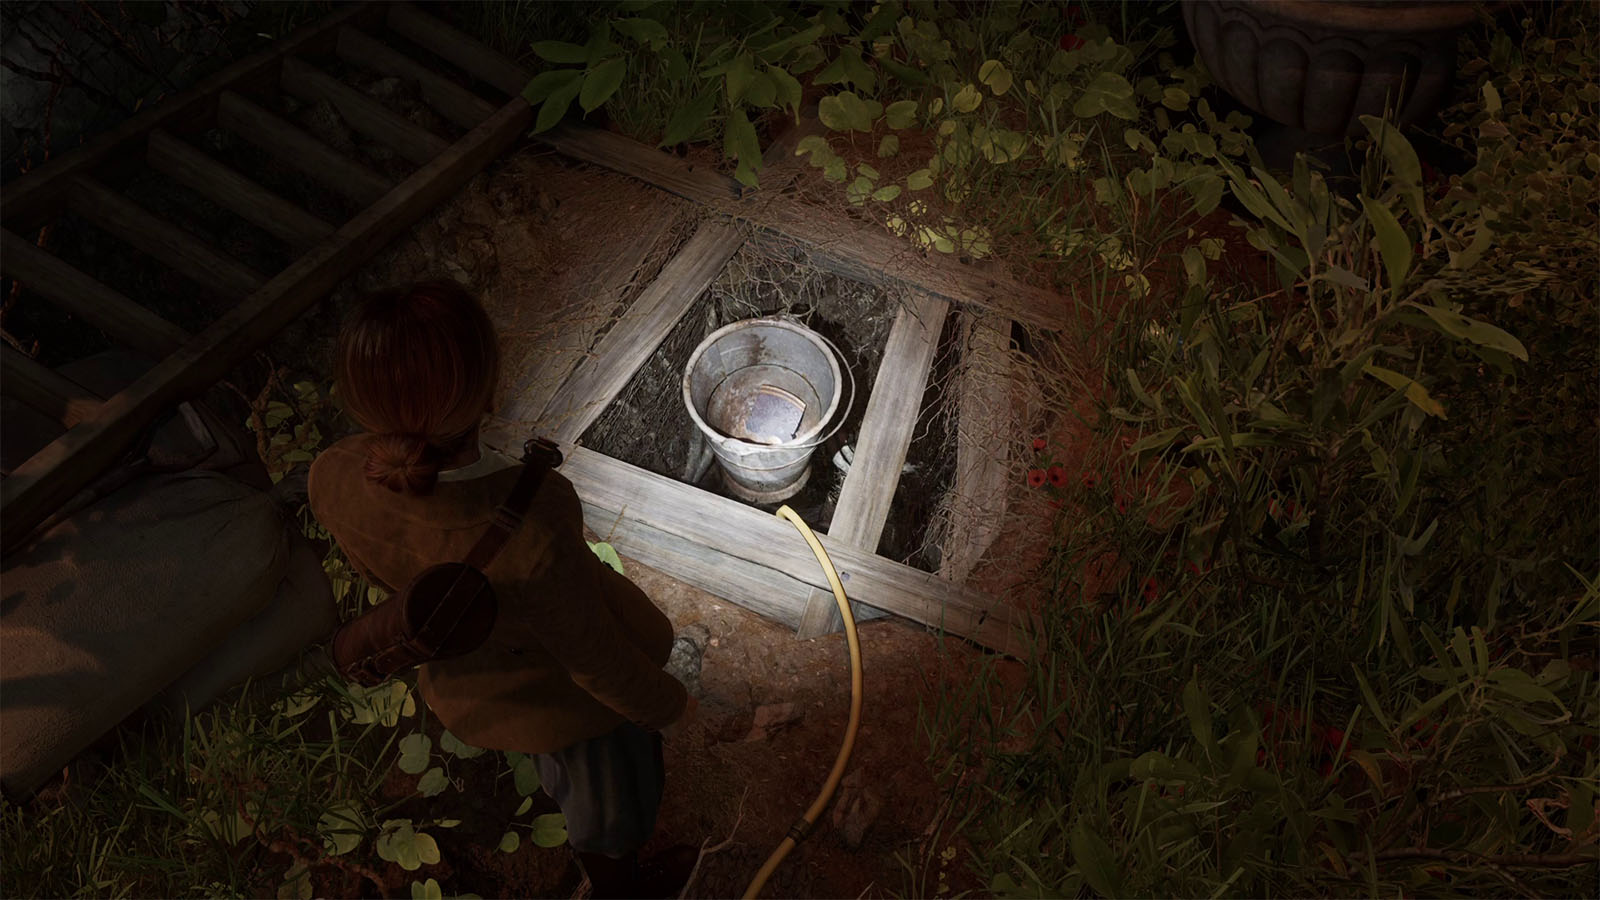
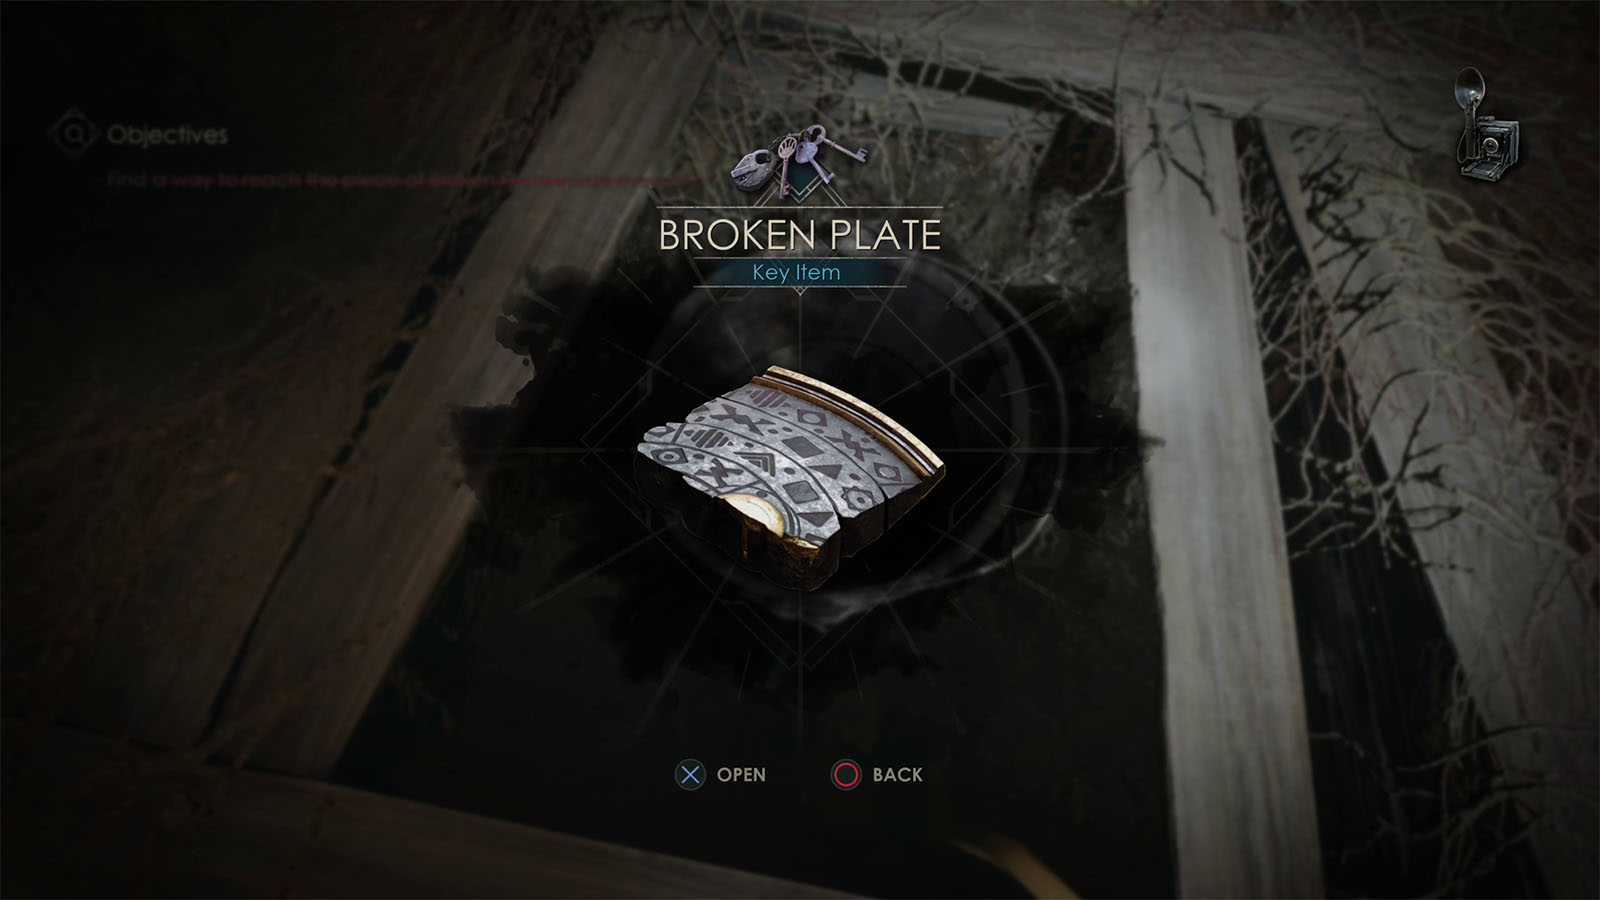
Finally, head back to the well and attach the water hose to the end of the other water hose and the well will fill up with water. Once the bucket is near the surface, you can then grab another Broken Plate – Astronomical Clock #2 inside it.
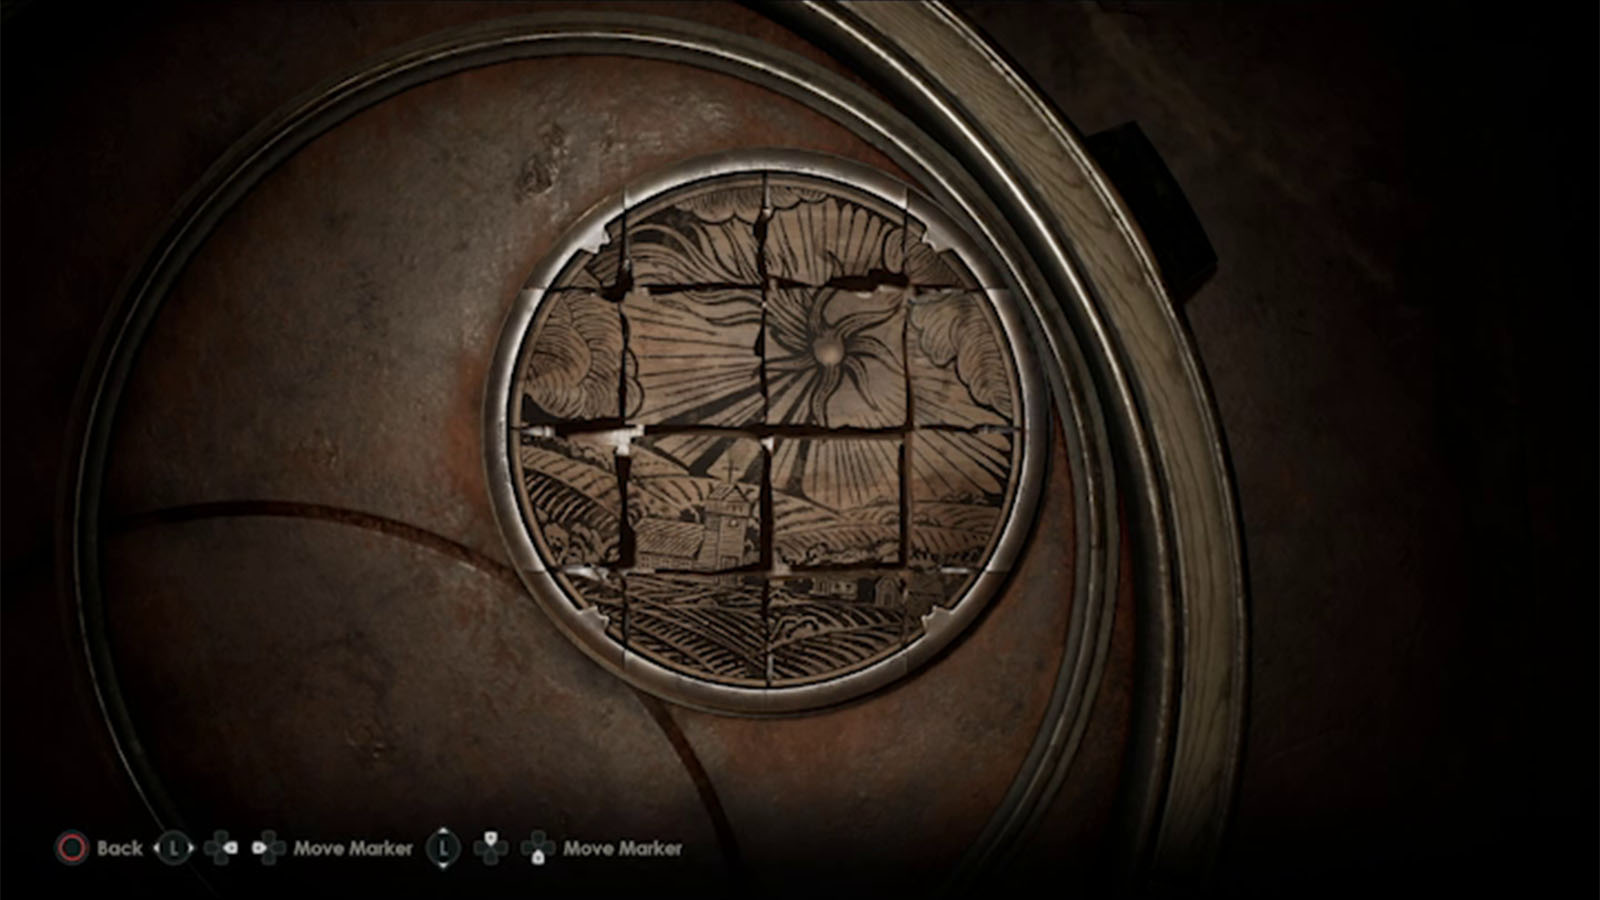
Repair the decorative plate on the Astronomical Clock
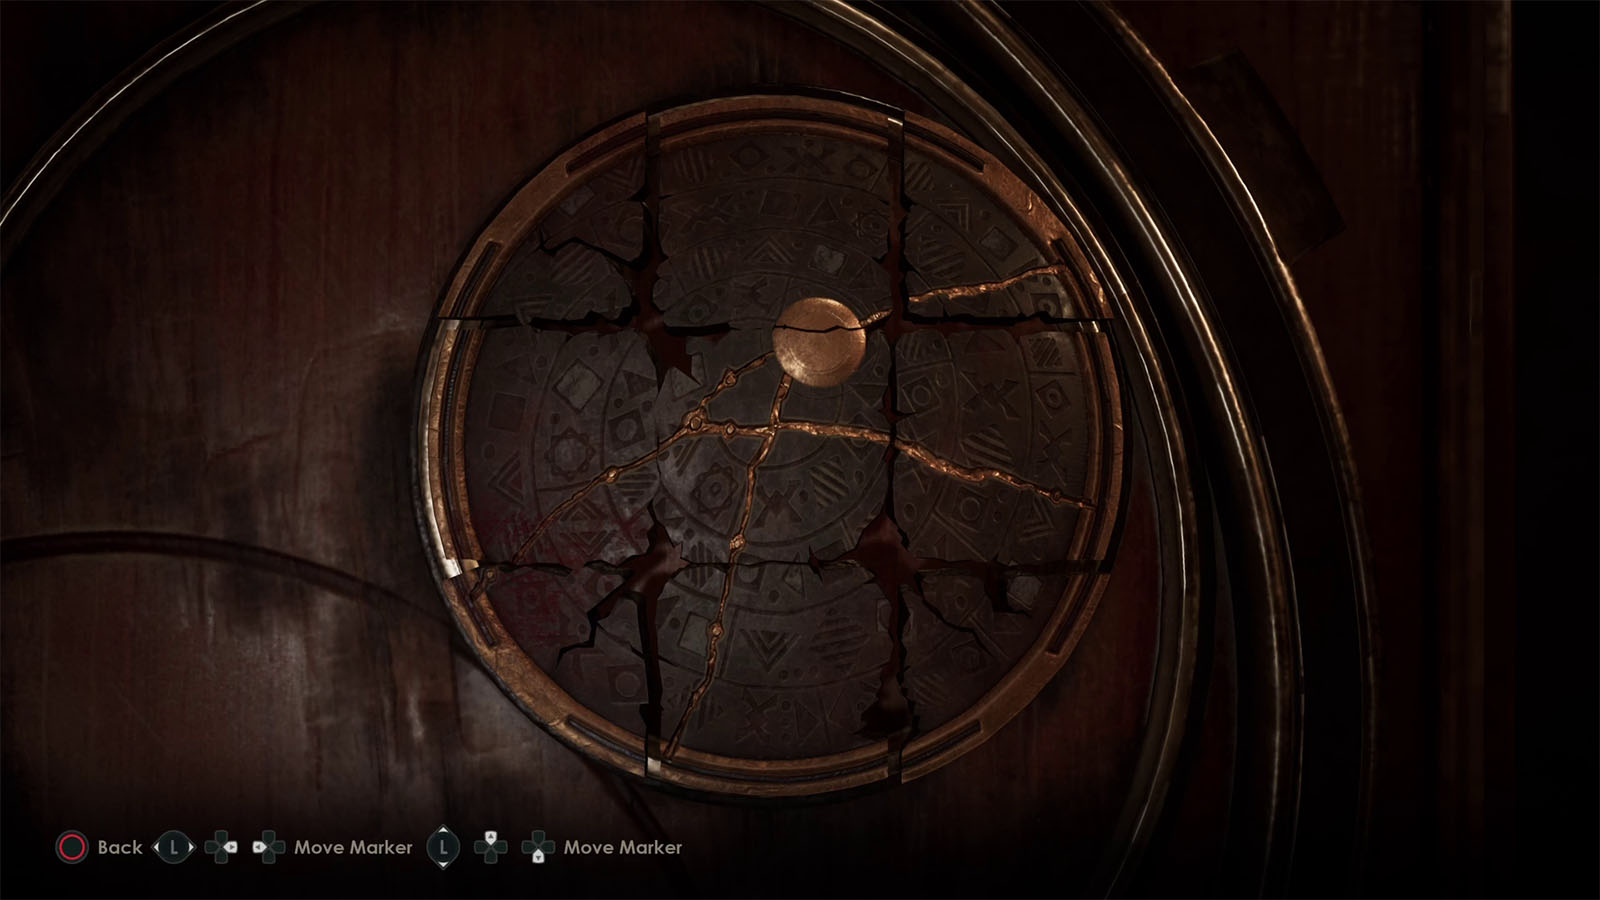
With the two Broken Plates on hand, head back to the Astronomical Clock and place them on the plate. You can then refer to the Commonplace Book to see what the right placement of the plates should be. After fixing the plate, you will unlock the On the Mend Achievement.
Find the Talisman numbers hidden on the Astronomical Clock
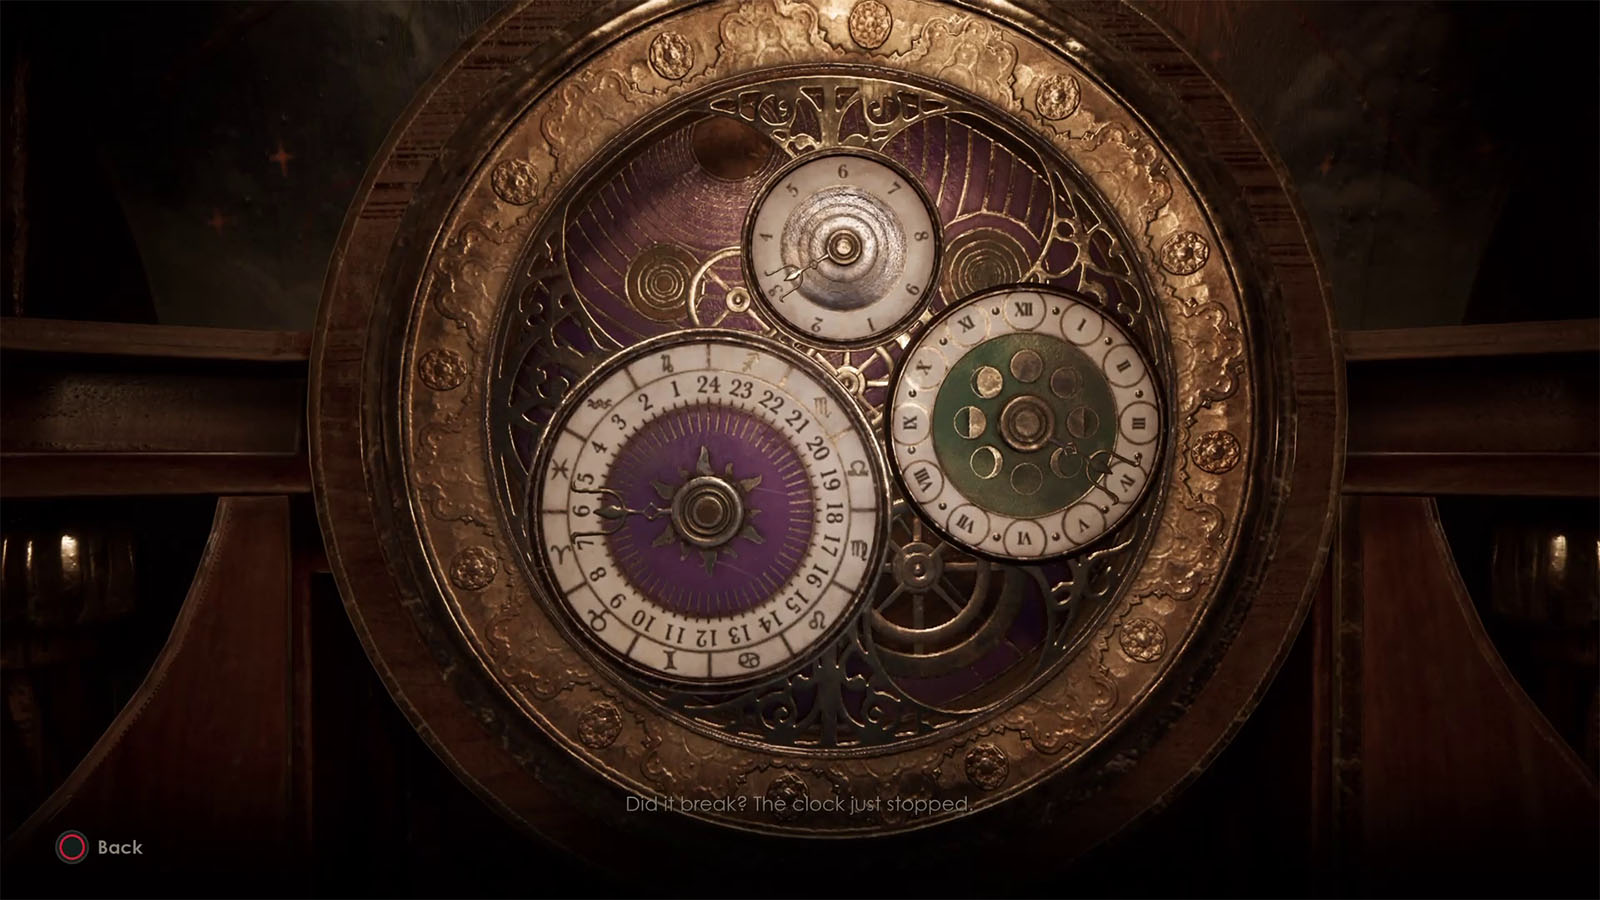
Once the plate has been repaired, look at the clock on top and take note of the numbers that the hands are pointing to: 3-4-6.
Next, look at the plate again and you will be able to put the talisman on it. Input 6-4-3 on the dials, from top to bottom, matching the size of the dials with the size of the clock faces where the numbers were shown.
Go to the room revealed by the Talisman
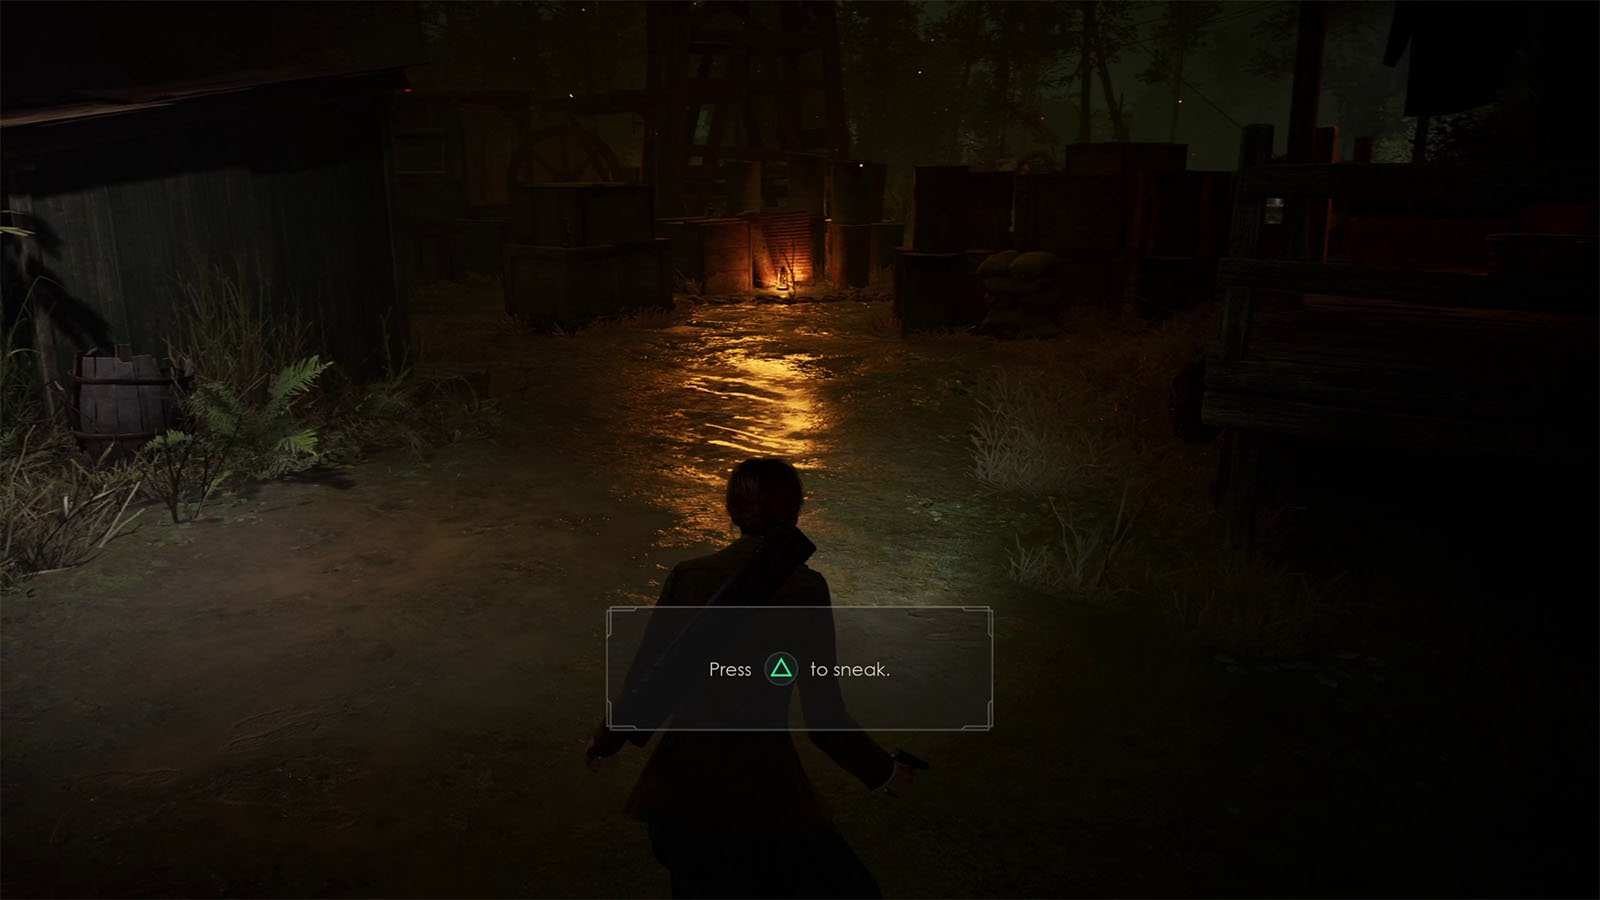
Head towards the same hallway where Jeremy’s room is at, and as you go to the other end, the lights will turn off and you will be transported into another parallel world.
Go inside the door that opens up to find Batiste’s room in ruins, showing an oil pump in the distance.
Look for Jeremy inside the Hateful Mound beyond the oil rig
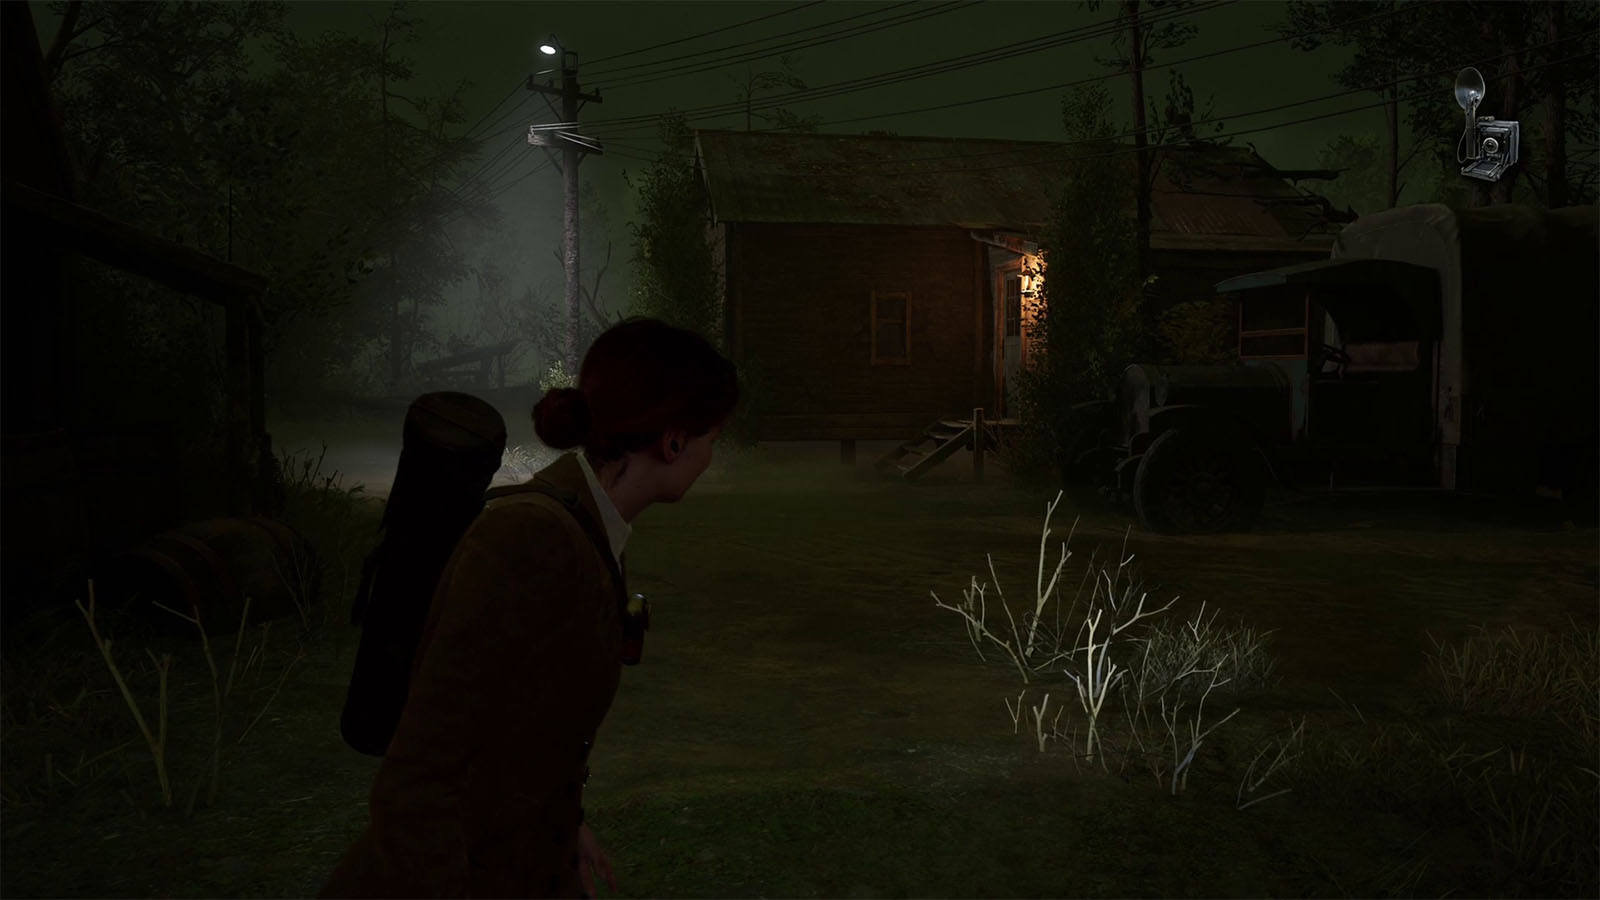
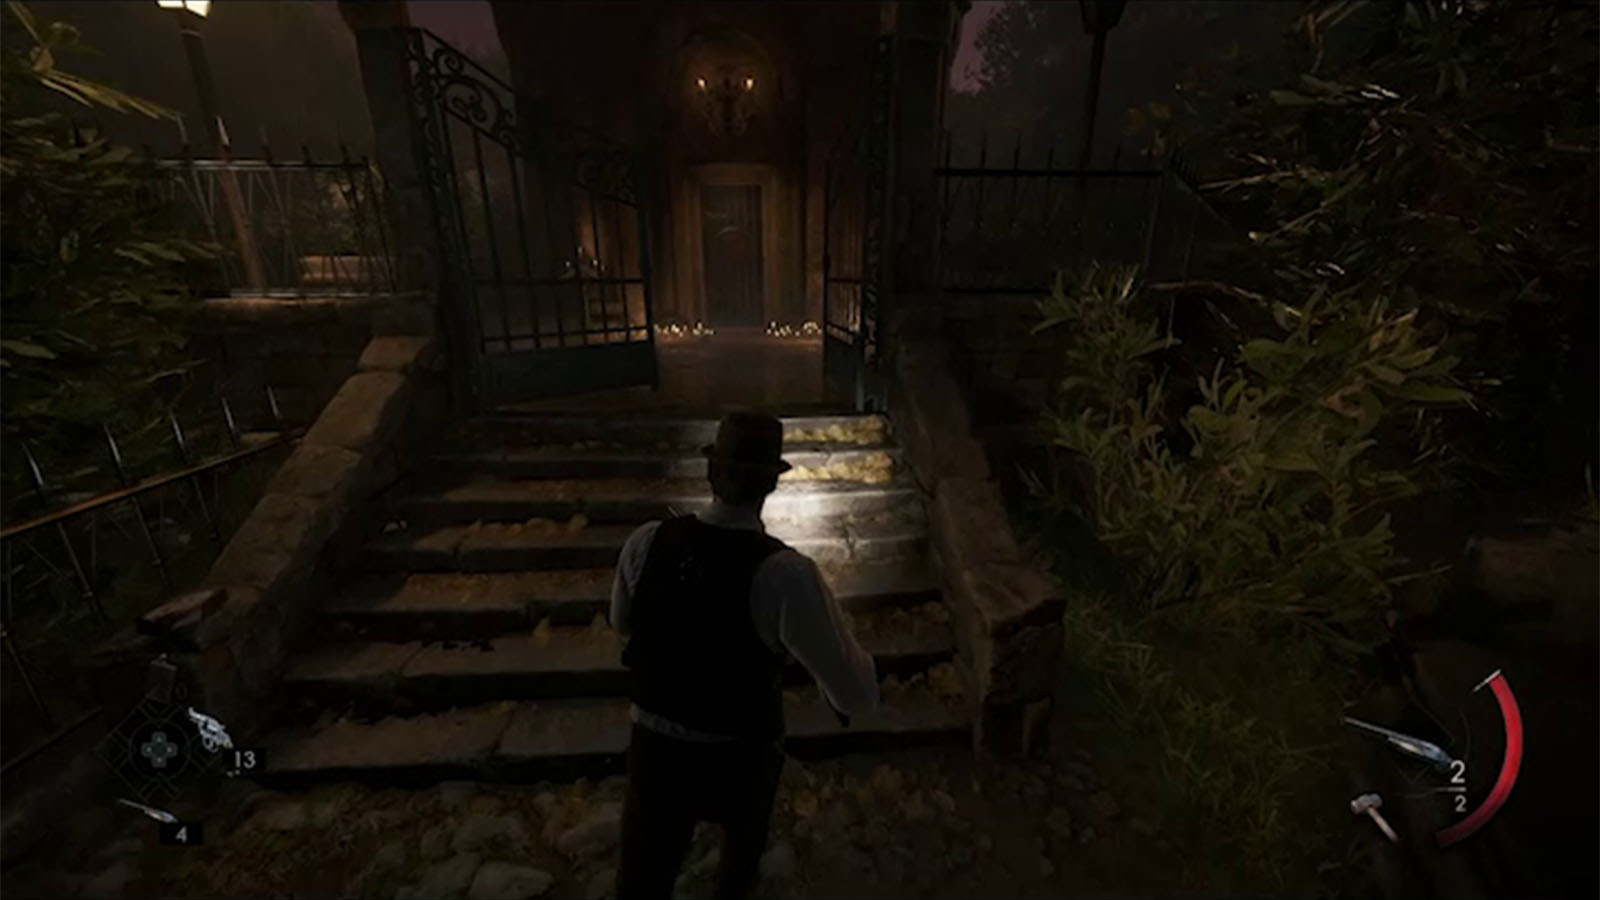
Head to the path to the right and enter the house with the lit door up ahead.
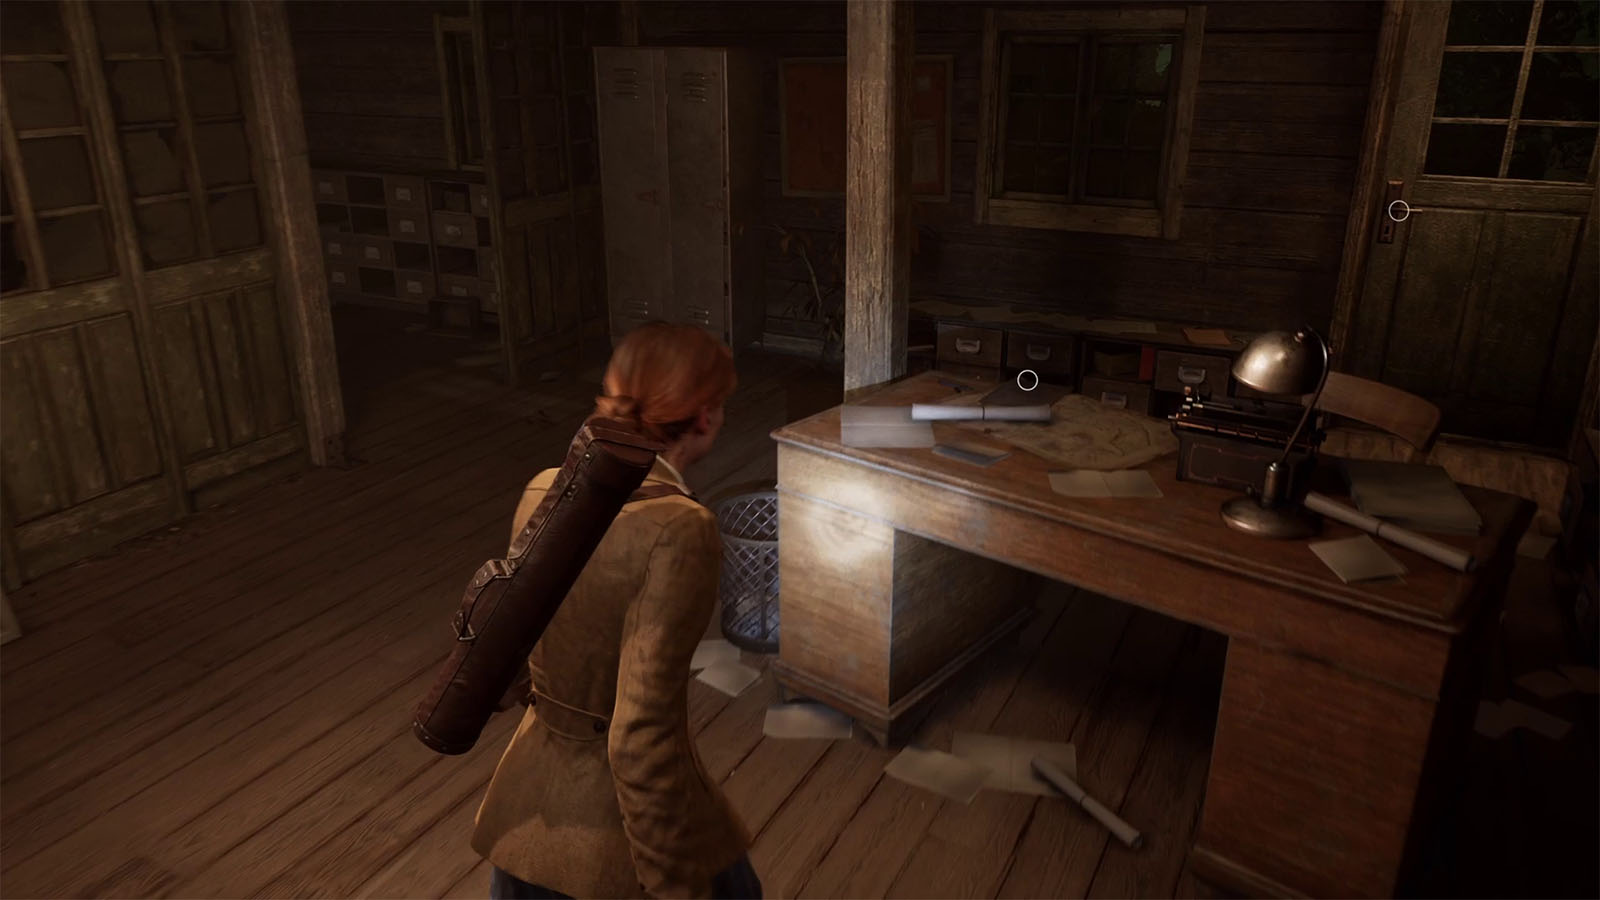
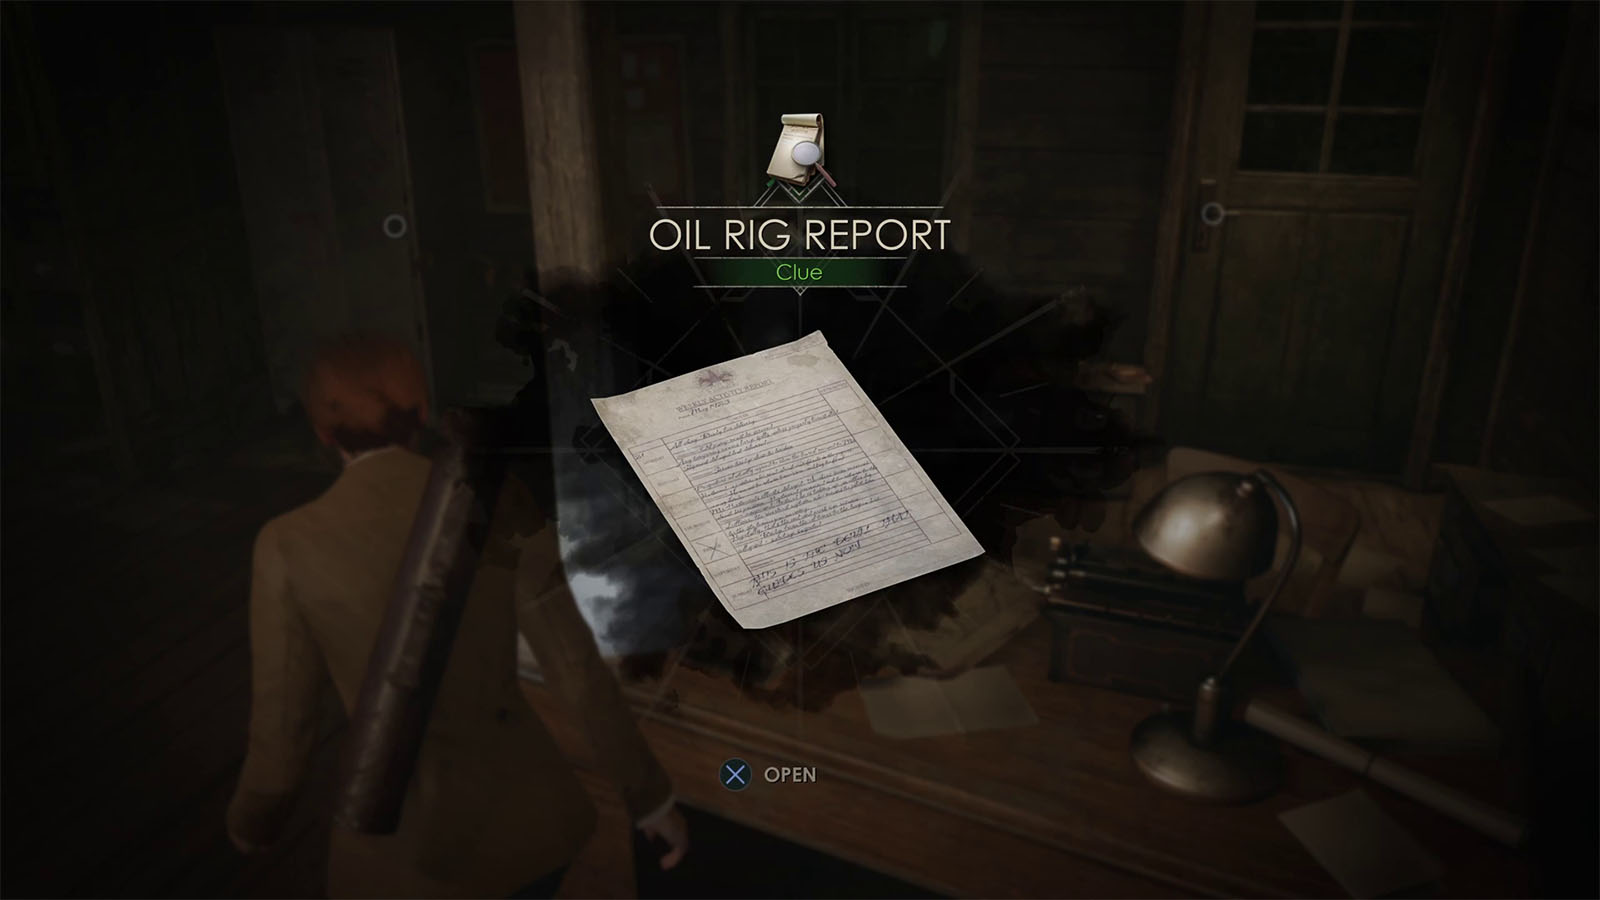
Inside the house is where you will find the Clue – Oil Rig Report on the desk. You can also check the shelves in the other room.
Head back out and go to the large warehouse up ahead.
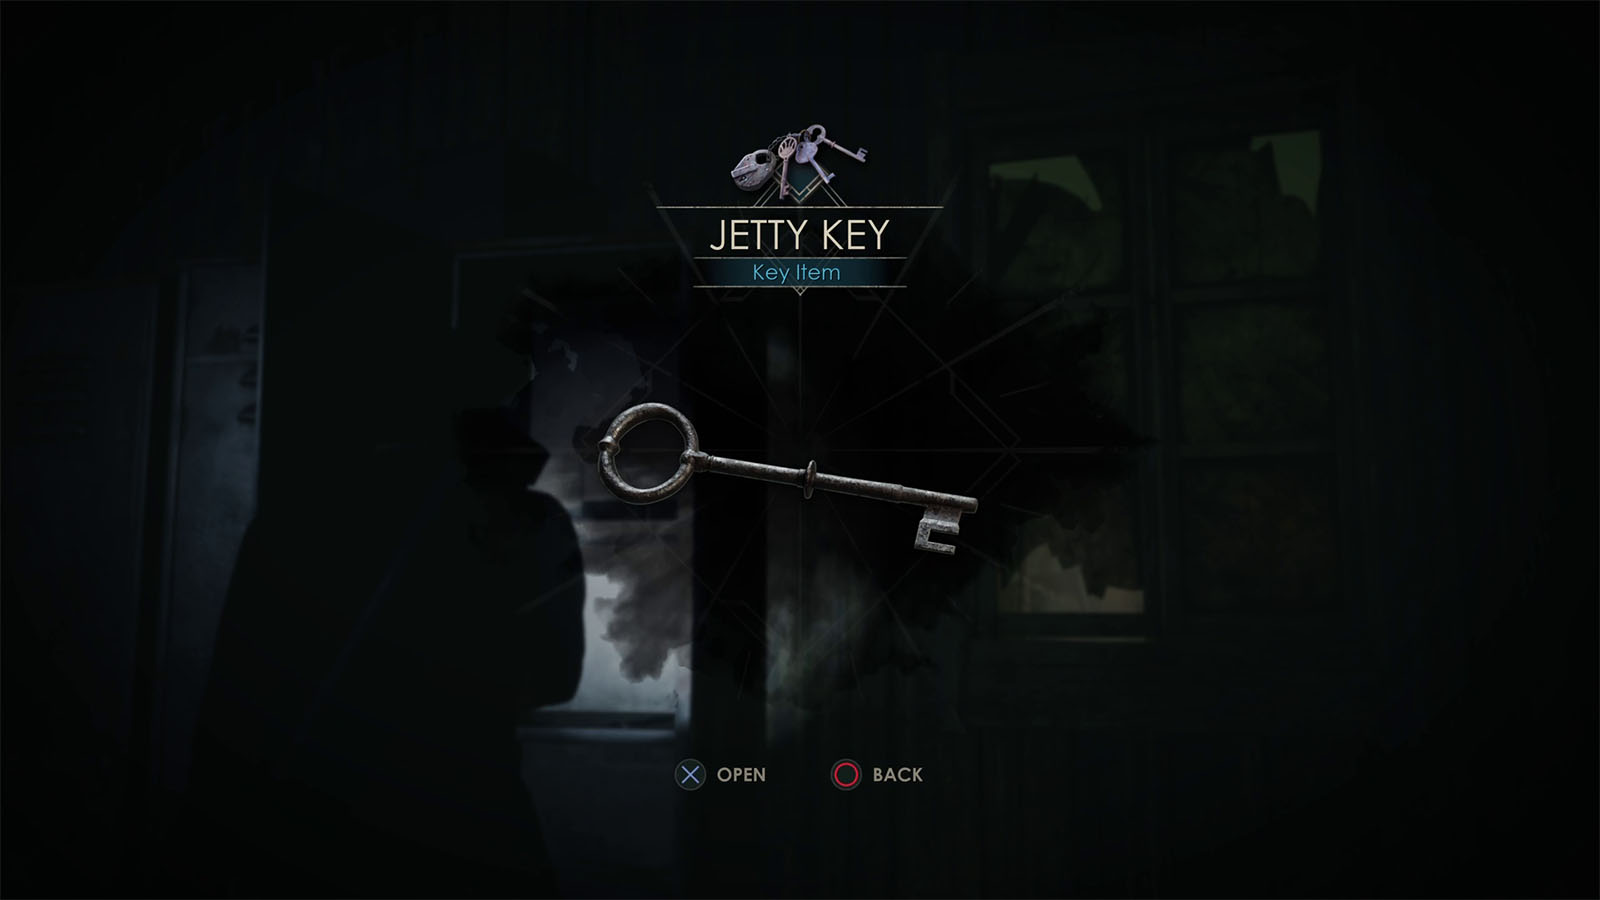
Once inside, check the room on the left side and look inside the locker to find the Jetty Key. You can also unlock the door that leads outside to get a shortcut.

Go back to the previous house and use the key to unlock the door that leads to the back side.
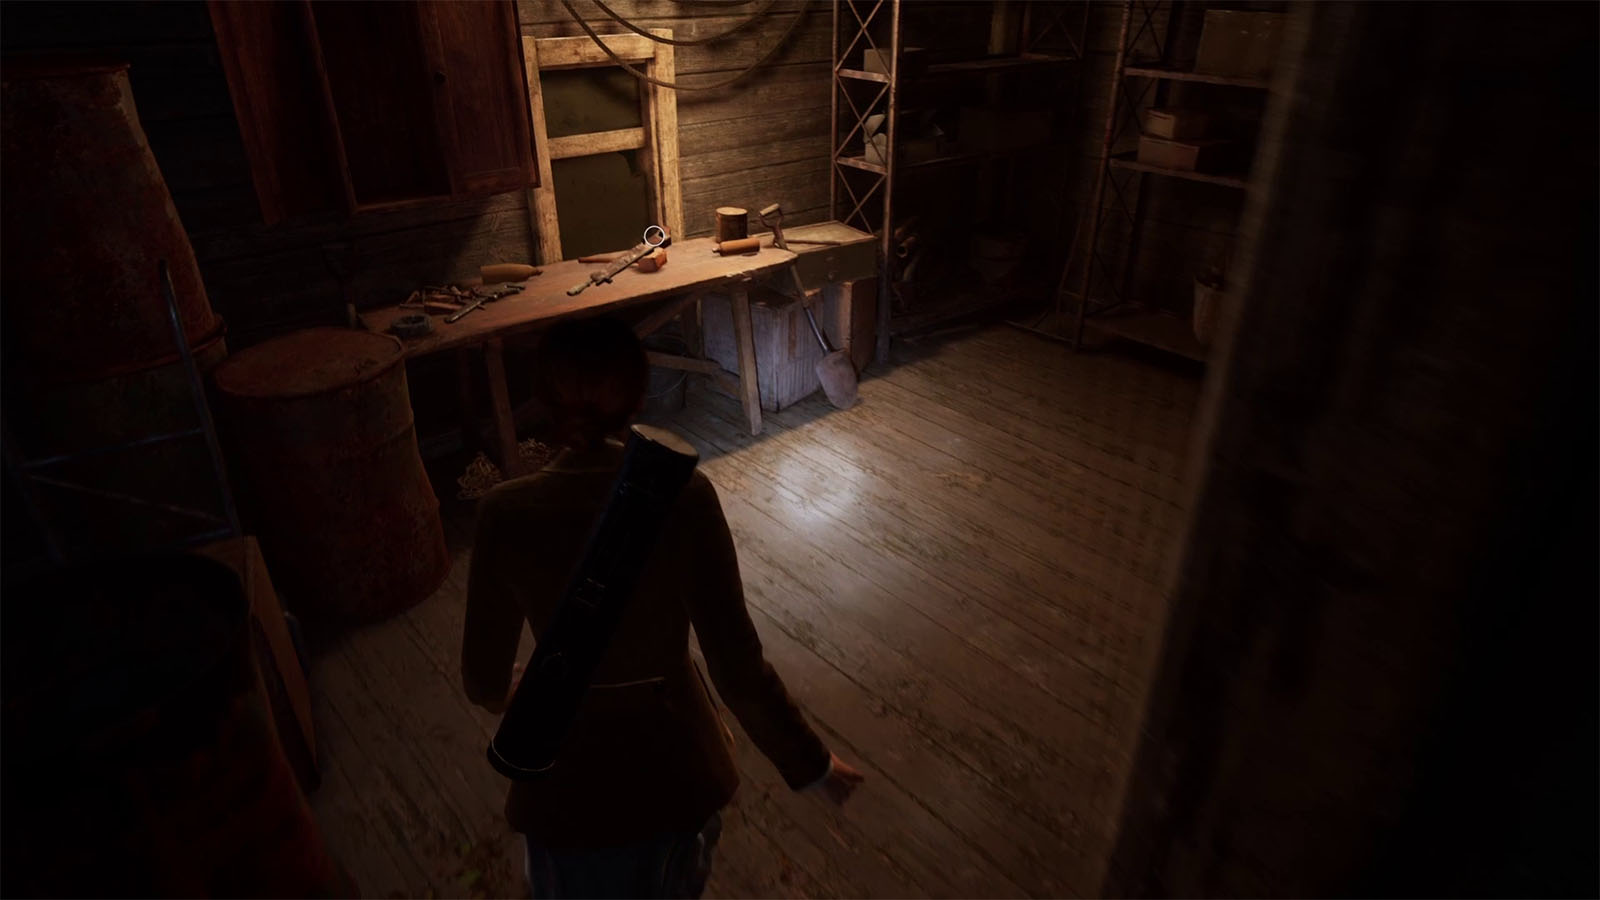
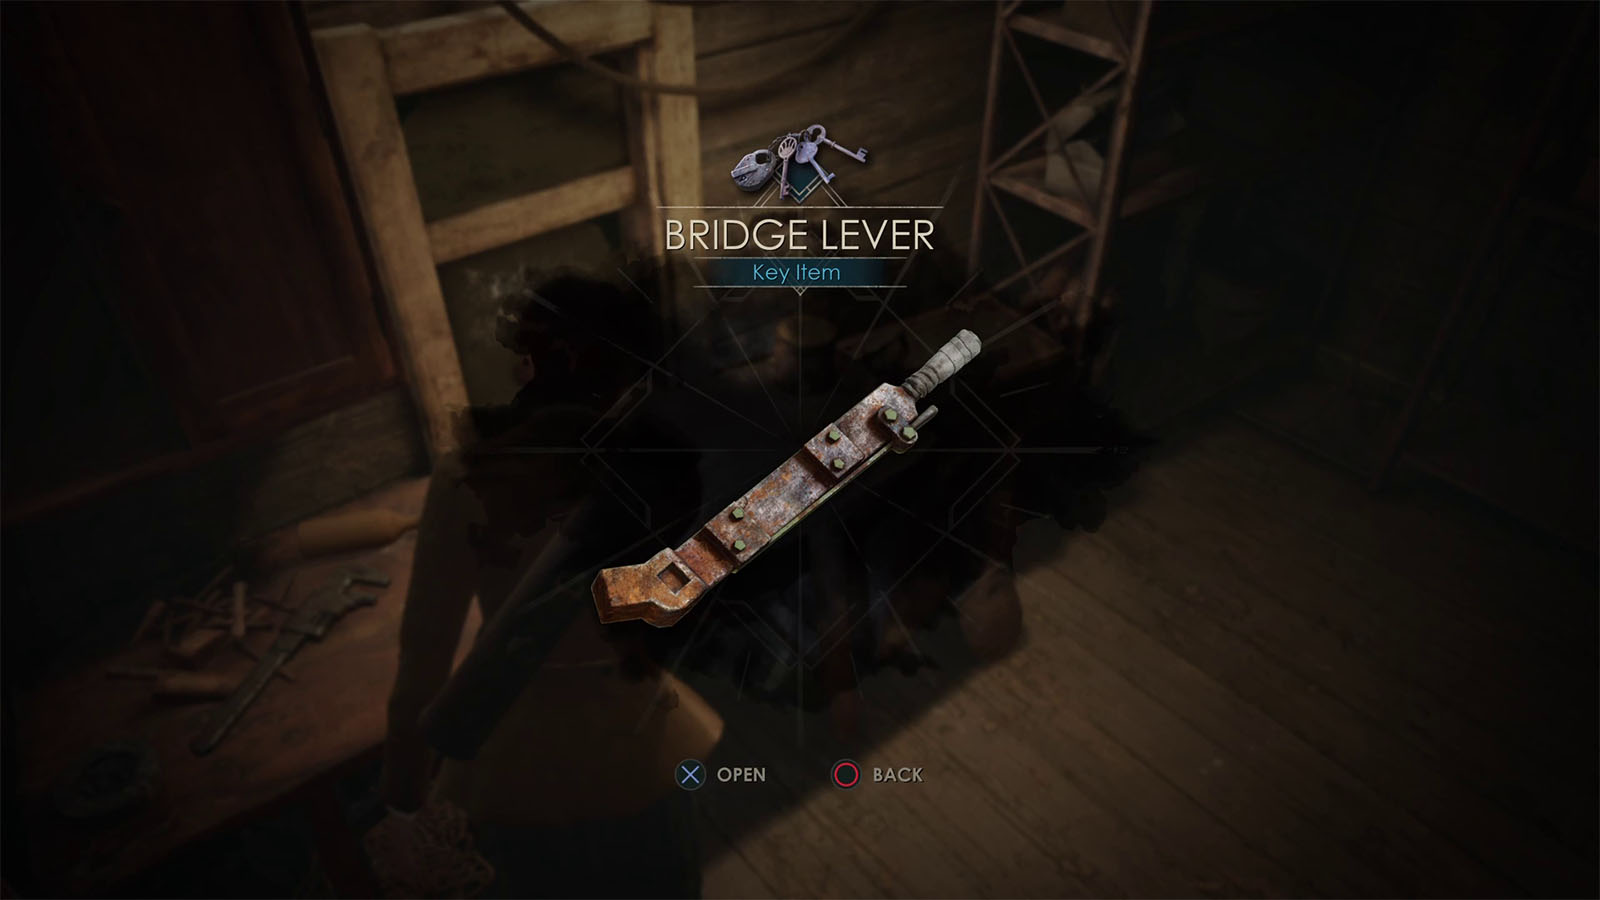
Go inside the shack to find the Bridge Lever on the table. Then head back to the warehouse, but be aware that there will now be a burrowing enemy that will show up from the ground. You can attack it or run through and get off the ground.
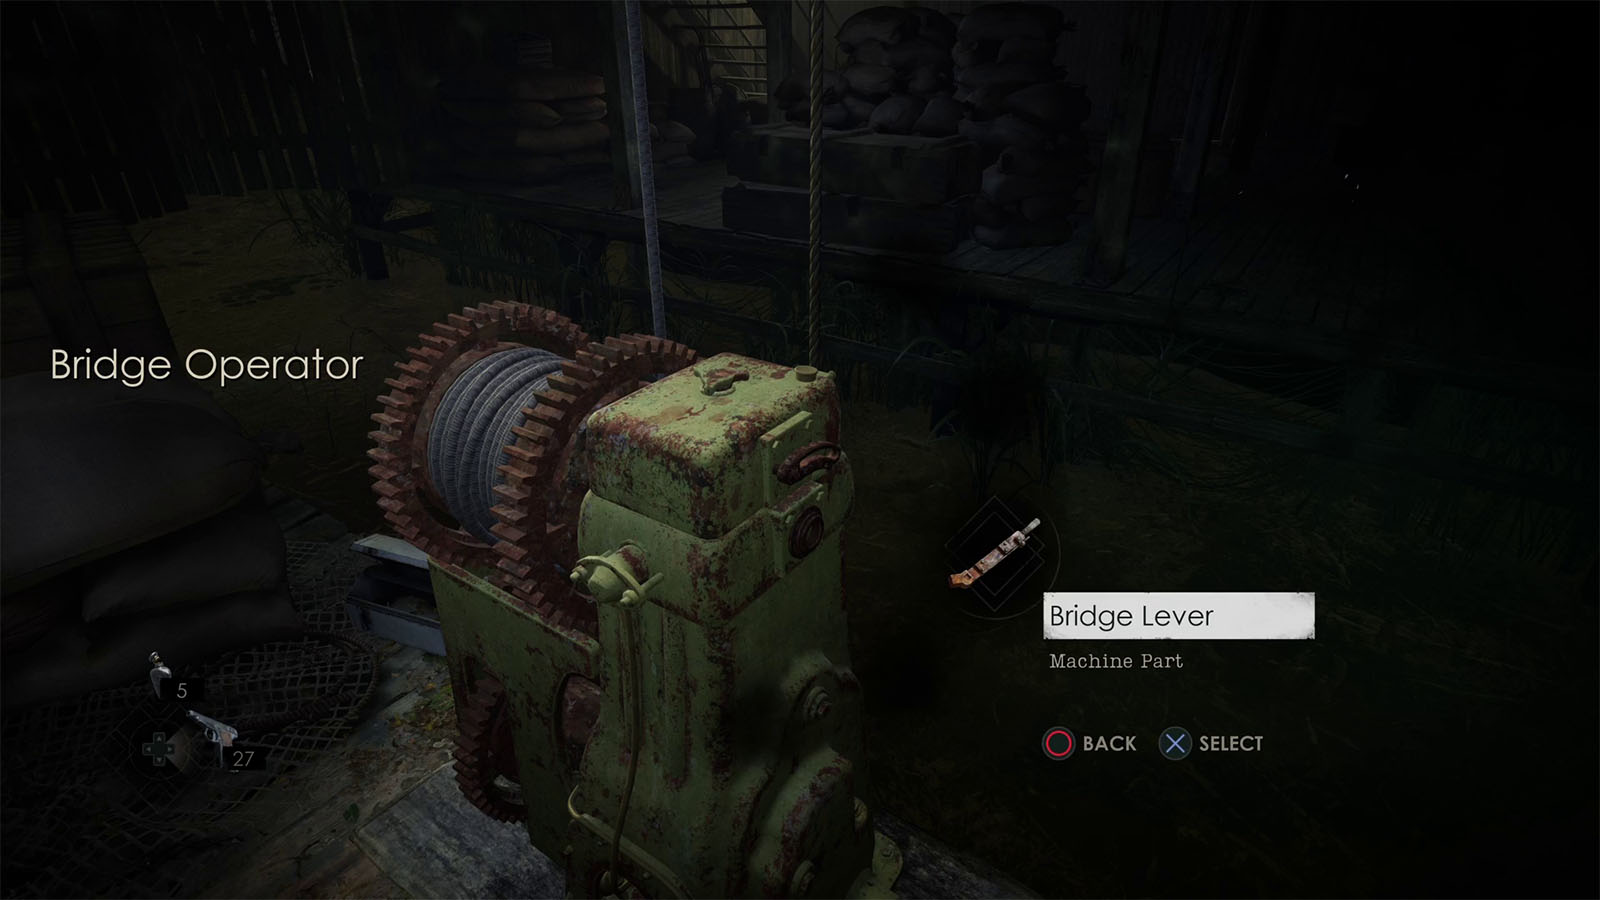
Inside the warehouse, go to the winch and attach the bridge lever to it. You can then lower the bridge to be able to cross to the other side.
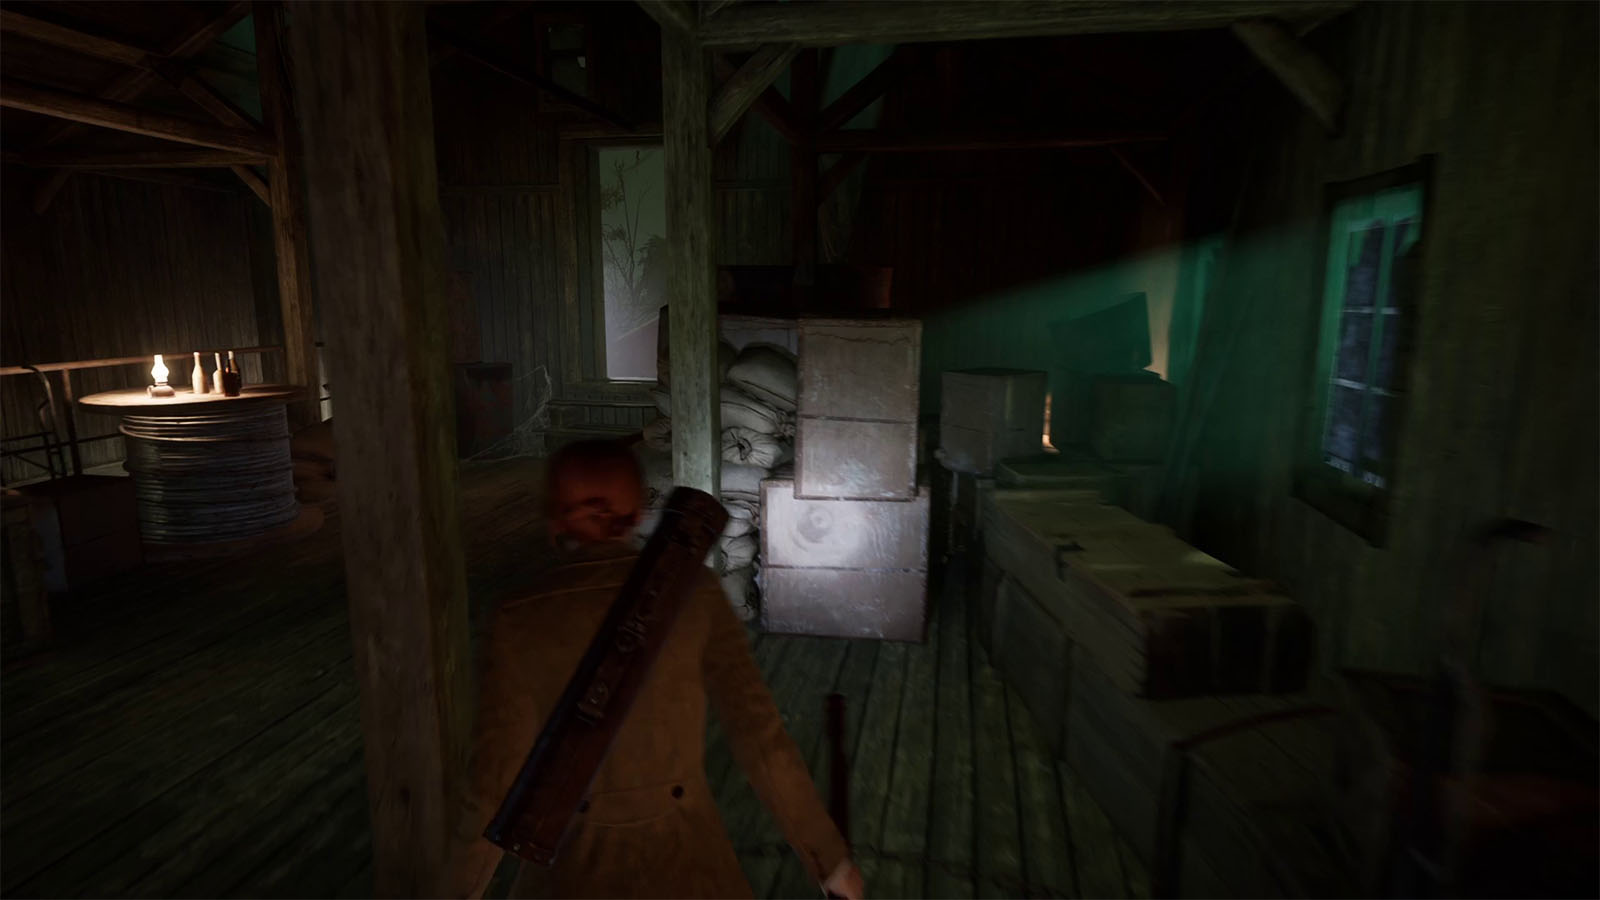
Go up the stairs and move through the obstacles to find a Pipe and some Drinks. From here, head towards the right corner and squeeze through the pile of containers to obtain the Lagniappe – Discarded Palette.
Note: Make sure not to get too close to the window or you’ll trigger a cutscene and miss the Lagniappe until you rerun this part of the chapter.
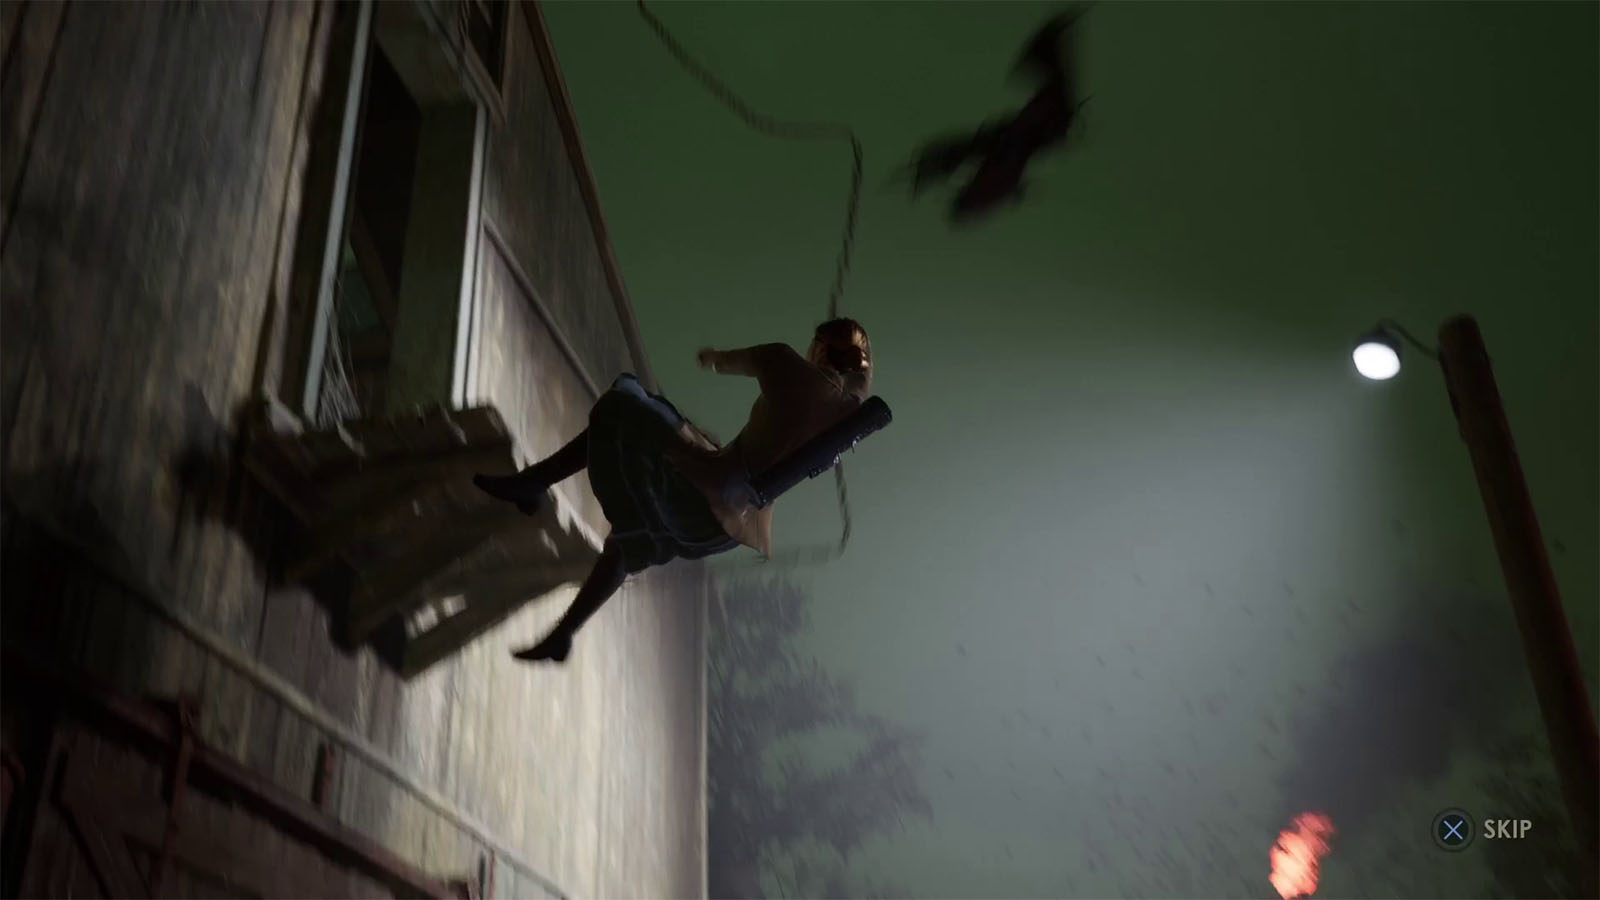
Make your way to the window with the chain where a cutscene will be triggered and you will drop down into the next area.
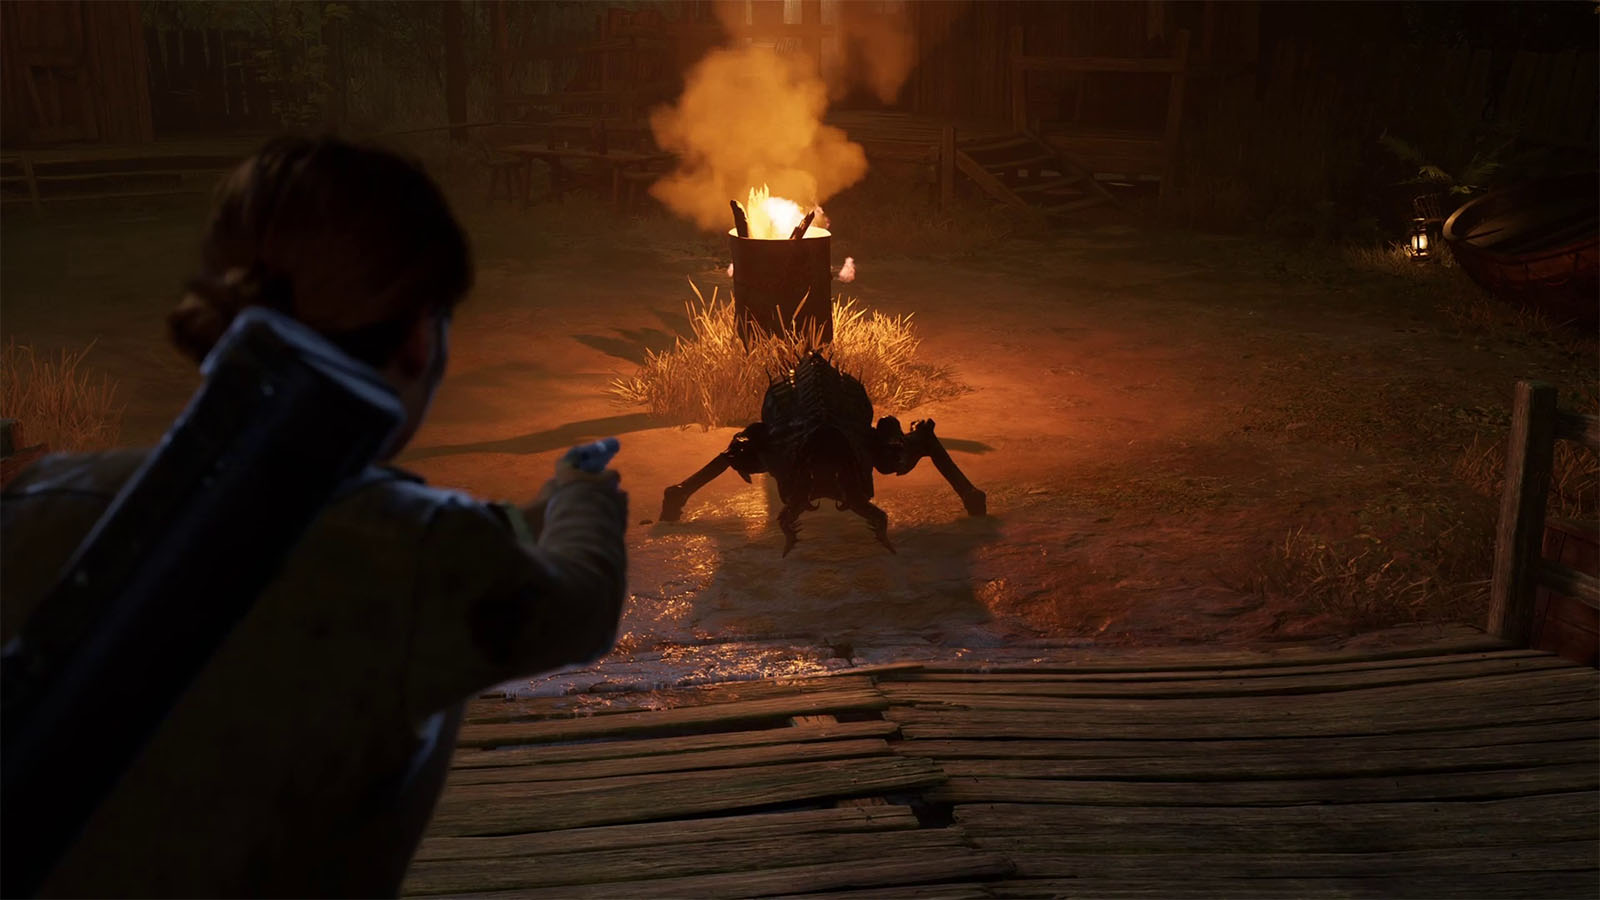
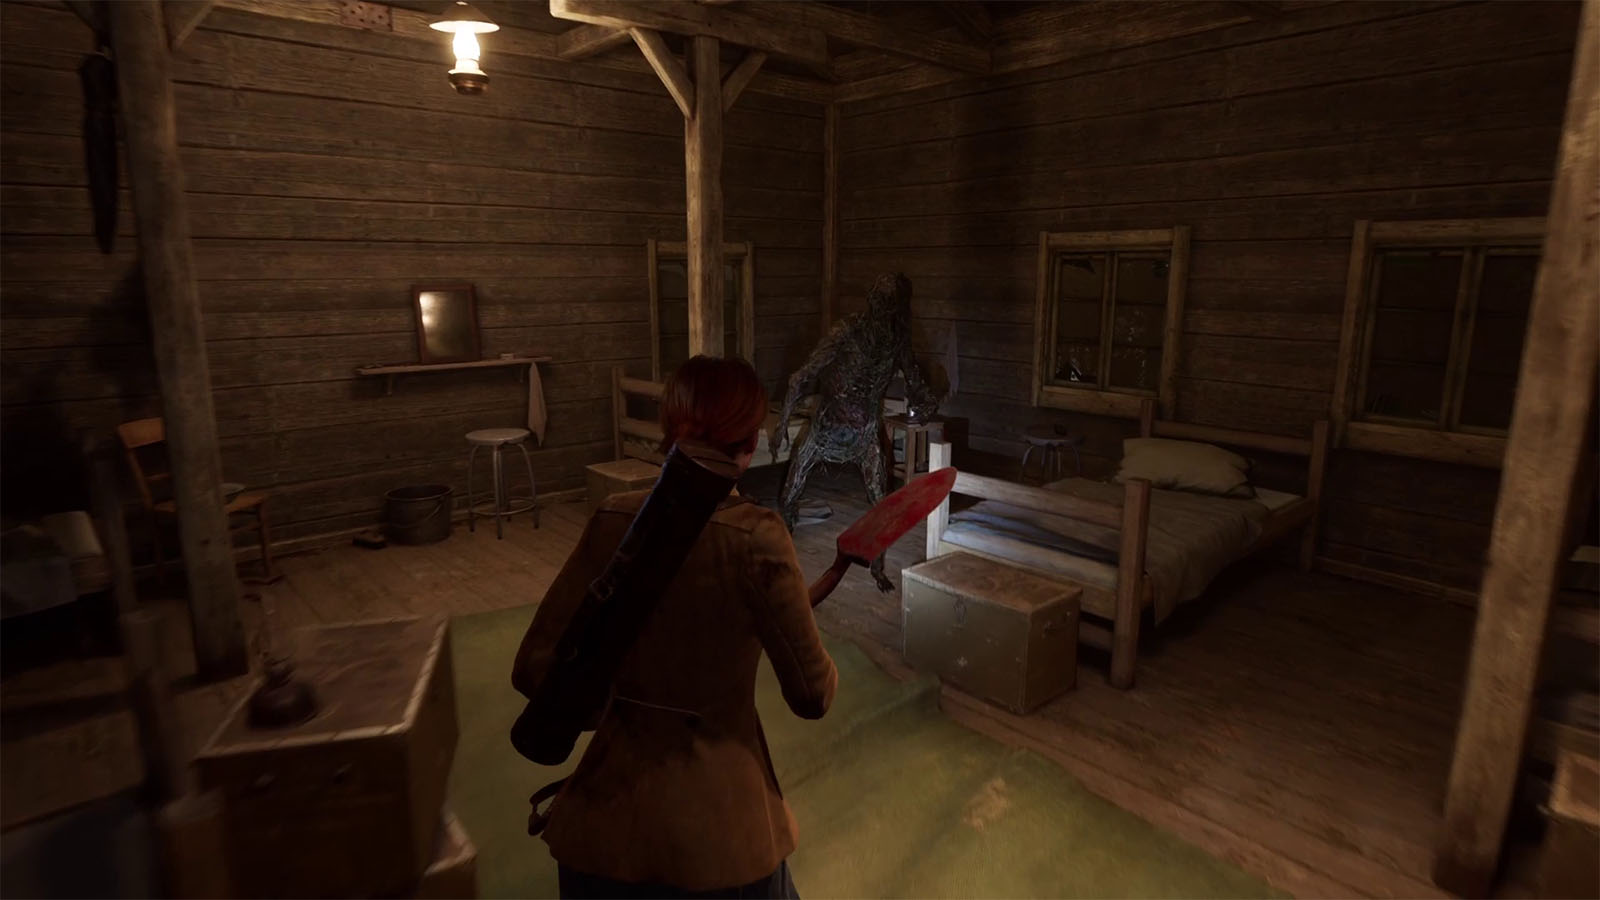
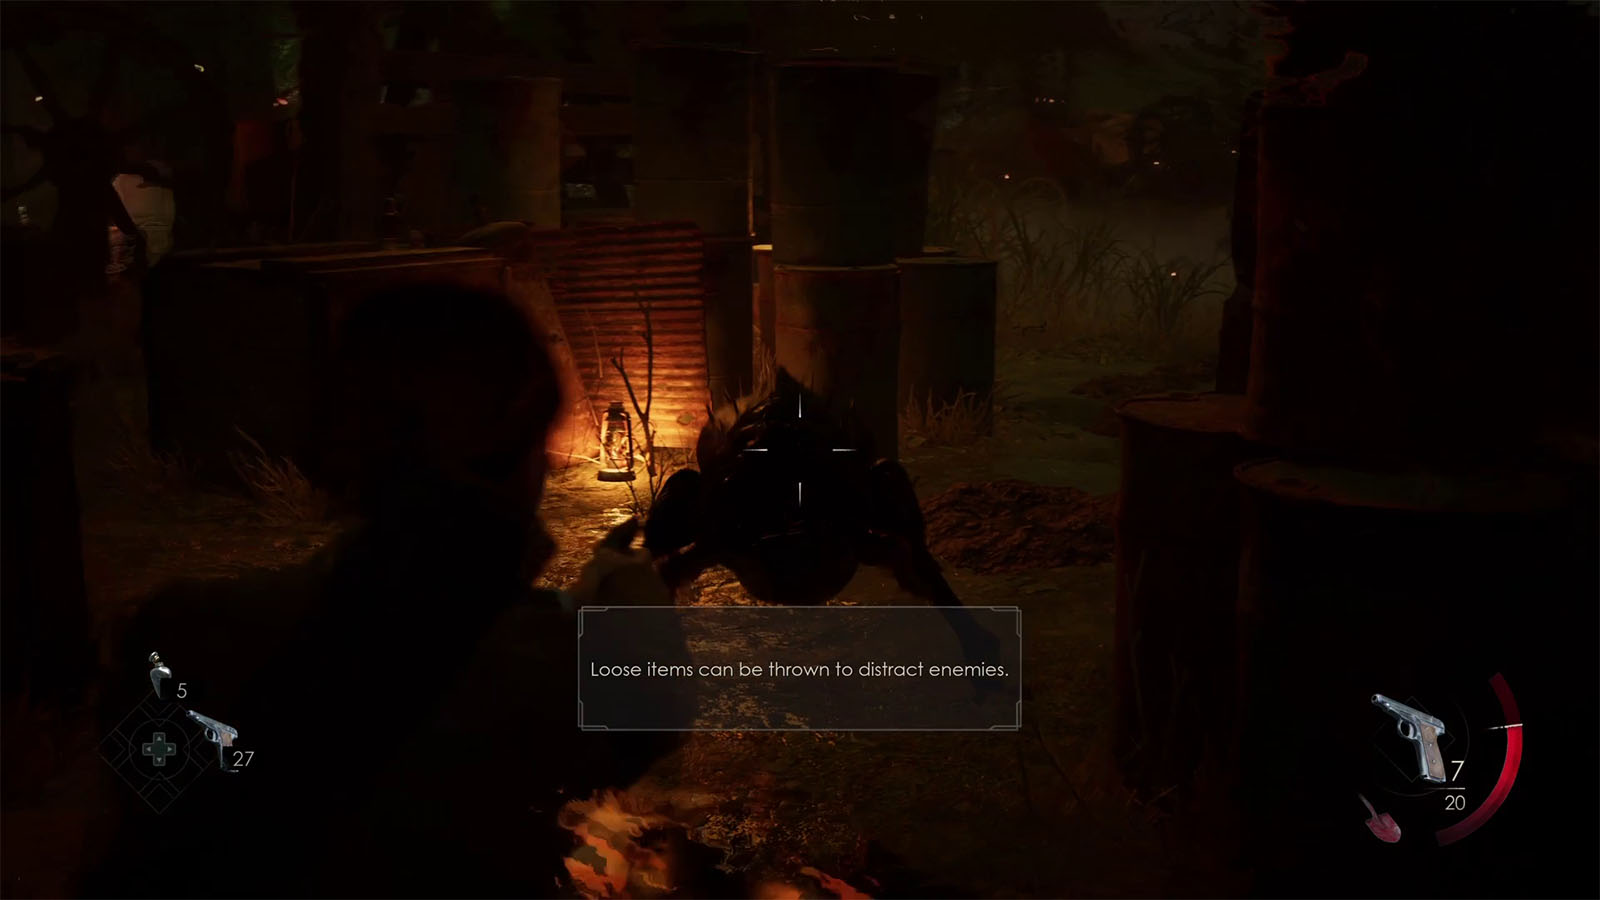
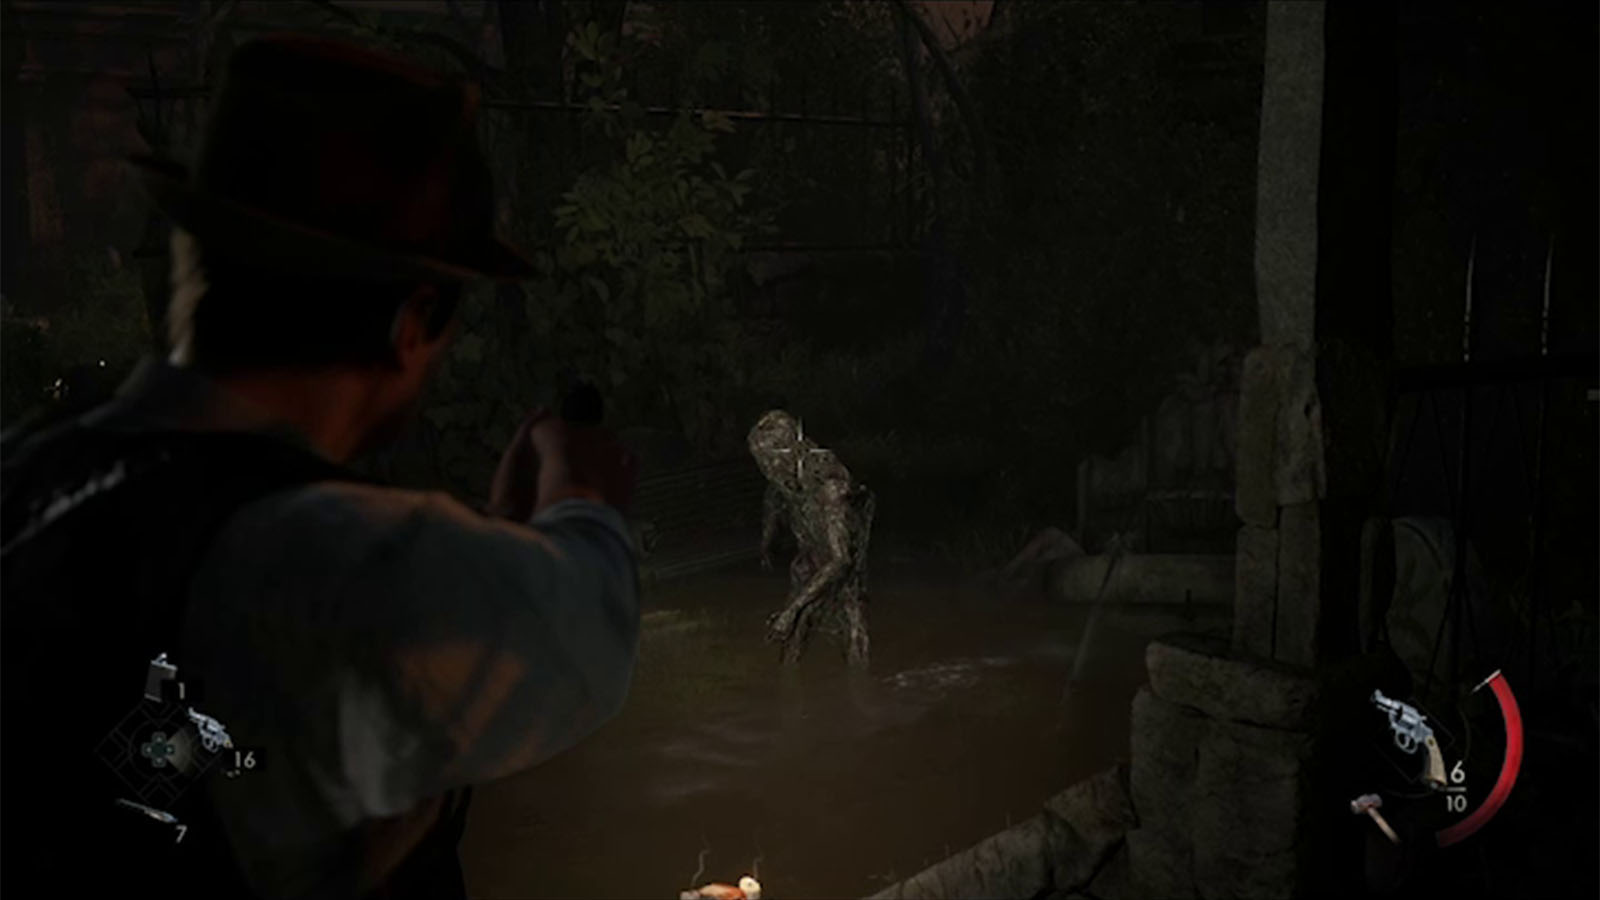
In this area, you will encounter burrowing enemies. They will appear and attack you as soon as you step on the open ground. You can use your gun or check the surrounding areas to find other melee weapons such as Hatchets and Shovel.
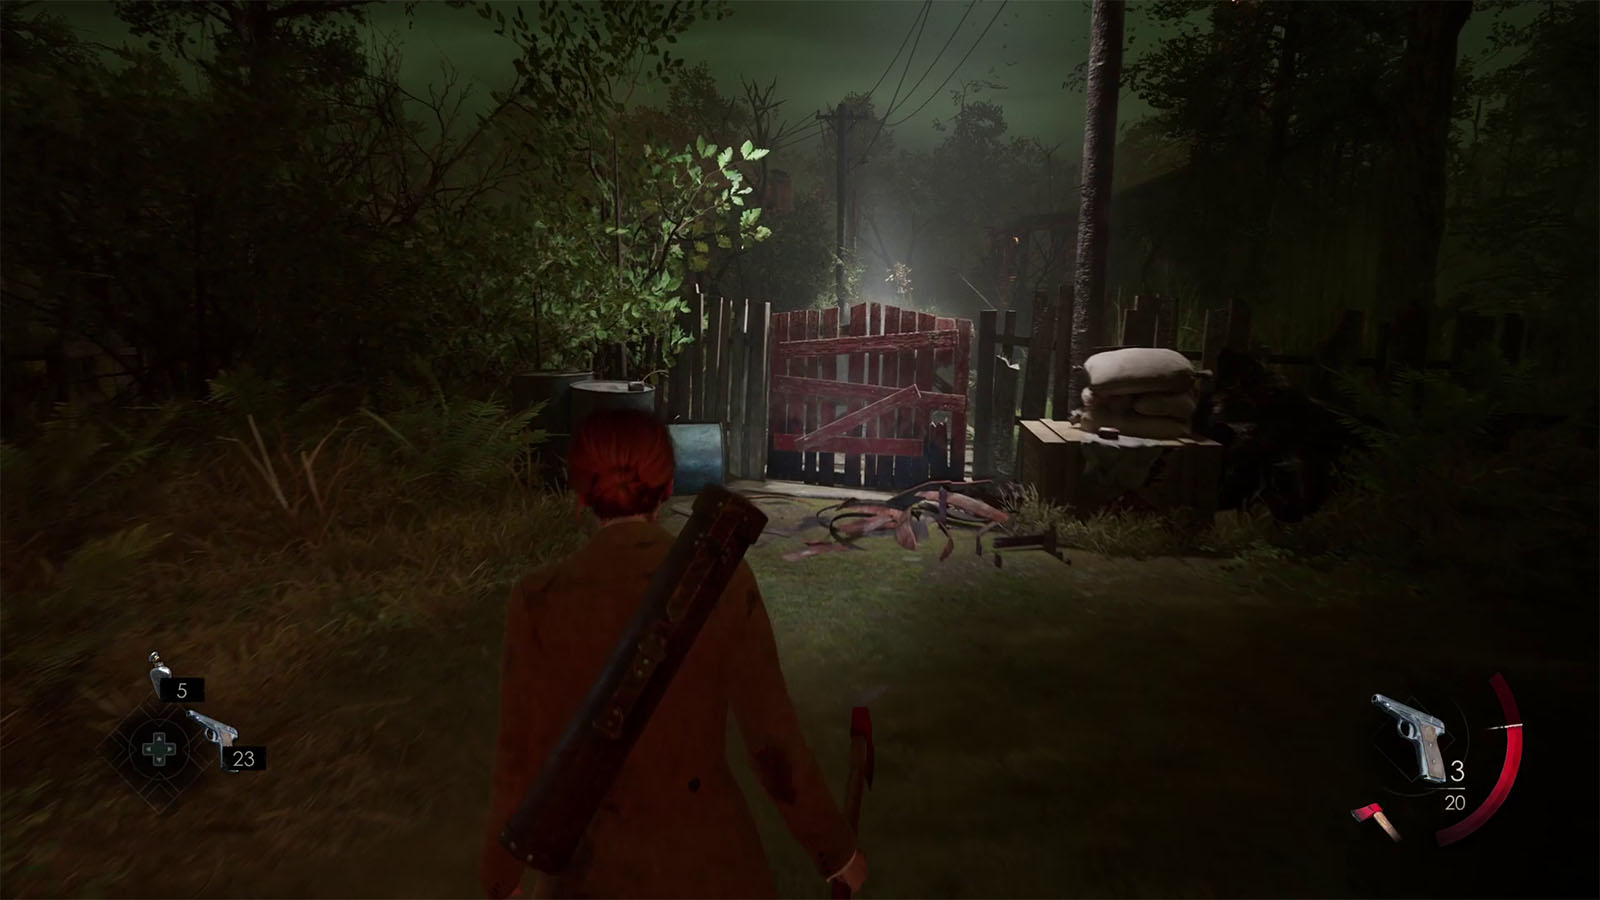
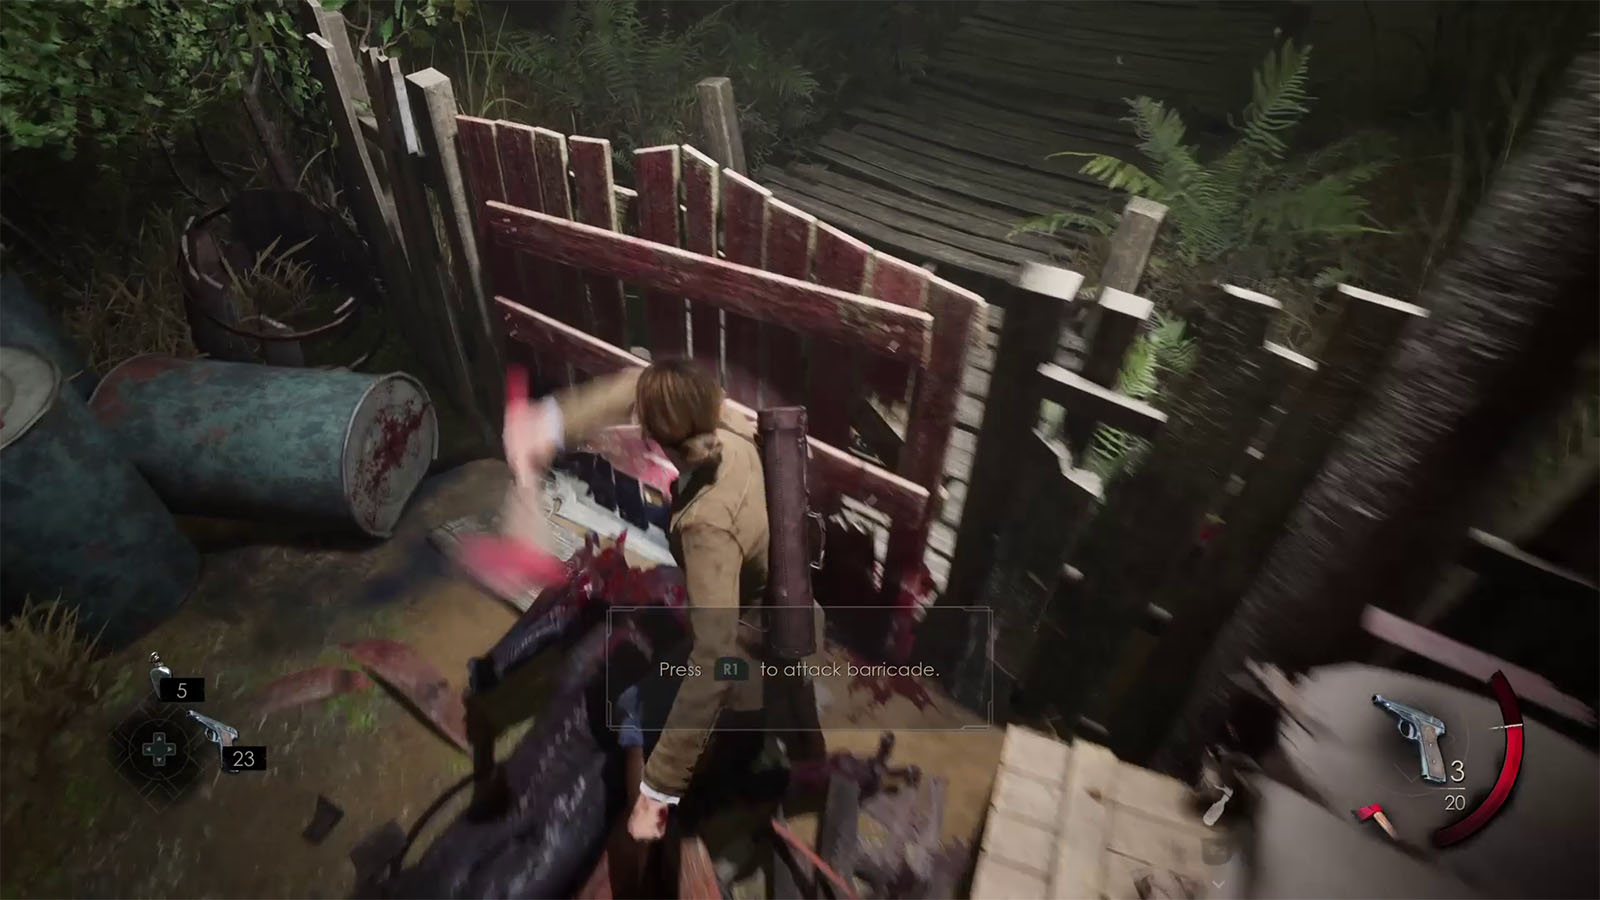
Your goal is to get to the small red gate and get through it. The burrowing enemies will keep on coming, so try to work fast and break down the gate using your melee weapon.
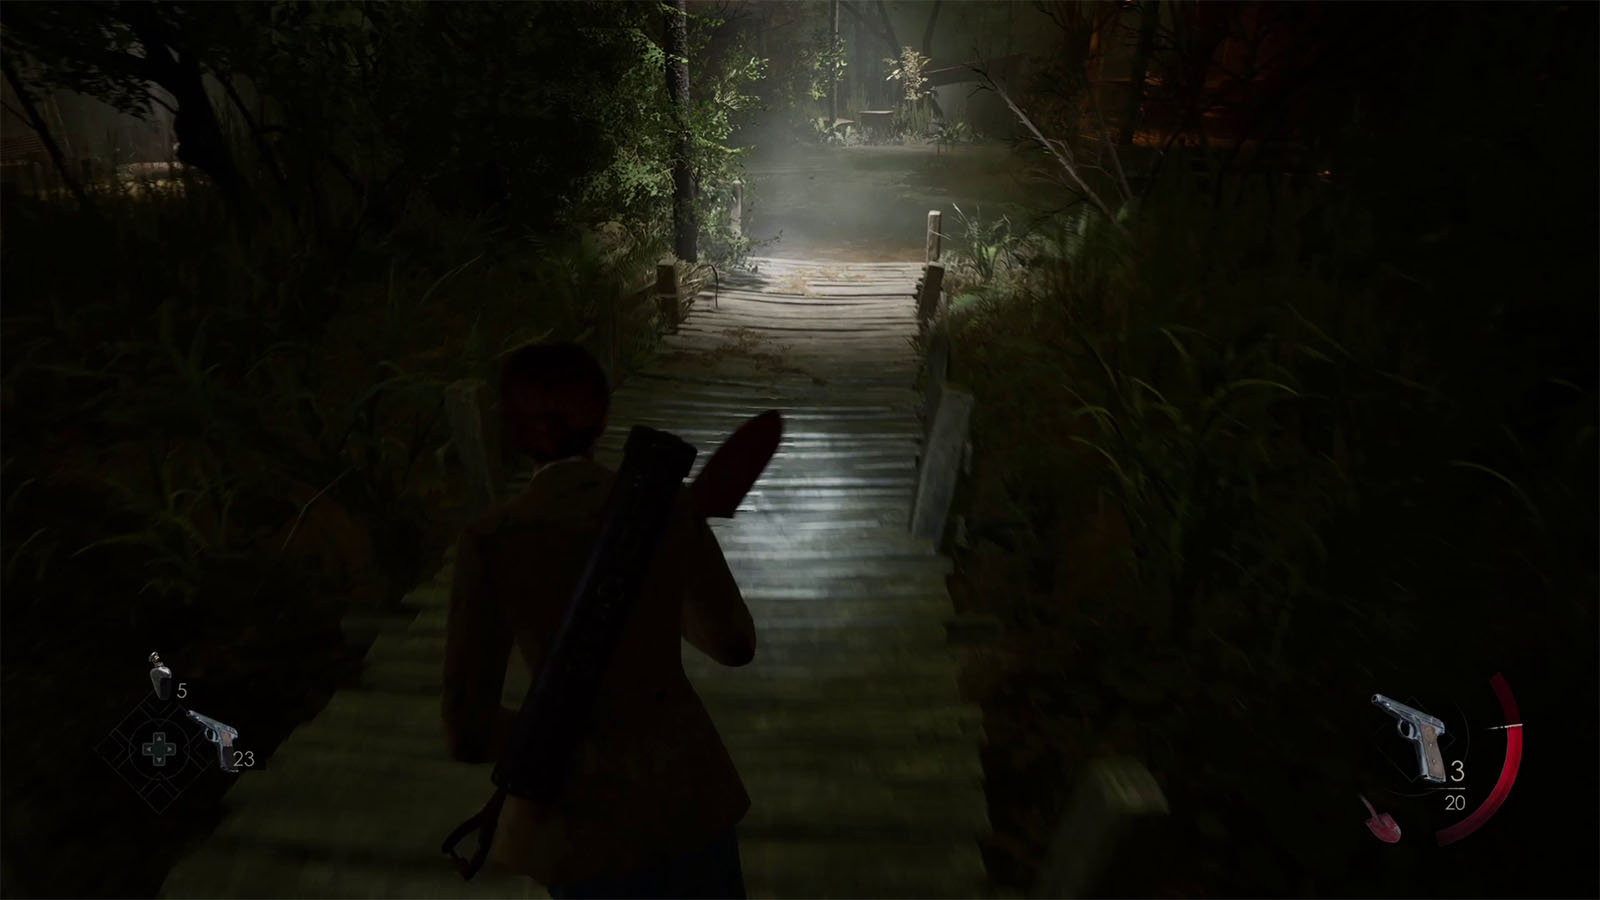
Cross the bridge to the other section, then head to the house on the right. Be careful as there’s a root enemy inside the house. The next house up ahead has some ammo in the lockers.

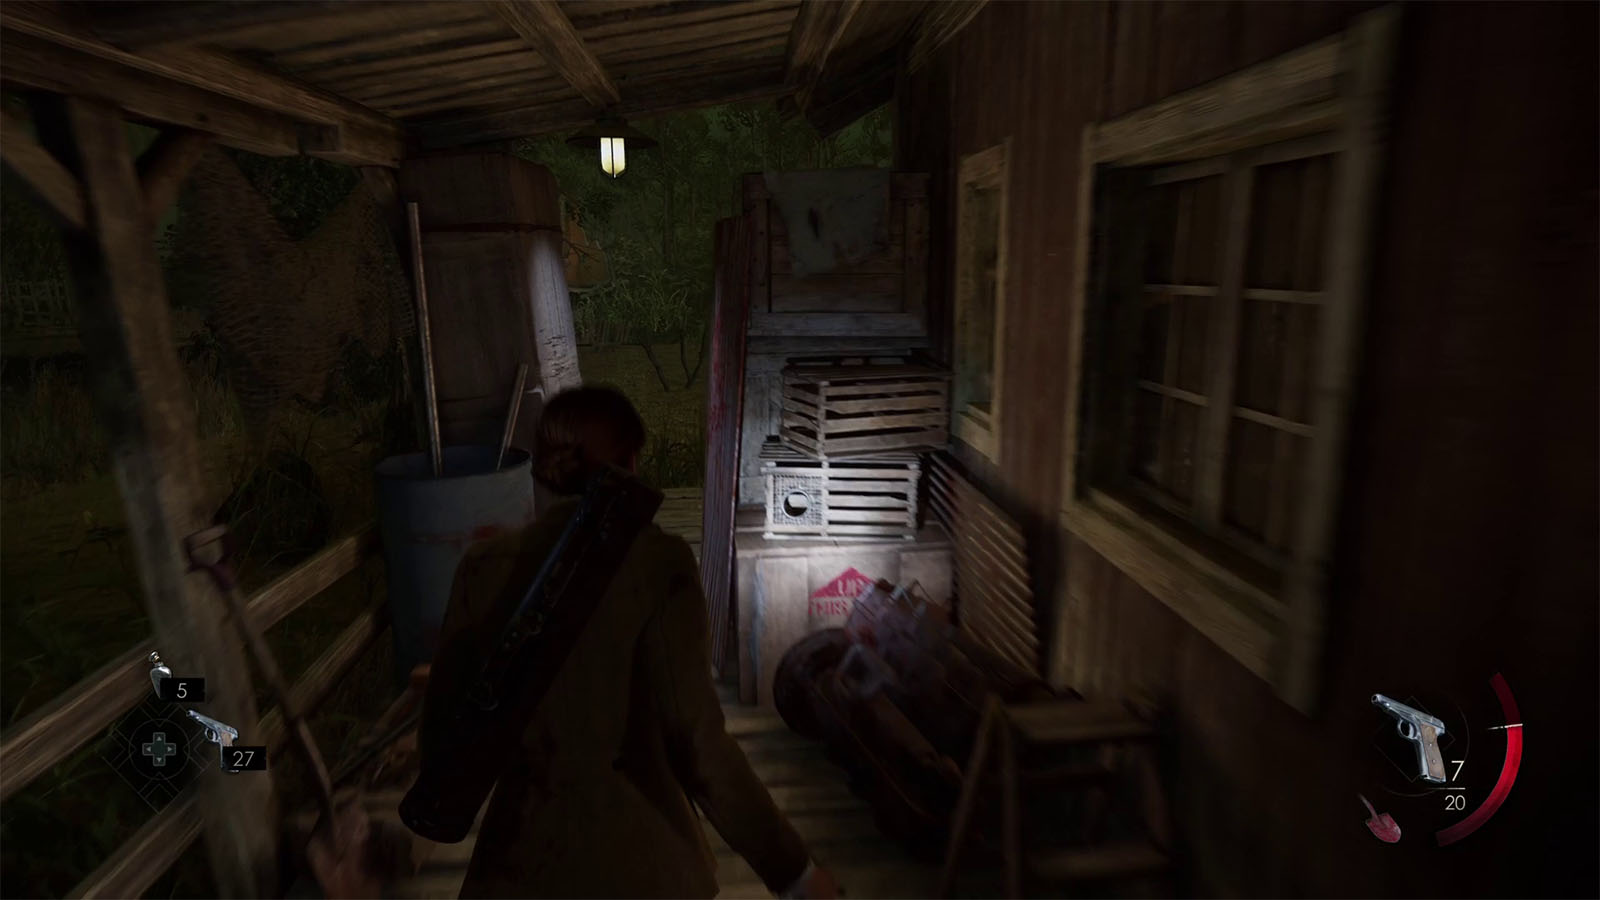
Head to the third house next to the river and slip through the gap to get to the other side. Carefully enter the house as there’s another enemy hidden to your left.
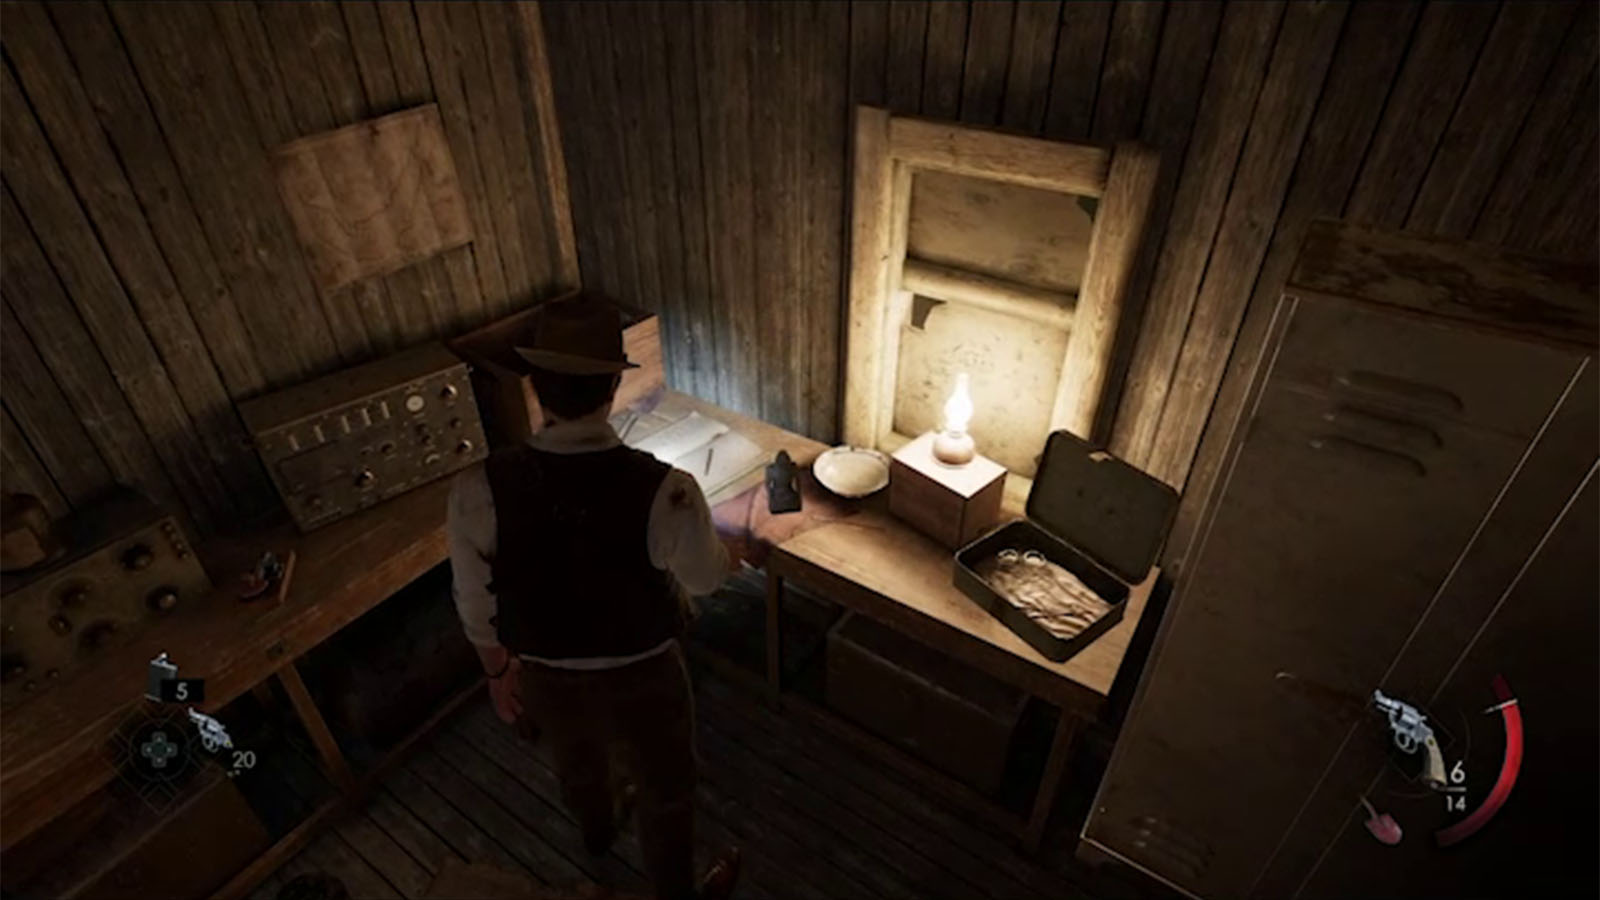
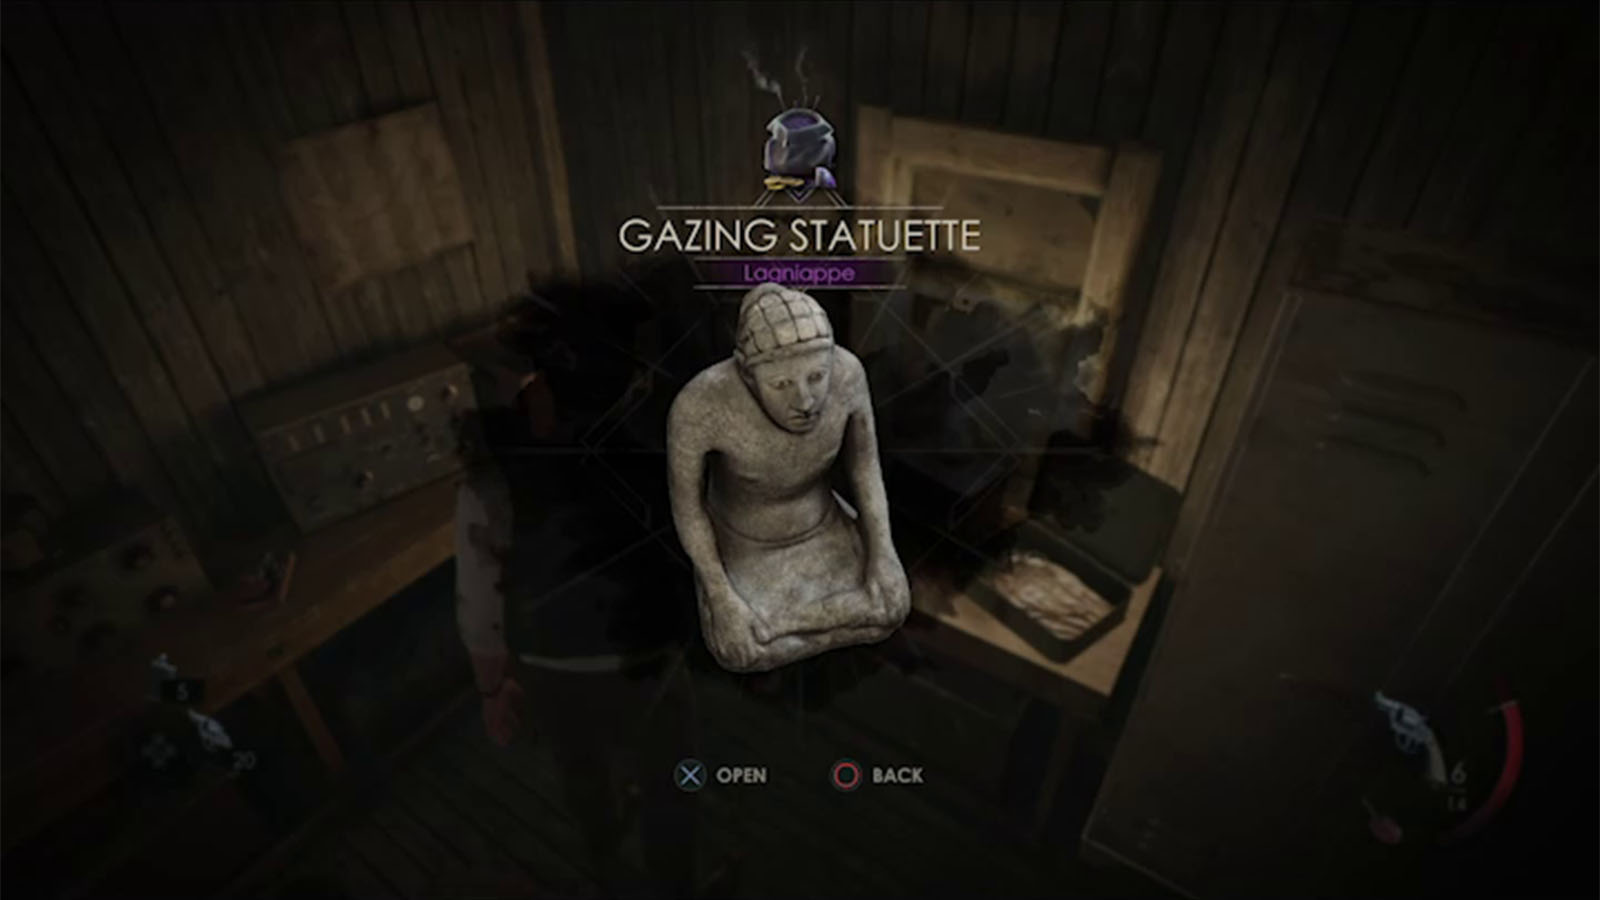
Inside are more ammo, plus the Lagniappe – Gazing Statuette on the table which is another item on the Beast of Burden Lagniappes set.
Proceed to approach the oil pump and prepare to either sneak through or engage with the enemies. Try to take out the burrower first and quickly before the root enemy shows up. Make your way through the lit path to get around the oil pump and prepare to engage with more enemies.
Shut down the oil pump to be able to climb the tower

Go to the shack at the base of the oil pump and pull the lever to shut down the pump.
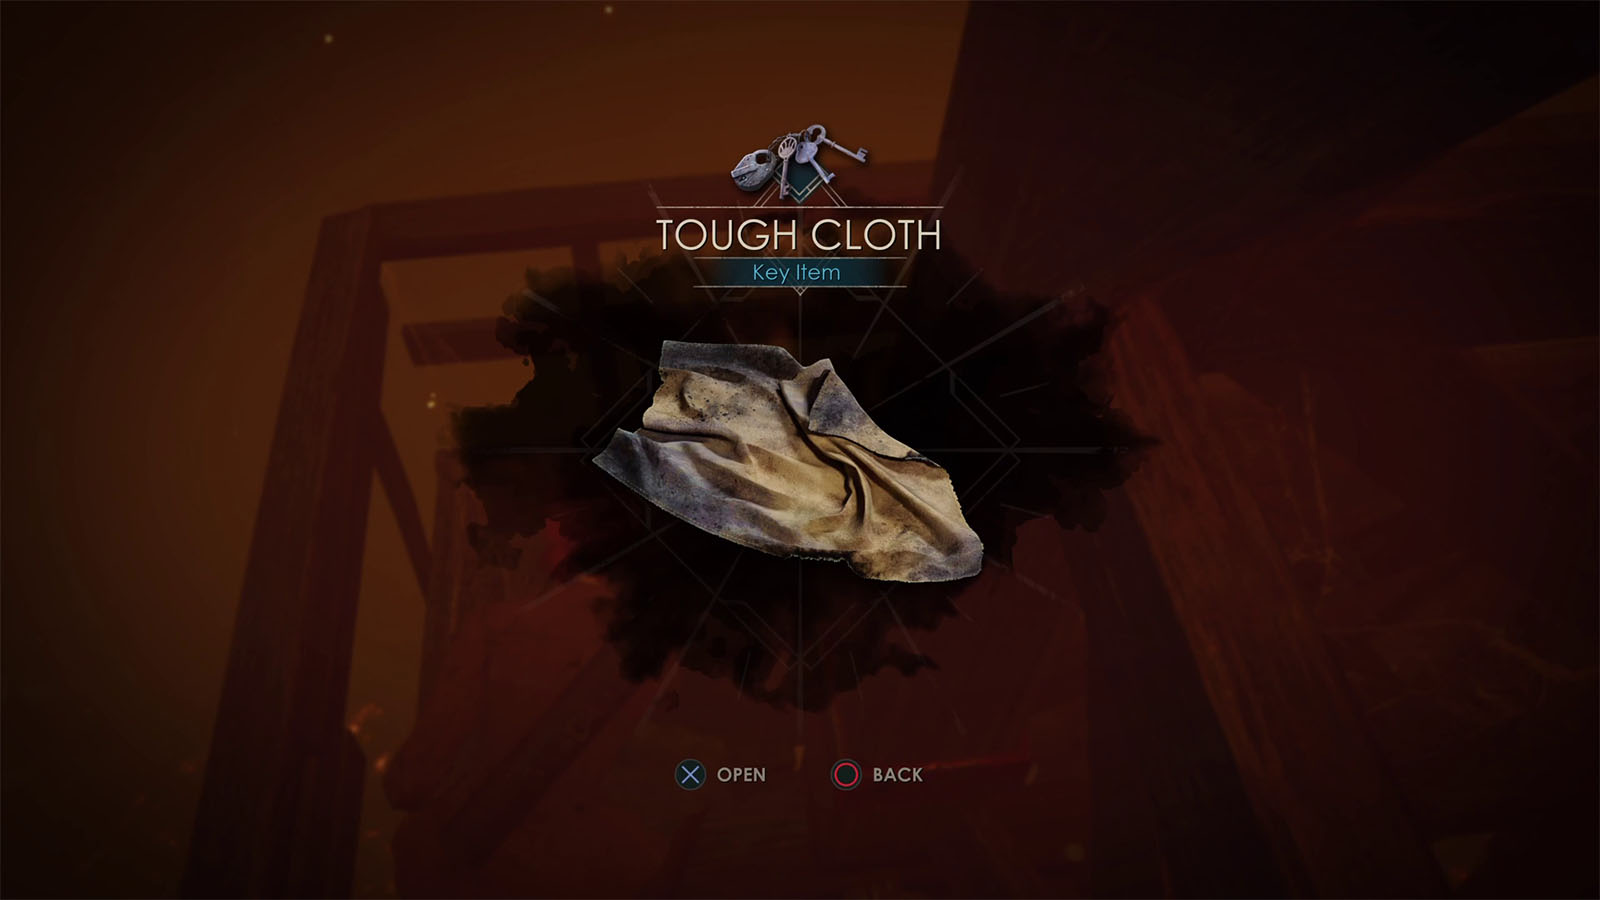
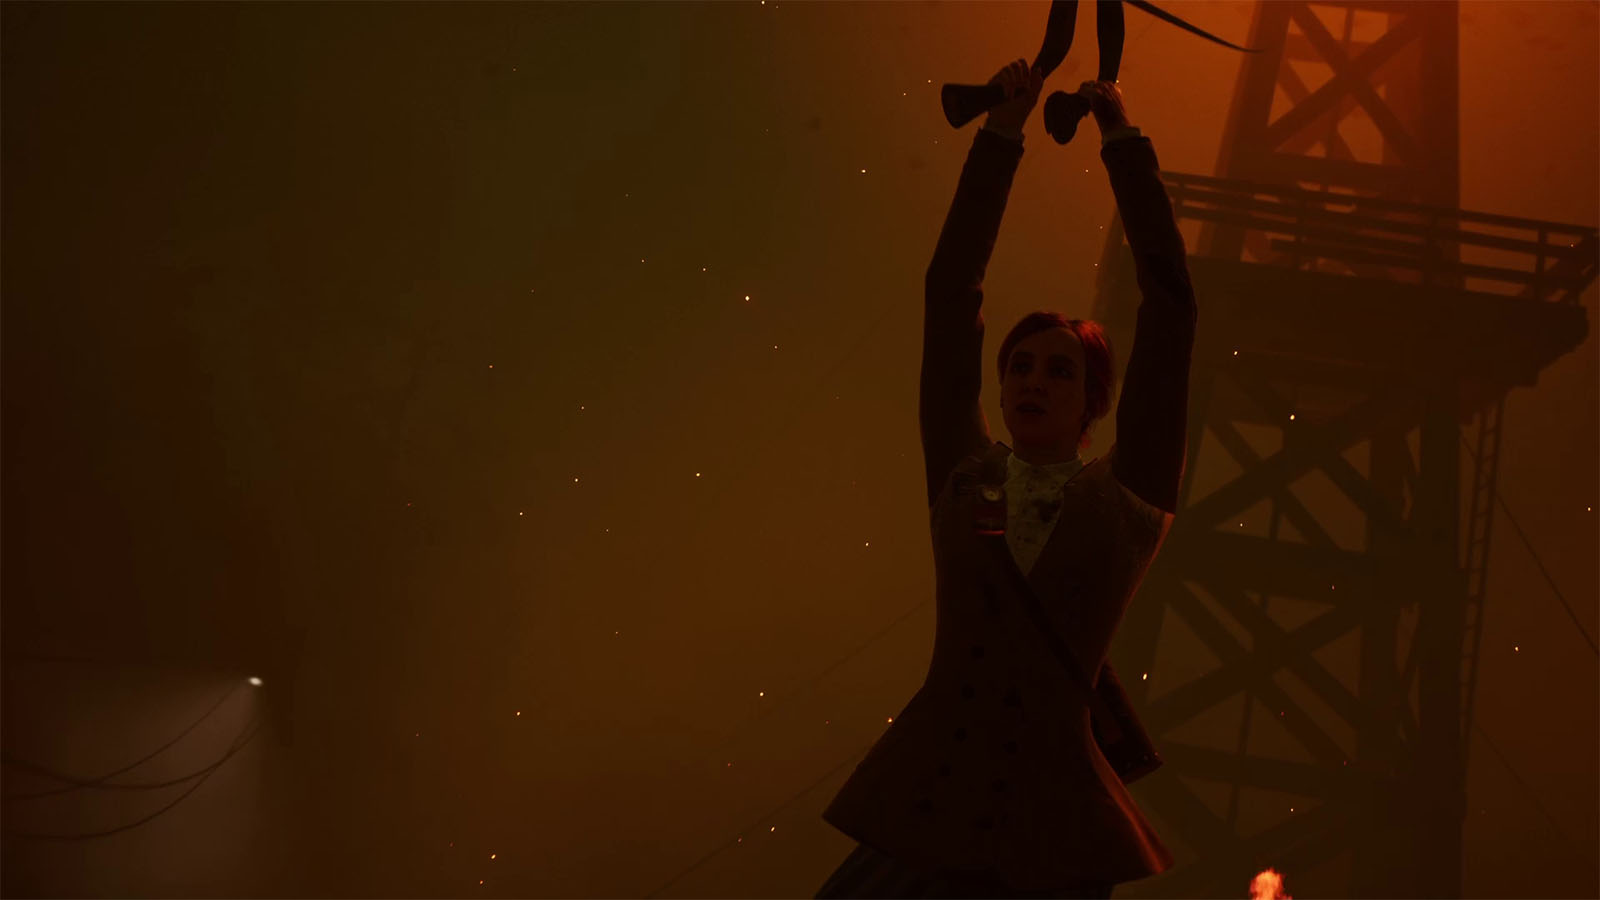
Next, climb up the shack and continue climbing up the oil pump where you will find the Tough Cloth. Use the cloth on the wire to zip down from the pump and get to the other section.

Follow the path up ahead until you see a root enemy under the light. A much larger creature, a similar one seen from the prologue, will appear and kill off the root enemy, but it will miss out on detecting you.
Continue down the path until you reach a cave. A cutscene will play where you find a den with some of Jeremy’s belongings left behind. A woman suddenly appears who turns out to be Lottie, one of the Derceto’s orderlies and Batiste’s sister. The conversation is cut short when the creature from earlier comes inside the den and chases you down.
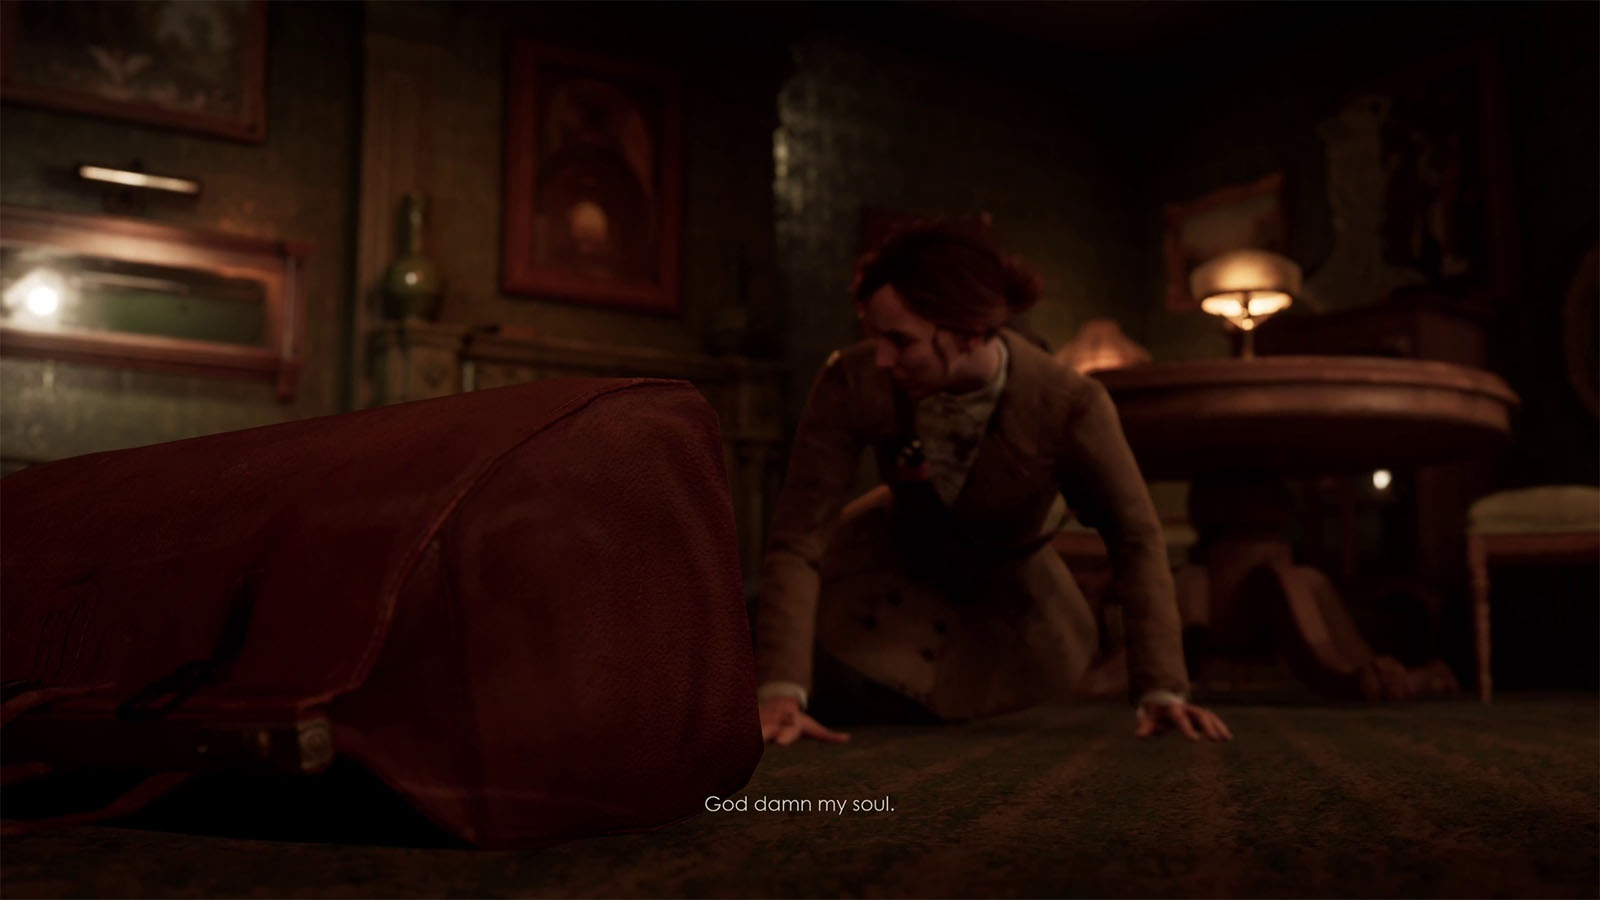
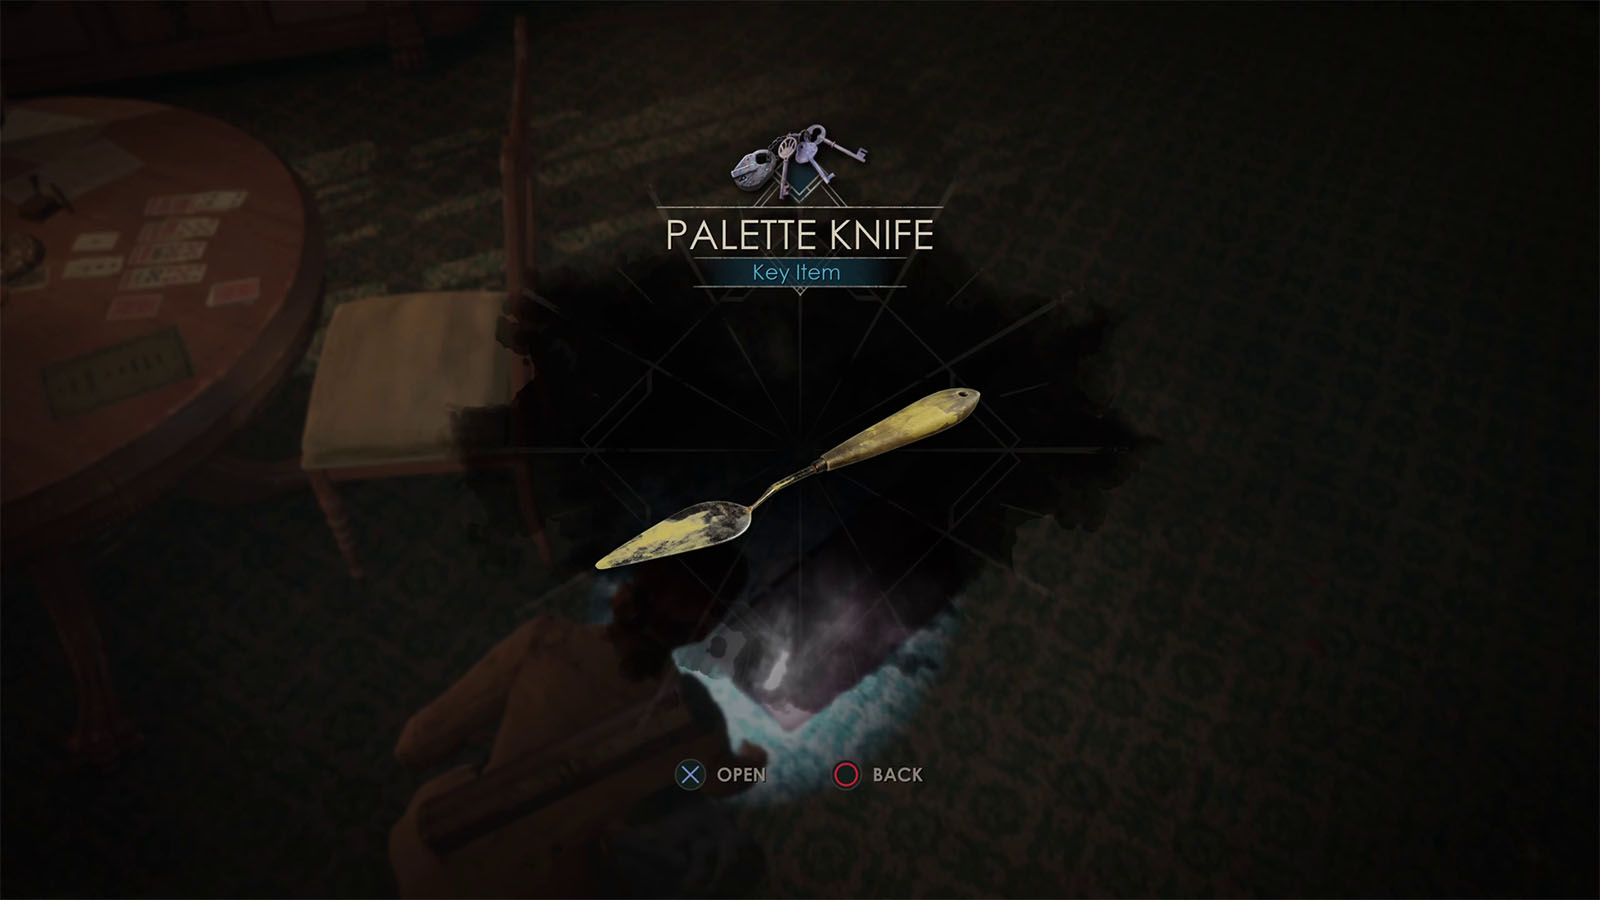
You’ll find yourself back at the small parlor in Derceto. Check inside Jeremy’s bag to find a Palette Knife which is useful for removing wedges under doors.

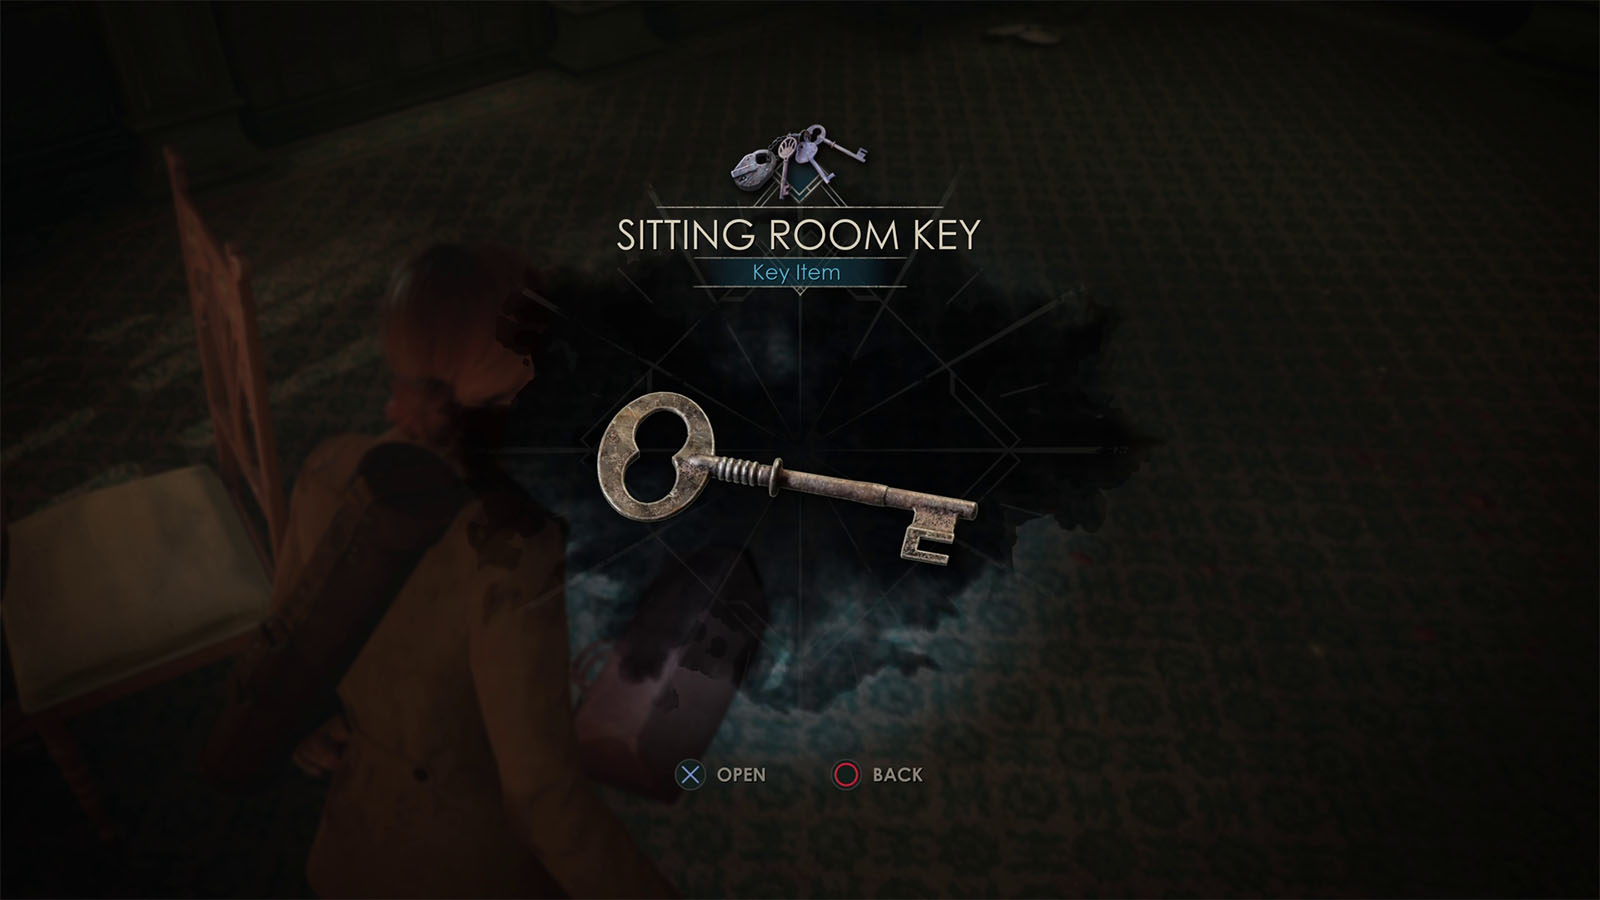
You will also find the Clue – Reflections on the Power of the Verb in Certain Texts which has an image of the Taurus constellation, plus the Sitting Room Key.
Remove door wedges to access new rooms
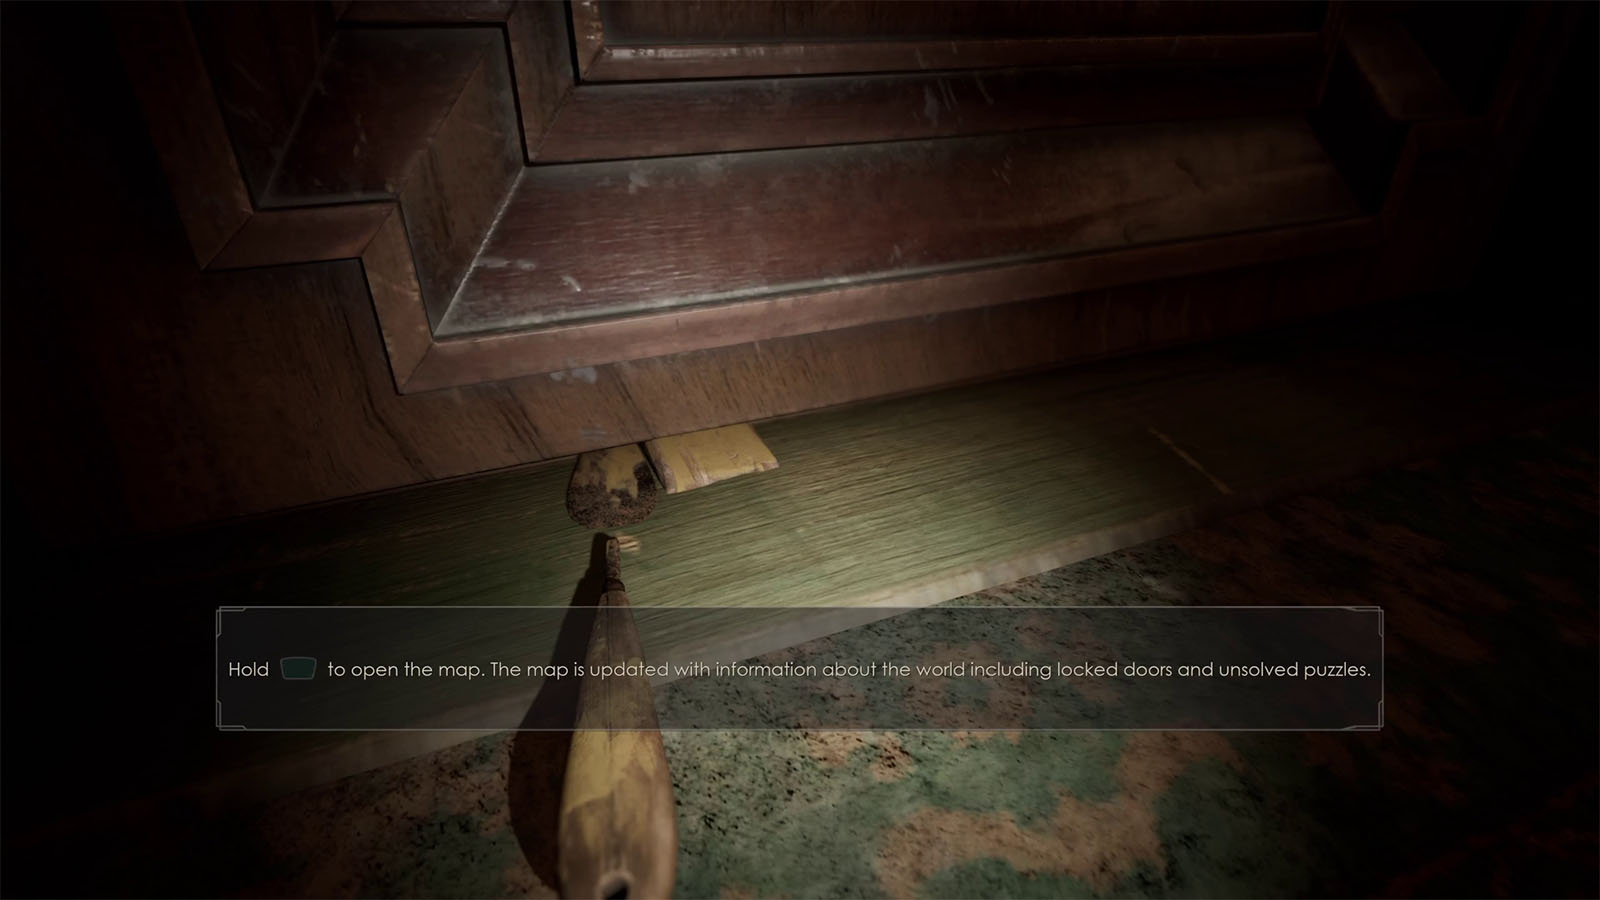
With the palette knife on hand, you can now go through doors that have wedges stopping them. Use it on the nearby door to get into the drawing room.
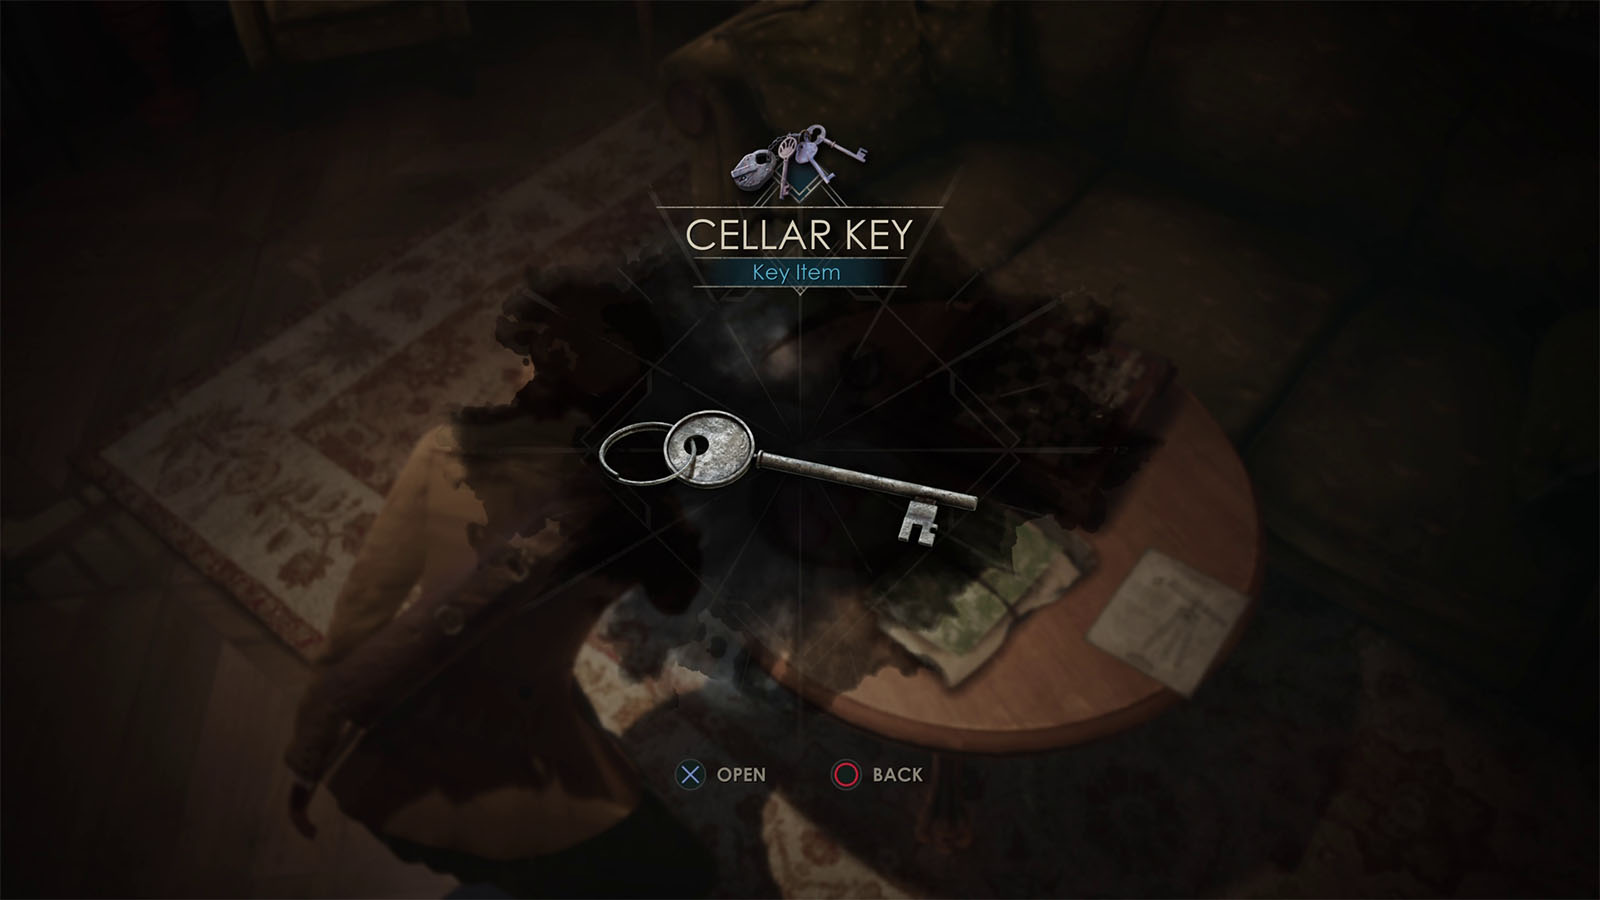
On the coffee table is where you will find the Cellar Key and the Clue – Barlow Lens Instructions. There’s also the telescope nearby which will be useful once you have obtained the Barlow Lens later on.
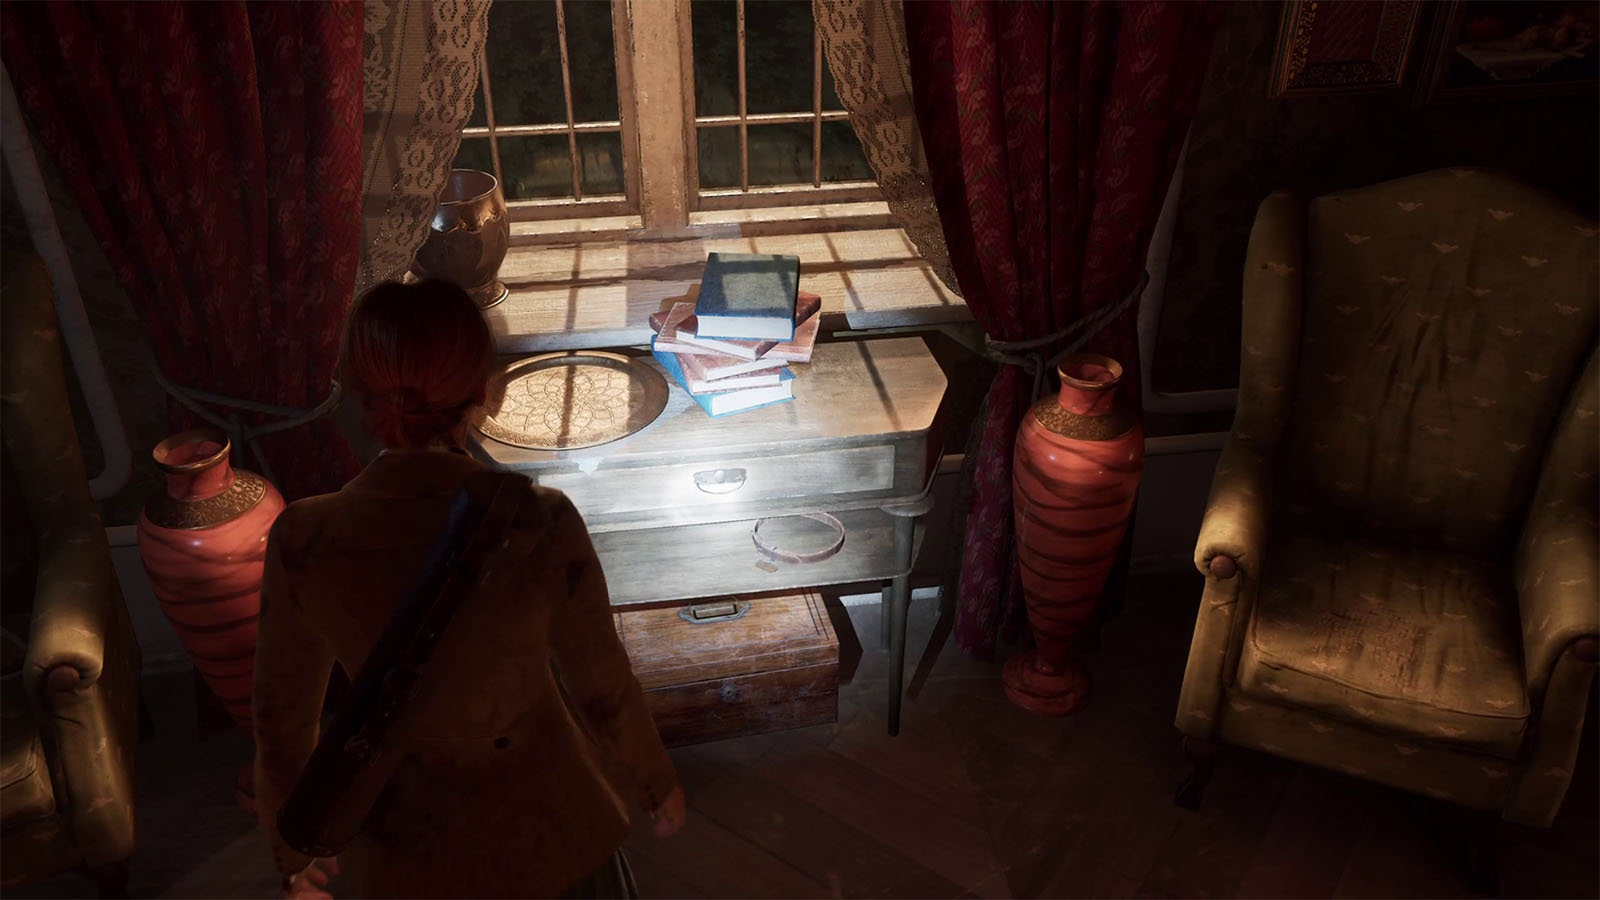
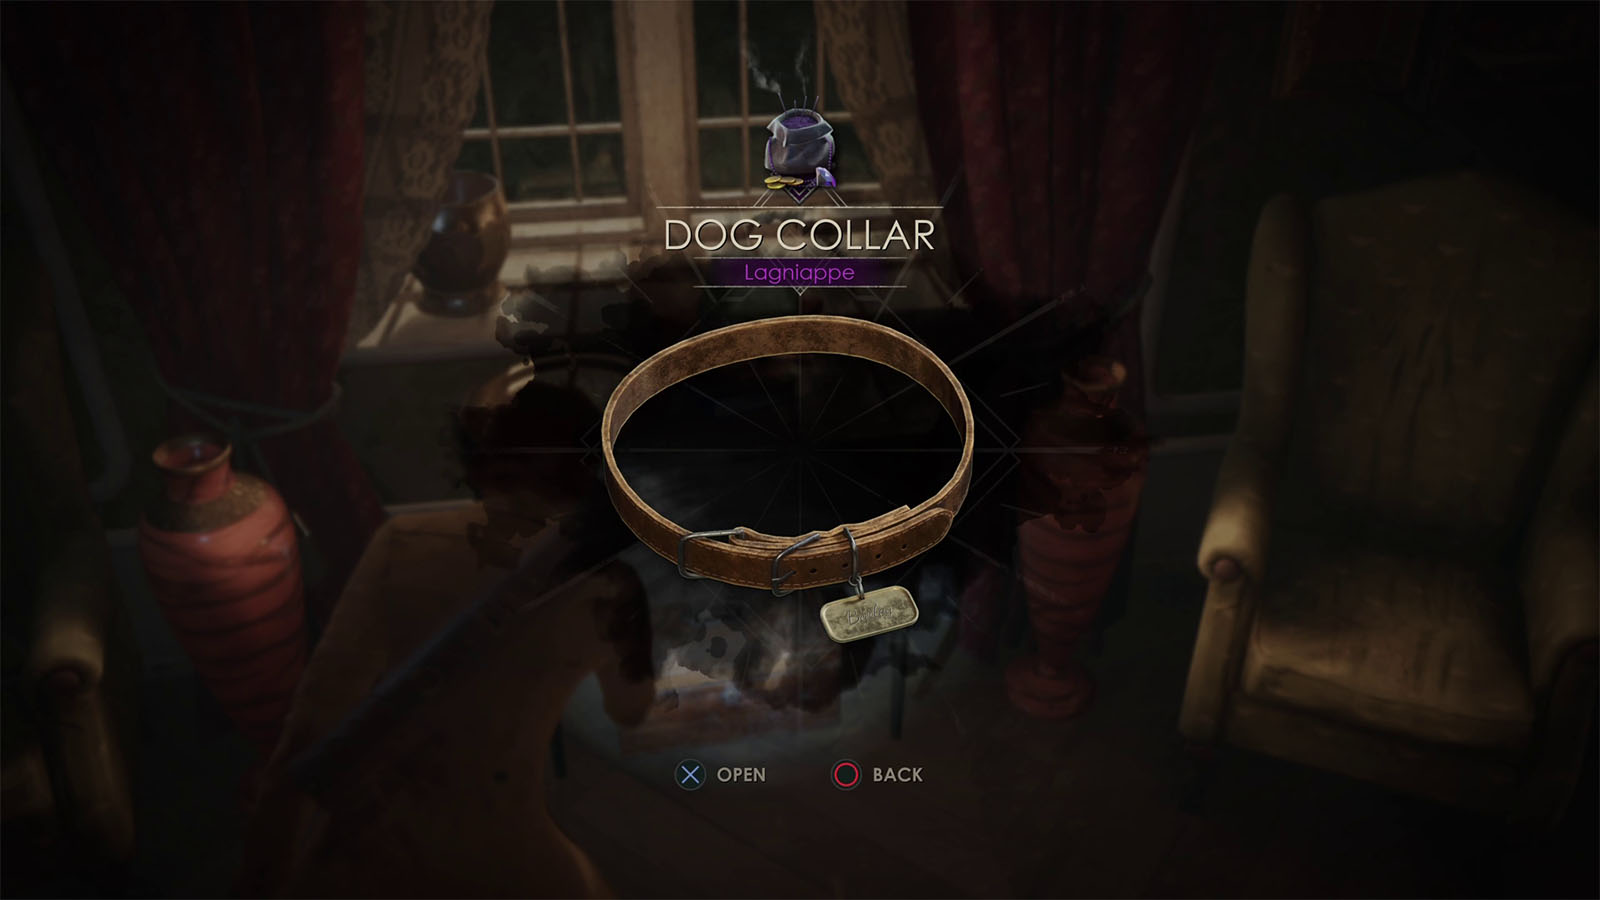
Go to the desk by the window to find the Lagniappe – Dog Collar. If you have followed the guide until now, the Lost Children Lagniappe Set will now be complete, unlocking the shotgun cabinet in the small parlor.
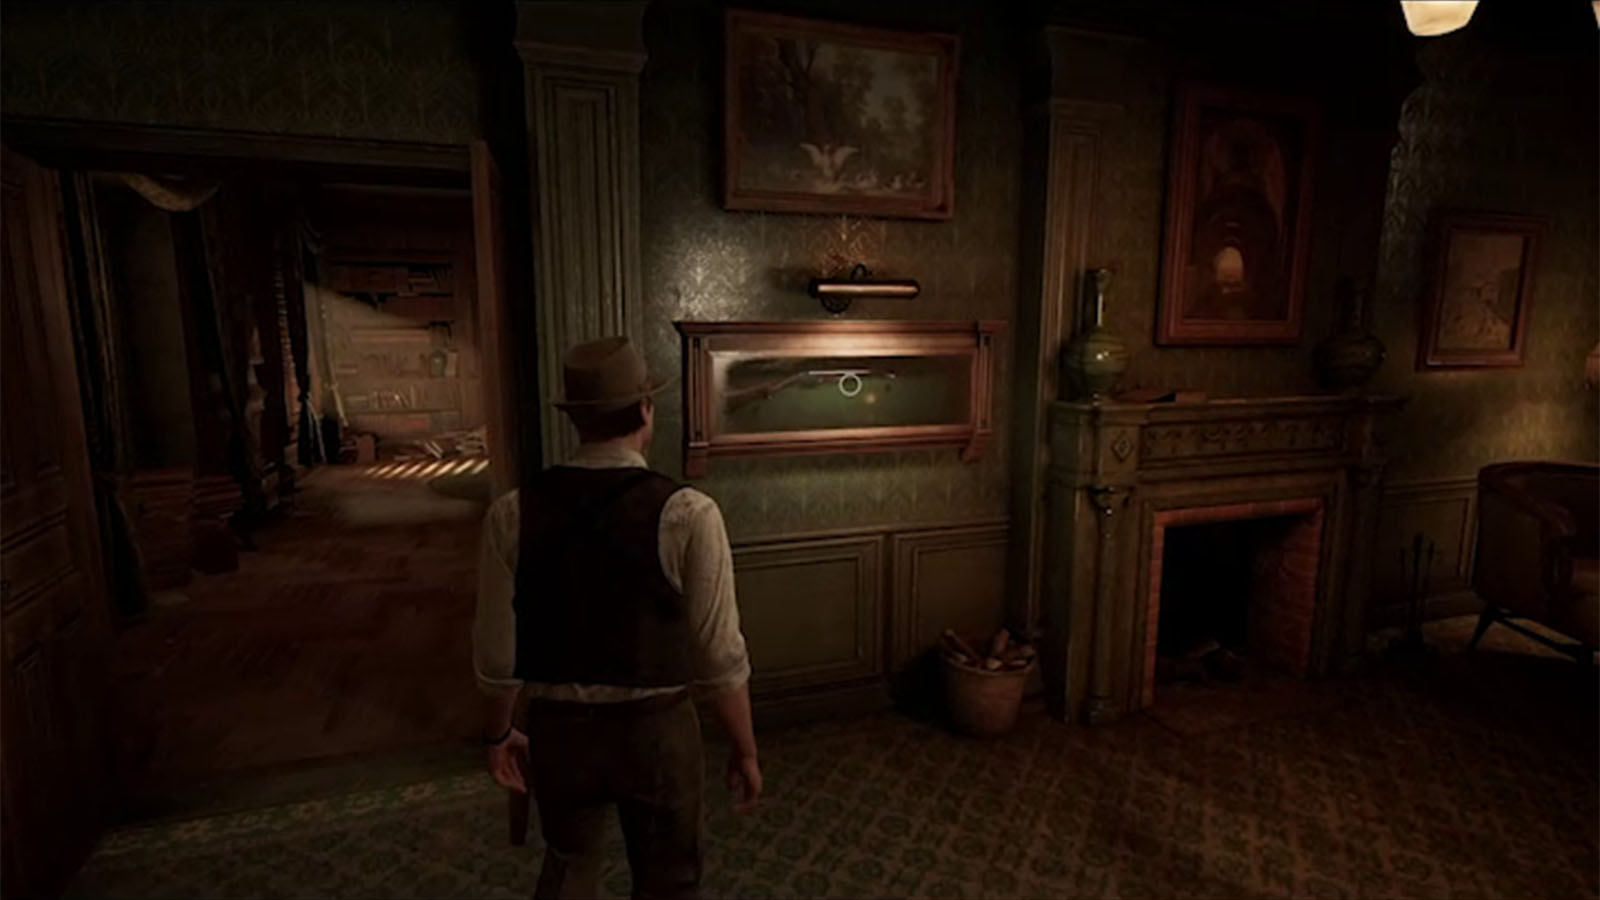
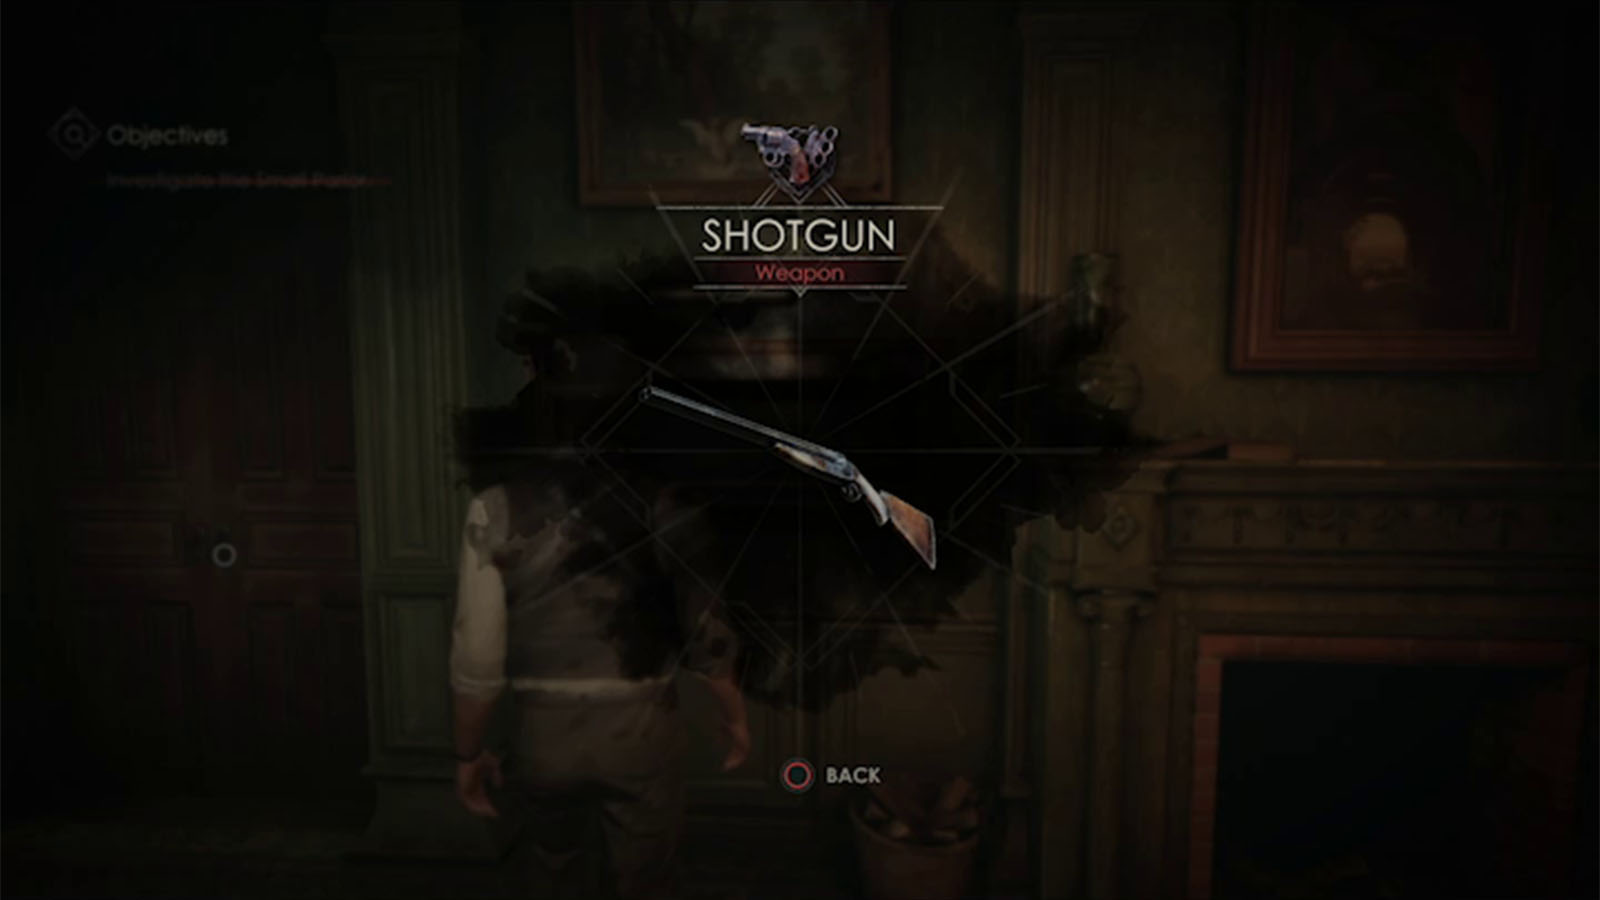
Make sure to check the cabinet to get yourself the Shotgun.
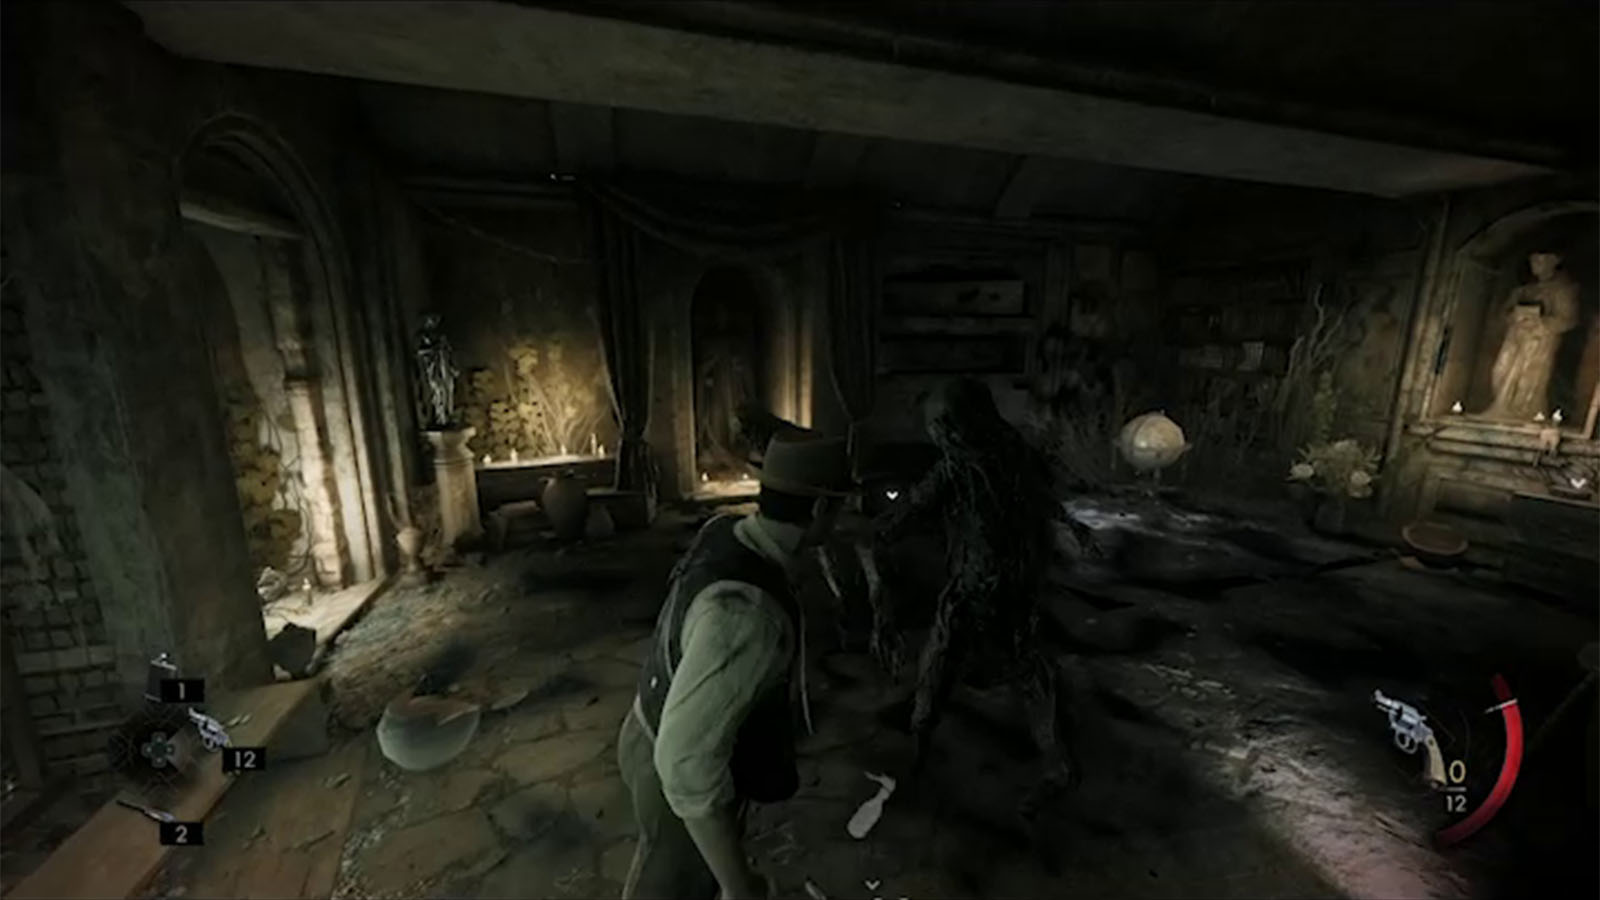
As you try to make your way out of the library, you will find that the door is locked. Checking the door back to the small parlor will make the place shift again, putting you in a derelict room with two root enemies. Defeat both of the enemies, then check the area to find shotgun ammo.
You can open the door out of the library again and everything will turn back to normal.
Find Derceto’s Boiler mentioned in the Commonplace Book

Make your way back to the boiler room on the ground floor and inspect the table once more to find the Clue – Pieces of Plate which points to Cassandra’s Room where one of the missing pieces of the boiler plate can be found.
Replace the missing valve to turn off the steam
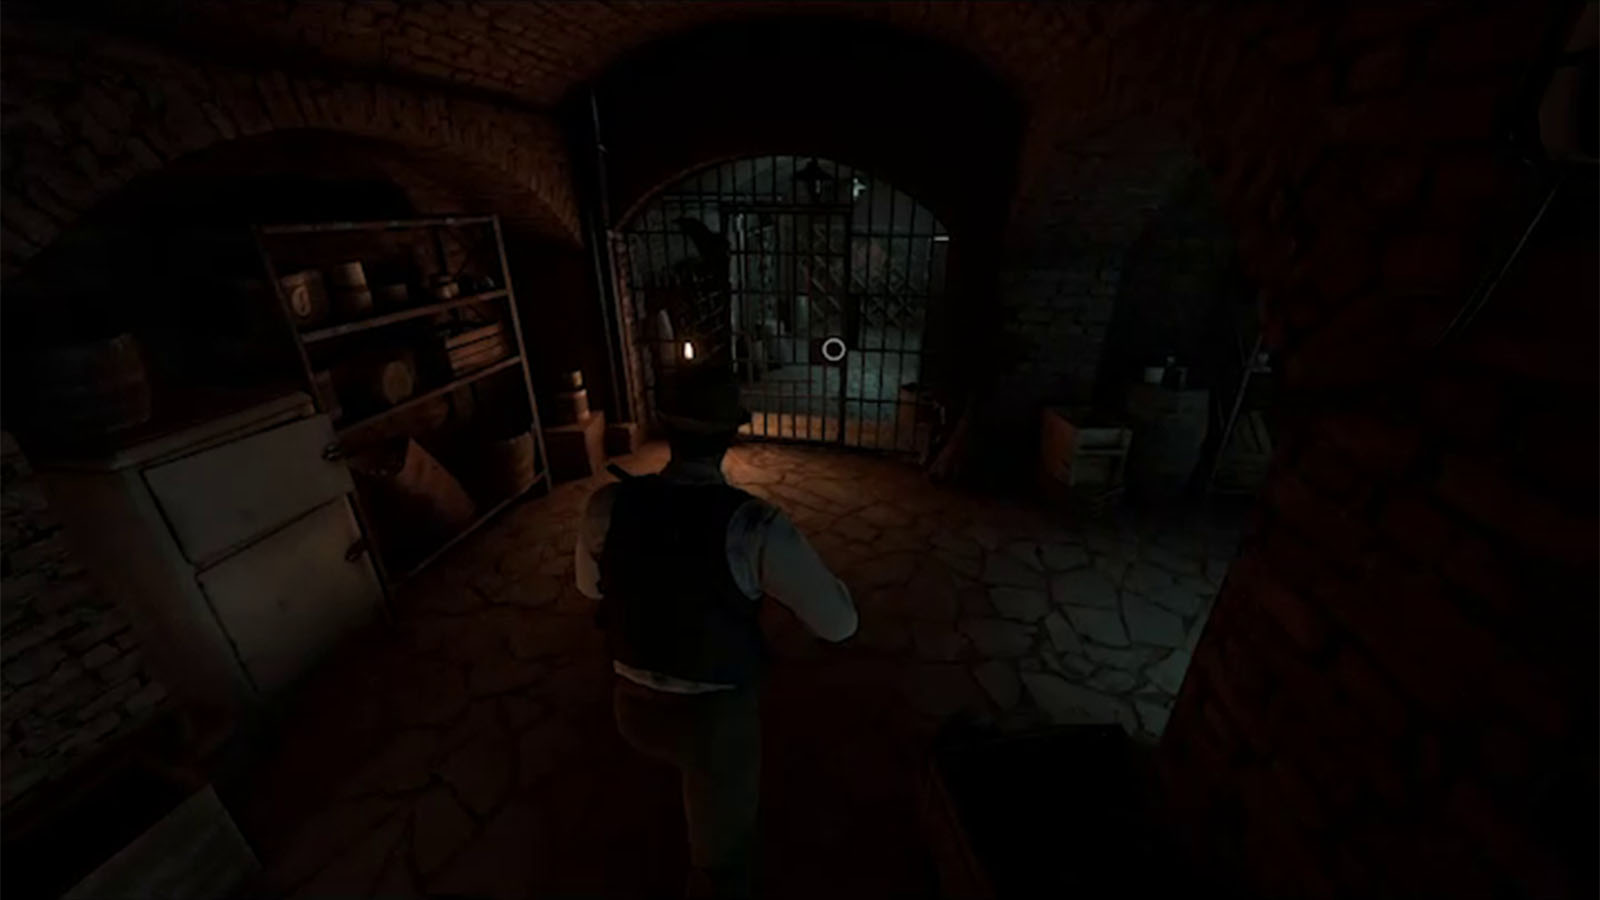
Go back to the other side of the room where the cellar gate is and use the cellar key to open it.

Inside the cellar, take note that the other side of the room has a live wire touching the ground.
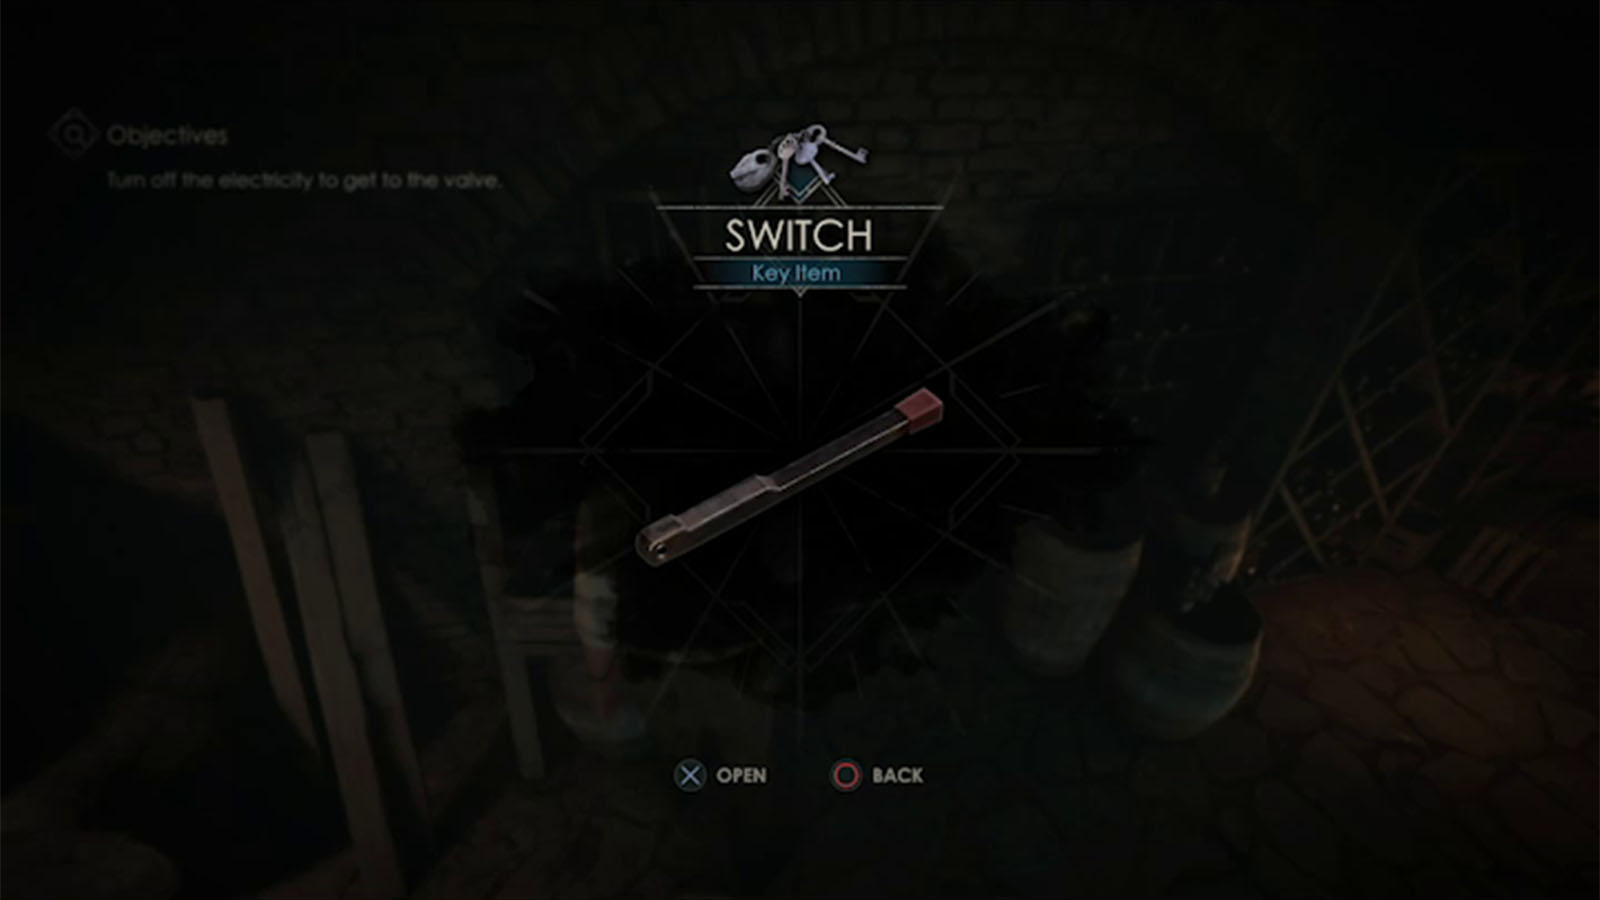
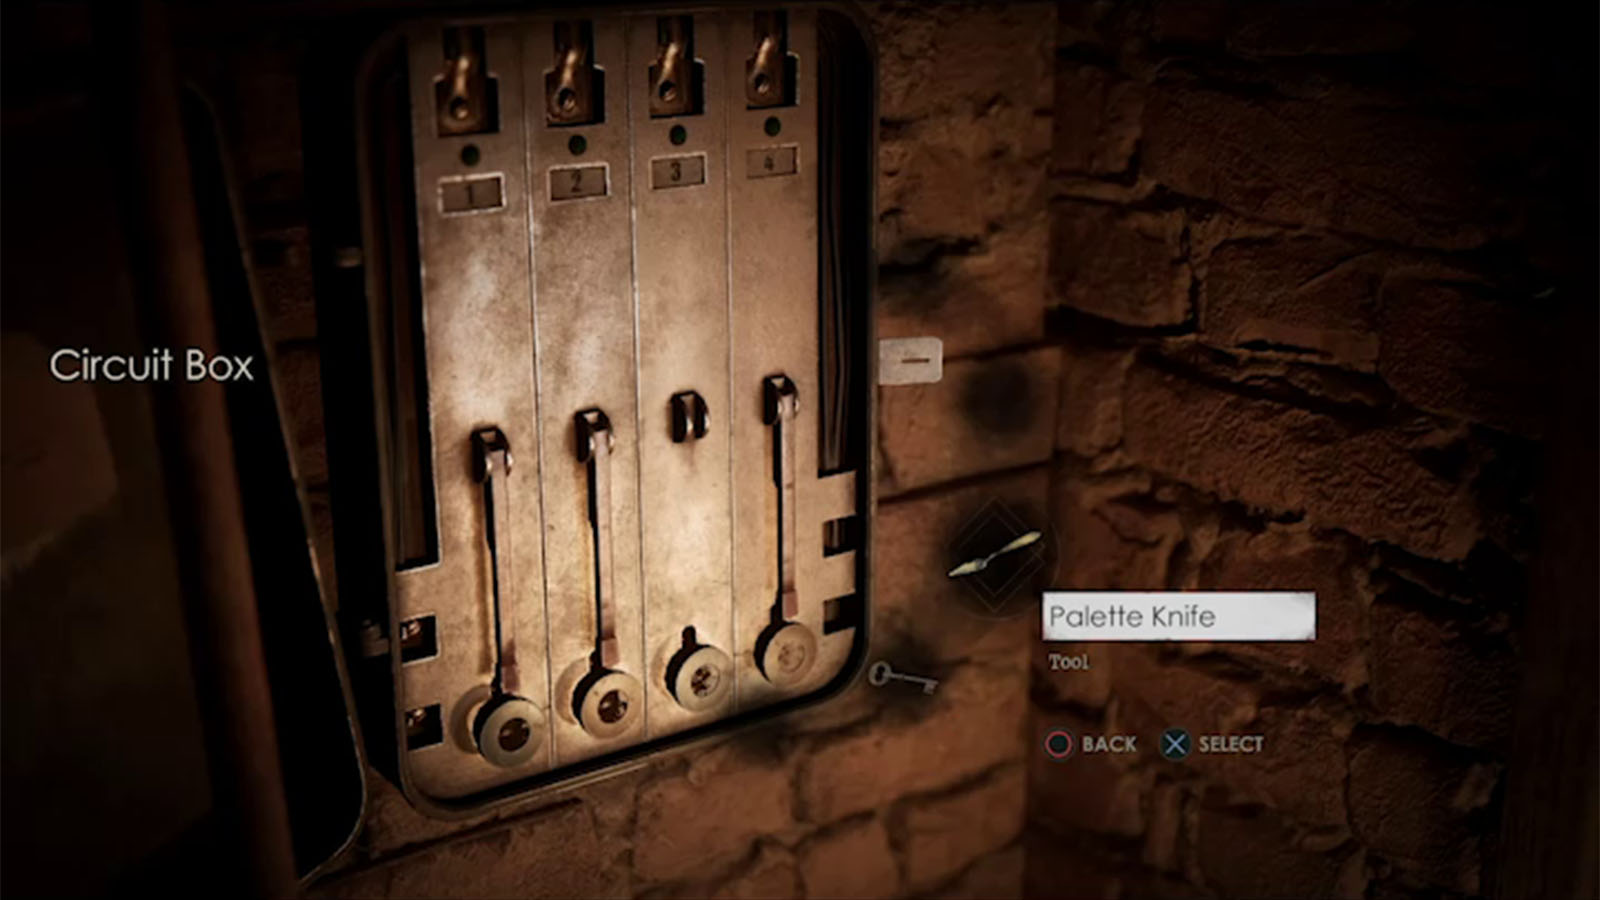
In the corner of the cellar is a Circuit Box that is missing a switch, and the switch can be found in the shelves near the live wire. Place the switch back on the box to cut off the electricity in the cellar. This will also shut off the lights, making it dark.
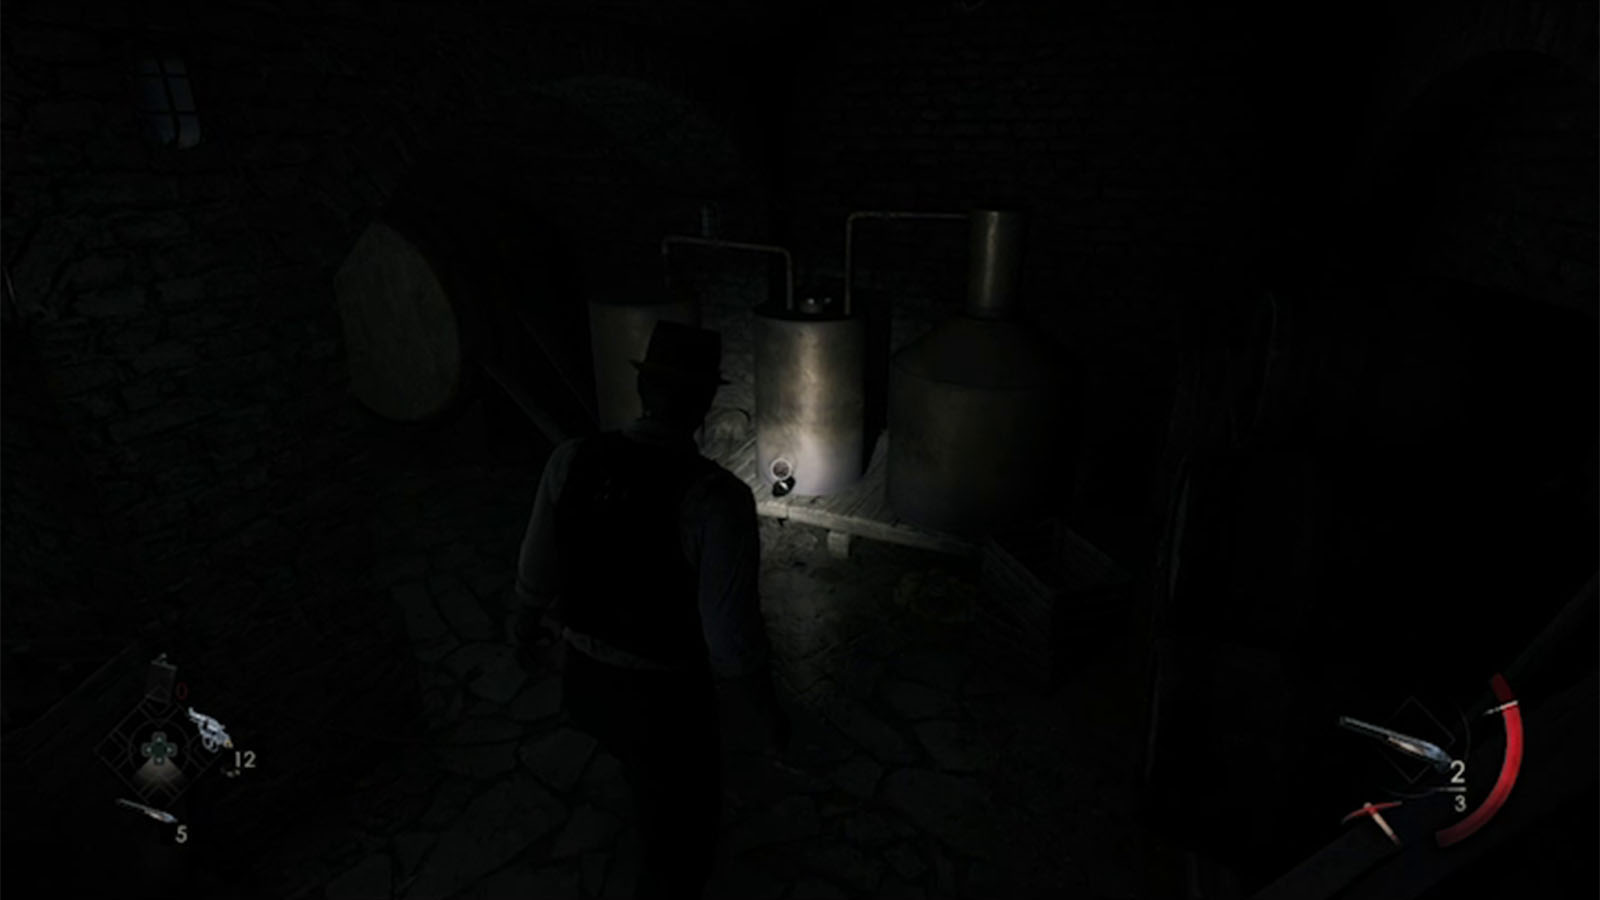

Go to the tanks on the other side where you can find the Valve Handle.
Because the lights are now down, parts of the house will now have enemies in them. Make your way back to the boiler room and kill the enemy blocking the door. Using the shotgun to kill the enemy at this point will unlock the Hard Boiled Achievement.
Place the valve handle on the boiler to turn off the steam leak, then continue on to the other side of the room.
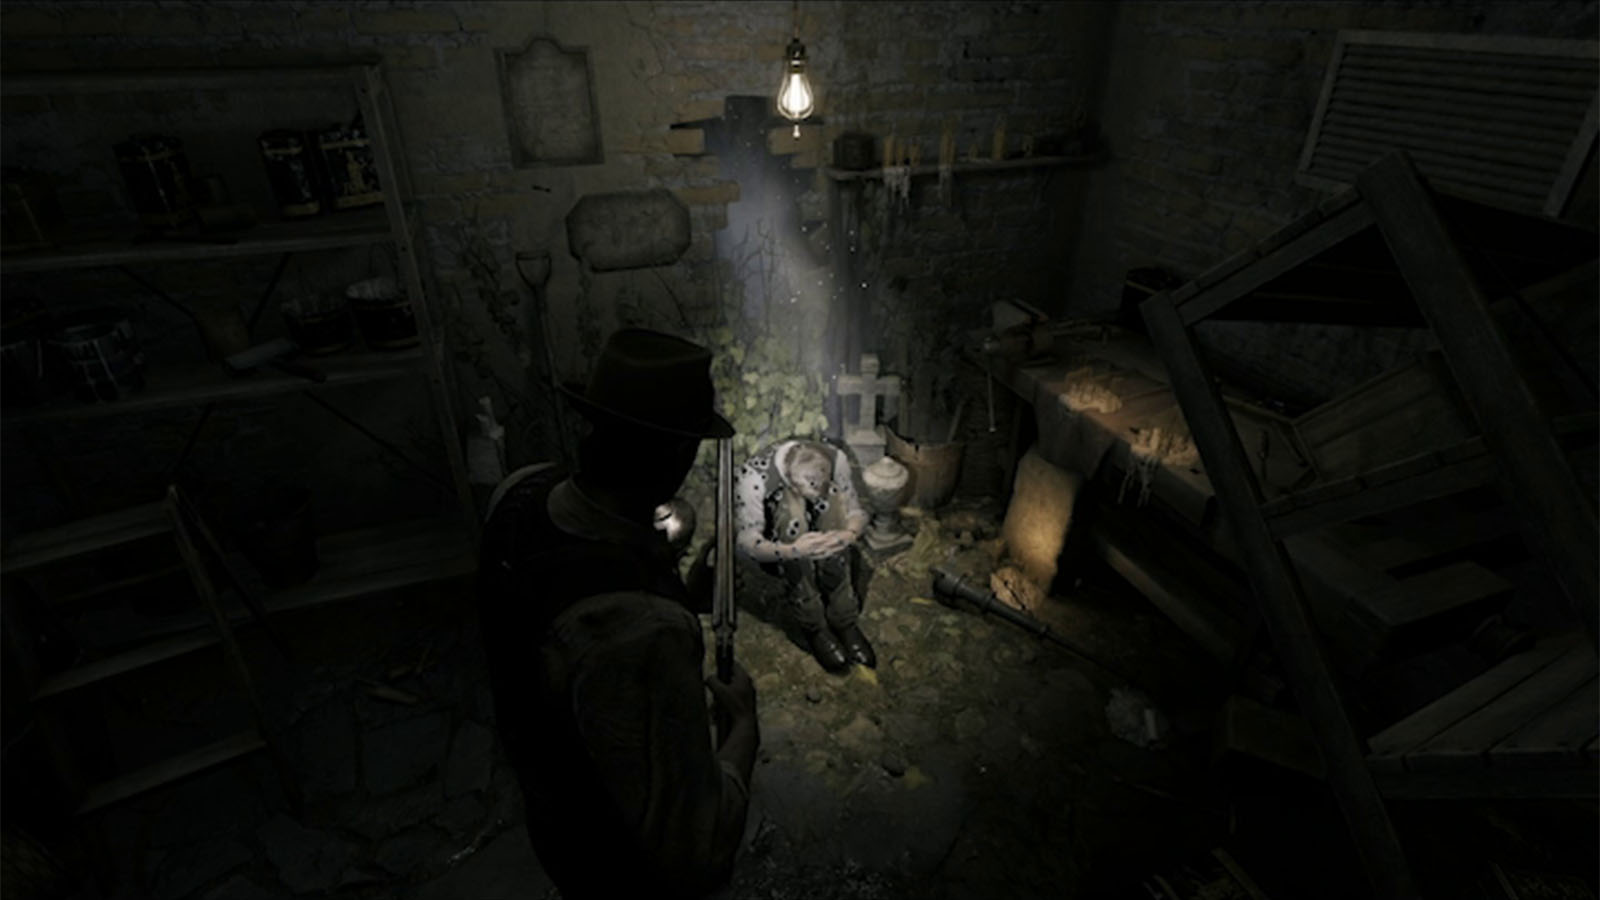
You’ll find who appears to be Jeremy in a fetal position, but he doesn’t respond. The lights suddenly flicker and Jeremy disappears, leaving behind the Broken Plate – Boiler #1.
Repair the decorative plate on the Boiler

Head up to the second floor and use the palette knife to remove the wedge off of the door. This will then give you access to the hall leading to the mezzanine.
In here, you will get a cutscene with Ruth talking about Jeremy. After the cutscene, make sure to talk to Ruth again for a conversation.
Later on, once Ruth is gone after doing a quick lap around the other floors, you will find the Lagniappe – A Brightness From Afar on the table near where she was at.

Check the table near the southwest corner of the mezzanine to find the Lagniappe – Beignet. Make sure to unlatch the door nearby to get a shortcut back to the hallway.
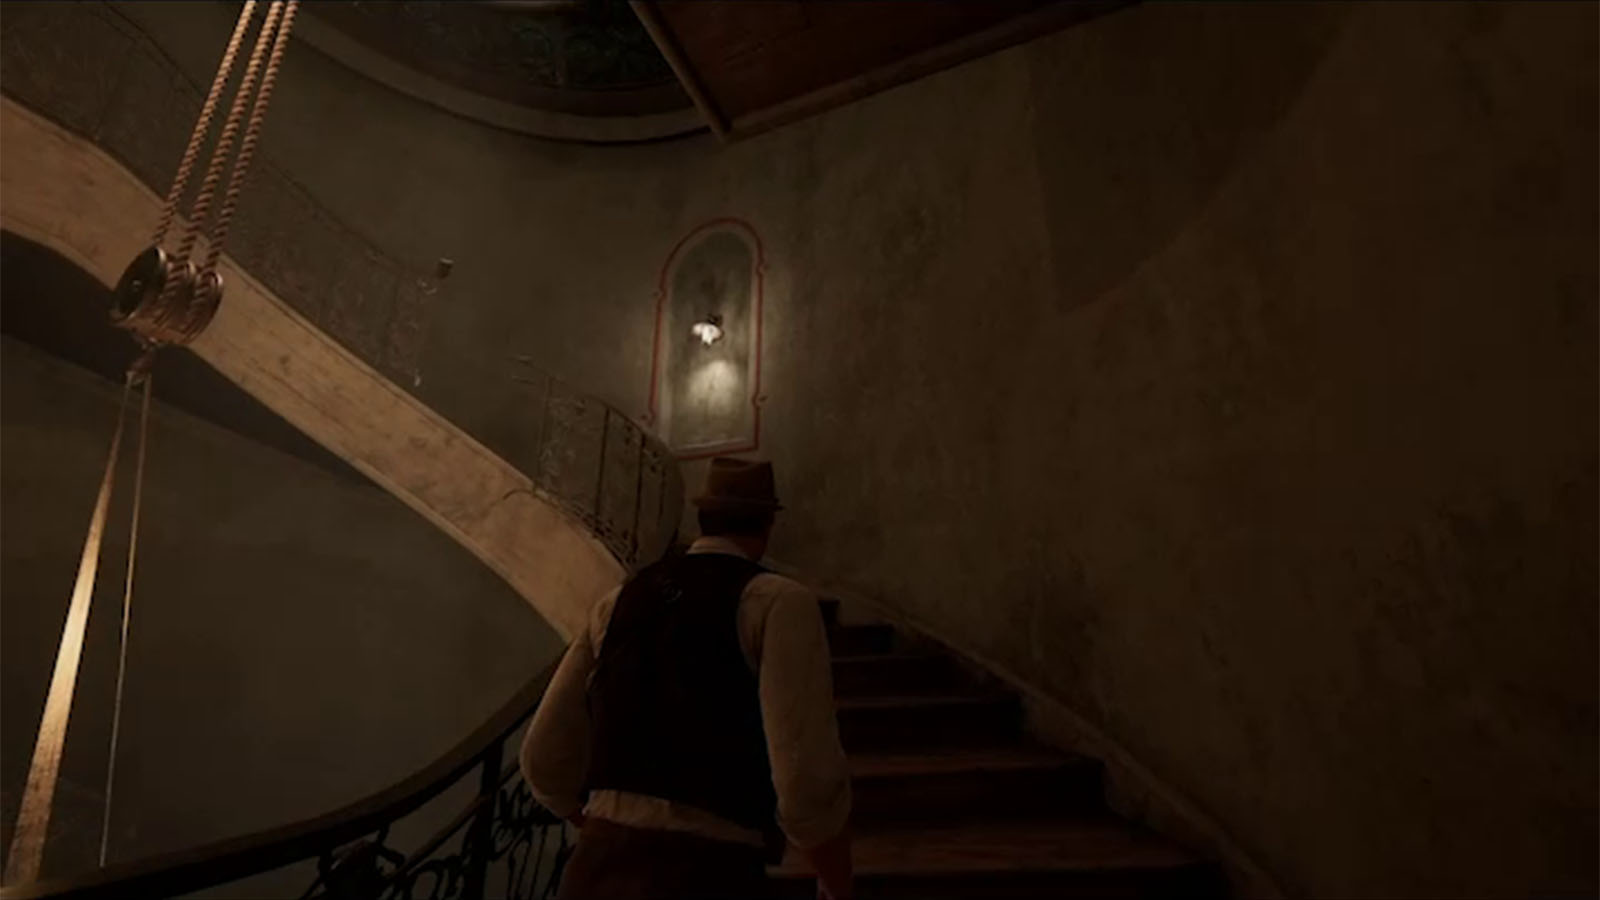
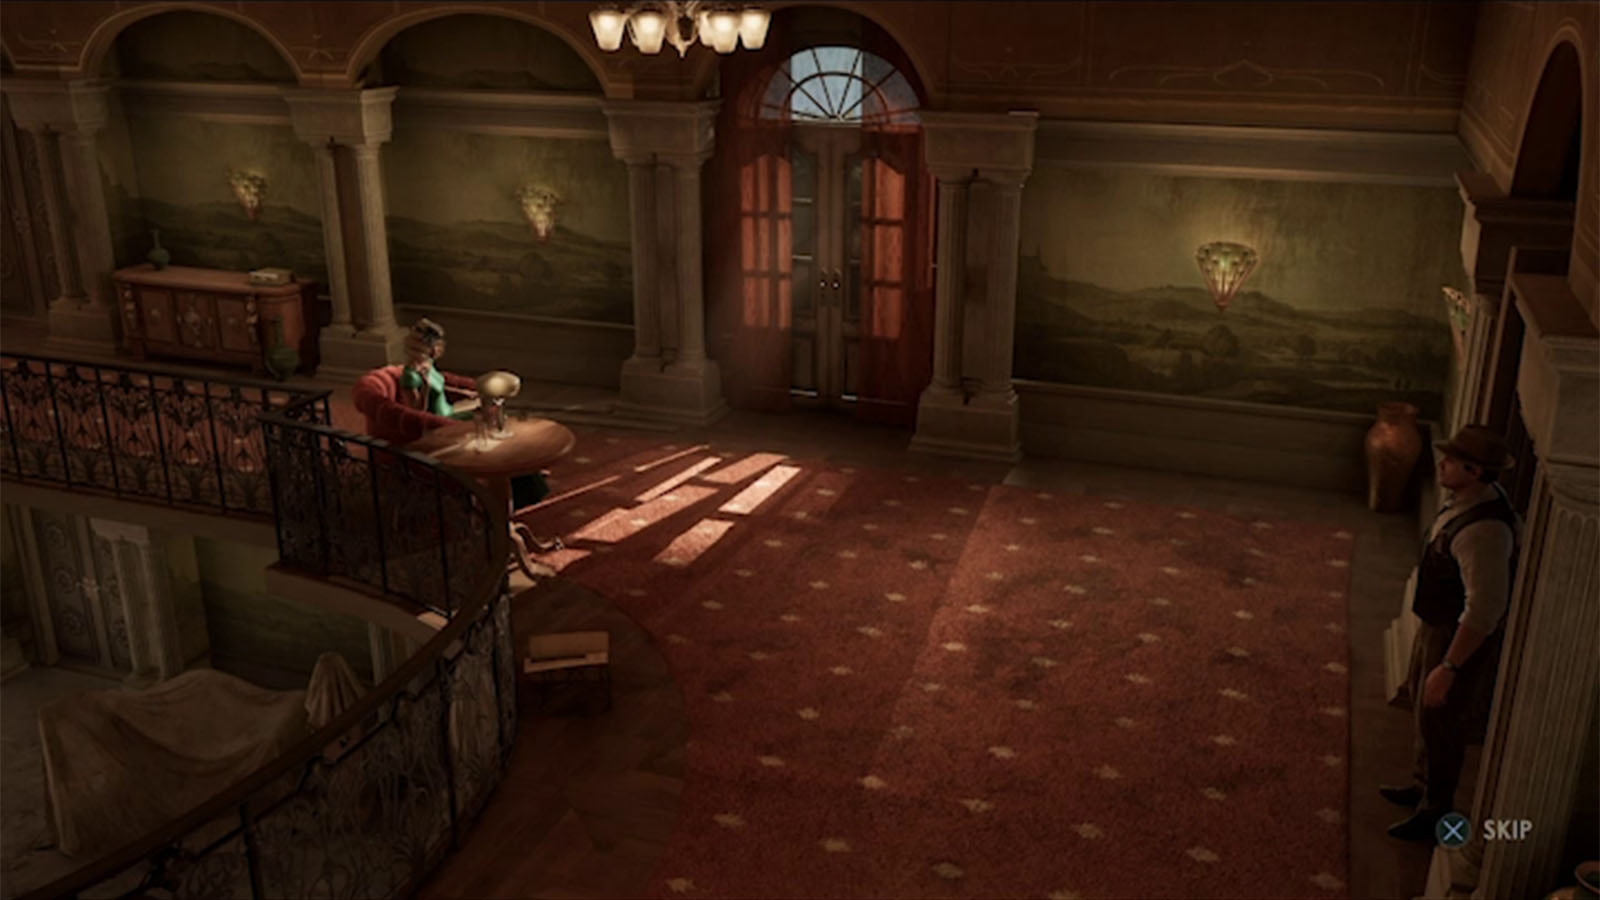
Take the door that leads to the stairwell. Going up will lead you to a dead end, so go down for now to get to the grand parlor. Playing as Emily, you will have a cutscene with Grace where the two has a chat, but then Grace hugs Emily and stabs her with a syringe.
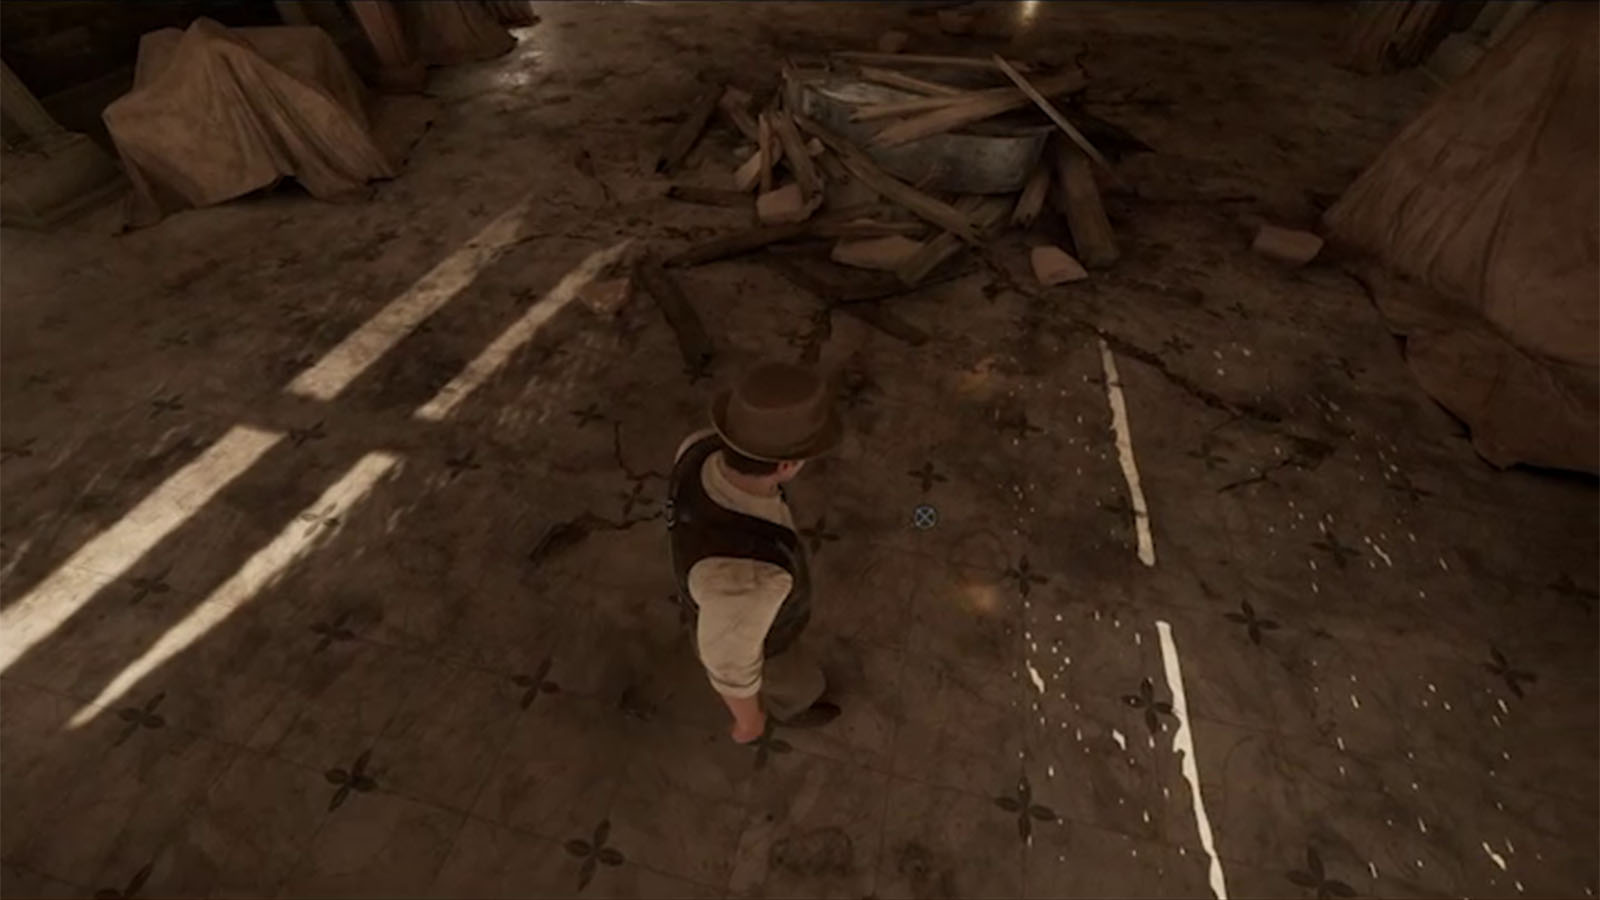
In the grand parlor, you can find the Lagniappe – Syringe near the debris. Along with the Beignet, picking up the syringe should complete the A Great Depression Lagniappes set.
Inspecting the piano will also give you the Medicine Box Key.
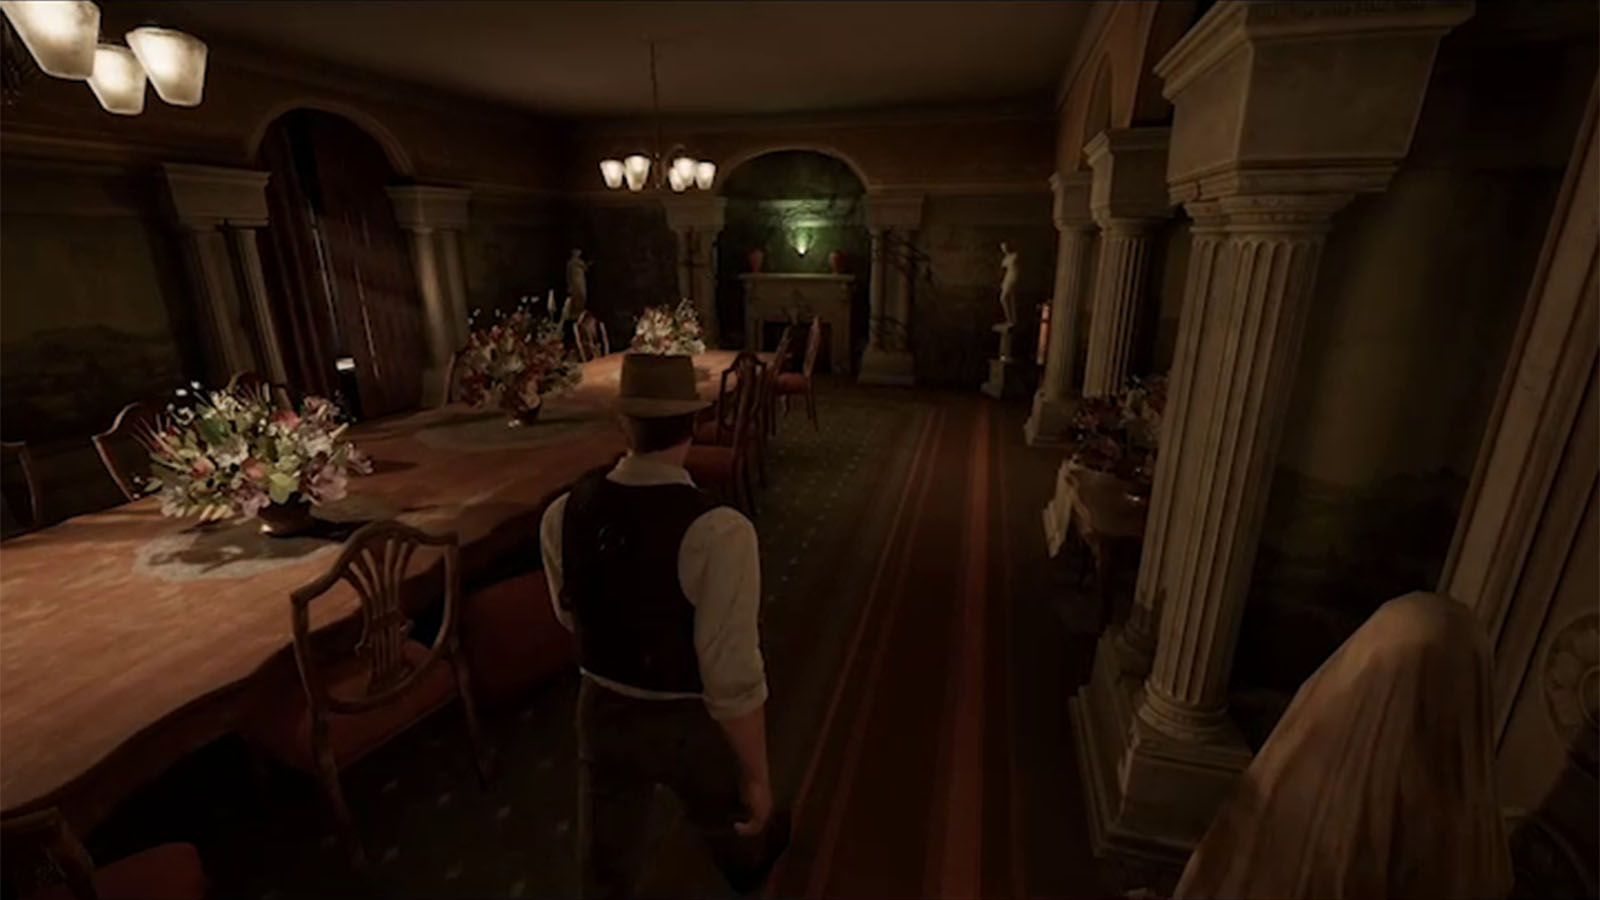
The door leading to the other hallway is closed for now, so head to the door that leads to the dining room.
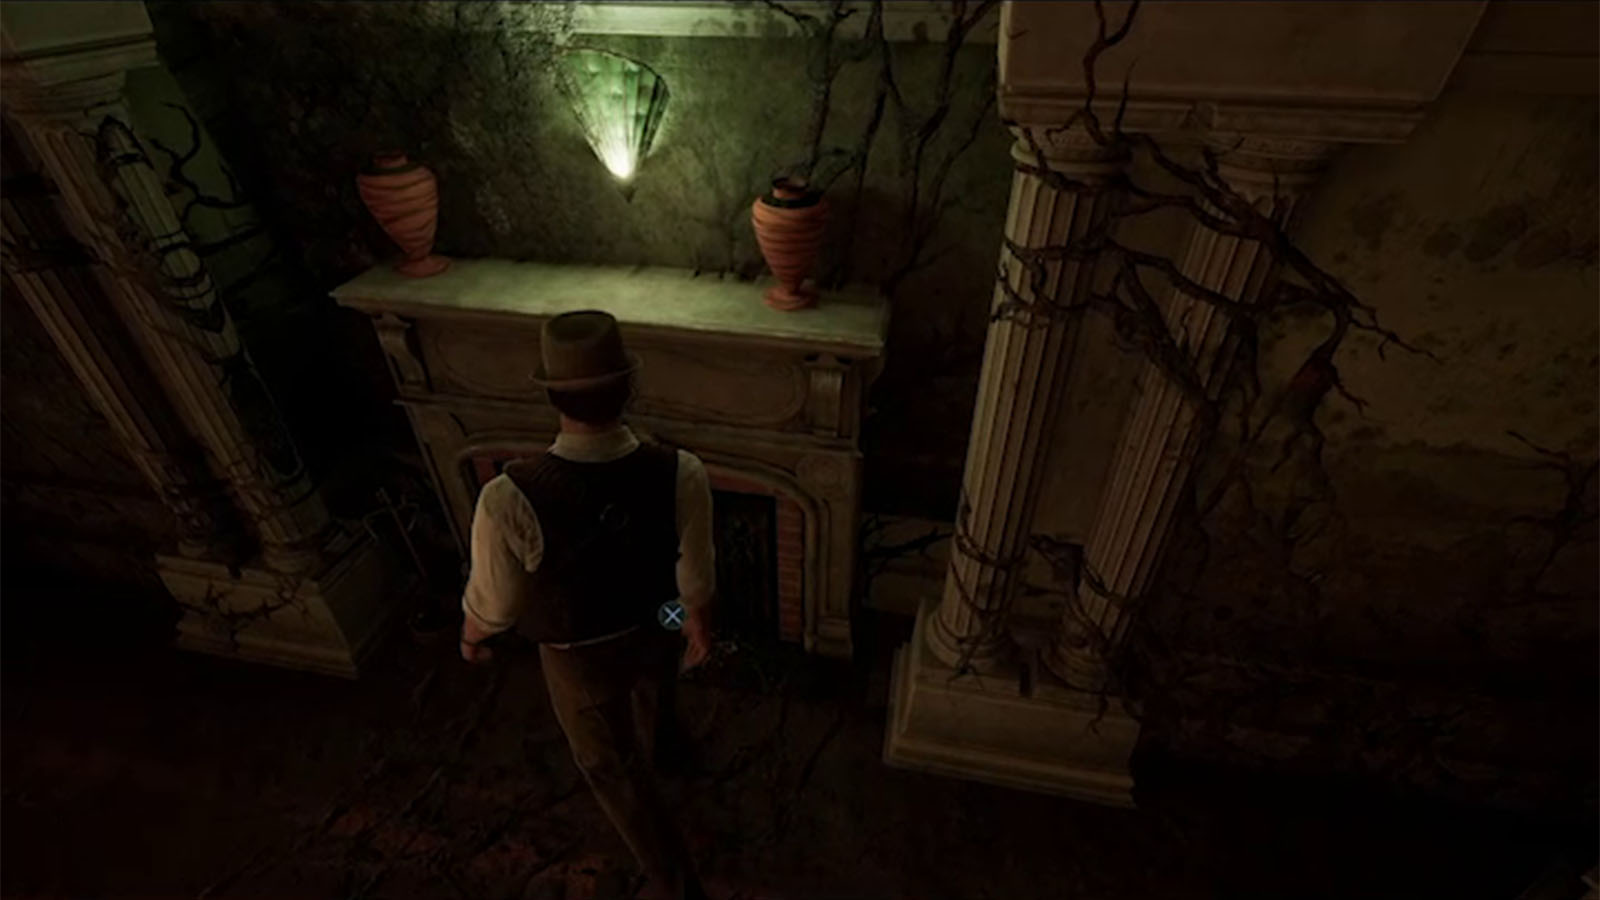
Inside the dining room, inspect the fireplace to find the Clue – On the Commonplace of Evil.
Find the missing medicine bottles
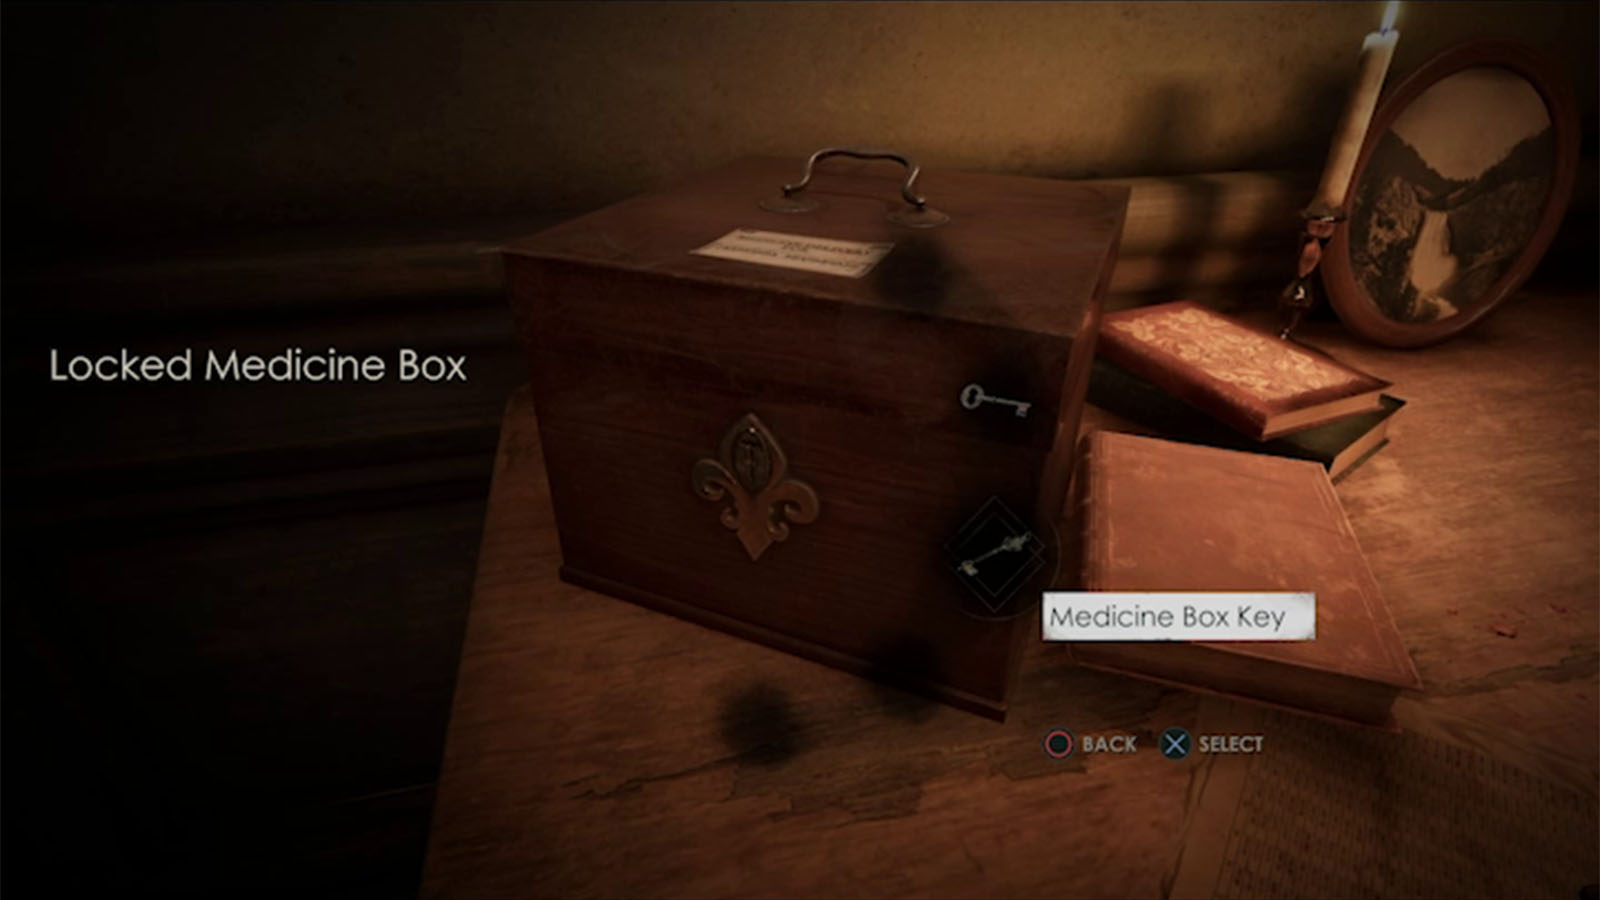
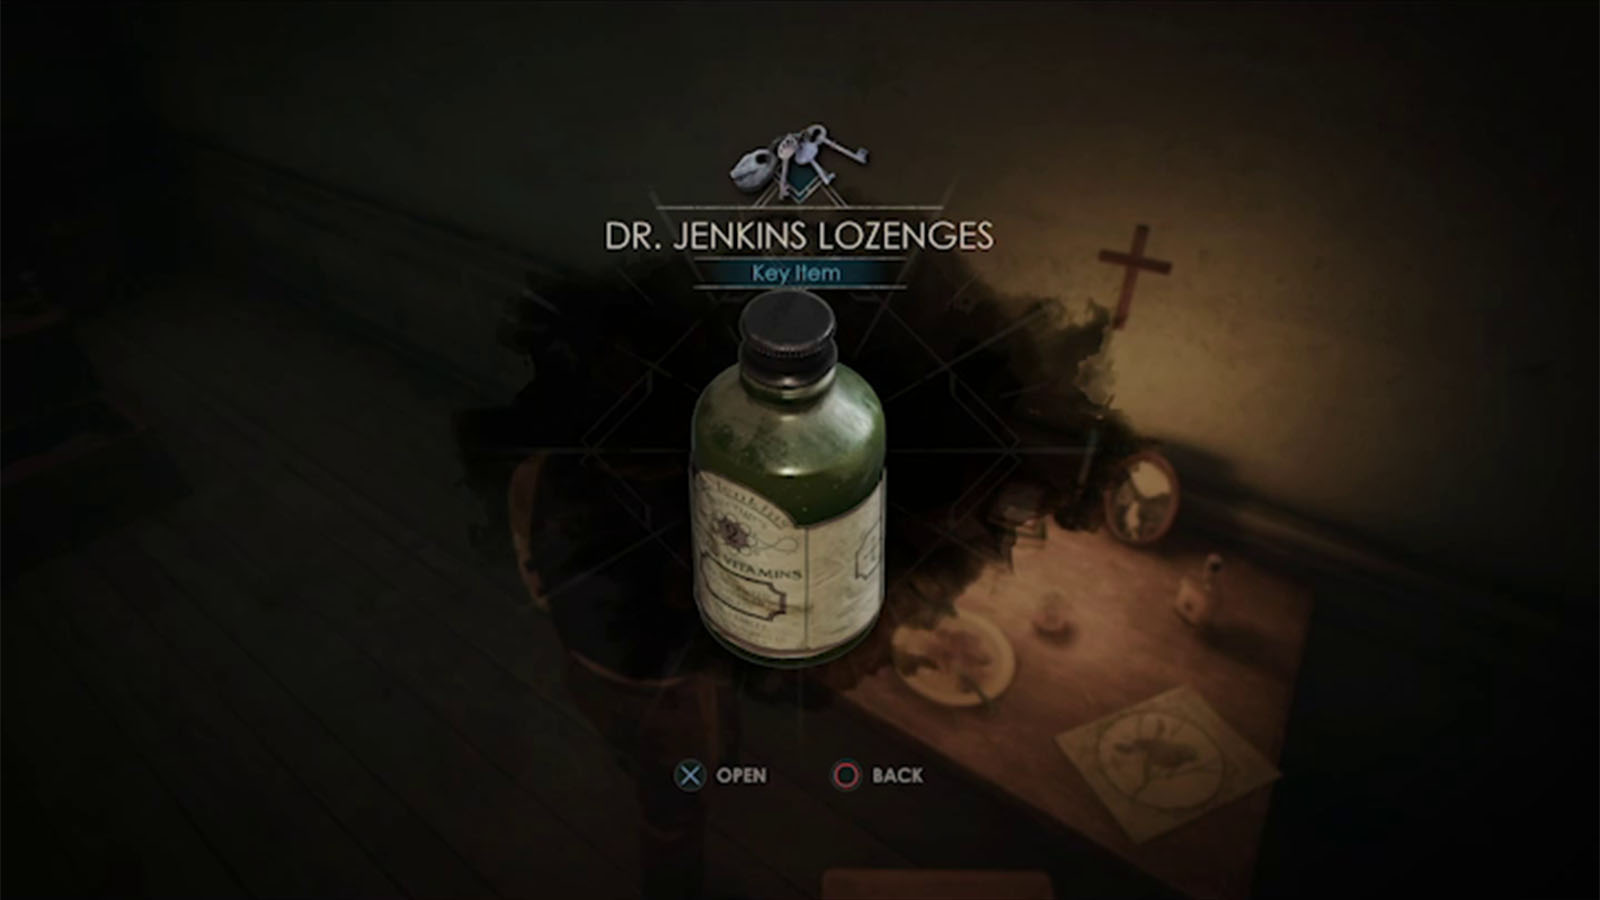
Go to the other door and unlatch it to get a shortcut back to the servant’s stairs. From here, go back to Lottie’s room and use the Medicine Box Key to open the medicine box on the table and get Dr. Jenkins Lozenges.
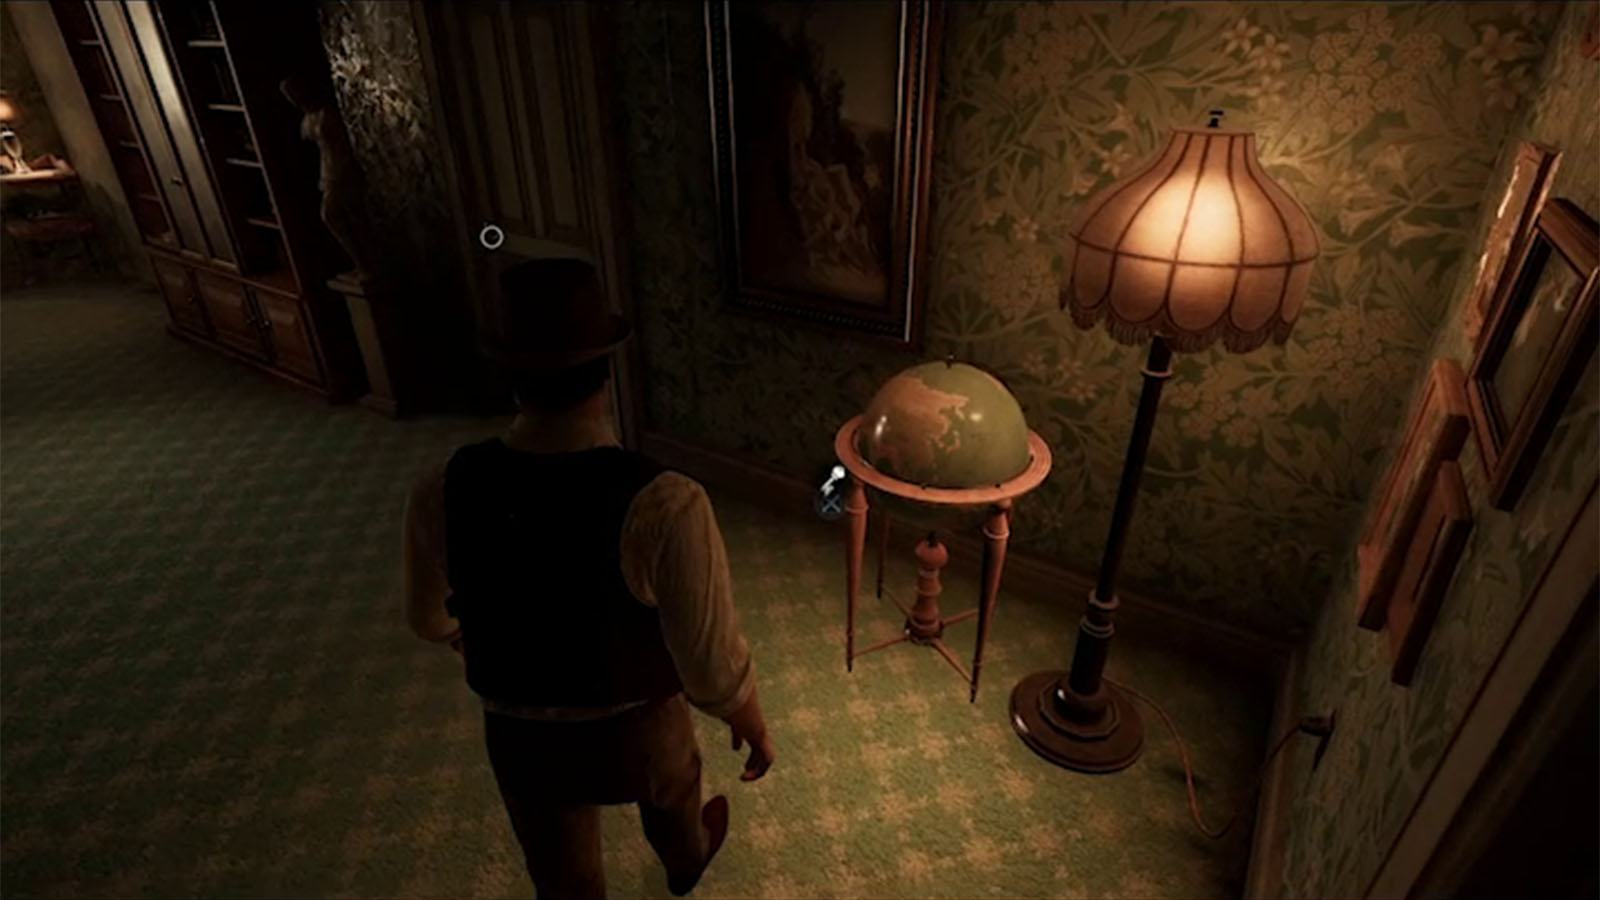
Head back up to the gallery and use the Sitting Room Key to get access to the sitting room. Inside, you’ll find the Locked Globe that is missing the France piece.
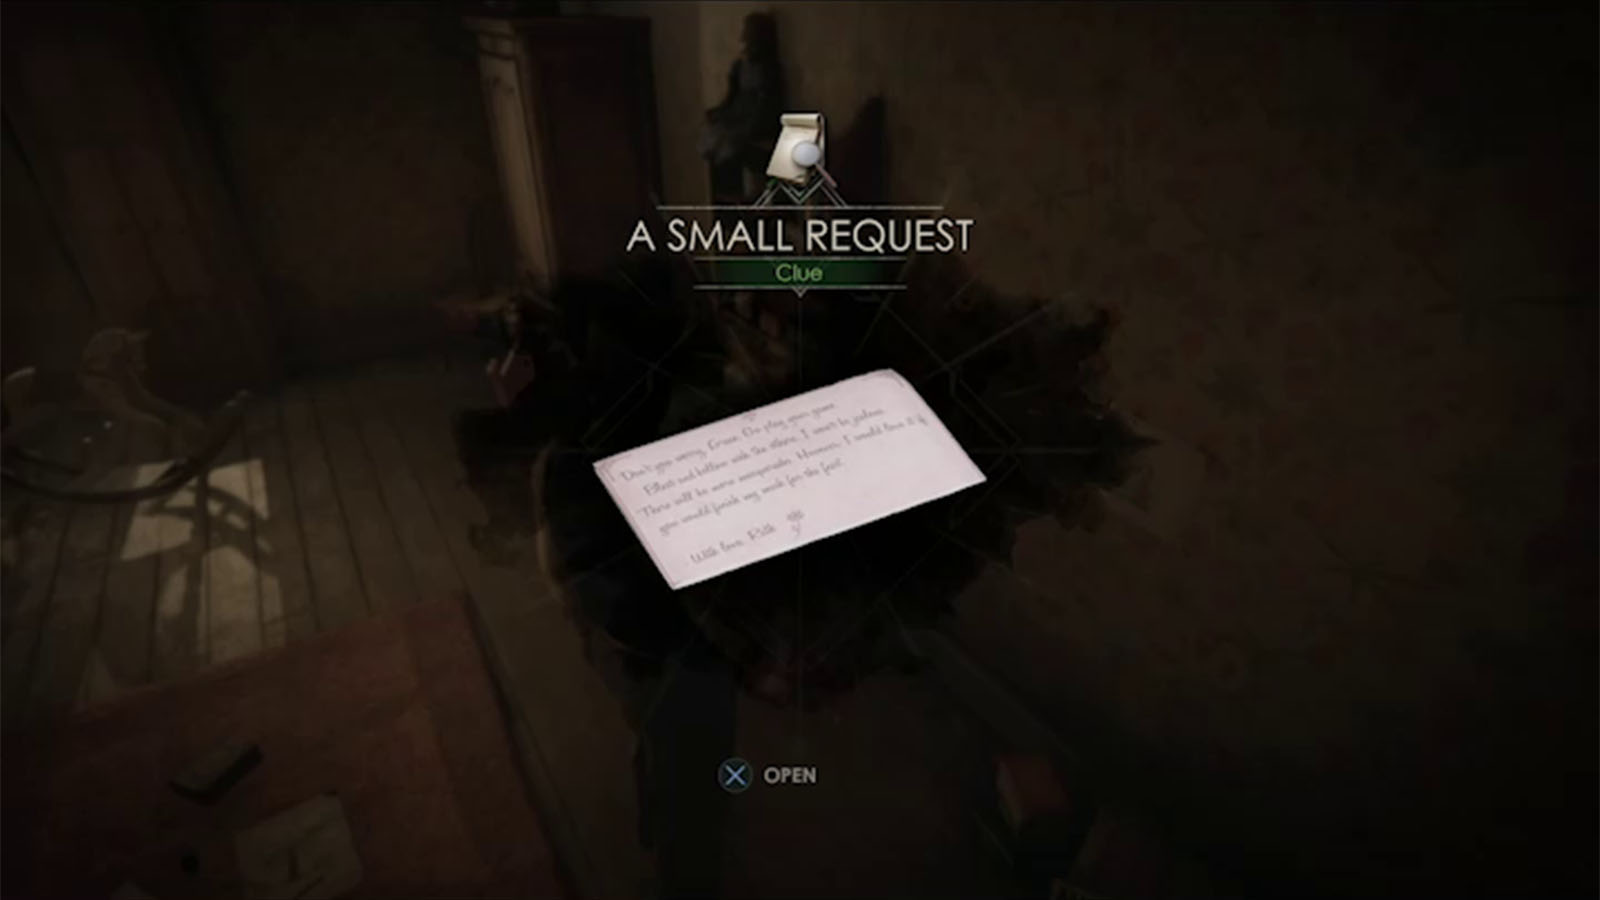
The first door to the right leads to Grace’s room. On her desk, you’ll find the Clue – A Small Request.
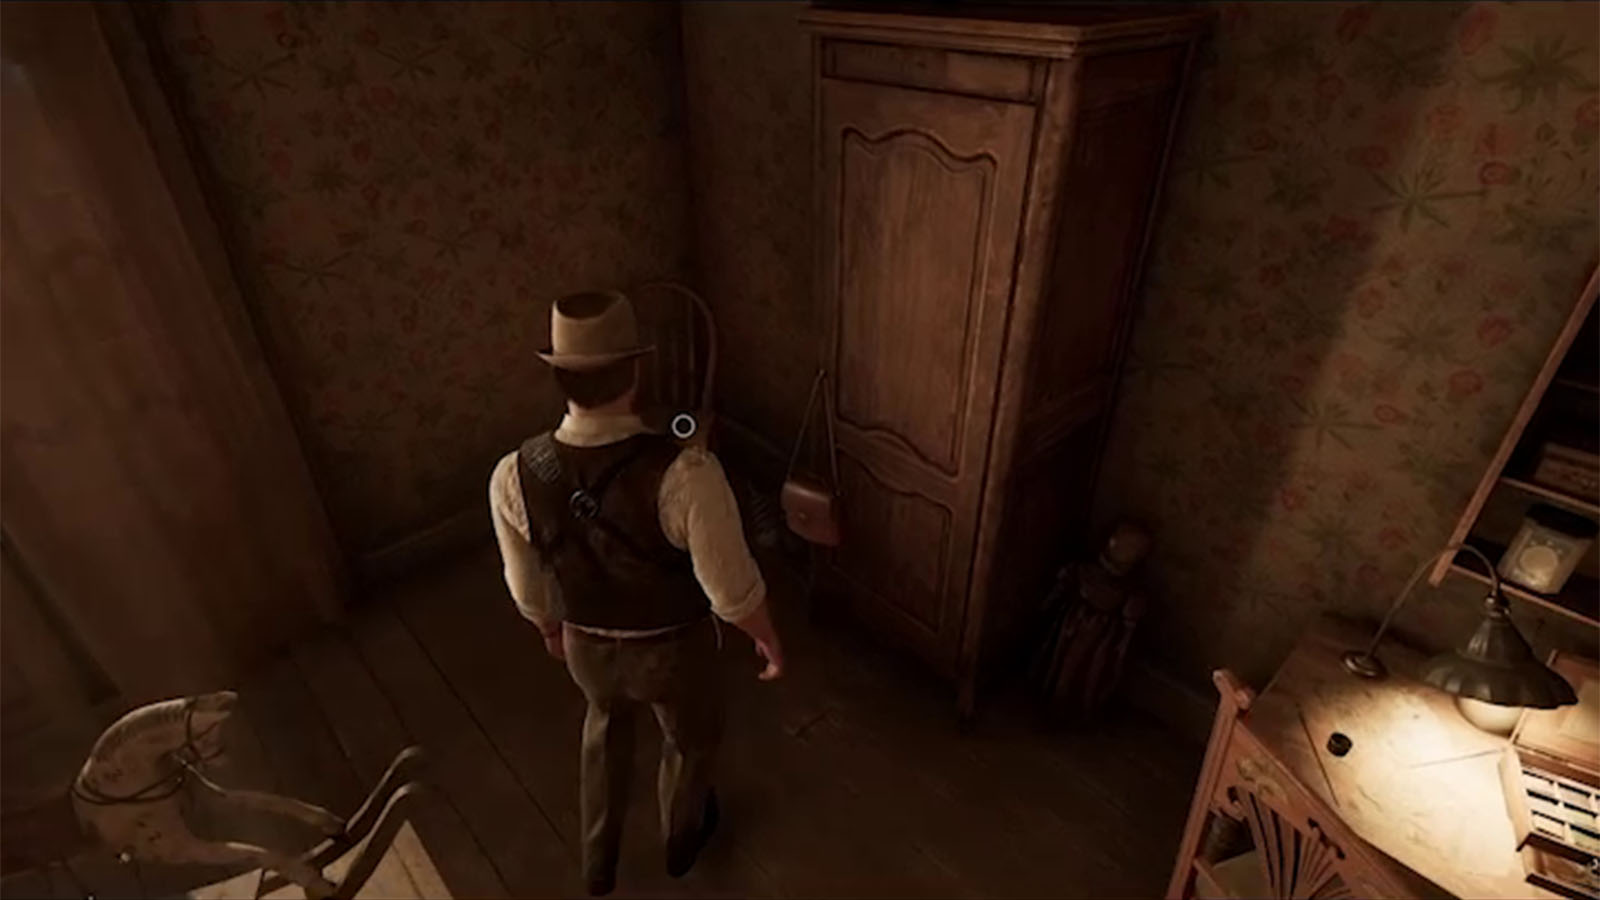
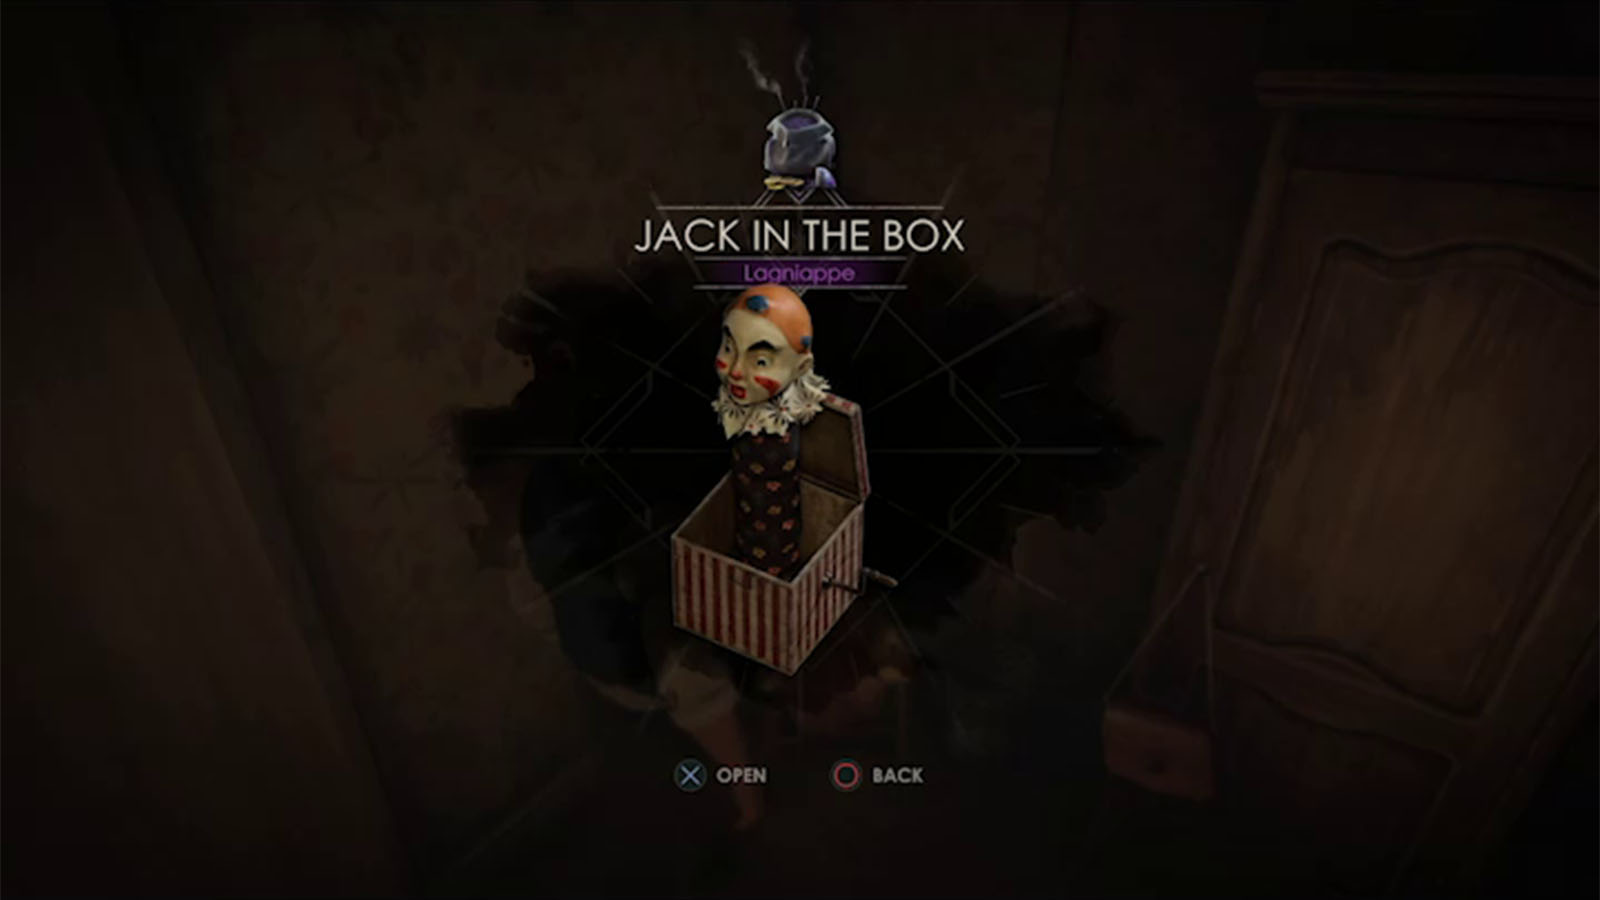
On the chair in the corner of the room is the Lagniappe – Jack in the Box. Interact with it first to make it pop, then you can grab it.
Check the next room which is Cassandra’s room. As Edward, you will get a cutscene where you get to have a short conversation with Grace. You ask about where Cassandra is, but Grace prefers not to talk about it and she decides to leave the room.
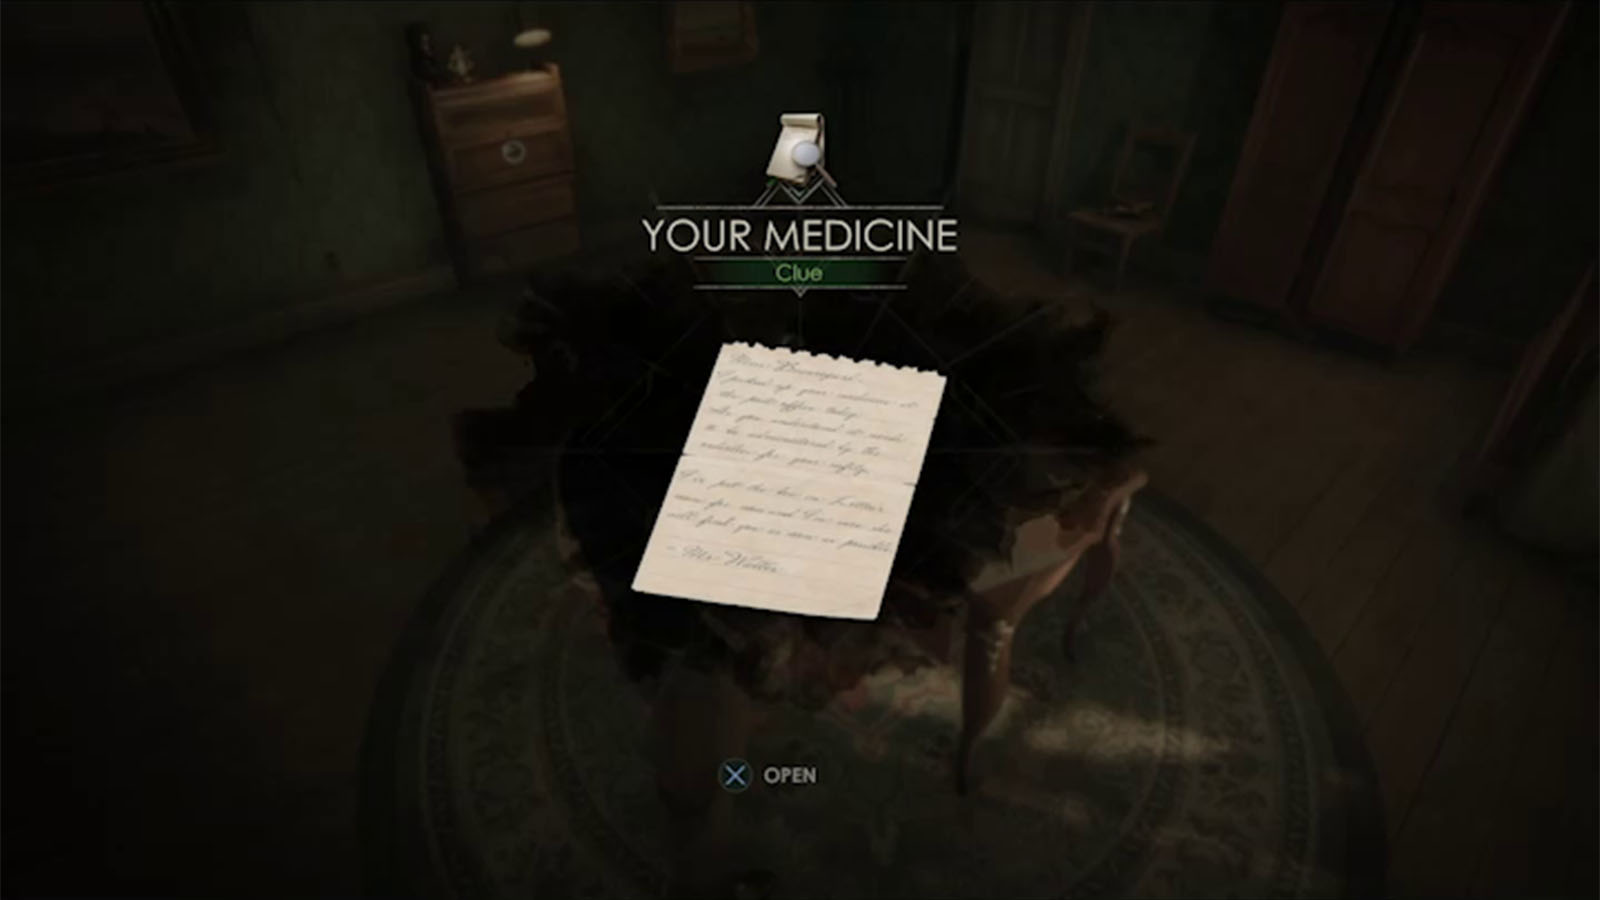
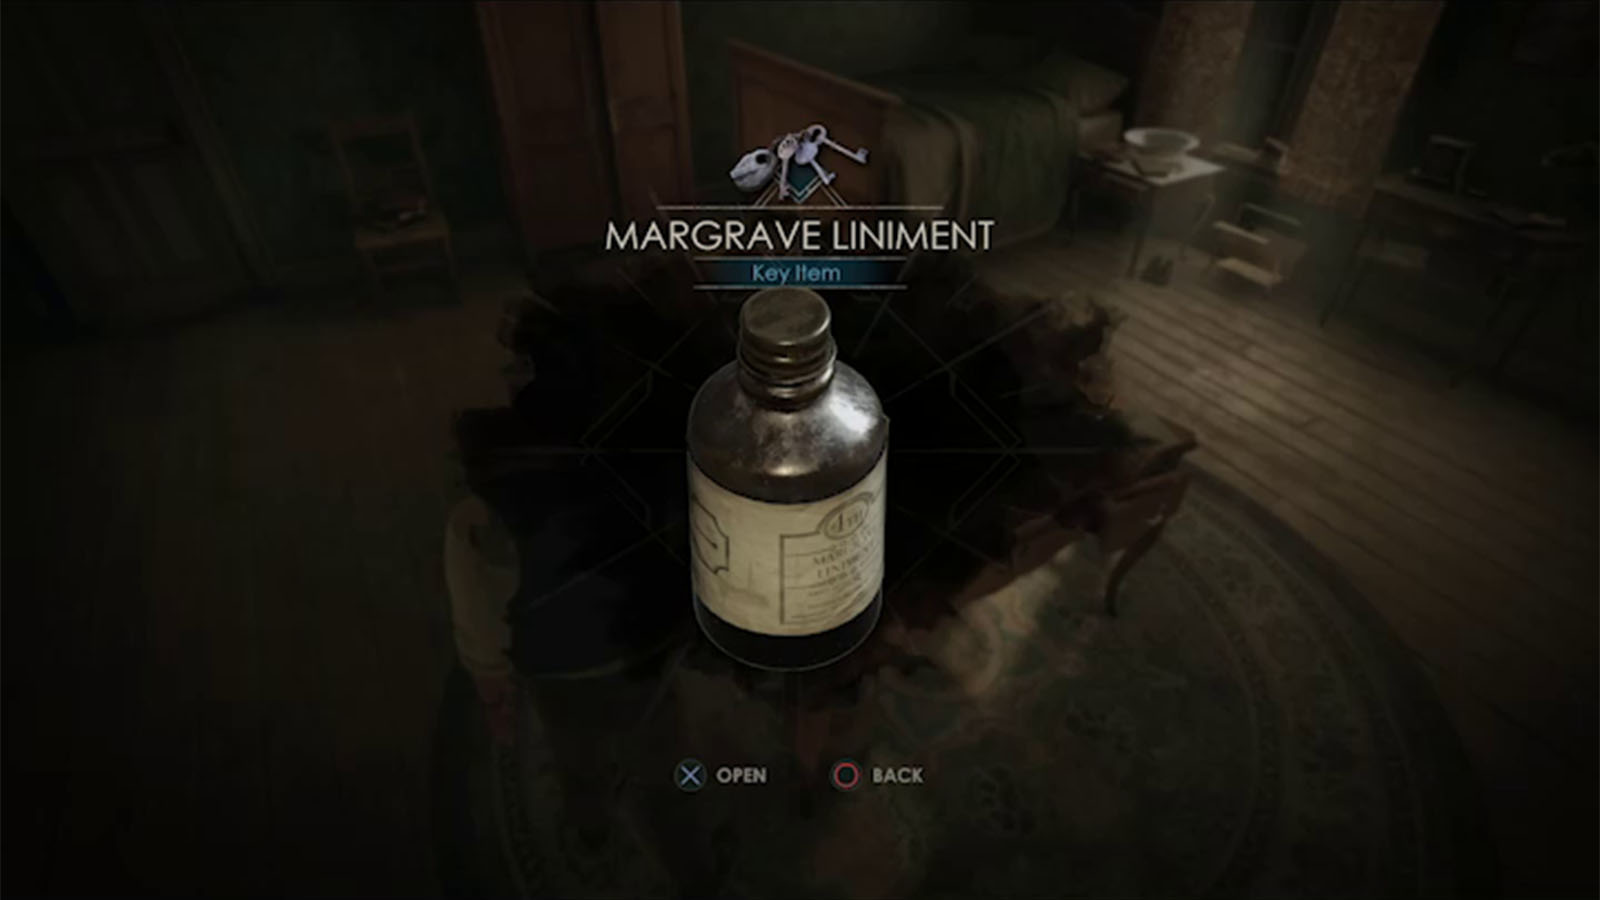
Inspect the note on the middle table to find the Clue – Your Medicine and the Margrave Liniment.
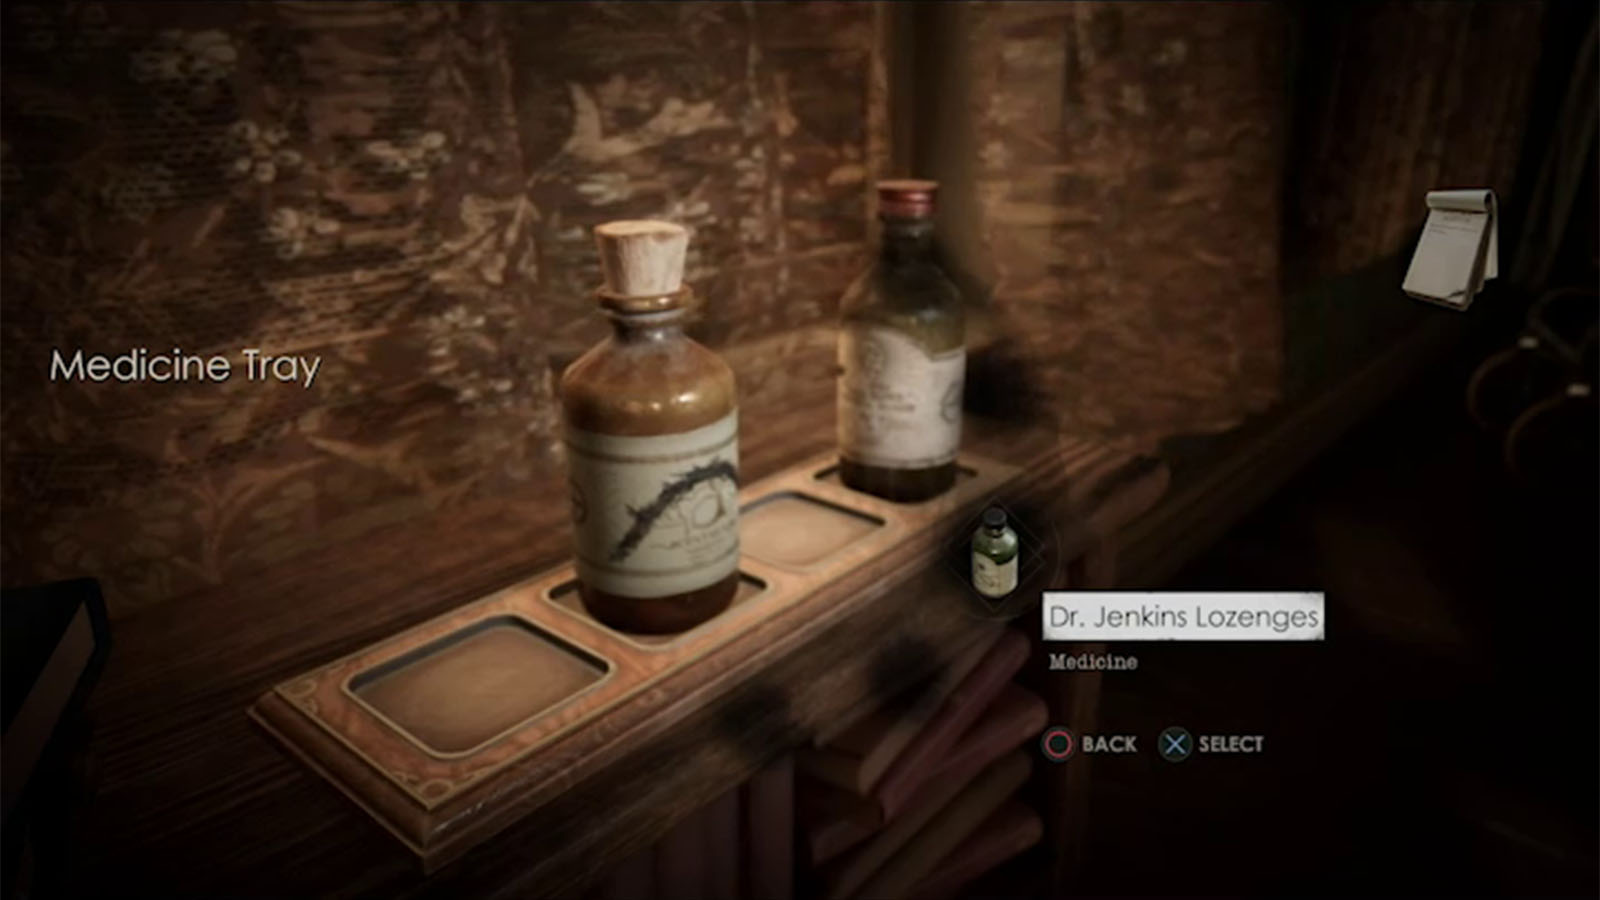
On one side of the room is a locked display case with the same lock that uses zodiac signs. In order to figure out the combination, check the shelf by the window to find the Medicine Tray which is another puzzle. On this tray, you can put both bottles of Dr. Jenkins Lozenges and Margrave Liniment.
Find the combination for the lock
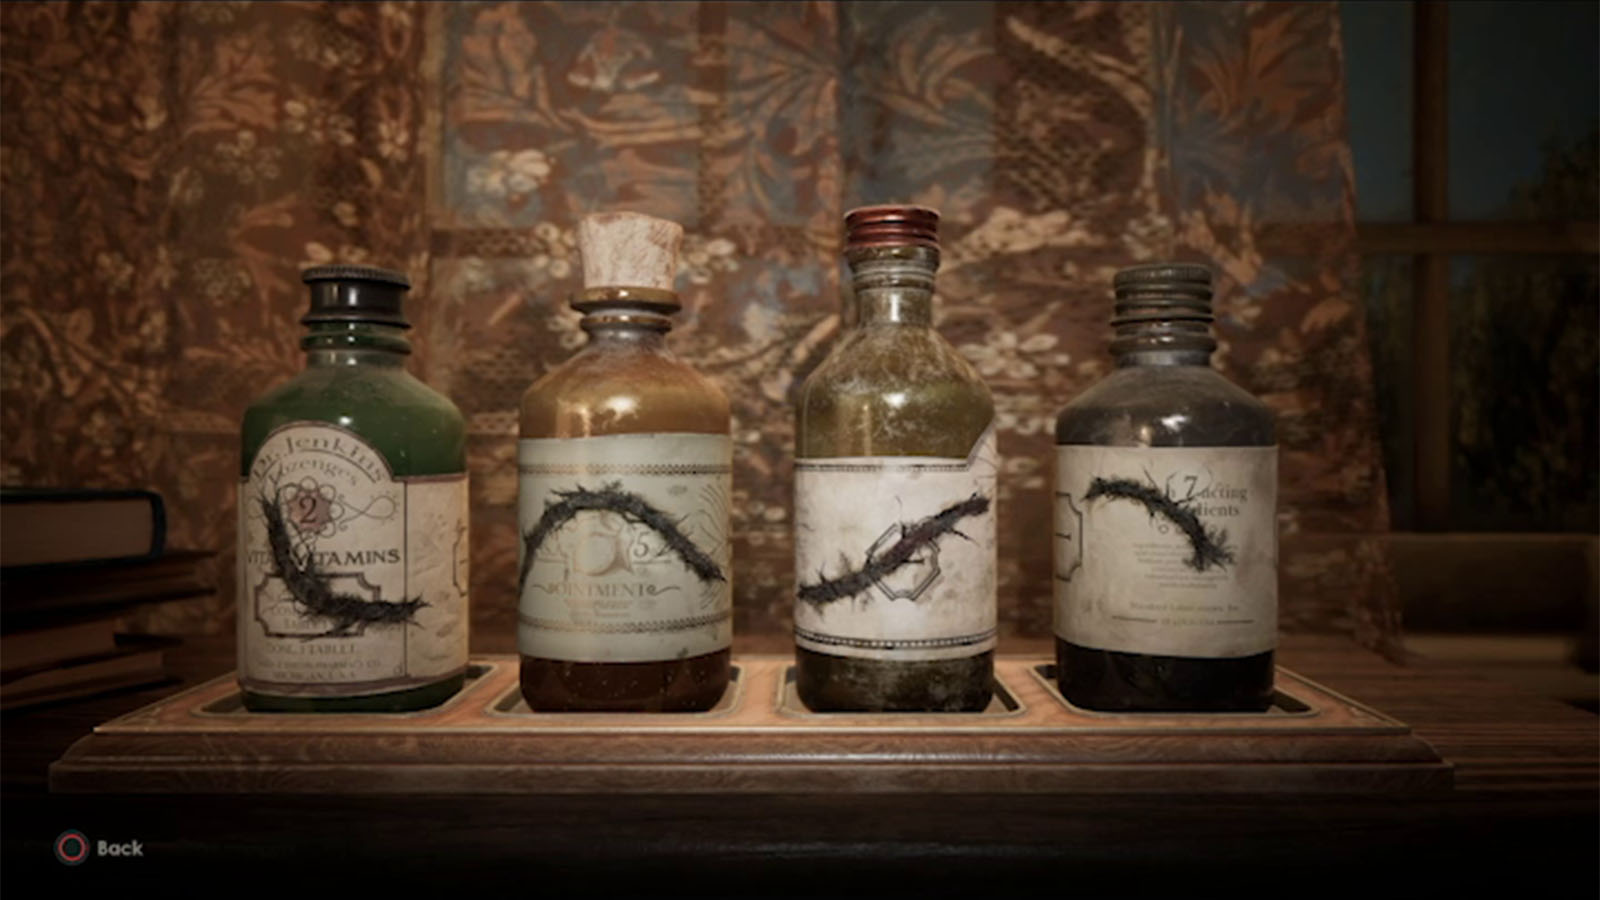
To solve the puzzle of the medicine tray, simply rearrange the bottles so that the rot on them will line up into one continuous line. Place these bottles in order, from left to right:
- Dr. Jenkins Lozenges
- Jackson’s Universal Remedy
- Ointment
- Margrave Liniment
Doing this will reveal the code 2-5-7 on the bottles. Refer to Perosi’s Journal again to find out that the numbers coincide with Pisces, Gemini, and Leo or ♓︎-♊︎-♌︎. Use this combination to open the lock and obtain the Broken Plate – Boiler #2.
With both plate pieces on hand, go back to the boiler room and place them on the plate. Then, refer back to the Commonplace Book and find the image of the chapel and the sun. Rearrange and rotate the plate pieces to match the image. Once done, more steam will come out of the boiler.
Find the Talisman numbers hidden on the Boiler
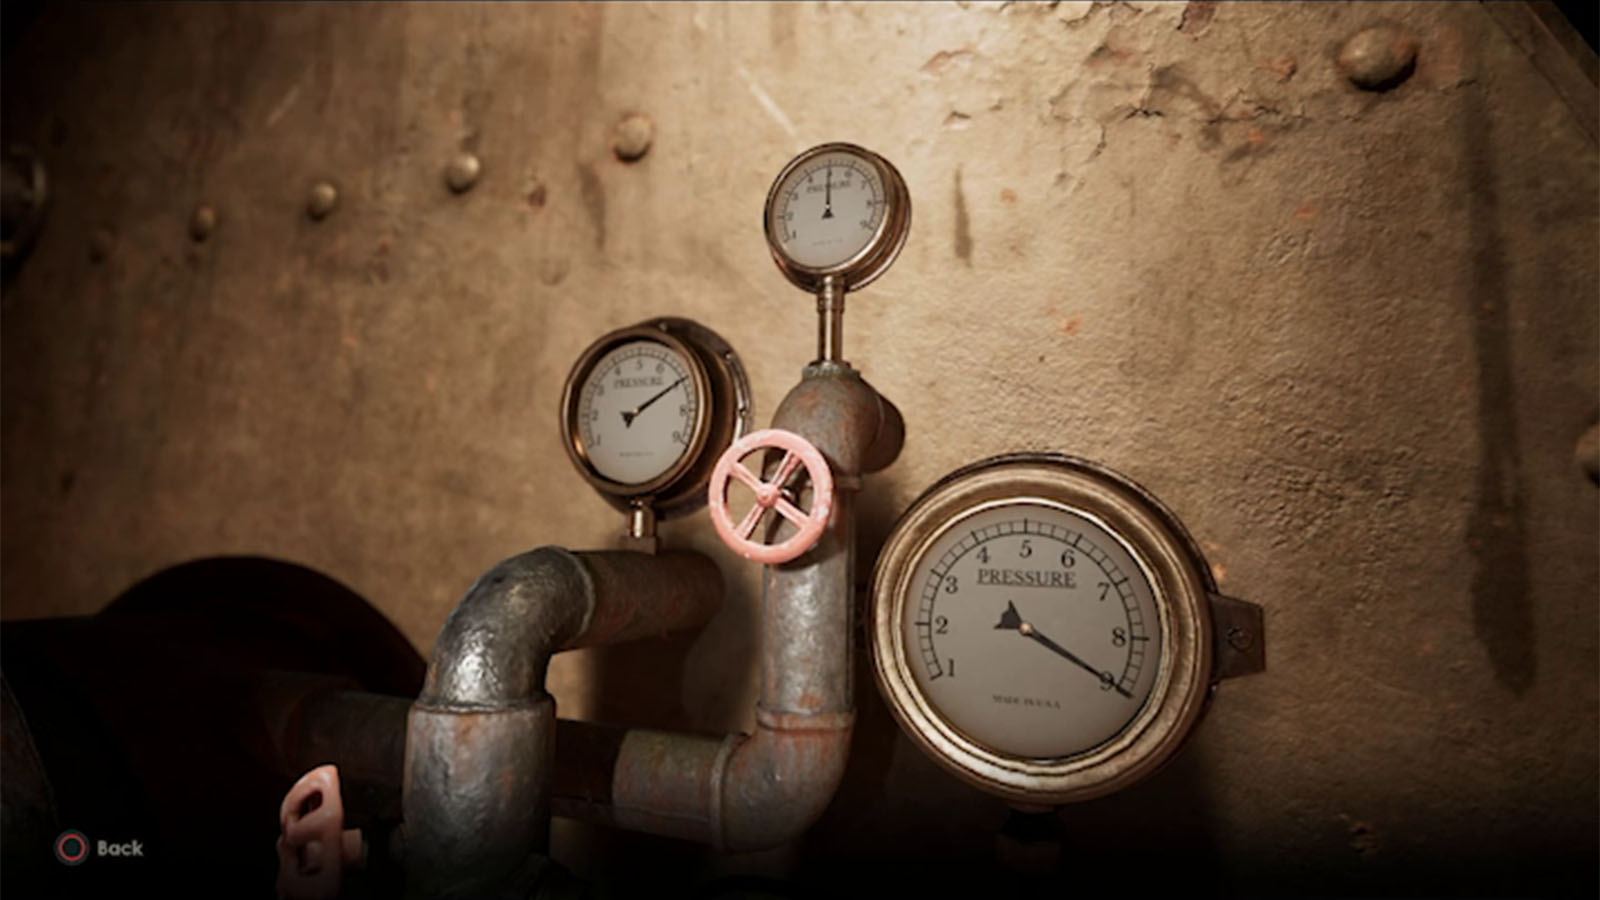
Check the gauges on the side of the boiler and take note of the numbers starting from the biggest one to the smallest one, which is 9-7-5.

Inspect the plate on the side of the boiler again to place the talisman on it. Then, place in 9-7-5 on the dials. It will then show the tanks in the wine cellar as your next destination.
Make your way to the wine cellar which has now changed to a staircase leading upwards to a cemetery.
Look for Jeremy inside the Chapel
Go through the cemetery and you will find a mausoleum which has the Hartwood family name on it; skip this for now. Continue down the path until you see a statue and another door.
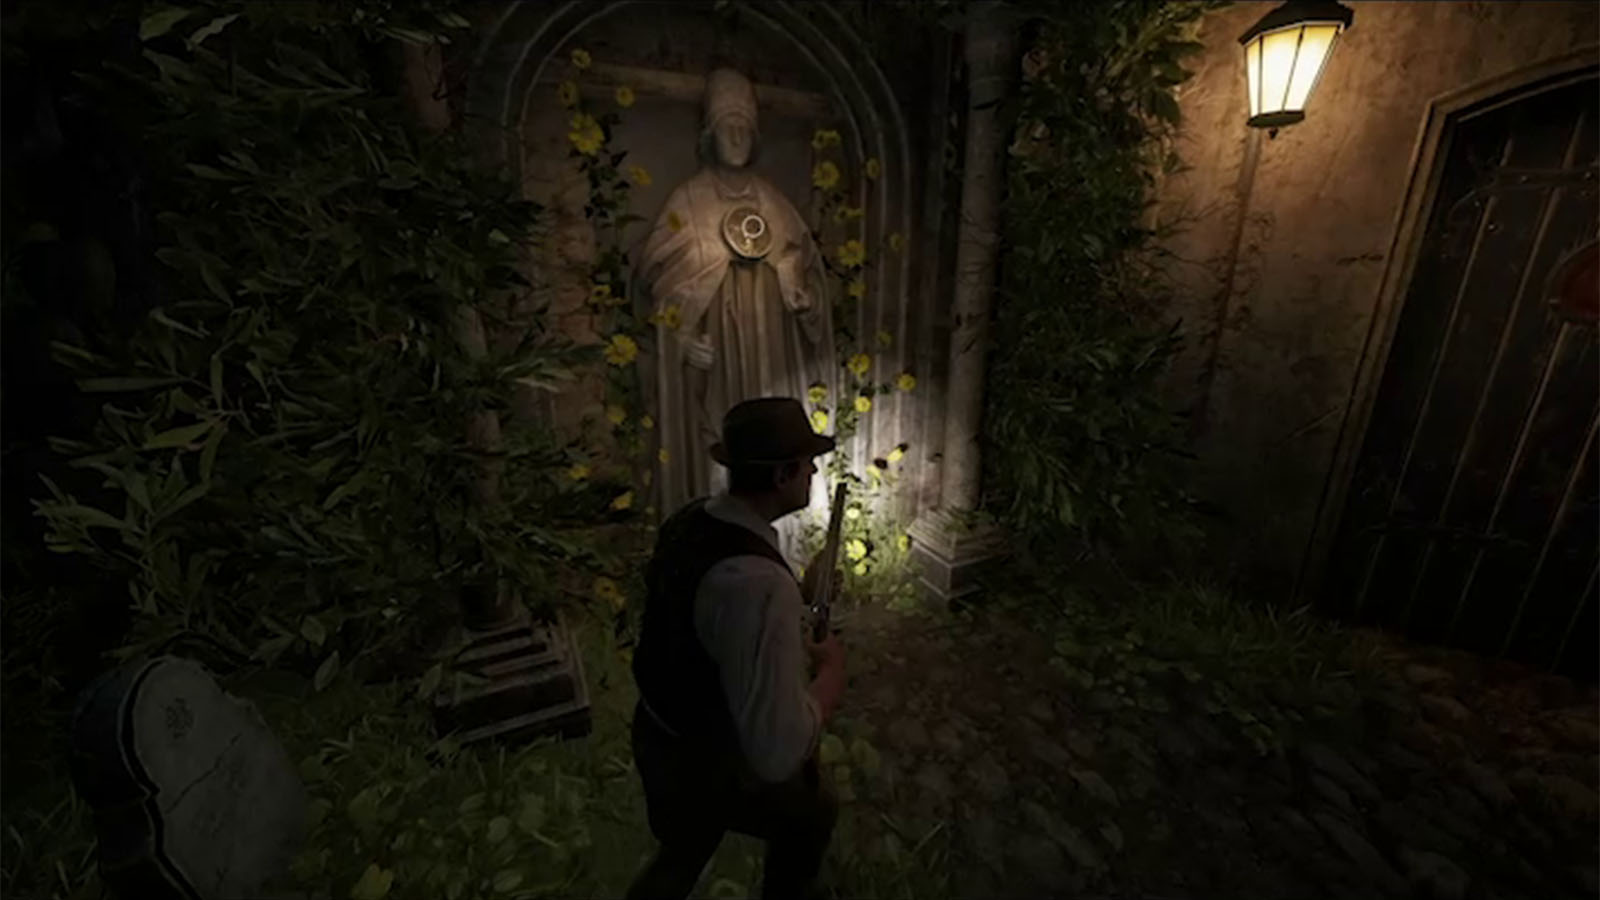

Inspect the statue to get The Blessing. Then, inspect the Hollow Door and place The Blessing on it.
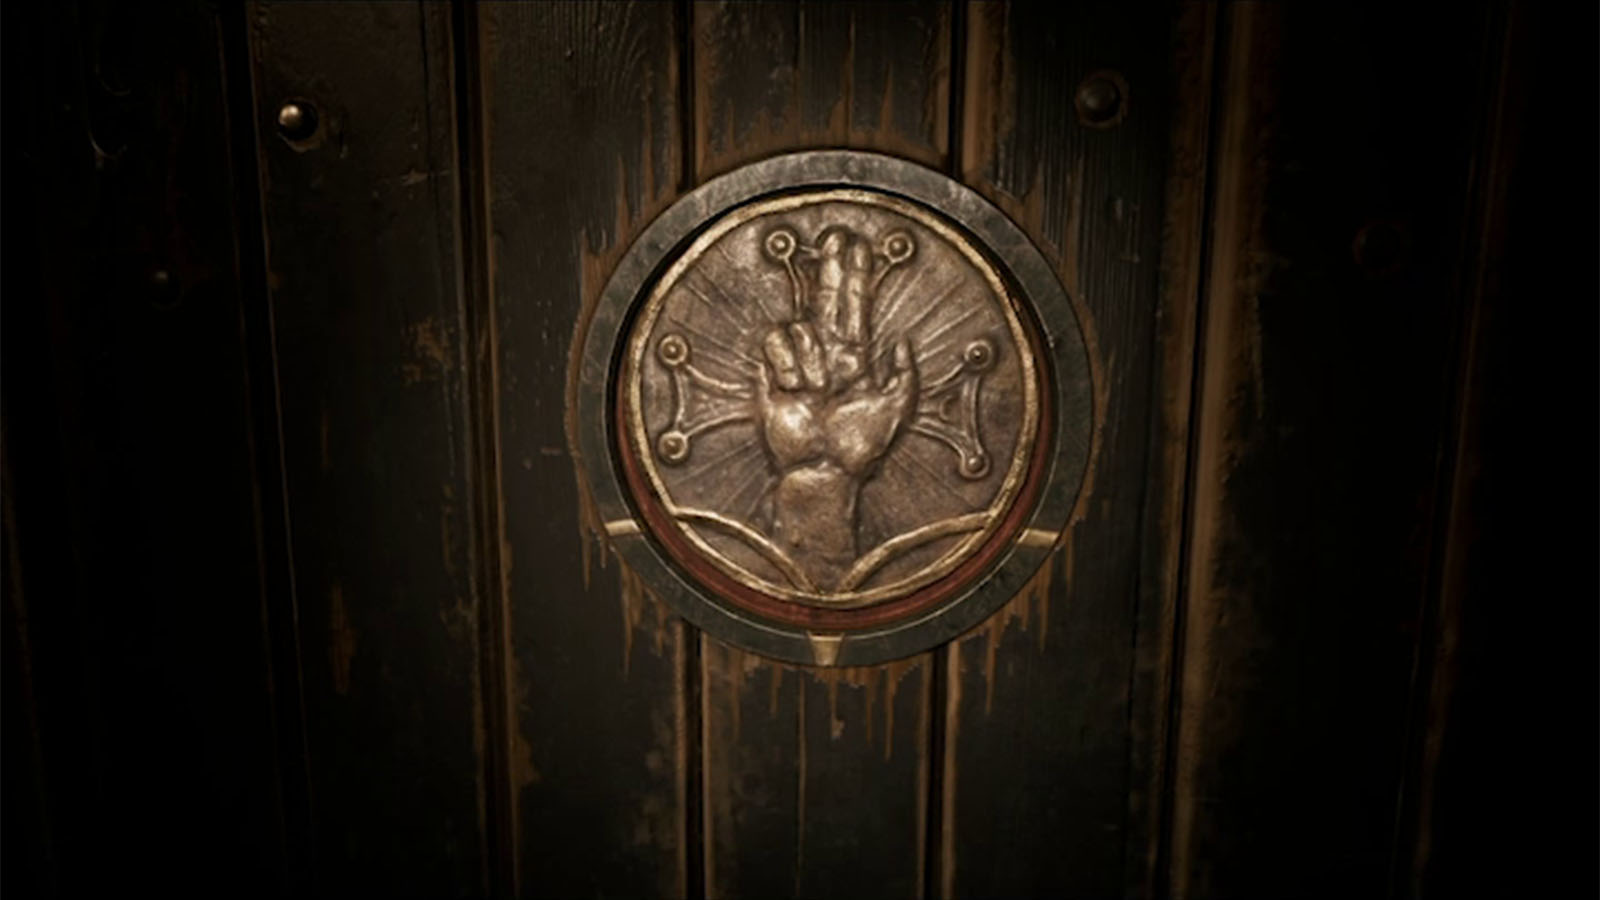
Rotate the plate until the fingers are pointing straight upwards and the door will open up.
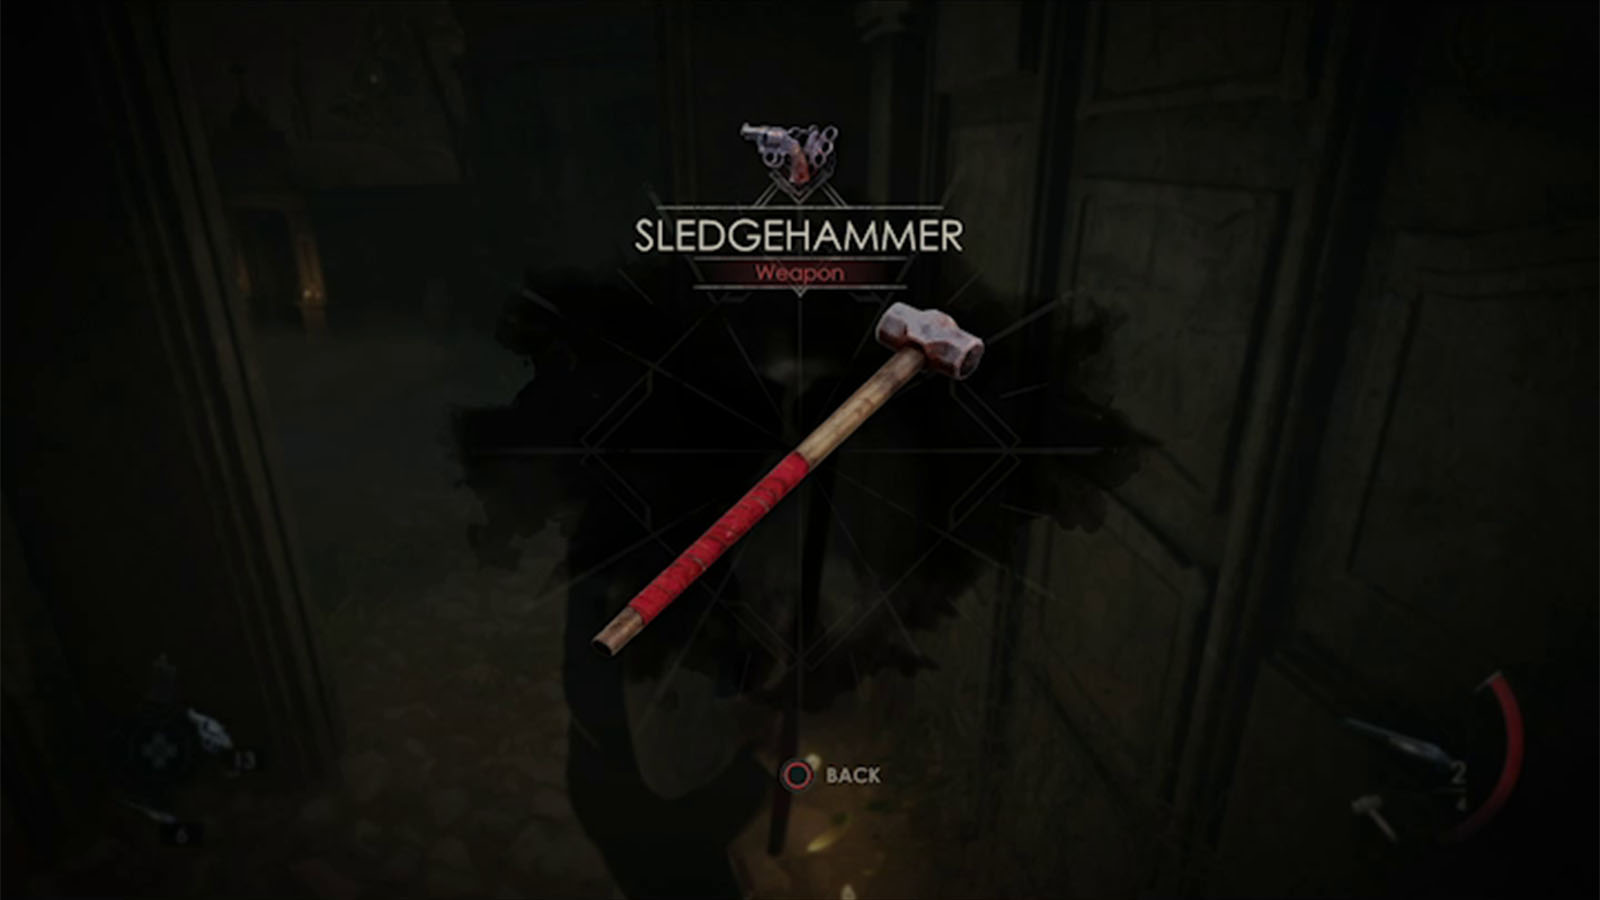
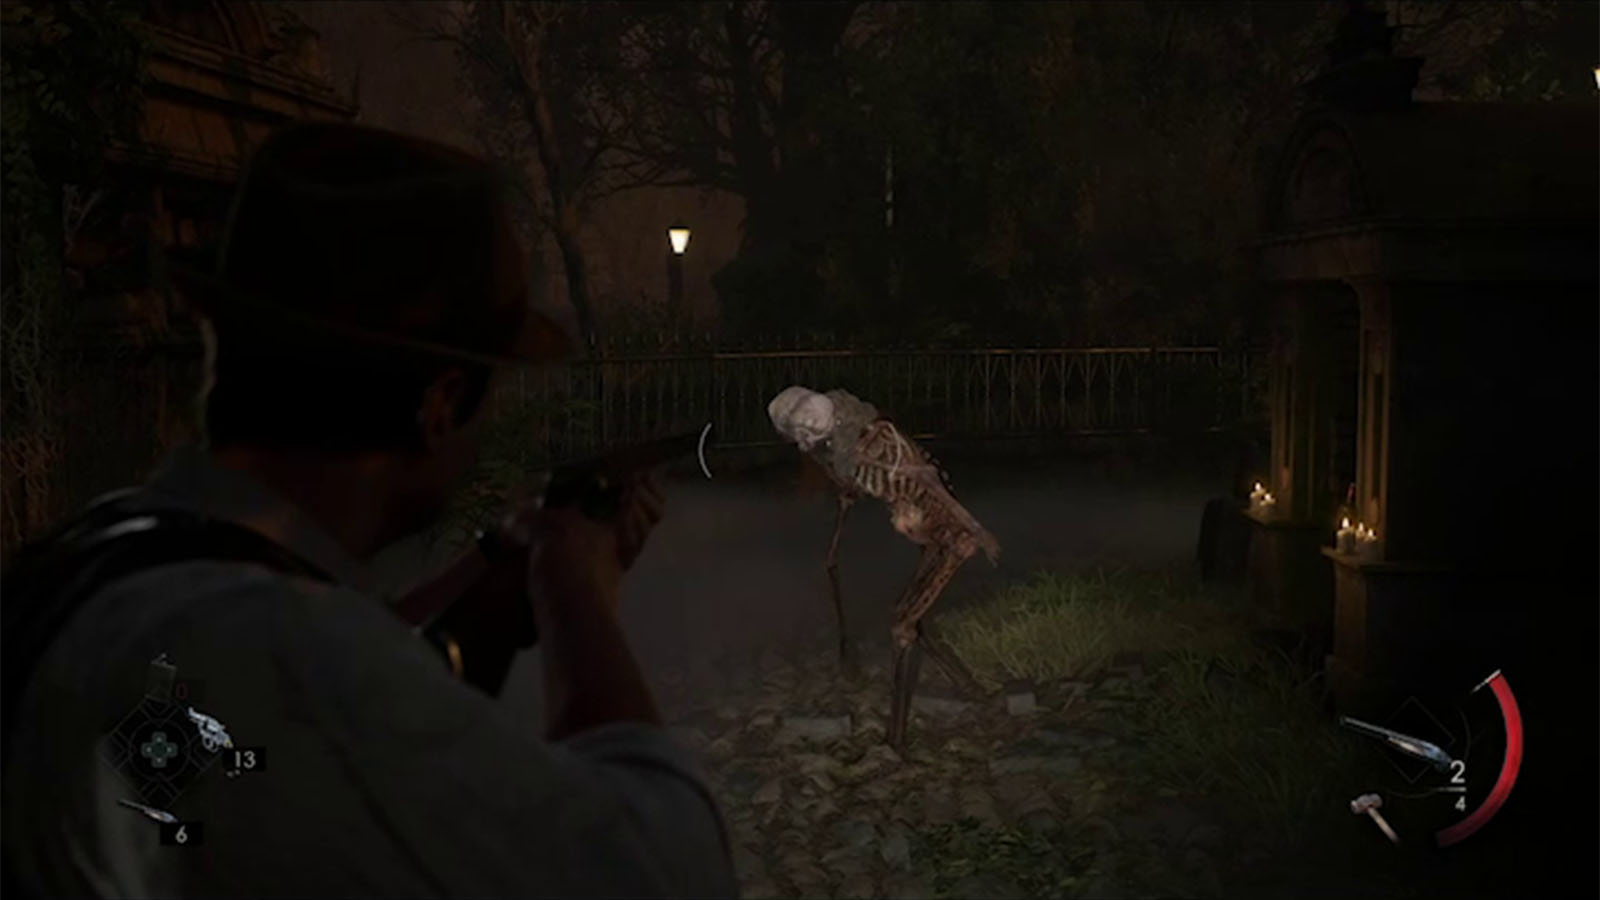
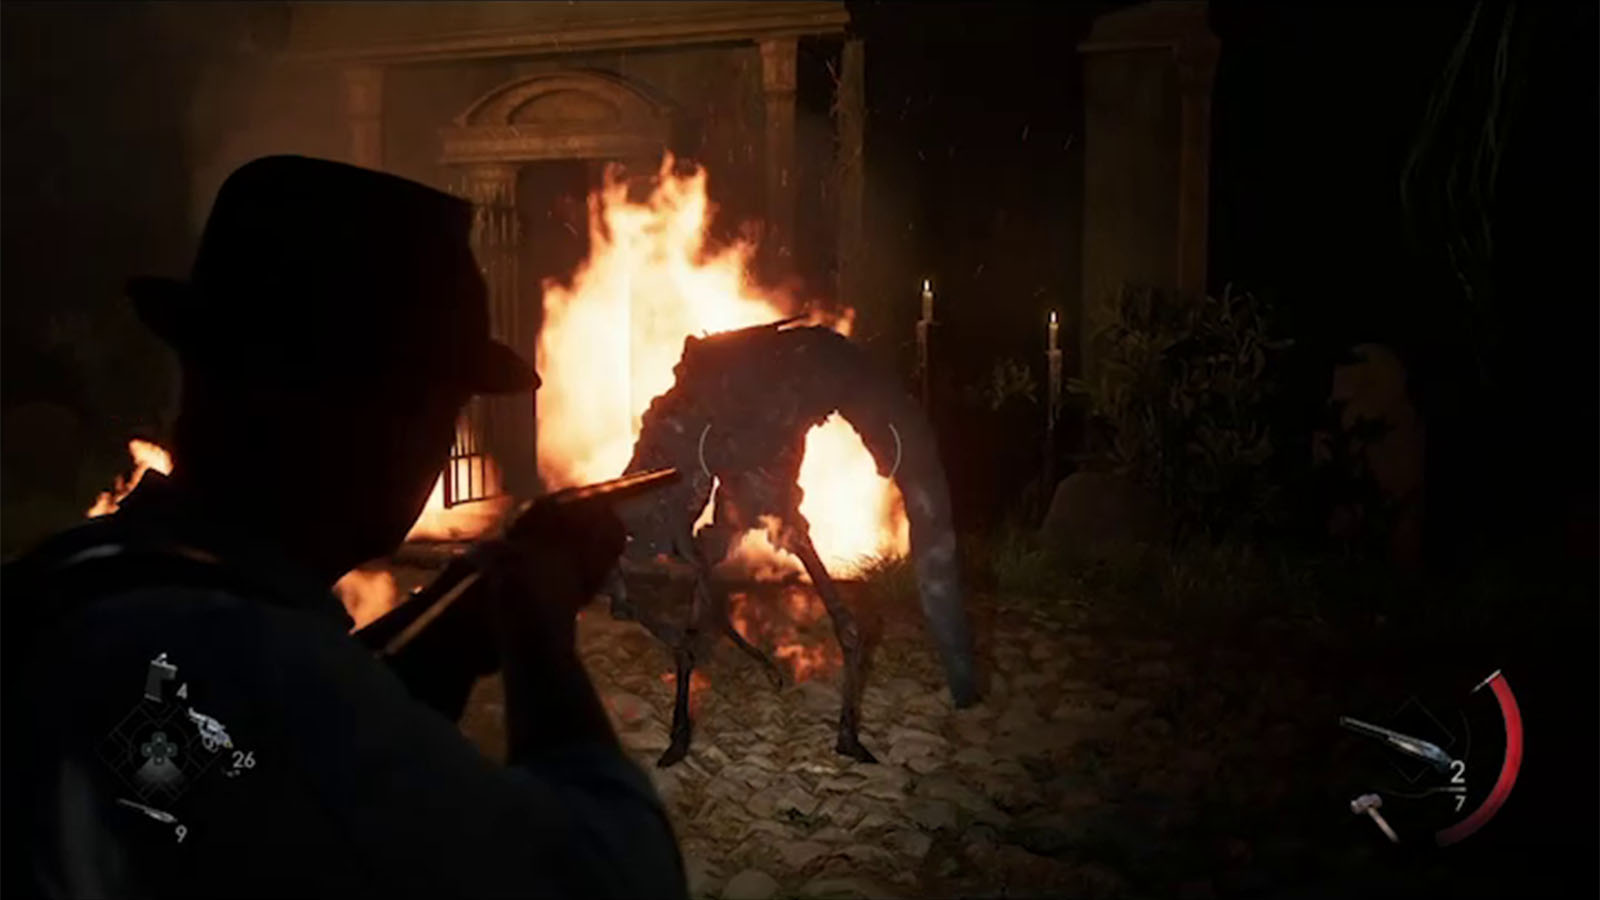
Go through the door and you can pick up a Sledgehammer. Proceed down the path and you will be ambushed by a skeleton enemy coming out from one of the buildings. Defeat the enemy and continue down the chapel.
Find the three medallions to open the Chapel door
The chapel is locked and it needs three medallions to unlock it. You already have one of them, so you will need to find the other two further down into the cemetery.
Go through the path through the hole on the side of the fence and waddle through the flooded area where you will encounter two enemies. Traverse through the next area either by dispatching the enemies first or by sneaking past them as they patrol.
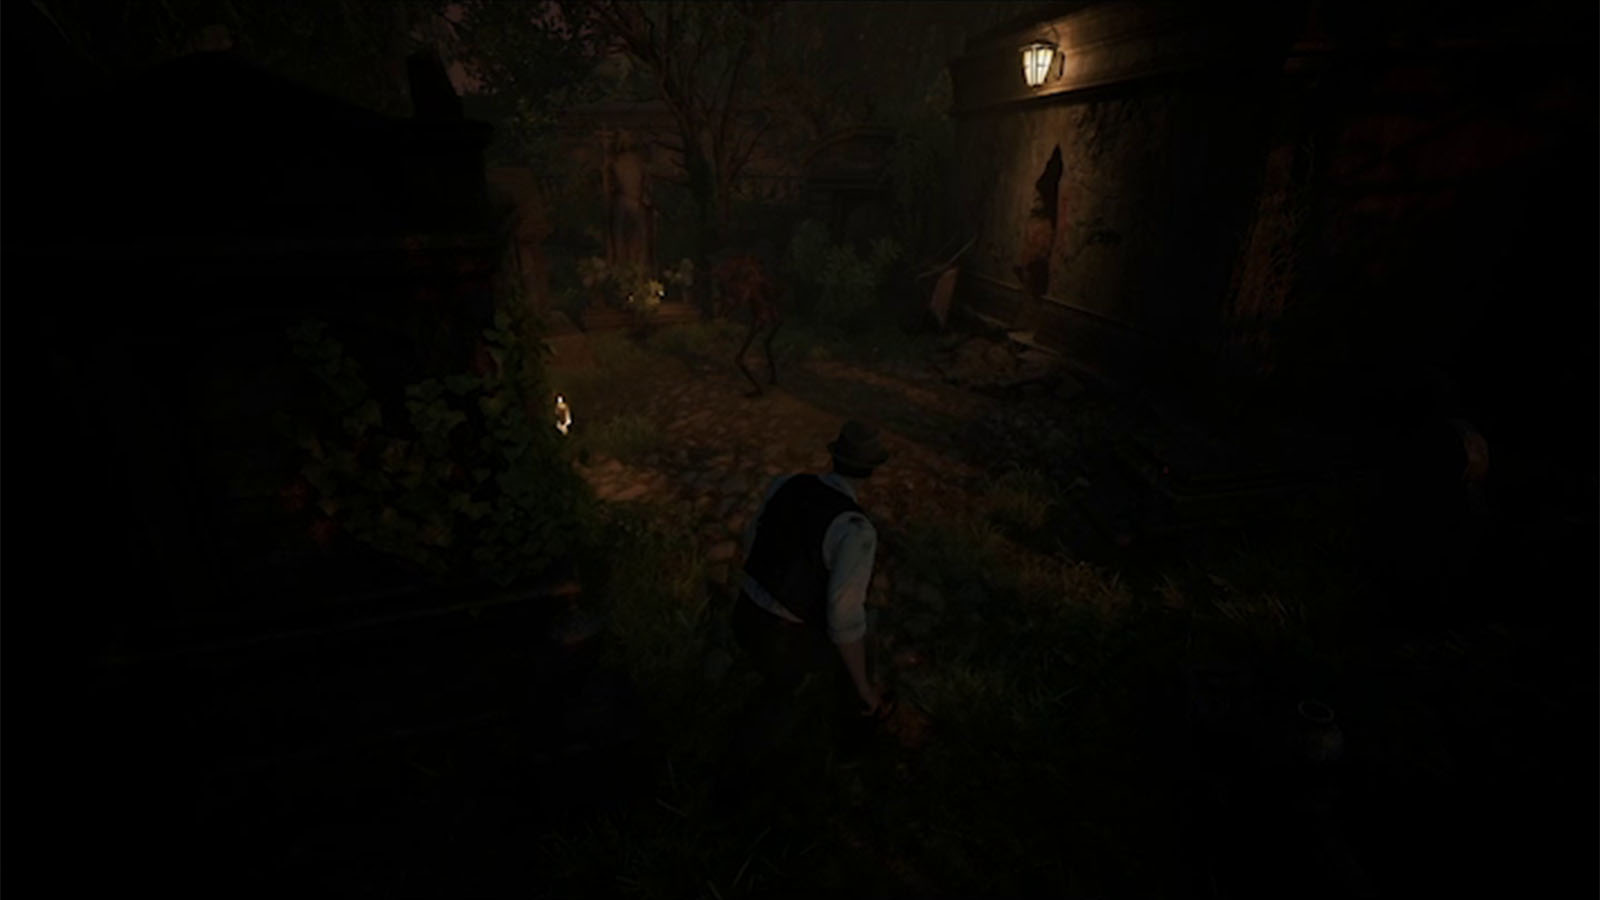
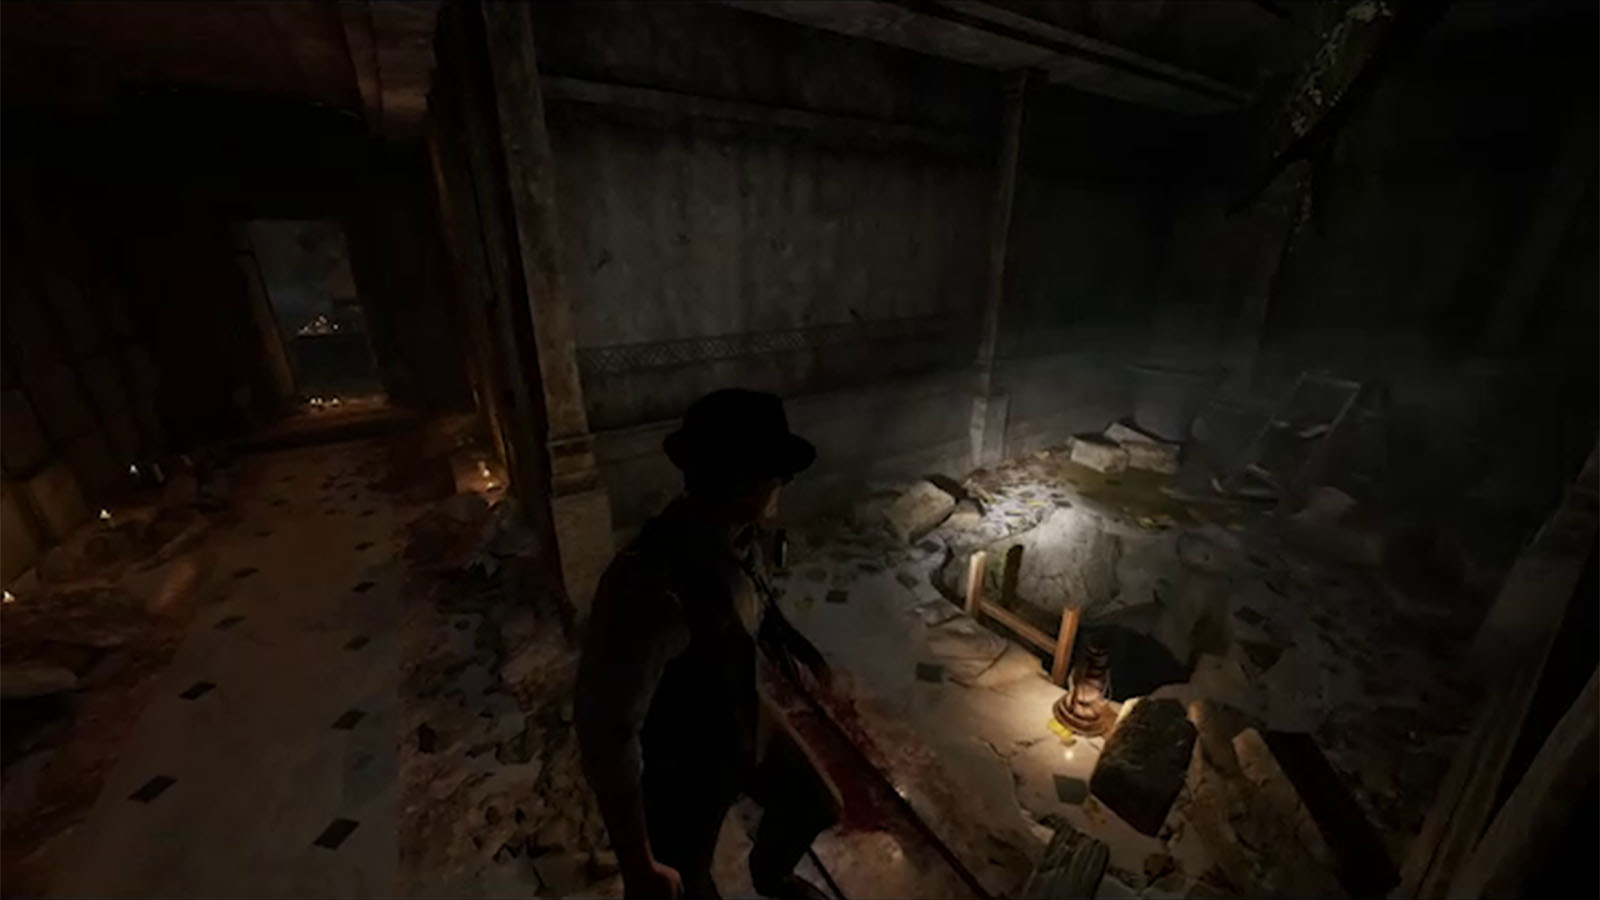
You will eventually find a cracked wall; slip through it to get into the crypt then exit through the next gate to get to the next open area.
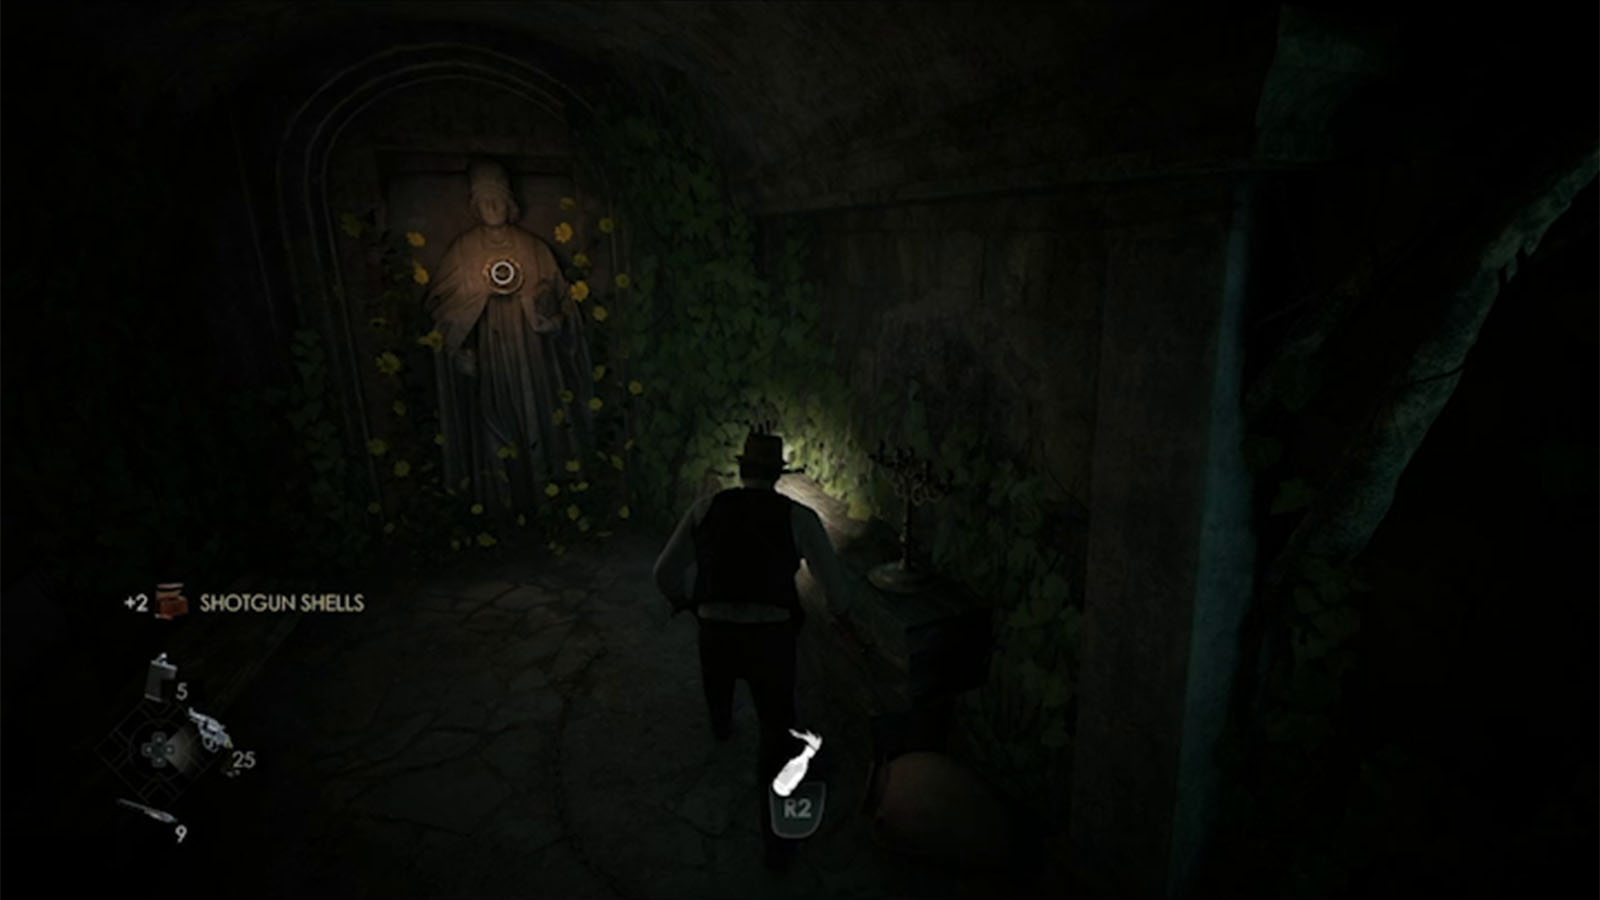
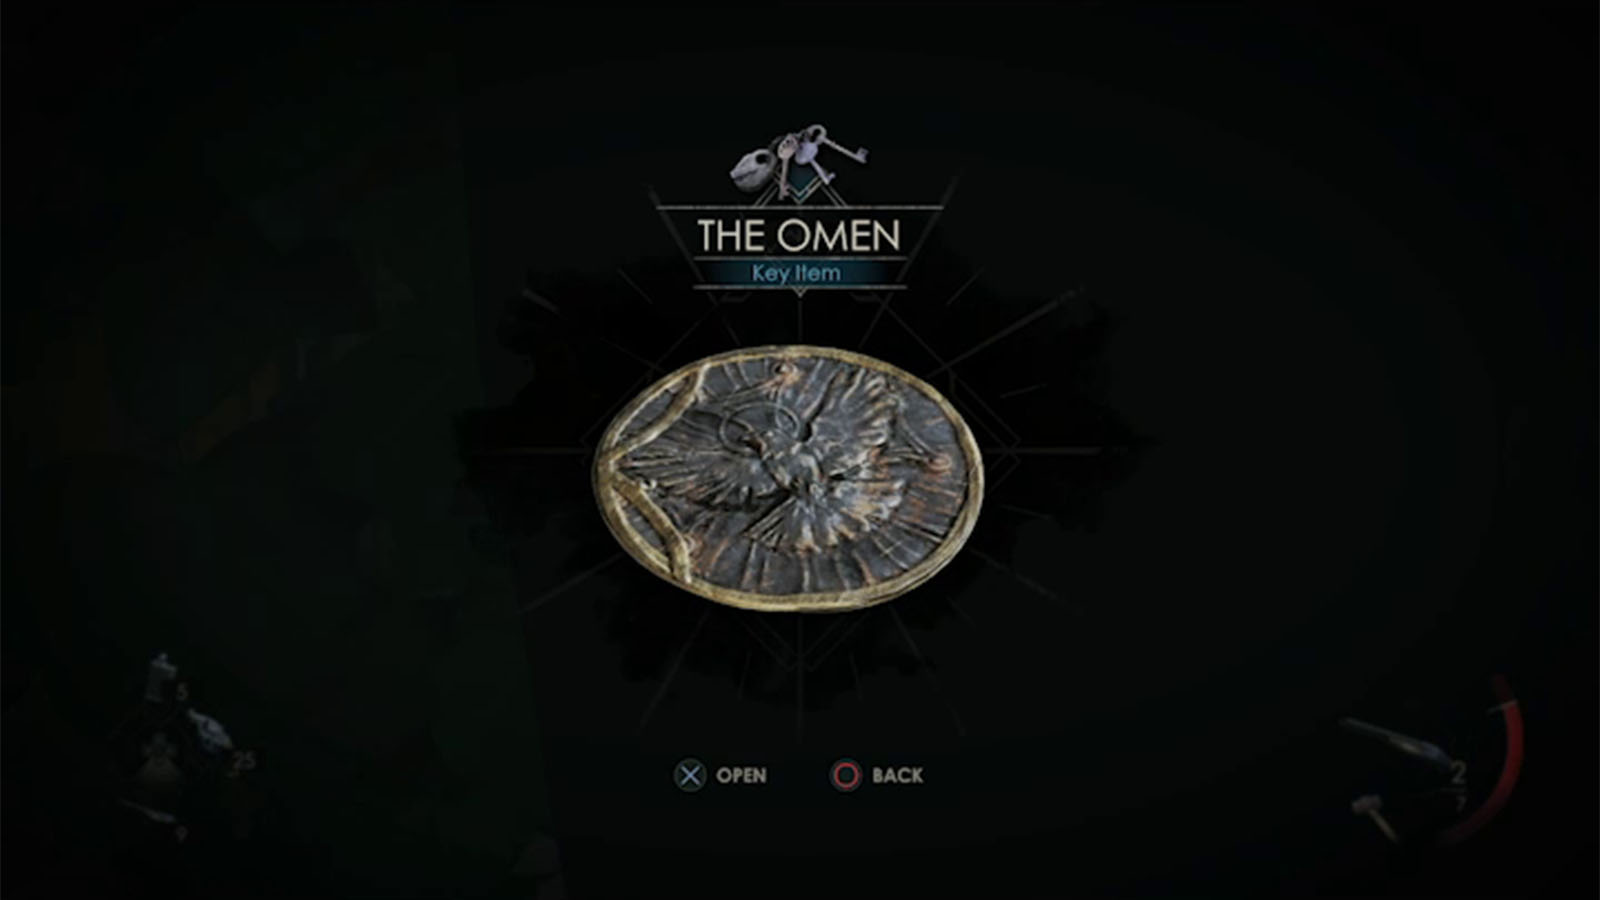
From here, head into the crypt to your left and go down. You will find another statue that has The Omen on it, but beware that there are enemies patrolling in this area.
Make it back out of the crypt to the open area where another enemy will burst out from one of the crypts.

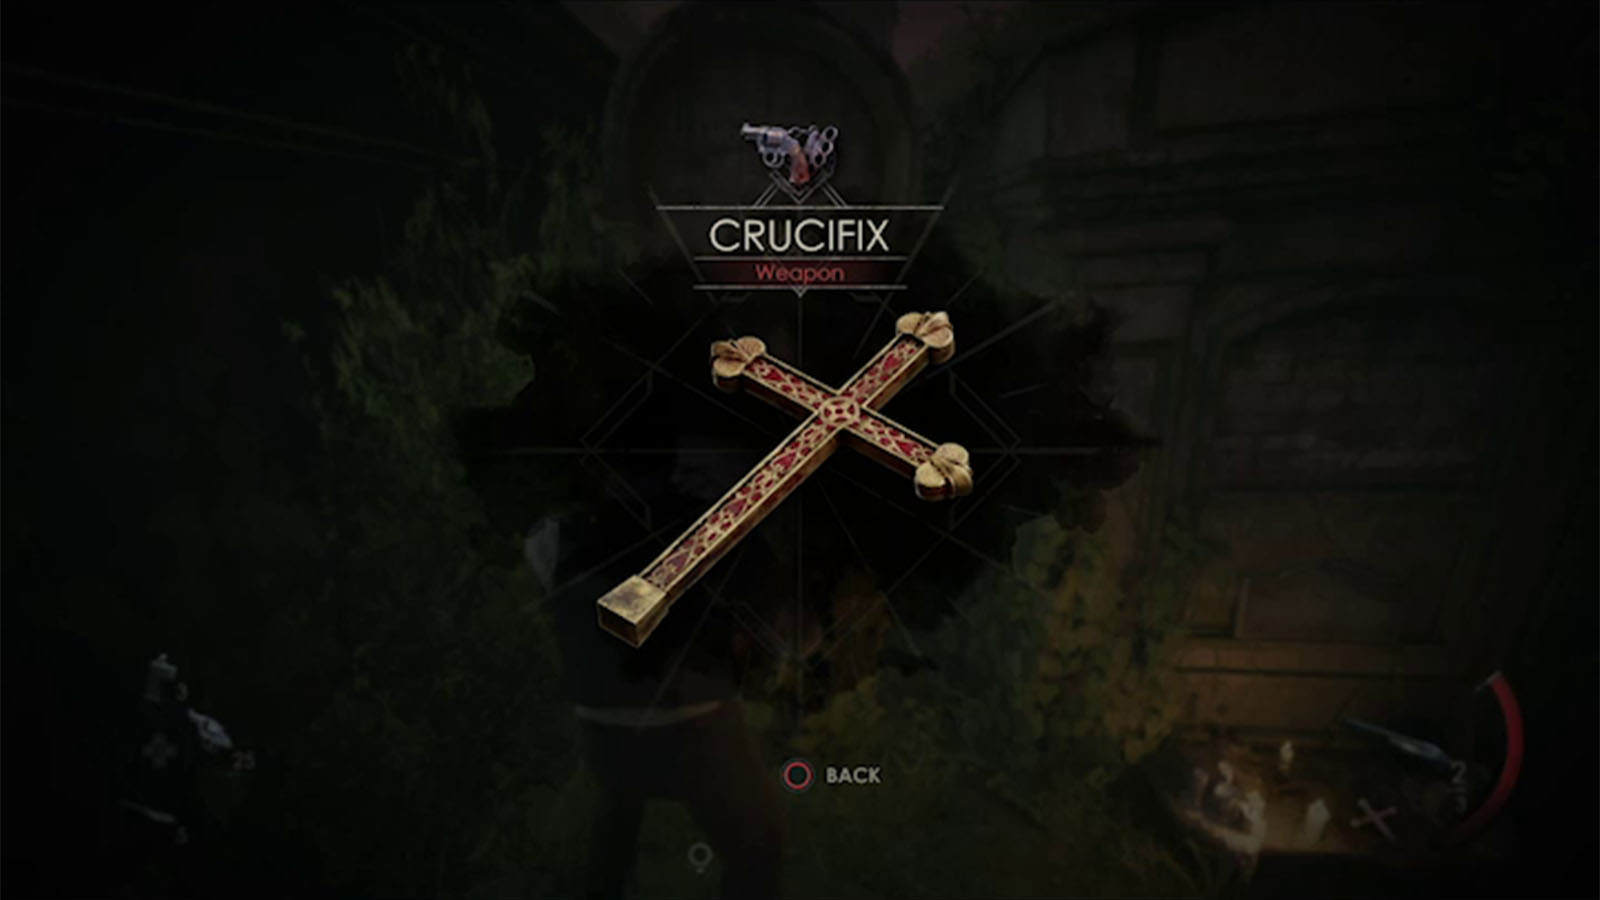
Defeat this enemy, then check the tombstone that has blood on it to find the Lagniappe – Forsaken Crucifix. You can also squeeze beside this tombstone to find a small path that has an enemy at the end and some more ammo and drinks.
Go inside the crypt where the monster burst out of, then climb down into the hole.
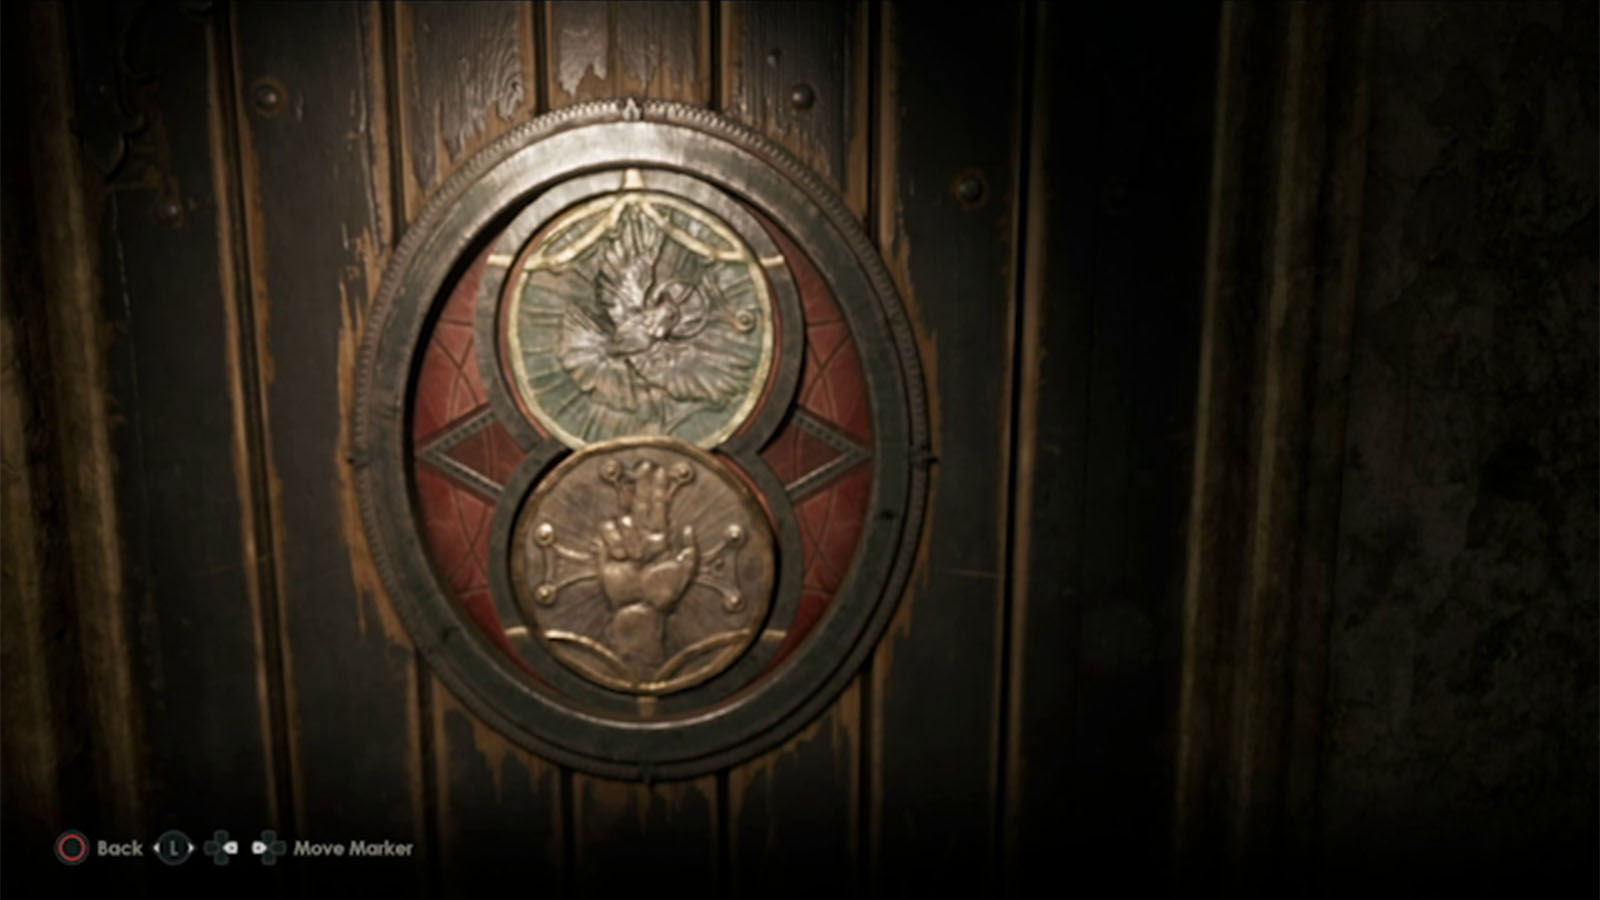
Next, place the two medallions on the door at the end of the path; The Blessing below and The Omen on top. Rotate the medallions so that the bird is pointing towards the upper right and the arcs on the top part align, while the fingers on the hand should be pointing straight up.
Next, move through the cave until you trigger a chase scene where enemies will just keep spawning and hunting you down. Follow the torches until the rocks collapse behind you, sealing off the chasers.
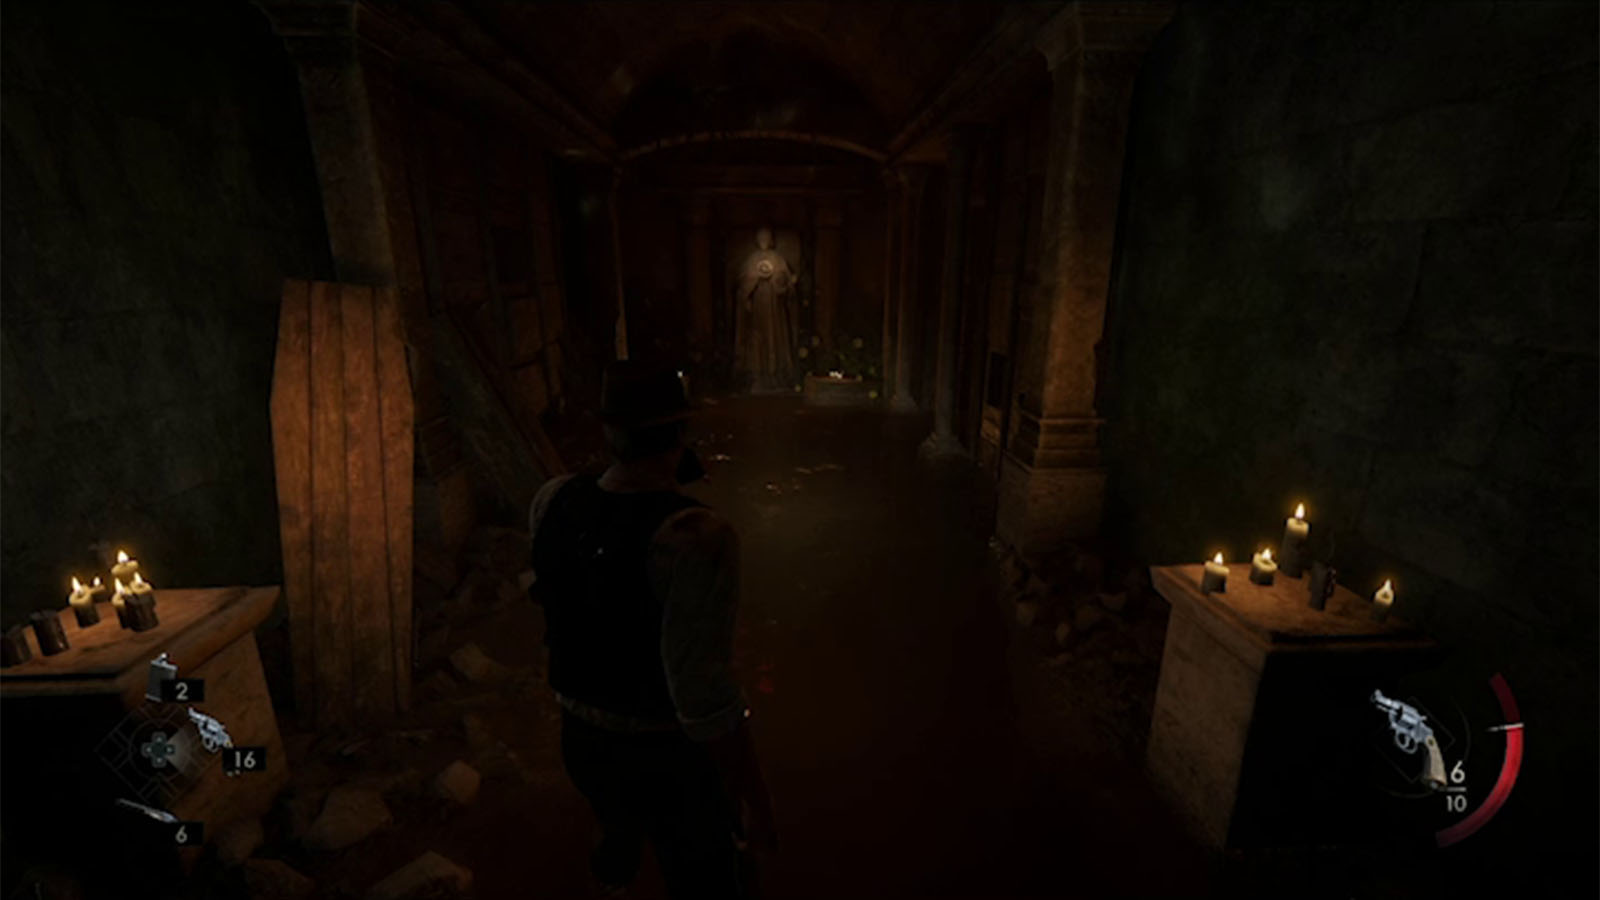
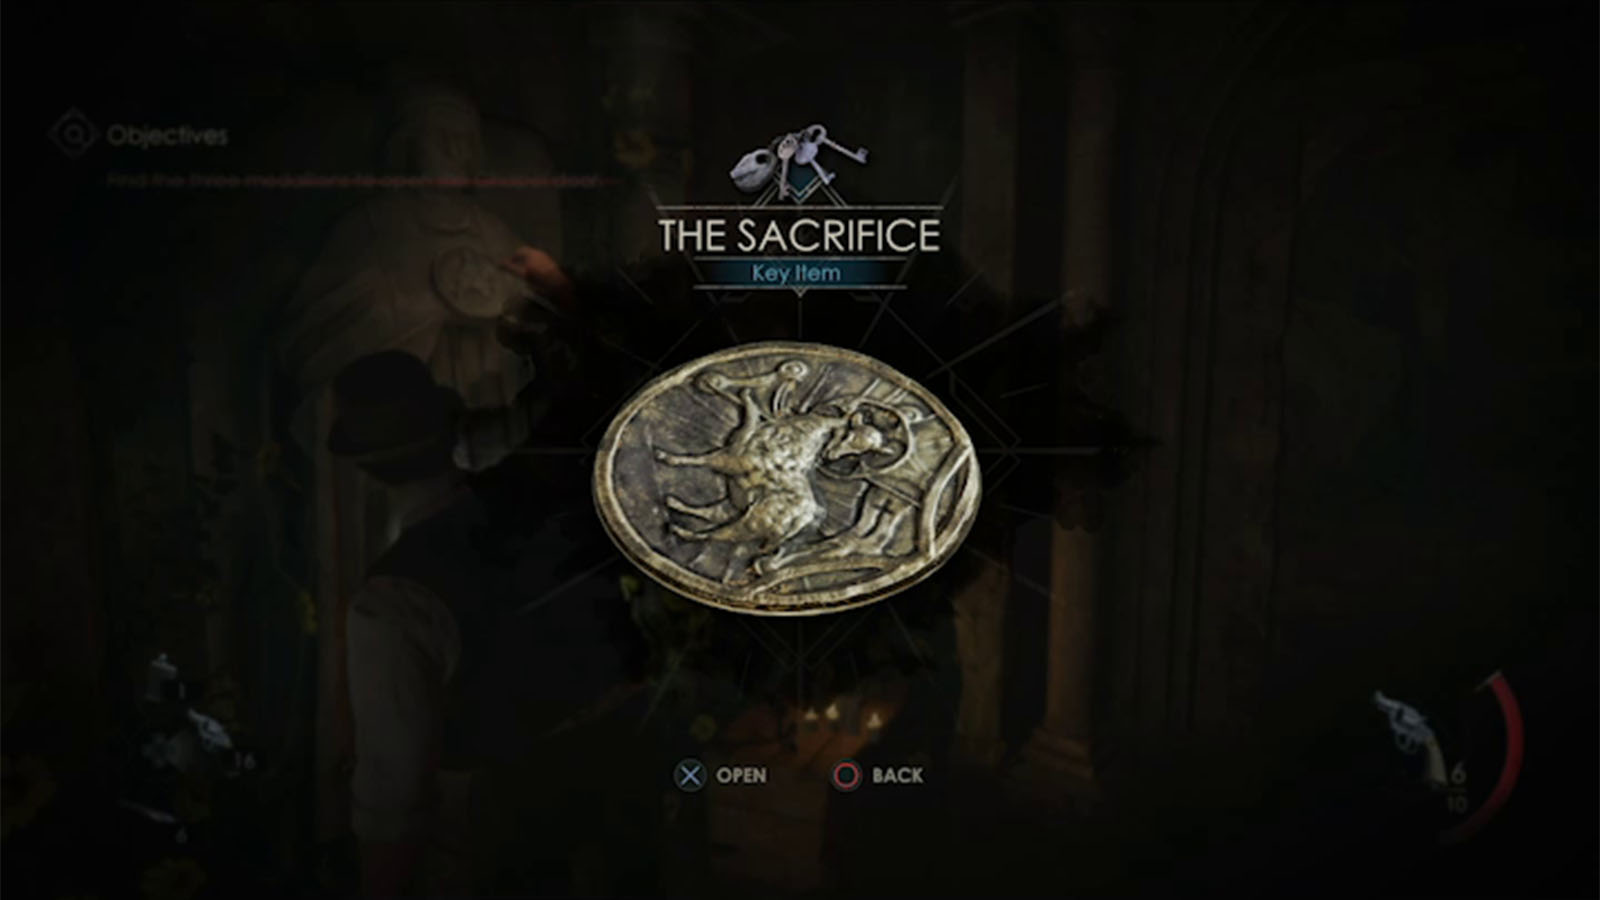
You will then find the third statue that has The Sacrifice medallion.

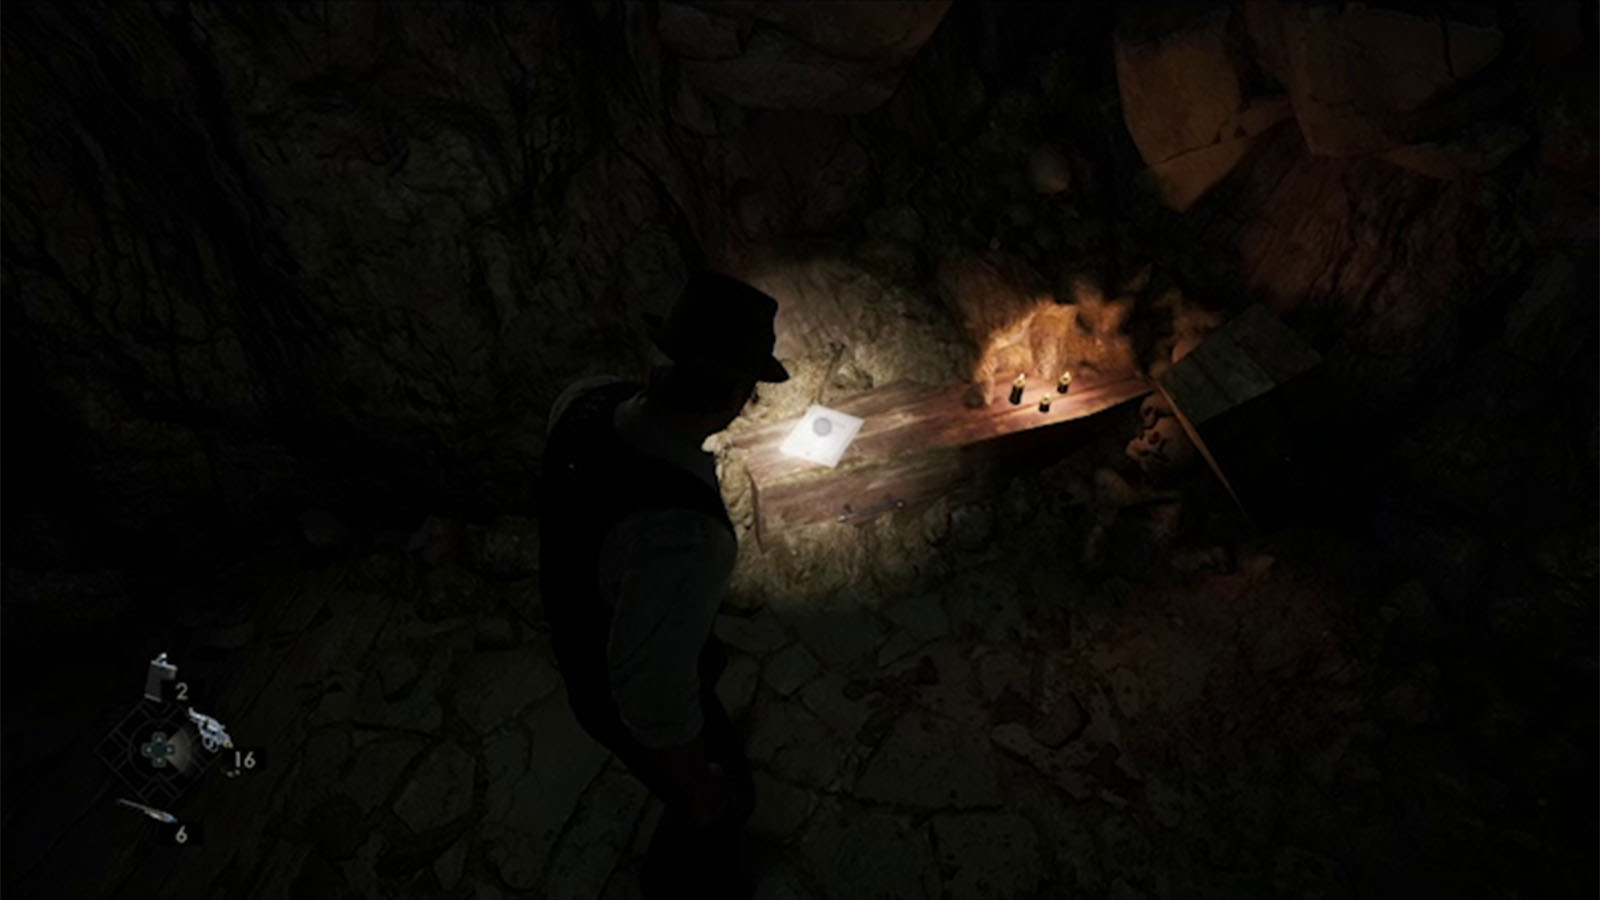
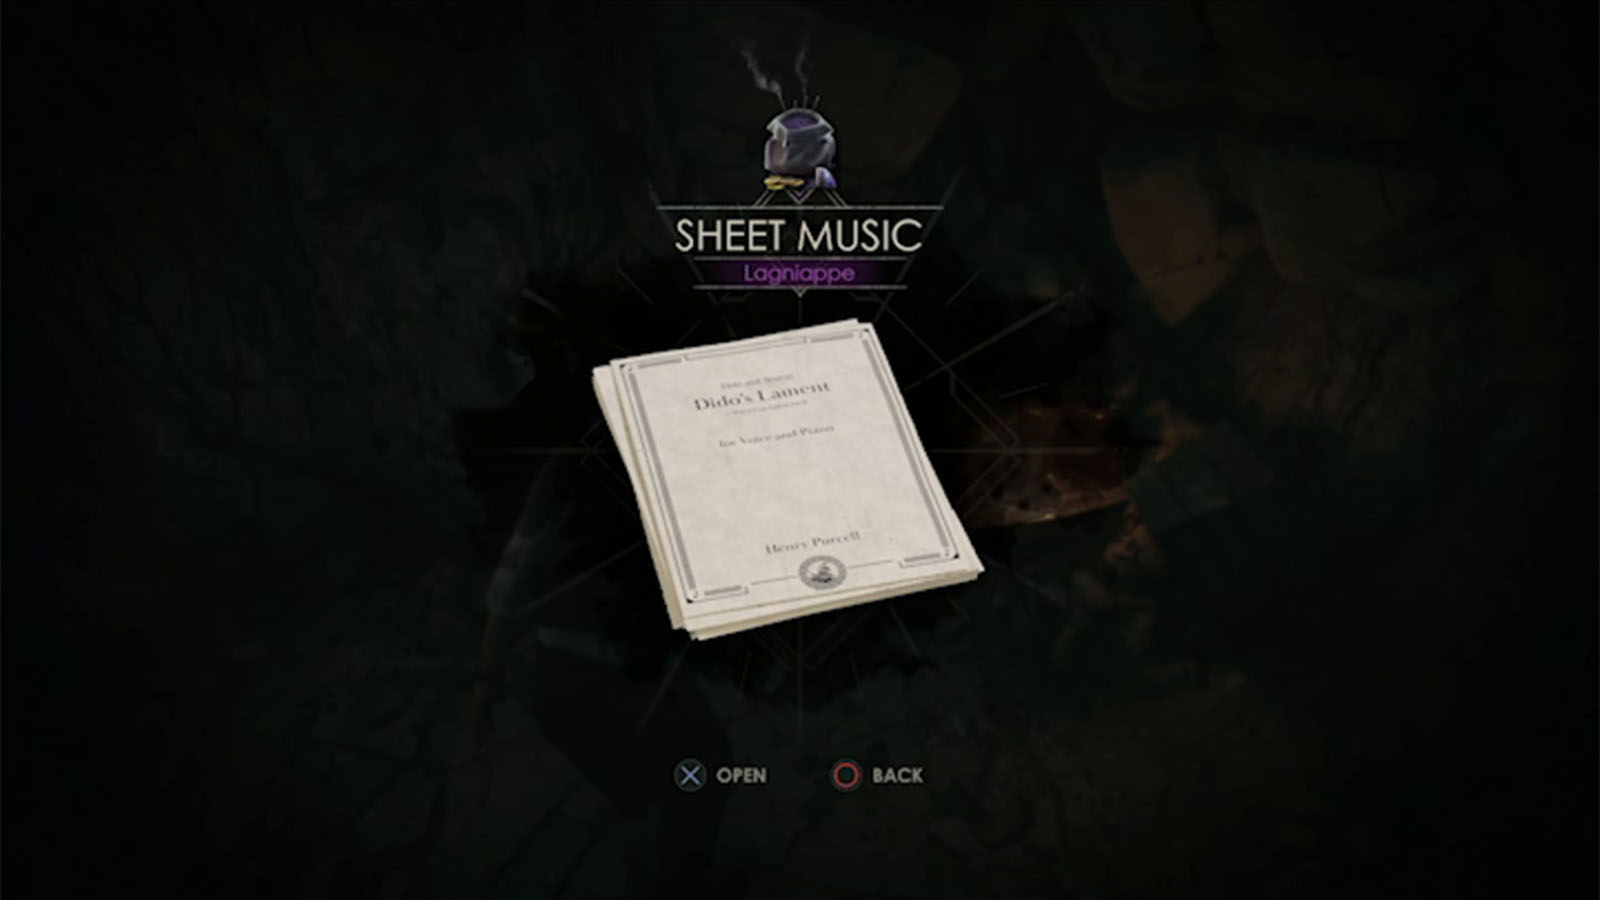
Your exit path is just nearby, but look at the left wall at the start of the path to find a gap that you can squeeze through. Inside is a drink and the Lagniappe – Sheet Music.
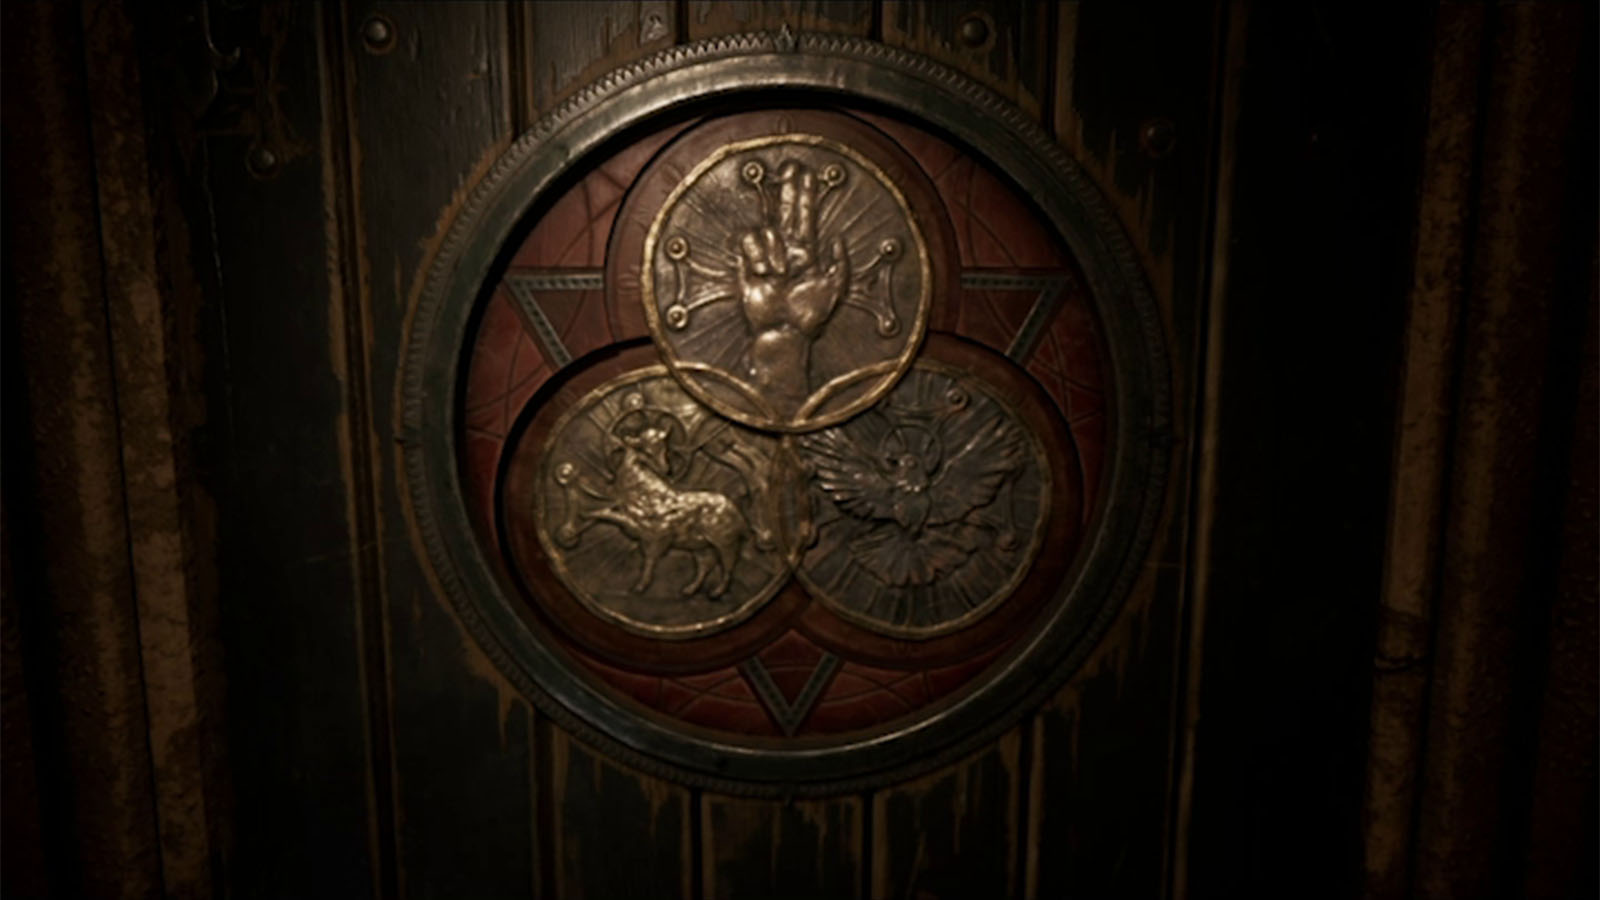
Make it back out into the surface and head to the chapel. Then, place all three medallions on the door. Refer to the Commonplace Book to know the positions of each medallion: The Blessing up top, The Sacrifice on the left, and The Omen on the right. Rotate them so that all of them are right-side up and the rings overlap in the middle of them.
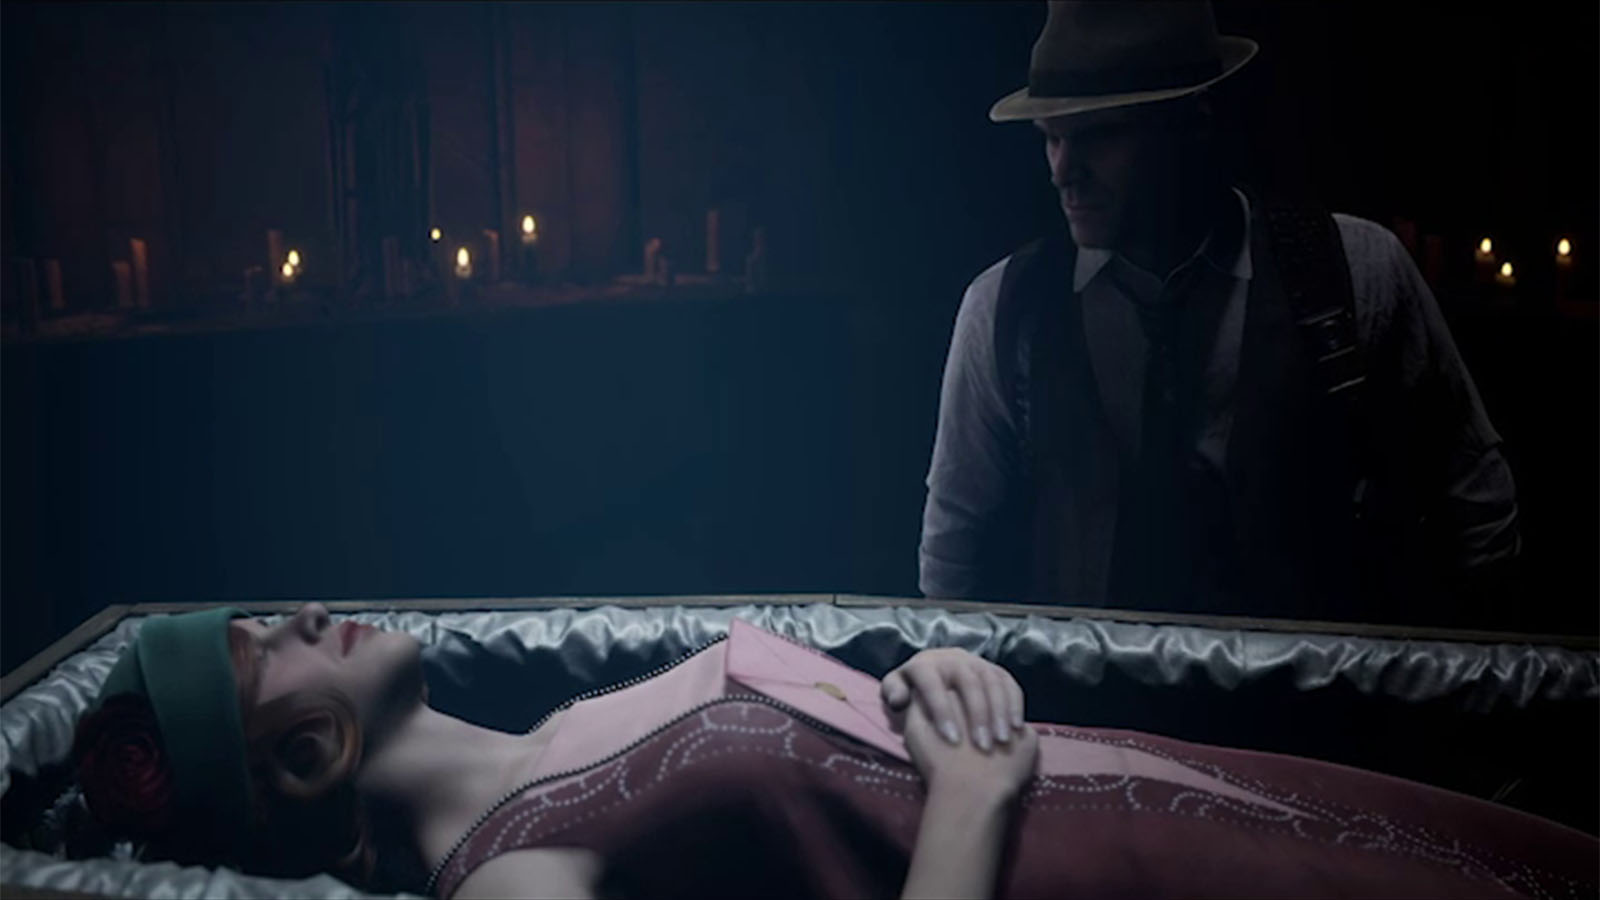
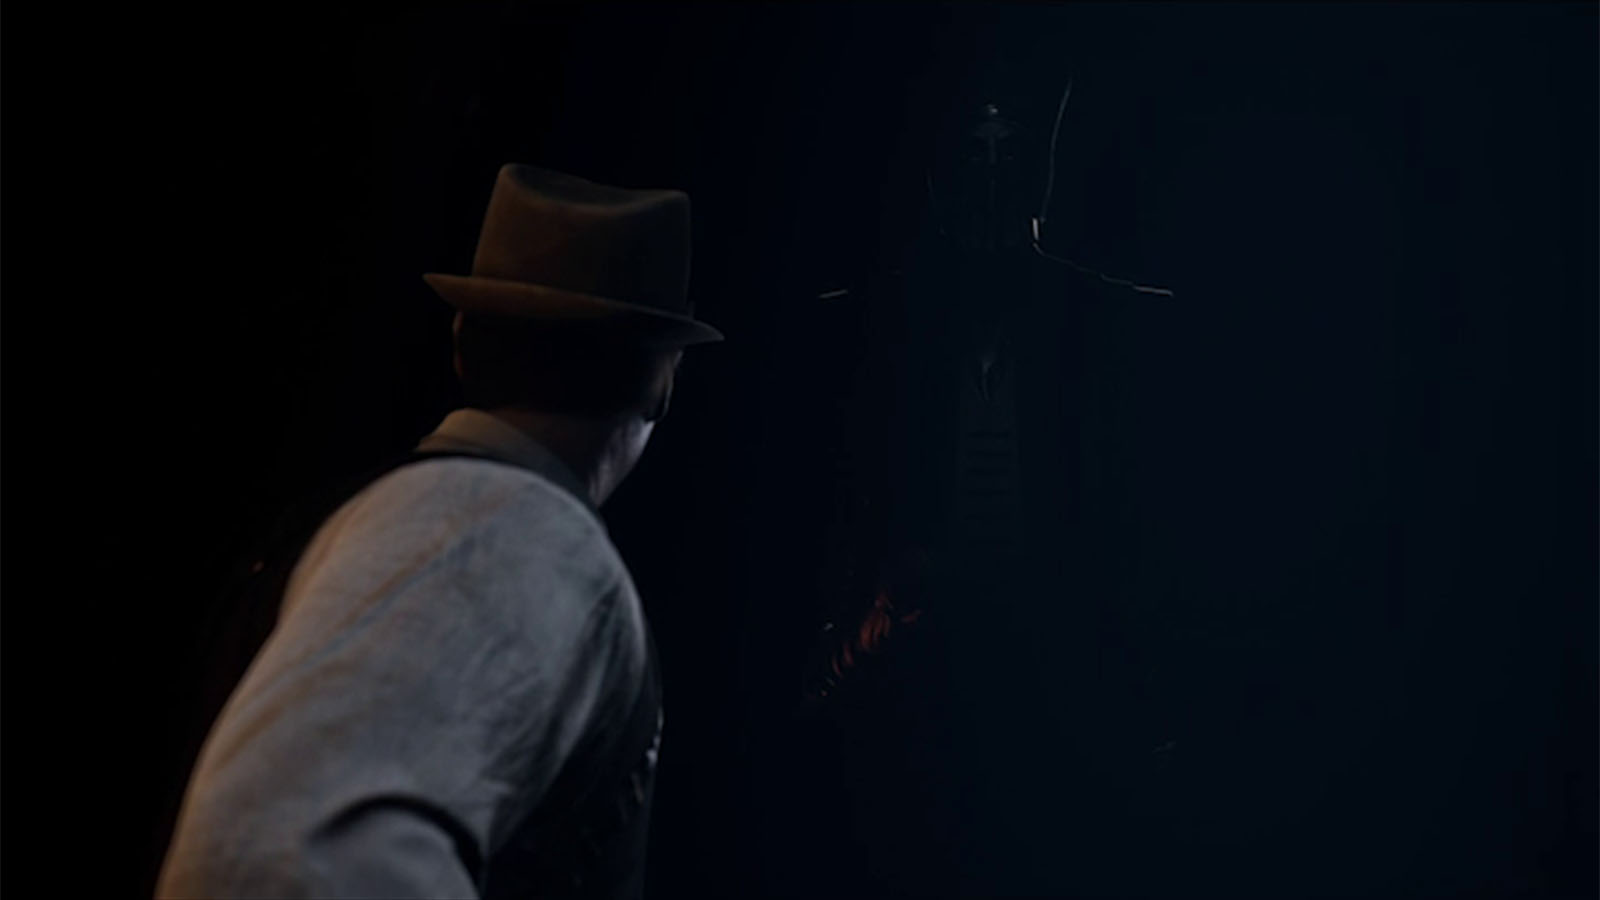
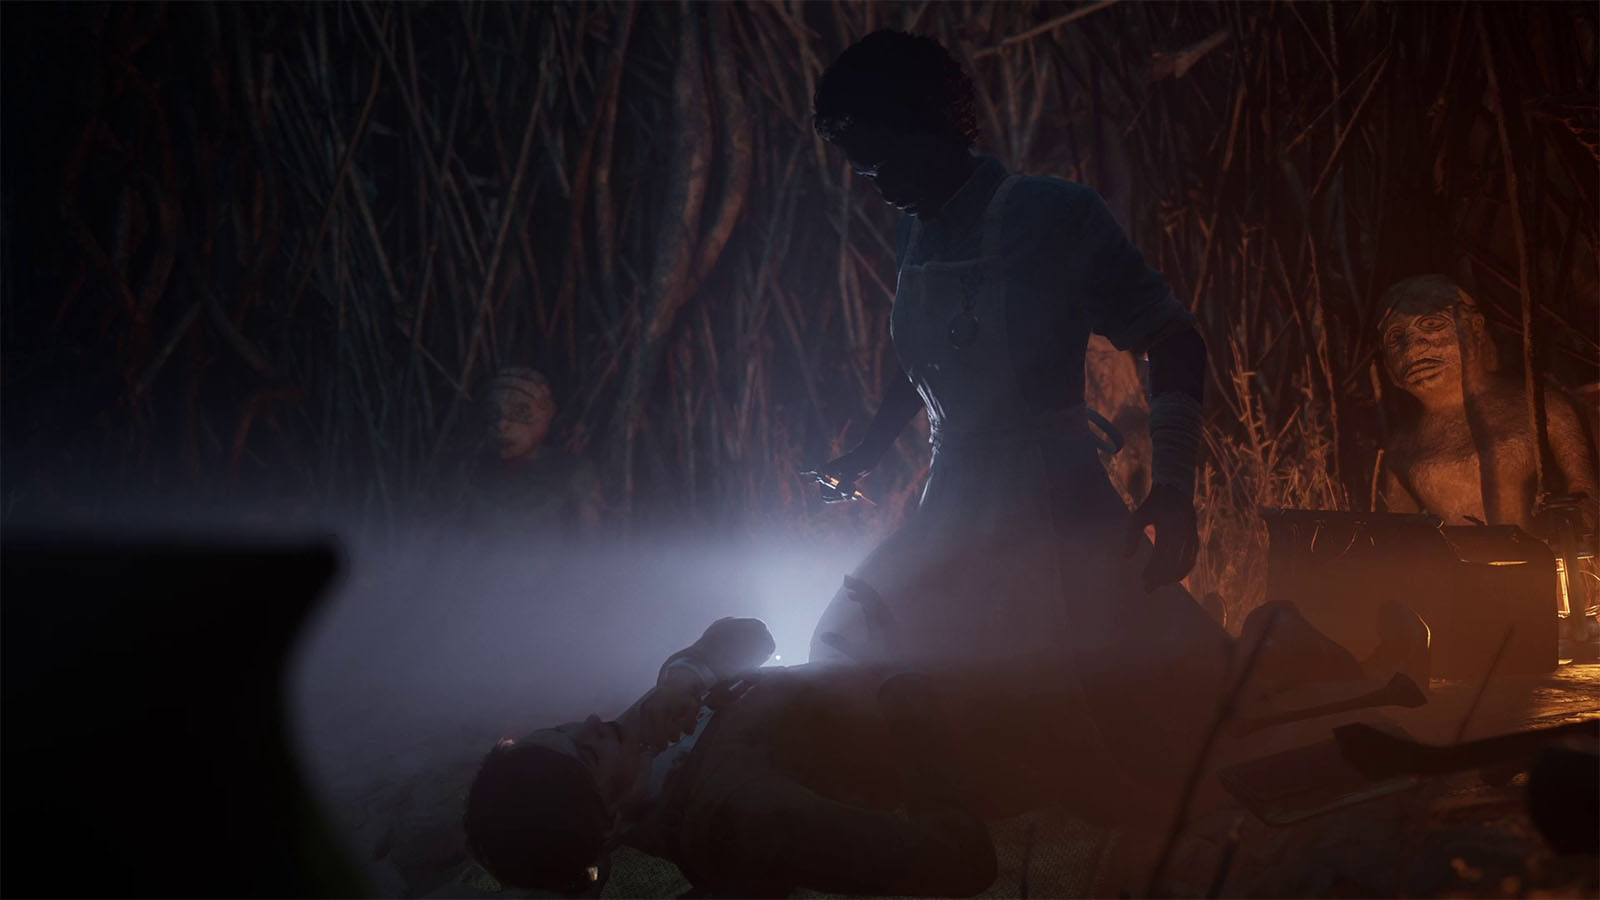
A cutscene will then play showing a body of a woman, Elisabetta Perosi, in an open casket. Jeremy then appears and remains adamant from going back to Derceto. The conversation is cut short when the Dark Man suddenly appears behind you, but Jeremy pulls you away and you get knocked unconscious as Edward, or you get teleported back to Derceto as Emily.
Open a gate to Taroella
You find yourself back in Derceto with the Clue- My Everything on hand, explaining that Jeremy has been trying to find a way to bring Elisabetta back to life. You will also get the Luggage Key which opens up Jeremy’s steamer trunk in his room, and unlock the Found & Lost Achievement for speaking to Jeremy in the cemetery.
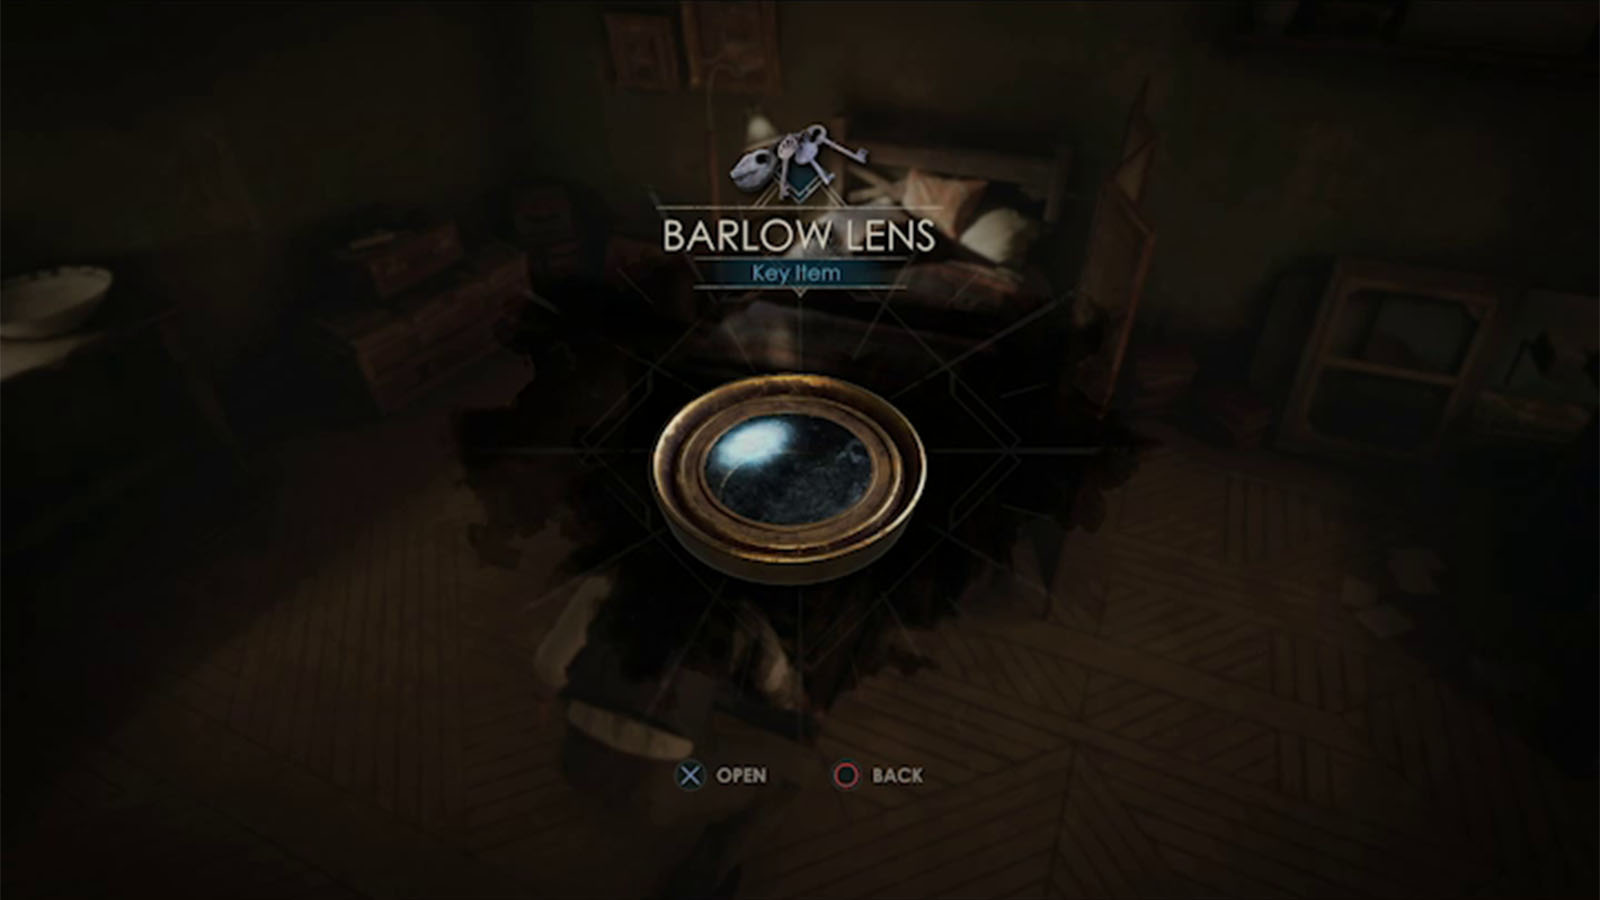
Opening the steamer trunk will give you the Barlow Lens.
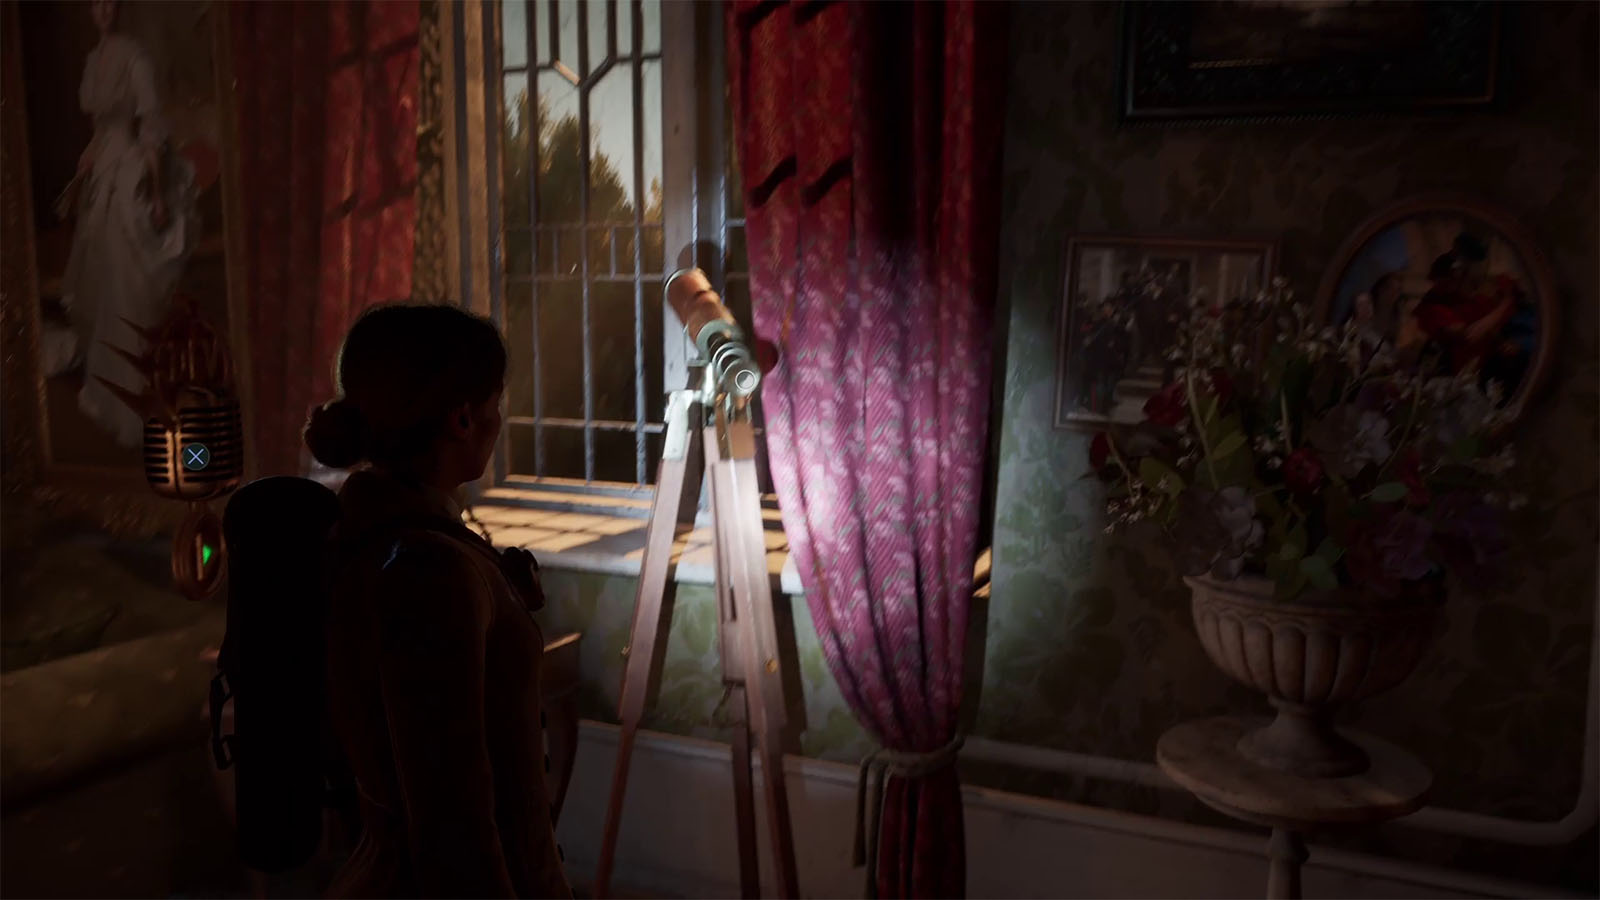
Use the telescope in the Drawing Room to look for answers in the stars
Make your way back to the drawing room and before looking into the telescope, look into the Reflections on the Power of the Verb in Certain Texts in your Investigation tab to see a sketch of the Taurus constellation. Pay attention to the encircled star on the right which is Pleiades.
Align and adjust the focus until the stars brighten

Use the Barlow Lens on the telescope and adjust your sights until you see the Taurus constellation, then fine tune it so that the red, blue, and green stars merge into white stars. Finally, around the point that you have most of the stars as close to white as possible, you’ll start seeing Pleiades appear to the right. Once you see Pleiades, keep it still for a few seconds and the screen will go white.
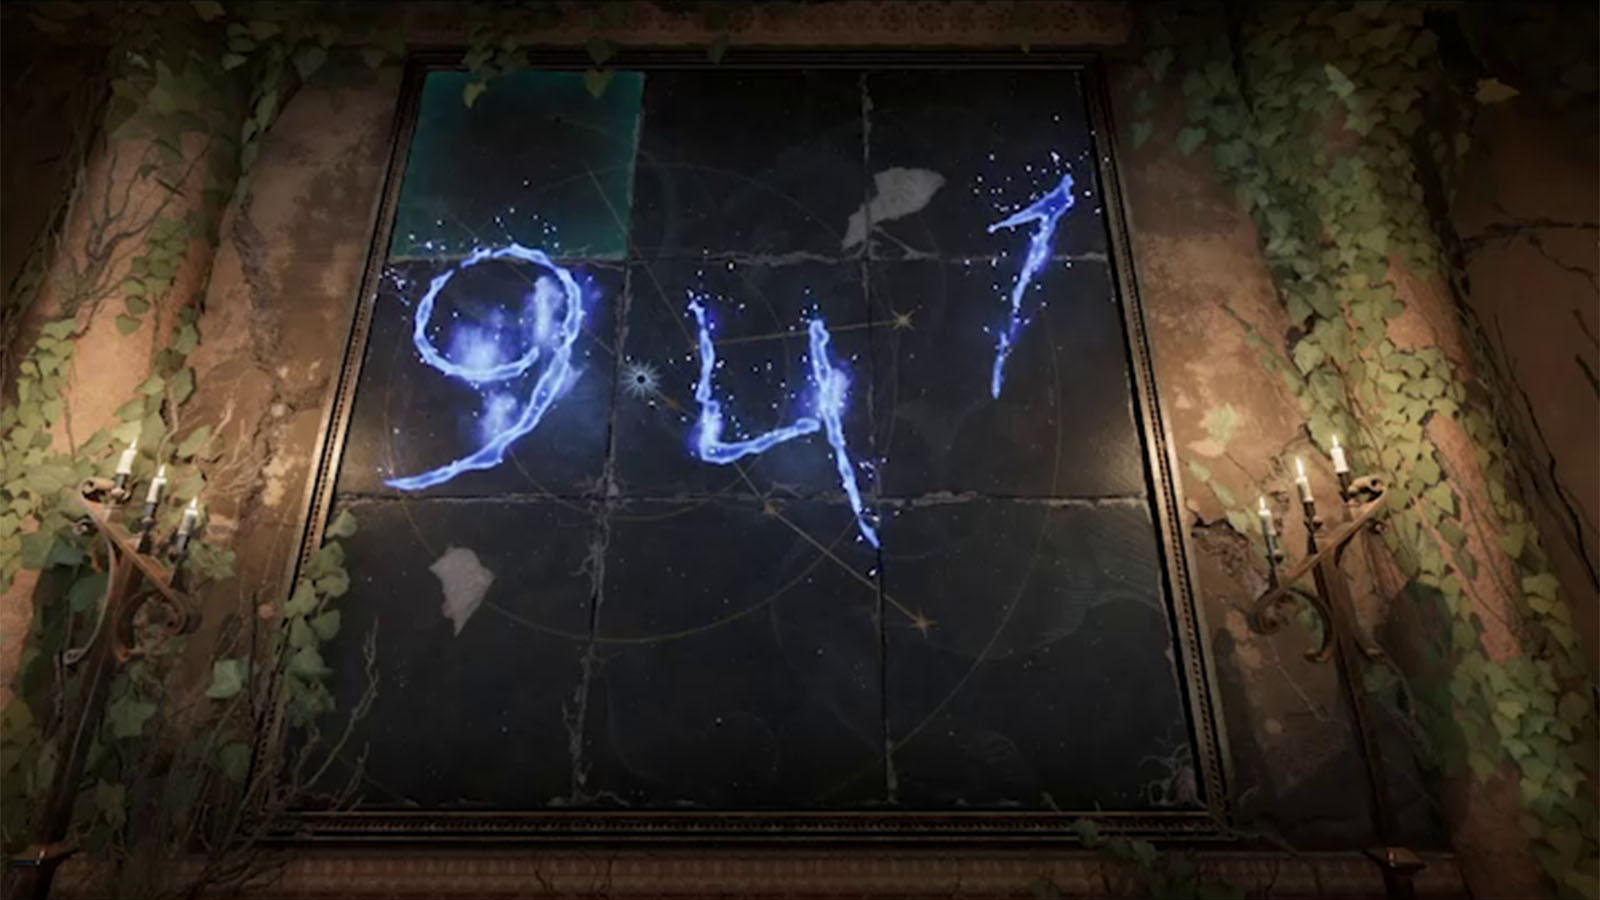
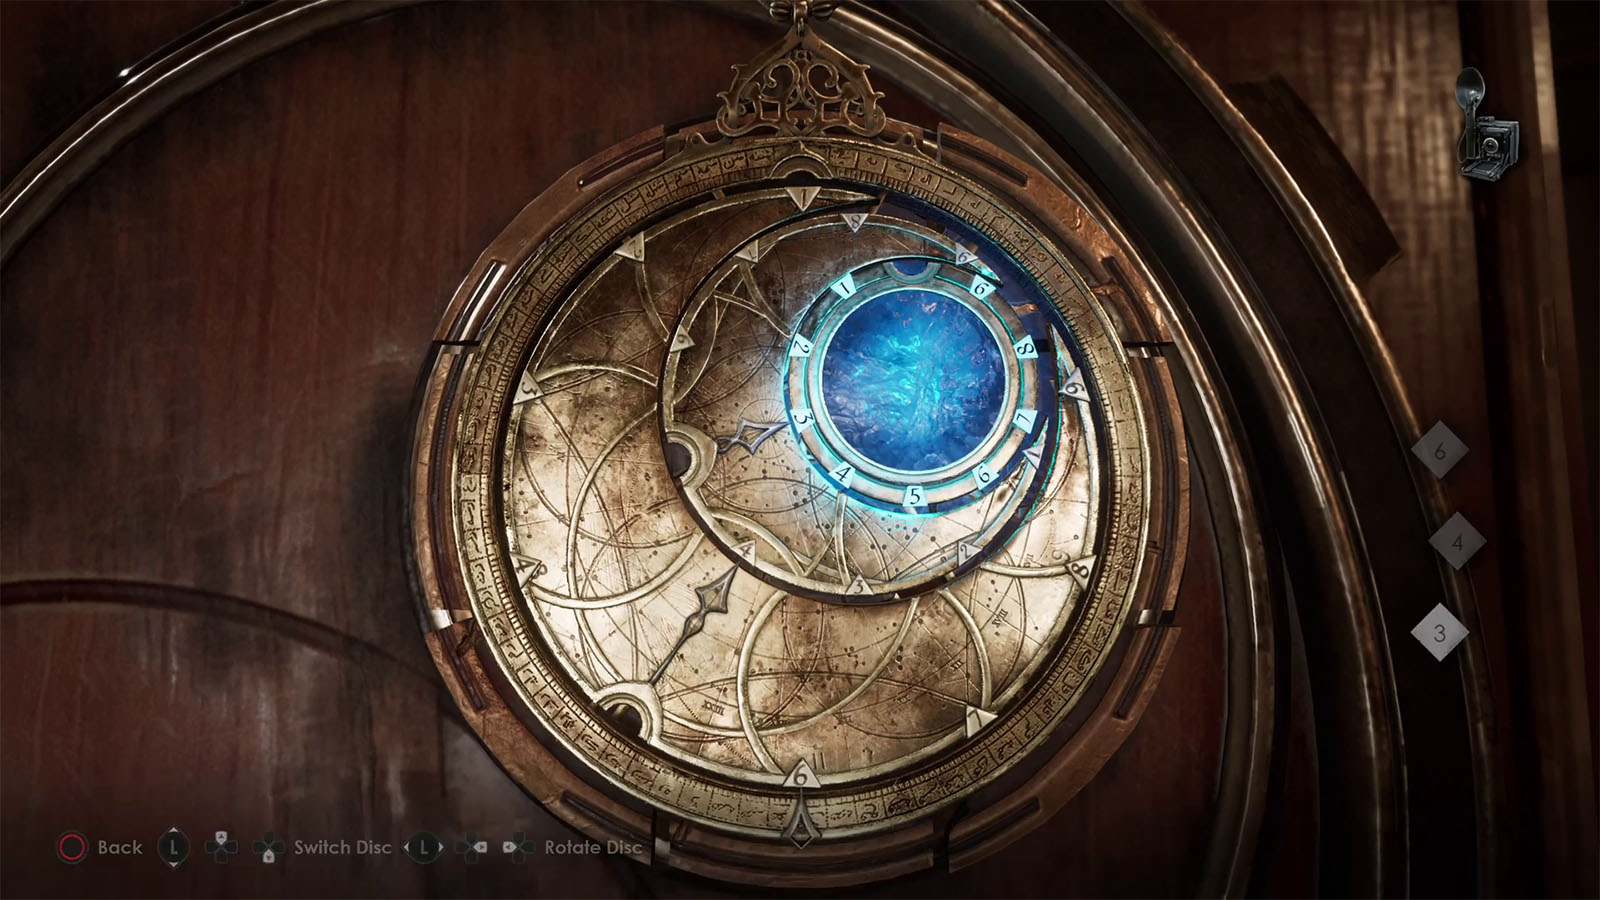
You will be transported into another version of the drawing room that has a huge wall of tiles. Rearrange the tiles so that the Taurus constellation can be seen again; refer to the same clue from earlier to get a clear guide. Pay attention to the pattern as there are also rings surrounding the constellation which can also serve as guides.
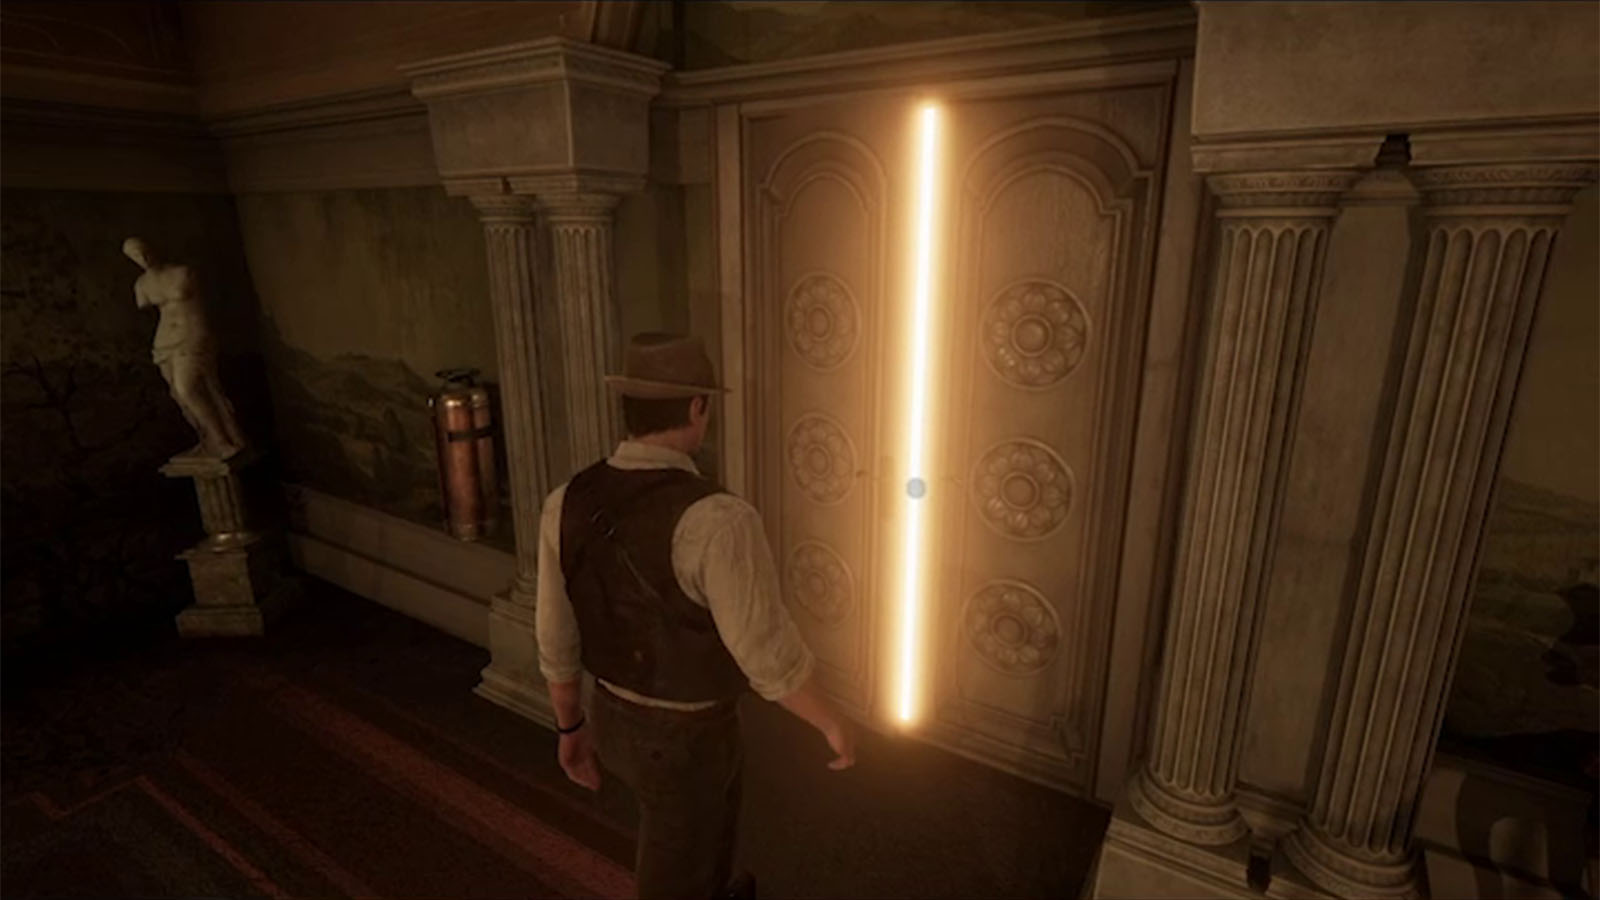
Solving the tiles will show the code 9-4-1 which is the code that will get you to Taroella. Your talisman will automatically move according to this code and it will show you the fireplace at the dining room. Go to the dining room and go through the glowing door to reach Taroella. The chapter ends as you get transported to the next area.
See next: Chapter 3
 – Review")
: How to Unlock All Endings & Secret Ending")
: How to Get the Hidden Attic Memory")