 Chapter 3 Walkthrough")
Alone in the Dark Chapter 3 follows the story of Emily and Edward as they follow the lead to find Jeremy and convince him to return back to the real world. Through their journey, they encounter the Dark Man once more, as well as more mysteries as to what Taroella is and why Jeremy wants to reach the place. Read ahead as we go through Chapter 3 of Alone in the Dark and share some tips, puzzle solutions and collectible locations.
See previous: Chapter 2
Objectives:
Look for answers inside the great library of Taroella
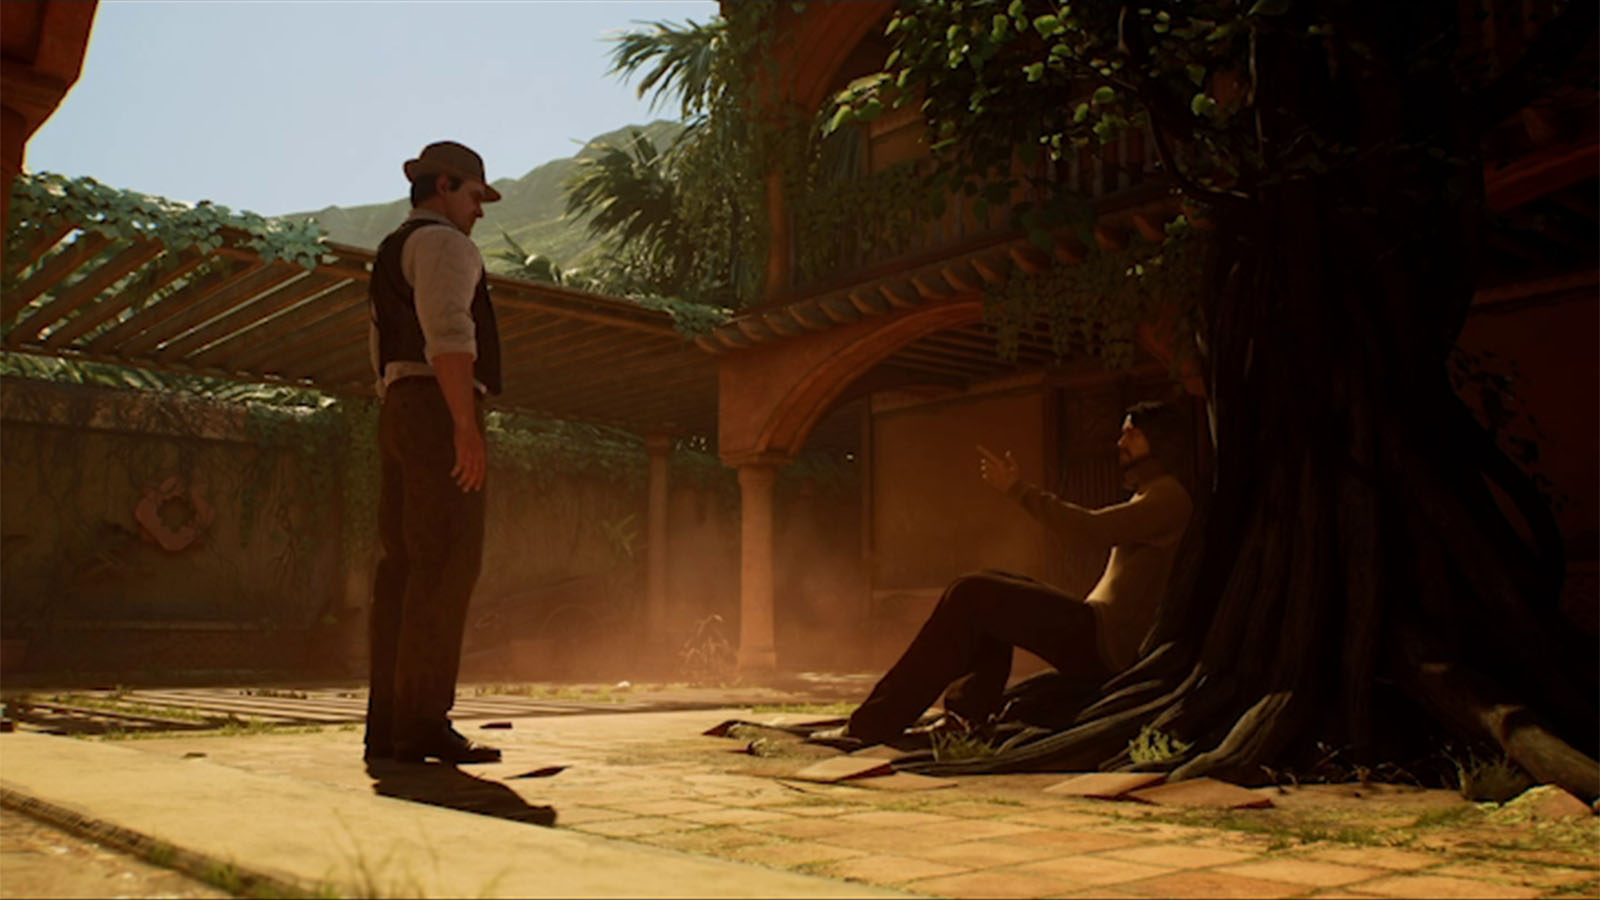
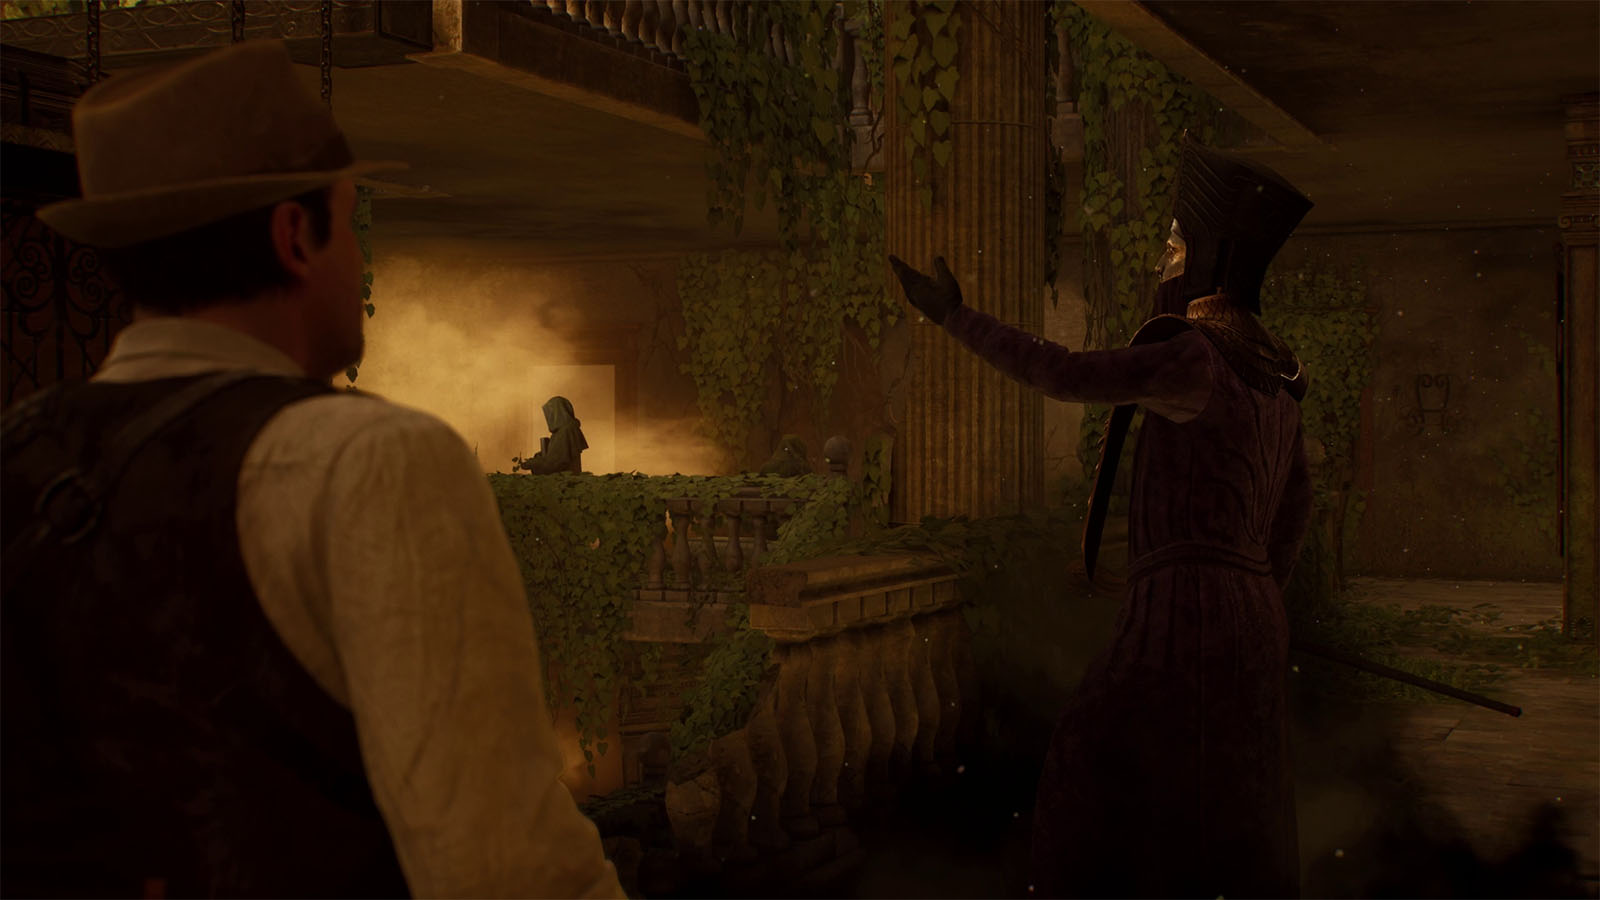
As you arrive in Taroella, you meet a man named Juan. Juan is a part of Taroella, yet he hasn’t met Jeremy personally. He explains what the place is and why it is important to Jeremy. He also warns that the Dark Man has made its way to Taroella. After the conversation, you will unlock the Somewhere Else Entirely Achievement.
Before leaving to the next area, make sure to talk to Juan again for a conversation.
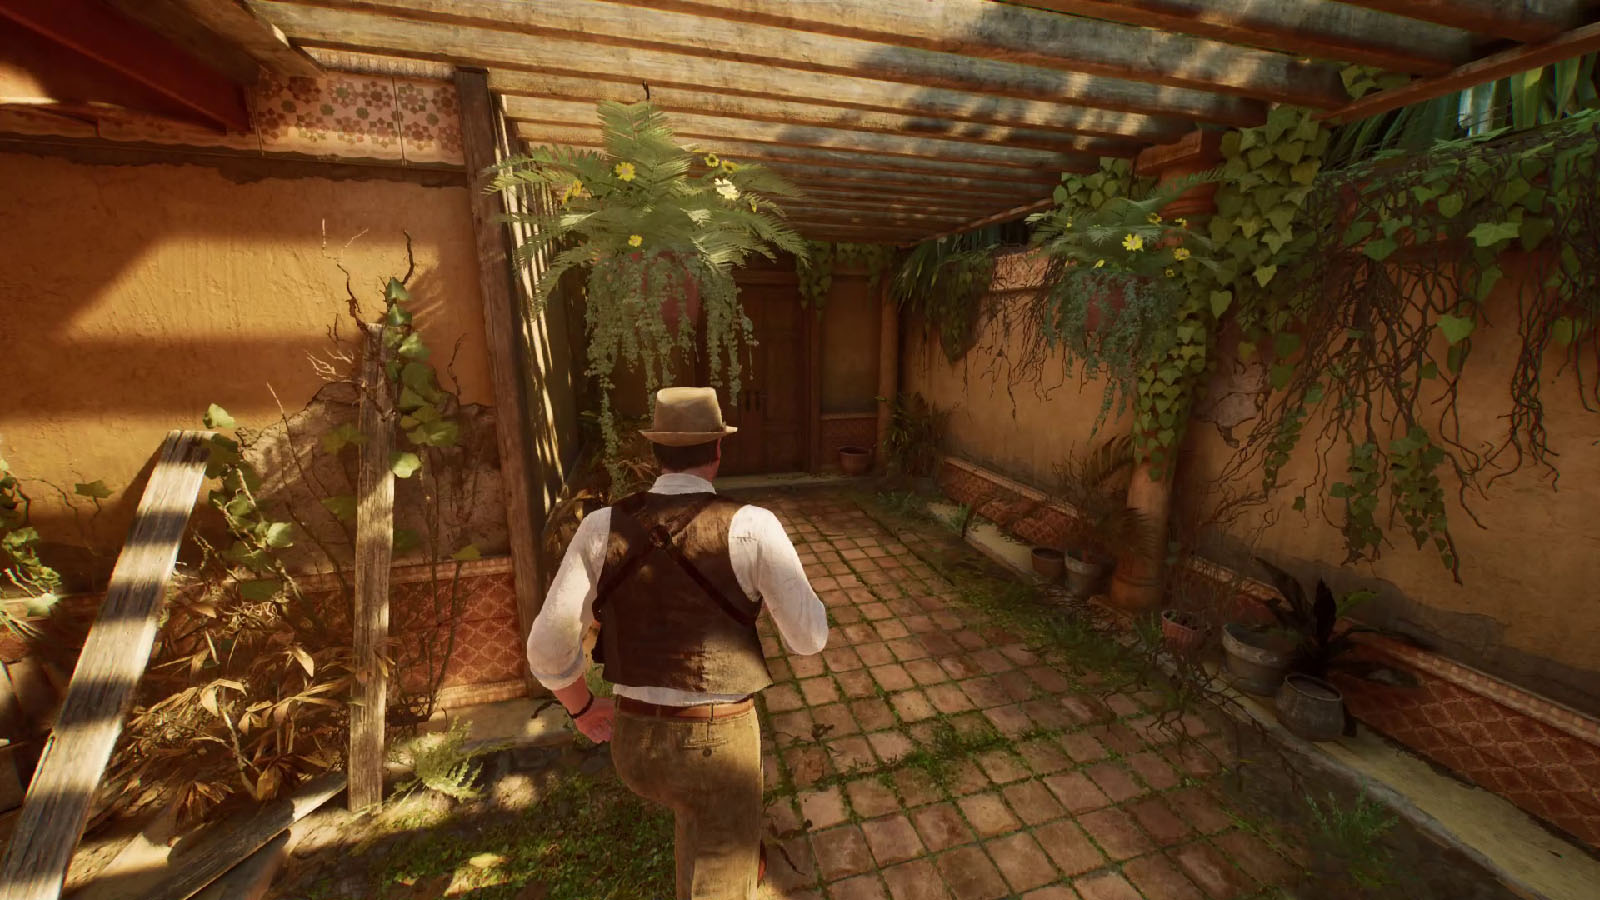
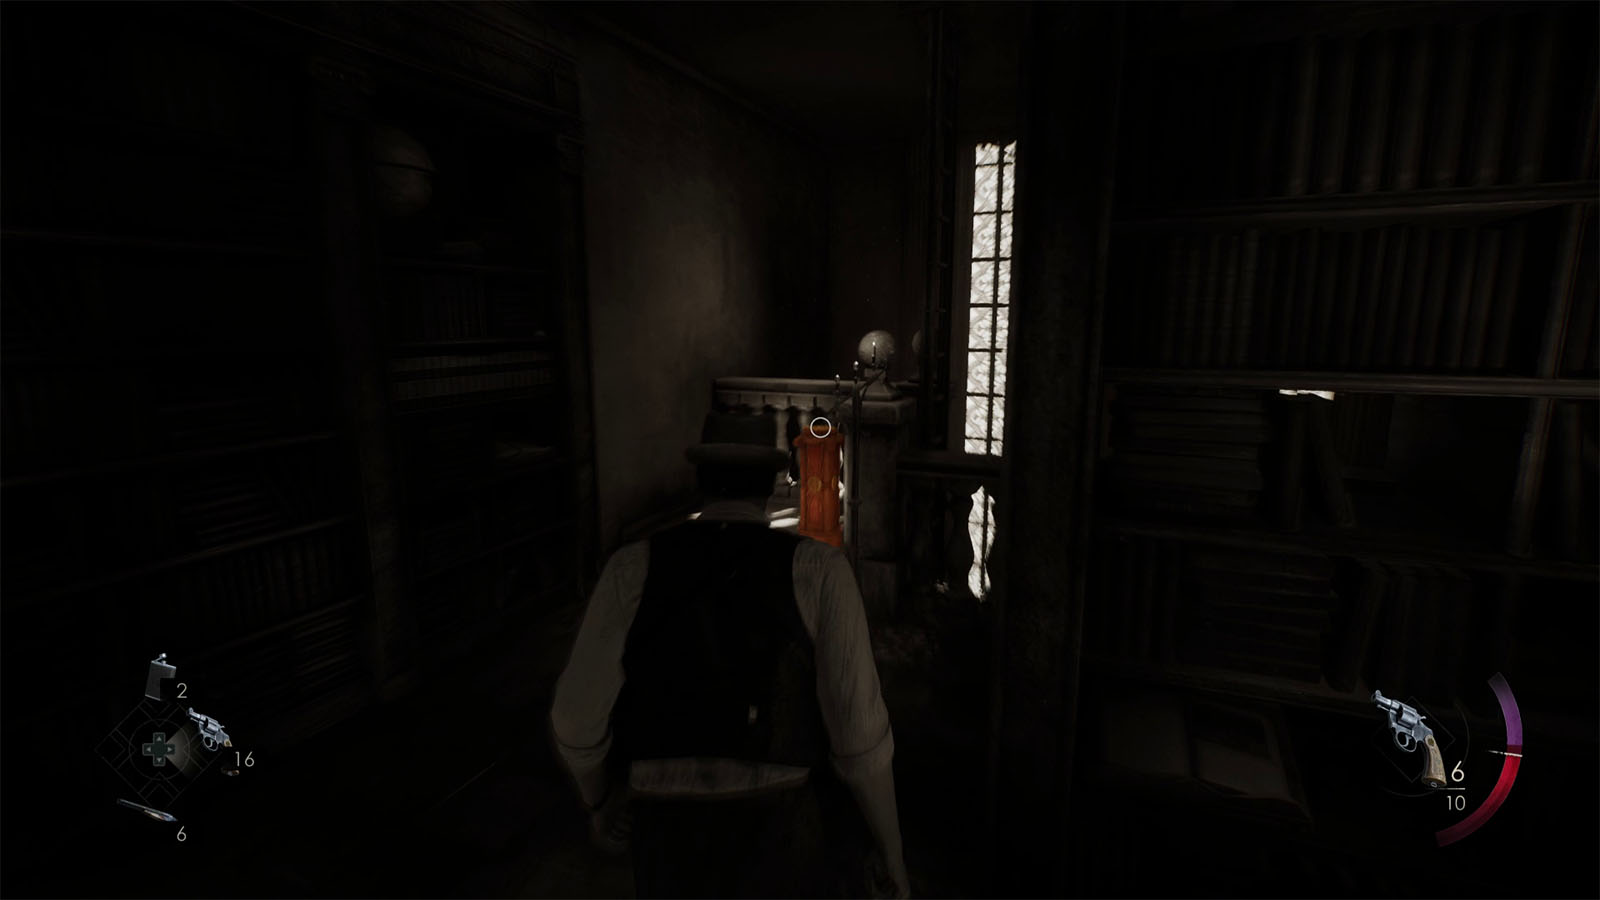
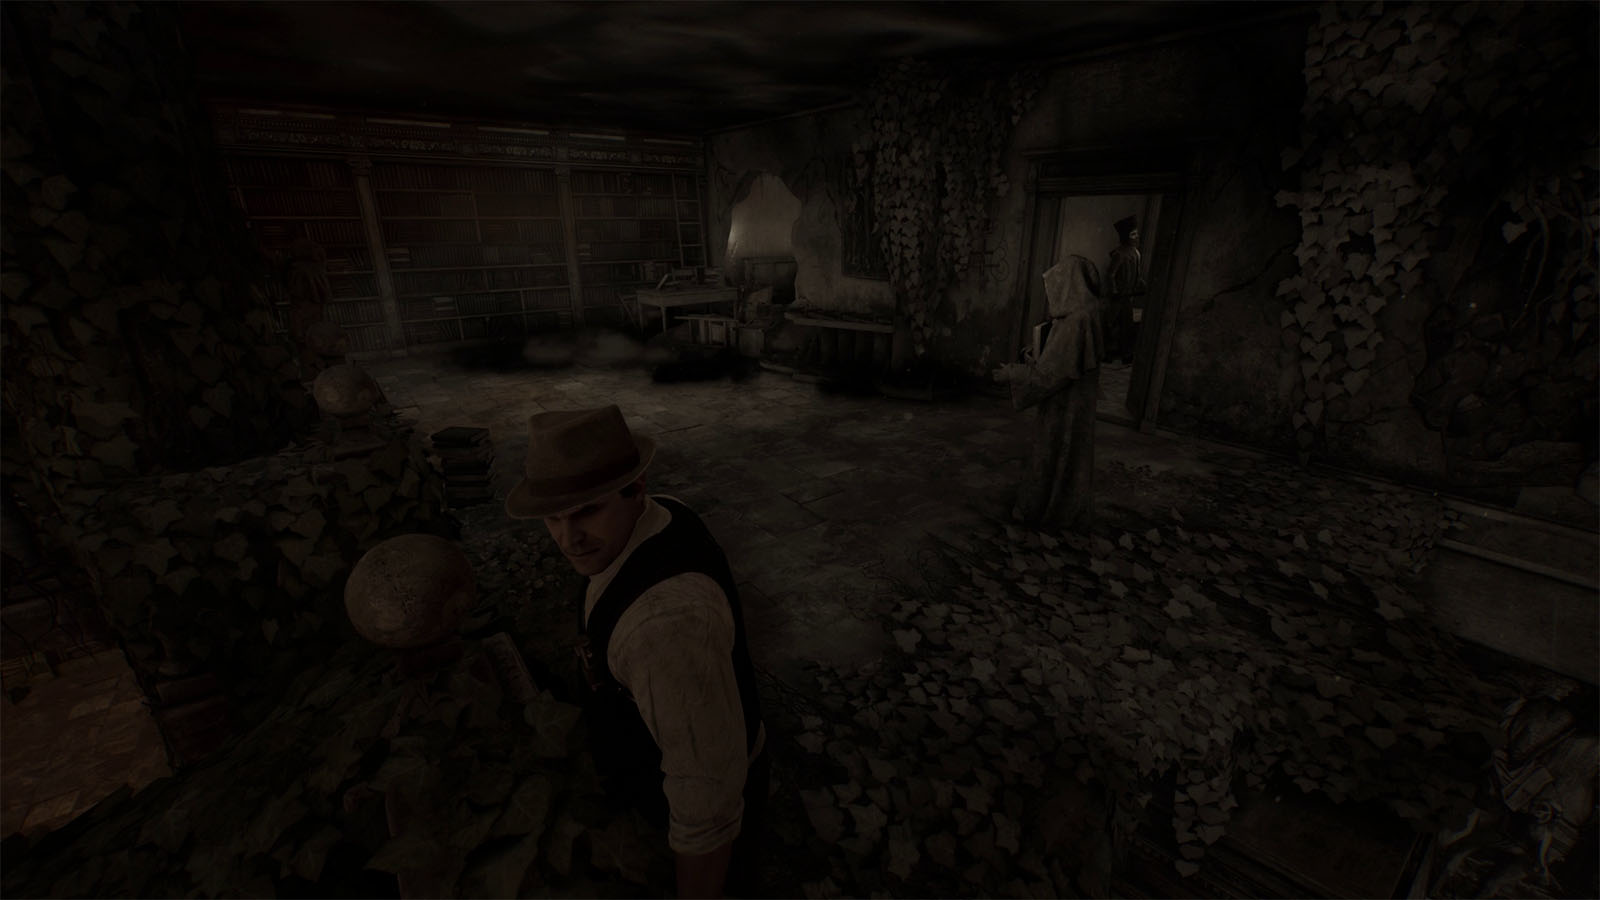
From Juan, take the door up ahead to the left and jump down the hole at the end of the room. Go through the rubble and past the ripped tarp to reach the grand library.
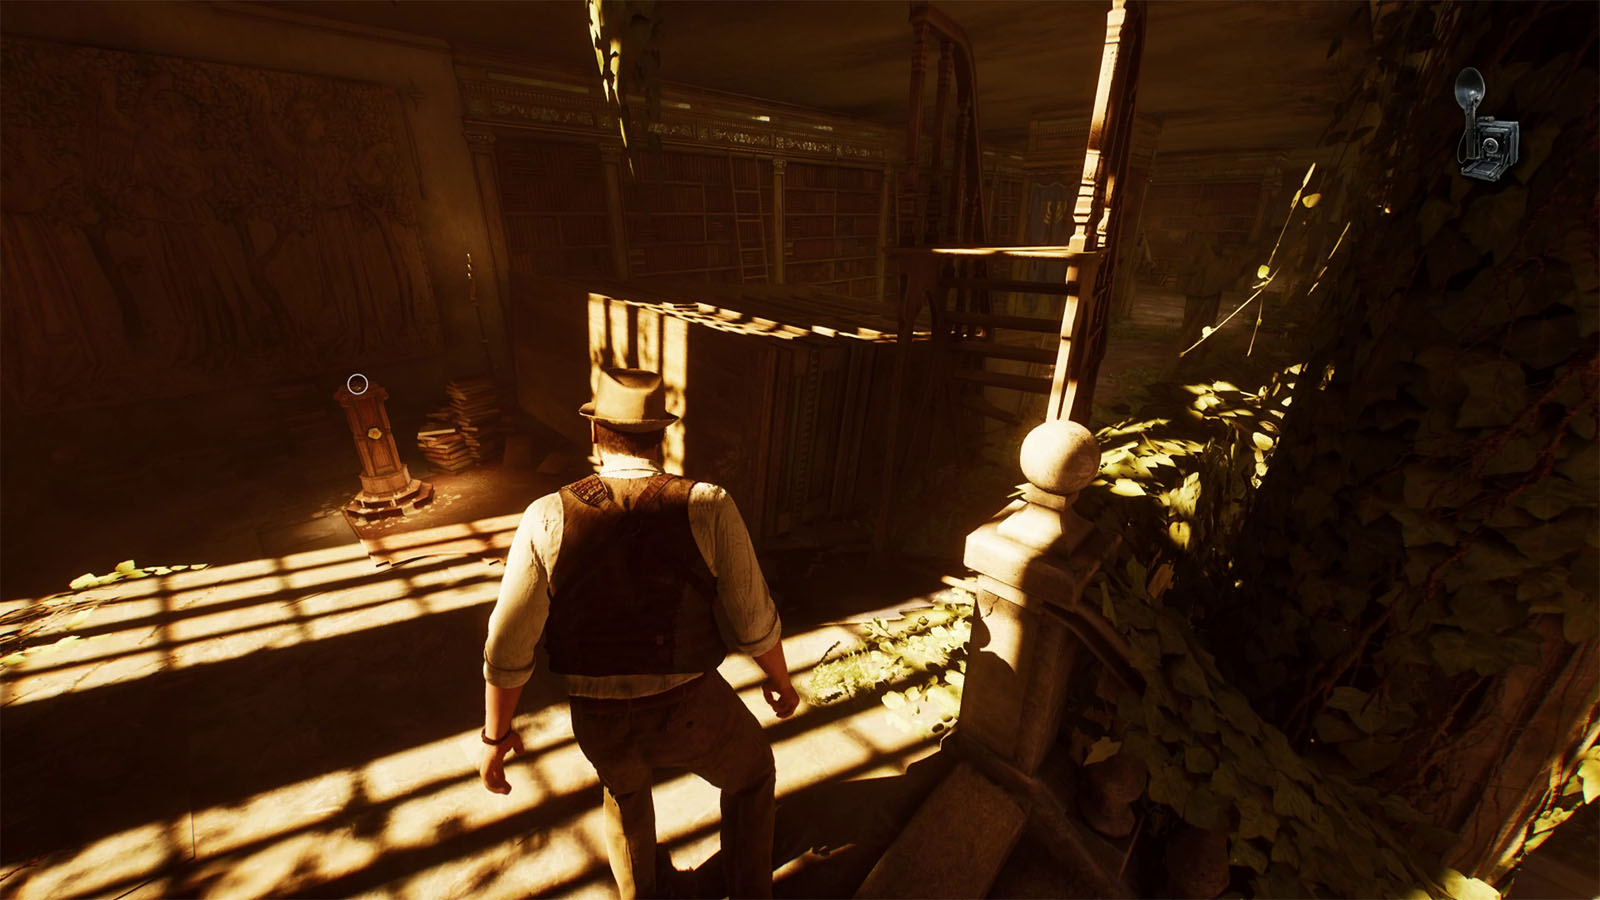
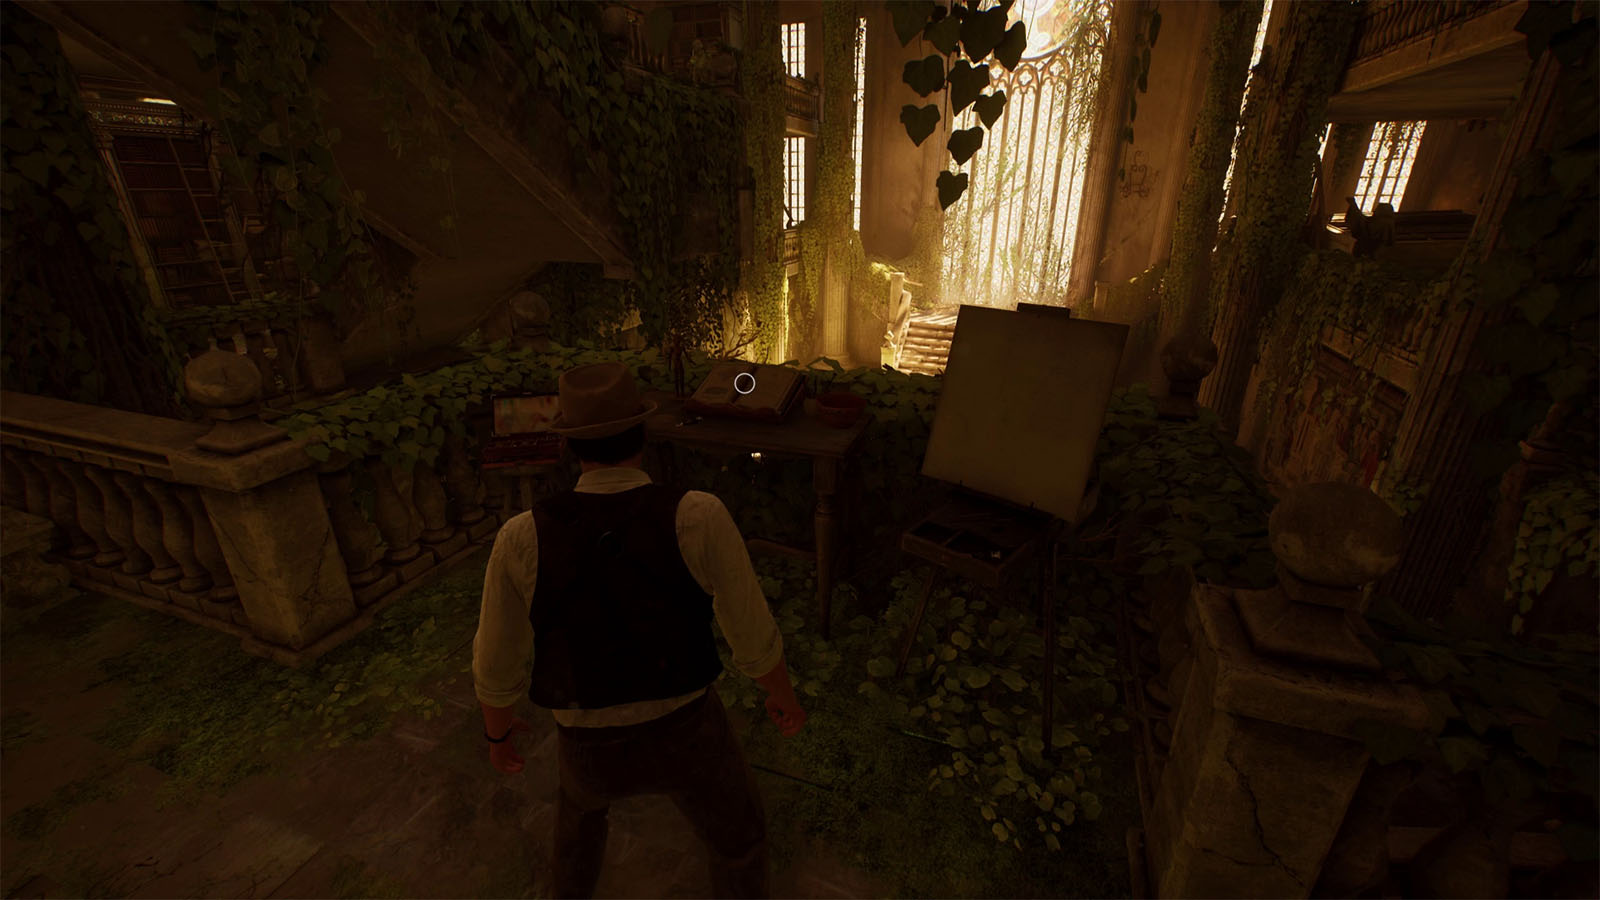
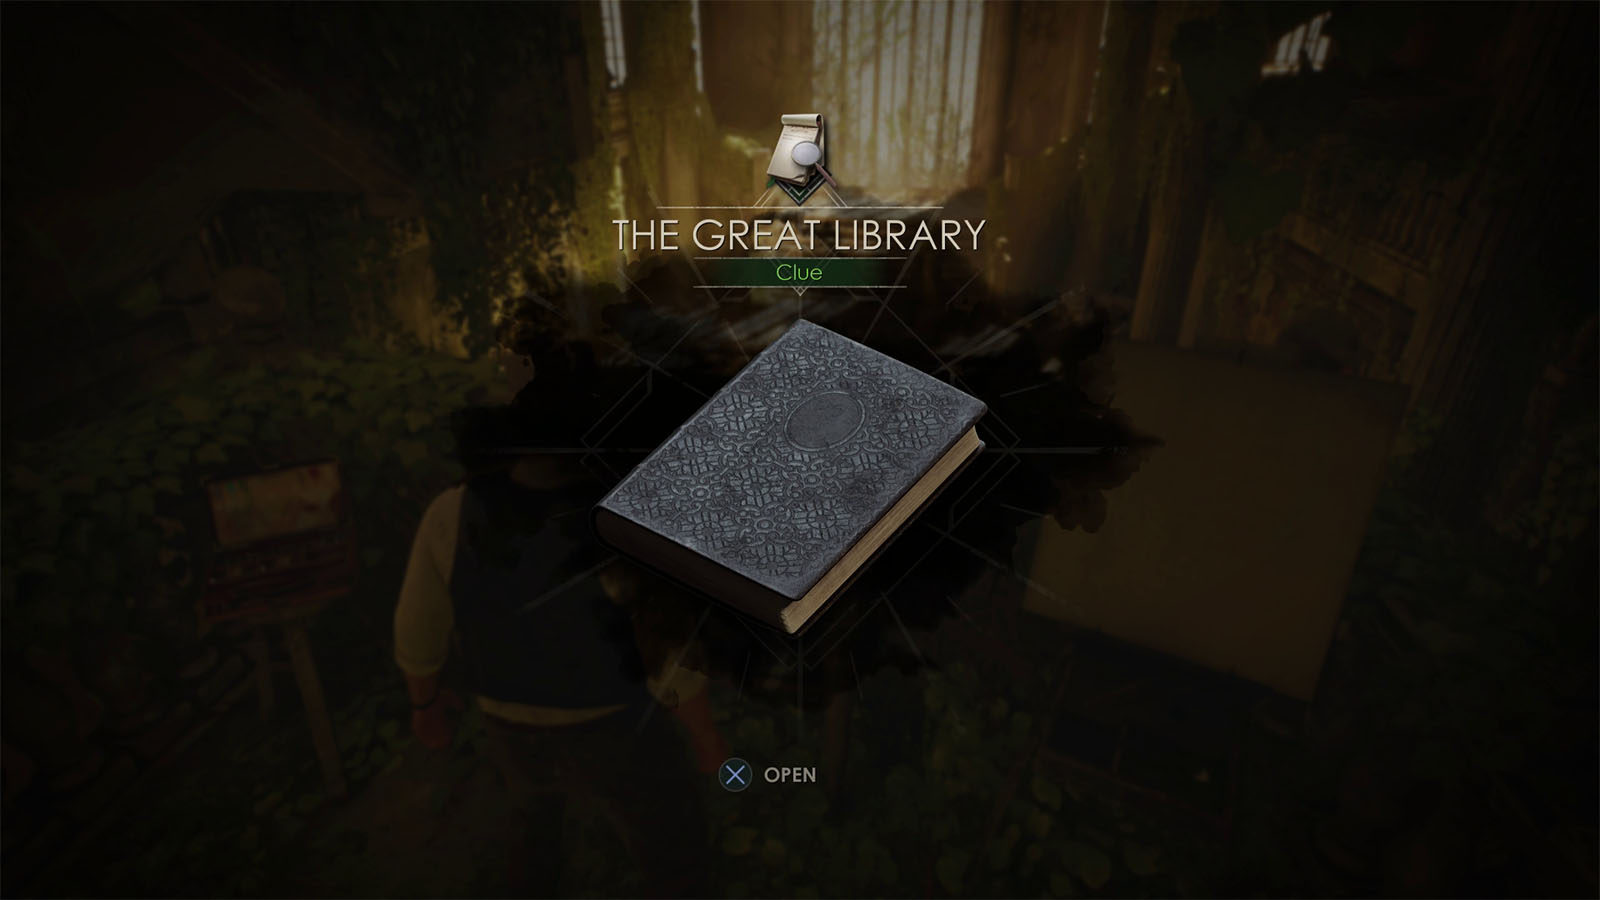
Take the stairs up ahead and you will see a cross socket on a small pillar. Take note of this for now and continue down the path where you will find the Clue – The Great Library by an easel.

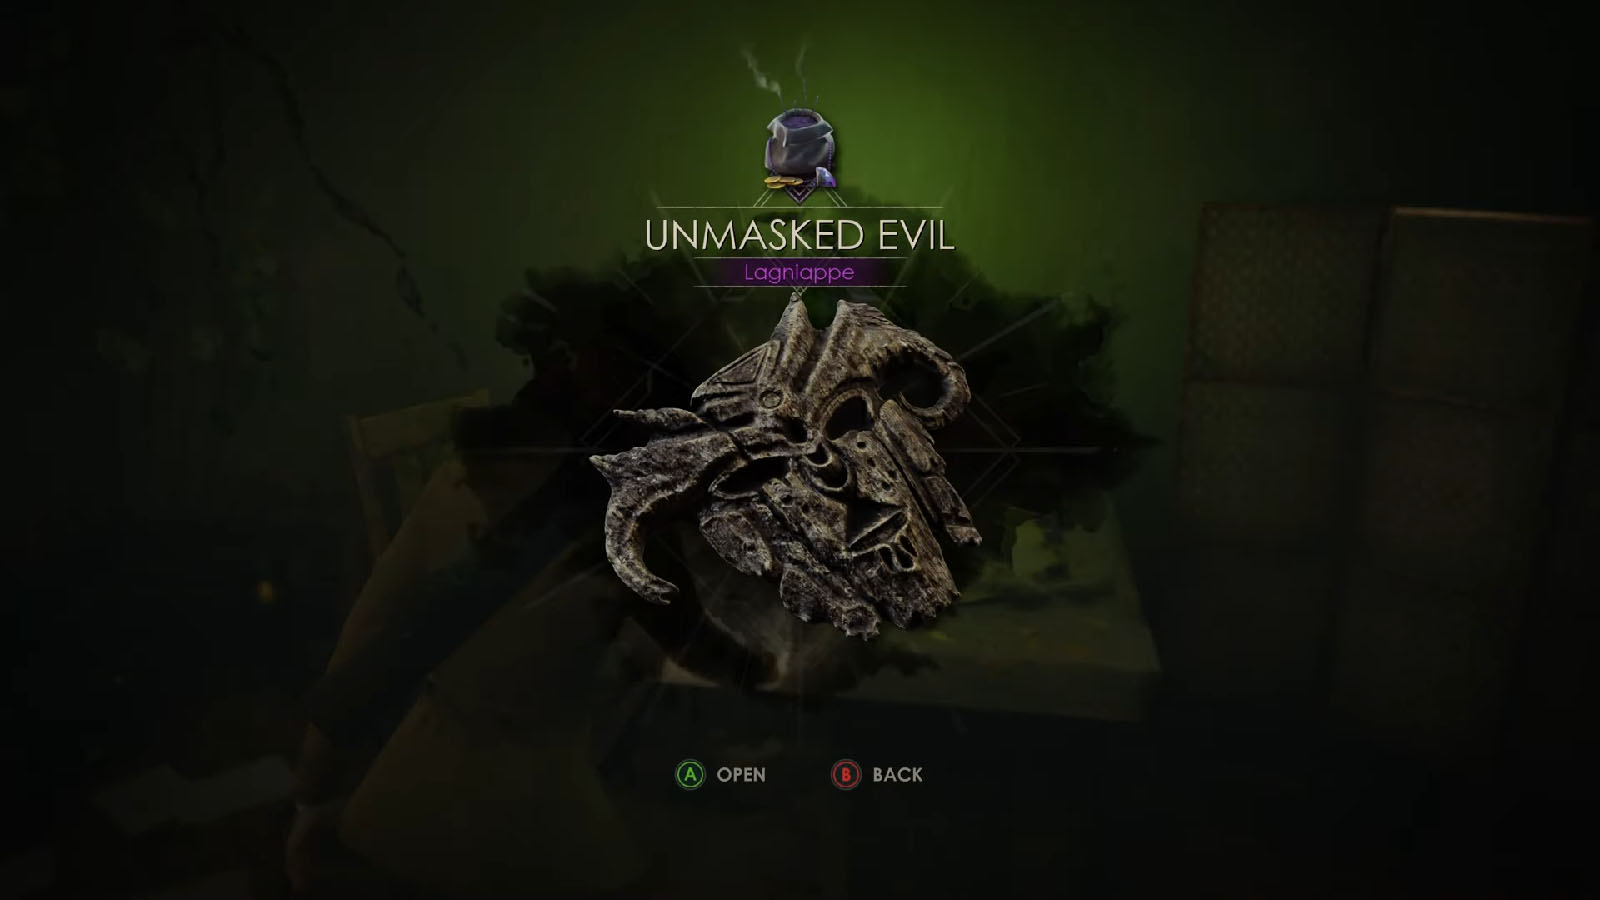
Go up the next flight of stairs to the third floor. Then, look for the wall covered with vines that has a gap on it and a green light inside. Squeeze through this gap to find the Lagniappe – Unmasked Evil.
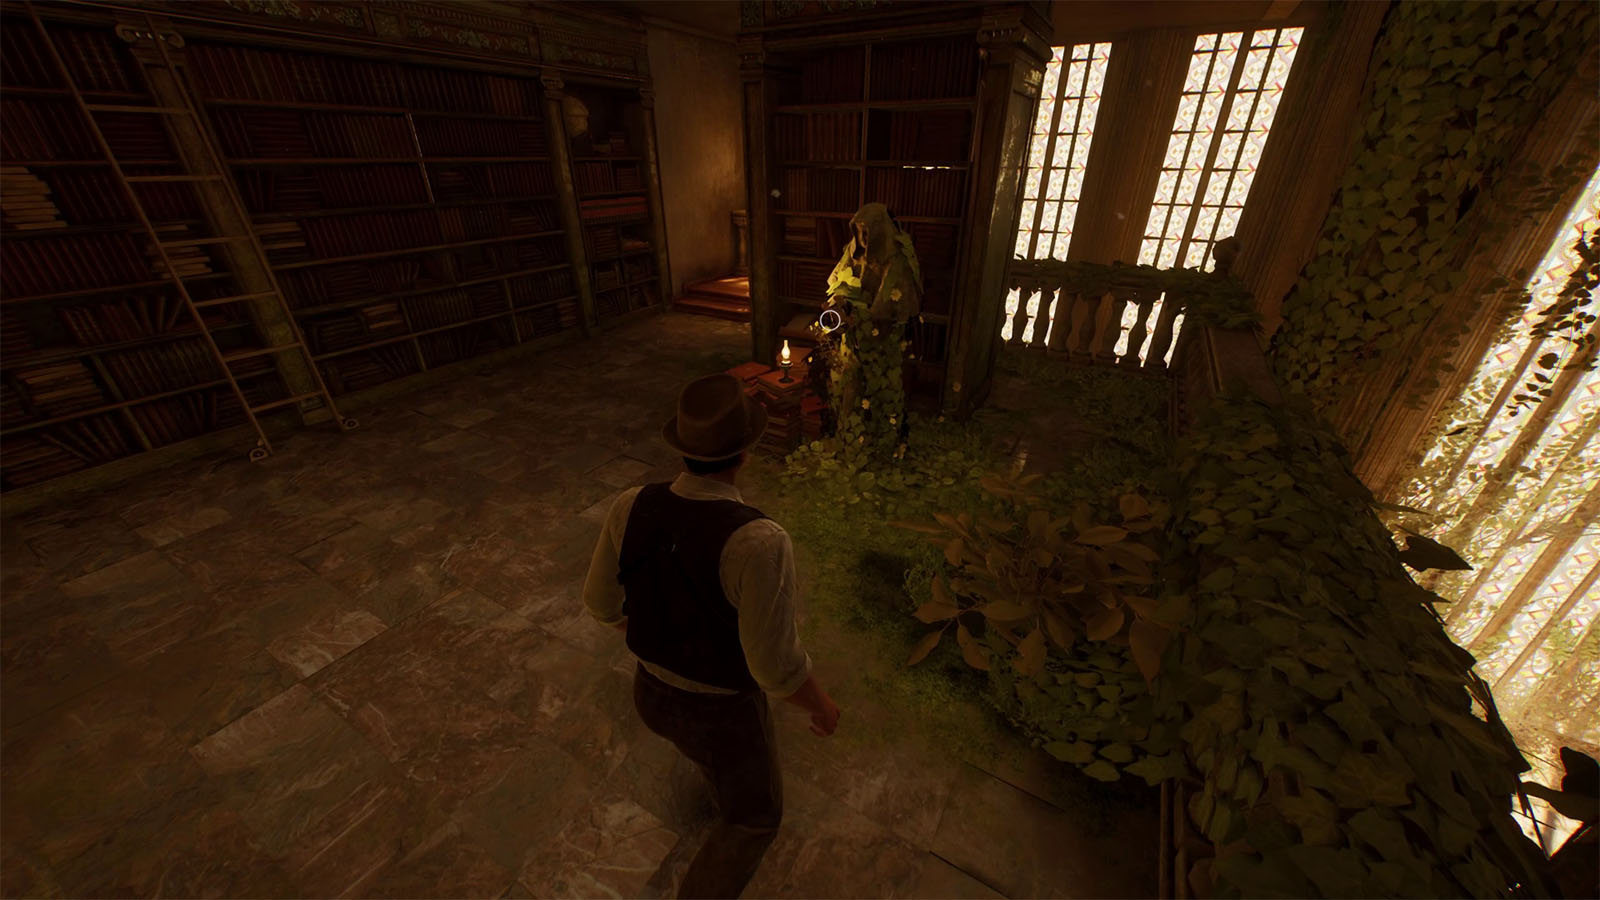
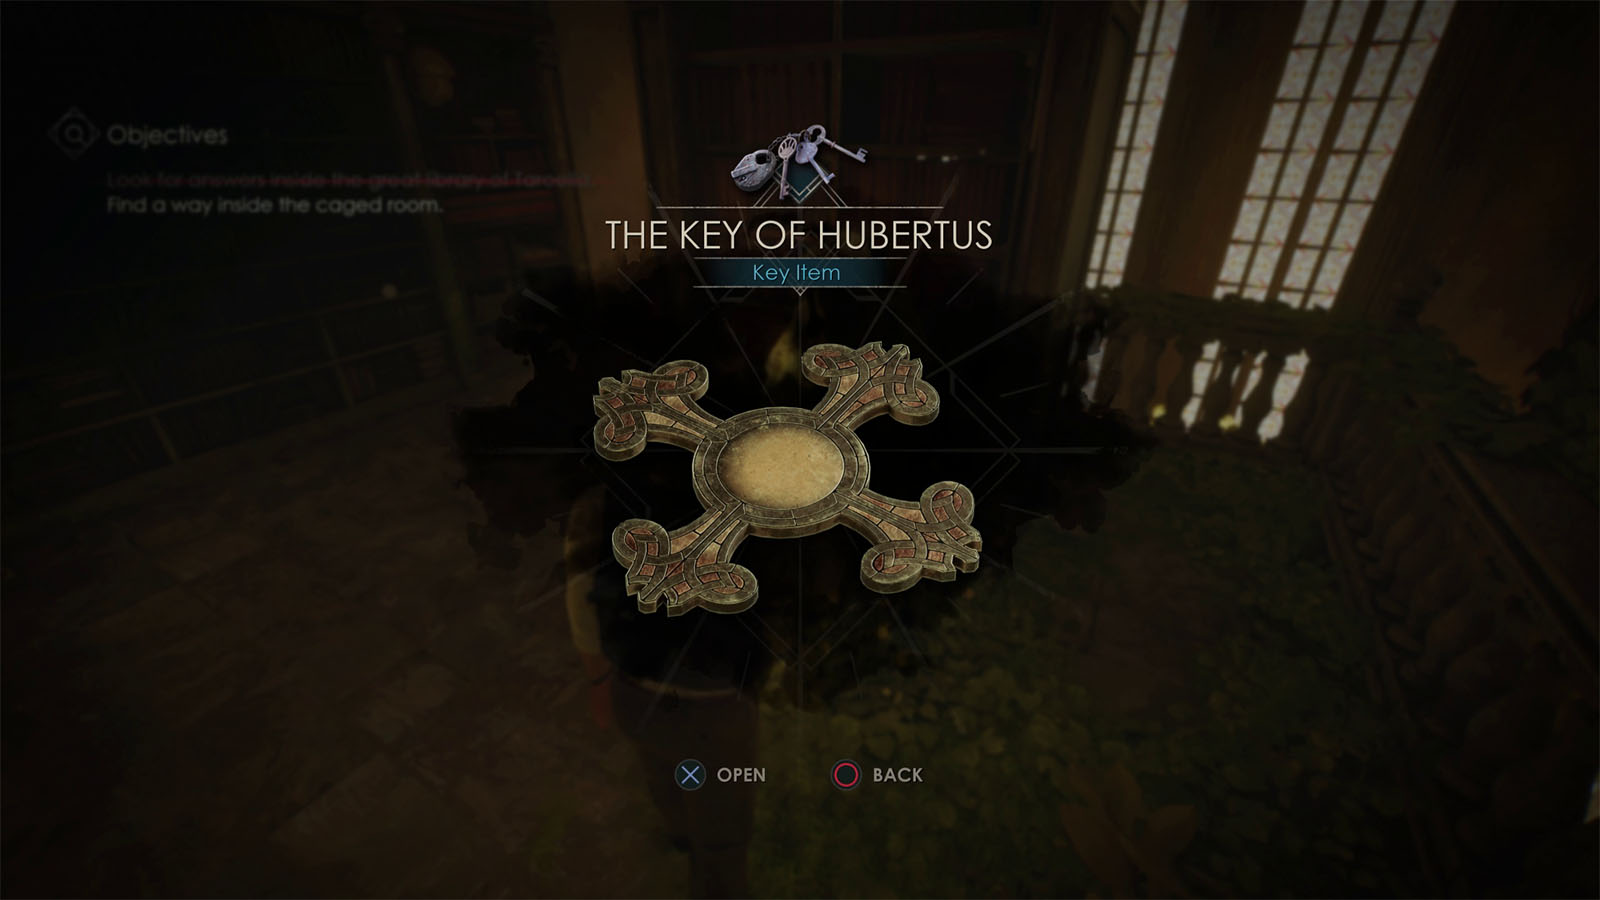
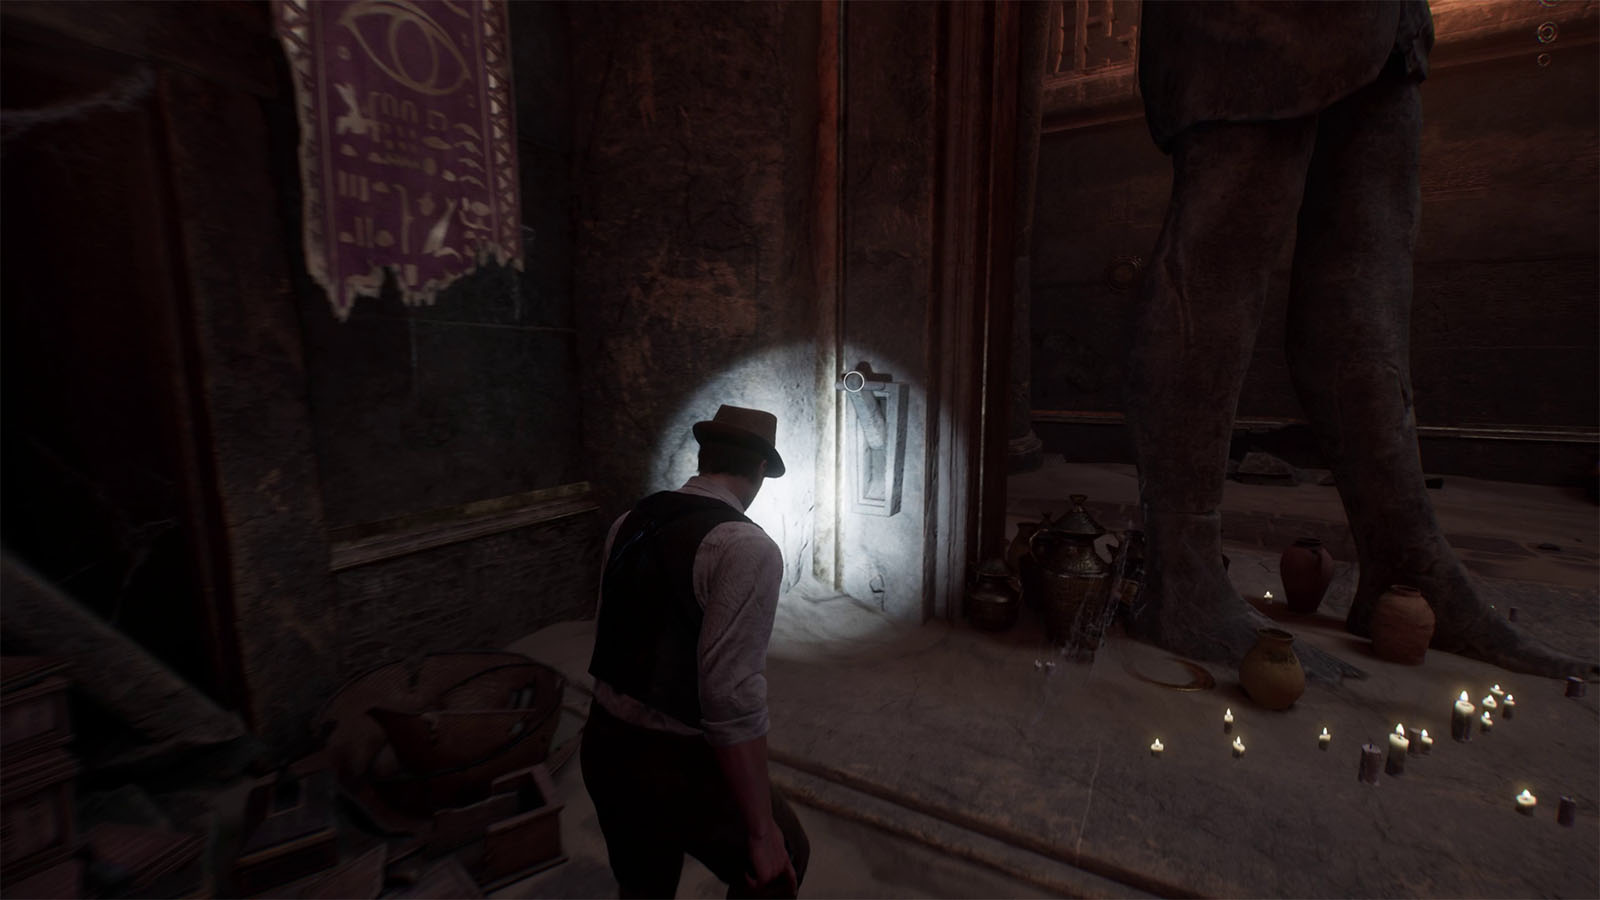
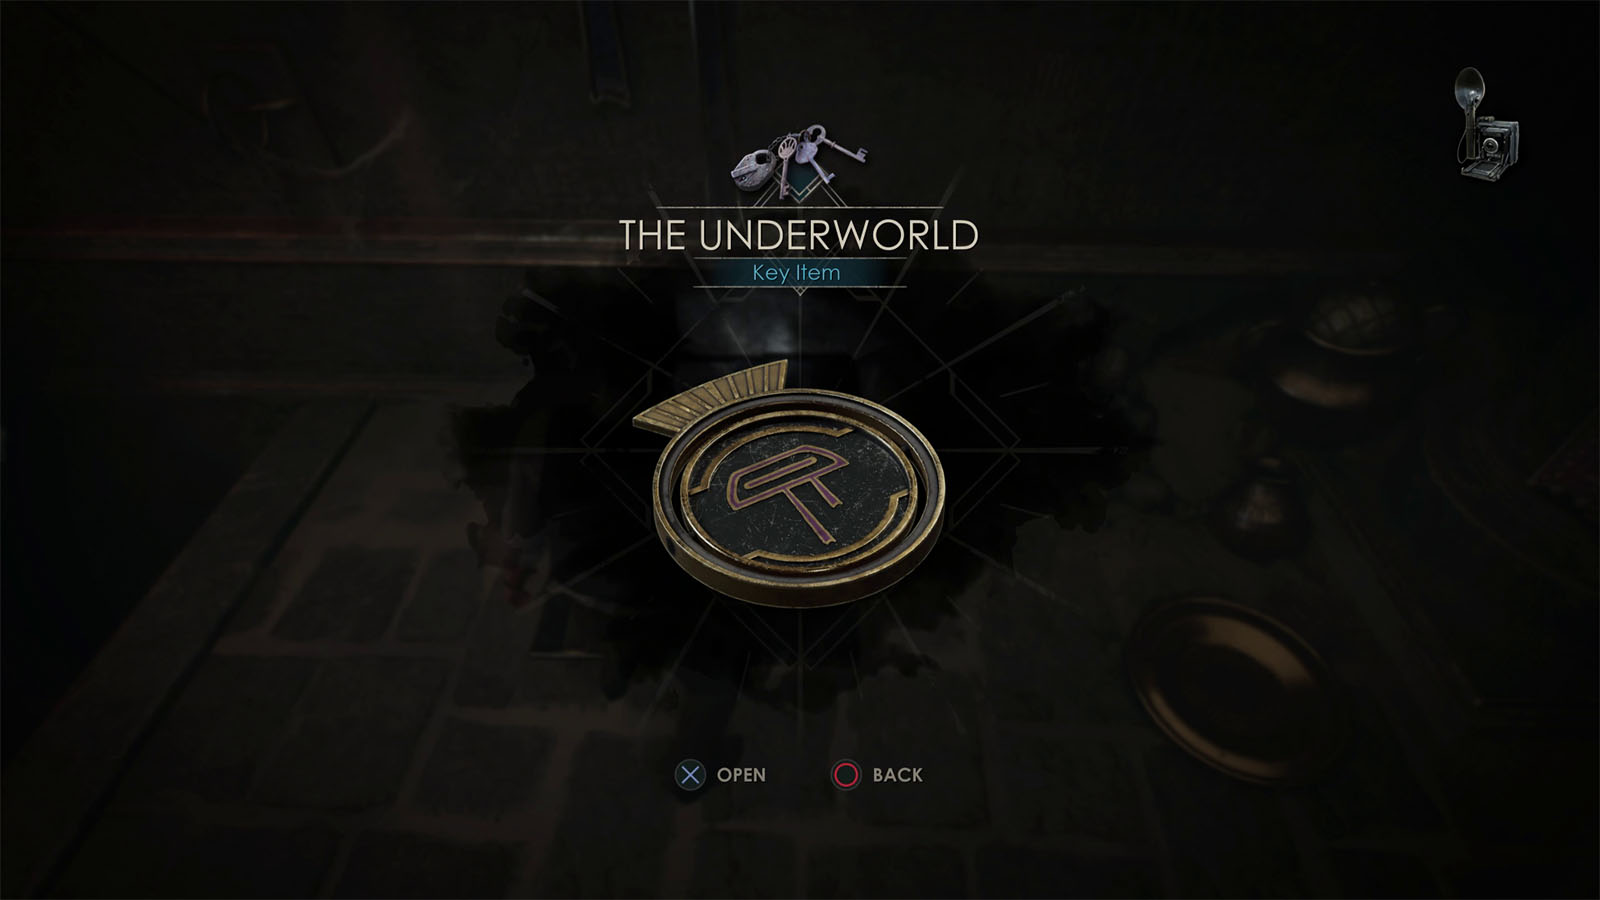
Go to the lit statue to get The Key of Hubertus which will fit inside the cross socket from earlier.
Find a way inside the caged room
After taking the key, the entire place shakes and the elevator slips down. However, the Dark Man suddenly appears and raises the cage back up using an unseen force.
Go towards the small pillar nearby and use the key to lower a ladder down to the second floor, then use it to go down.
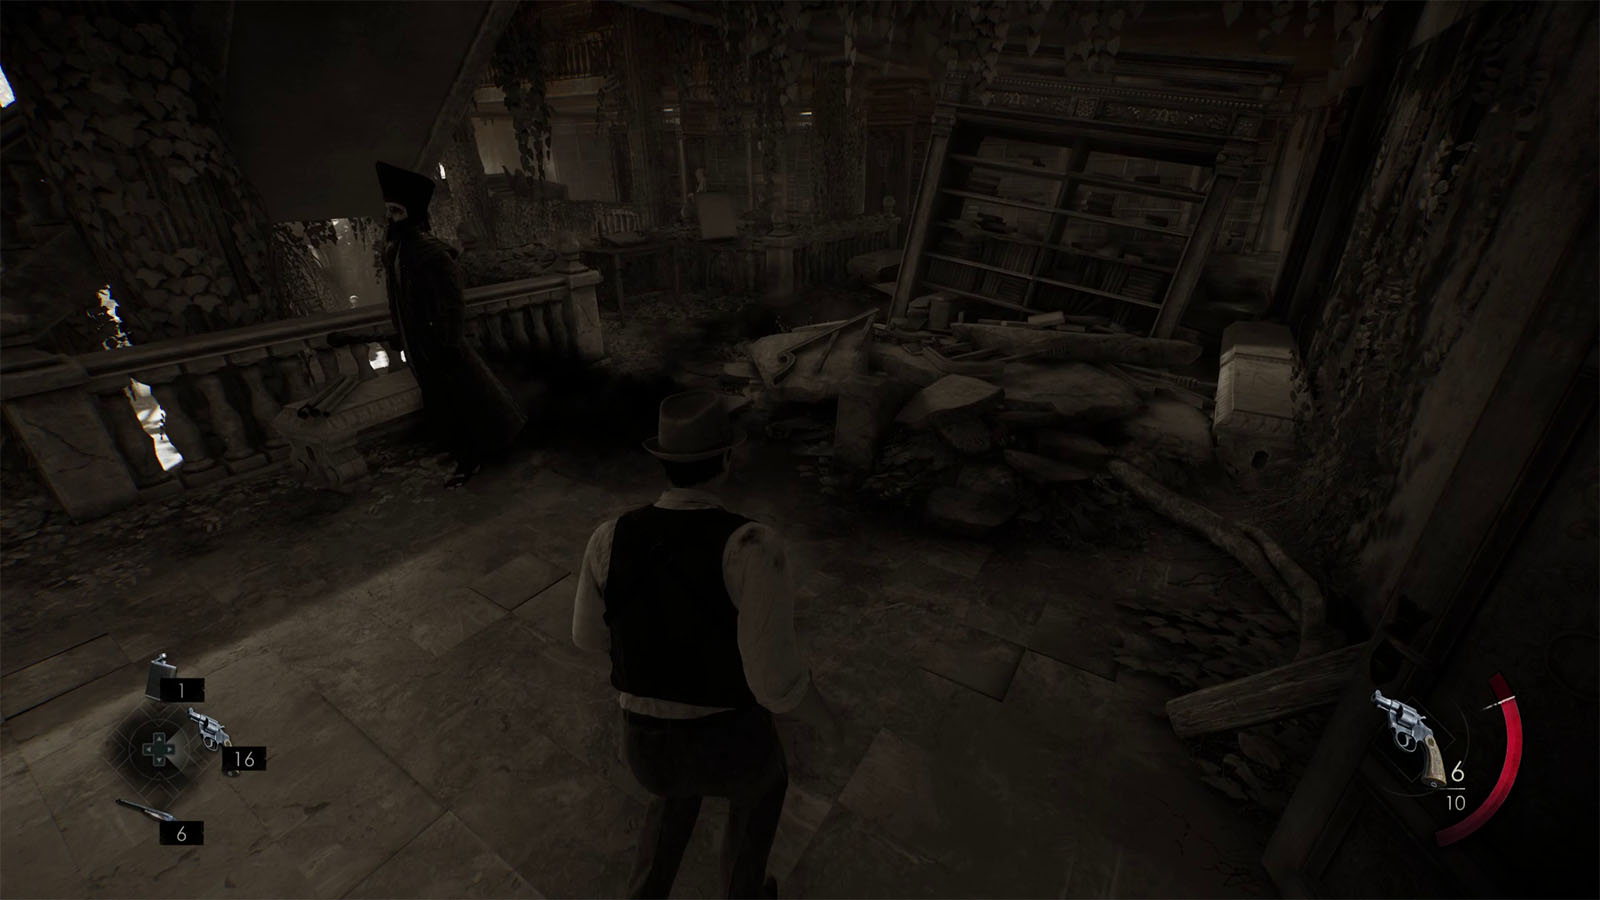
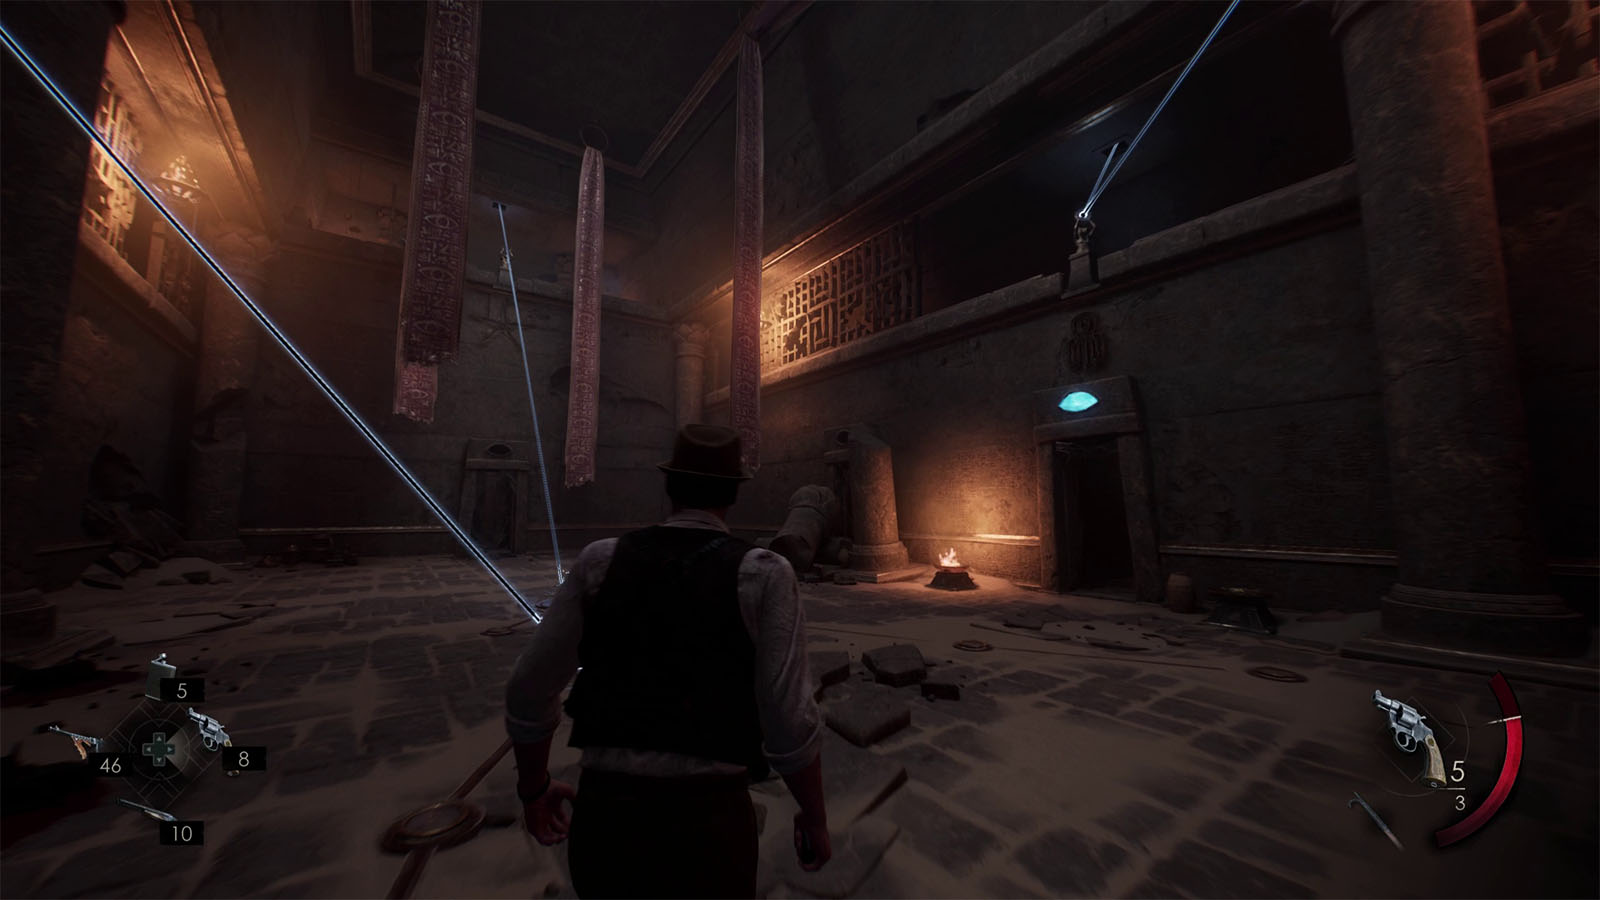
At this point, pay attention to the surroundings as you want to avoid getting caught by the Dark Man. You will know that the Dark Man is nearby if the surrounding area turns monochromatic and smoky. Passing through its smoke will deal tick damage towards you, and the closer you are to it, the faster your health goes down. The Dark Man can teleport to certain areas and follows a patrol path.
Make your way back to the first small pillar you saw from earlier and use the key on the socket to bring down another ladder which goes back up.
Next, head towards the room up ahead, but just let the Dark Man spawn to the room on the left first and then immediately head back out. Wait for it to walk out of the left room, then go inside the left room and use the key once more to get a ladder that goes to the fourth floor.
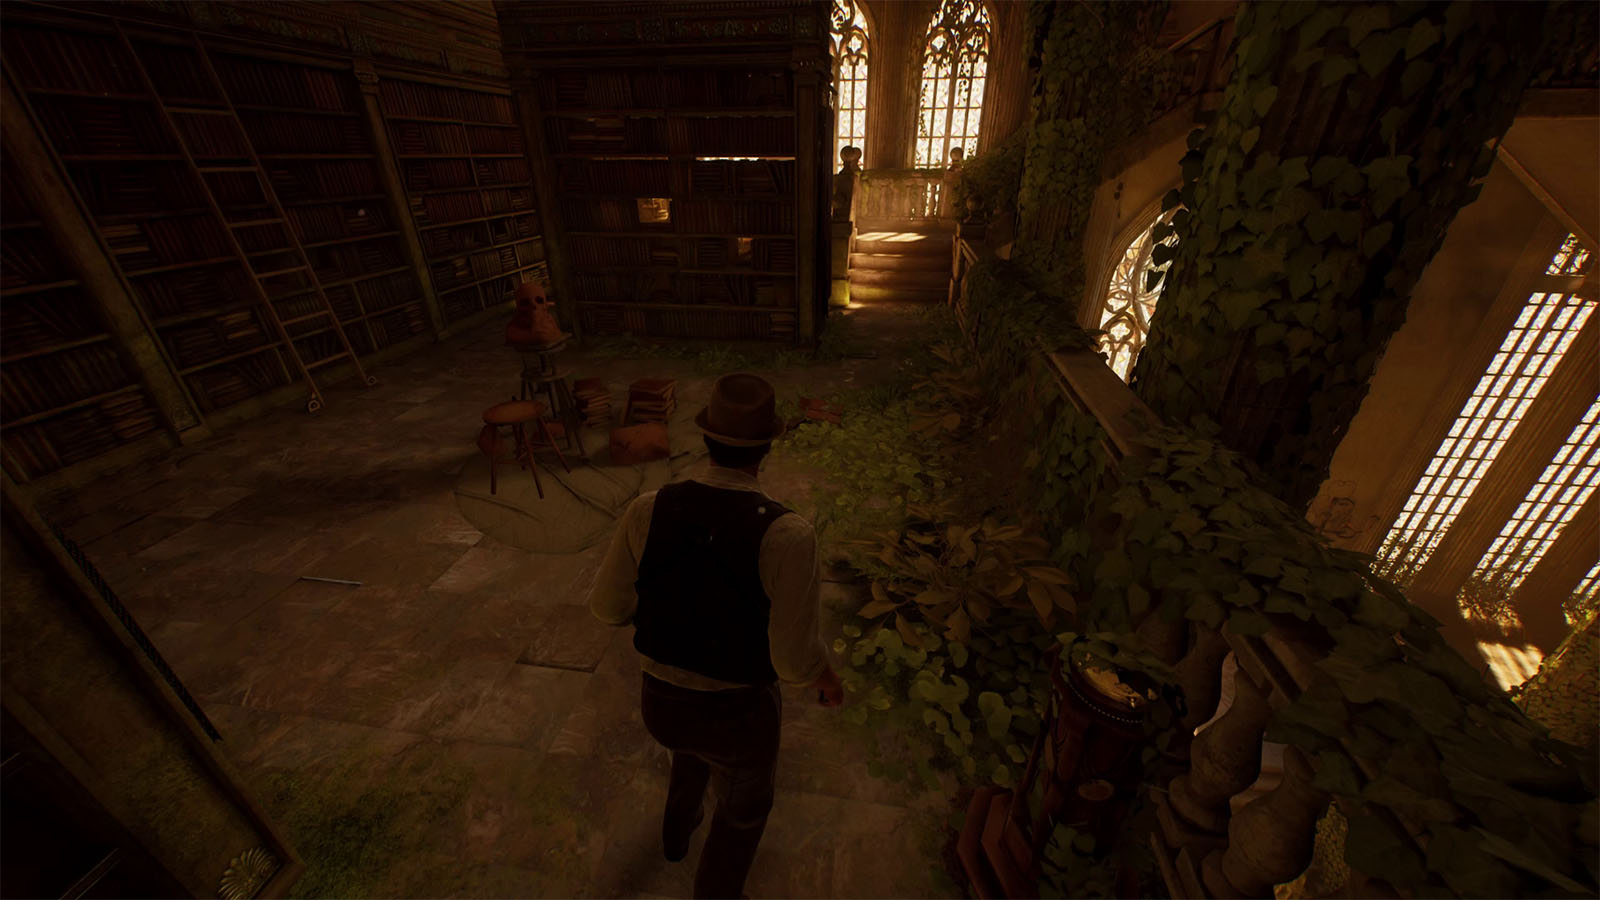

Go directly up the next set of stairs to cross over to the other side, then follow the path until you reach the elevator. Use the key inside the elevator and inspect the open case to trigger a cutscene.
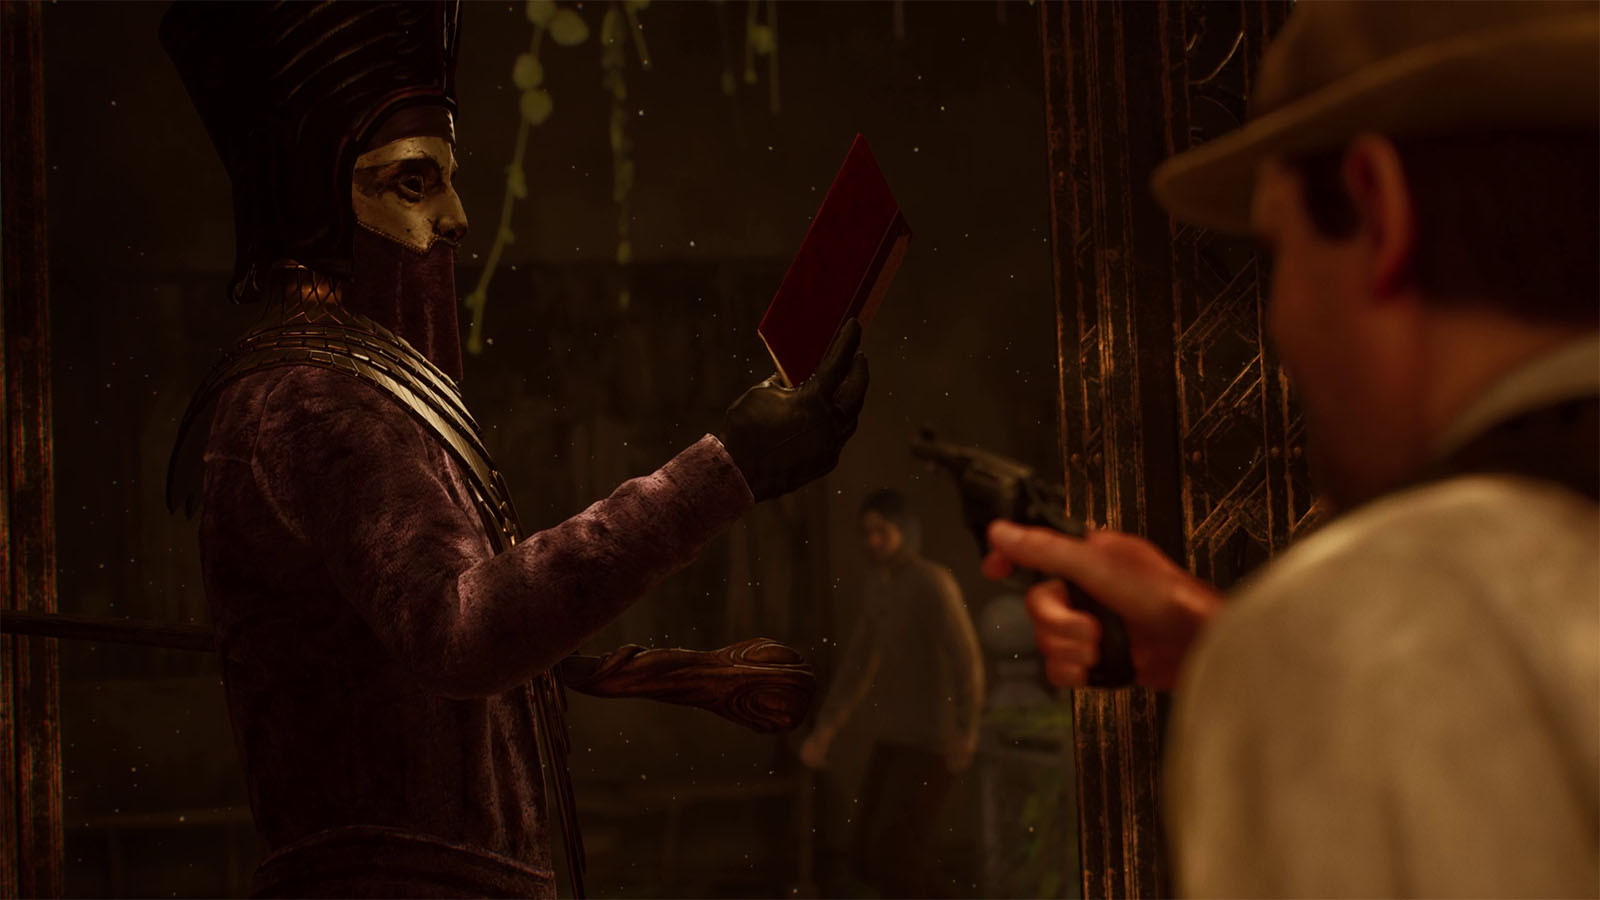
In this cutscene, you get to read a book, but the Dark Man takes it away and its presence alone makes you unable to react. Juan comes in and distracts the Dark Man which allows you to escape.
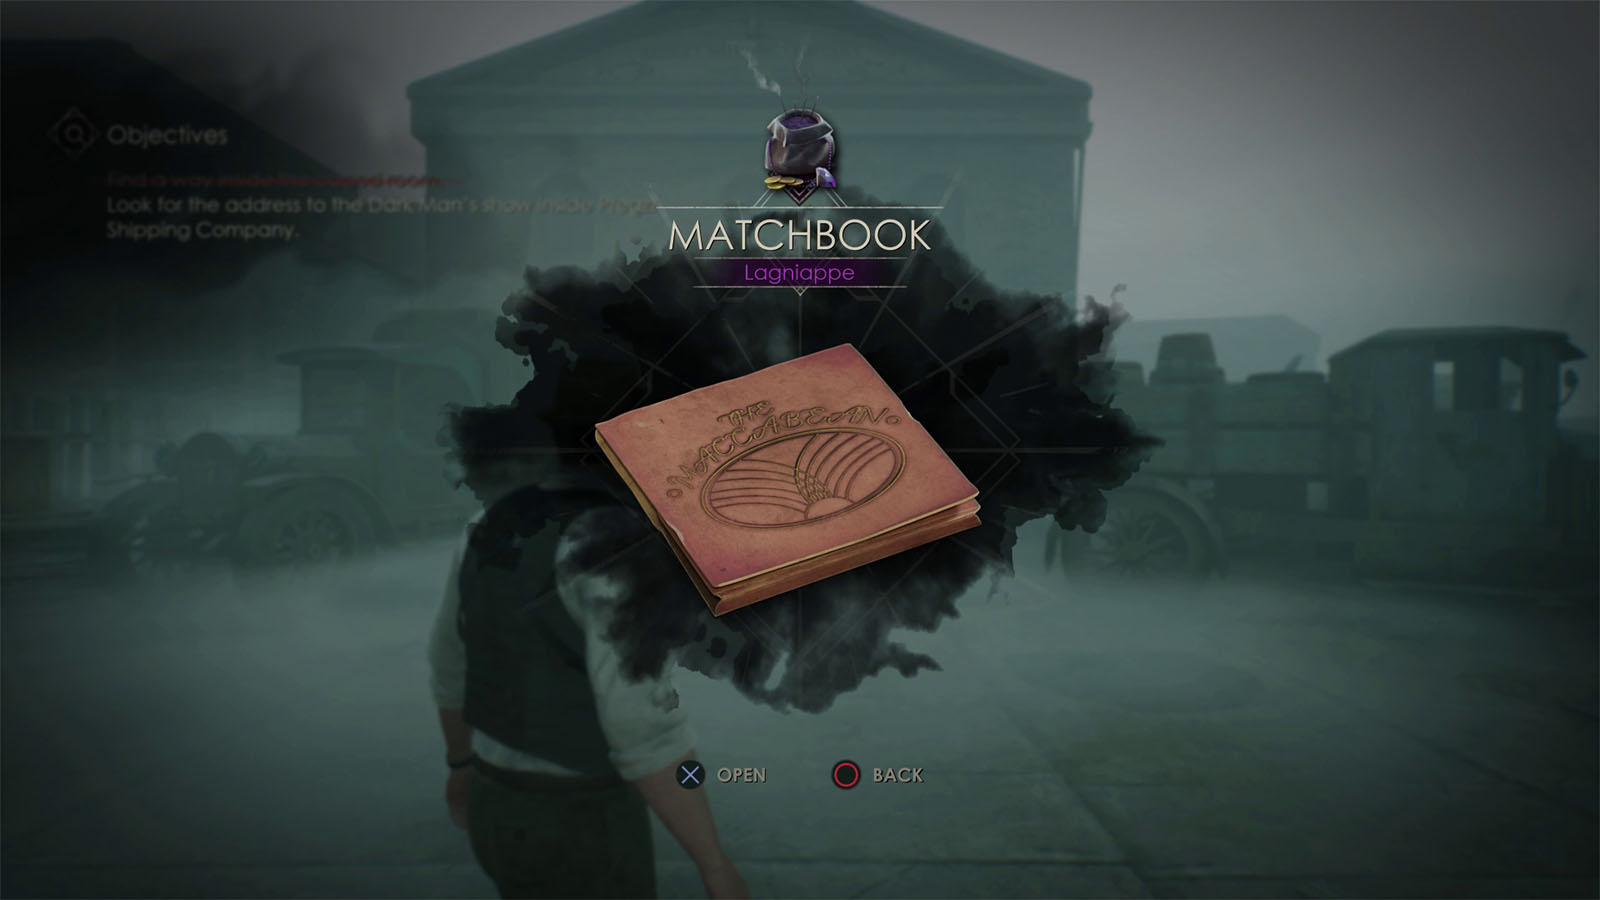
You then find yourself in the company of Ruth once more. During your conversation, she suddenly whisks you to Gallatin Street, right in front of Pregzt Shipping Company. You will also unlock the Drop Me Off In New Orleans Achievement and obtain the Lagniappe – Matchbook and the Clue – The Dark Man Enters.
Look for the address to the Dark Man’s show inside Pregzt Shipping Company
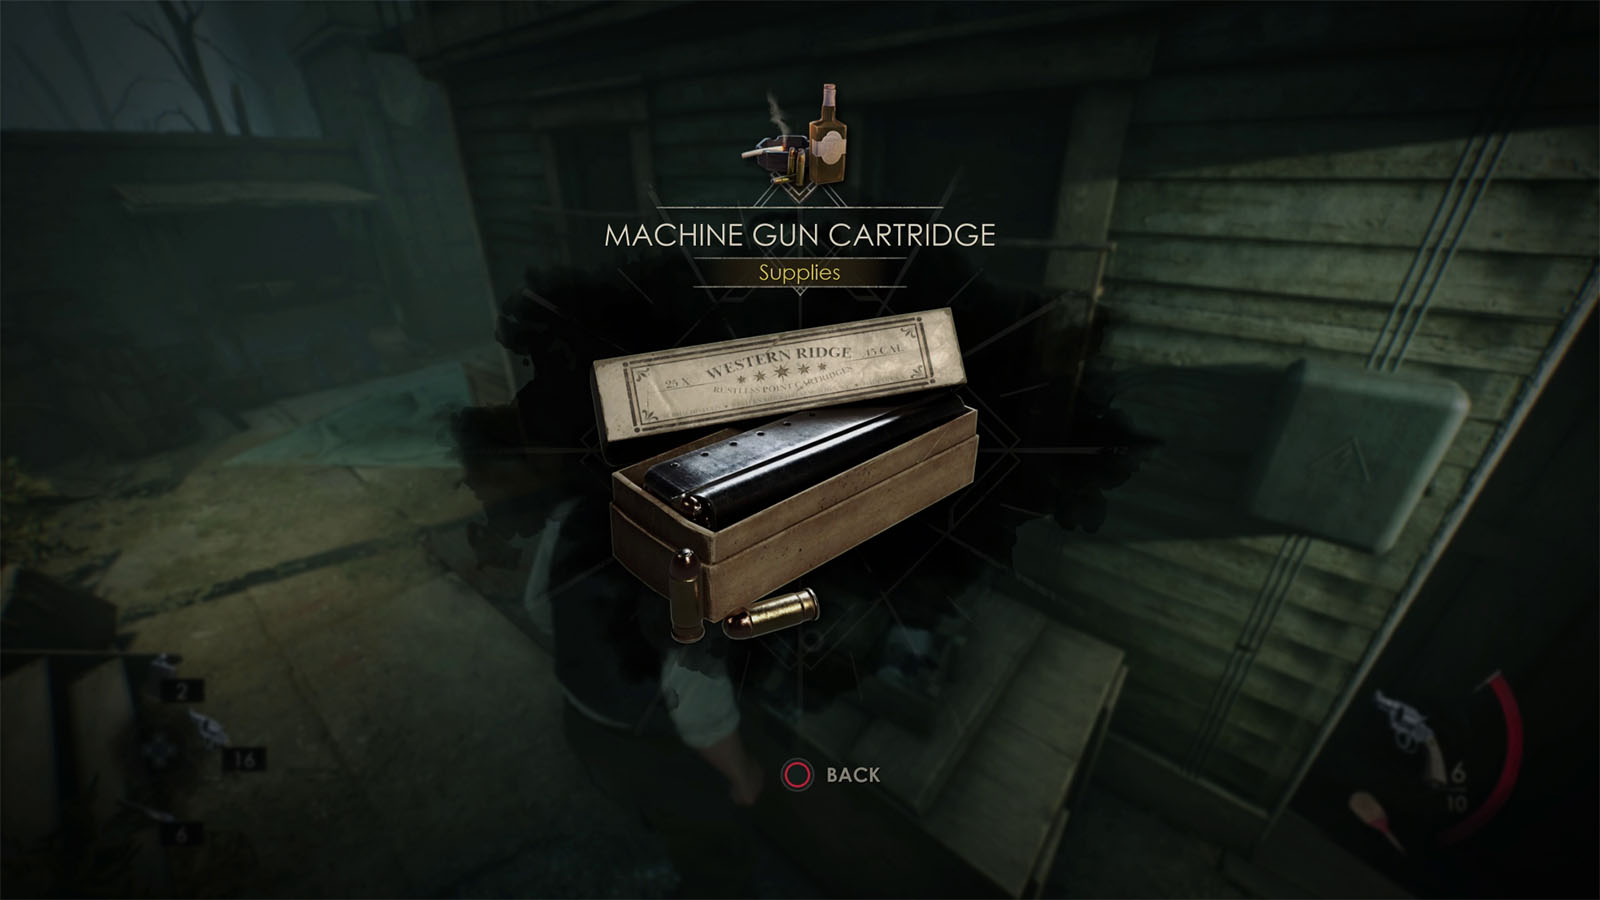
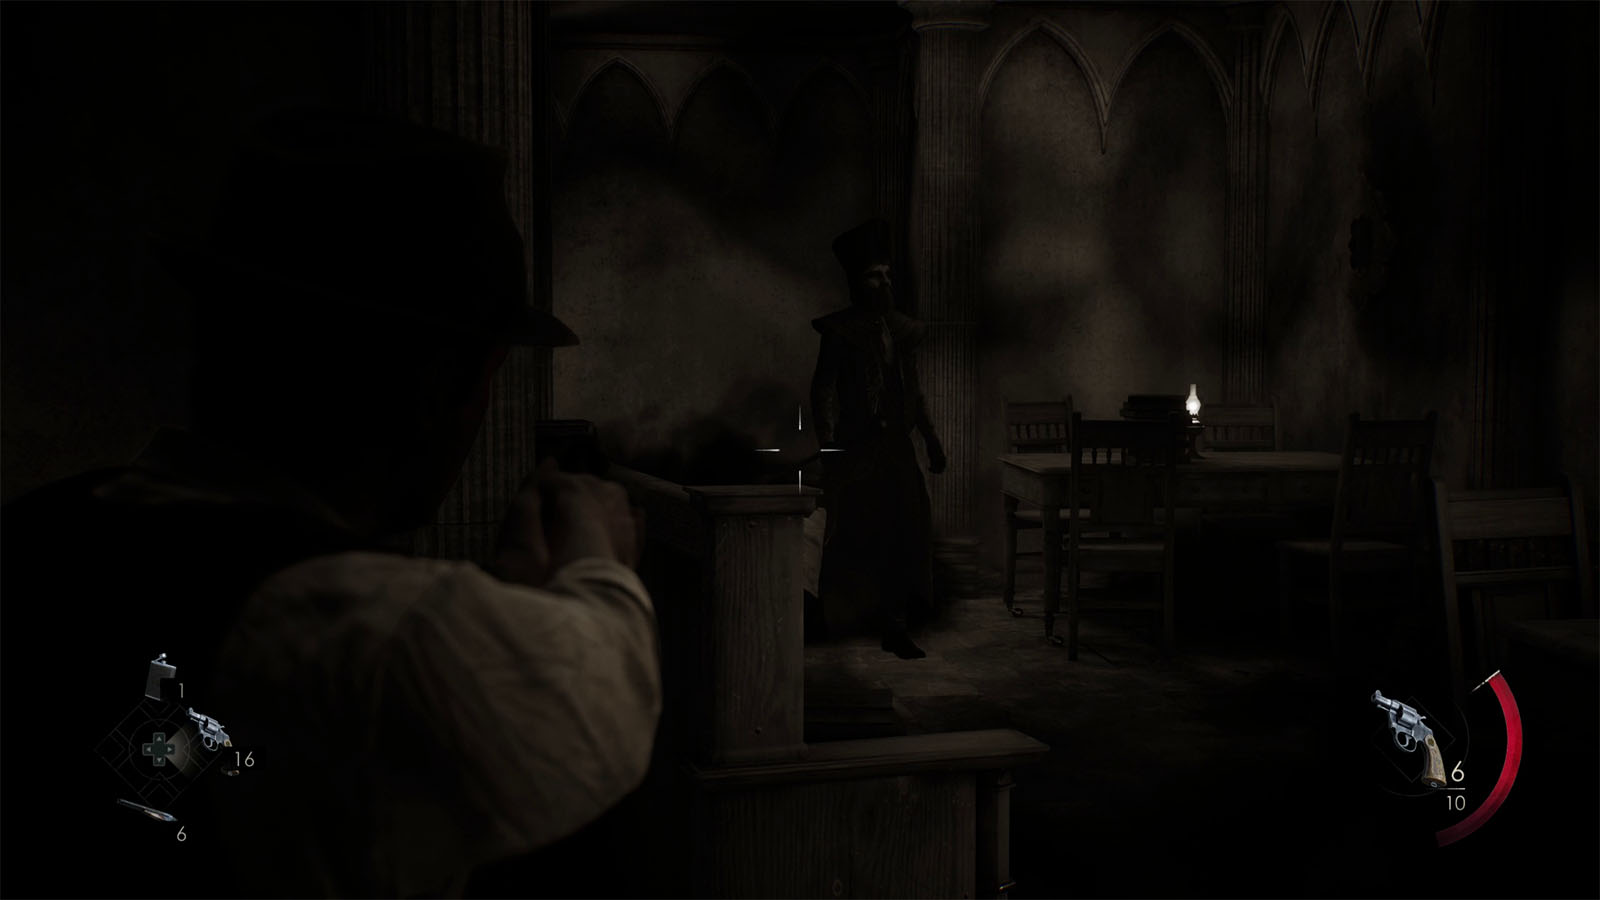
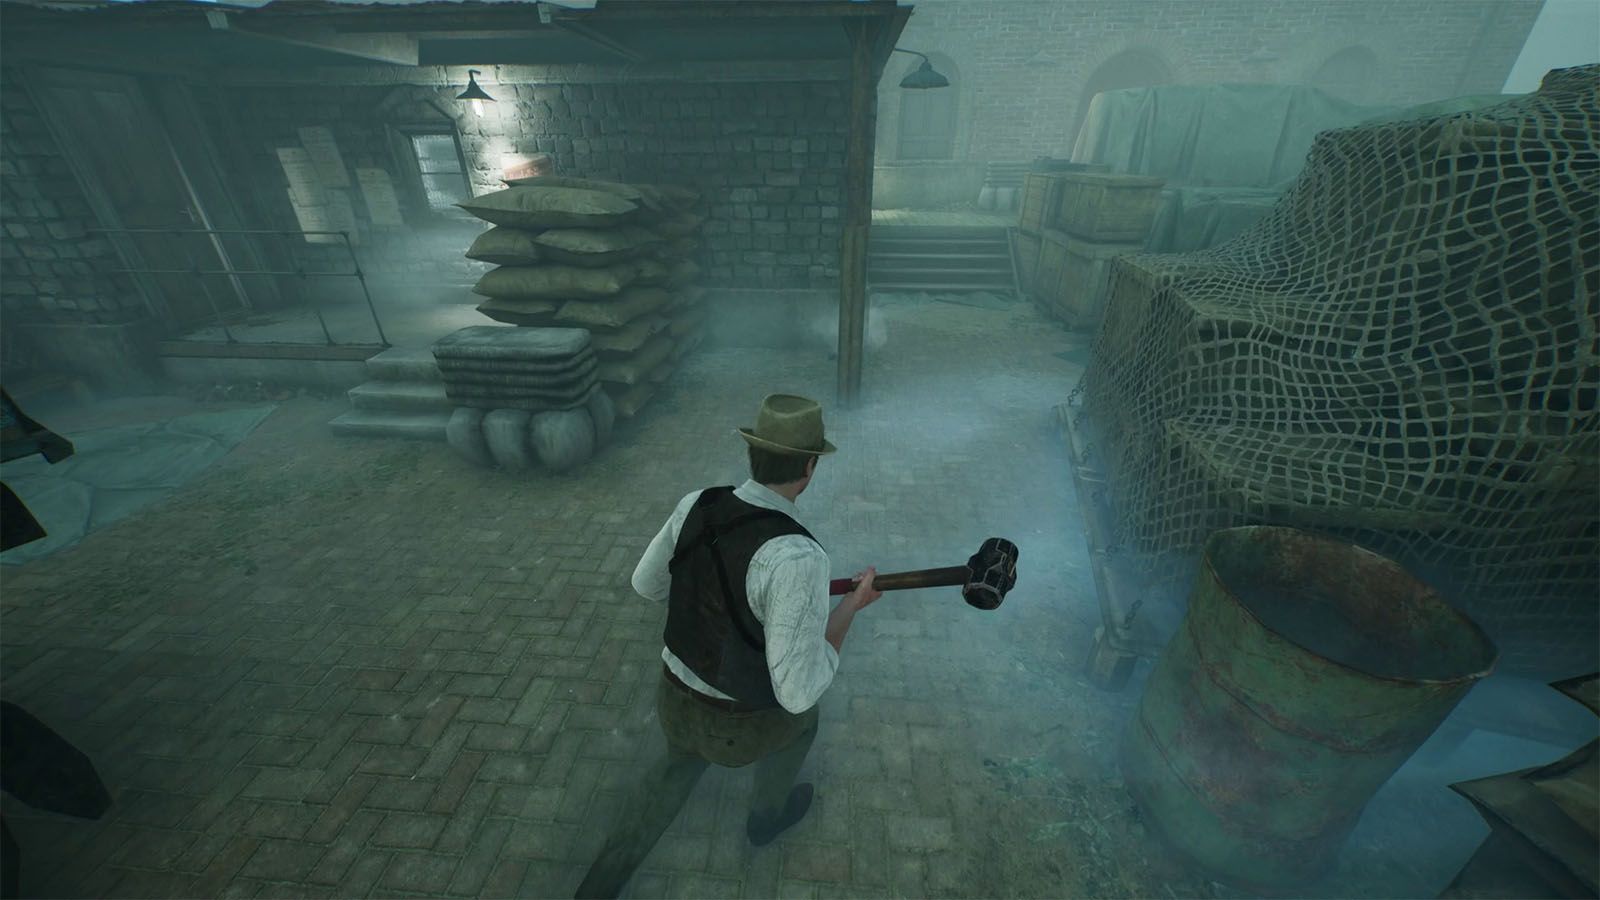
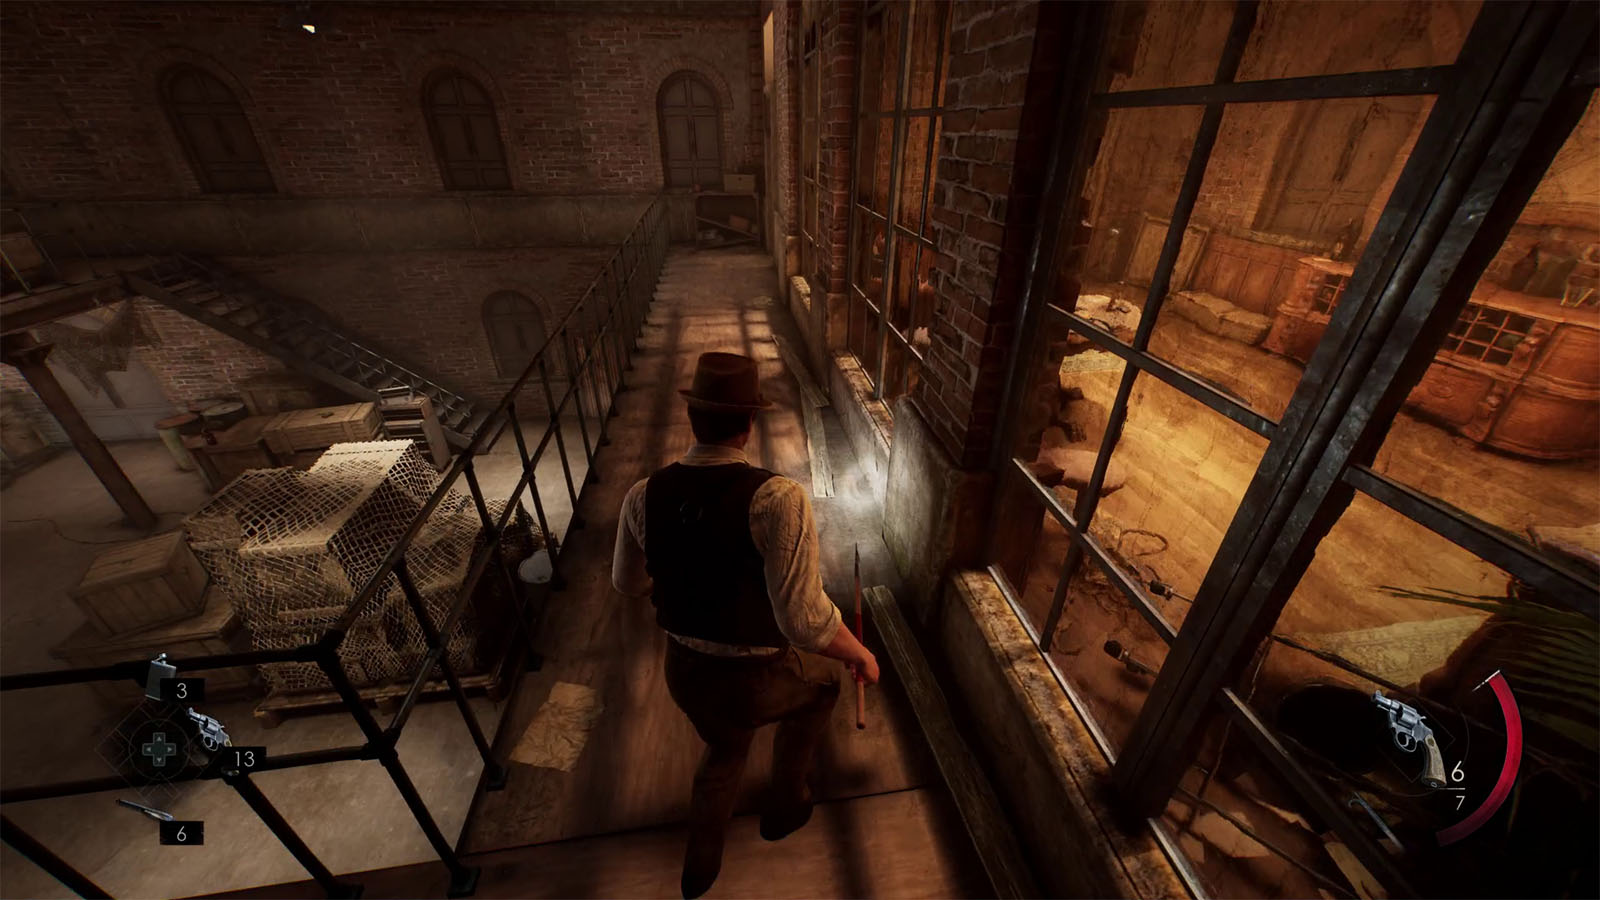
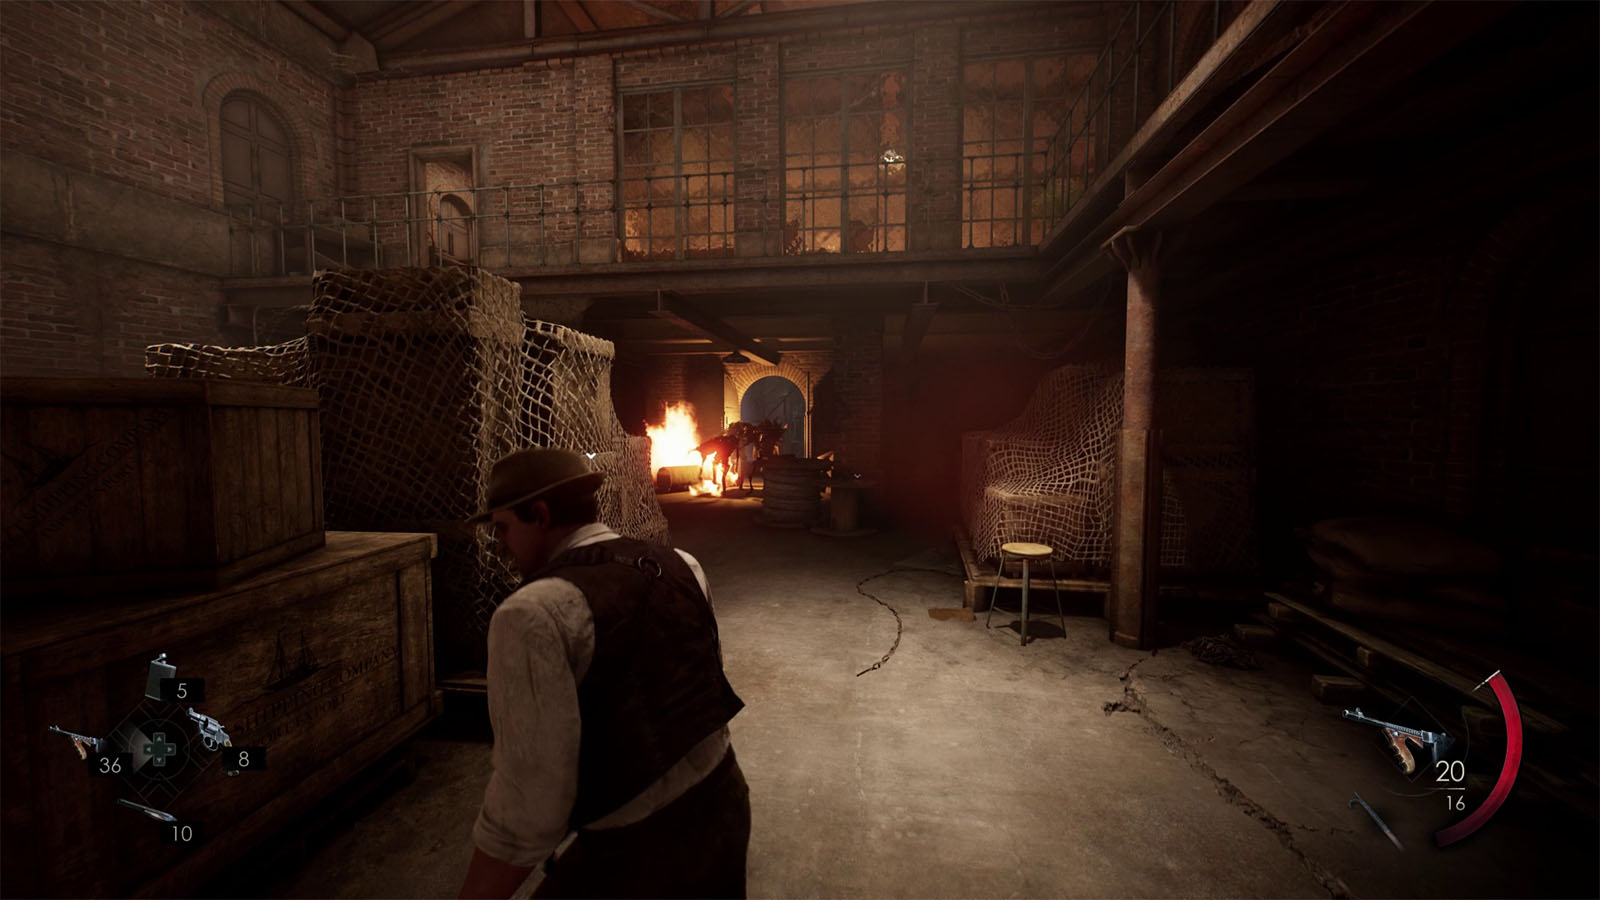
Go towards the path on the right and then take another right. There is an enemy just around the corner of the house that you can kill. Then, you’re free to get some ammo, including a machine gun cartridge.
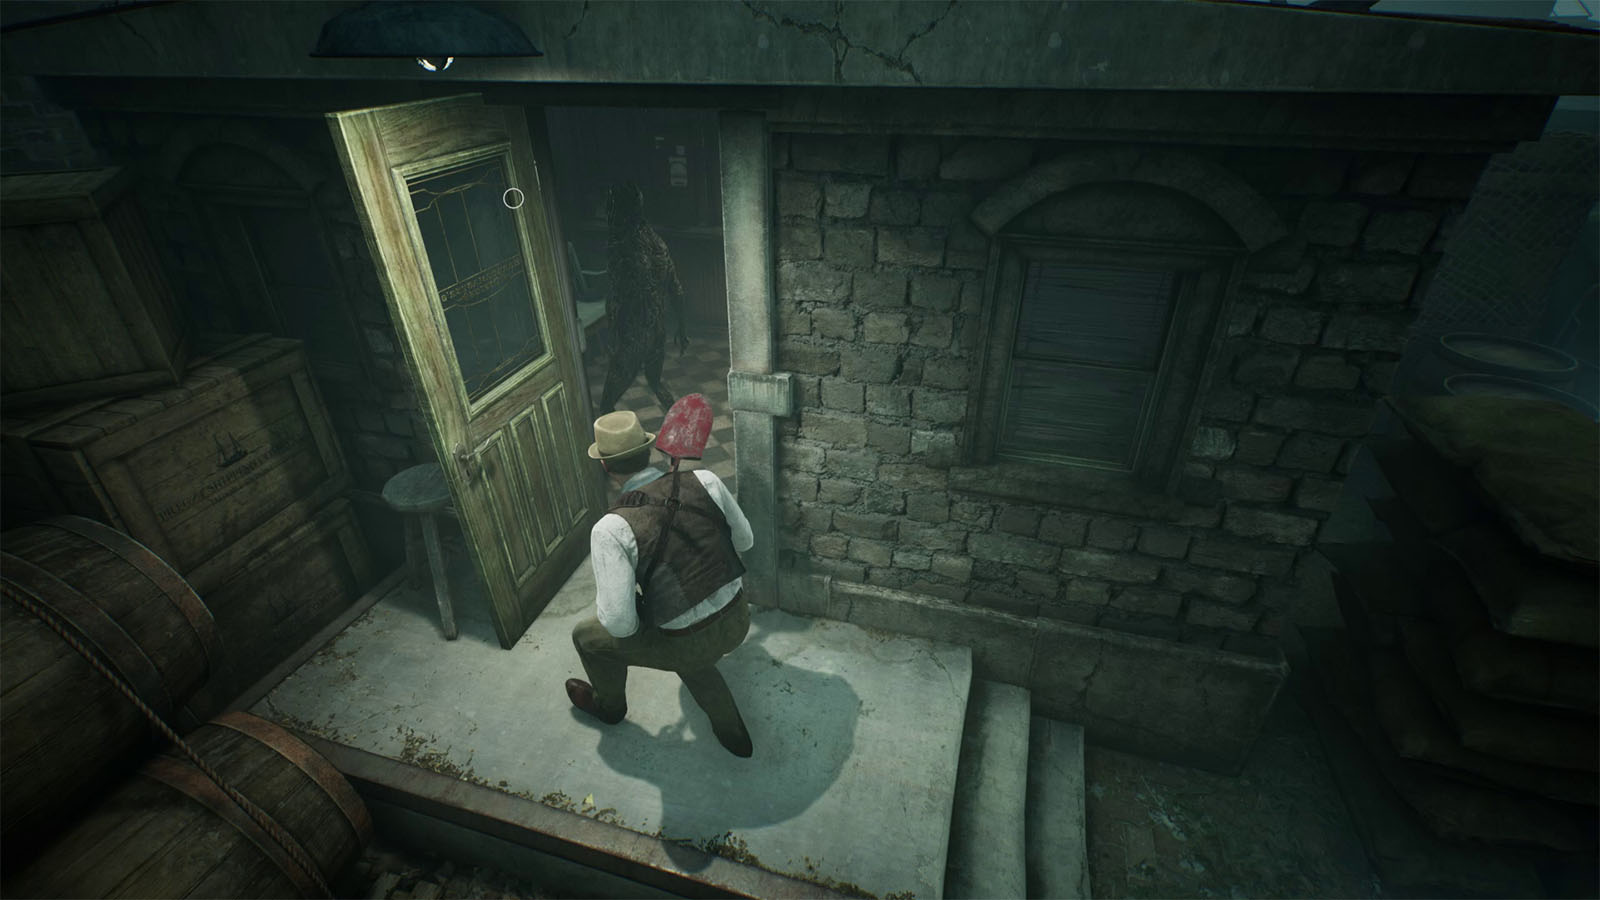
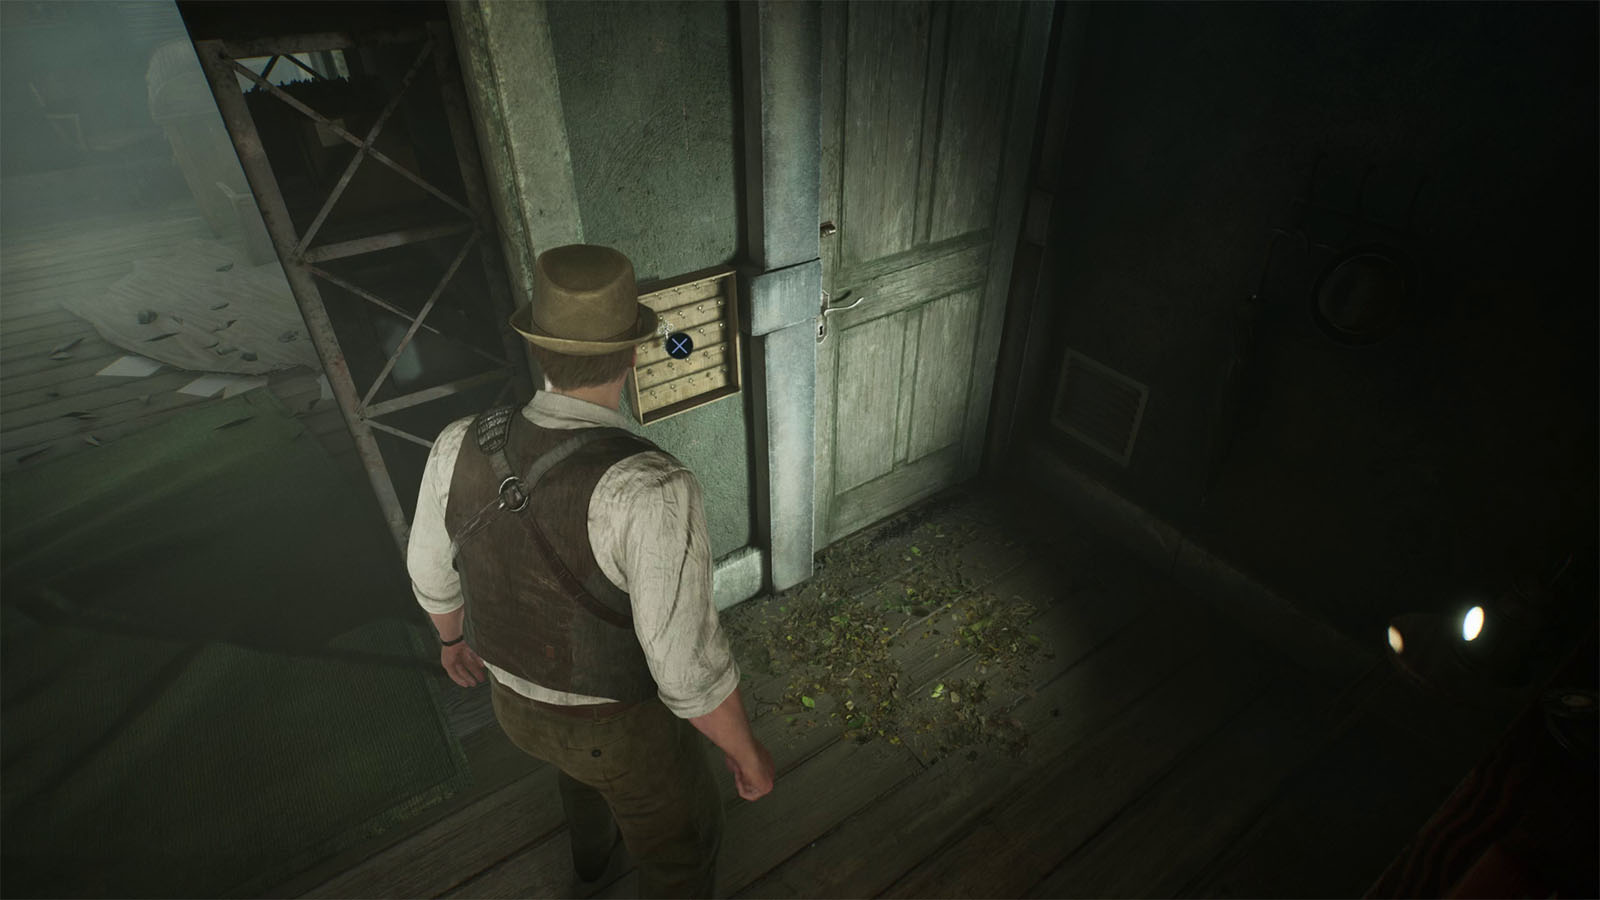
Make it back to the main path and sneak past the patrolling enemy to get to the small building ahead. Be aware that an enemy will burst out of the door which can also alert the patrolling enemy nearby; prepare for a fight if you choose to engage. On the wall is where you will find the Clue – New Orleans Docks – Pier #11.
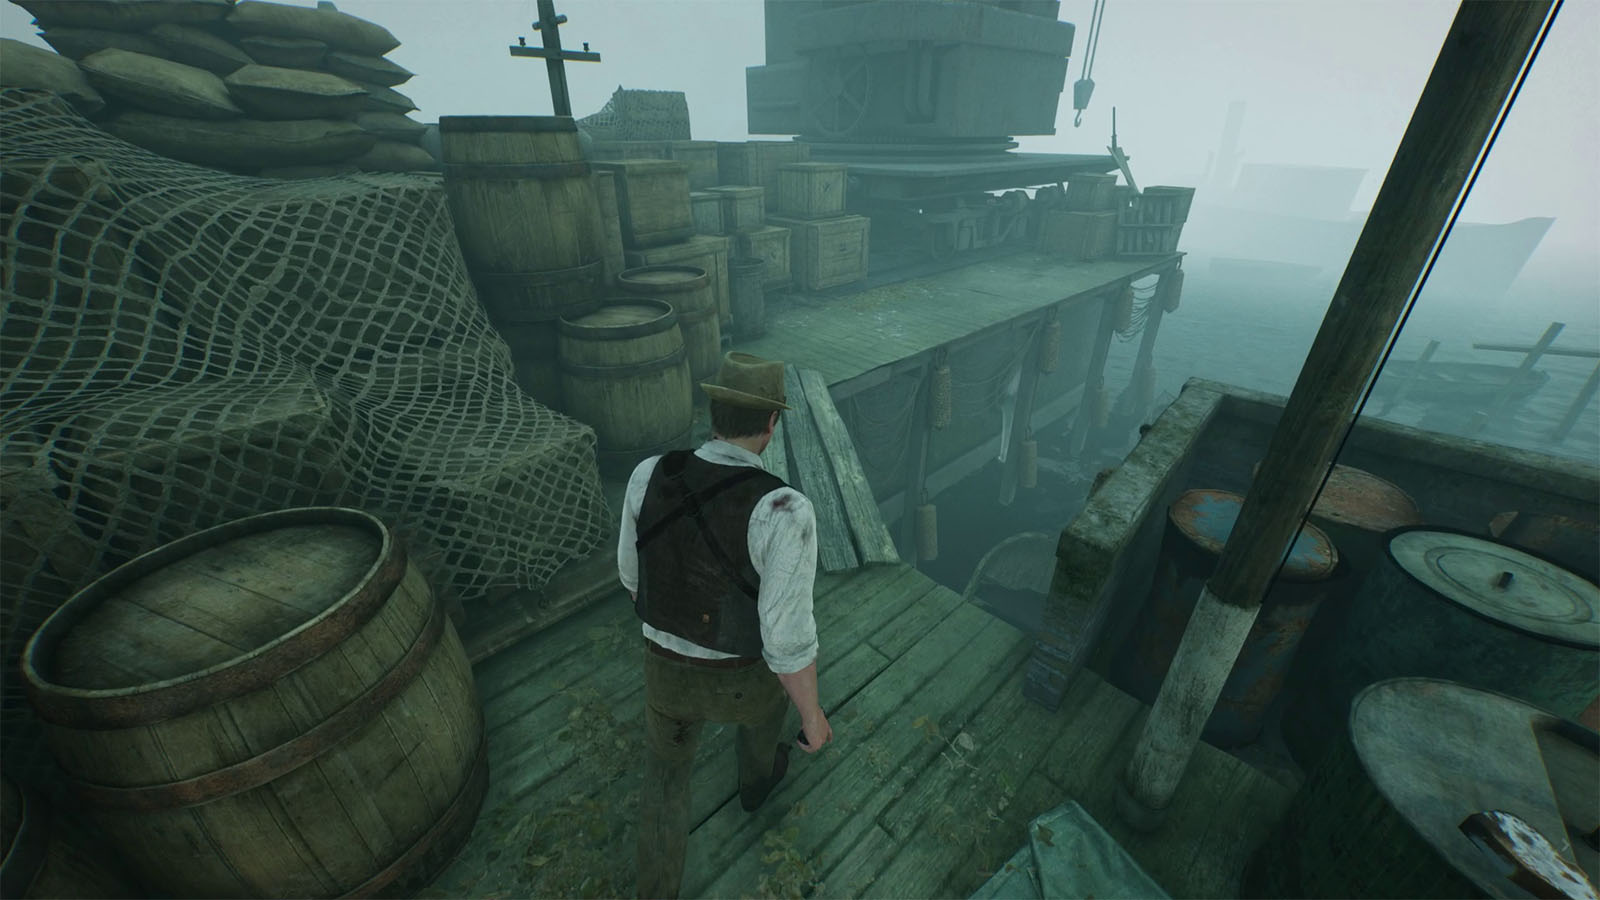

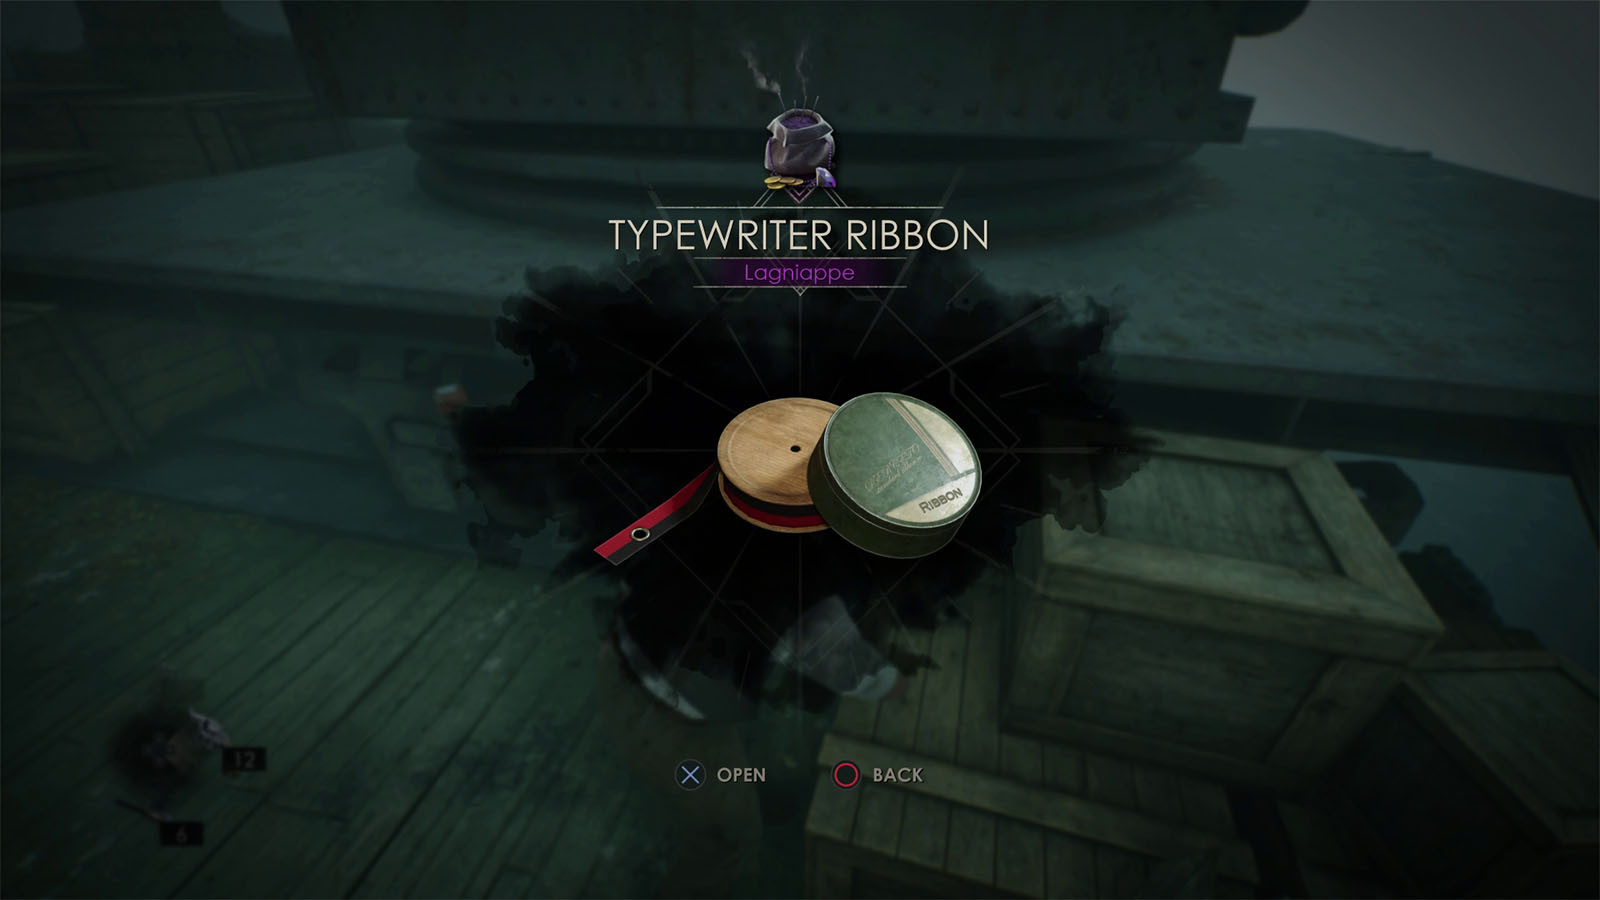
Go towards the right side near the water and check the crates near the crane by the docks to find the Lagniappe – Typewriter Ribbon.
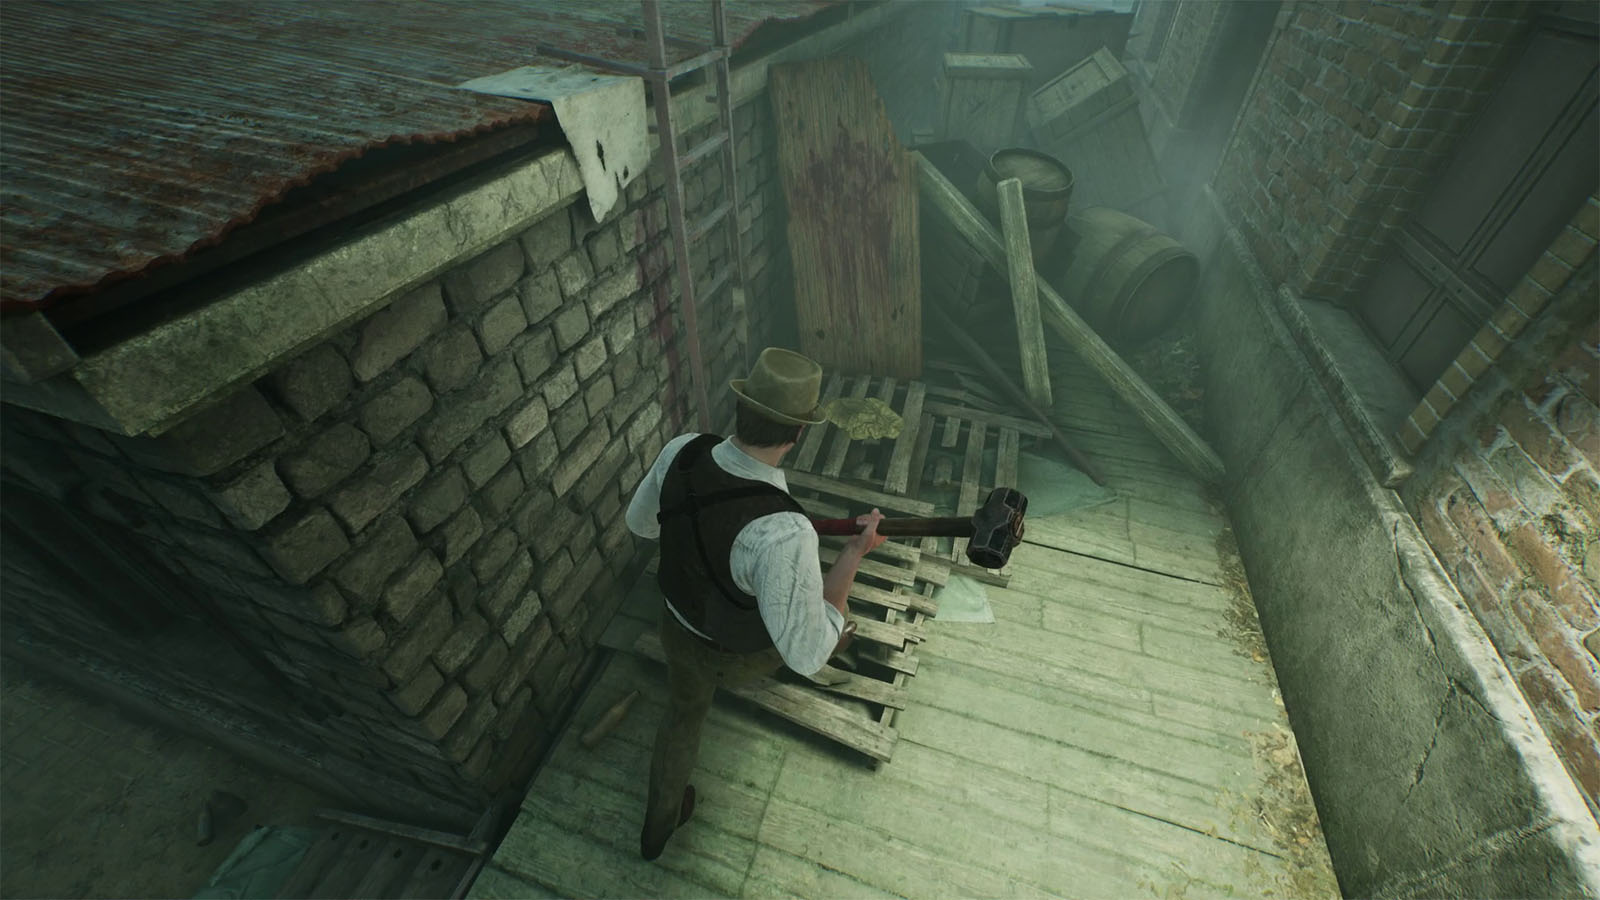
Go around the back of the small building from earlier where you will find a ladder. Climb the ladder to reach the rooftop and then drop down through the hole.
Check by the door to find the Stevedore’s Key and unlatch the door to get back outside. An enemy might respawn outside, so prepare to engage.
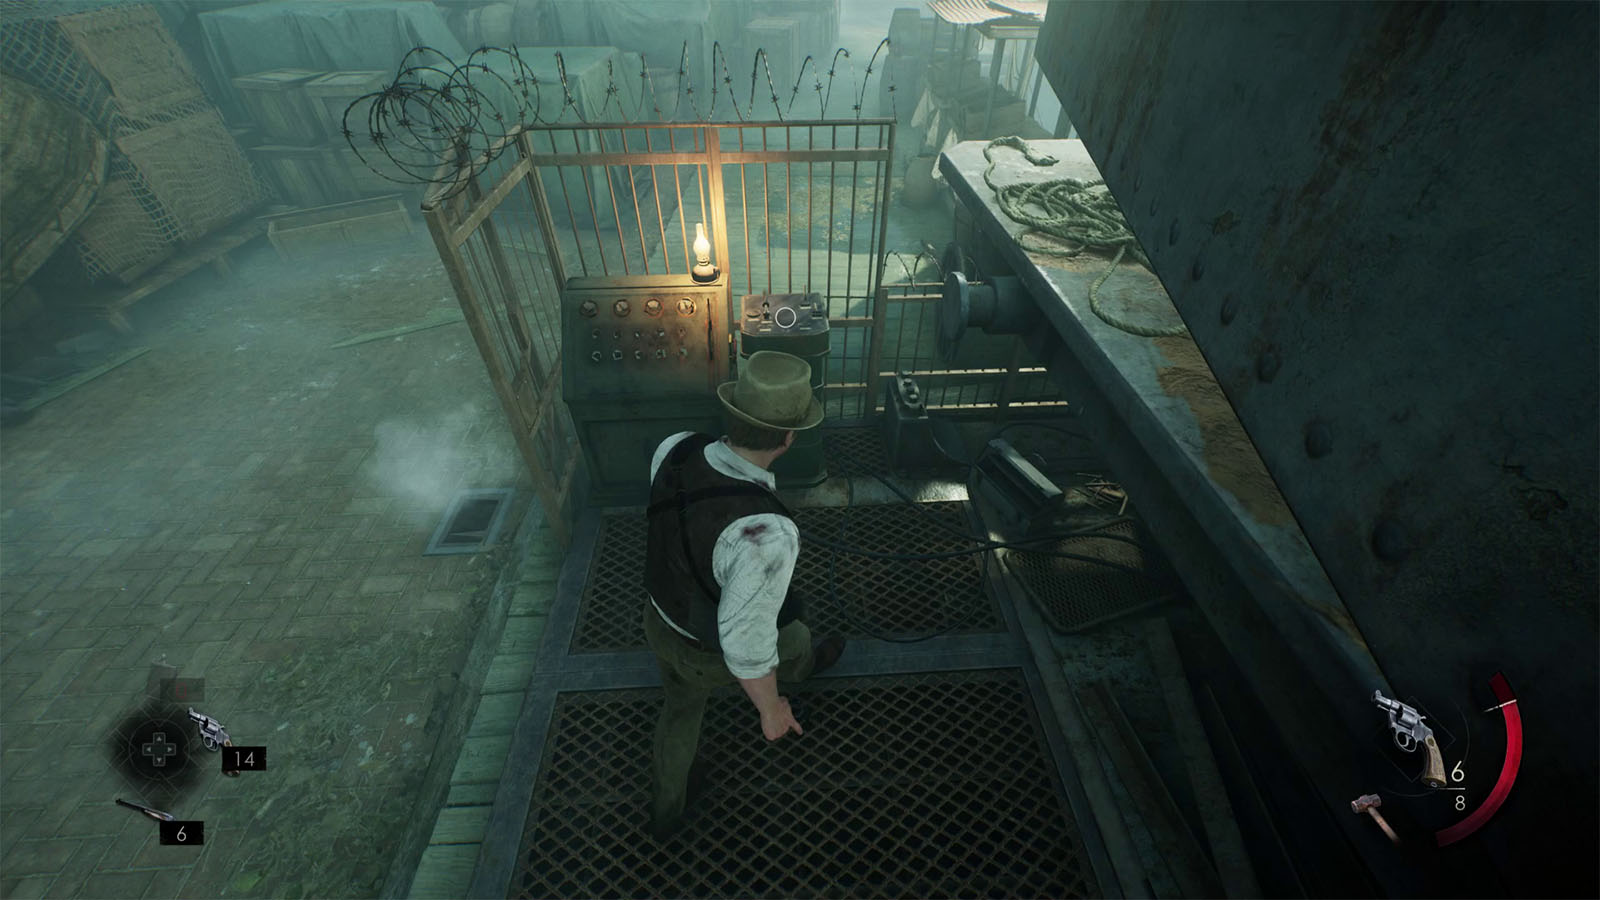
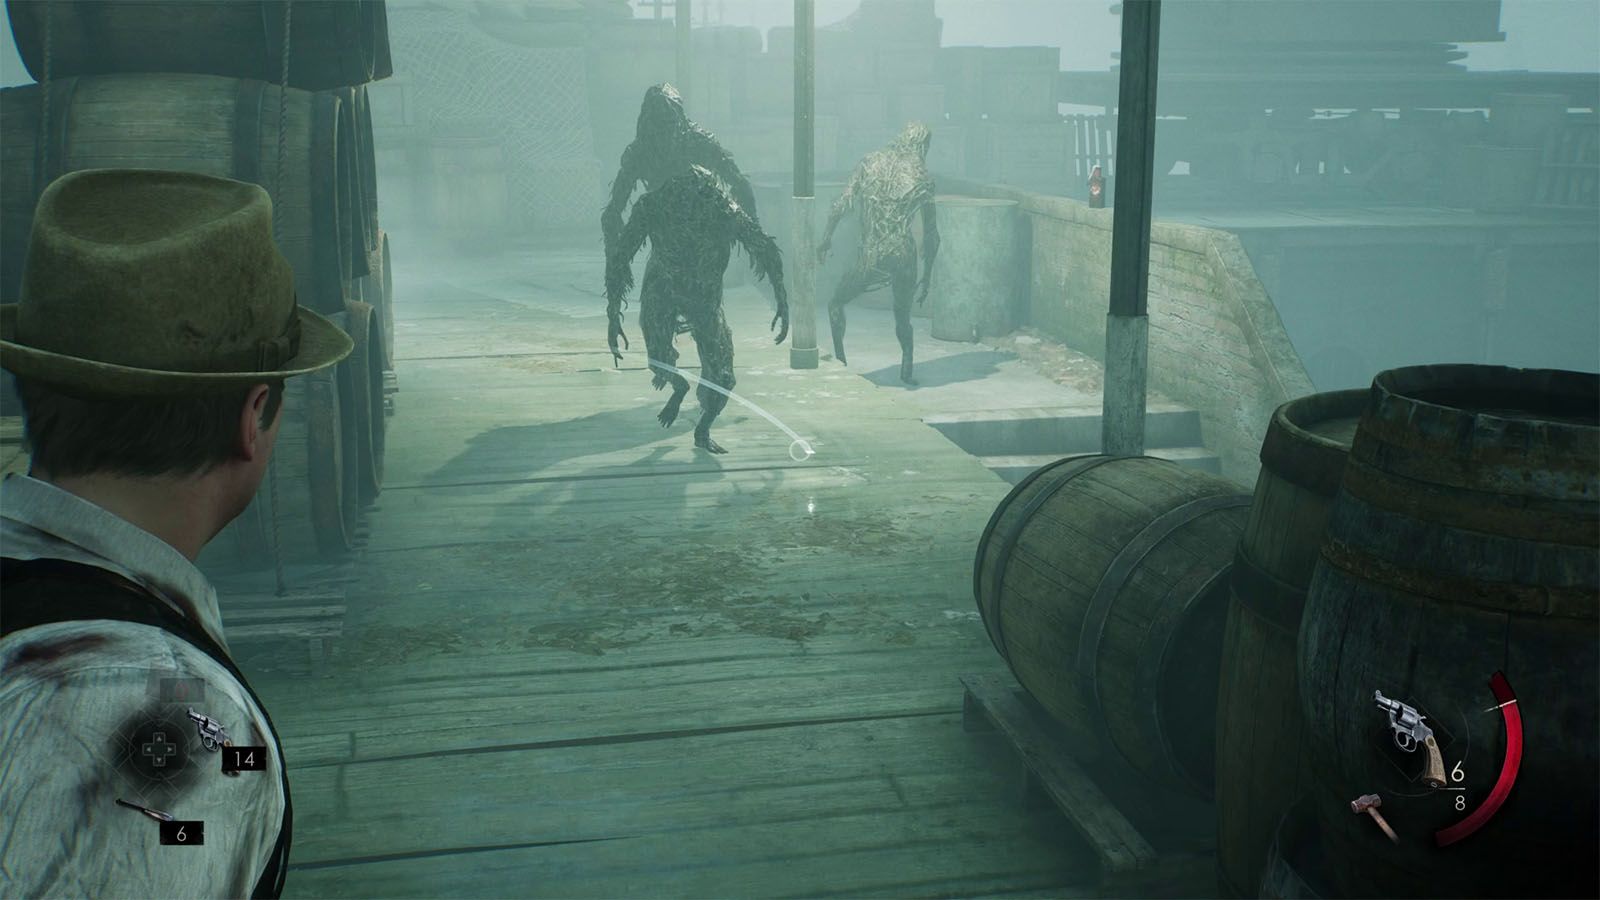
Follow the path again towards the water, but turn right this time to go to the other crane. Use the Steverdore’s Key on the panel to activate the crane and make it turn, opening up a path to the sewers. Be prepared to fight as enemies will by climbing out of the sewers and rush towards you; there will also be more enemies respawning by the loading area.
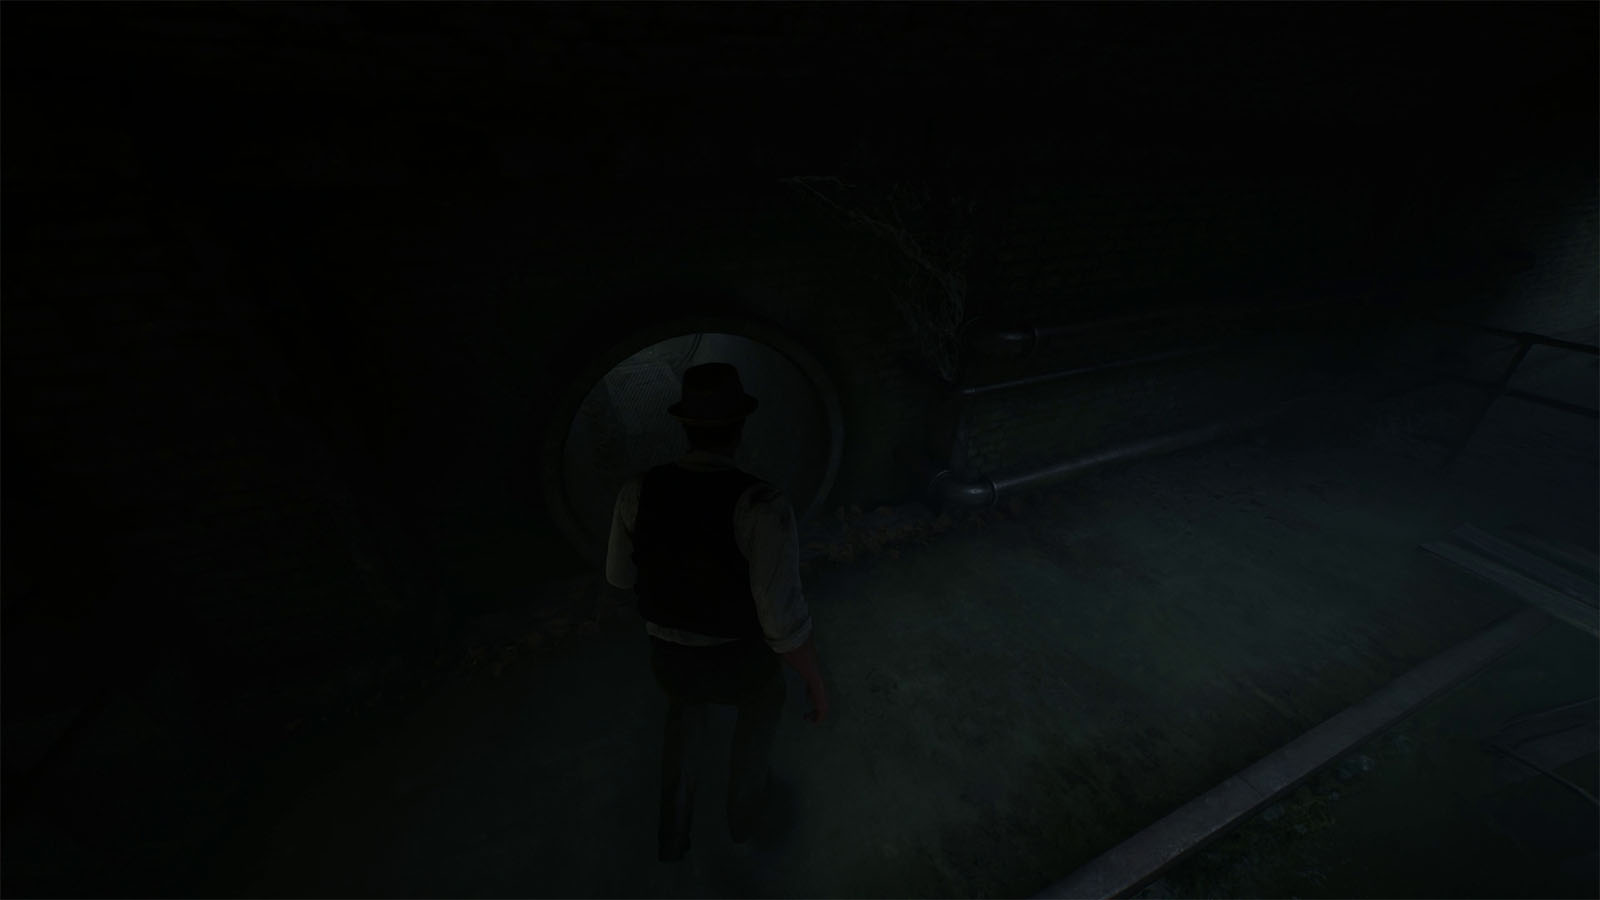
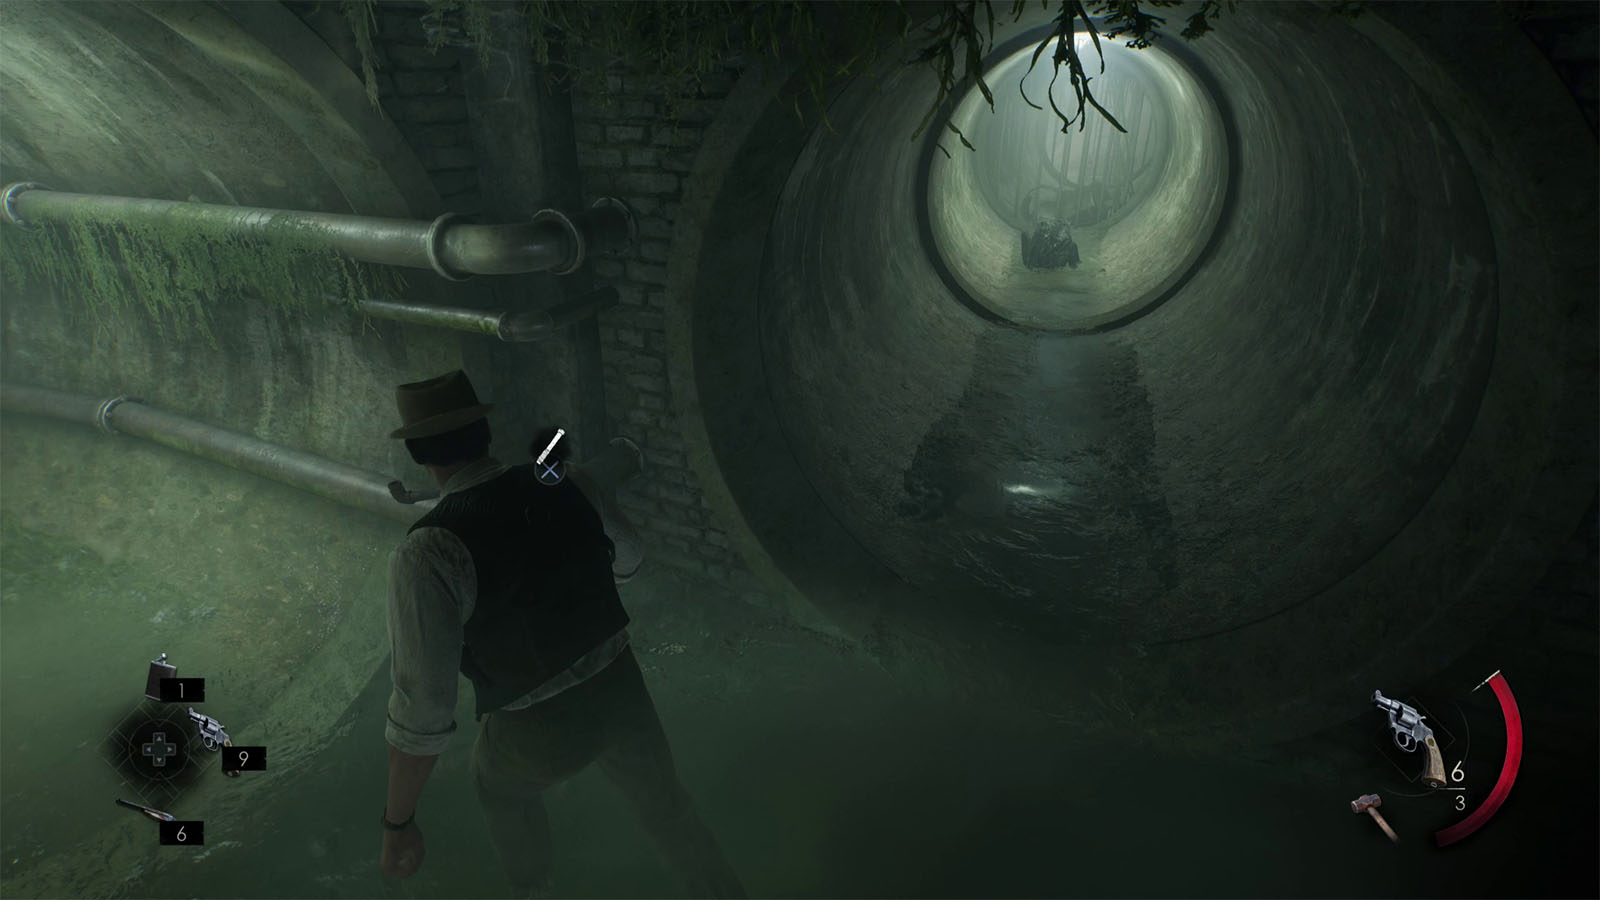
Once inside the sewers, crawl through the pipe on the opposite side to get to the next area. Follow the pipe all the way down while checking the intersections for some enemies that could ambush you. At the end of the path, take a right and you will find a ladder that will take you inside the warehouse.
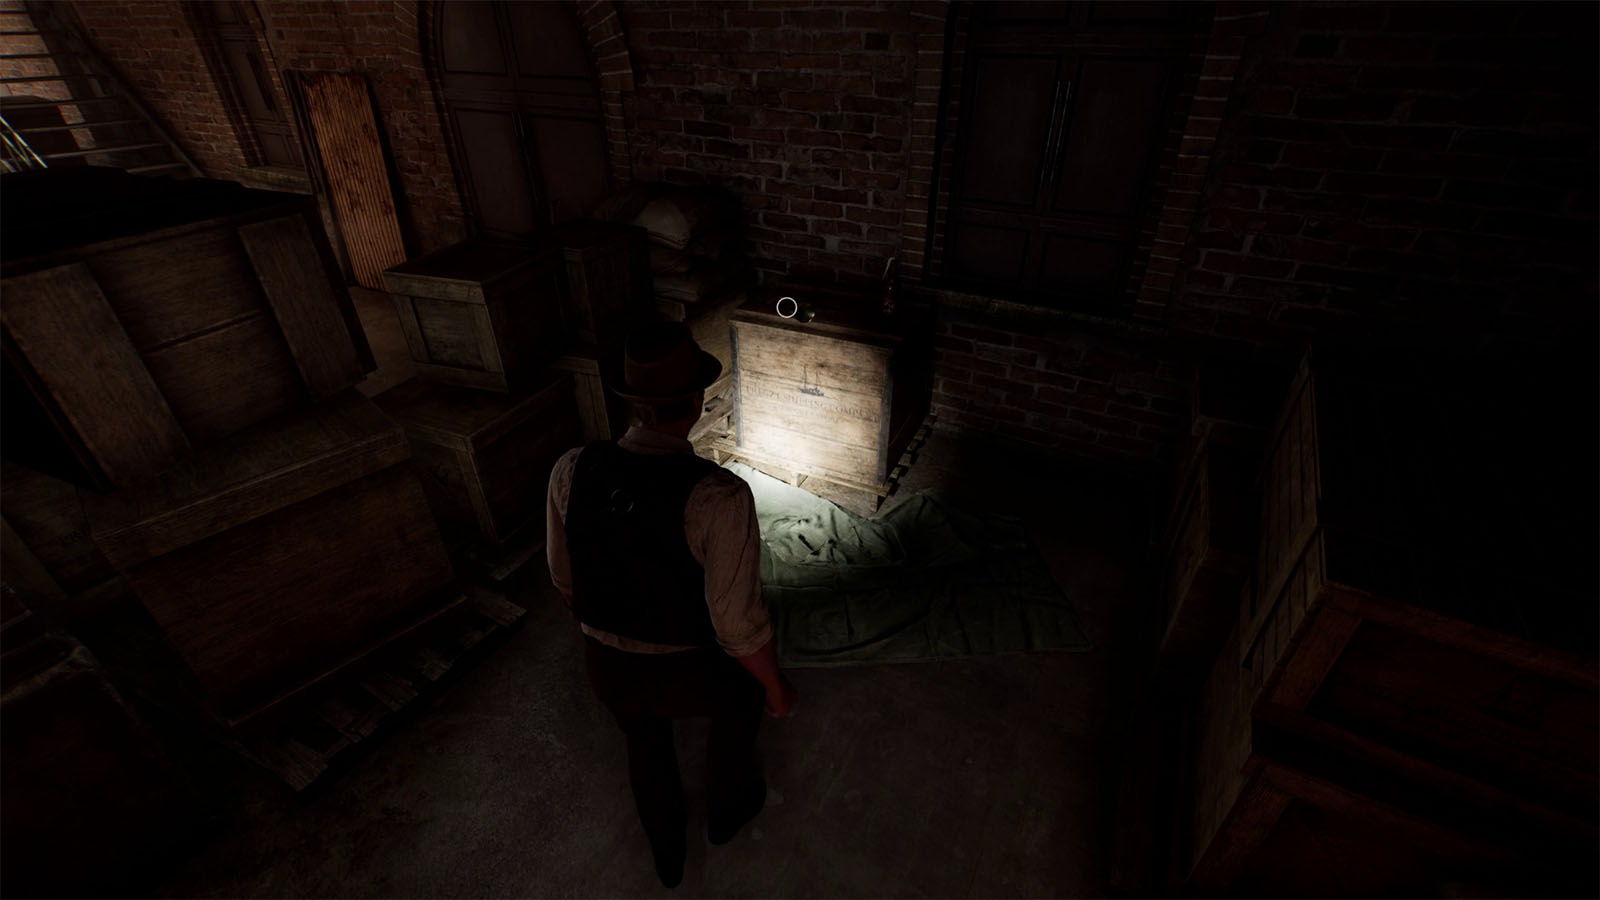
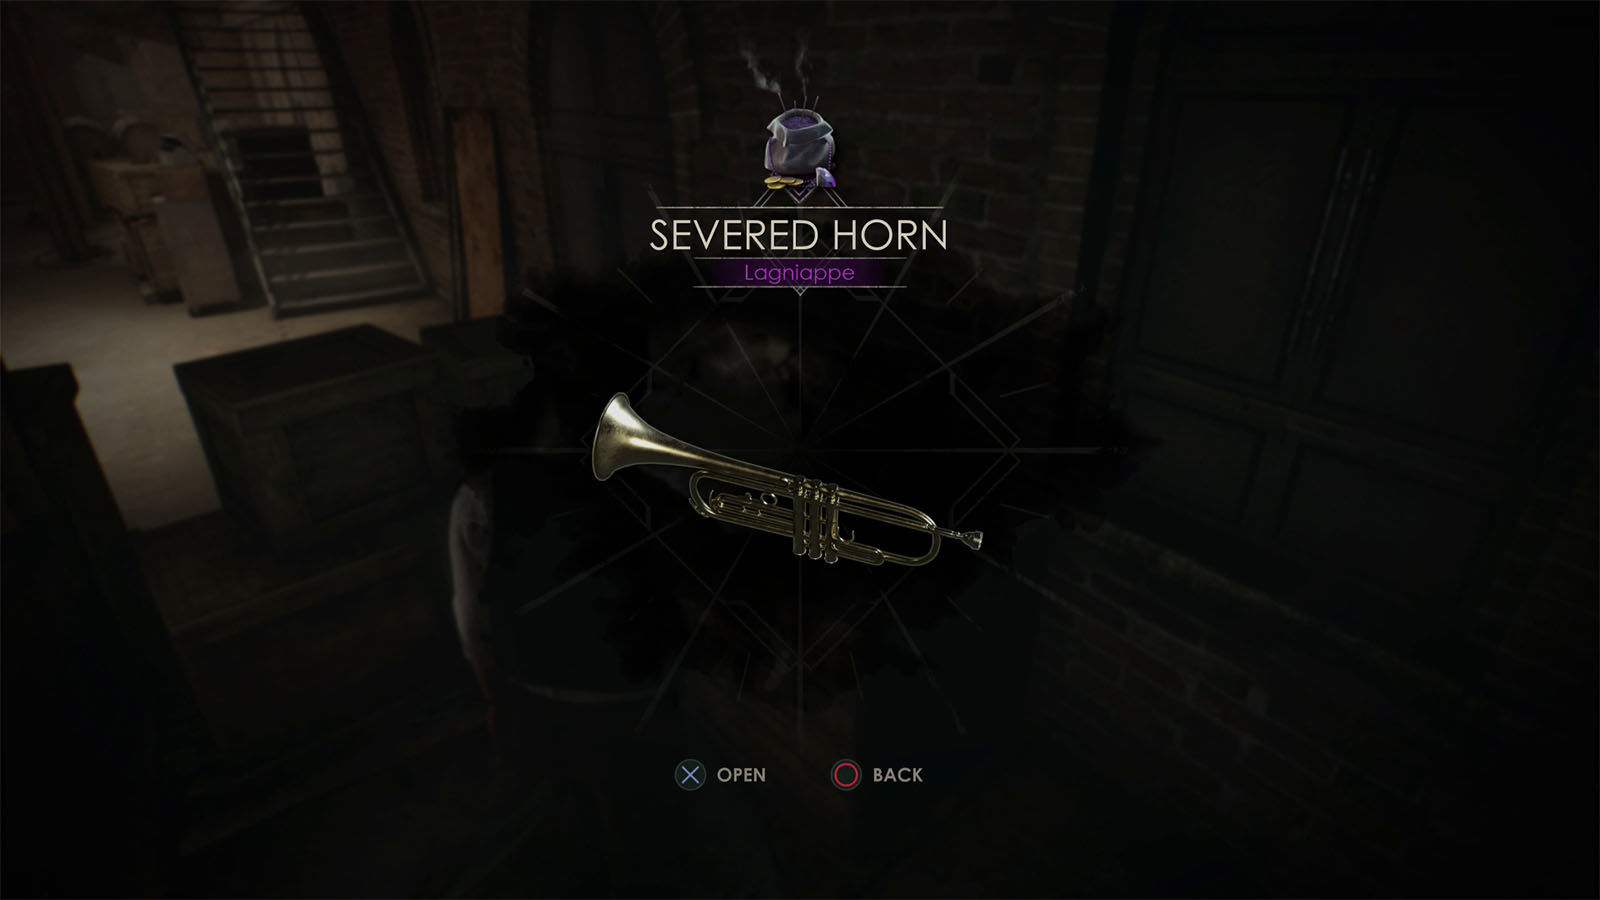
Go to the other side of the warehouse and turn left to find the Lagniappe – Severed Horn on top of a crate.
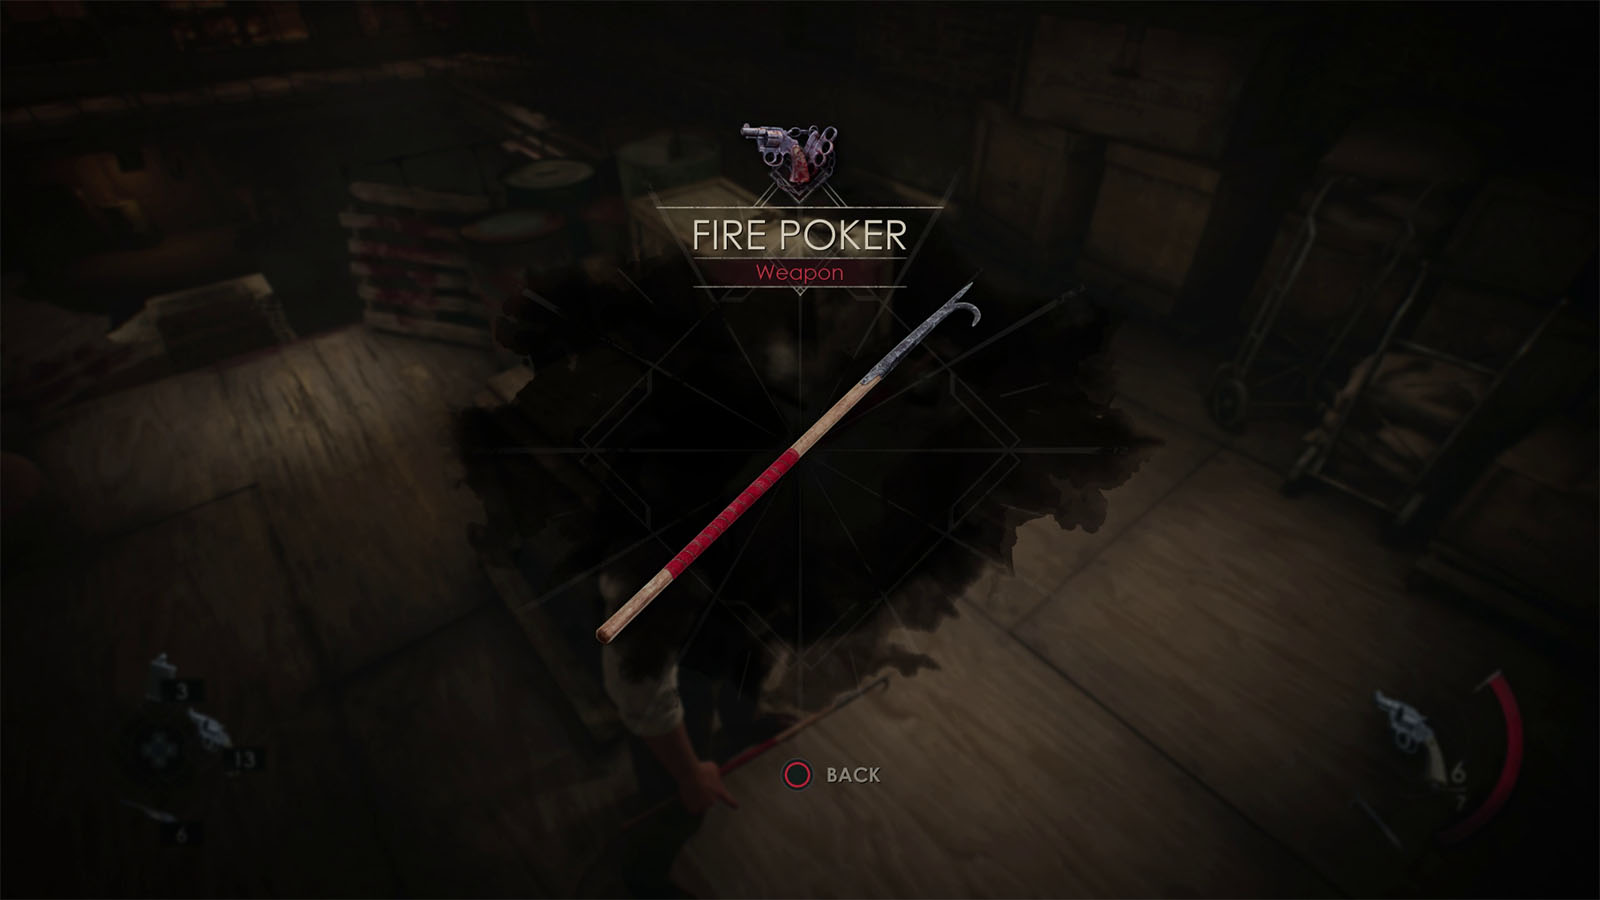
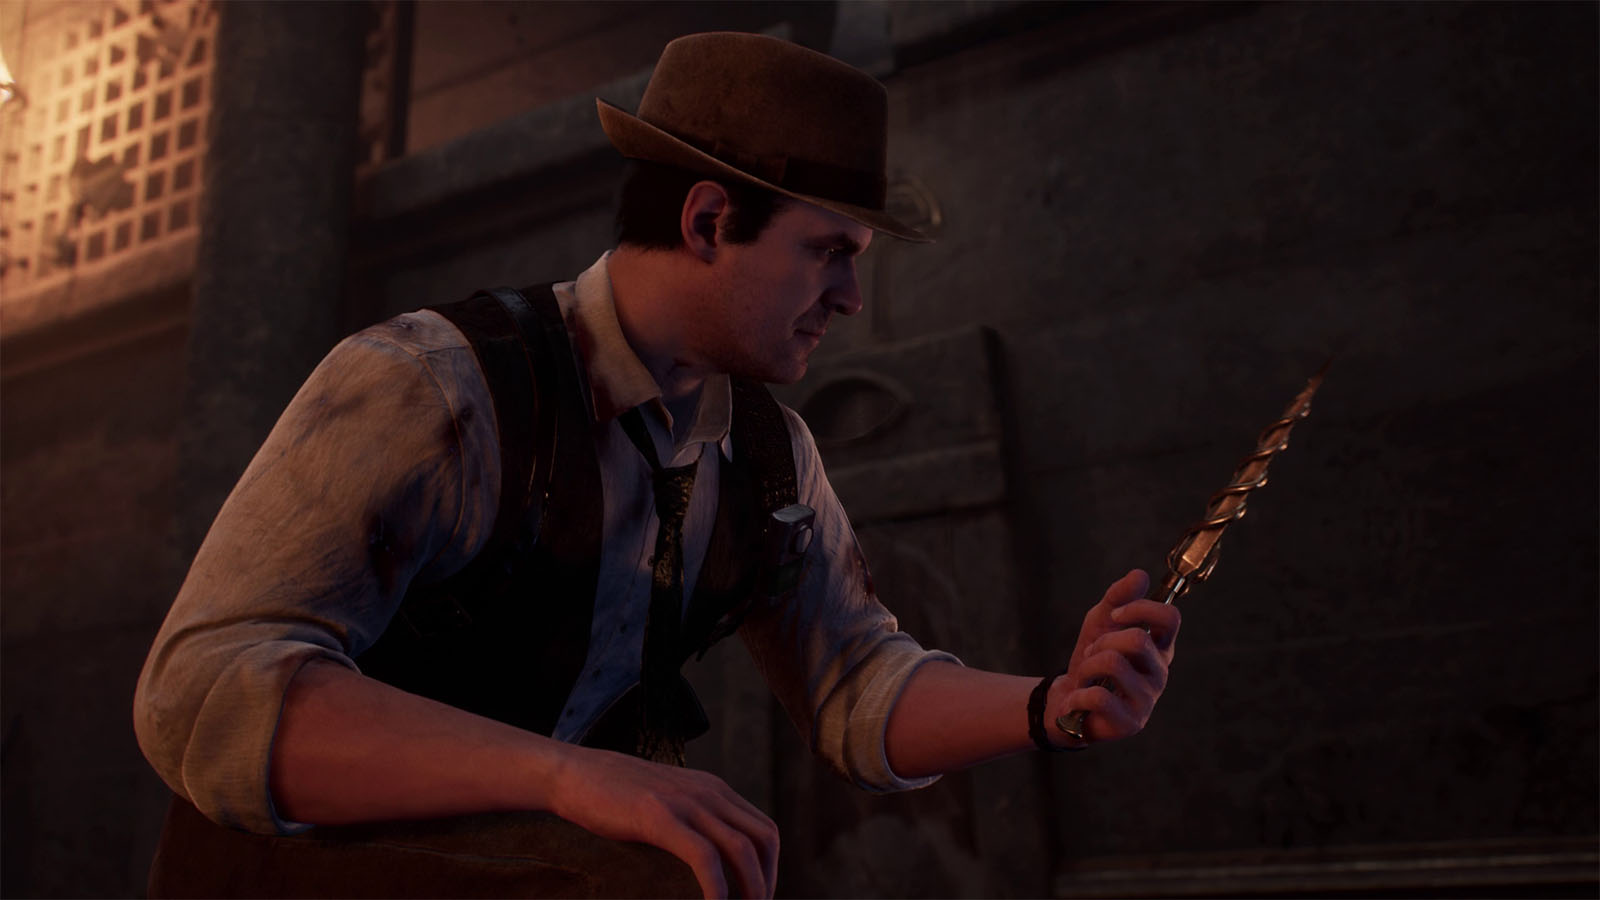
Go up the stairs and check the other nearby crates to find a Fire Poker which you can use as a melee weapon. Then follow the path all the way to the office.
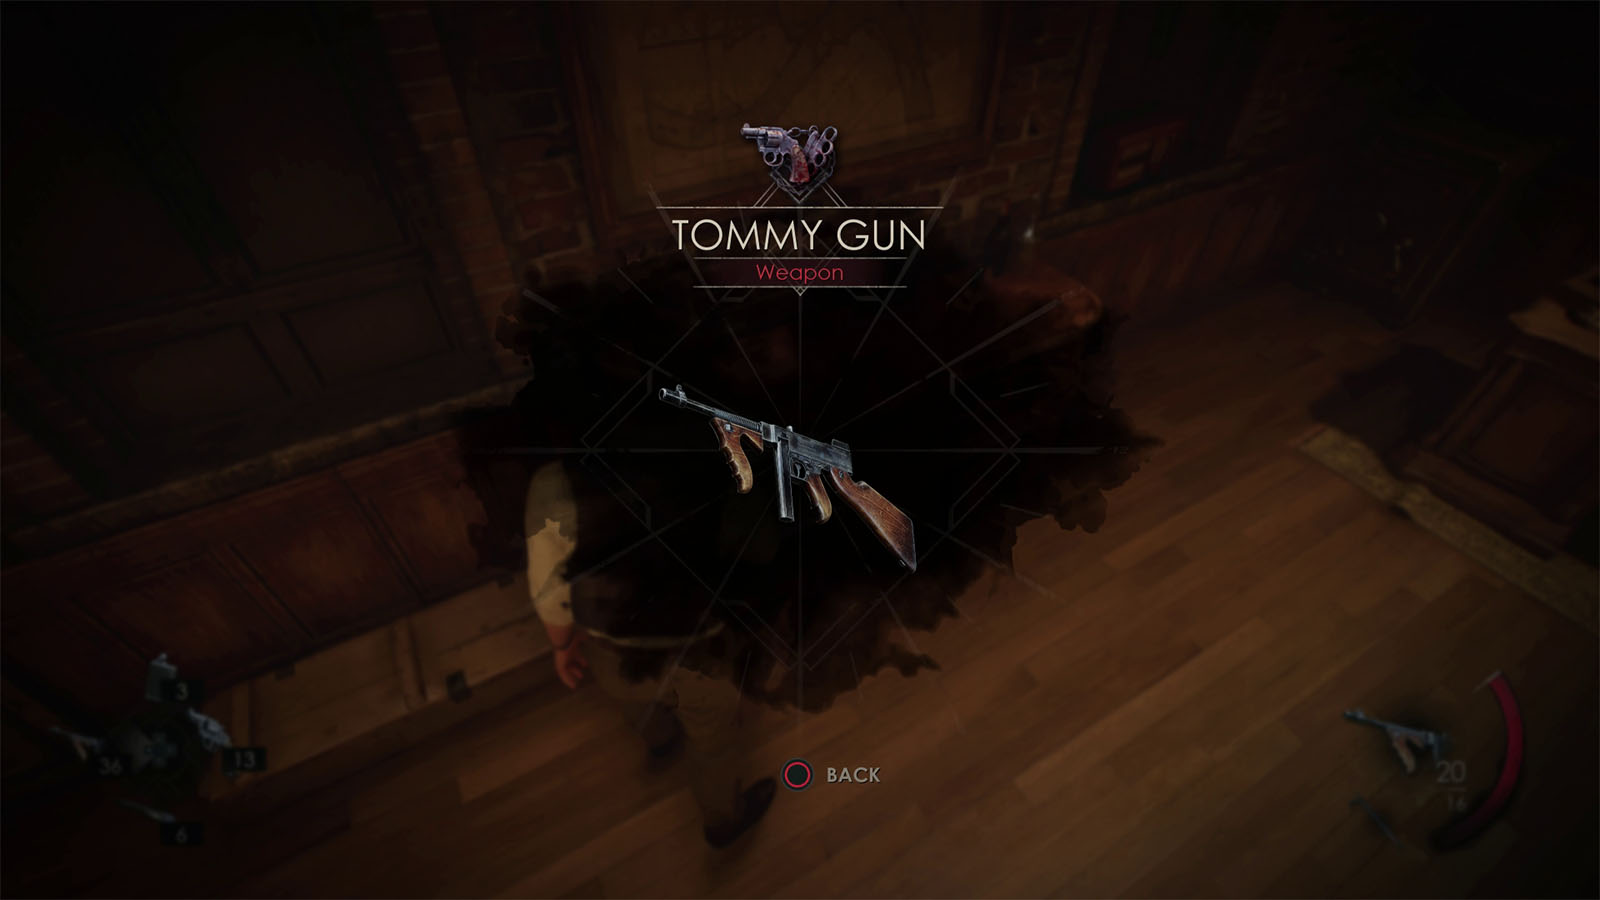
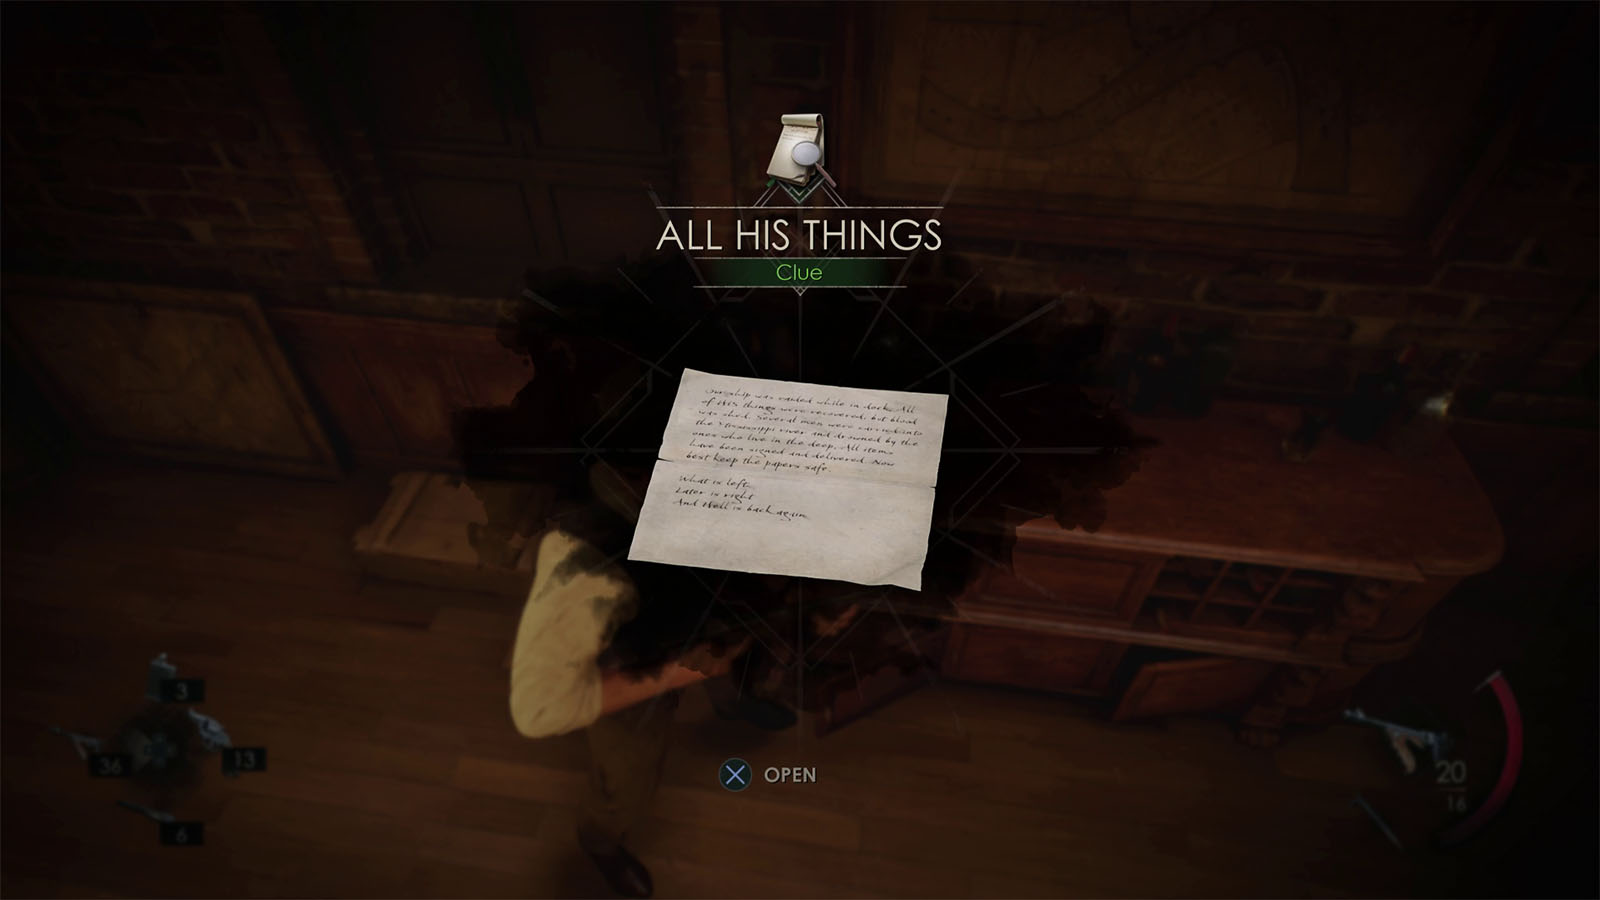
Inside the office is where you can get the Tommy Gun and the Clue – All His Things. Make sure to check this clue to get a hint for the upcoming puzzle.
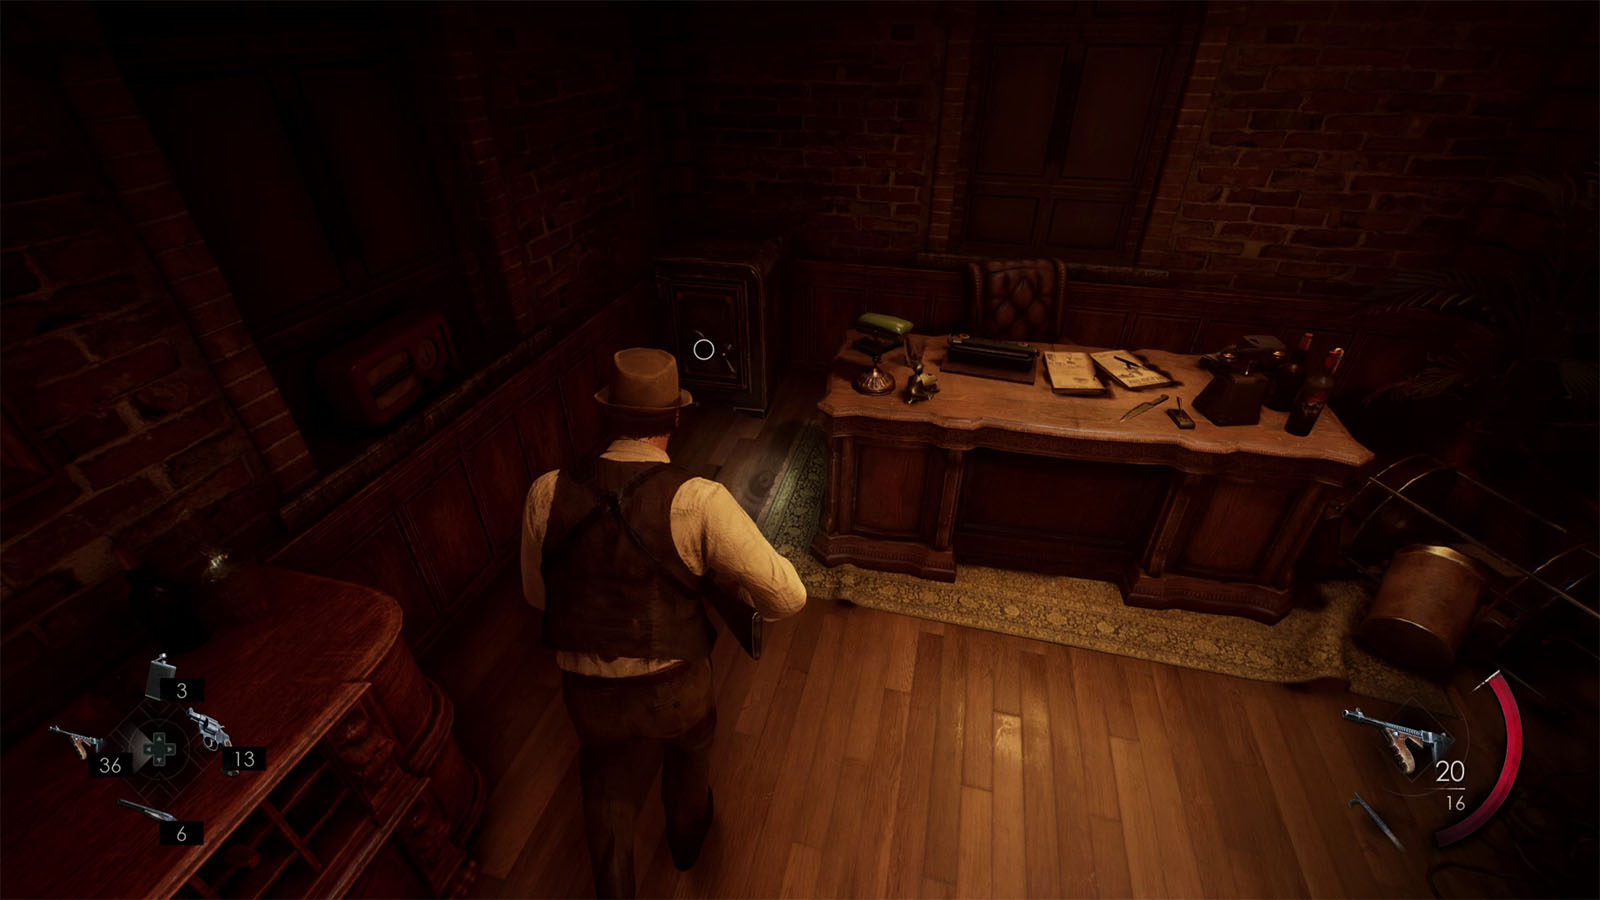

Now go to the safe nearby. To open the safe, you will use the hint from the clue to know which way to turn and how many clicks to take. The clue reads, “What is Left, Later is Right, and Hell is Back Again.” Counting the letter of the words and the associated direction, we get the combination Left 4 – Right 5 – Left 4, with left going counterclockwise and right going clockwise. Once opened, you will get the Clue – Cargo Manifest.
After getting the clue, head back down to the ground floor and prepare for a fight as enemies rush into the warehouse. Take advantage of the molotov cocktails that you can throw towards the enemies to burn them.

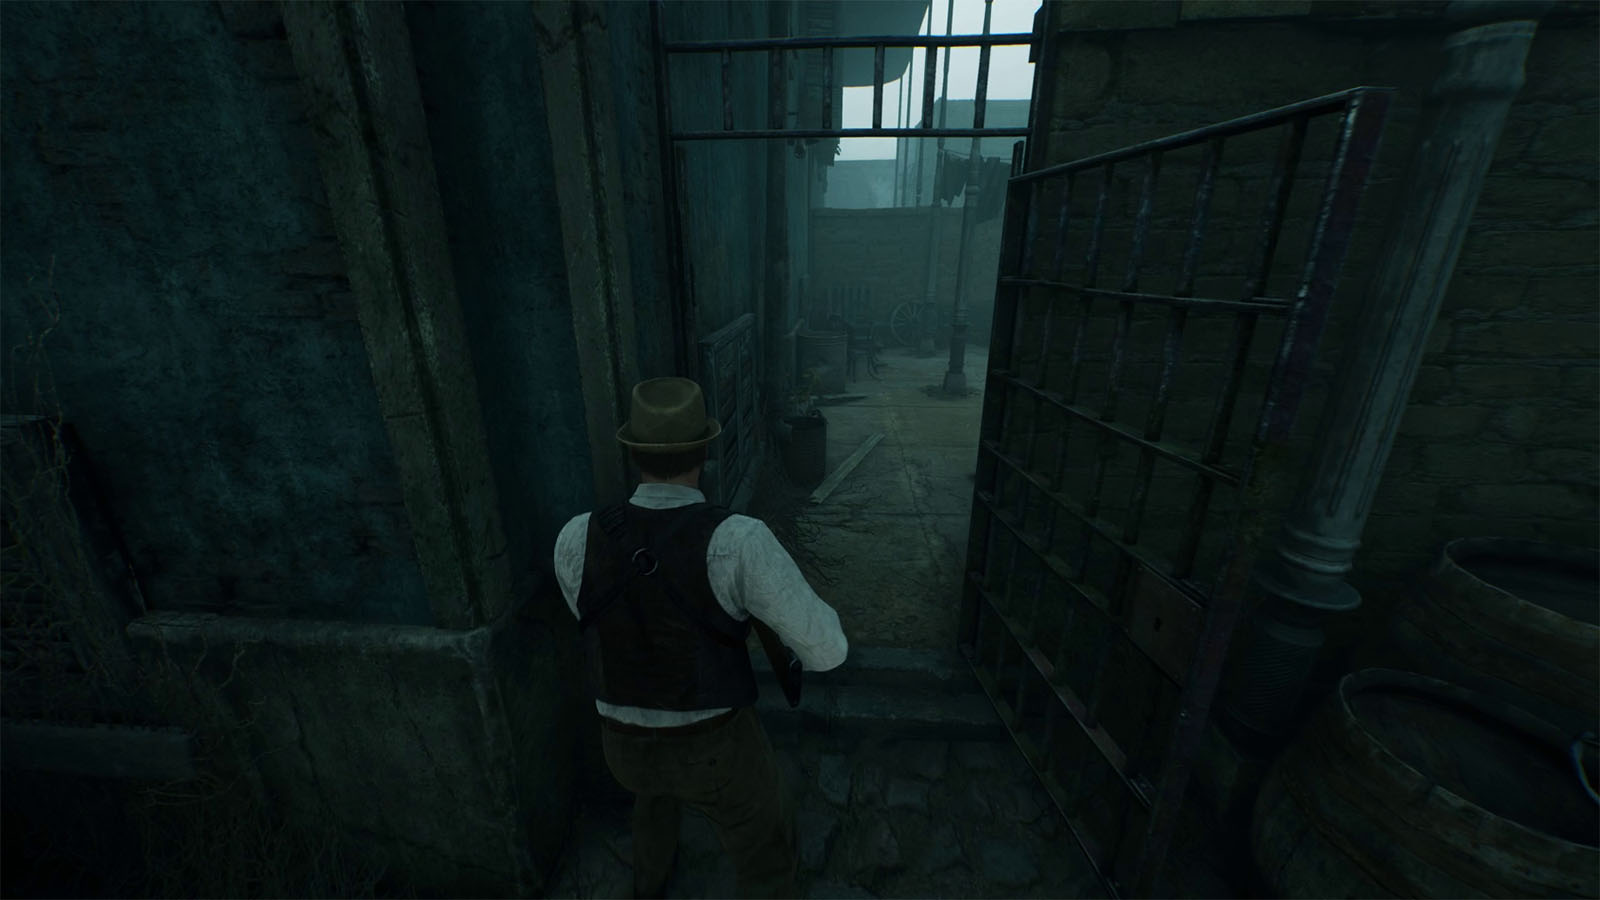
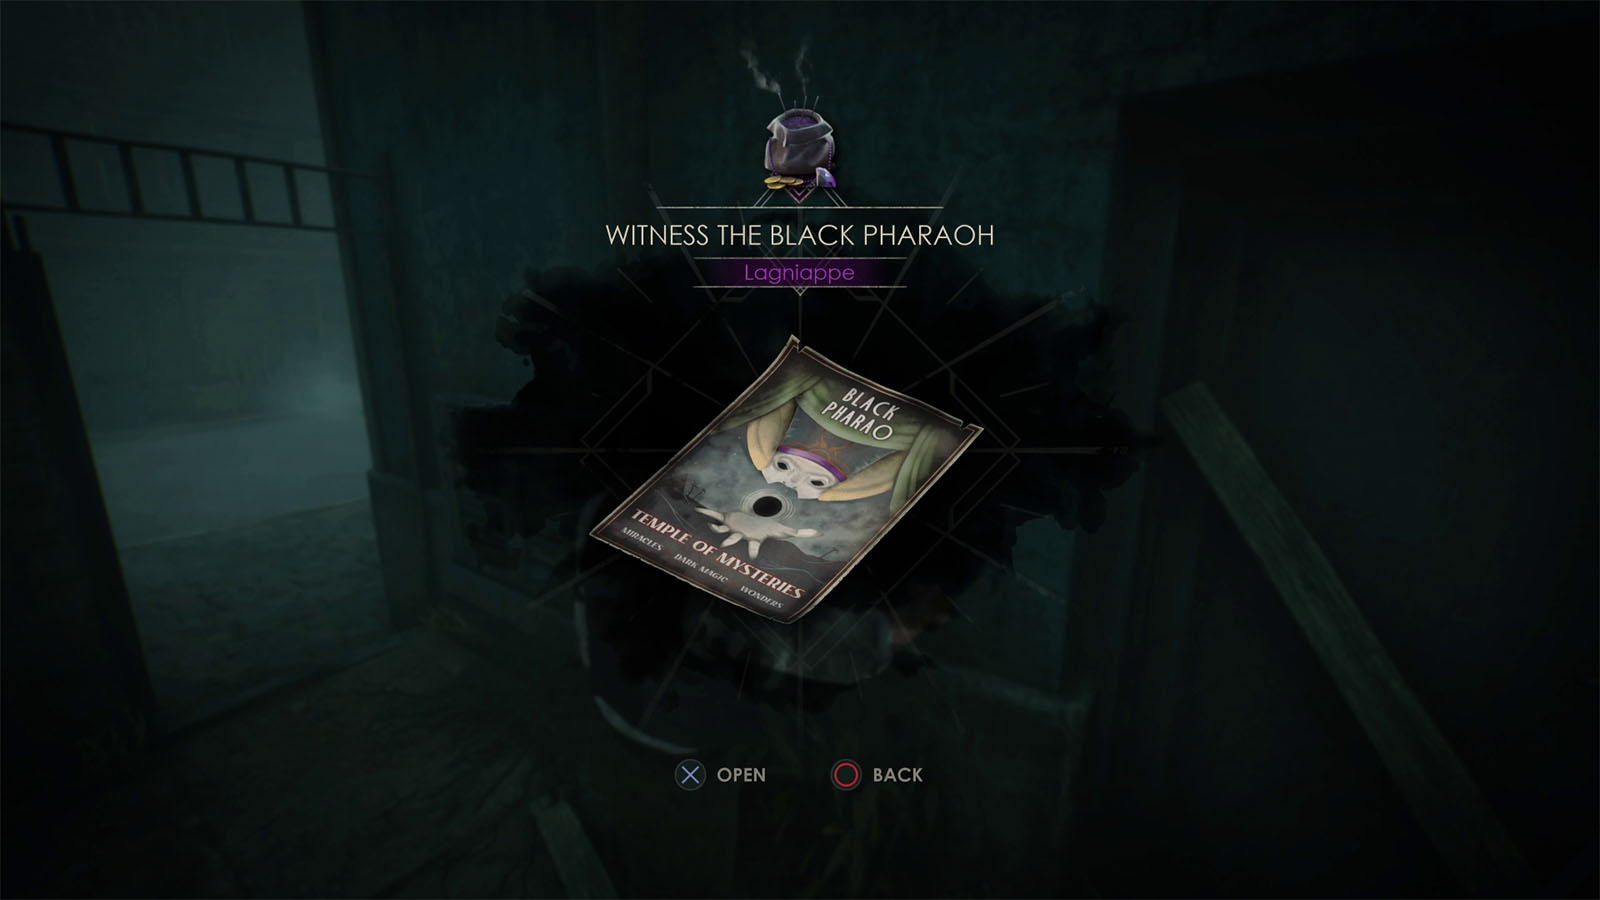
Once all the enemies have been dealt with, continue down the opened door and go towards the lit door at the end of the path. Before heading inside, look for the small gate to the right side where you will find the Lagniappe – Witness the Black Pharaoh stuck on the wall.

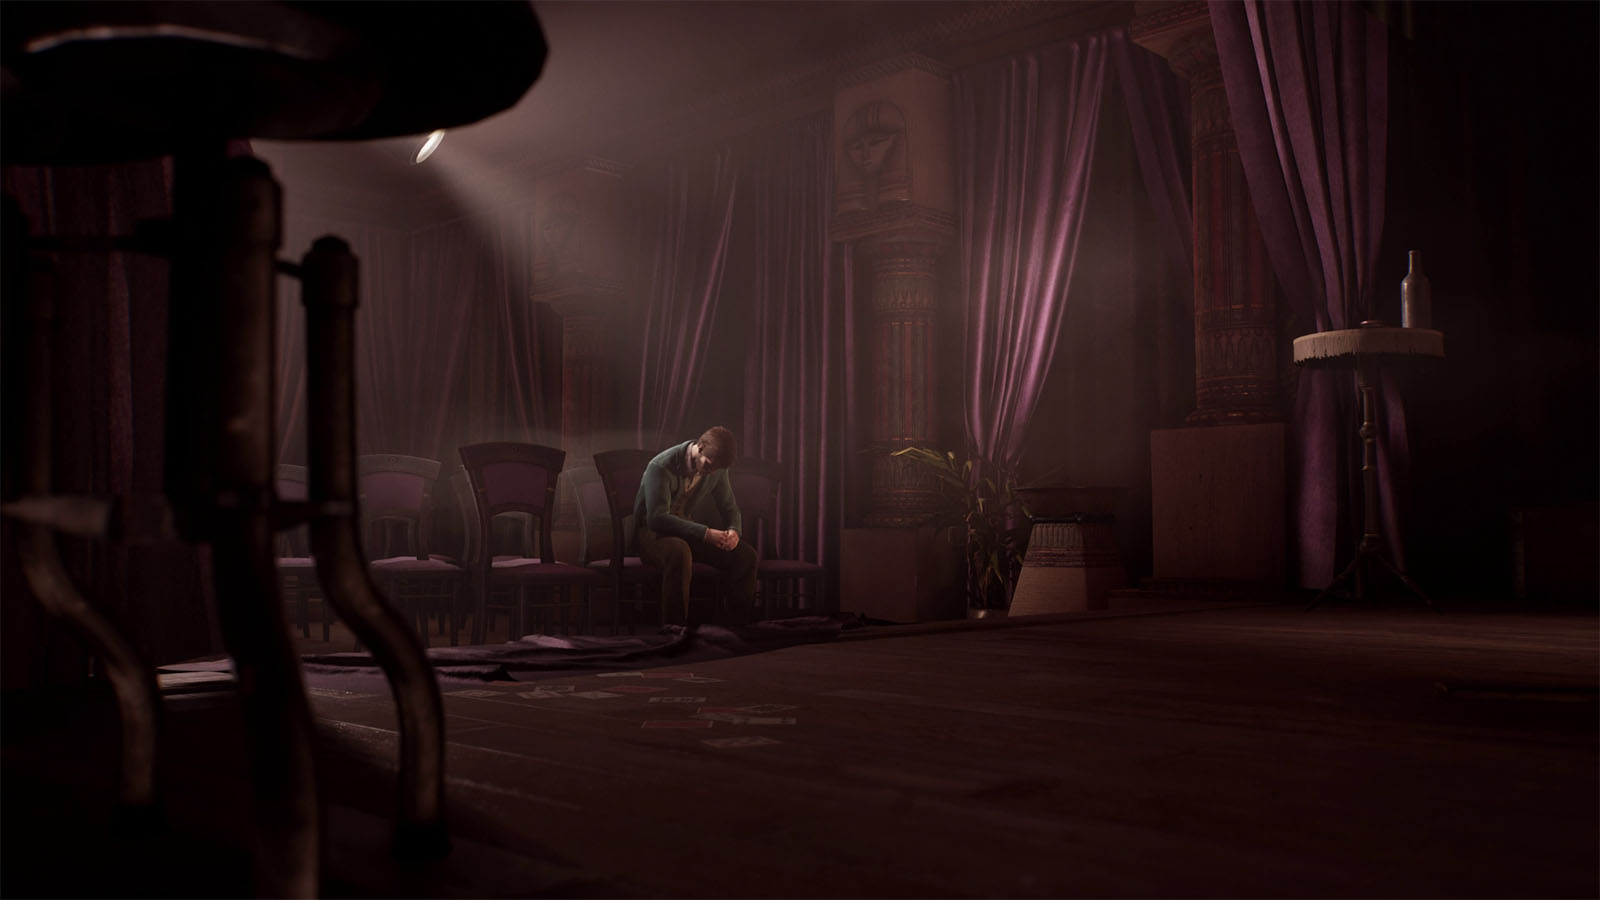
Go inside the building and climb the stairs all the way up to the top. Go through the door where you will encounter another cutscene with Jeremy. As you try to talk to him and help him make his way out, he insists that he has to make the sacrifice and runs away.
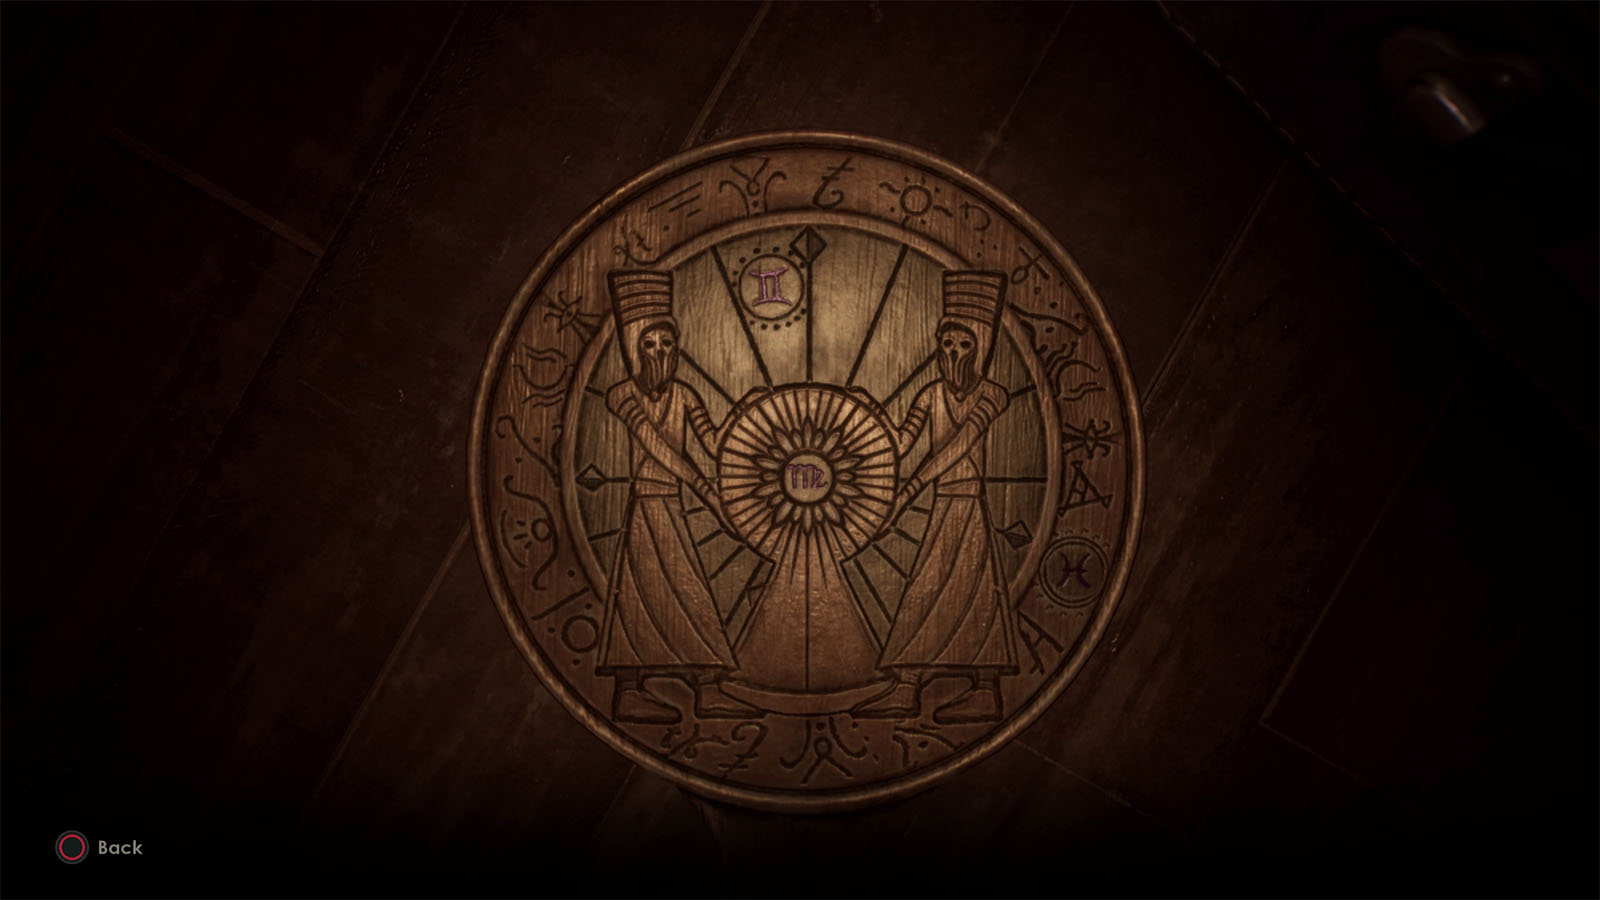
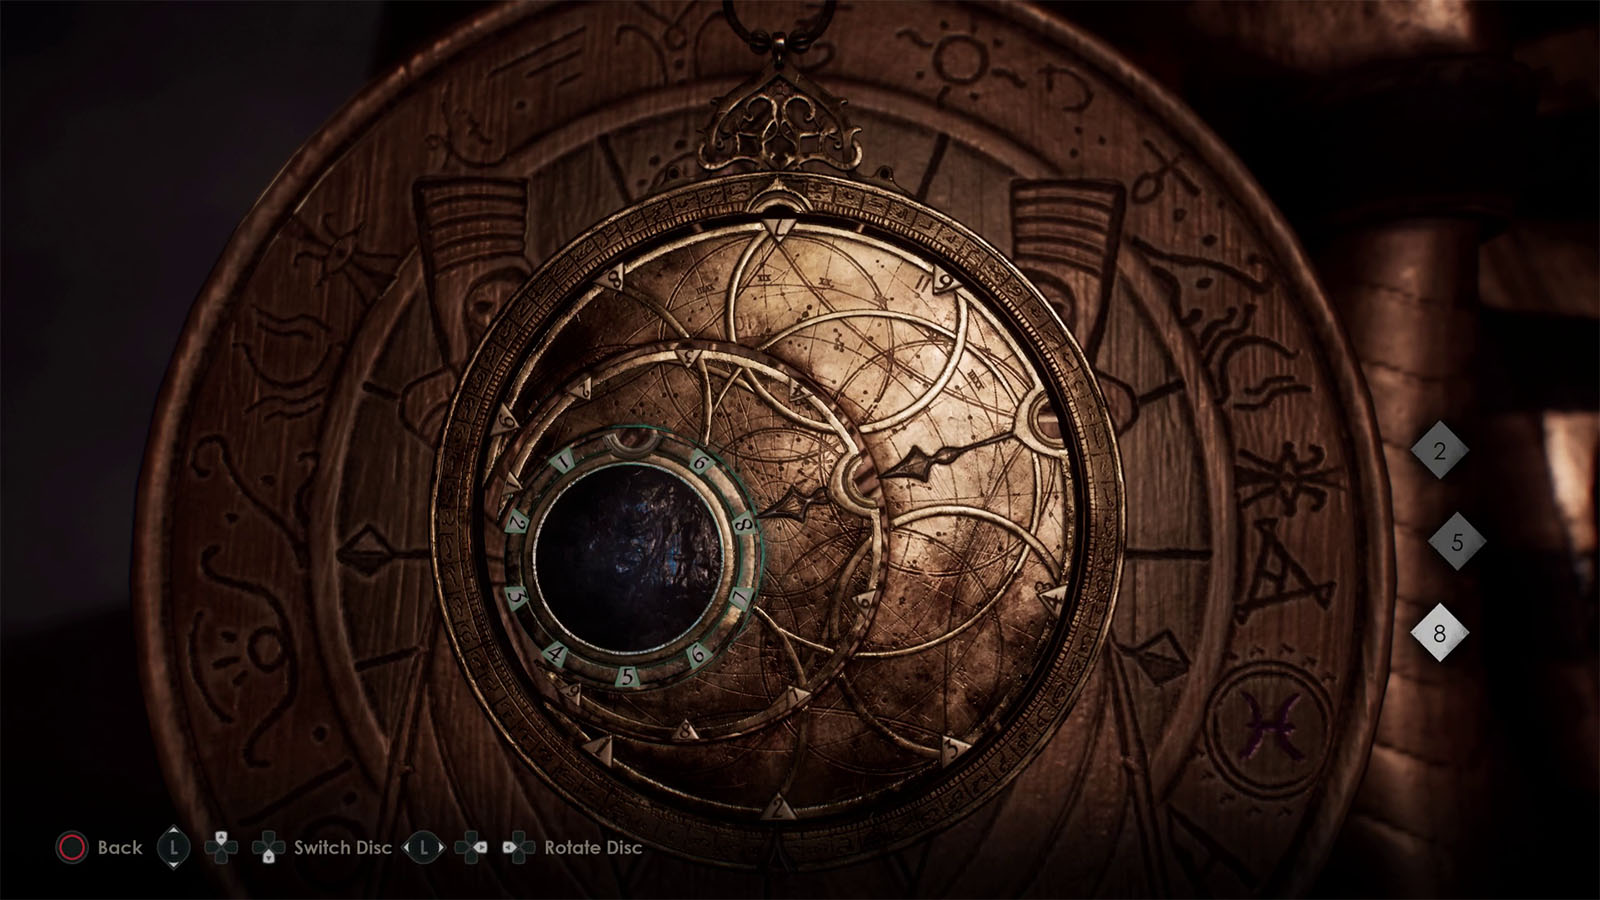
Check the stage where you will find a paddle on the floor showing an image similar to the sketch on the Commonplace Book. Referencing the sketch in Perosi’s Journal, matching the zodiac signs to their equivalent numbers and their location on the paddle will give you the code 2-5-8. Interact with the sarcophagus and input the code.
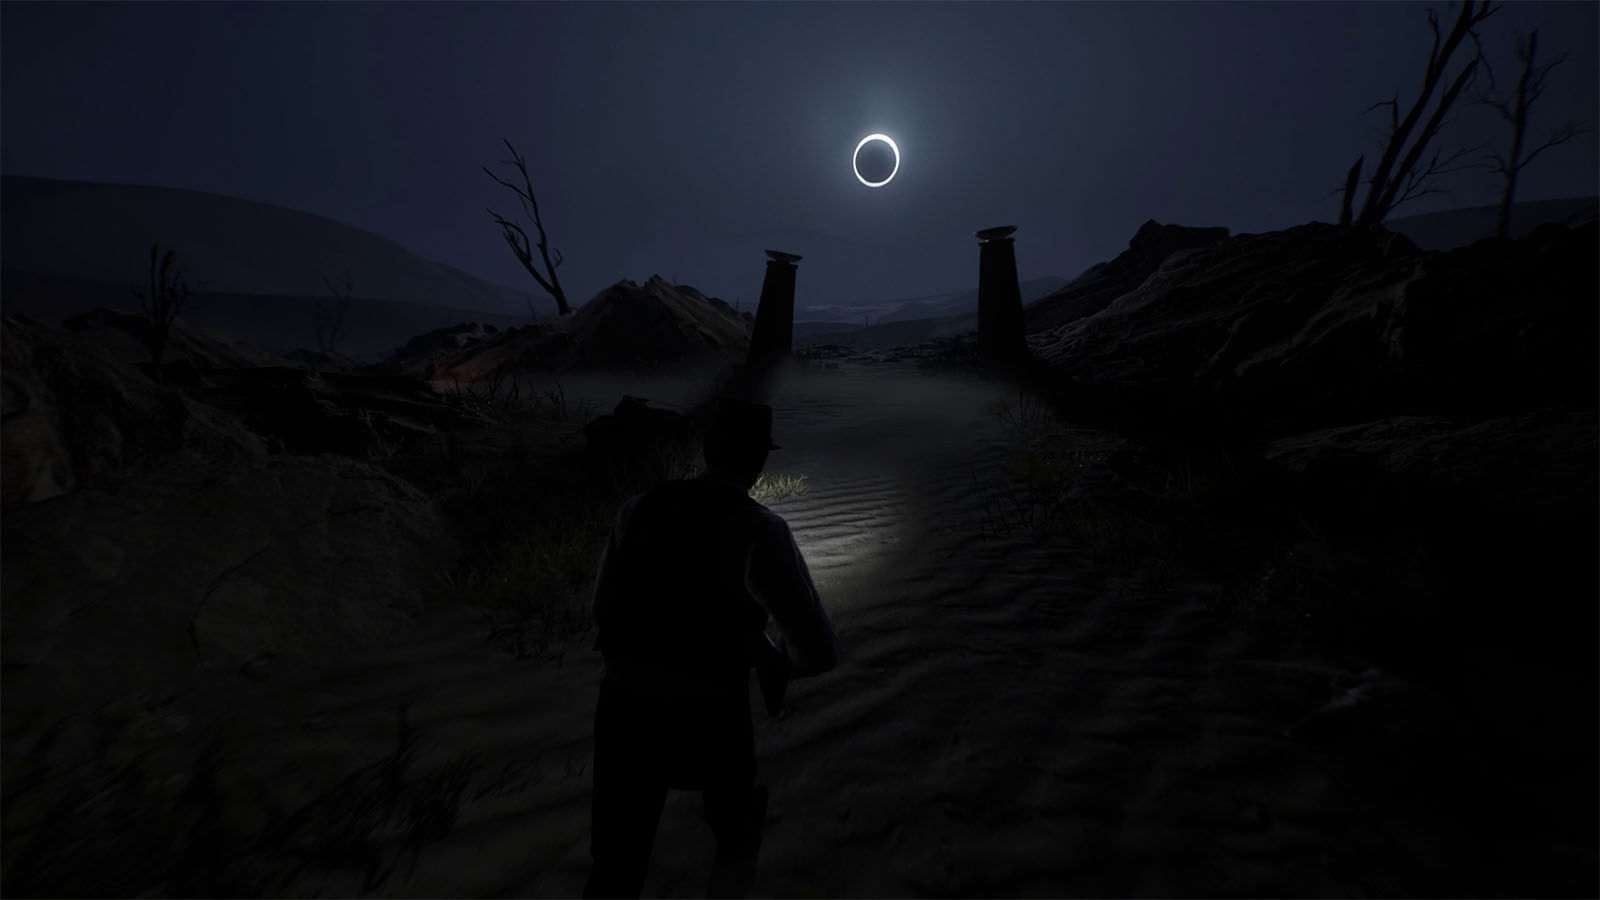
The sarcophagus will then open up to a passage that leads to the desert. Follow the path all the way to the end and you will unlock the Losing My Mind Achivement.
Find a way inside the sunken temple
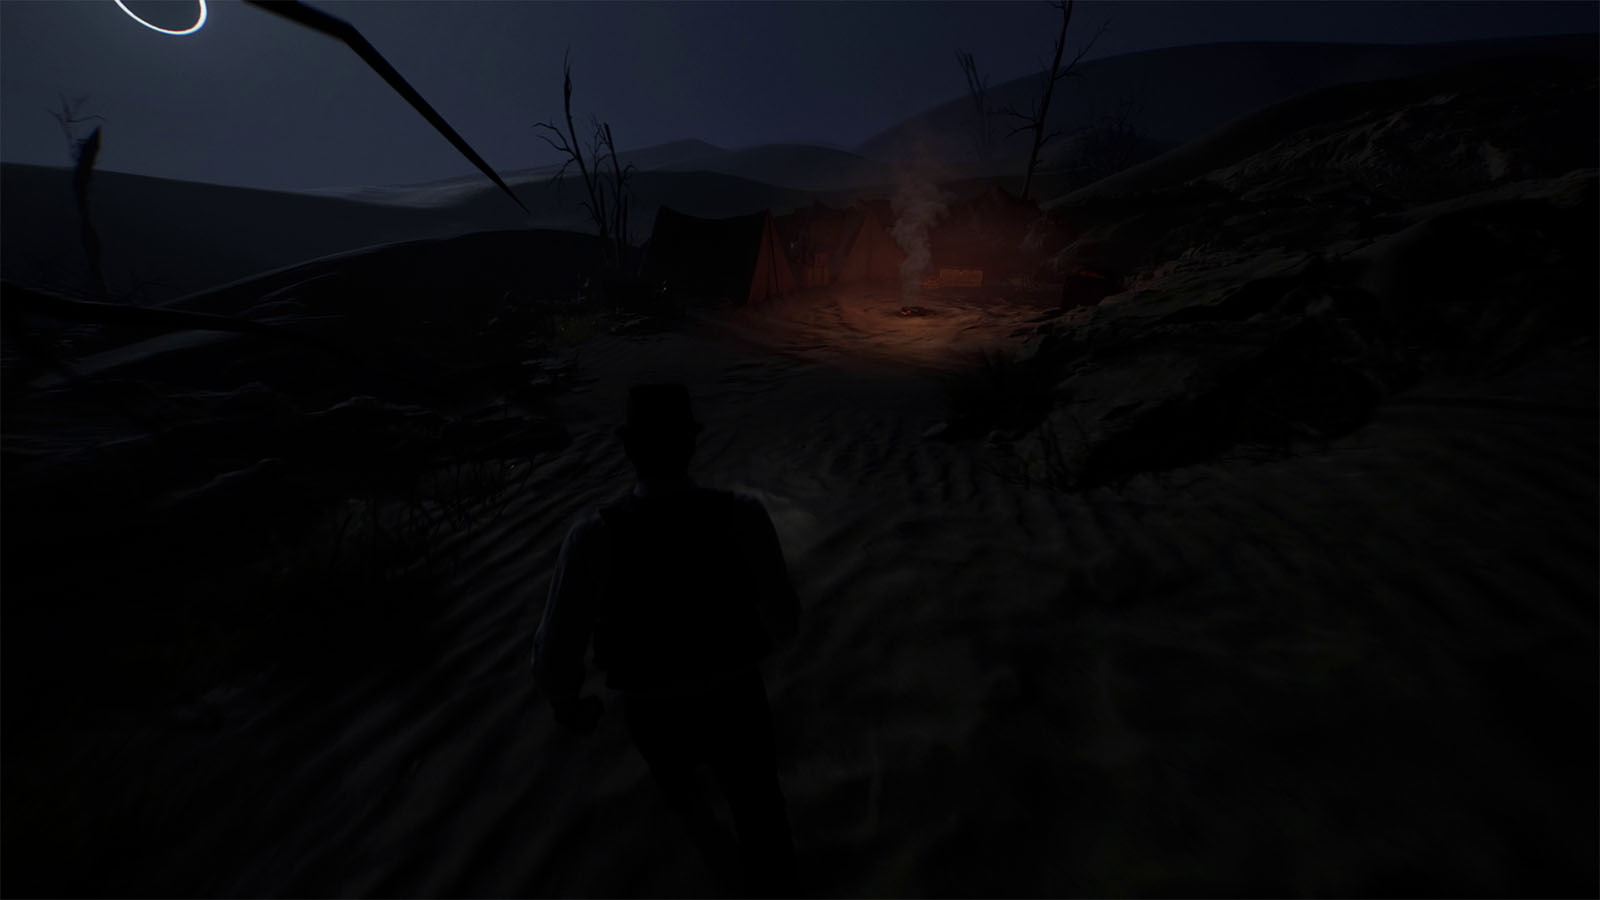
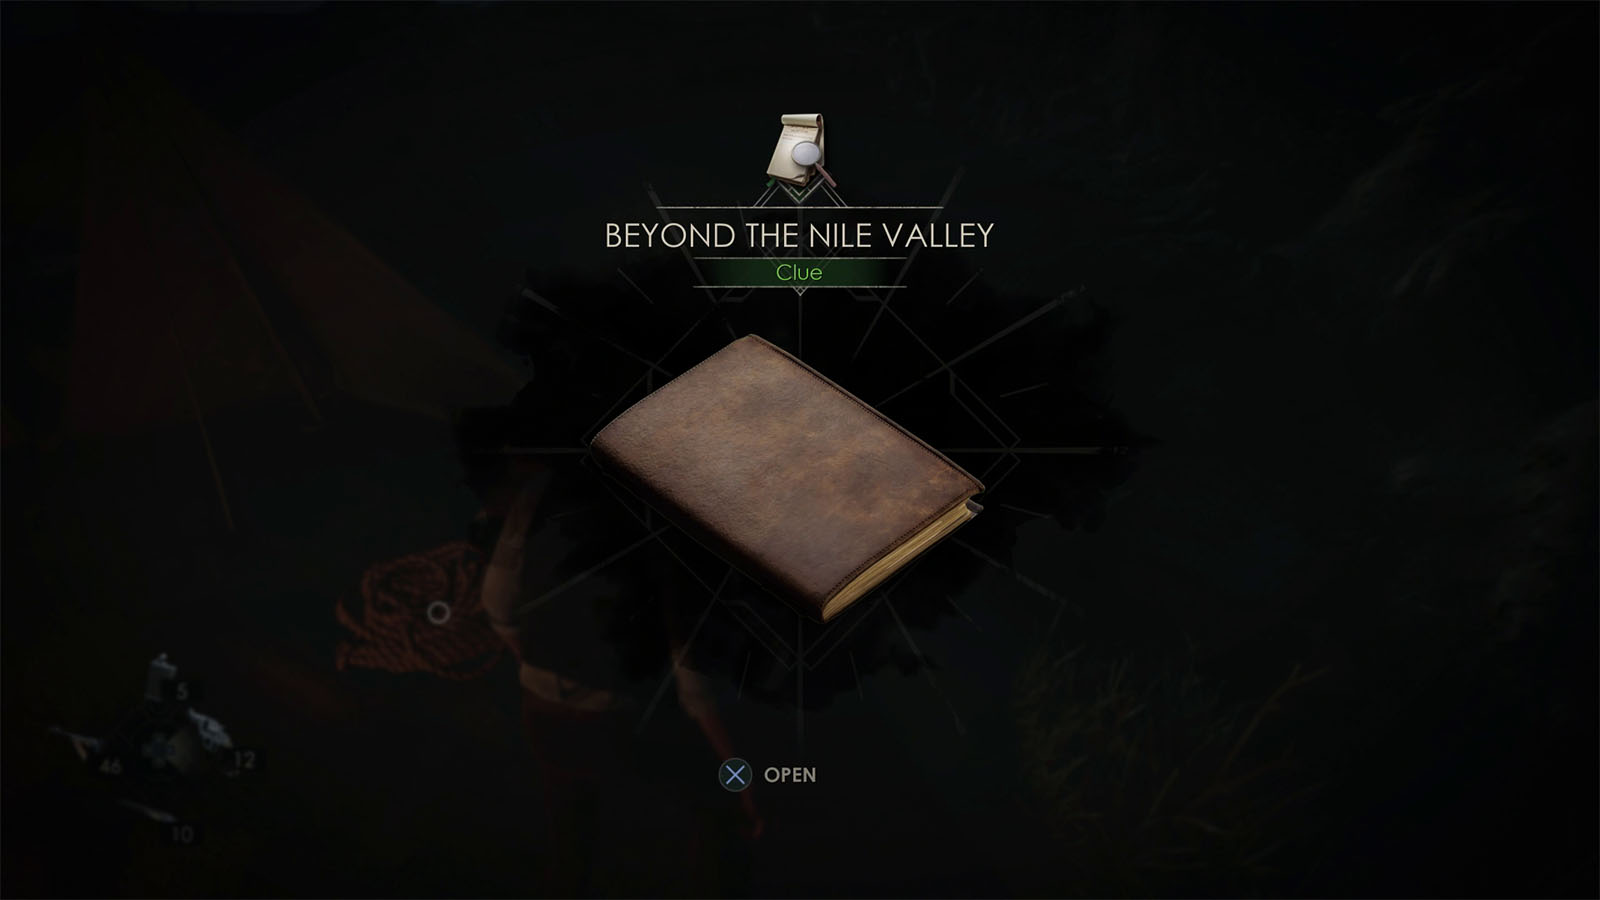
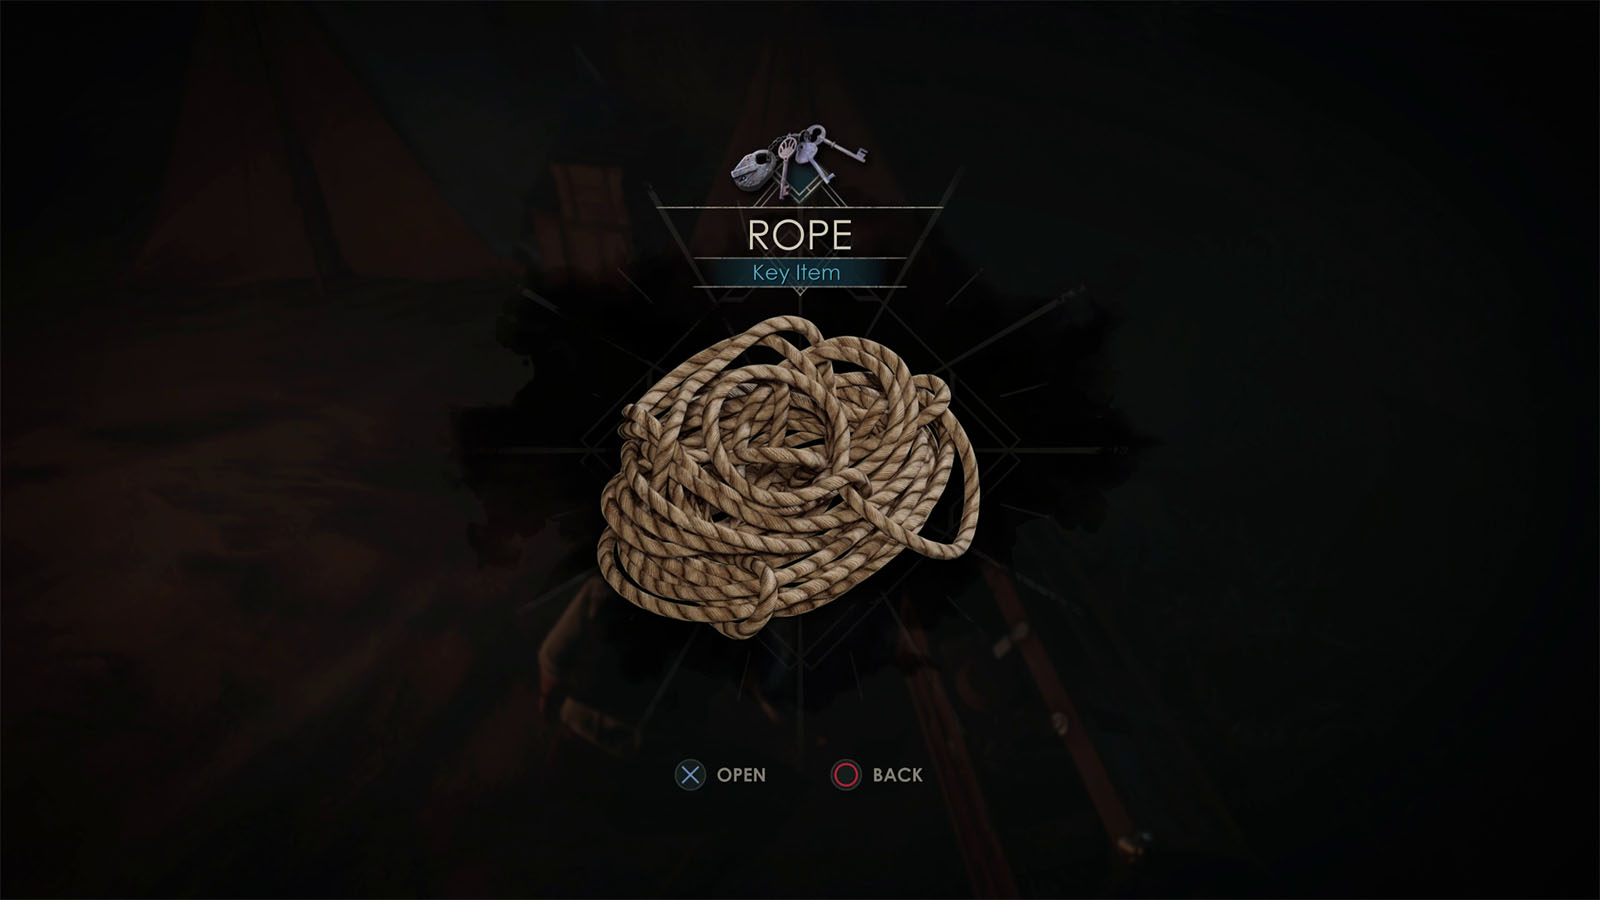
Follow the lit path, passing by the hole in the ground for now, until you reach a camp. Check the chest to find the Clue – Beyond the Nile Valley, then grab the Rope next to the chest.
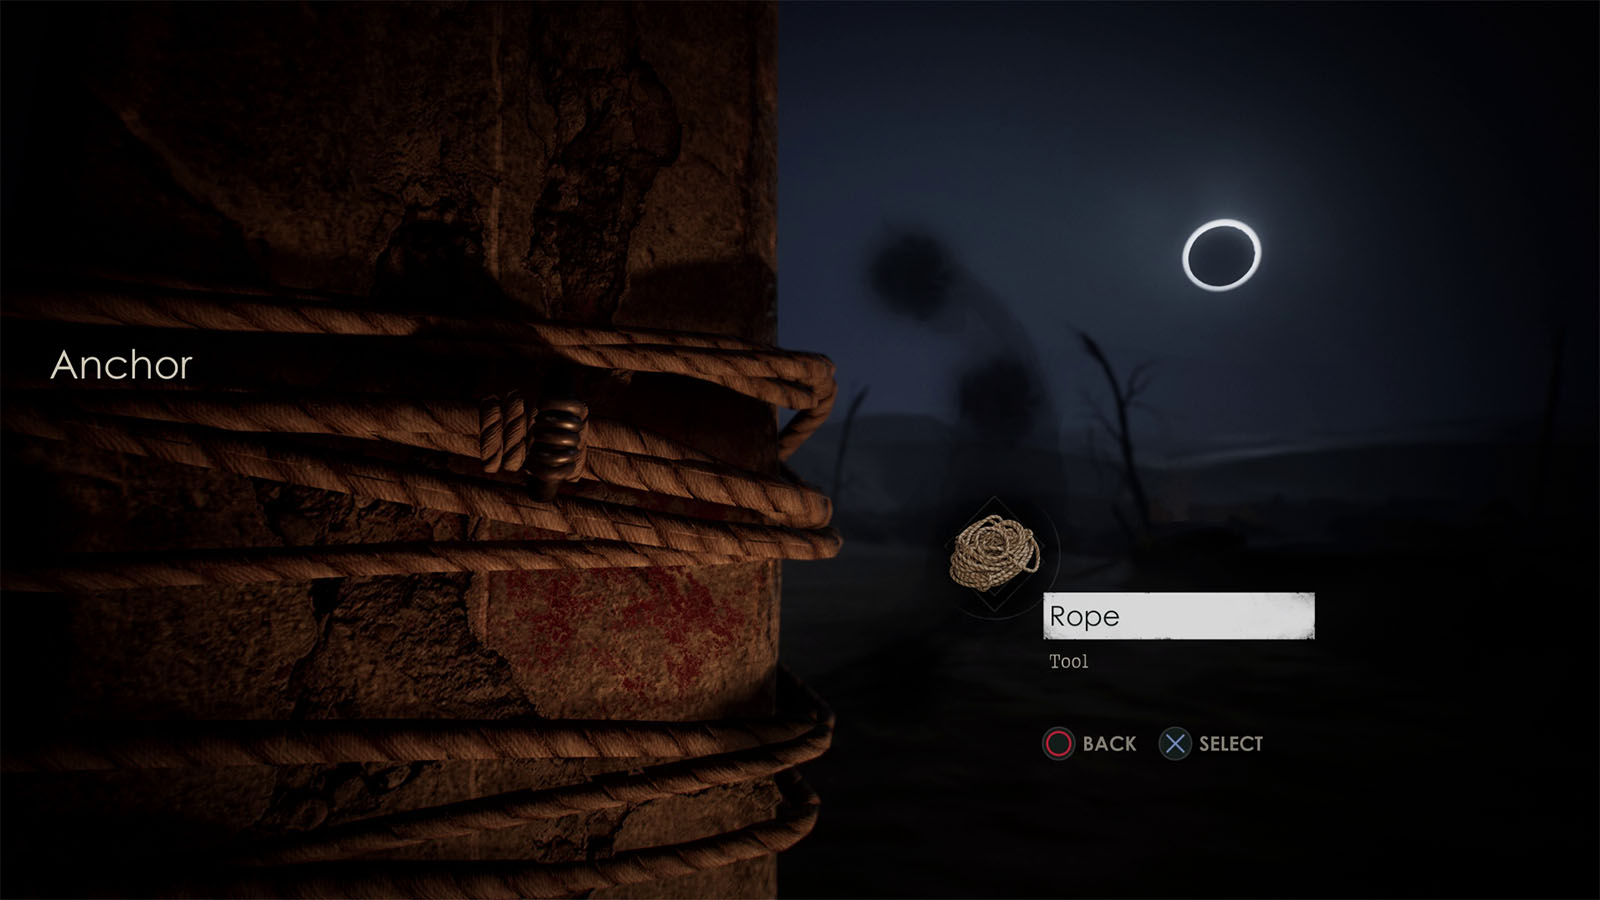
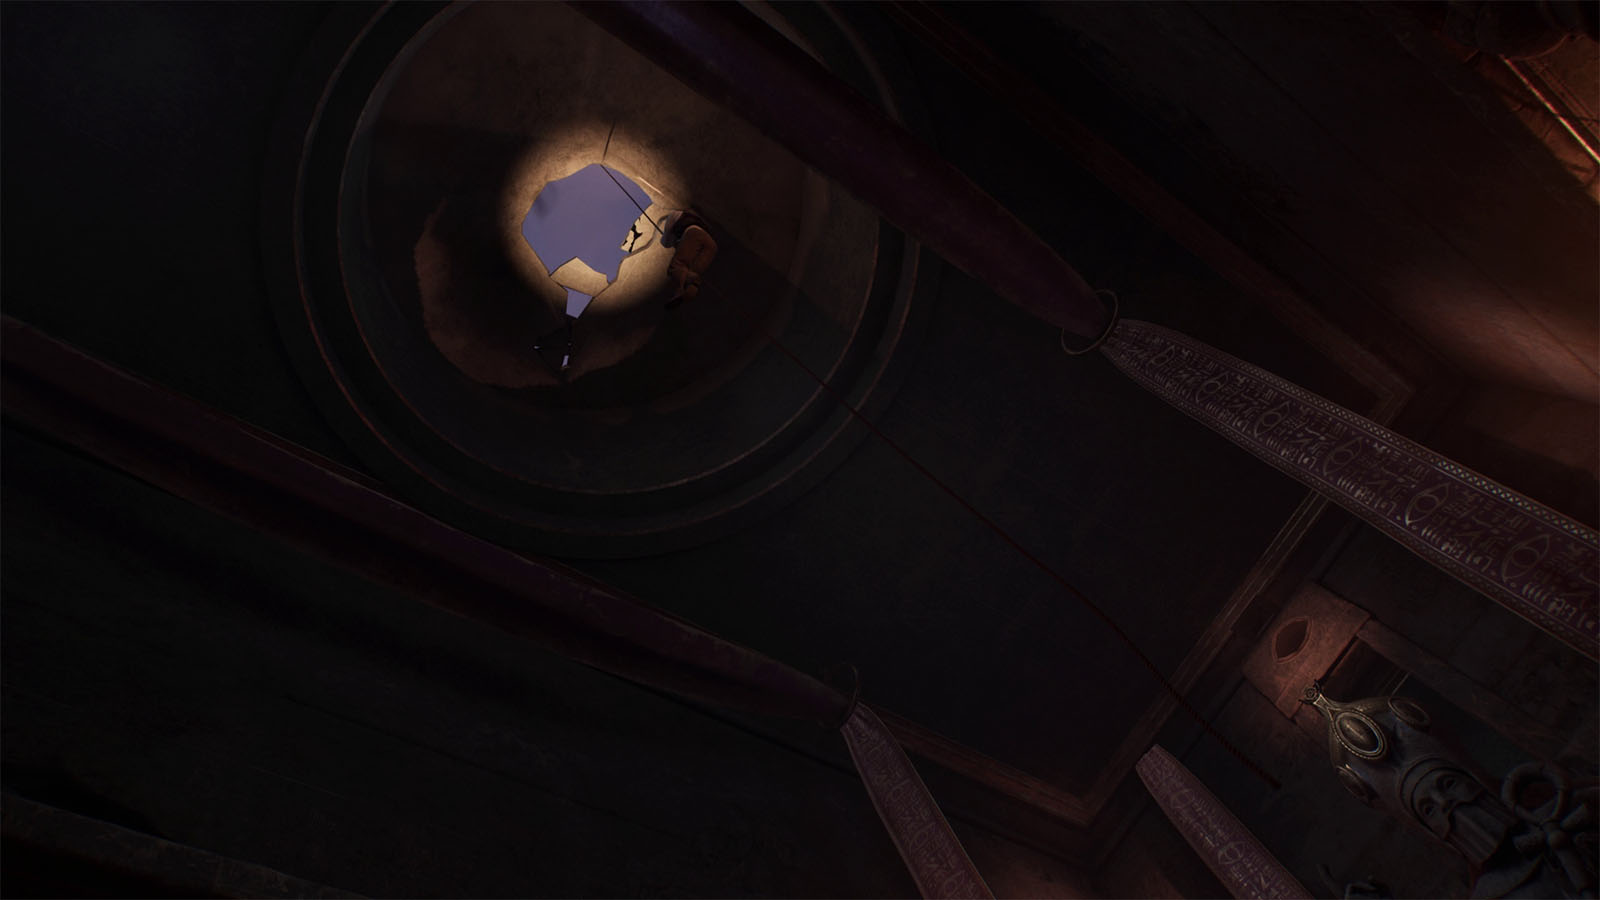
Head back to where the hole in the ground is and check the pillar to find an anchor where you can attach the rope to. Afterwards, you can rappel down into the hole.
Use the old temple mechanisms to reveal the contract
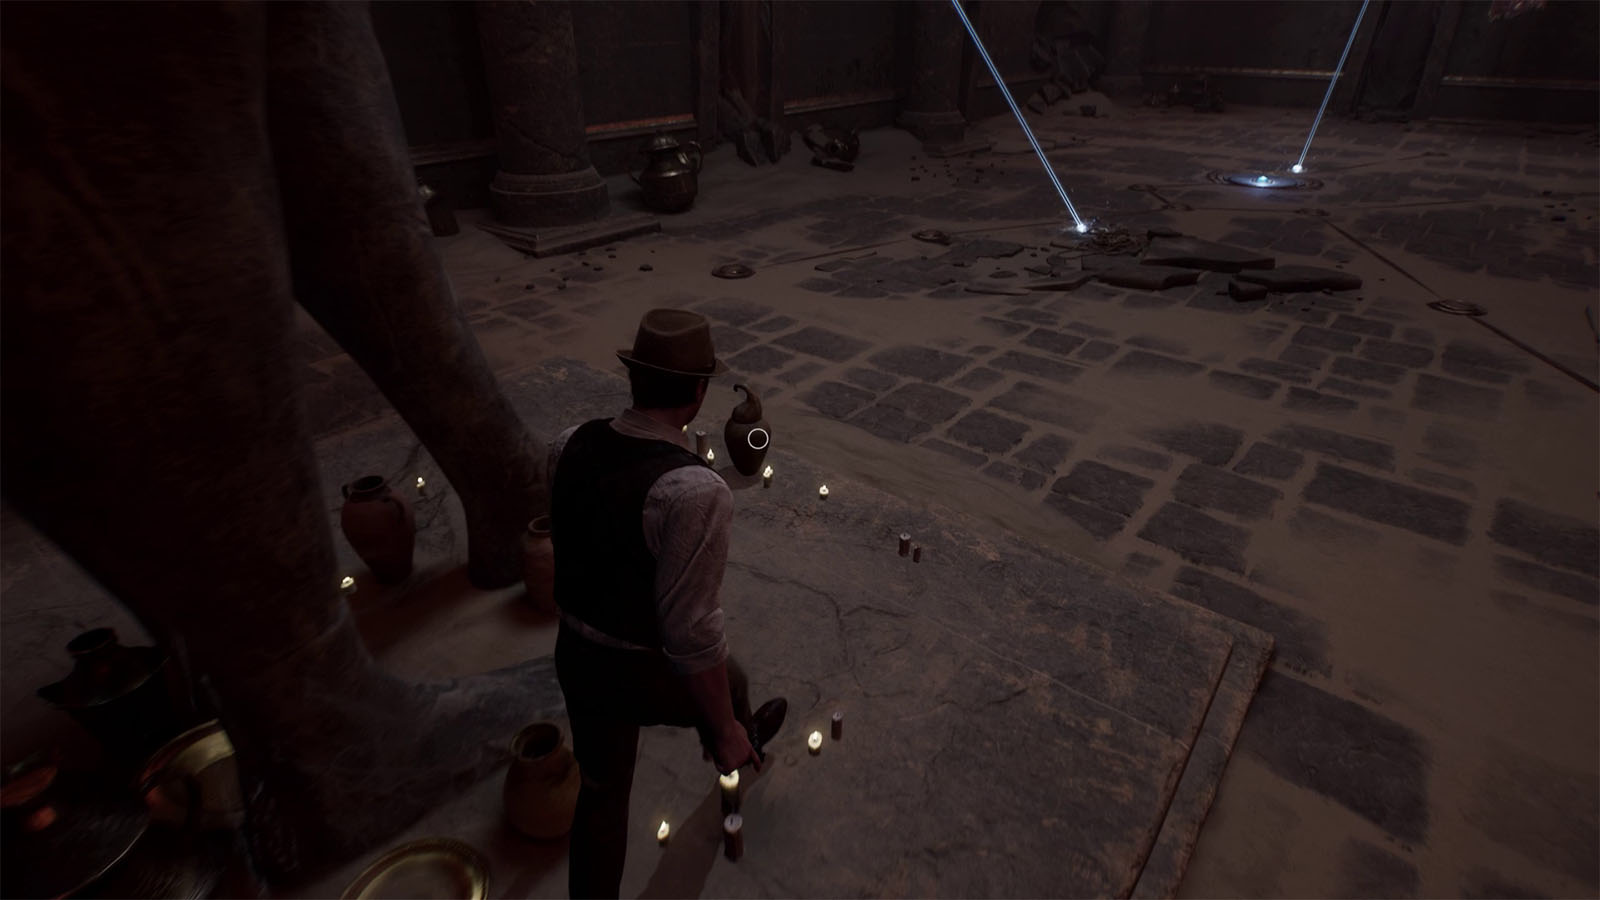
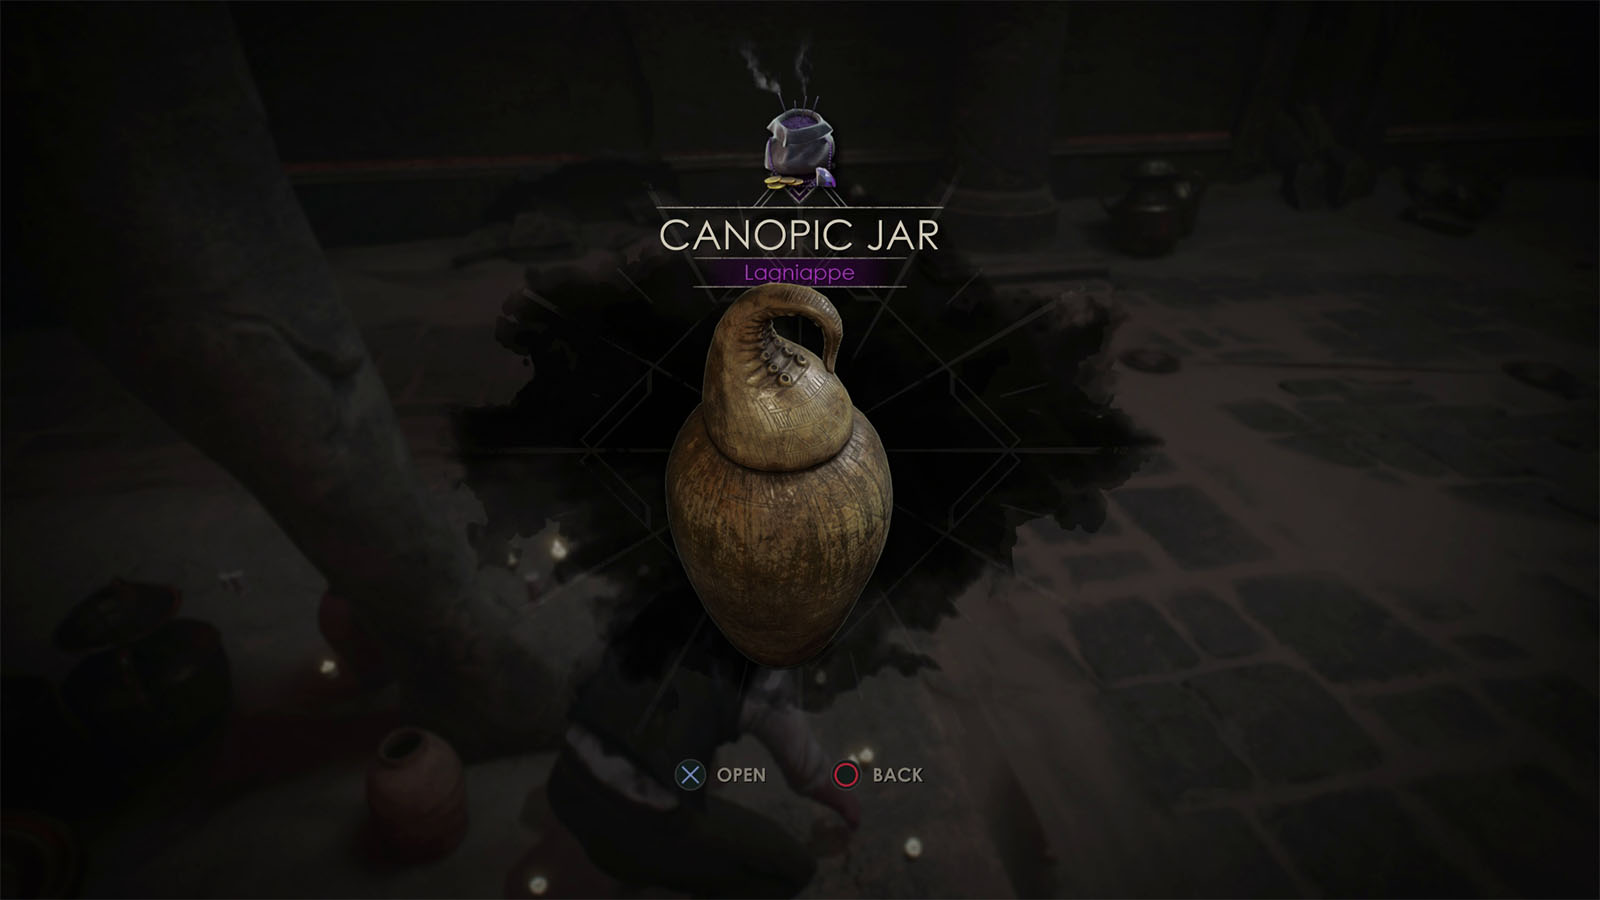
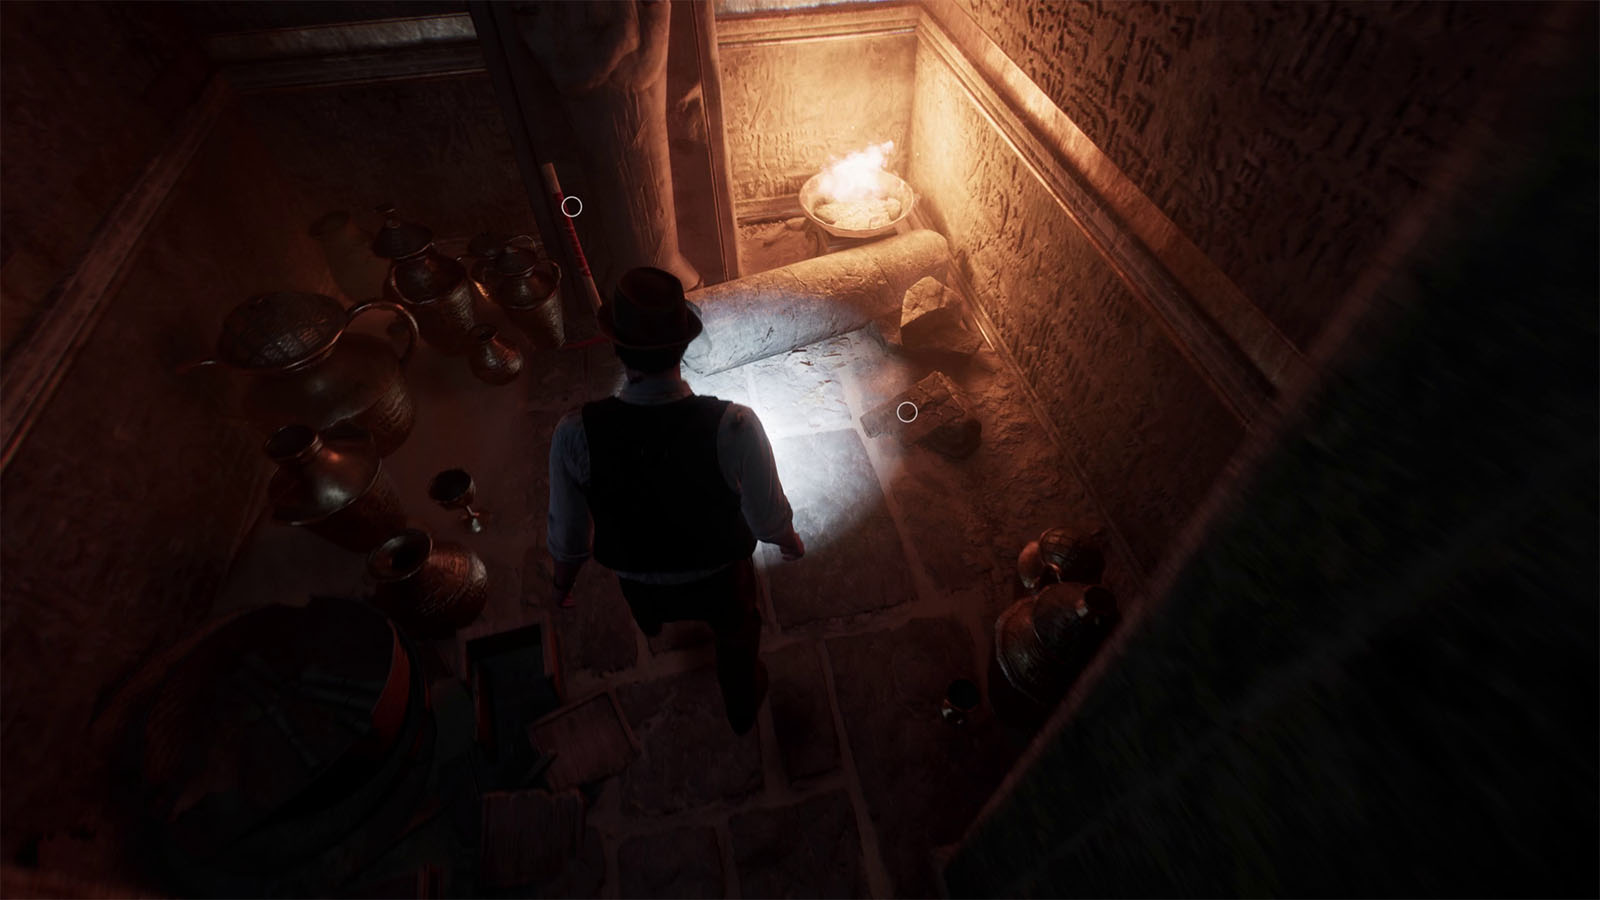
Once you land into the chamber below, look for the lever behind the statue and pull it. Pick up the jar in front of the statue to get the Lagniappe – Canopic Jar.
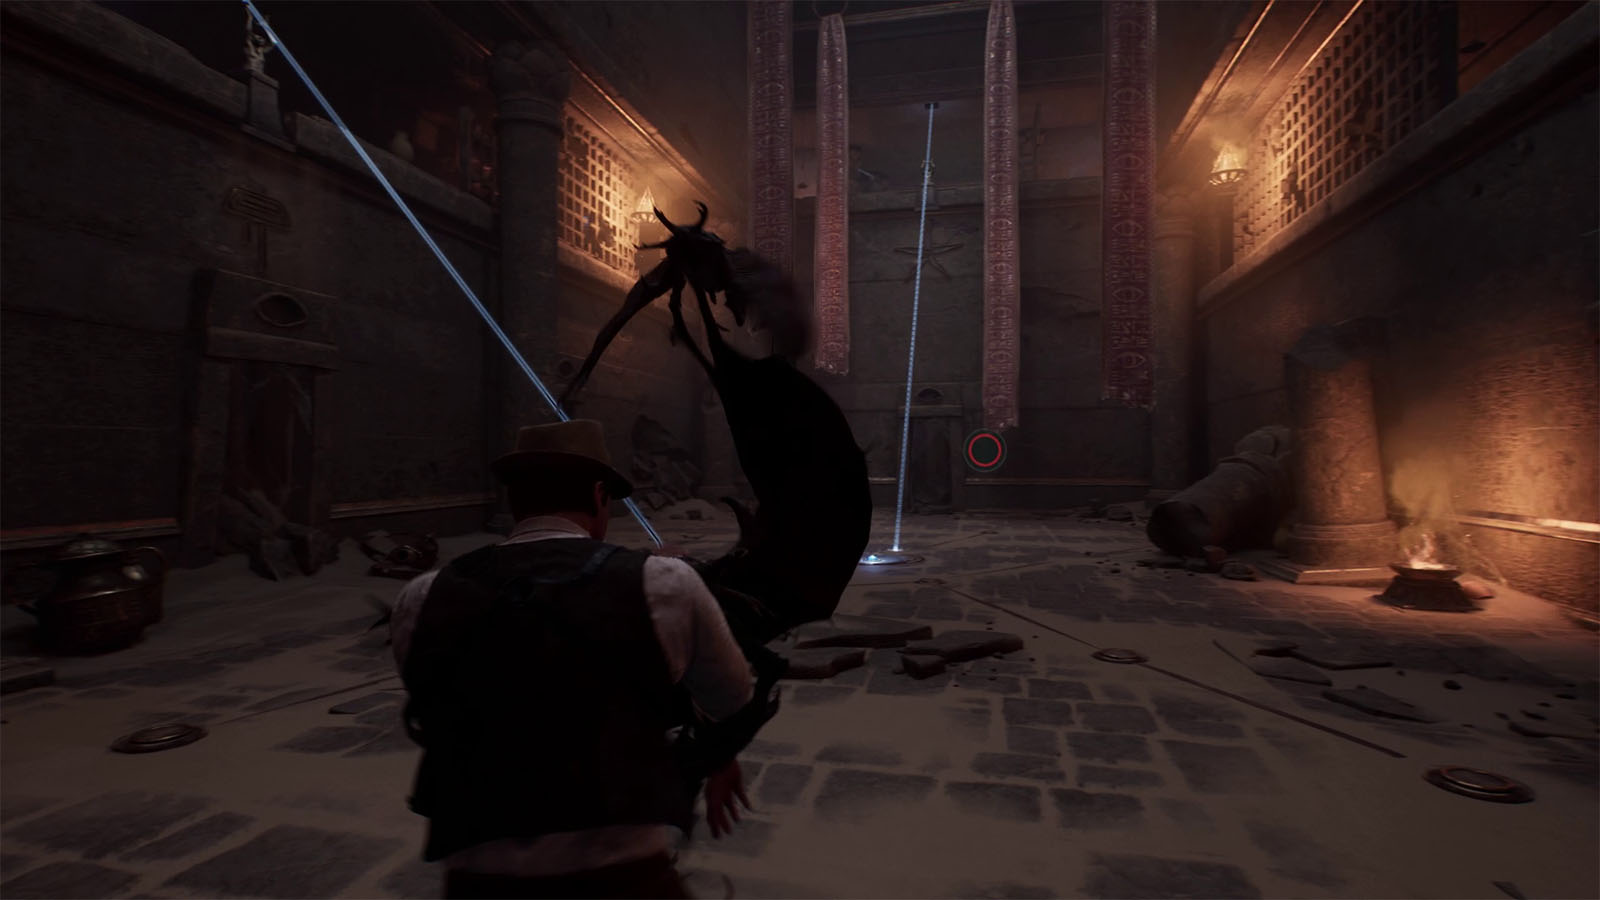
Be prepared to fight off bat-like creatures that will come down on you once the room has been activated.
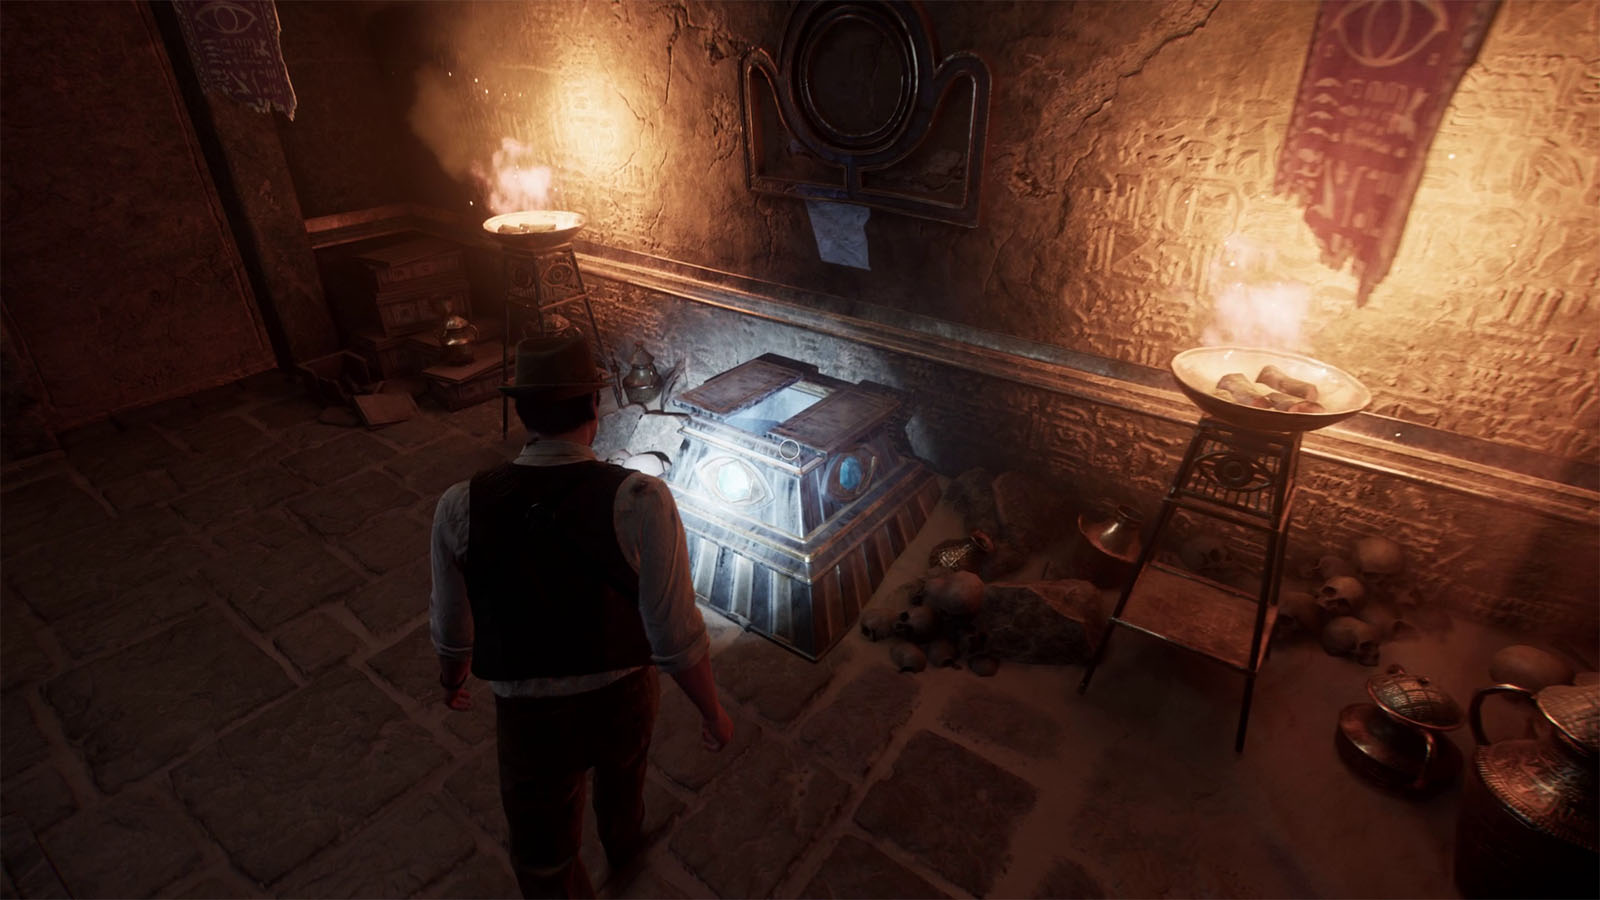
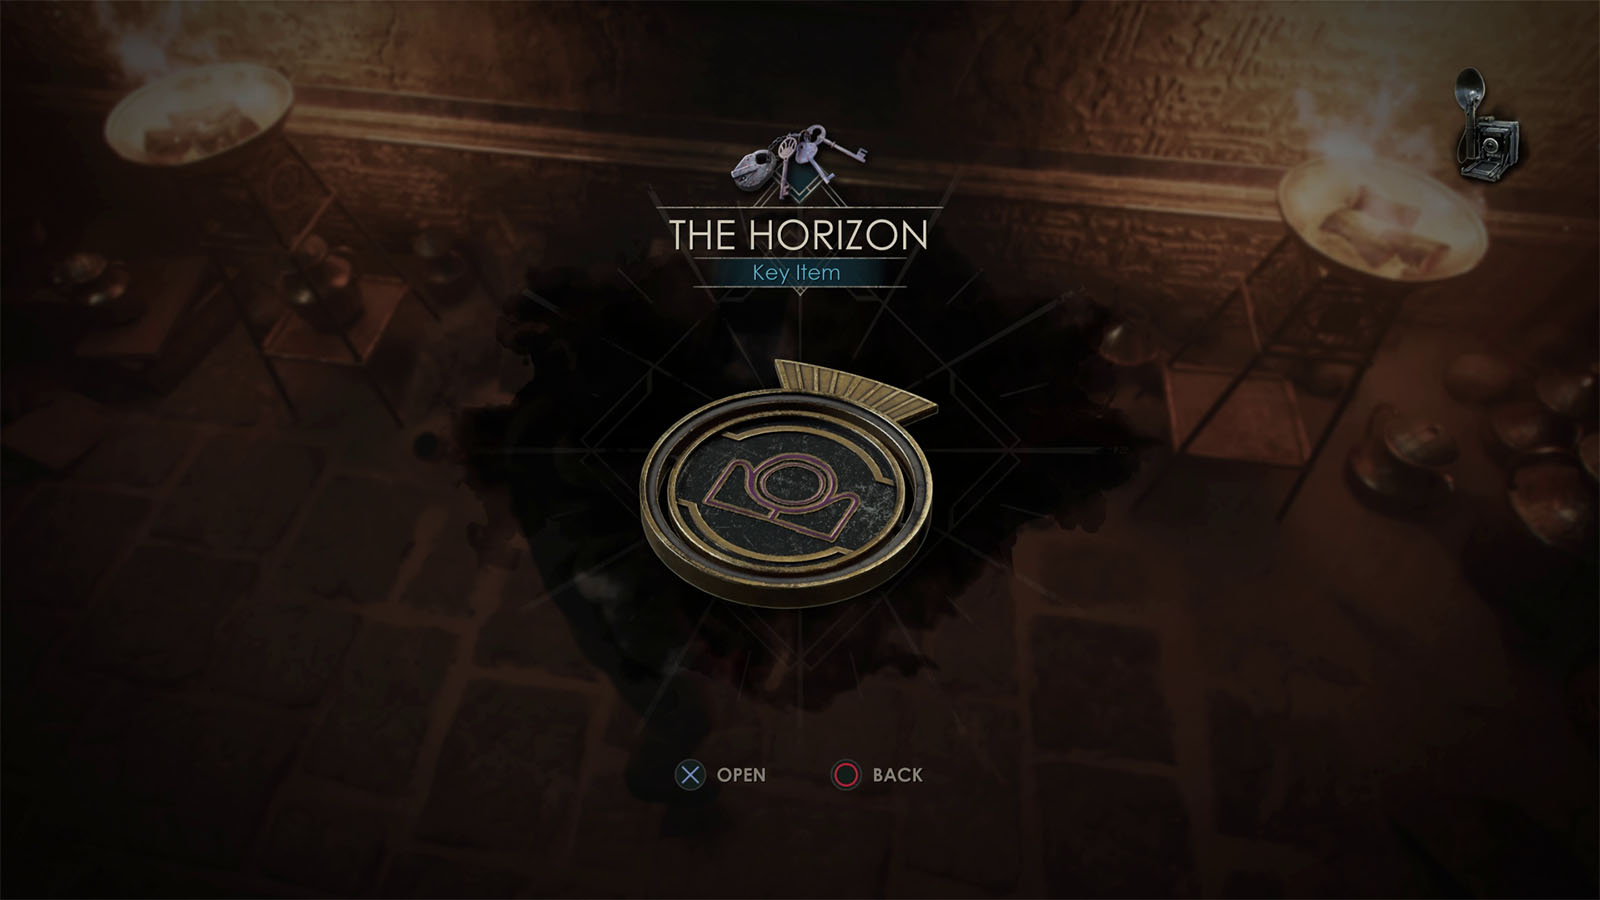
Go through the door with the glowing that has opened and go down the stairs. Once you’re inside the room with the statue, check inside the chest to find The Horizon lens. Place the lens on the holder, then pull the lever.
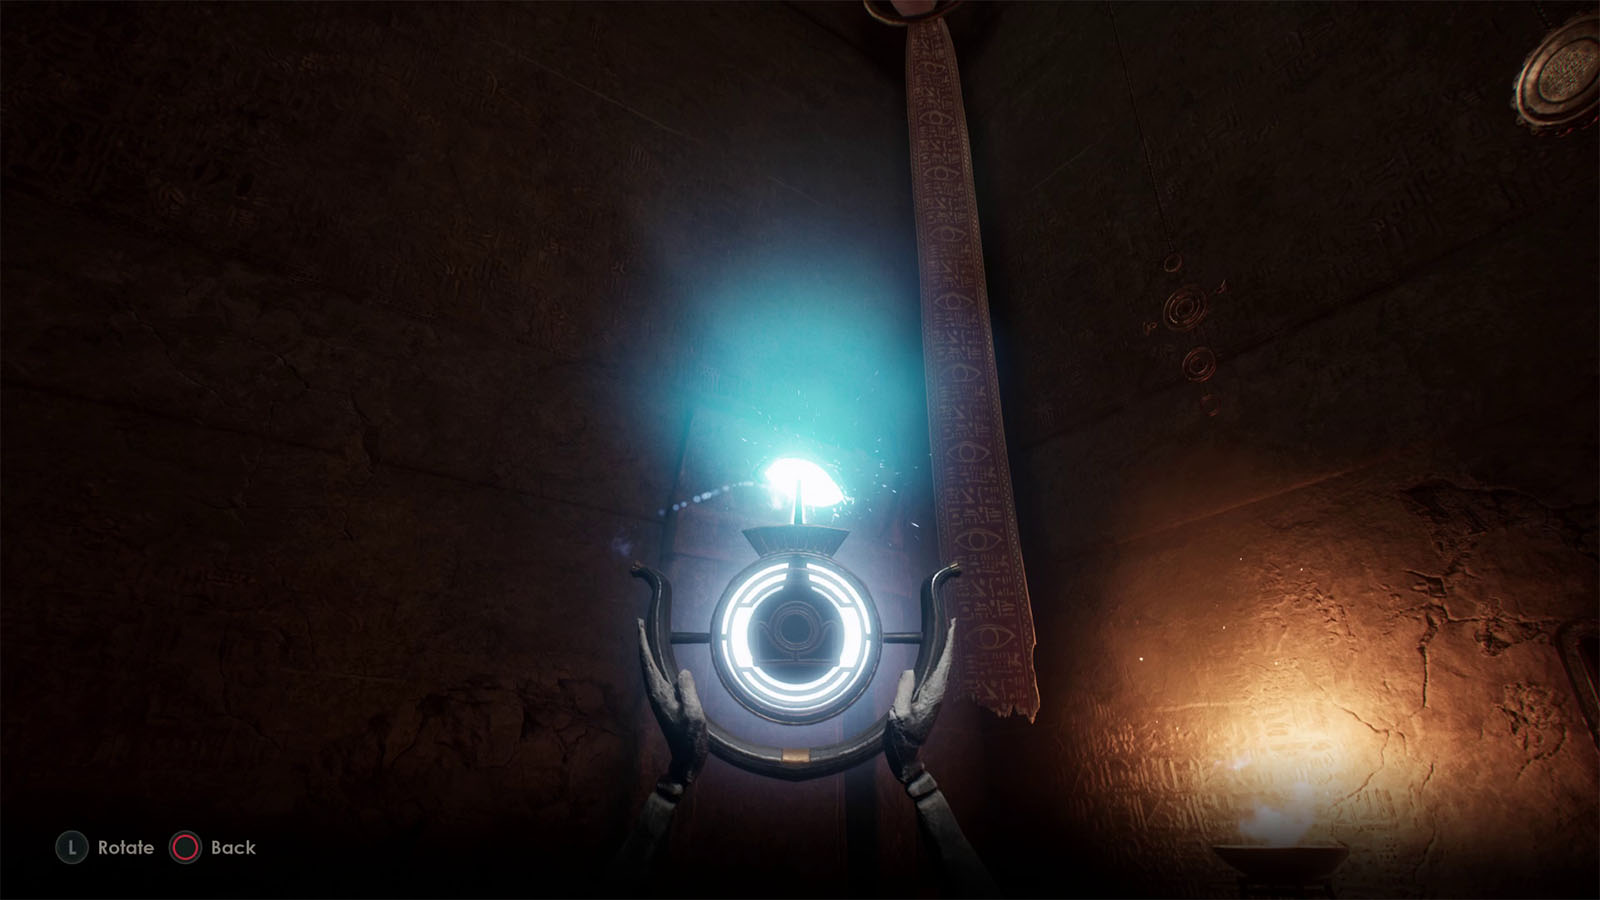
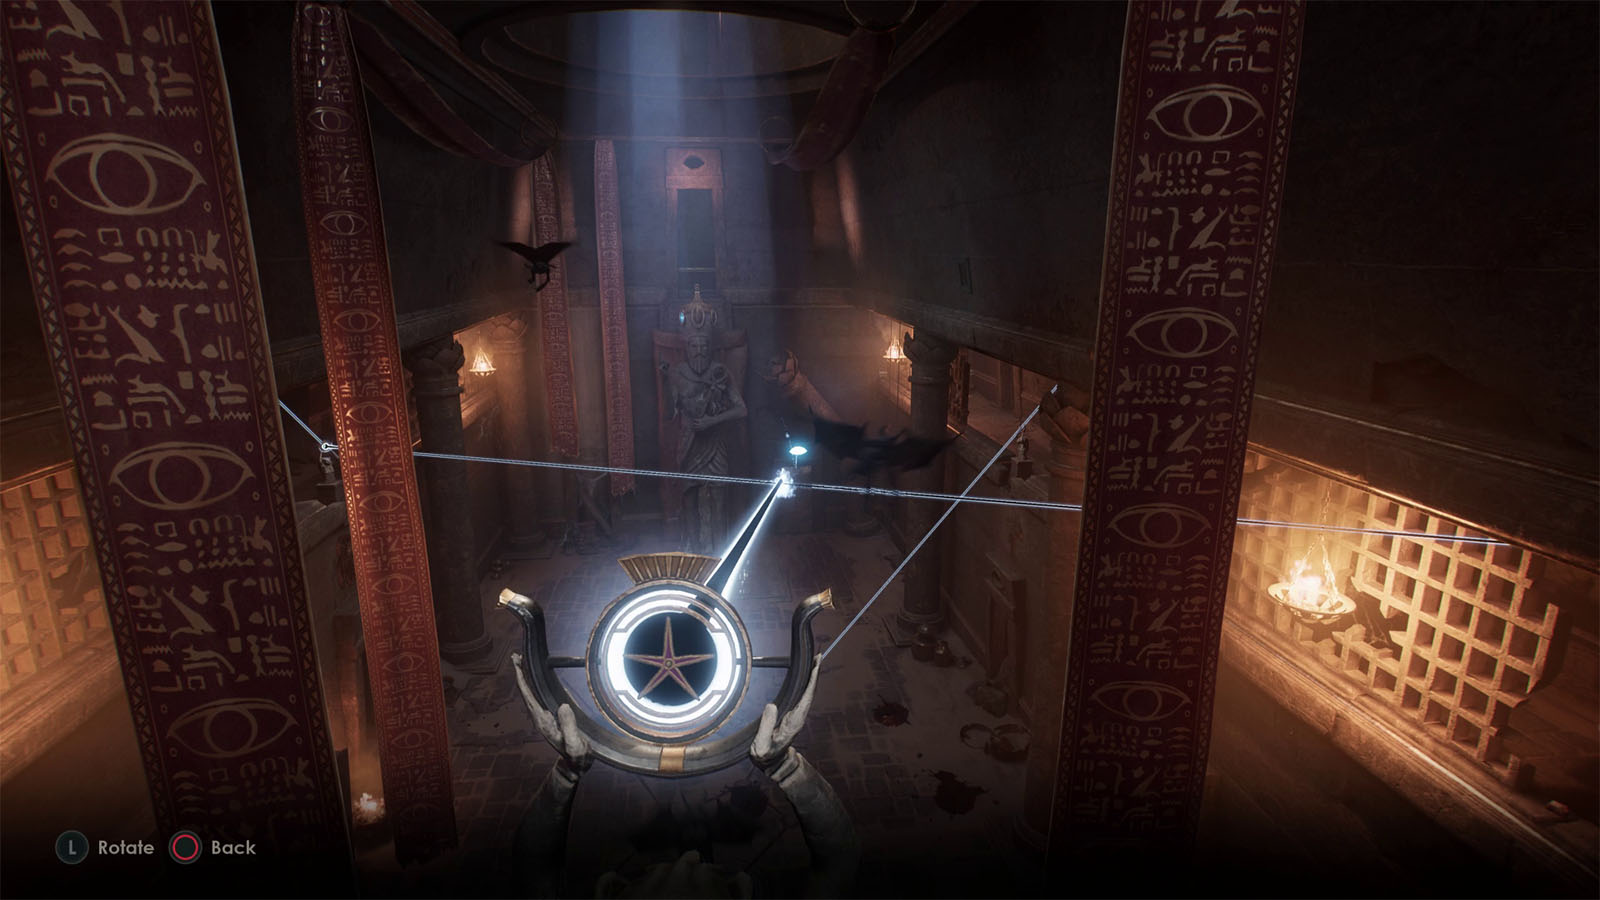
Next, aim the beam from the holder towards the crystal on top of the next door. Take the stairs until you reach the room with two paths.
Use the dark light to open up the door
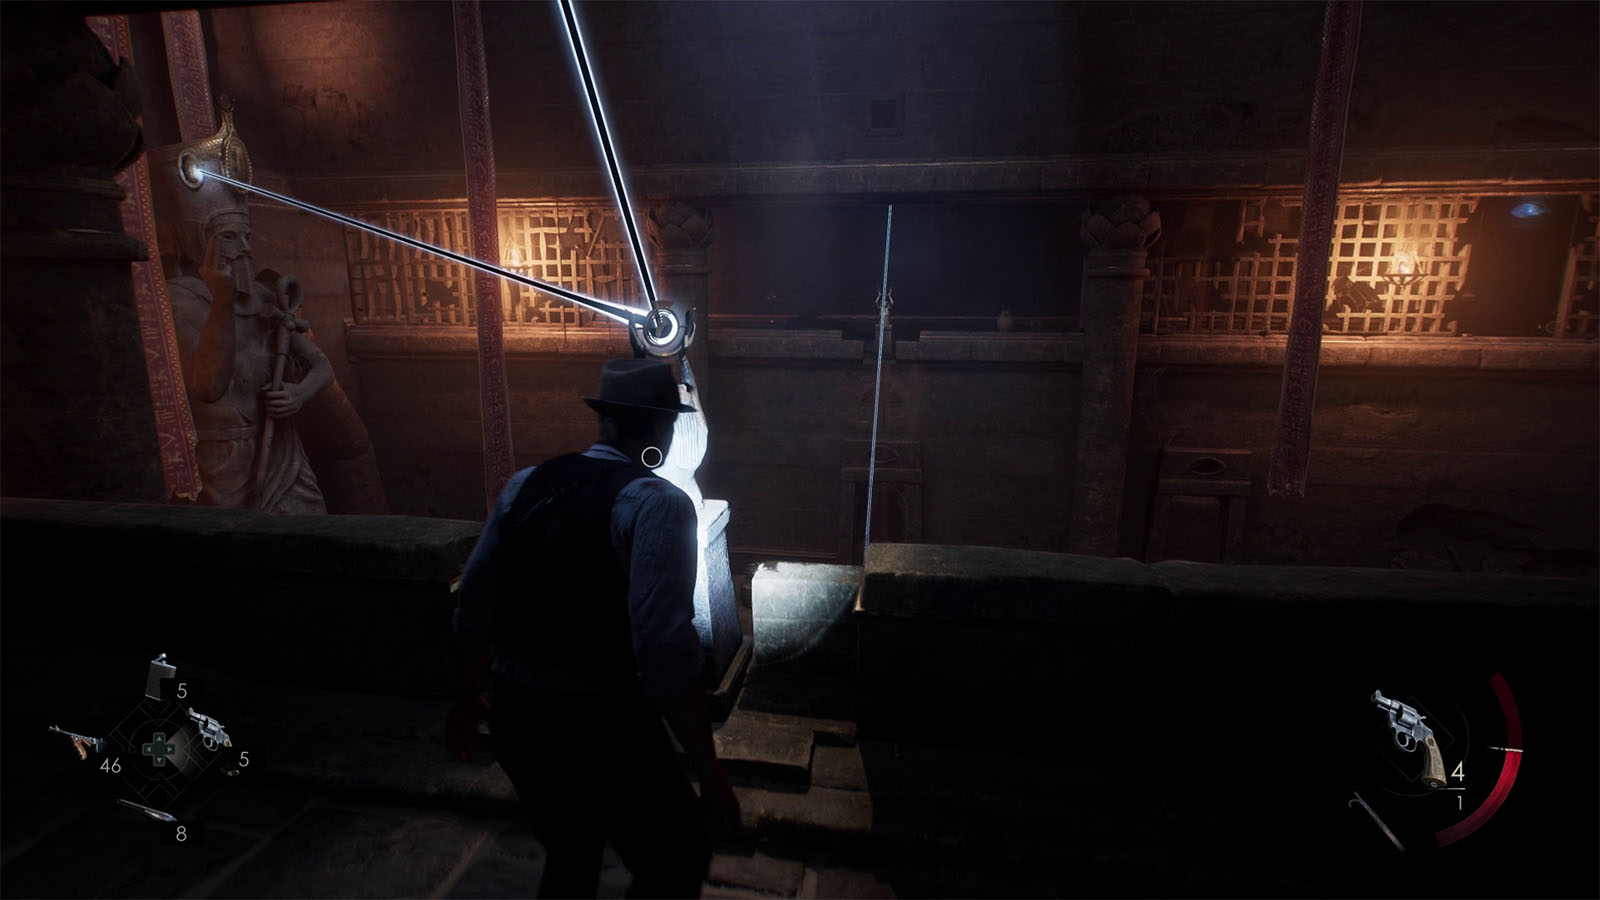
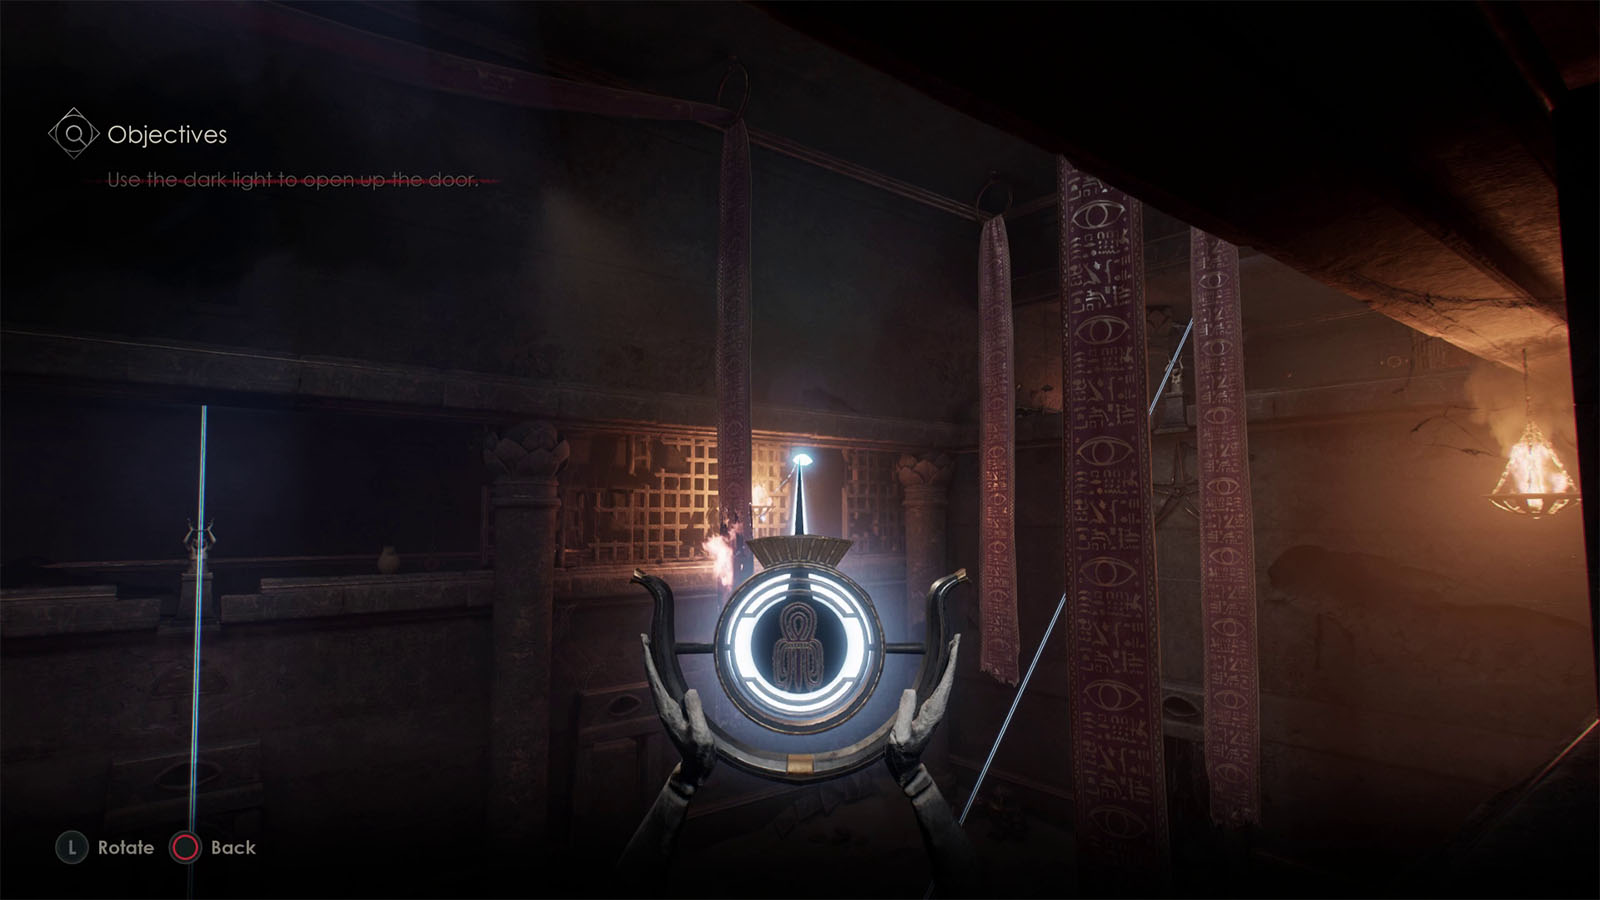
Take the left path first and go to the lens holder. Aim the beam towards the lens on the door on the opposite side. Afterwards, re-aim the beam towards the crystal on the crown of the statue.
Look for more lenses to direct the dark light
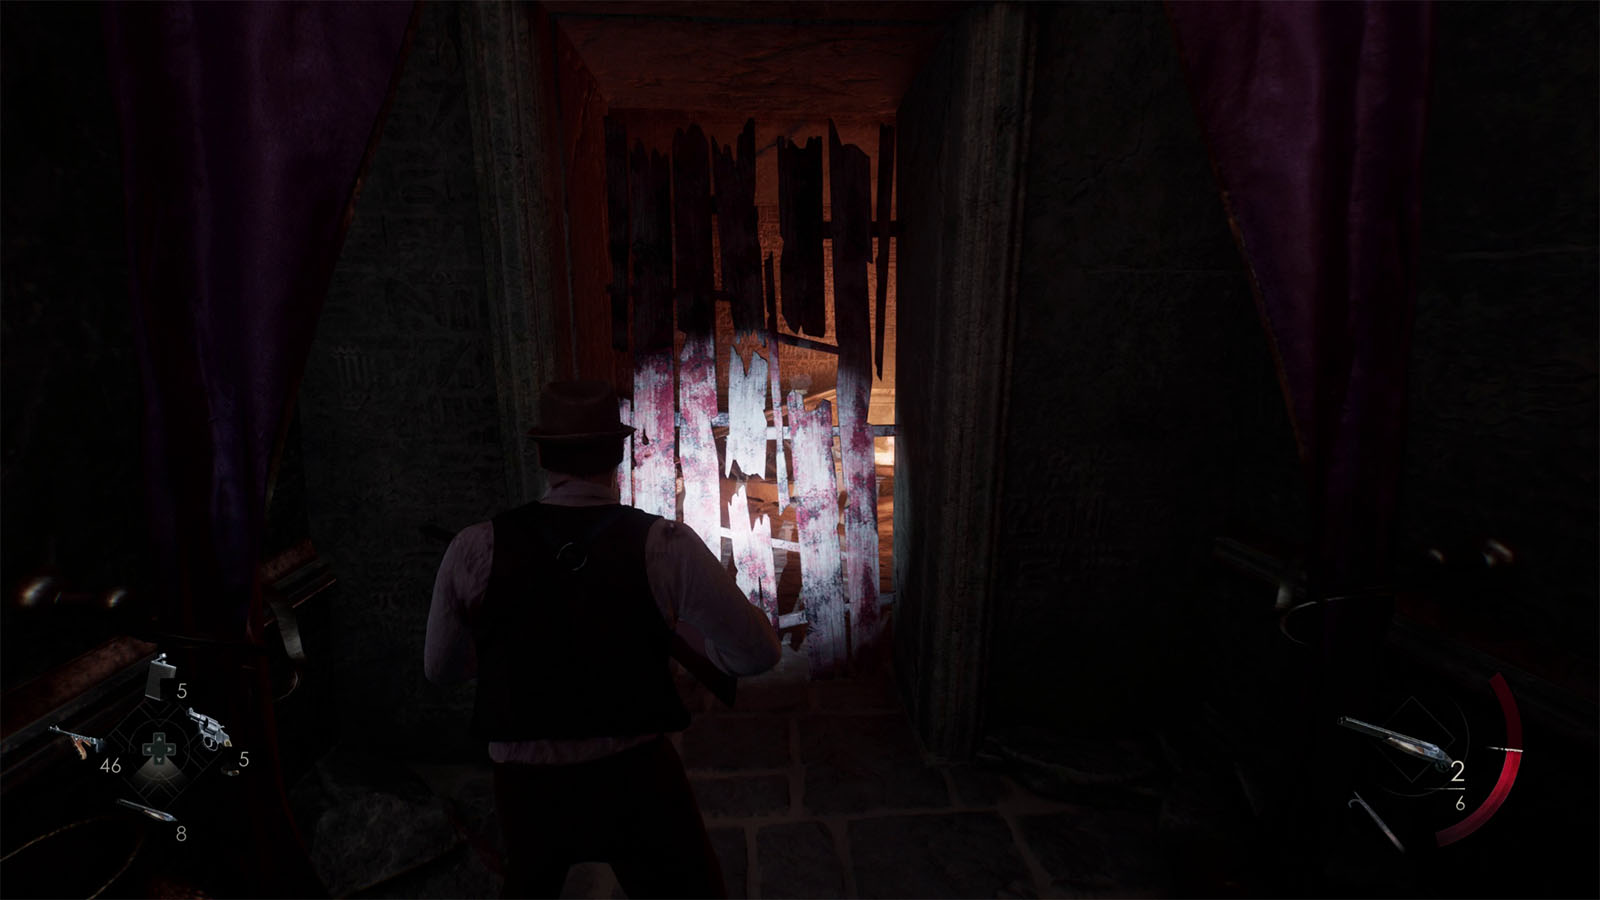
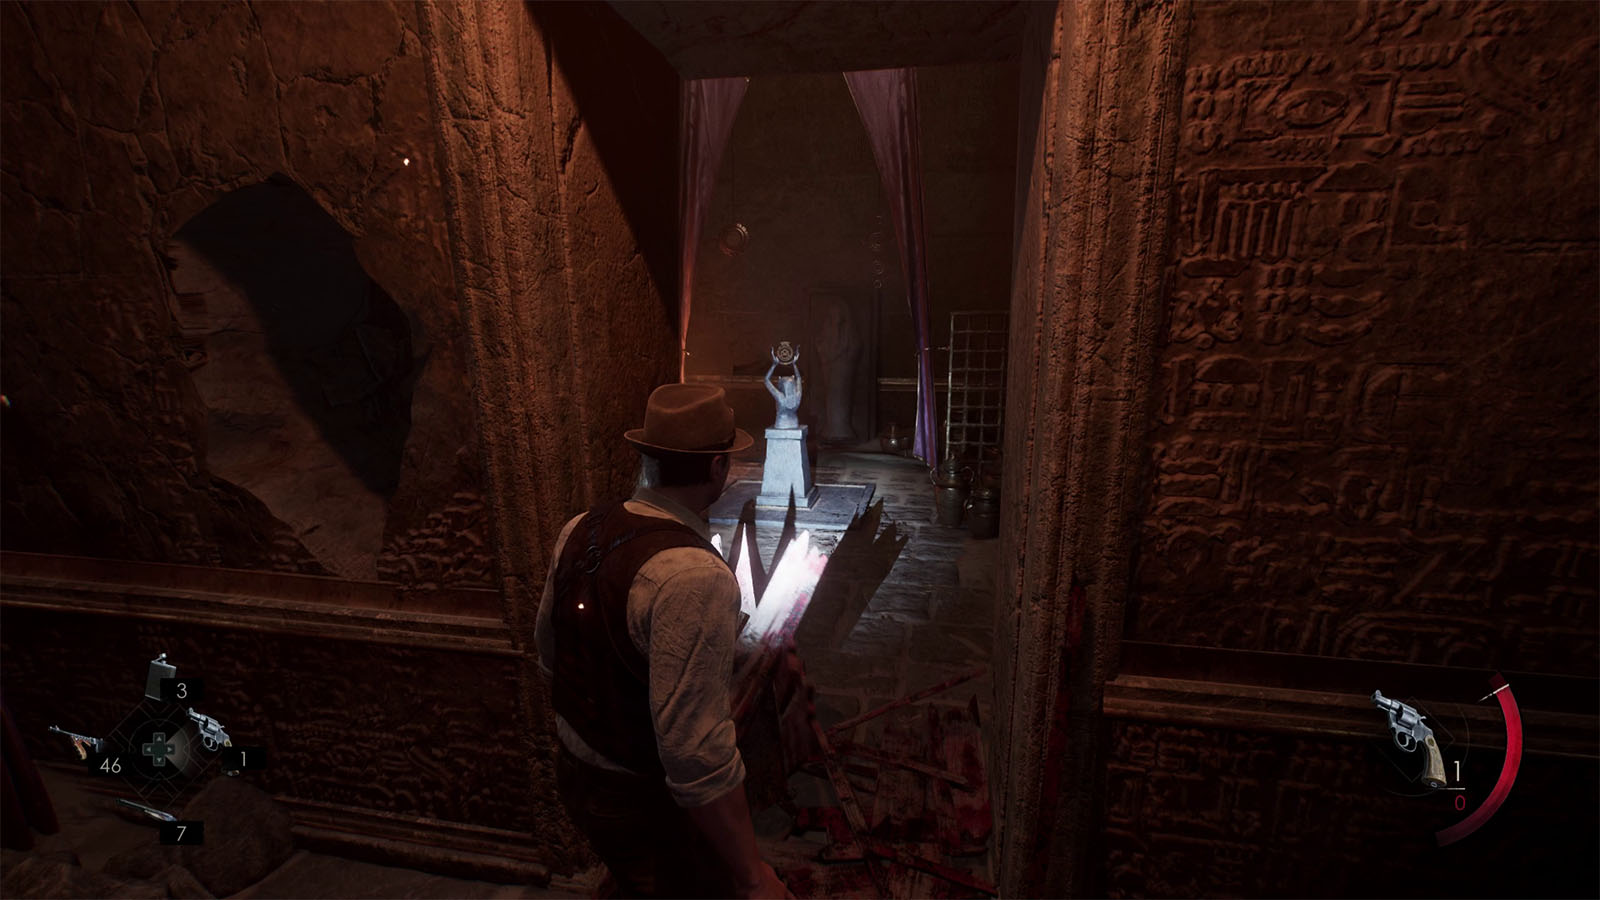
Make your way to the opened door and go down the stairs. Bash the broken door to your right where you will find another lens holder.
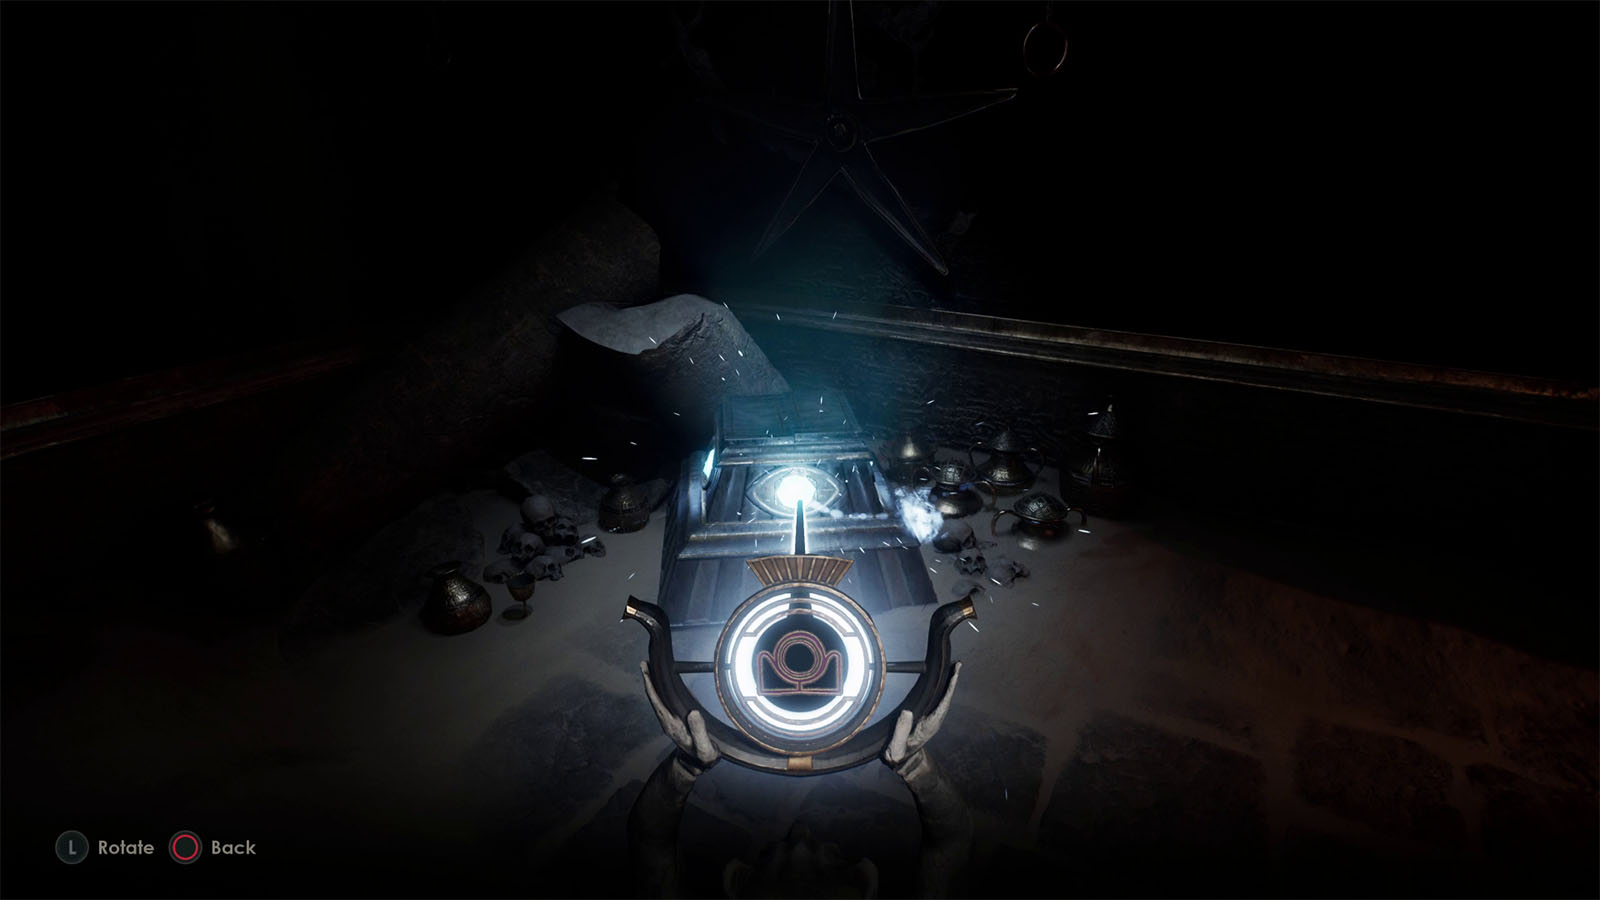

Pull the lever to activate the beam and aim the beam towards the crystal on the chest to open the chest. Check the chest to find The Star lens. Check the next room to find an Adze.
Break the door on the opposite side to get a shortcut back to the main chamber.
Make your way back up the forked path and go up the stairs instead where you will find the lens holder opposite of the statue. Place The Star lens on it and aim the beam to the door beside the statue. Once done, aim the beam once again on the middle crystal of the statue.
Go to the opened door near the statue and prepare to engage with enemies. Down the next path, break the door to the right to get into another small room.
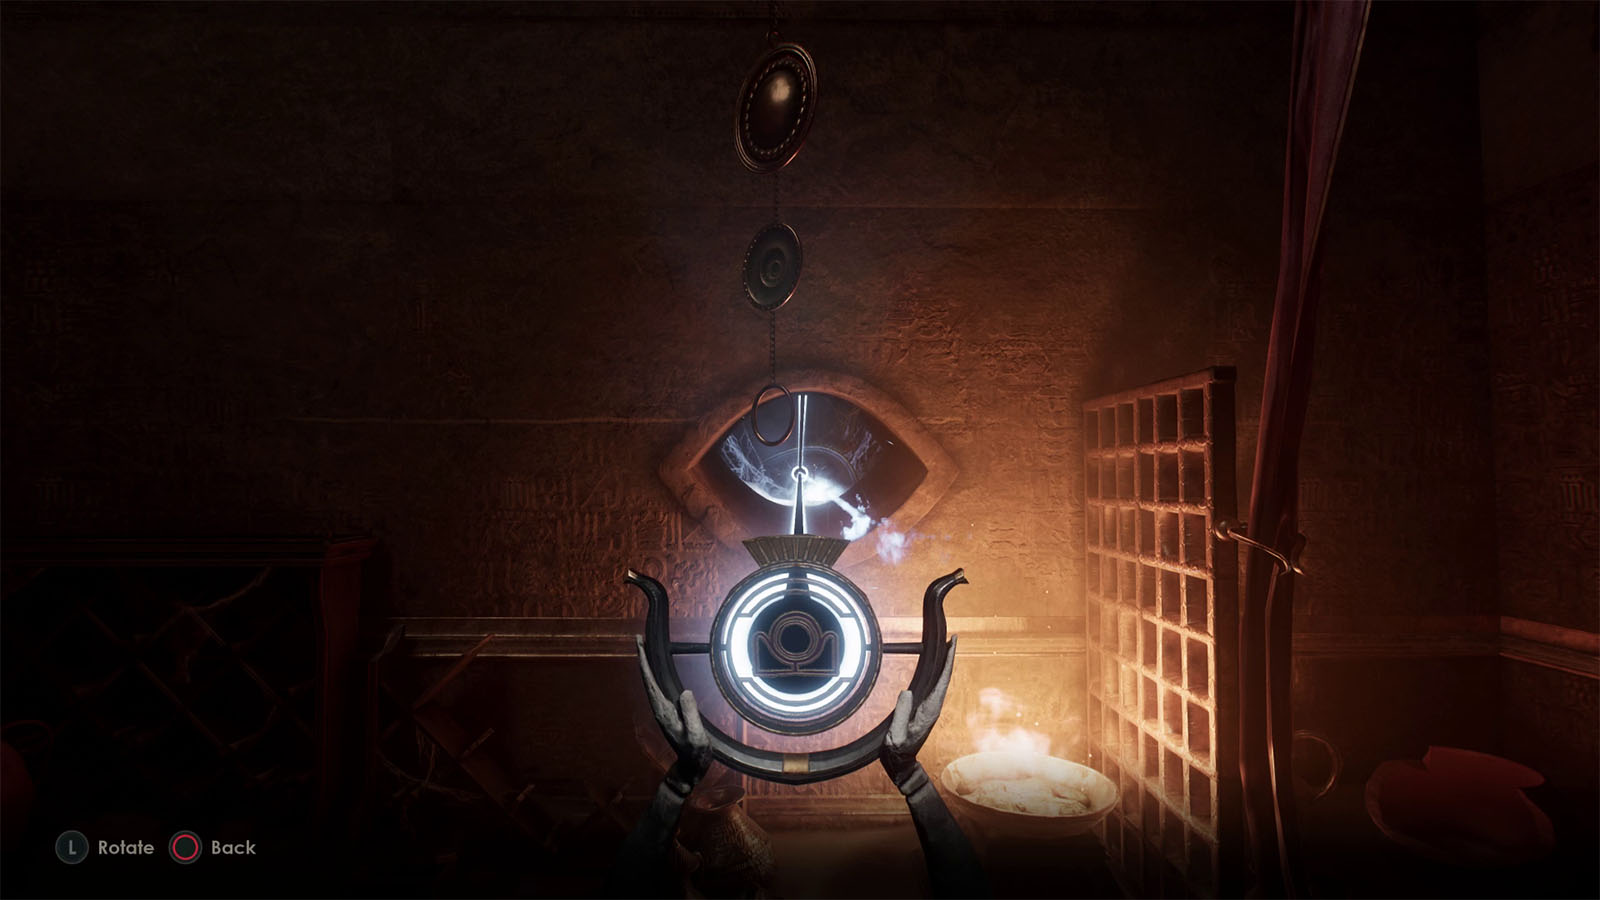
Pull the lever to activate the beam, then aim the beam through the hole in the wall.
Go back to the main path and head into the other room. Aim the beam towards the chest, then check the chest to find The Underworld lens.
Make your way back upstairs, but take a right turn up the next set of stairs instead and bash the door open to unlock a shortcut to the balcony.
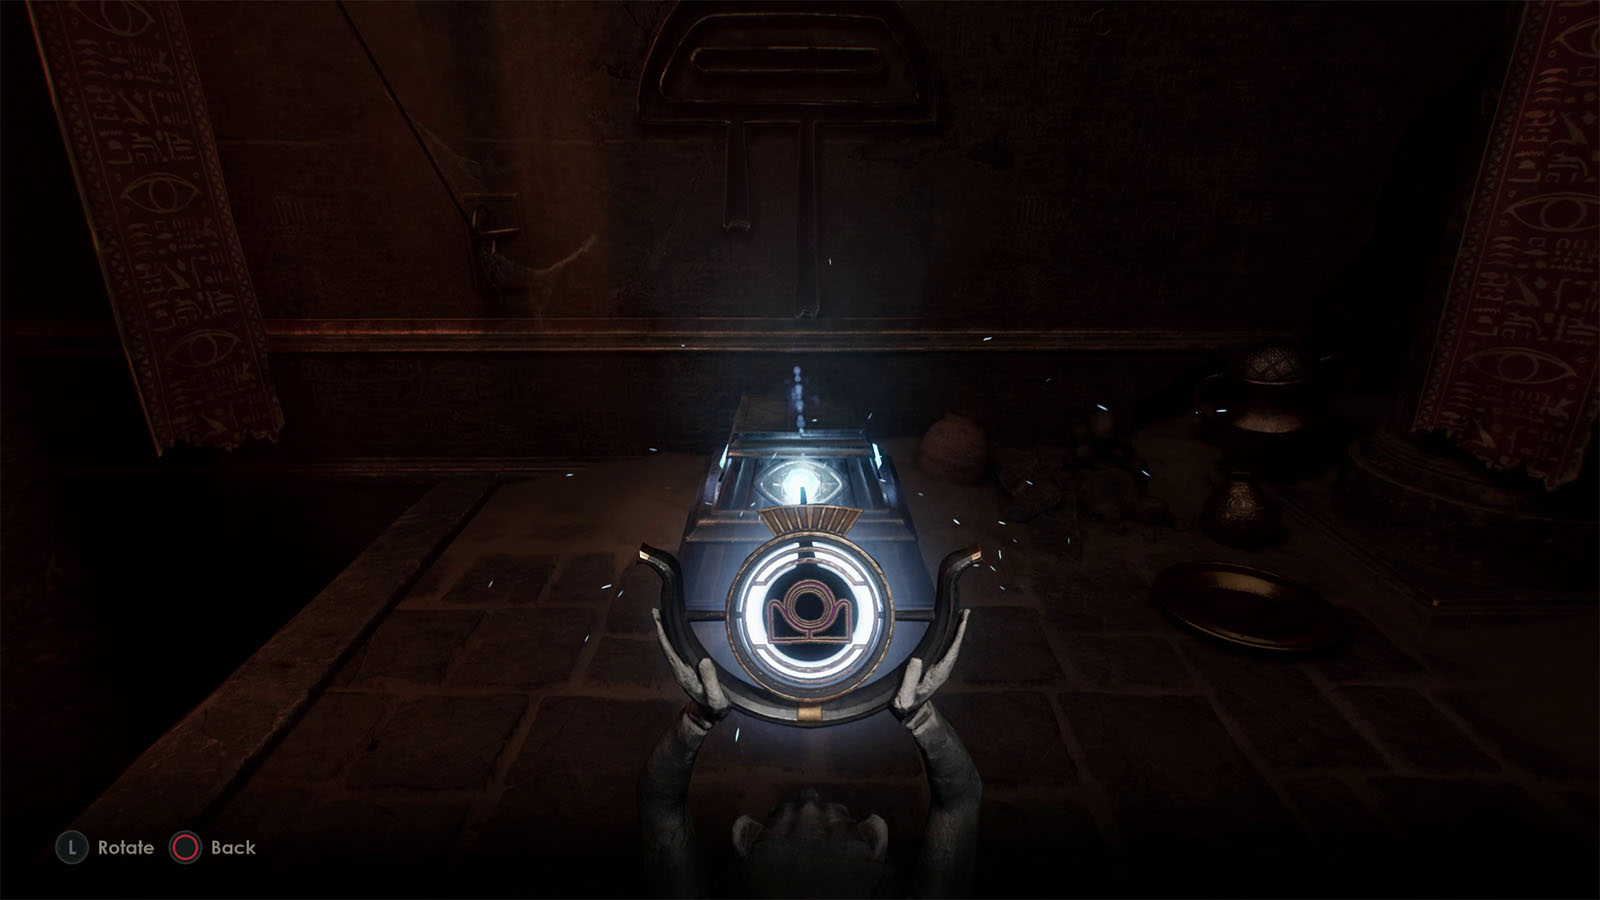
Go to the lens holder on the other side and place The Underworld on it. Aim the beam towards the third crystal on the statue’s head to activate another beam from the lens on top.
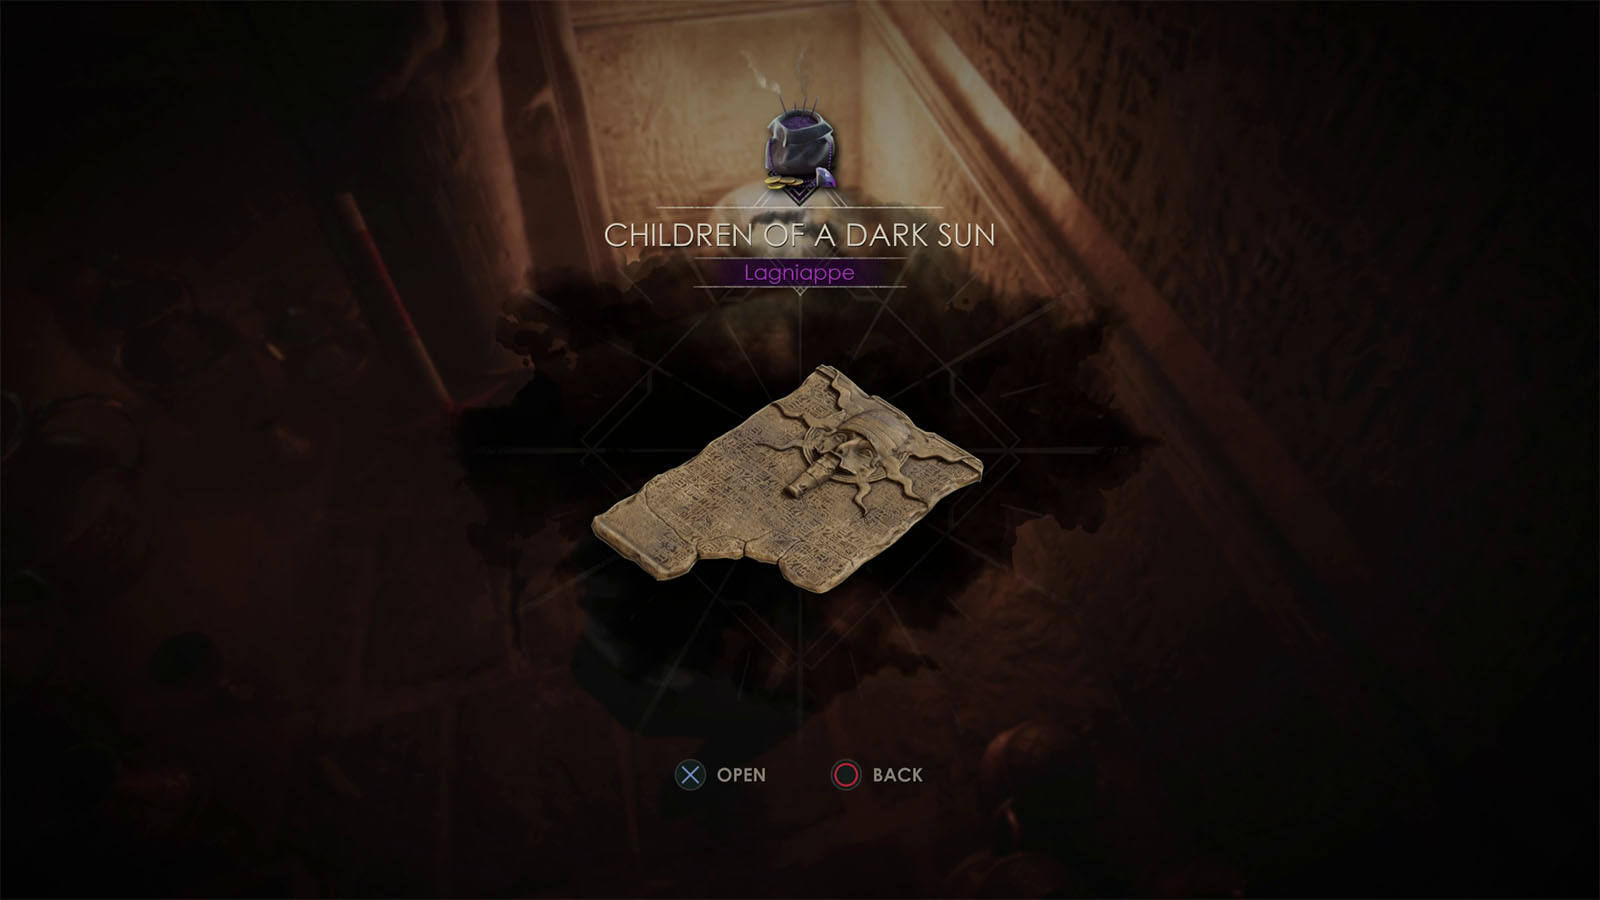
Make your way to the top of the statue, but first, check the small room nearby to find the Lagniappe – Children of the Dark Sun.
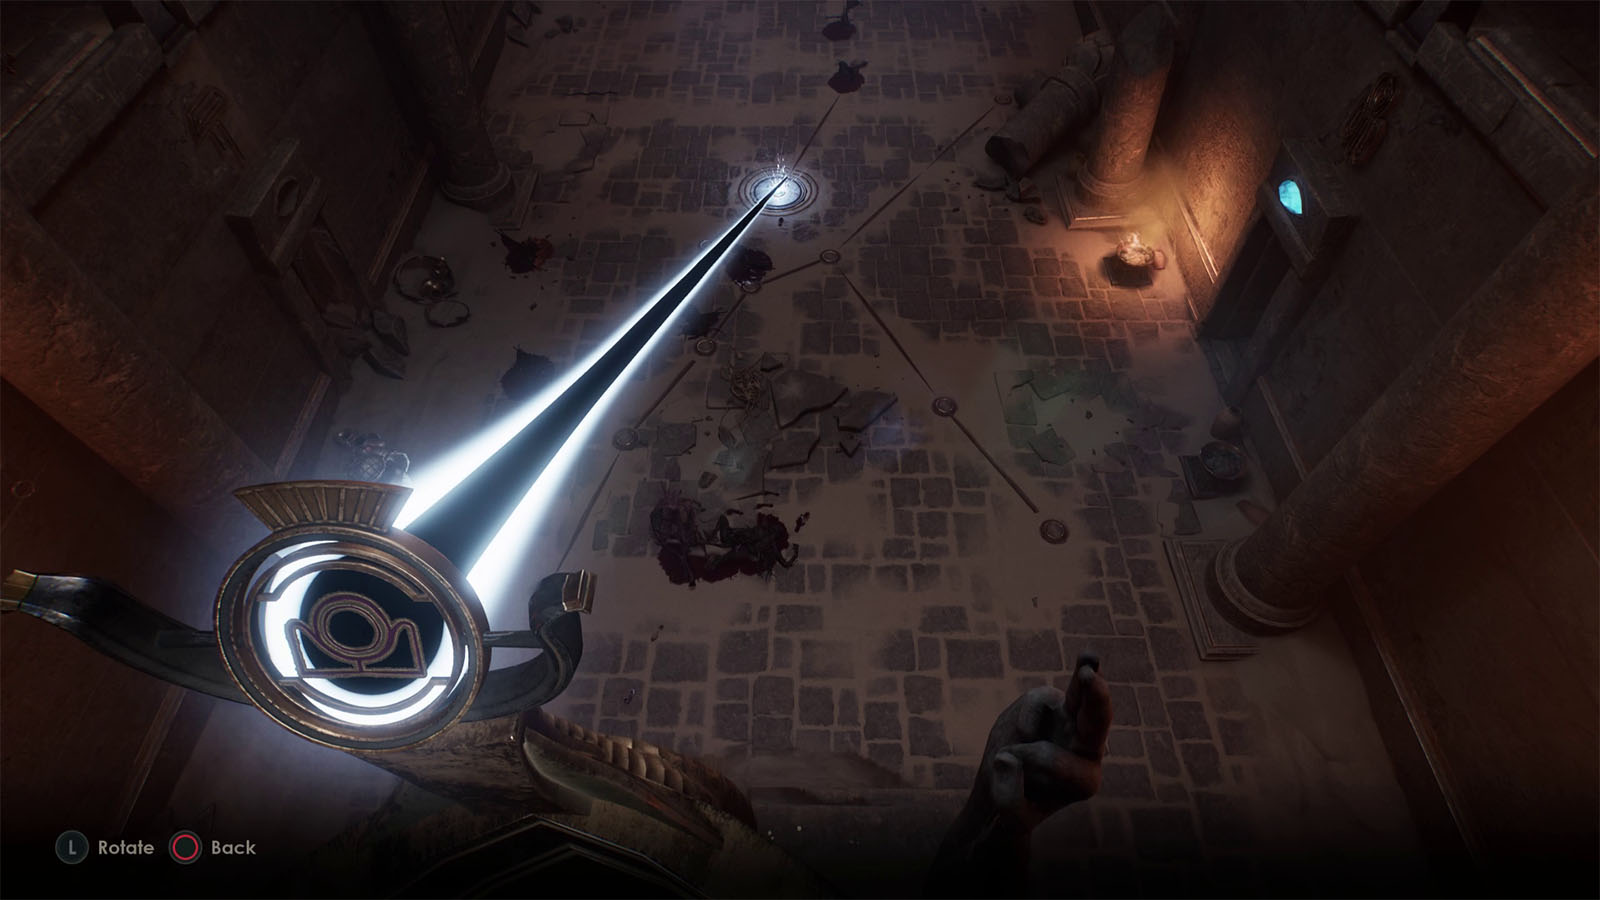
Move the lens on the crown and aim the beam towards the glowing crystal on the floor. The whole chamber will start to shake and paths will close down on you.
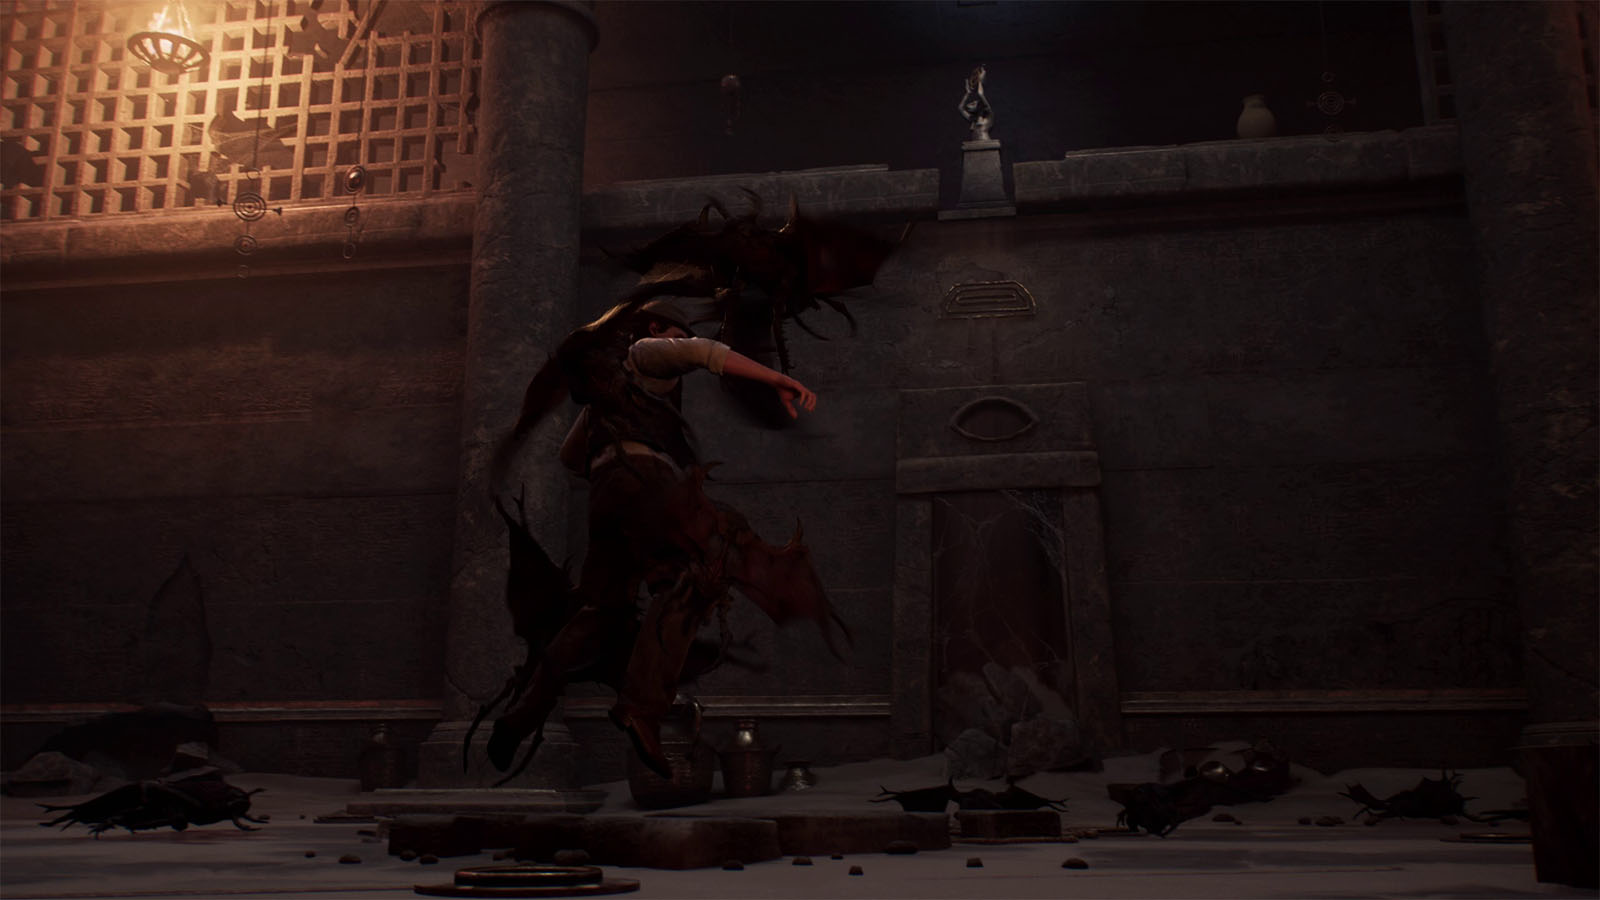
Make your way through the path while dodging some enemies until you reach the main chamber. Inspect the box on the floor to trigger another cutscene where you find the Sacrificial Dagger and The Dark Man’s Contract, but you’ll be carried away by the bat enemies. The chapter ends as you get carried off into the sky.
See next: Chapter 4 as Edward or Chapter 4 as Emily
 – Review")
: How to Unlock All Endings & Secret Ending")
: How to Get the Hidden Attic Memory")