 Chapter 4 Walkthrough")
Alone in the Dark Chapter 4 follows the story of Emily and Edward as they follow the lead to find Jeremy and convince him to return back to the real world. As Edward finds out more about the things that Jeremy got into, he himself is starting to second guess if he is also falling into madness. Read ahead as we go through Chapter 4 of Alone in the Dark and share some tips, puzzle solutions and collectible locations.
See previous: Chapter 3
Objectives:
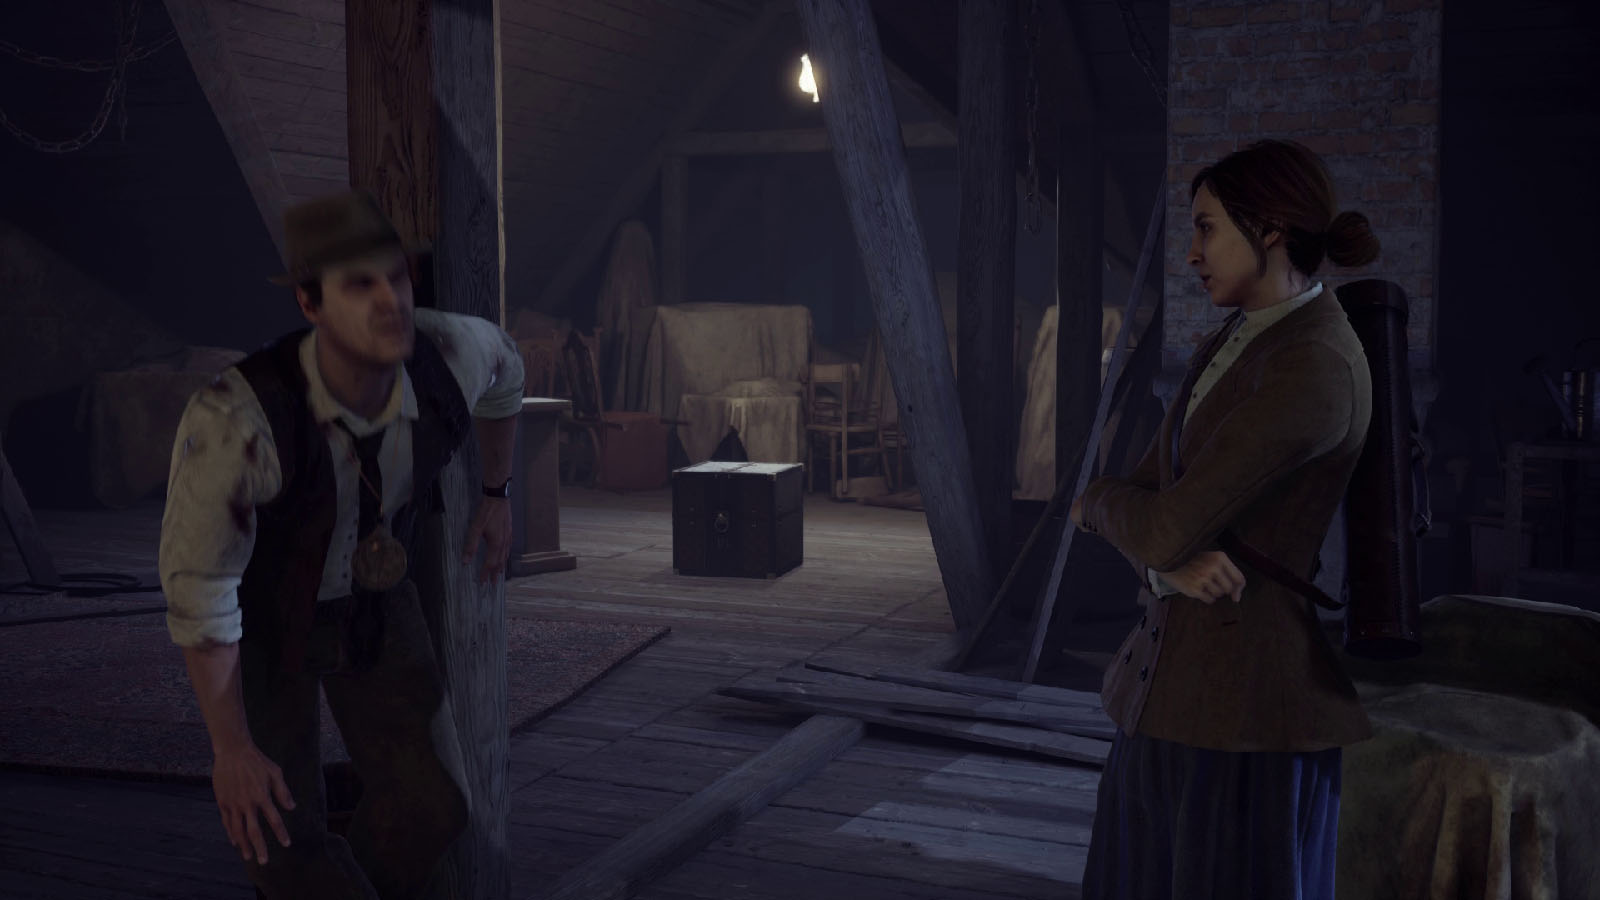
As the chapter starts, you find yourself on the floor of Derceto’s attic and Emily comes over to find you. After your talk, you continue your search for answers.
It is from this point that the events will split off and differ depending on which character you are playing. This guide will be going through Edward’s playthrough as he goes through the events related to his trauma.
(If you’re playing as Emily, go to our Chapter 4 Walkthrough as Emily instead.)
Take a look at the Dark Man’s Contract
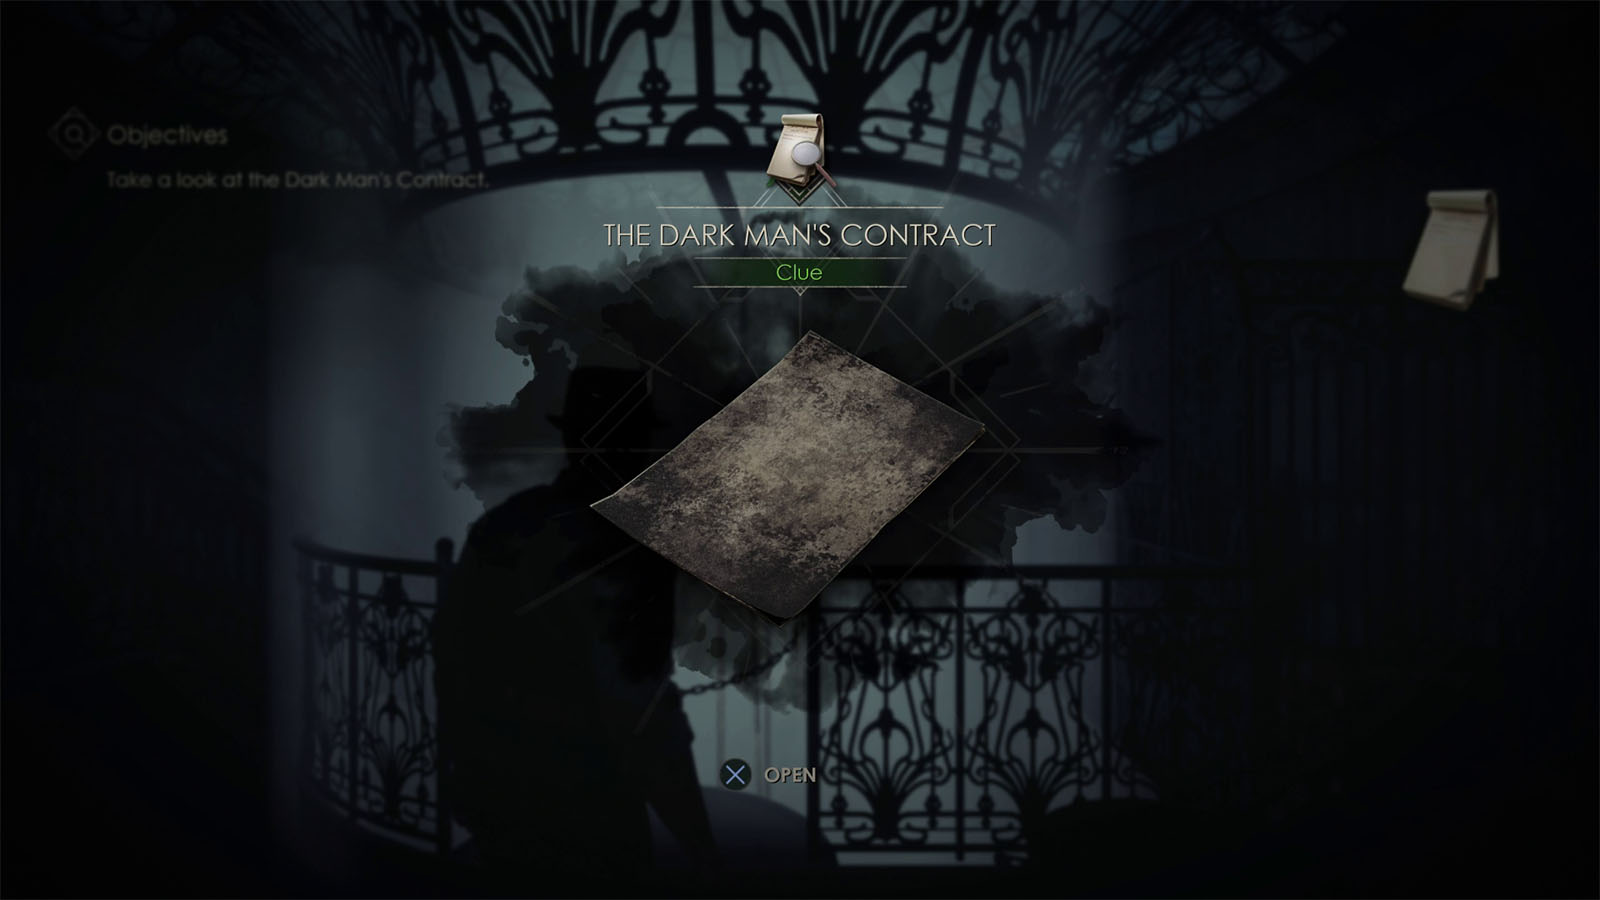

You will immediately receive the Clue – The Dark Man’s Contract coming off from the previous cutscene. Look the clue and pay attention to the glyphs and number on it; 9-1-3 is the code for the safe at the clerk’s office. Afterwards, you will unlock the Where I Belong Achievement.
Break into Dr. Gray’s office and find out what he knows
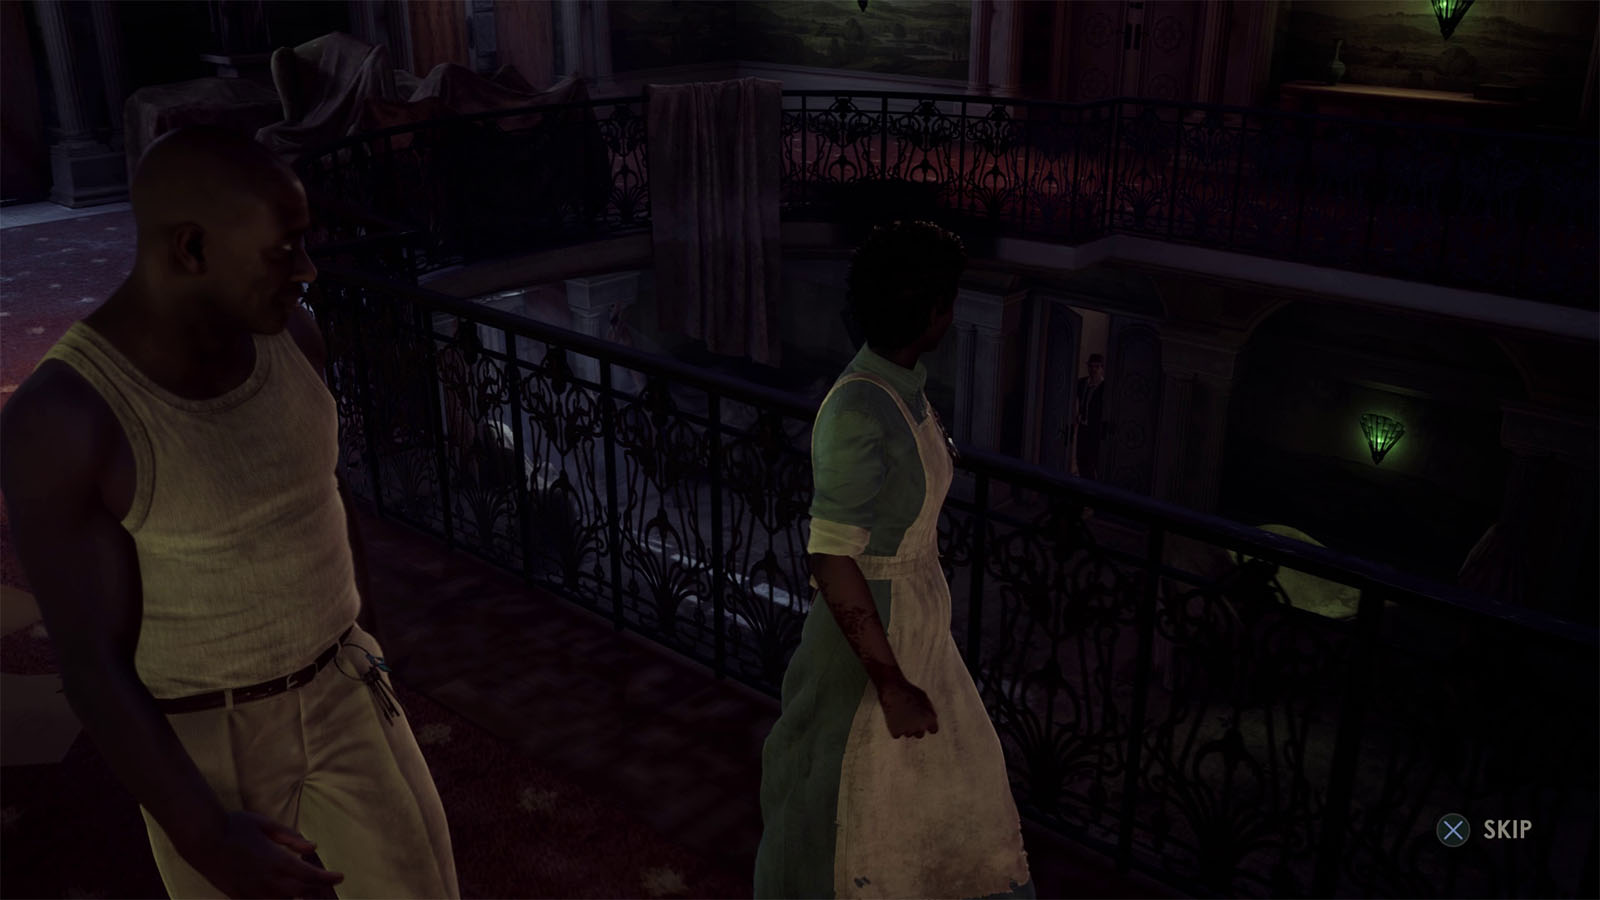
Make your way down the stairs and take the door at the first floor. You will see the two orderlies pass by and talk to each other. After the cutscene, go through the door that leads to the dining room which is almost covered with rot by now.
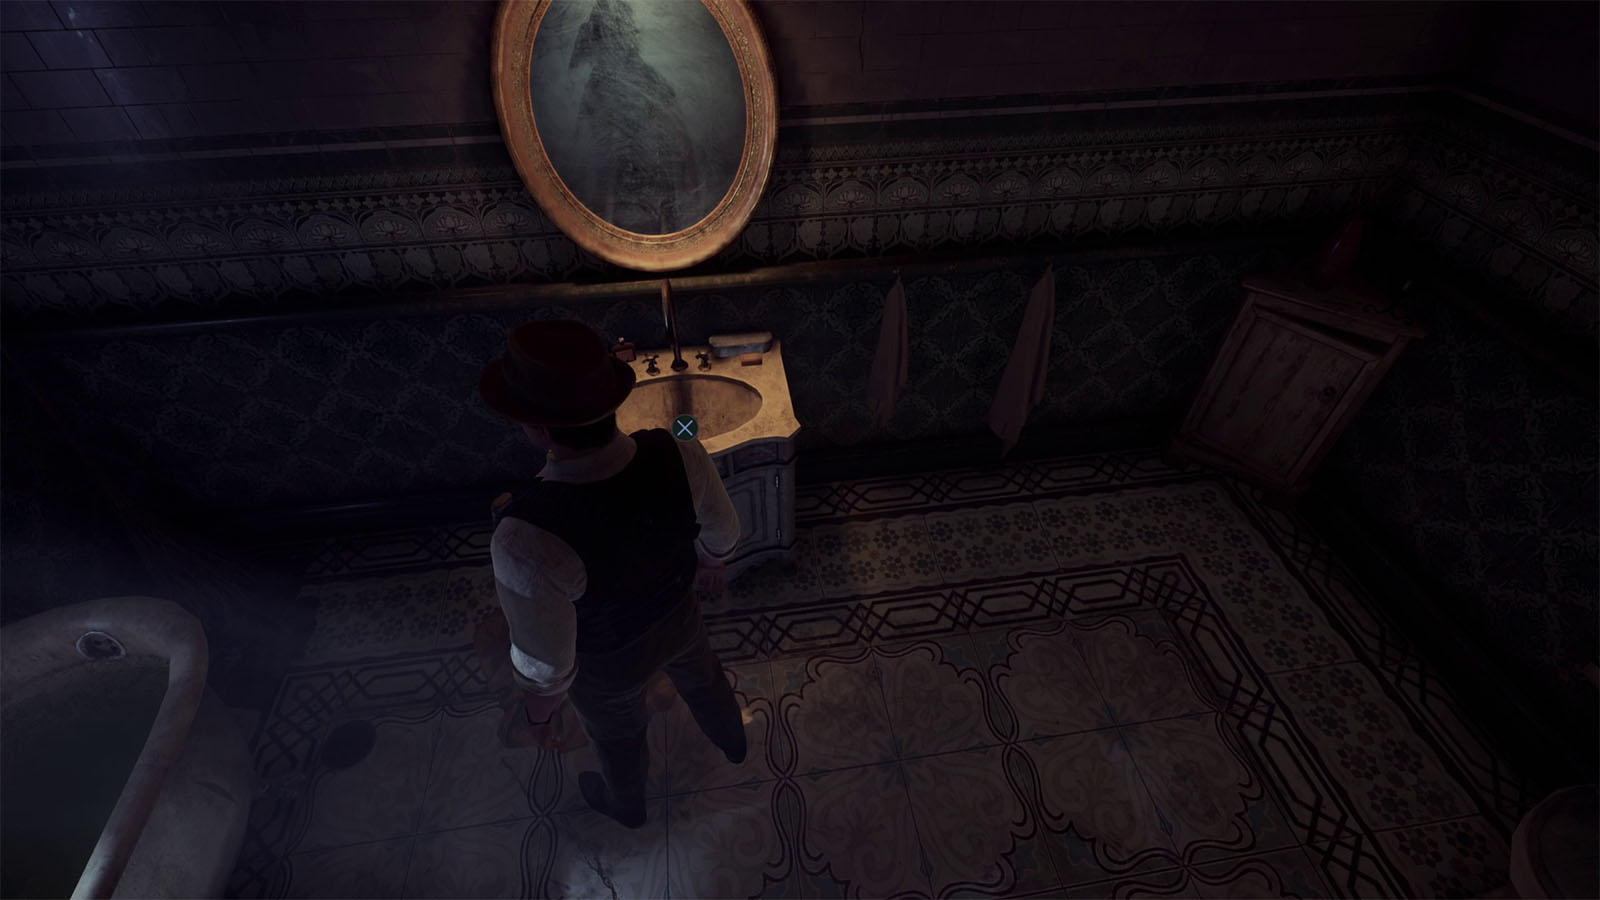
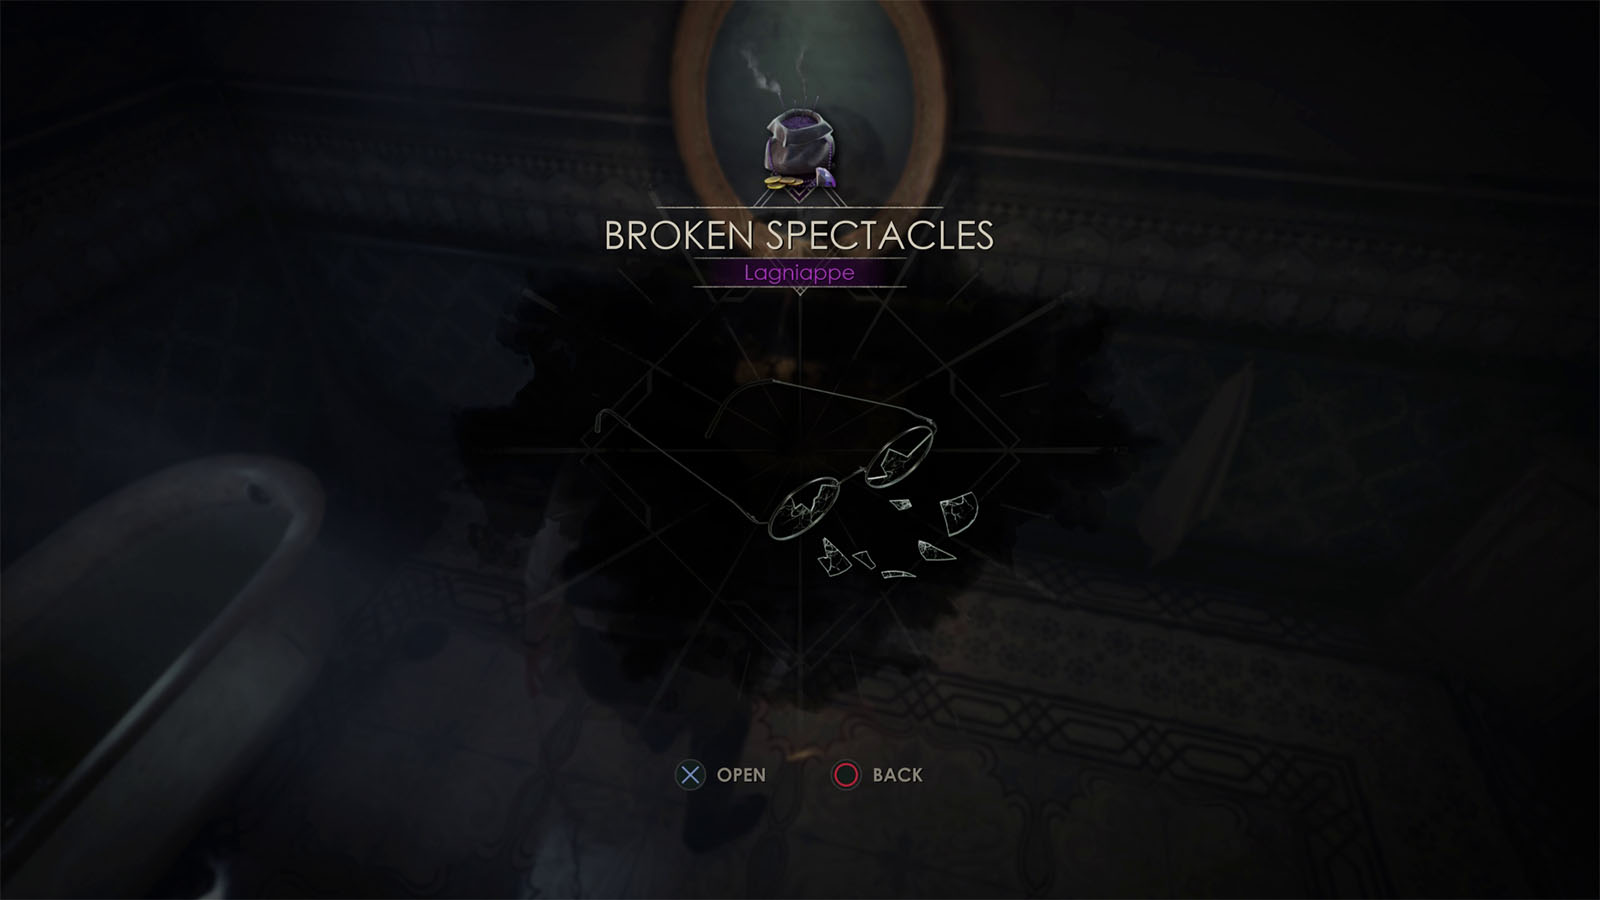
Go through the other door into the servant’s stairs and check by the restroom again as you will find the Lagniappe – Broken Spectacles on it.
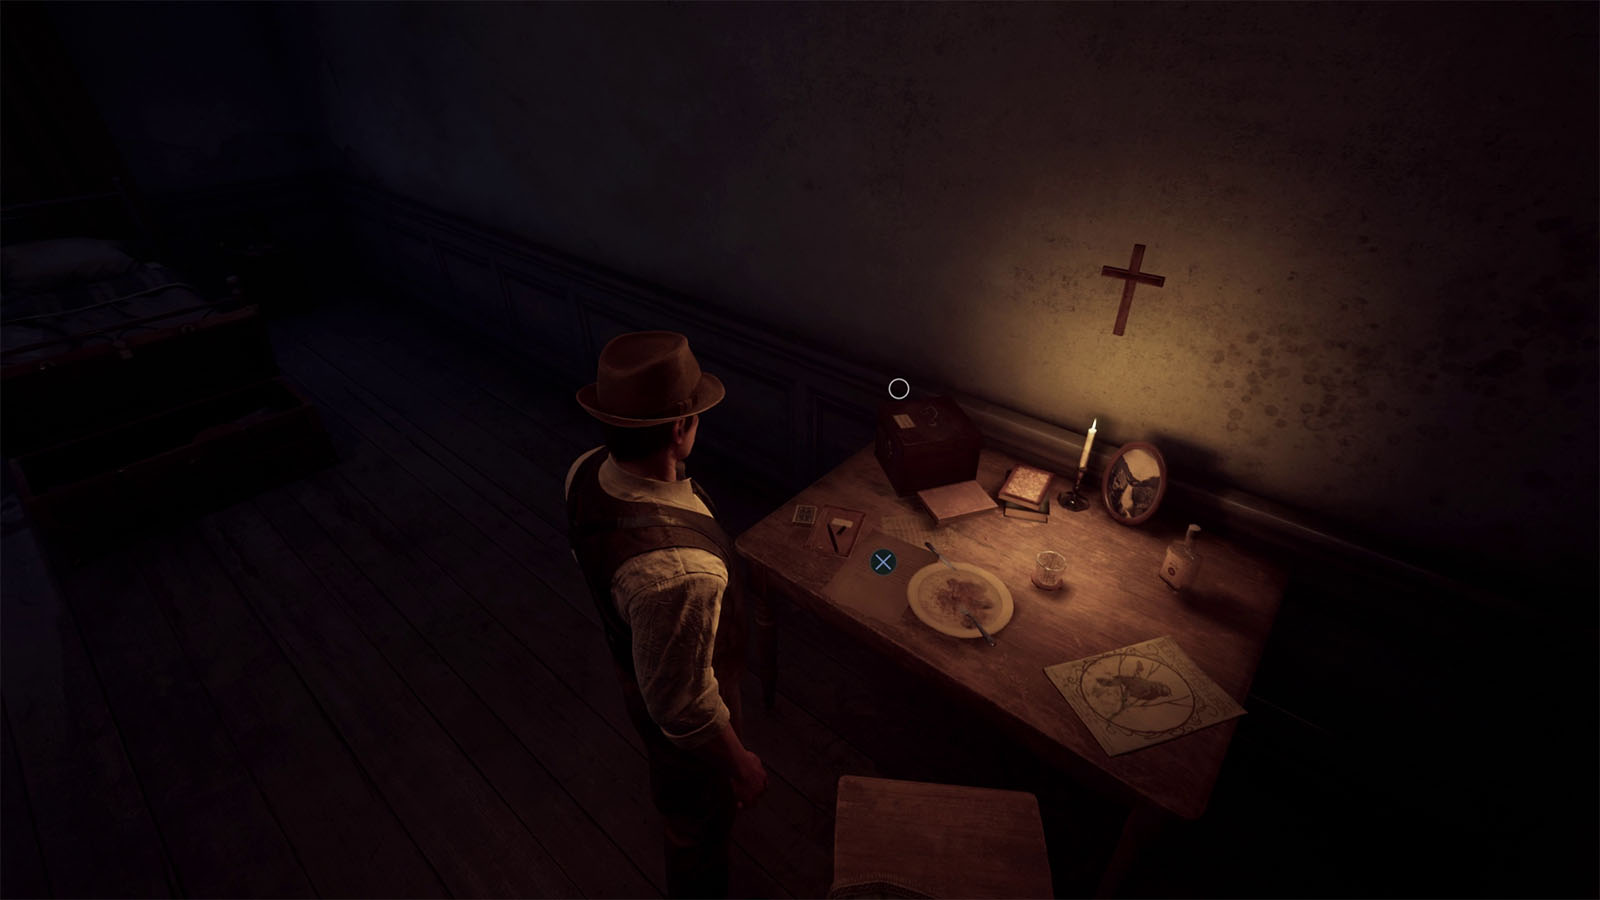
Check inside Lottie’s room again where you will find the Clue – Preparations for St. John’s on the desk.
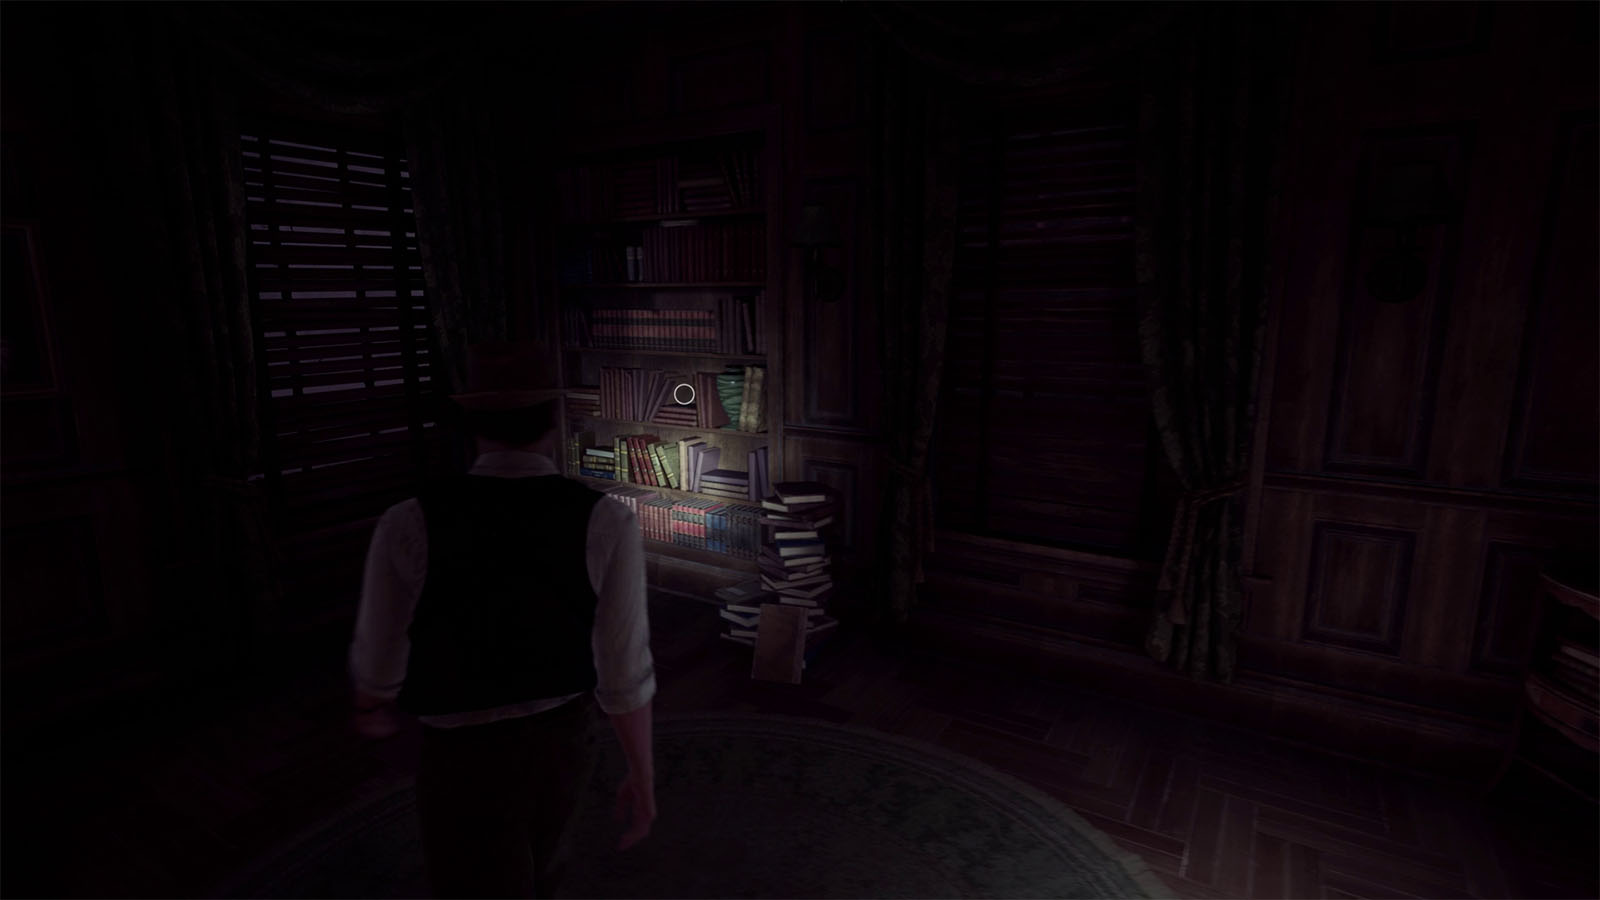
Next, go inside the library to find the Clue – Lunacy & The Astarte Artists’ Colony on the bookshelf.
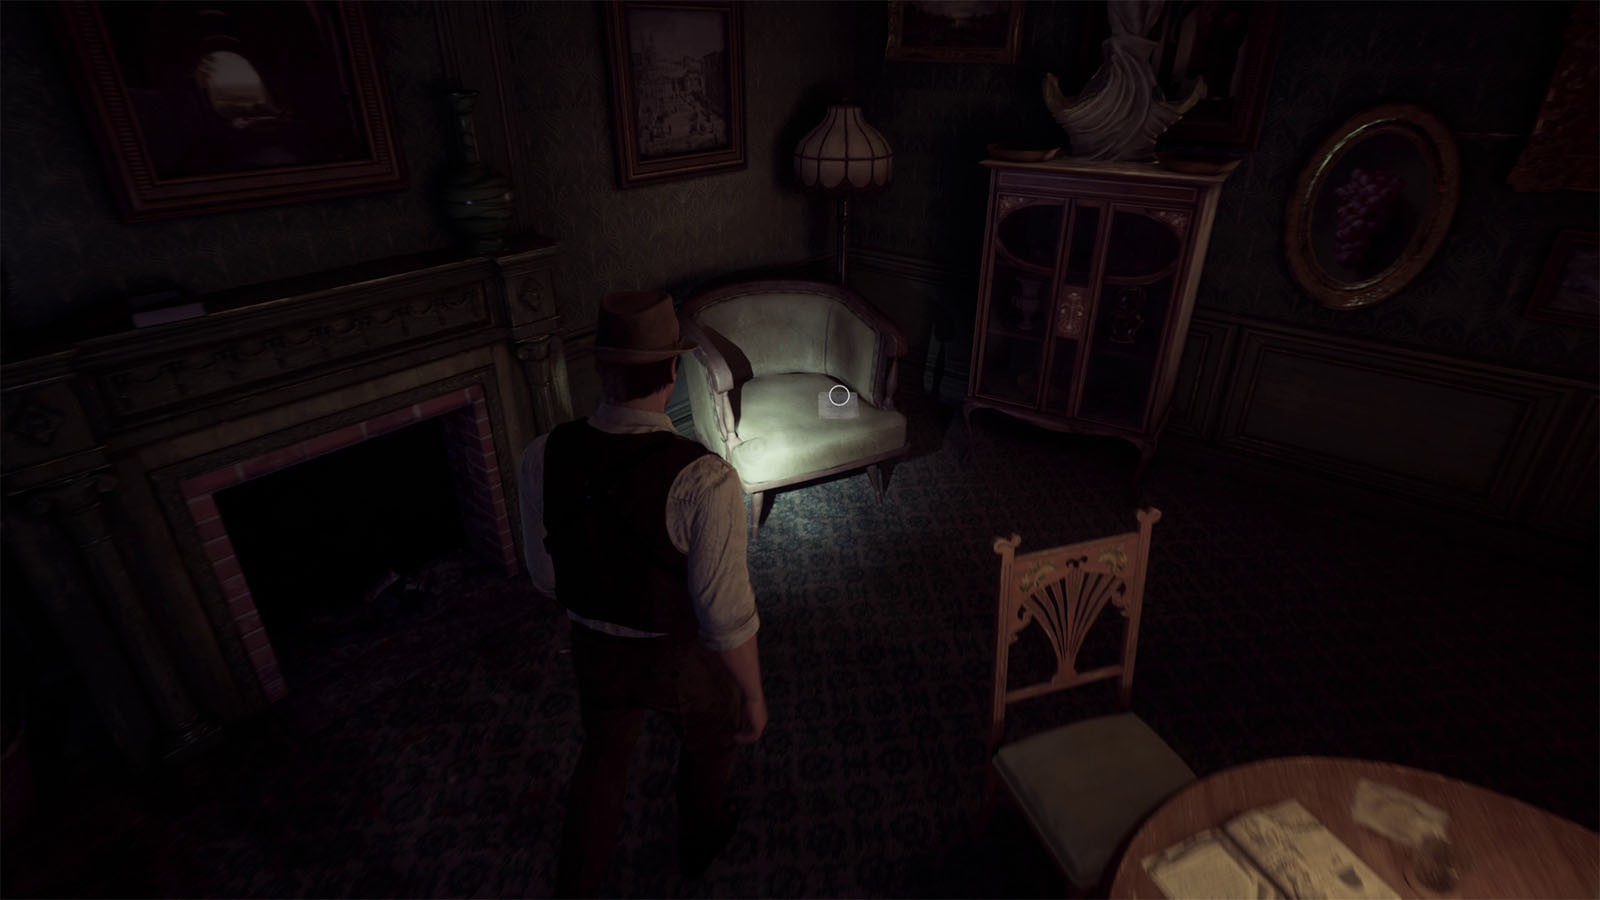
Continue into the small parlor and check at the chair at the corner of the room to find the Lagniappe – Opera Playbill.
Go to the conservatory and go to the door leading to the laundry room to find the Clue – Keep Our Secrets.
Go out to the kitchen garden and climb the ladder to get back up to the piazza, then continue into the stair hall.
Open up the safe inside the Clerk’s Office
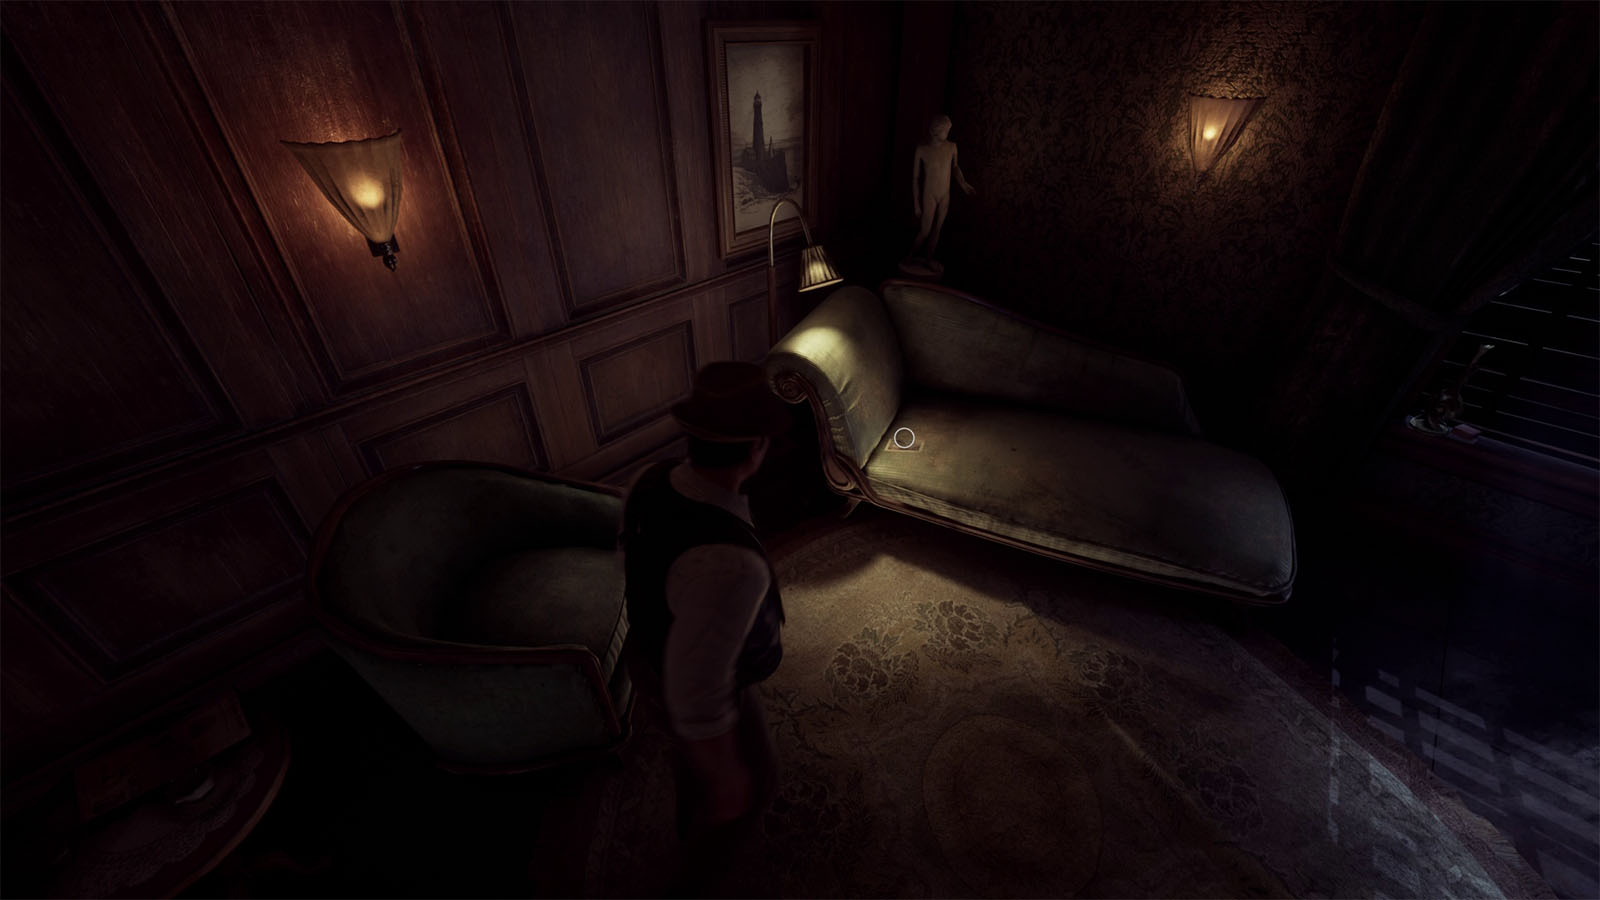
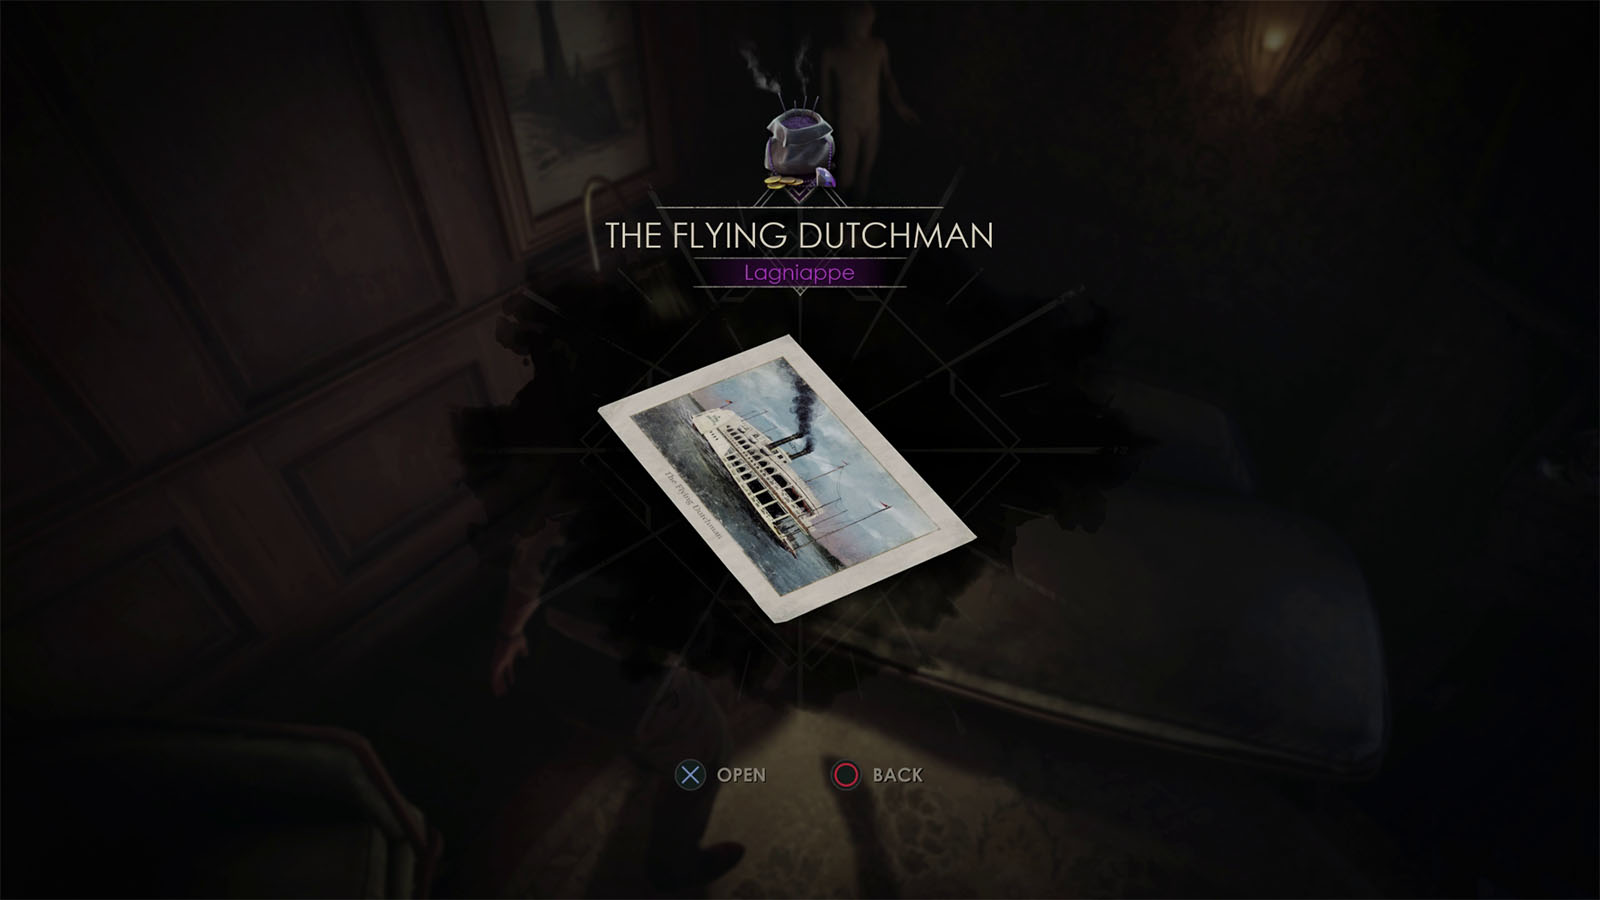
Make your way into Dr. Gray’s office through the reception room, then go into the treatment room where you will find the Lagniappe – The Flying Dutchman by the patient’s couch.
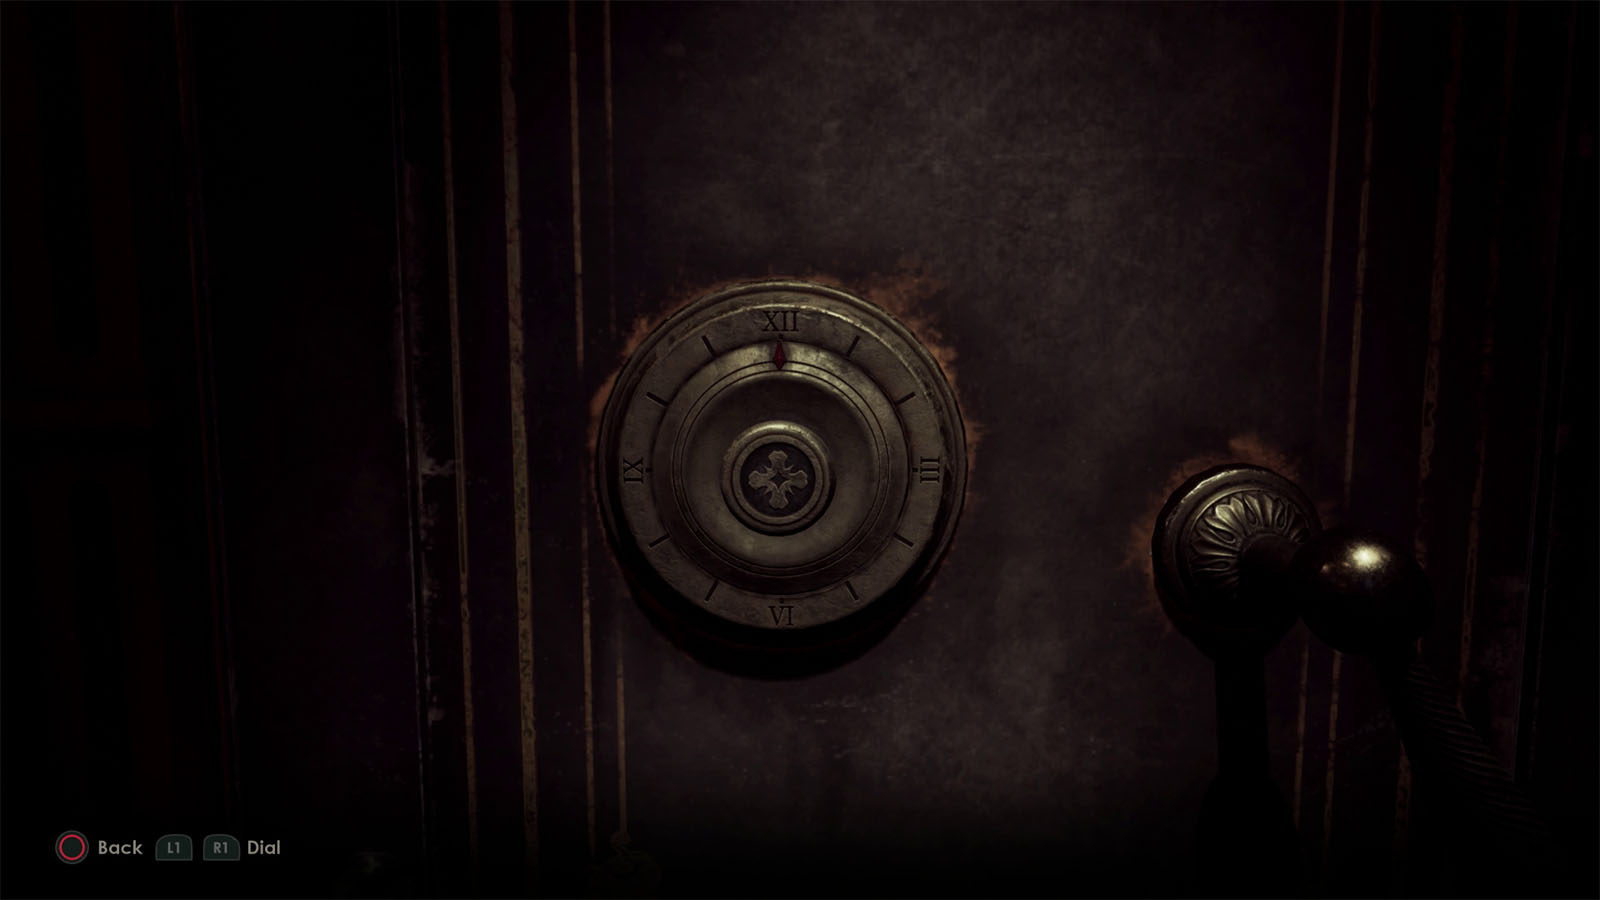
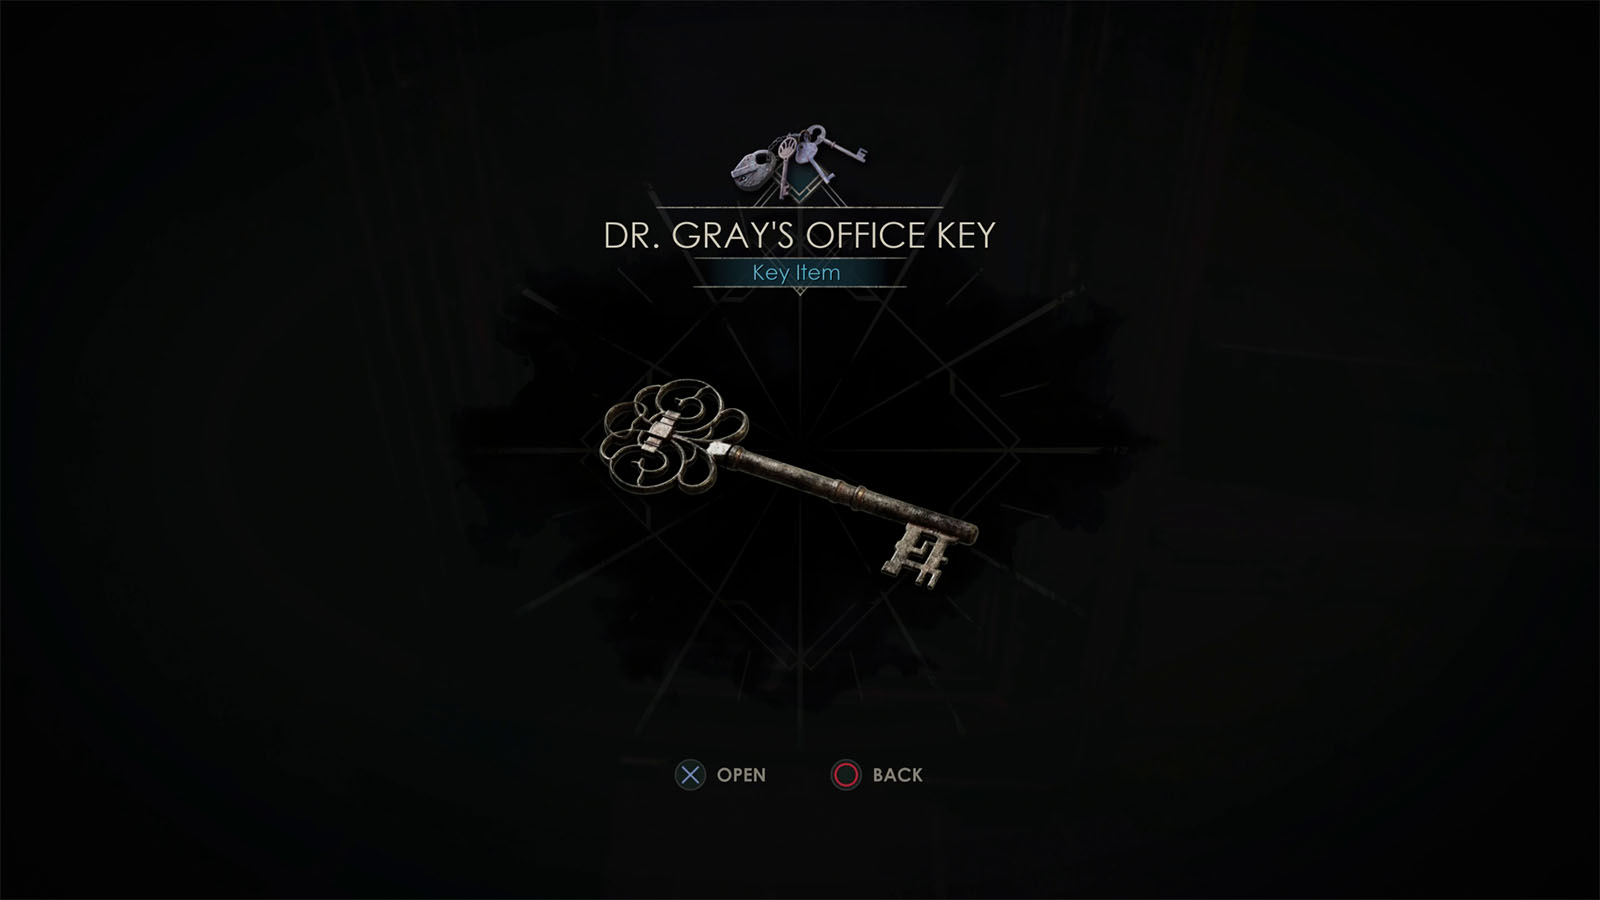
Go inside the clerk’s office and check the safe. To open this safe, turn the dial counterclockwise to 9 (IX), then turn the dial clockwise to 1 (I), and lastly turn the dial counterclockwise all the way around to 3 (III). Once opened, you will get Dr. Gray’s Office Key. You will also get the Clue – The Empty Room.
With the key on hand, go inside Dr. Gray’s office. Inspect the typewrite on the desk to find the Clue – Jeremy’s Treatment. Check the drawer nearby to get the Stairwell Key.

Finally, check the cabinet on the wall to find the Clue – MacCarfey’s Pirate Treasure, the Clue – Cassandra’s Things, and the France key.
As you try to get out of the office, the surroundings will change once again for a brief moment.
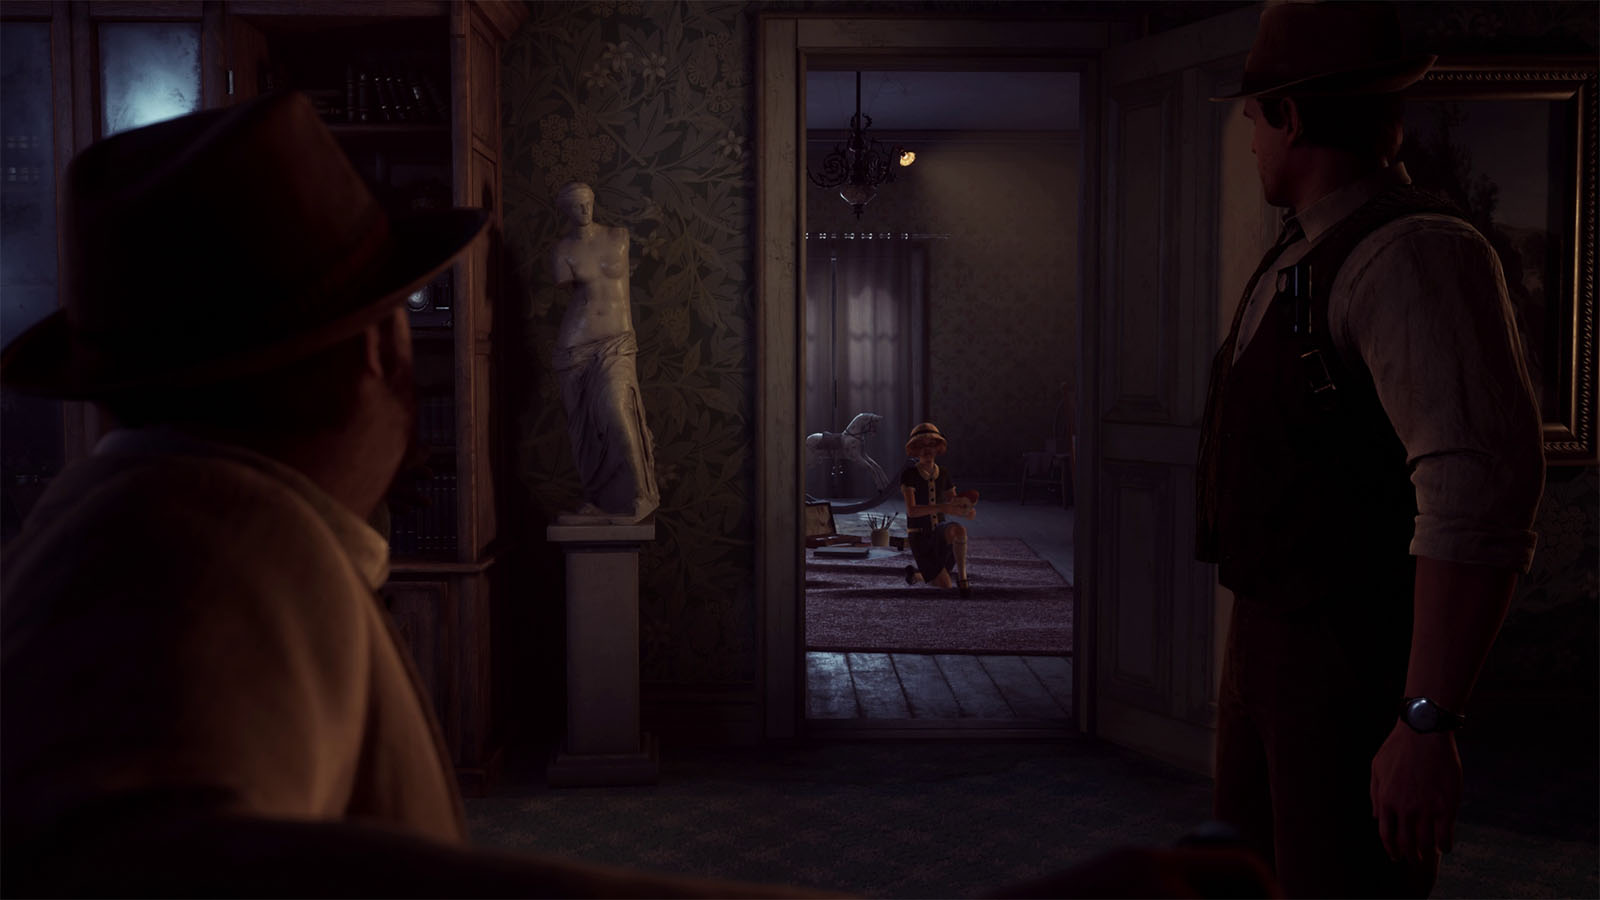
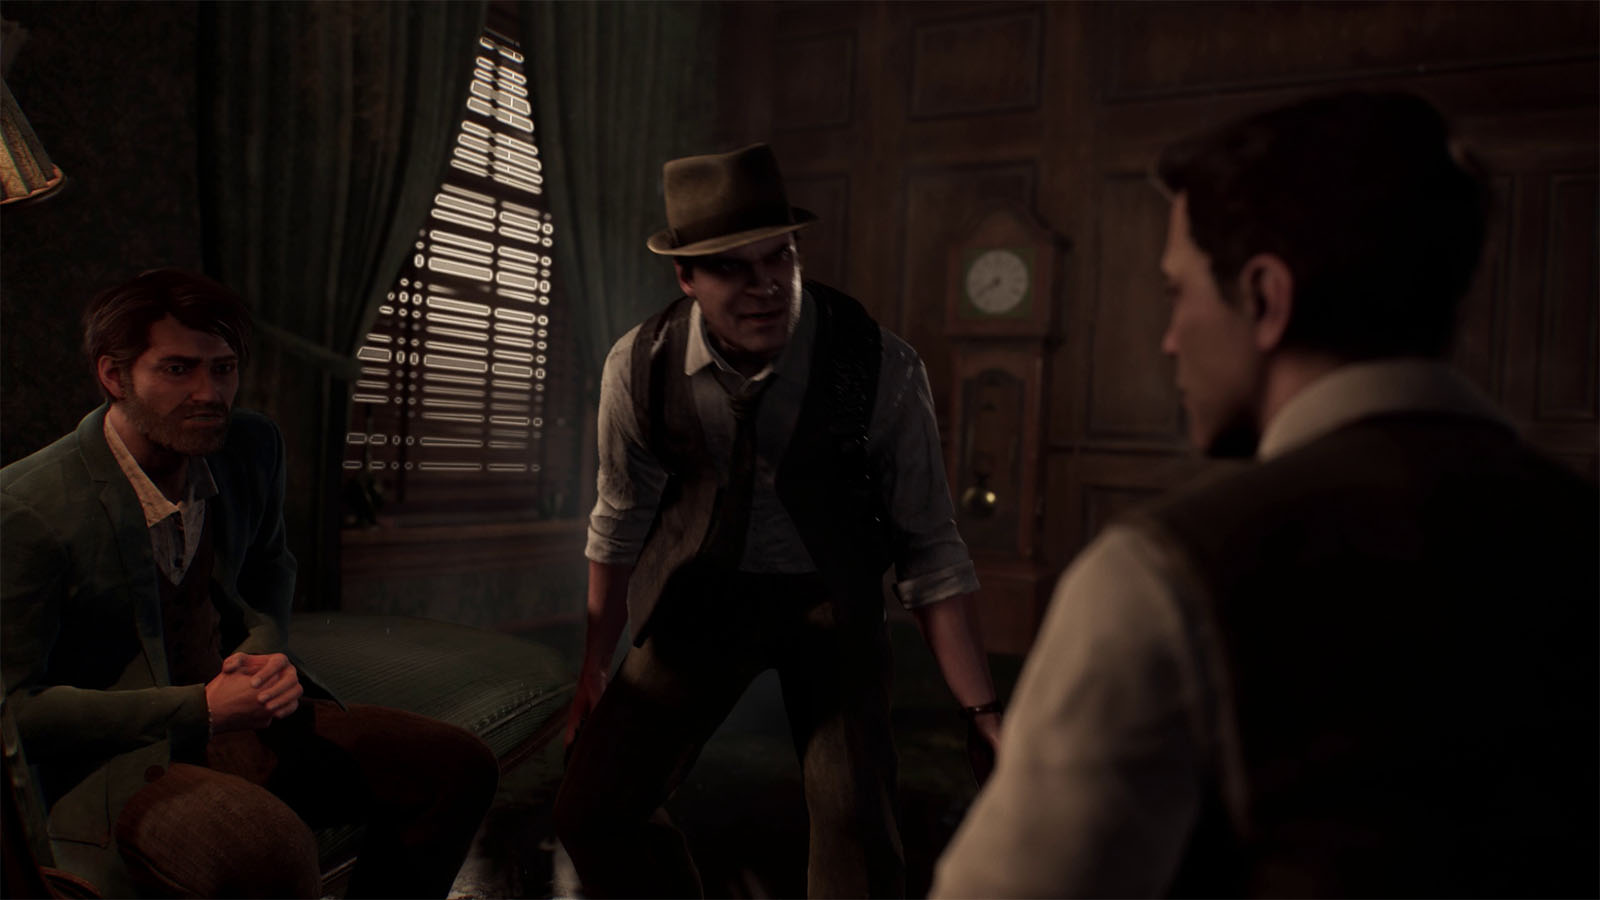
Go up to the sitting room to see a cutscene with MacCarfey and Grace talking about the feats of St John’s. After they leave, you will find the 1st Floor Hall Key on the floor.
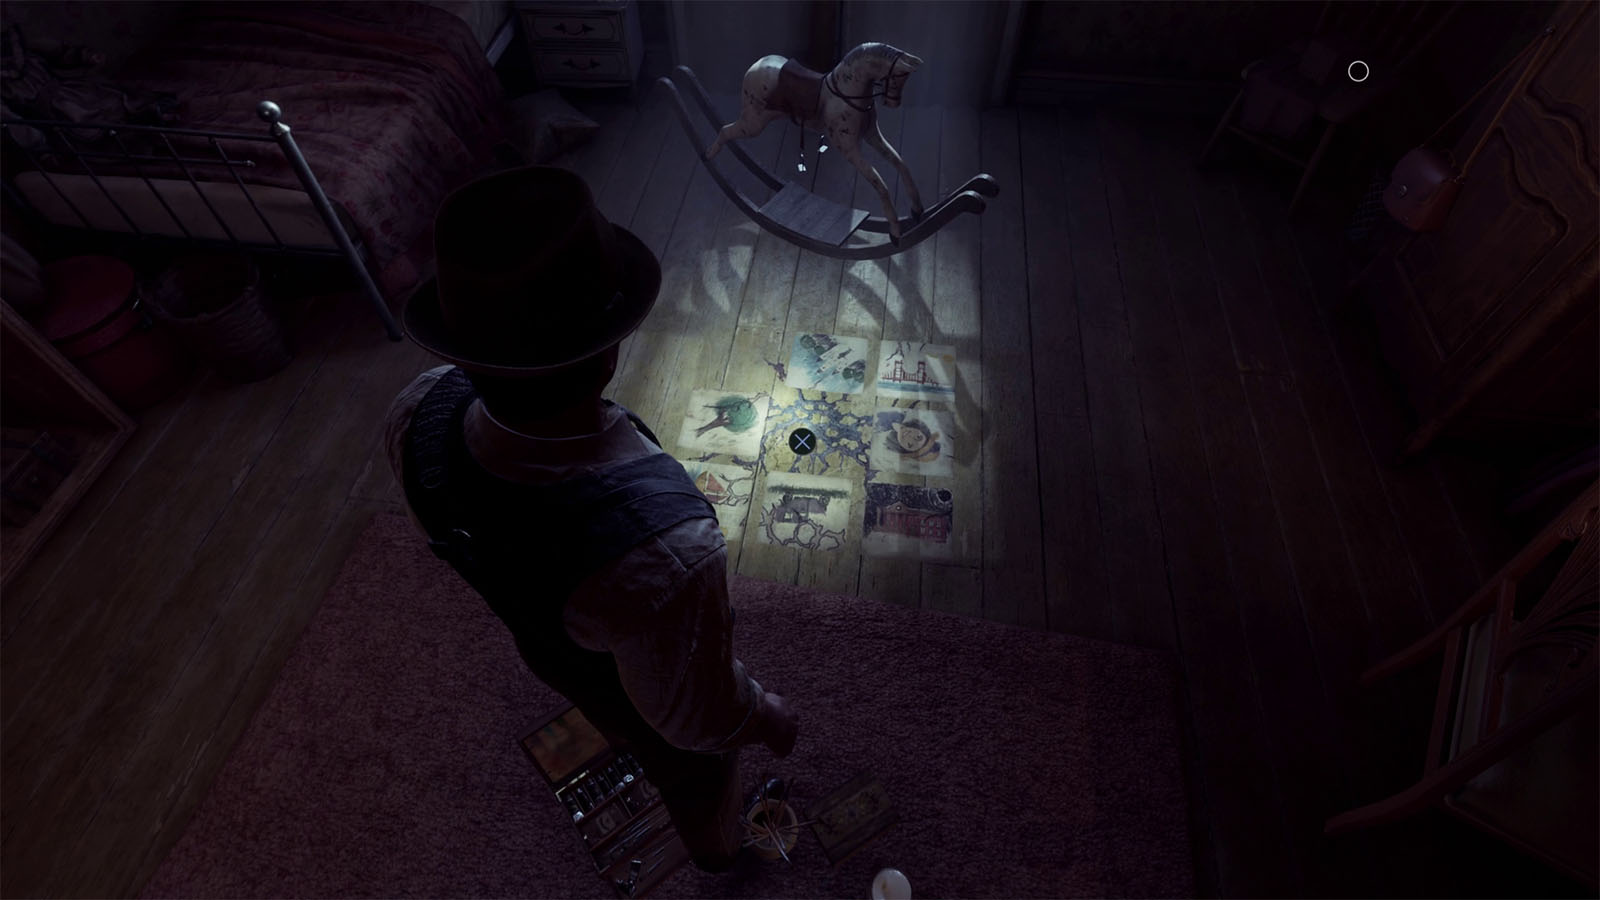
Check inside Grace’s room to find her drawings on the floor; it is missing a piece that you will be able to find later.
Next, go inside Cassandra’s room and inspect her typewriter to find the Clue – Cassandra’s Last Page. Inside the page is where you can find the code for the safe in the clerk’s office: 9-1-3.
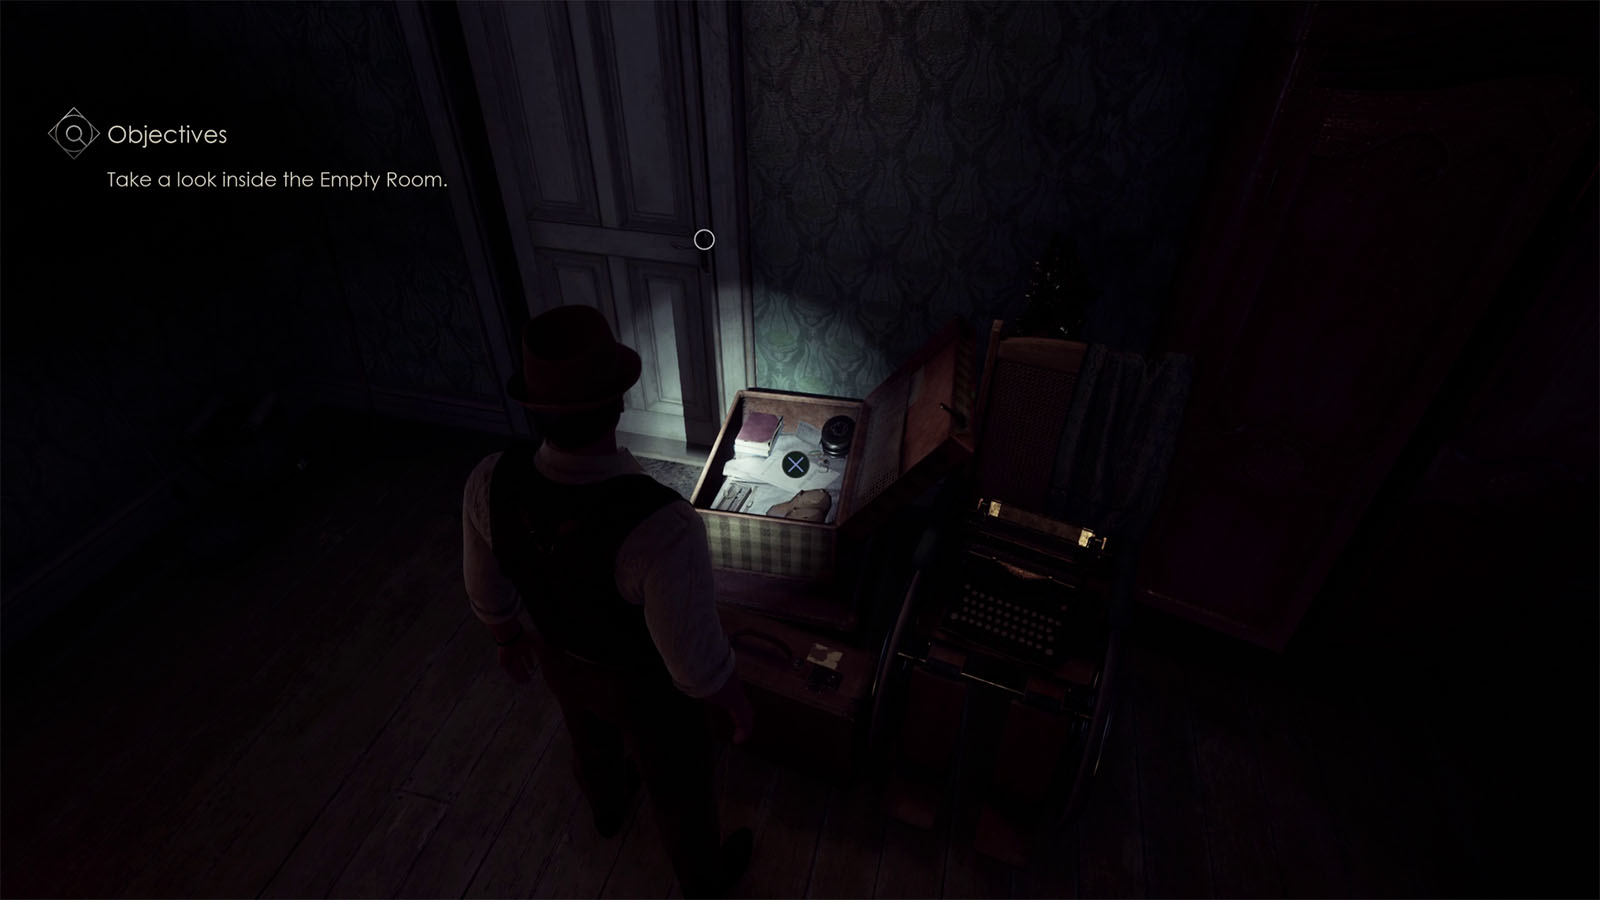
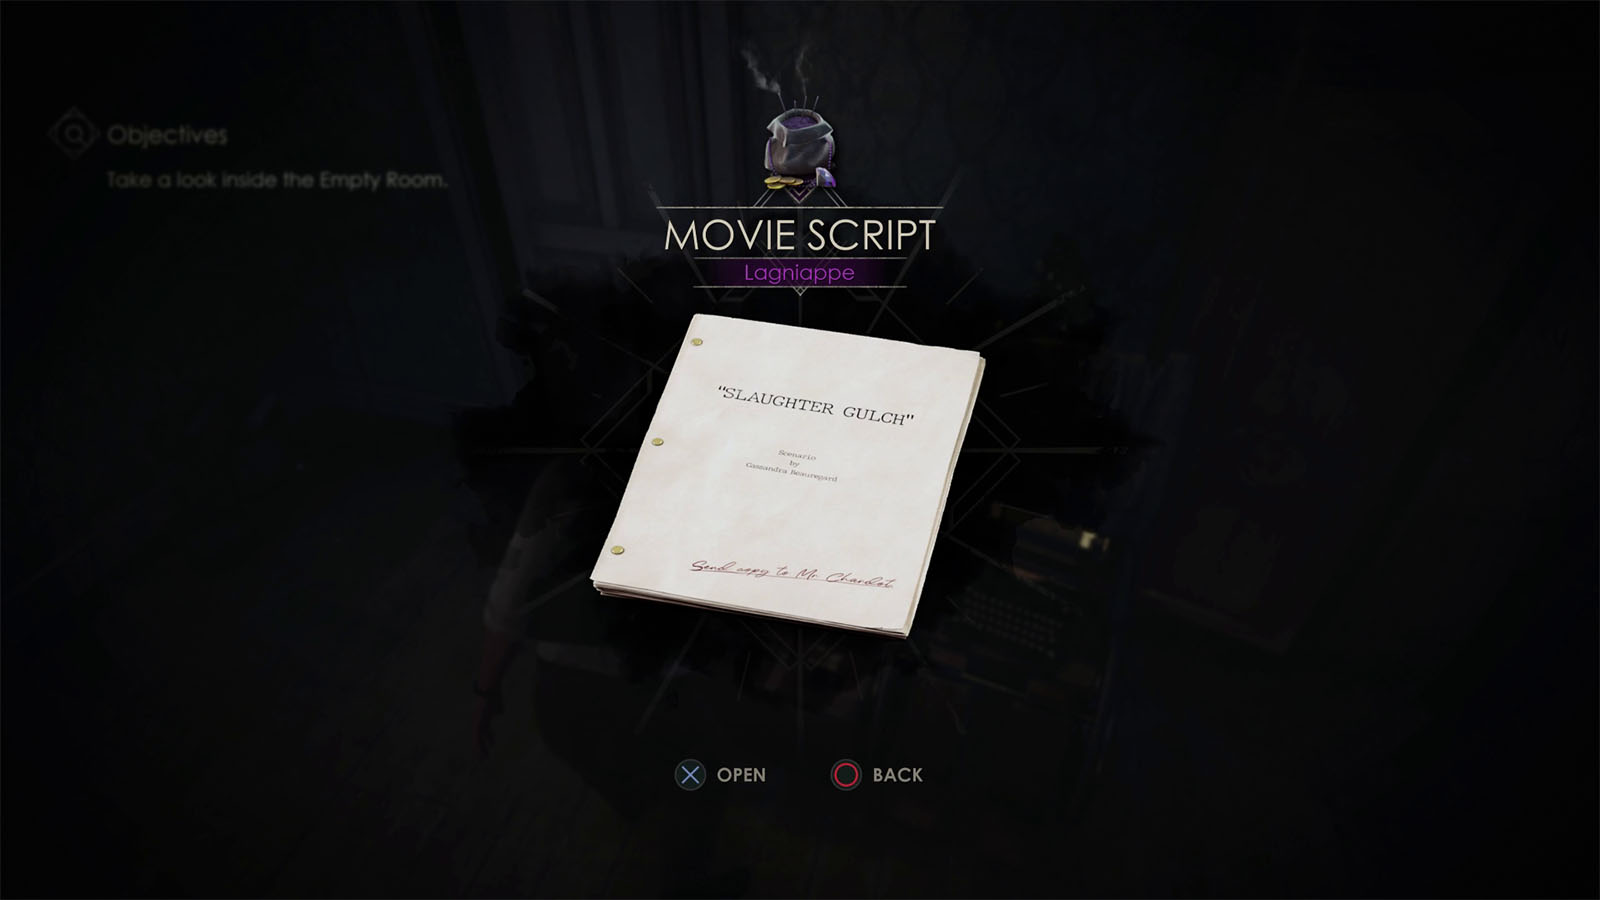
Make sure to inspect the case near the door to find the Lagniappe – Movie Script.


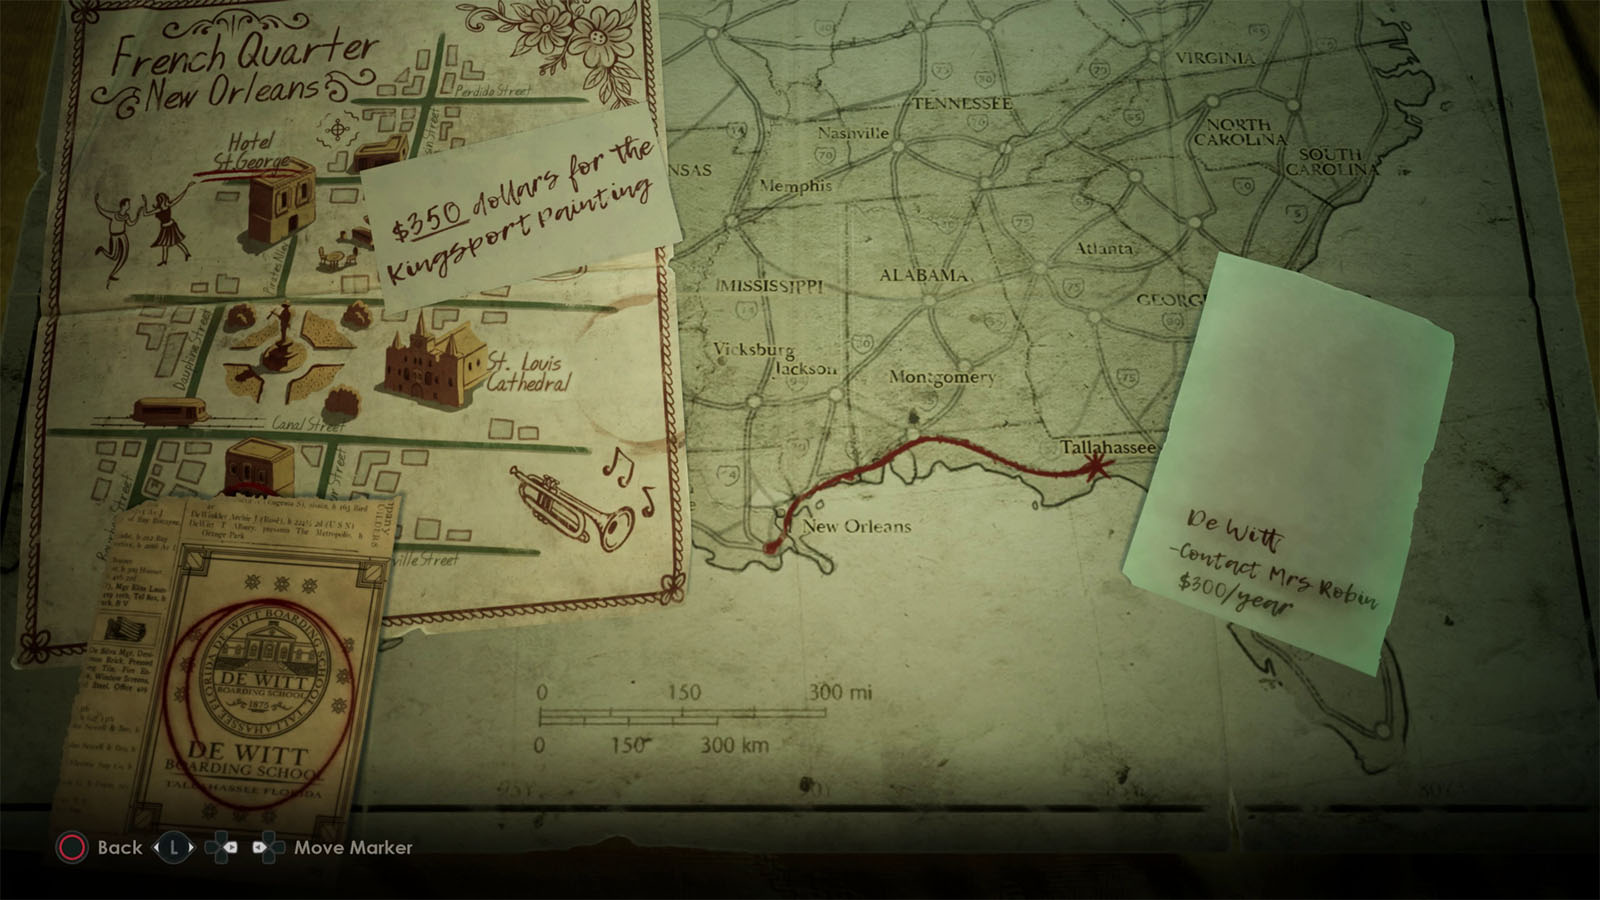
Go back to the sitting room and use the France key on the globe to get the Lagniappe – Map of Caribbean, the second item in The Pirates of Pontchartrain Lagniappes set.
Take a look inside the Empty Room
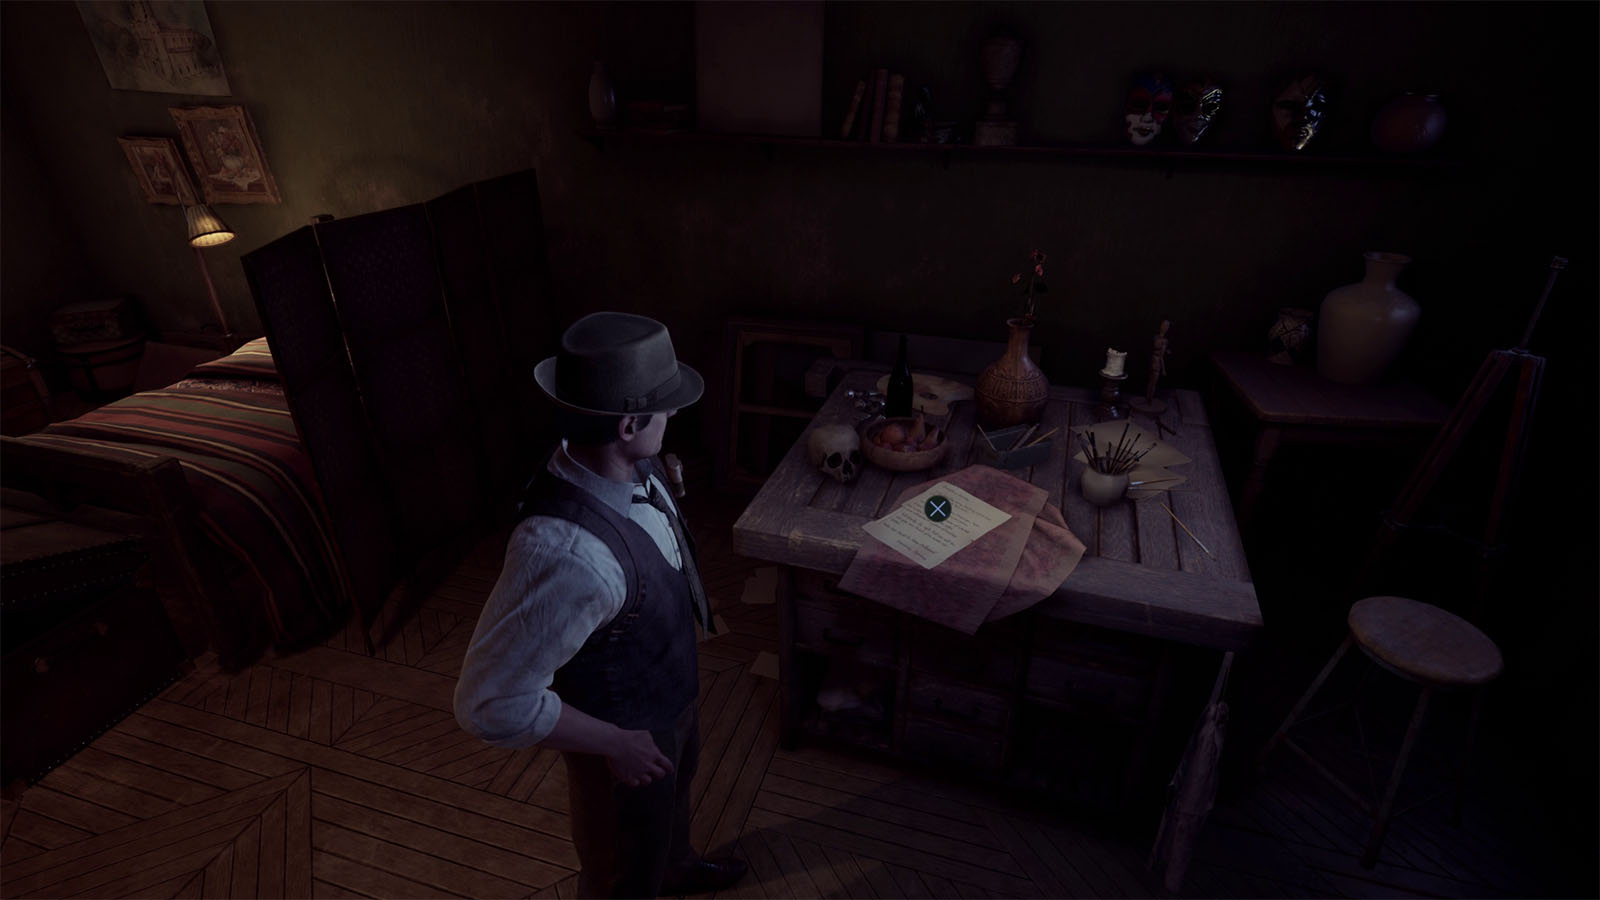
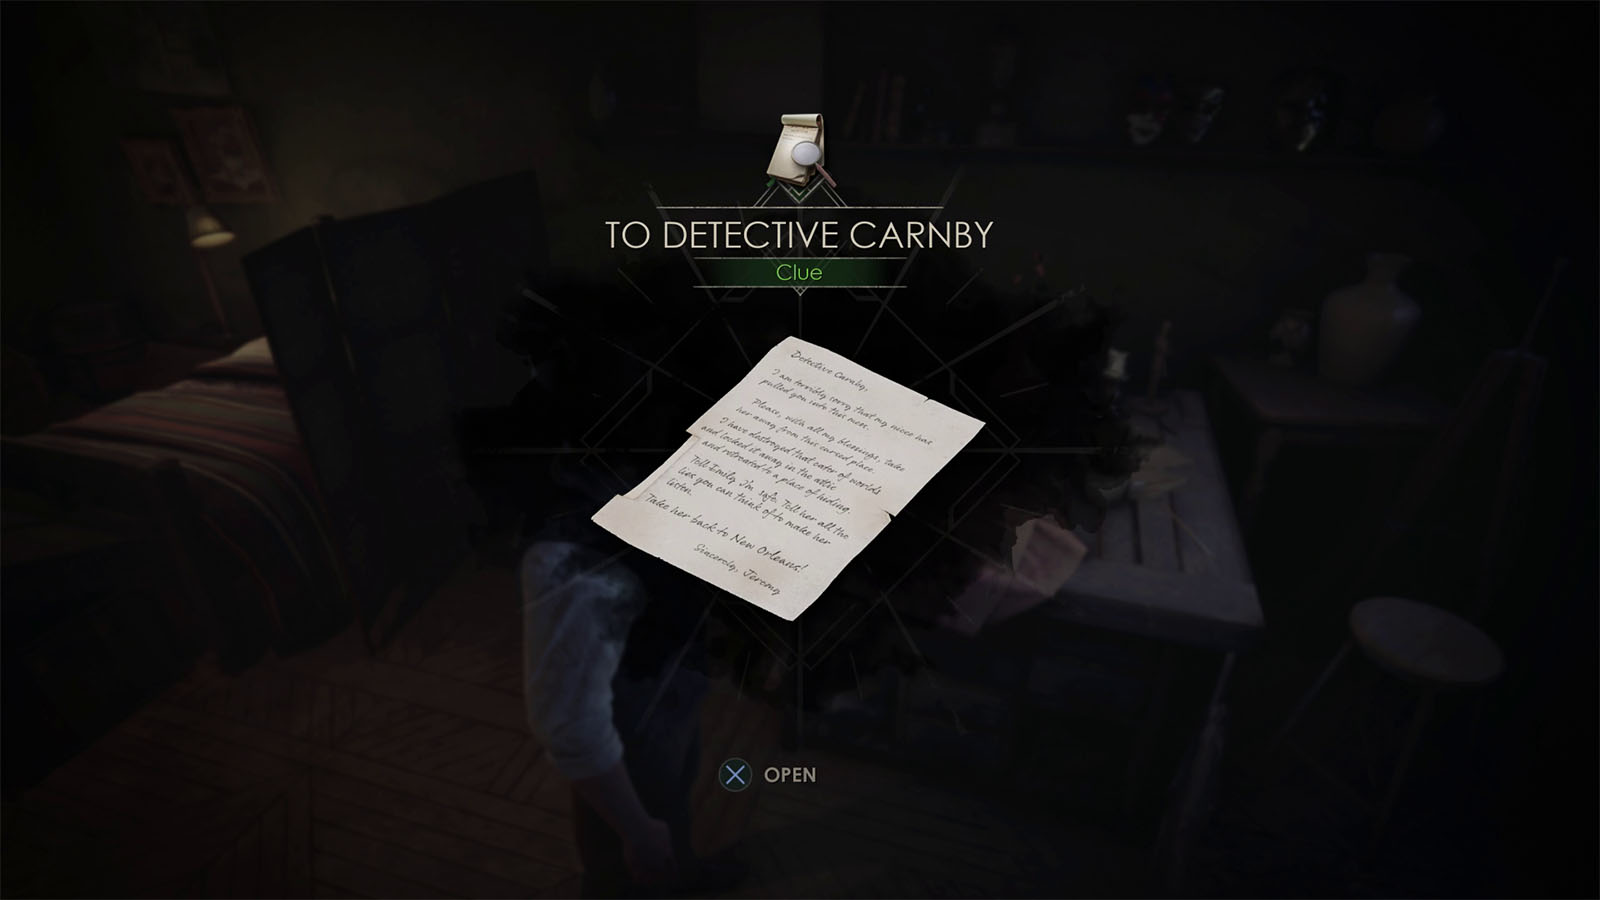
Before going down to the empty room, go to Jeremy’s room to find the To Detective Carnby letter written by Jeremy.
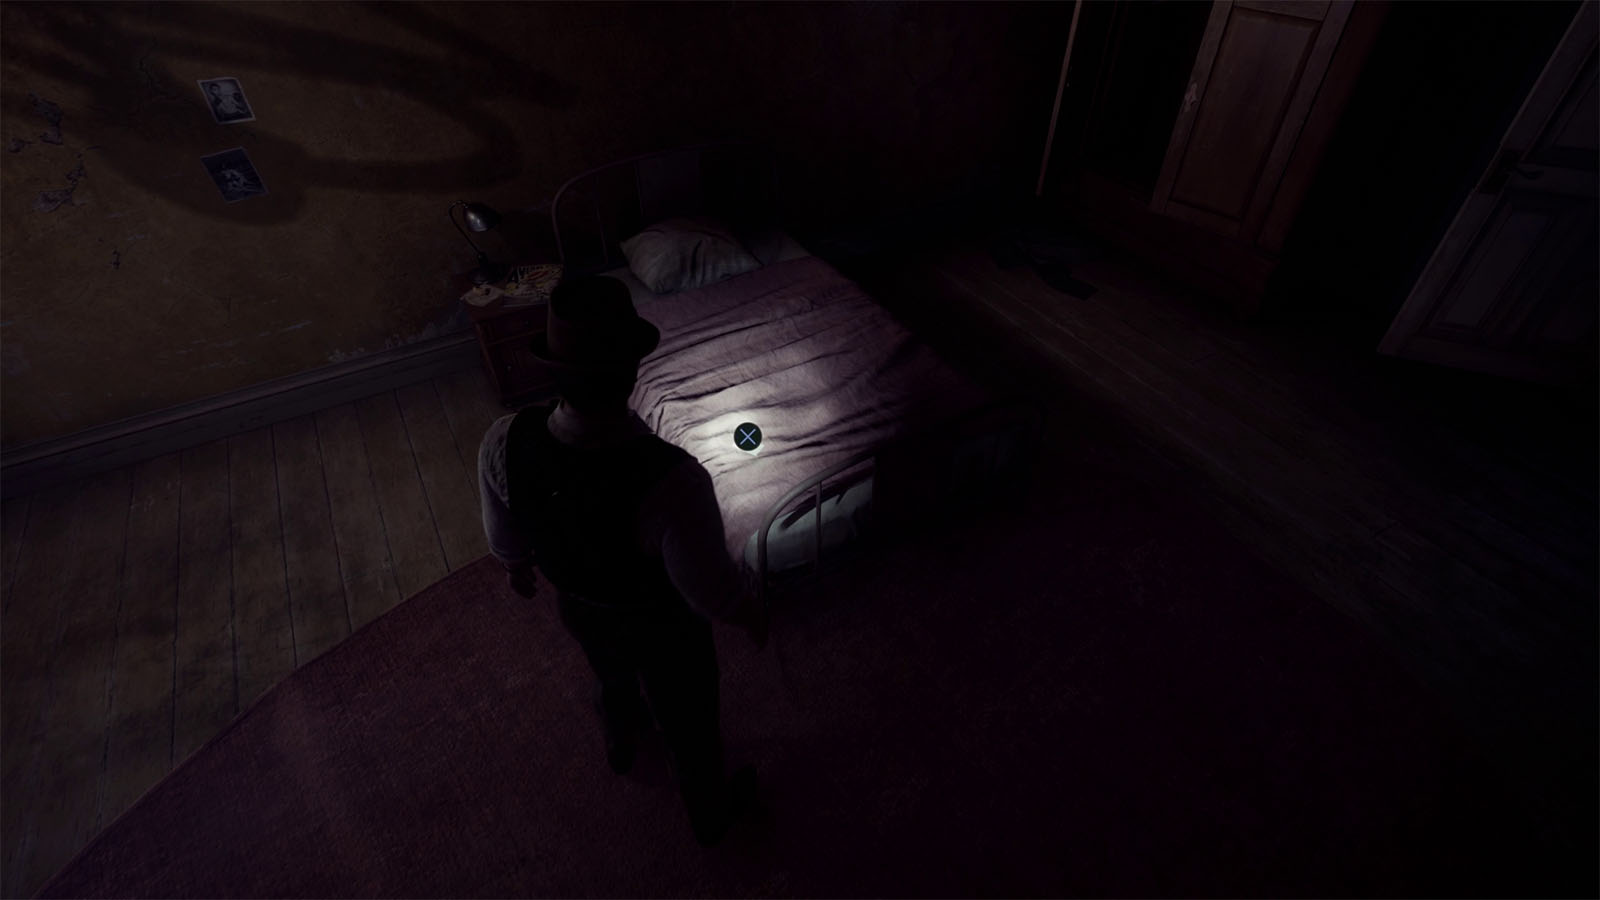
Next, head into Batiste’s room and check the note on his bed to find the Clue – Trust Me.
Then finally, skip Perosi’s room as it is locked and head into the mezzanine. Go through the other door towards the hall near Dr. Gray’s apartment, then unlock the door that leads back to the hall you were in.
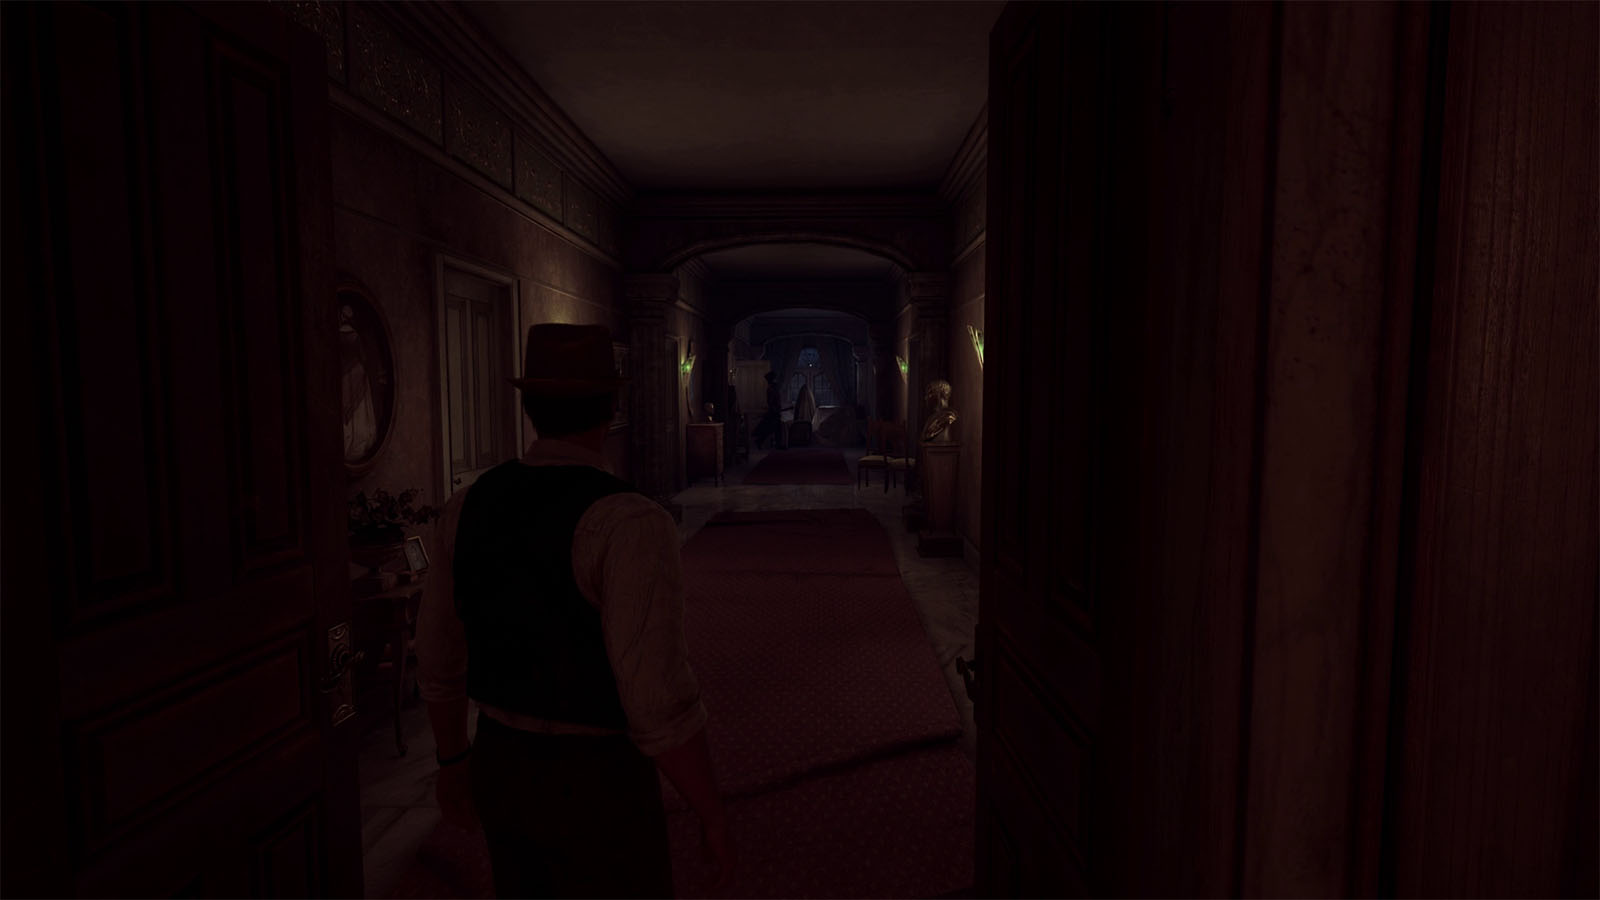
Head to the first floor and open the door leading to the first floor hall. You’ll see that the Dark Man has just exited room #3 or the empty room before disappearing.
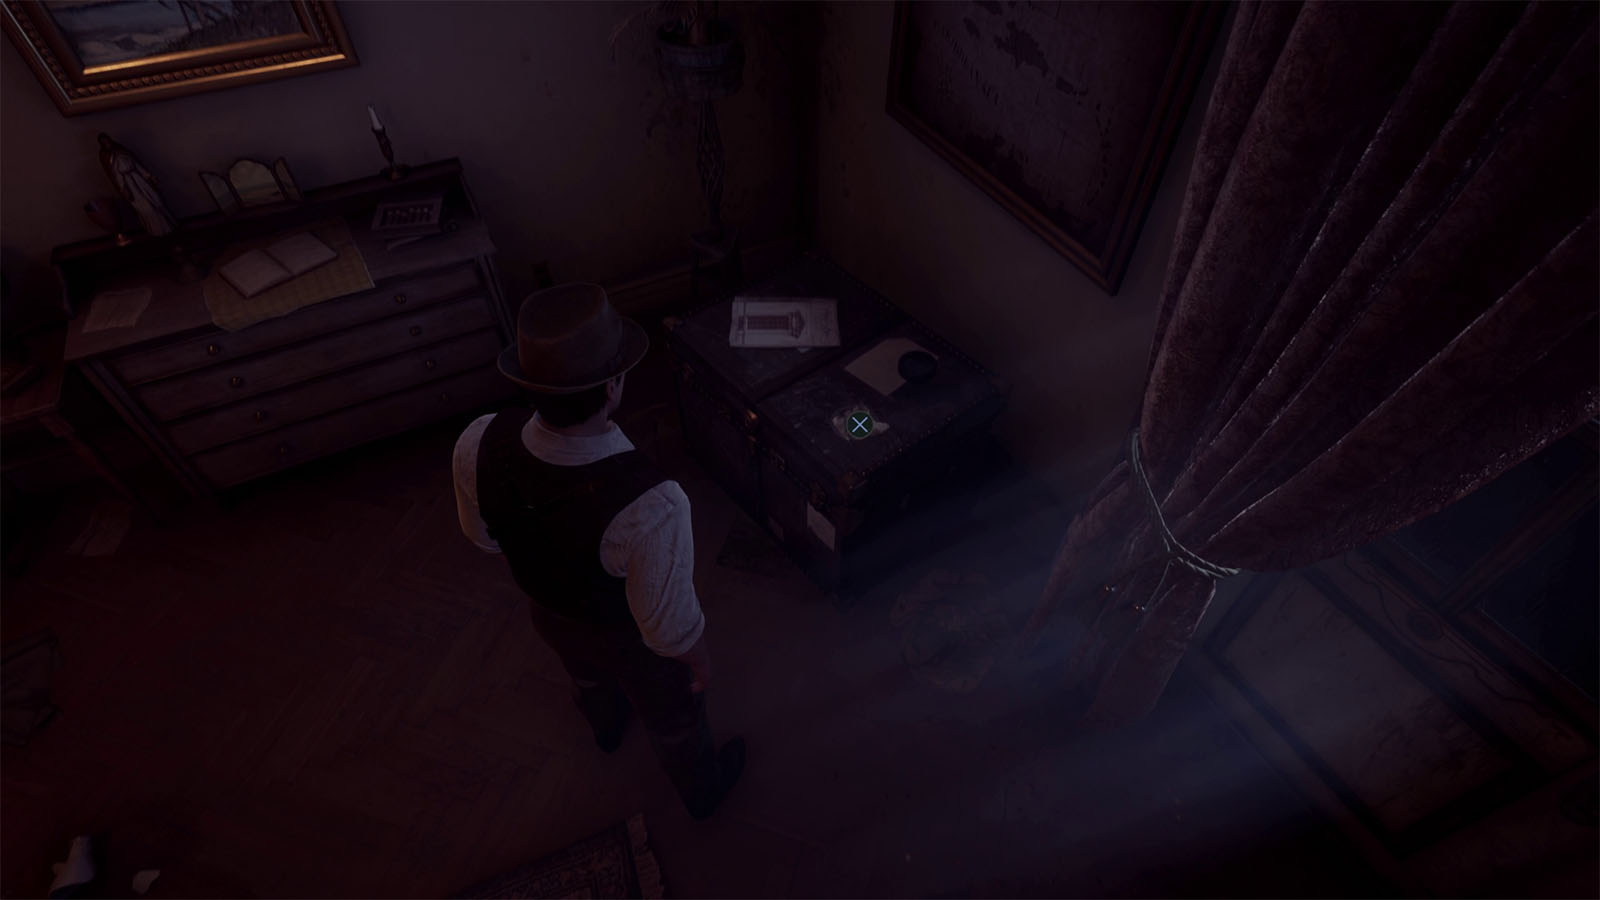
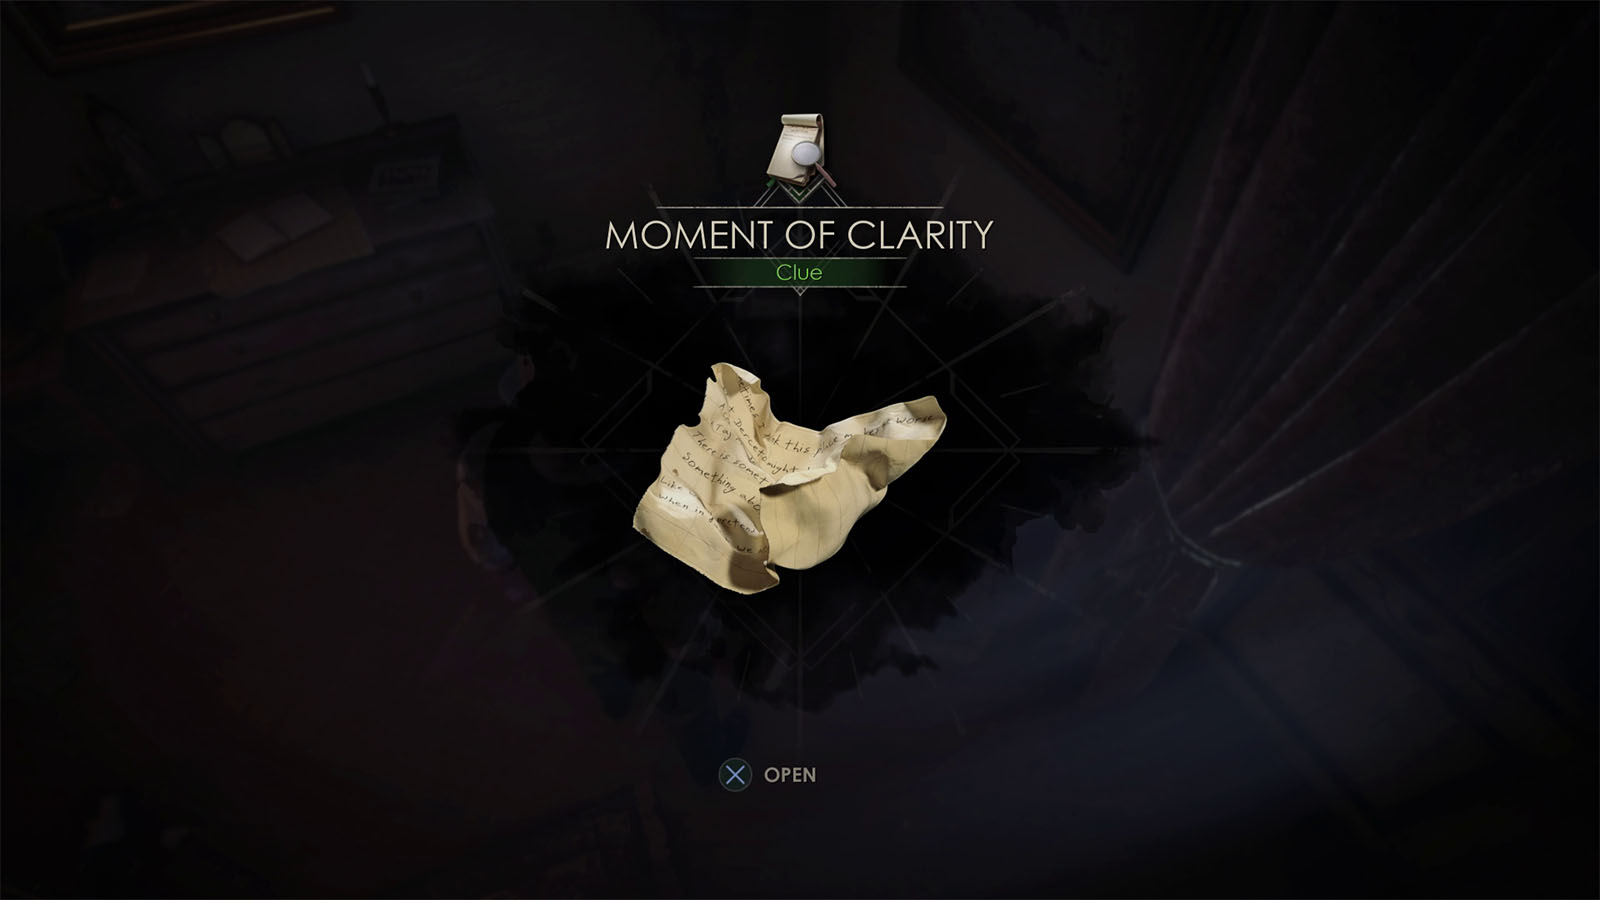
Before heading into the empty room, check out MacCarfey’s room first. Check the item on the trunk to find the Clue – Moment of Clarity. There’s also the ventilation in the corner of the room which is the place marked on the pirate treasure map, but you will need a tool to open it, so take note of it for now.
The next room is Ruth’s room which has no points of interest for Edward.
Read the writing on the wall
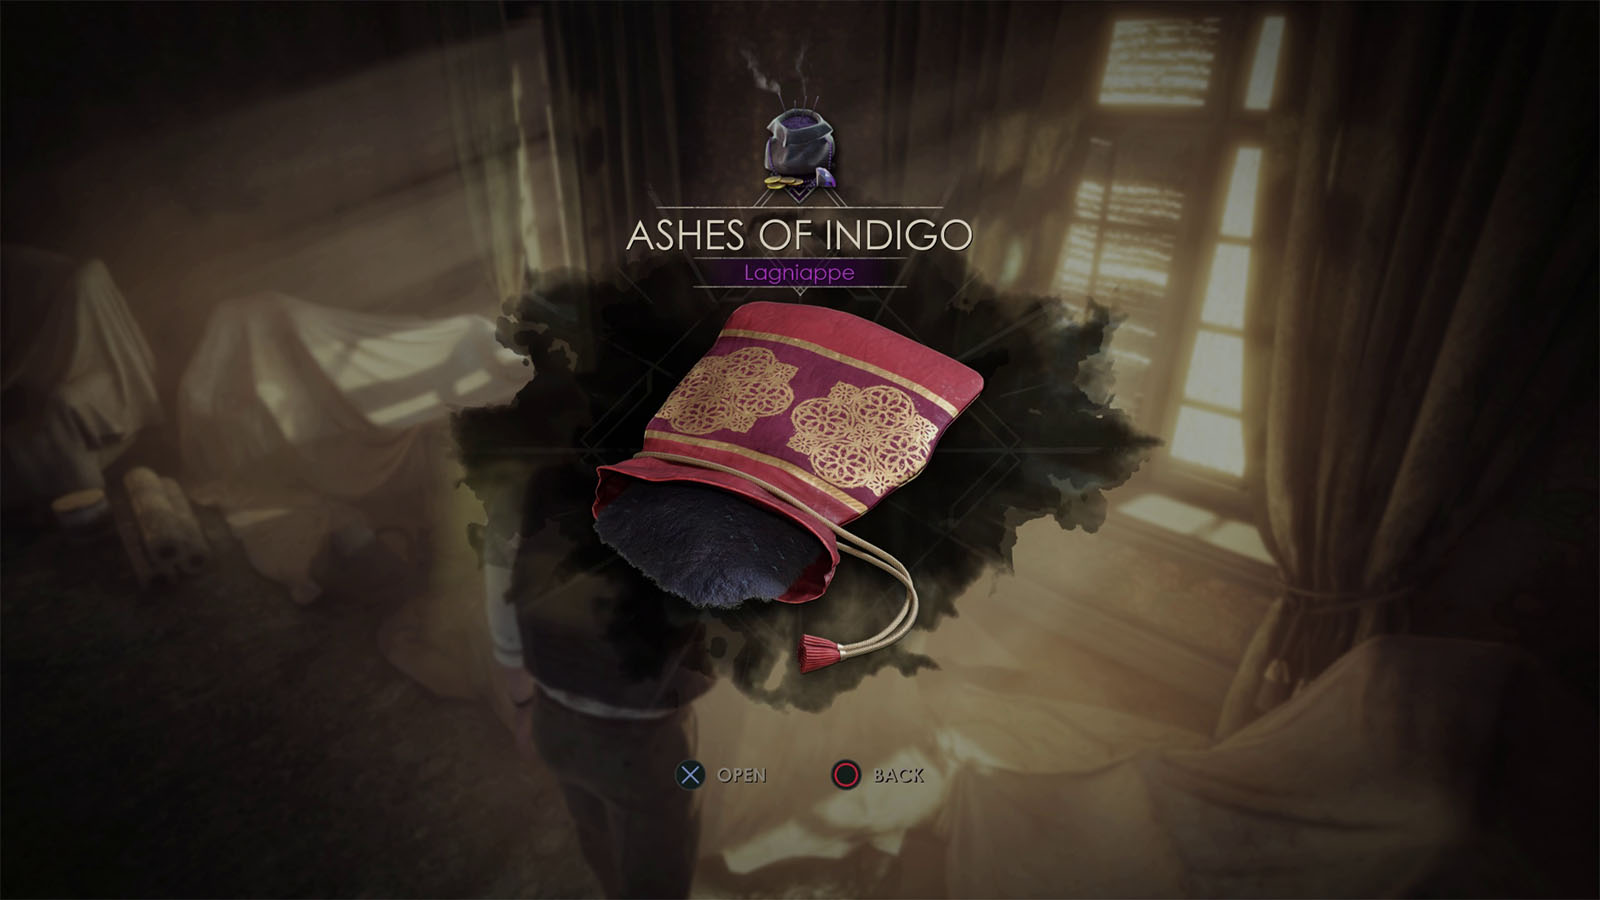
Inside the empty room, you will find the Lagniappe – Ashes of Indigo.
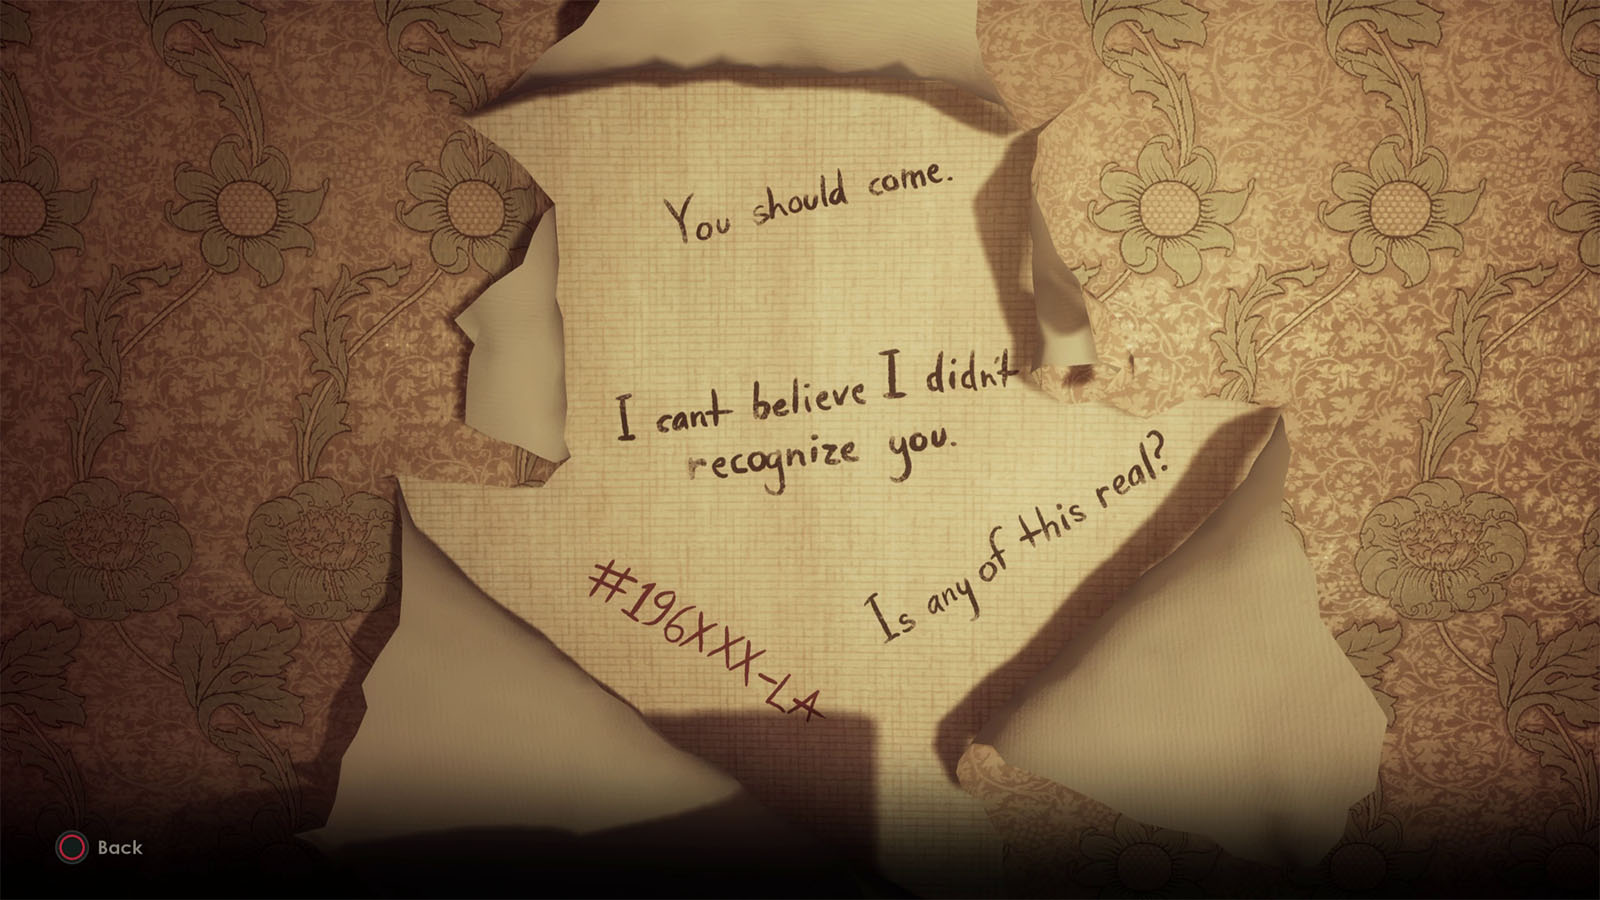
Next, inspect the wall with the writings and peel off the wallpaper to reveal the rest of the writings. One of the writings is a clue to opening the safe nearby.
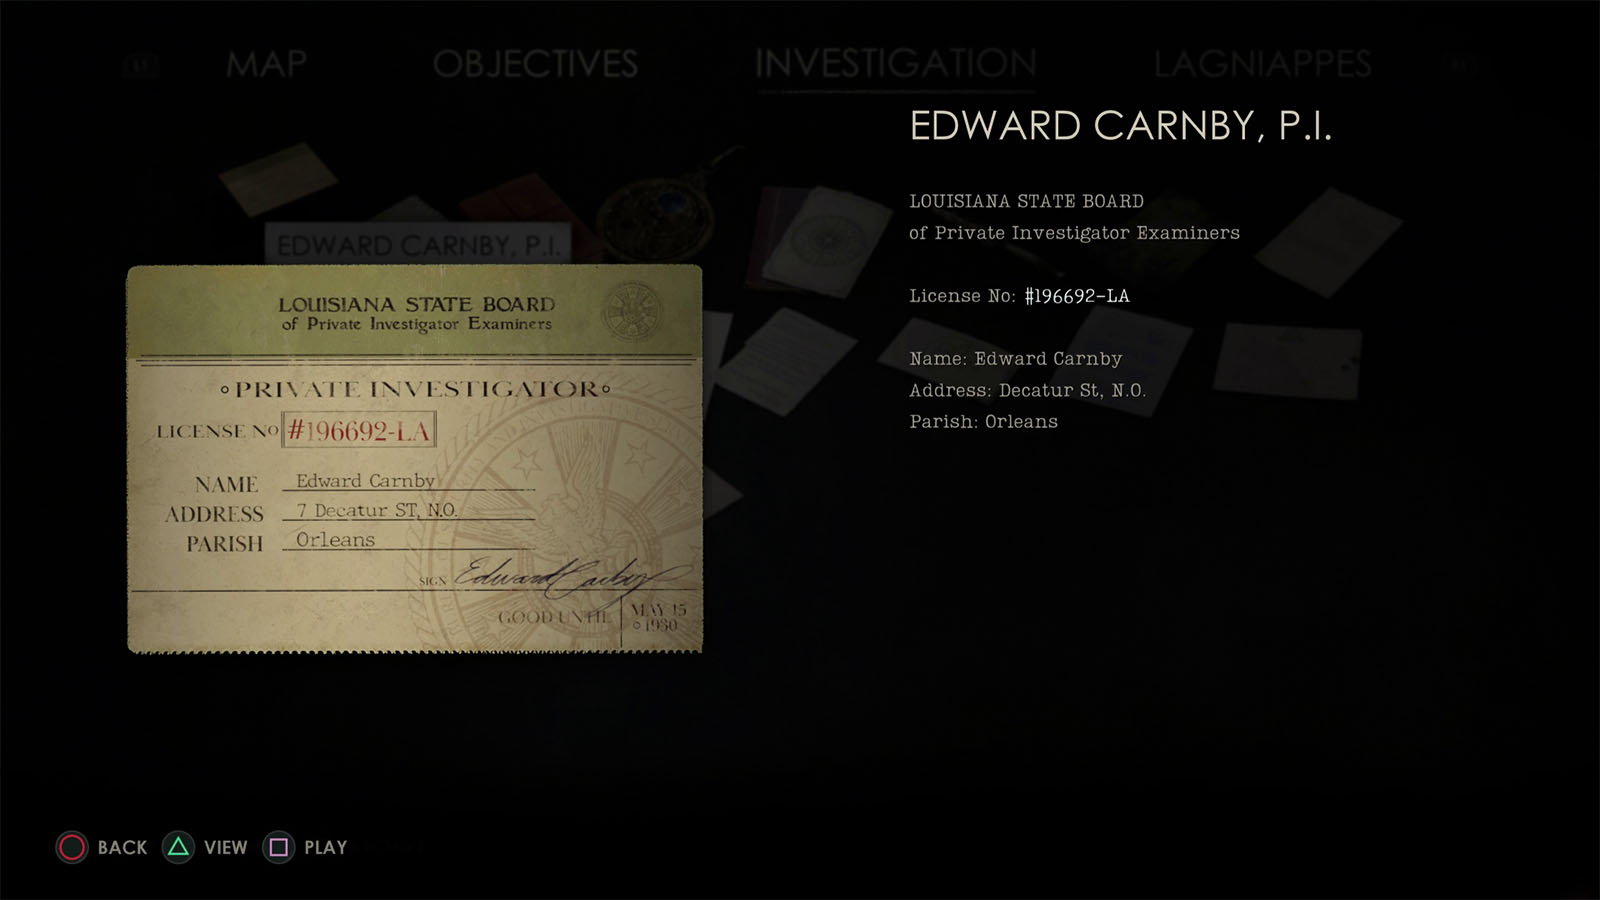
To get the code for the safe, check Edward’s ID from the Investigation tab and pay attention to the license no. Take note of the numbers that match the X’s written on the wall which are 6-9-2.
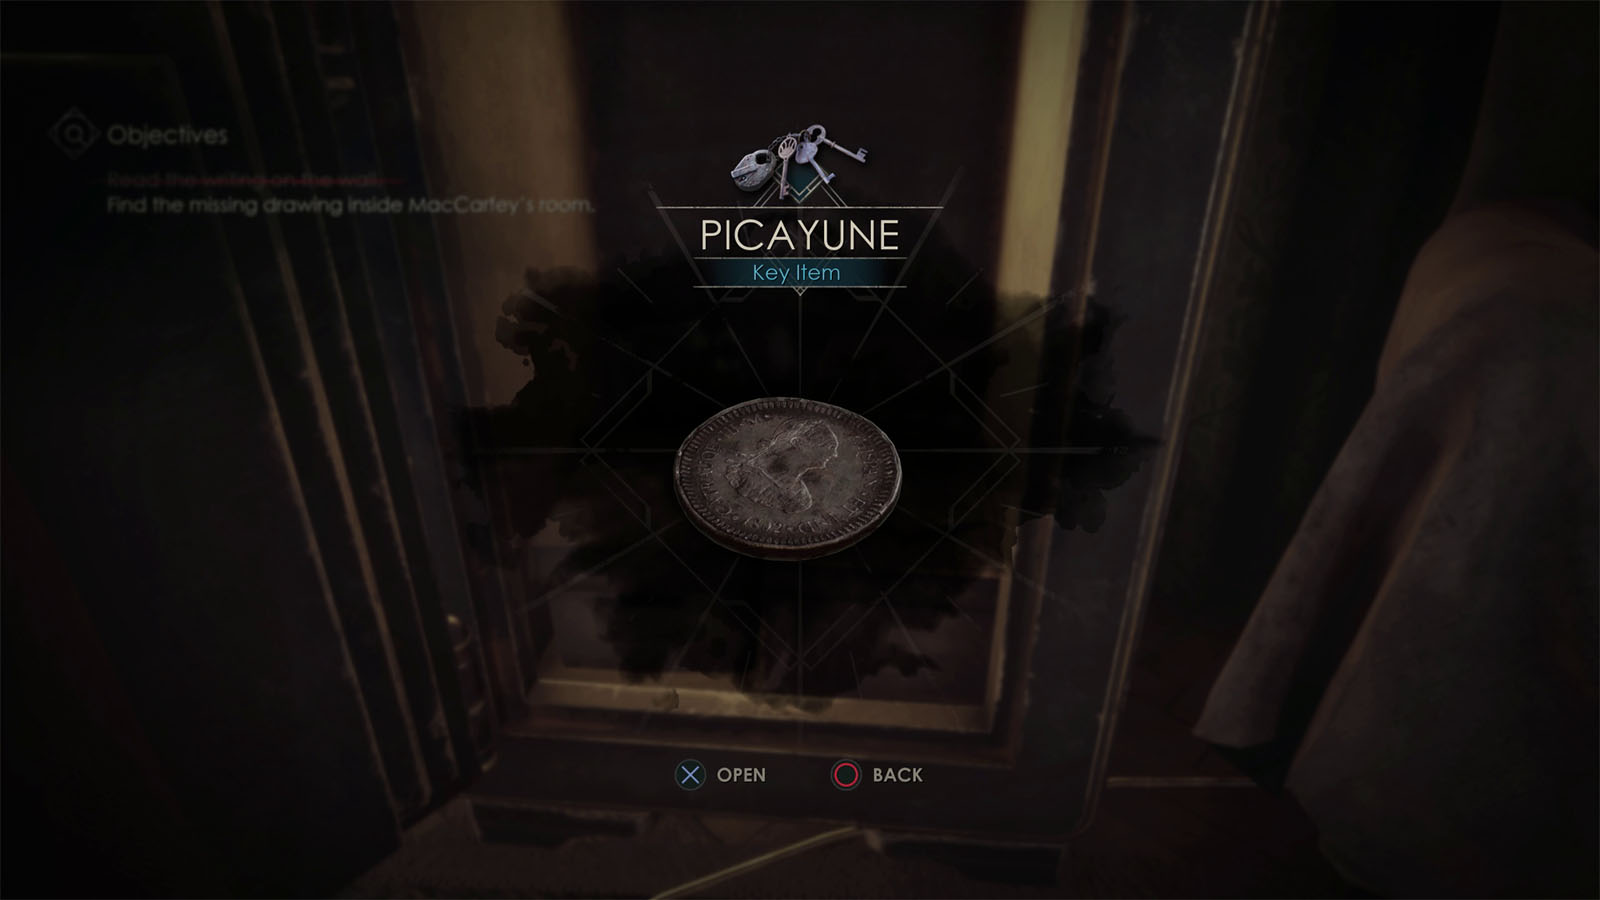
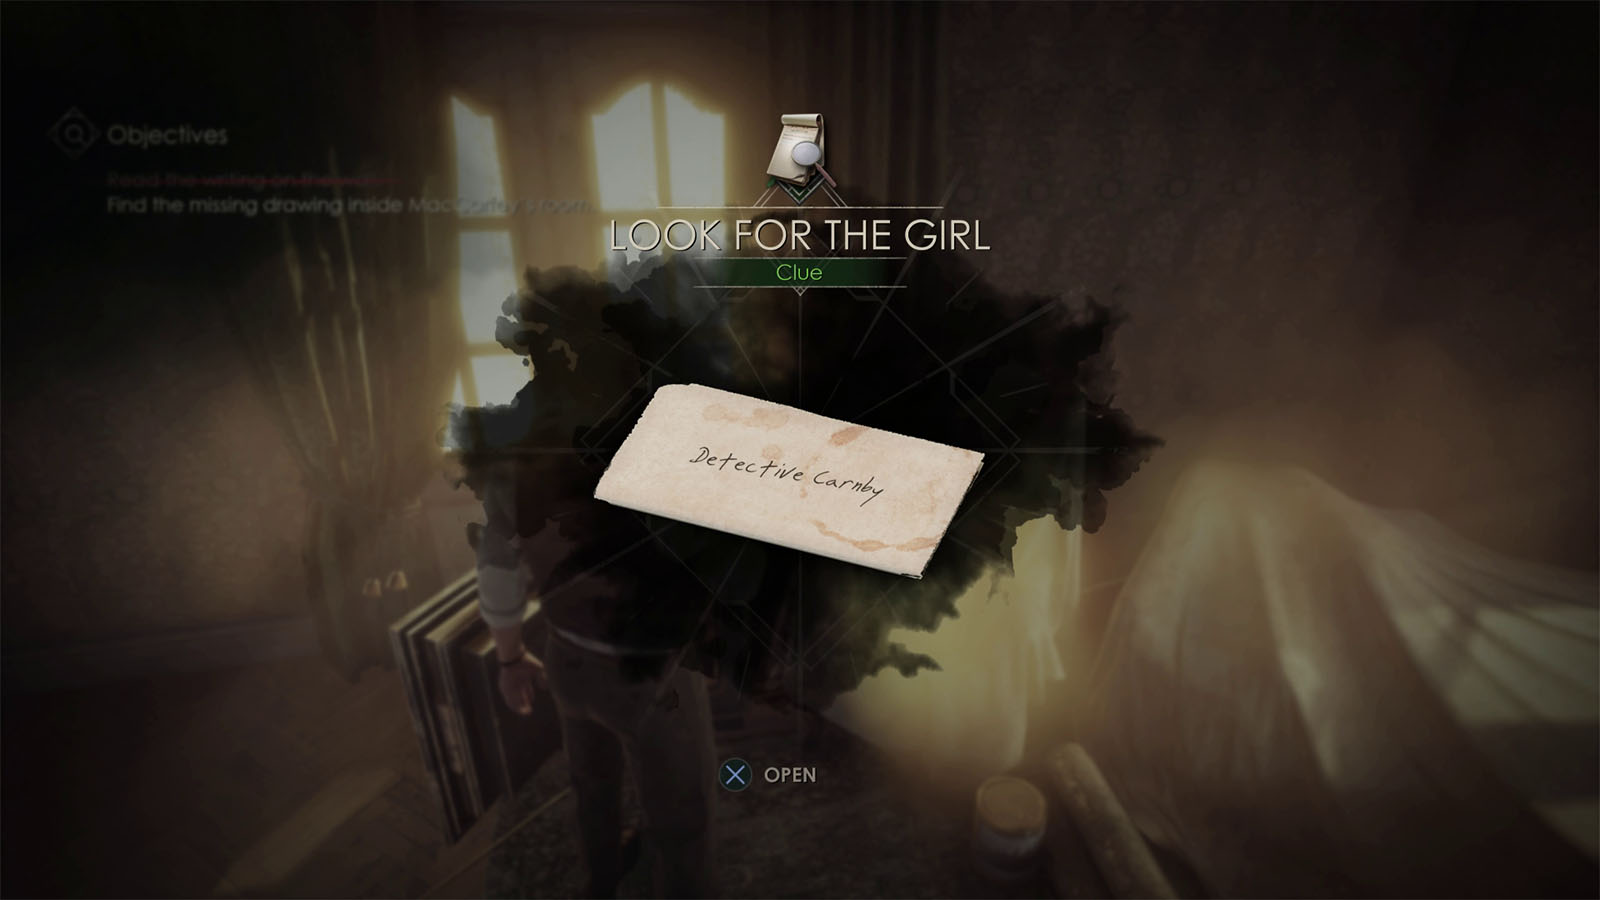
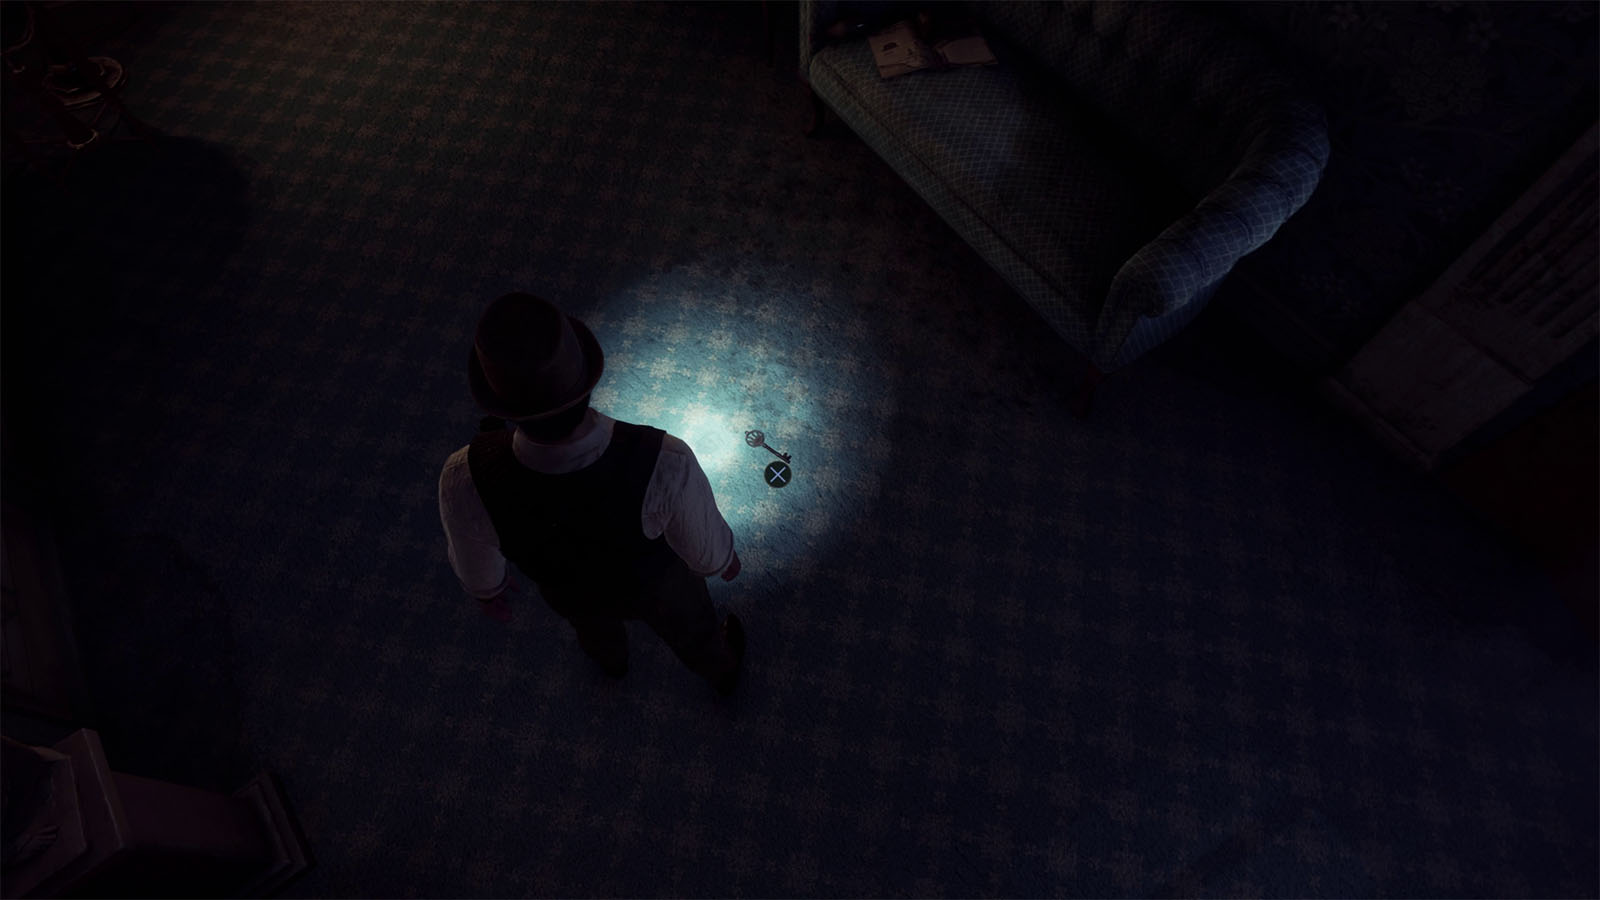
Go to the safe and twist the dial in this order: counterclockwise to 6, clockwise to 9, then counterclockwise to 2. Once done, you will get the Picayune coin and the Clue – Look for the Girl.
Find the missing drawing inside MacCarfey’s room
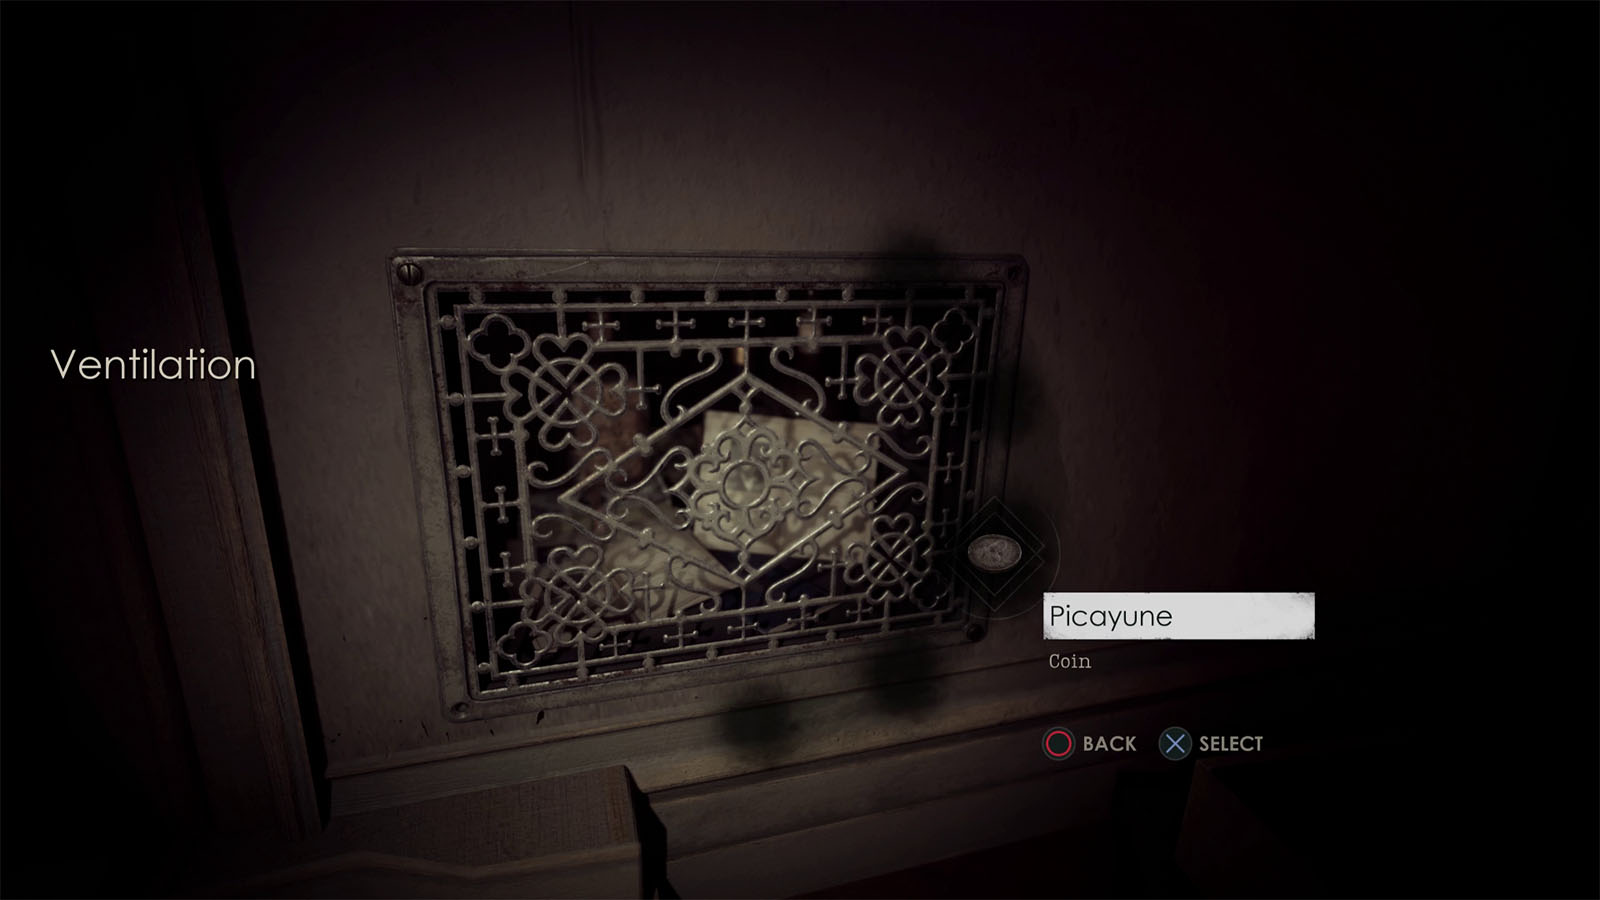
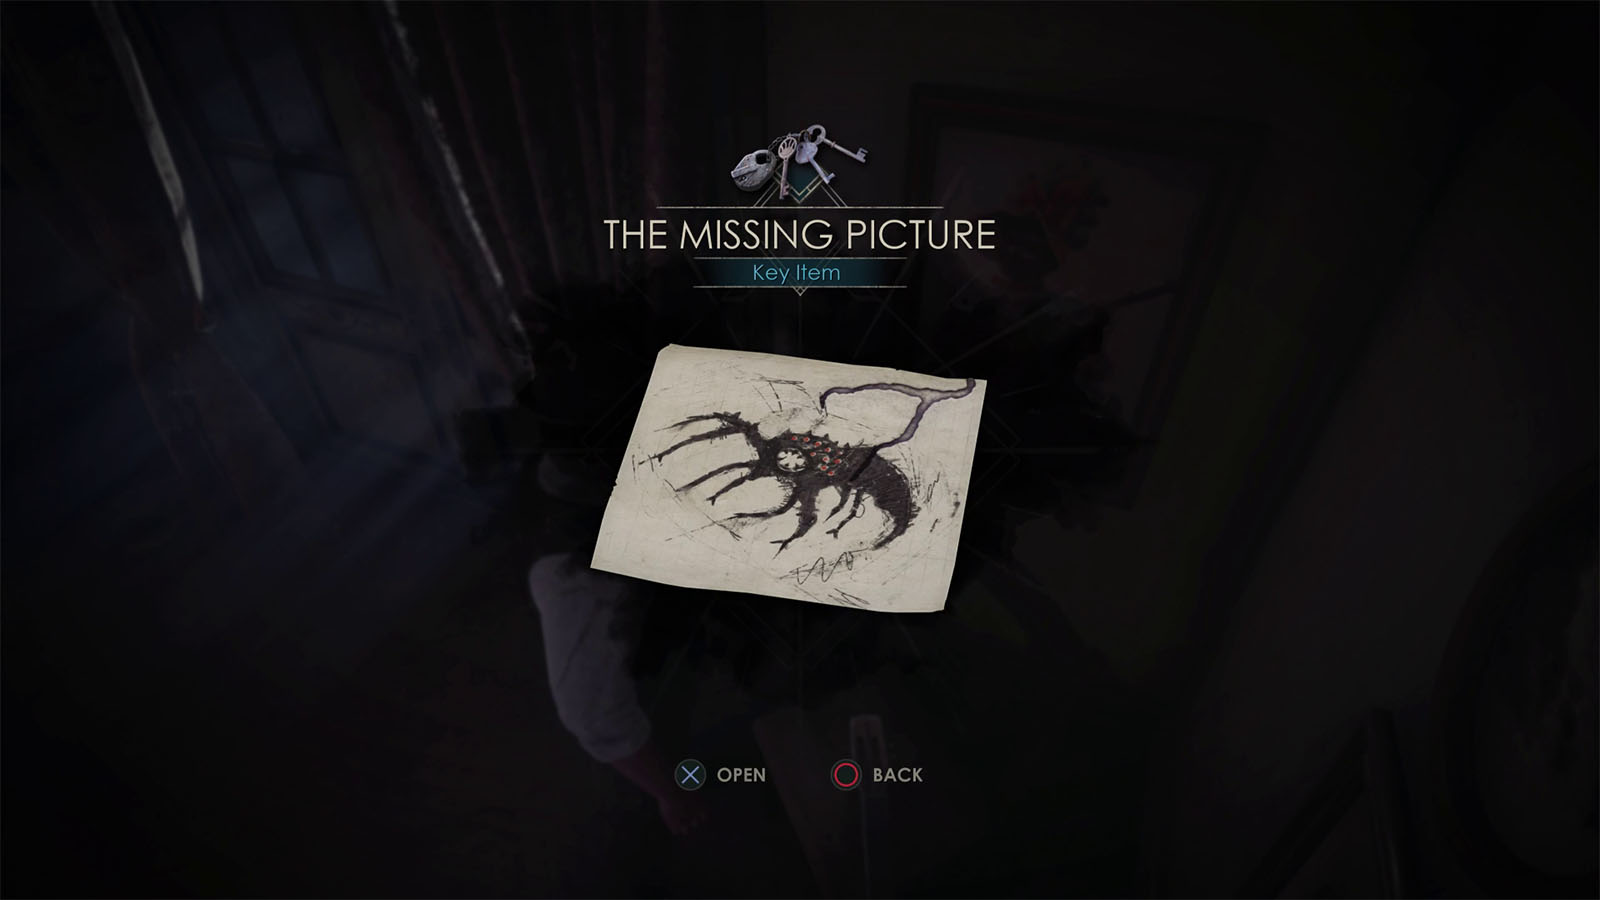
Go back to MacCarfey’s room and use the coin to unscrew the grate from the ventilation. You will then get The Missing Picture.
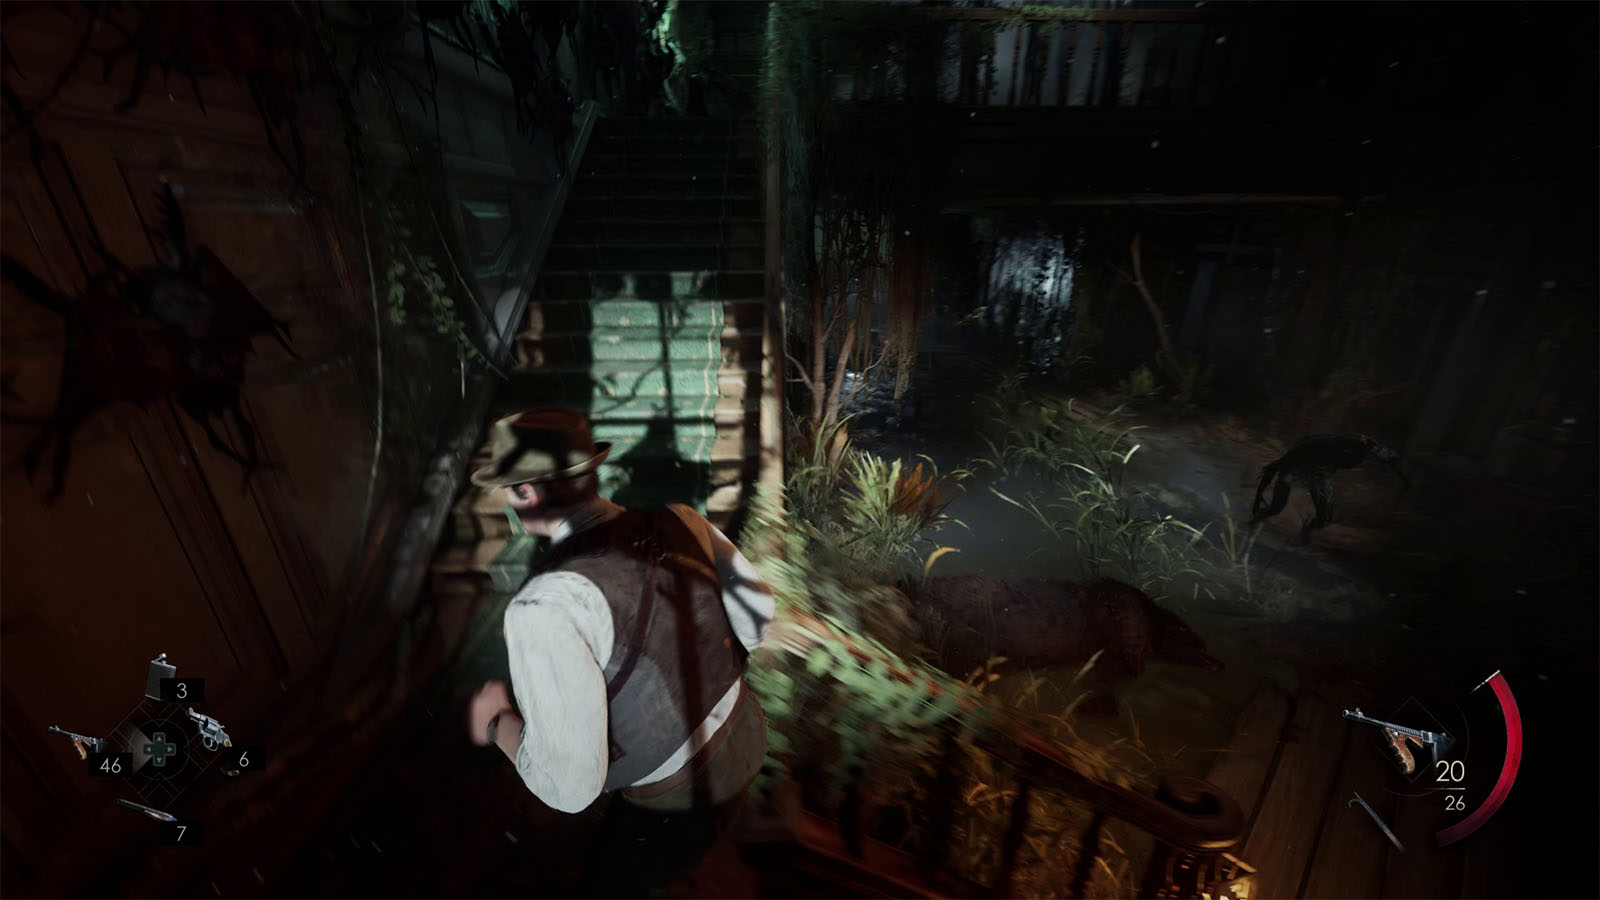
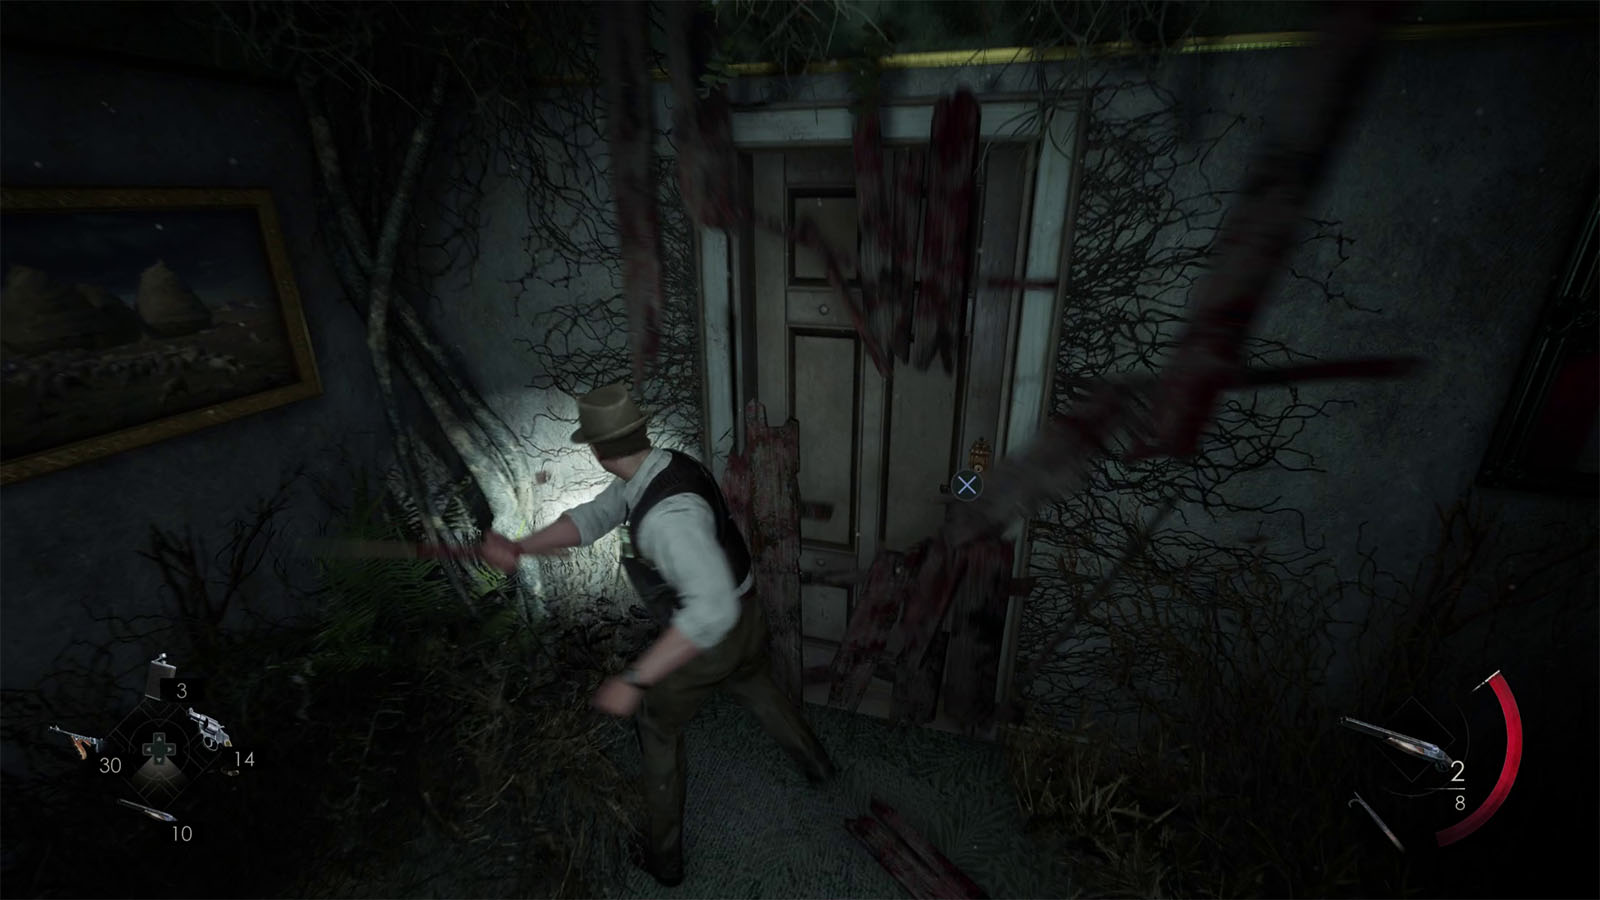
As you head out of the room, you will find that the house has once again changed. Beware of the enemies at the stairs area and make your way back to the sitting room by bashing the board blocking the door.
Go inside Grace’s room and place the Missing Picture on the floor with the rest of the drawings.
In order to solve this puzzle, you will need to rearrange the drawings in the right orientation and position. Use the rot in the middle and on the drawings to know which drawing goes to where. Another hint to go for is that the top sides of the drawings, relative to the drawing themselves, are always pointed towards the central rot; this includes the drawings that are drawn diagonally.
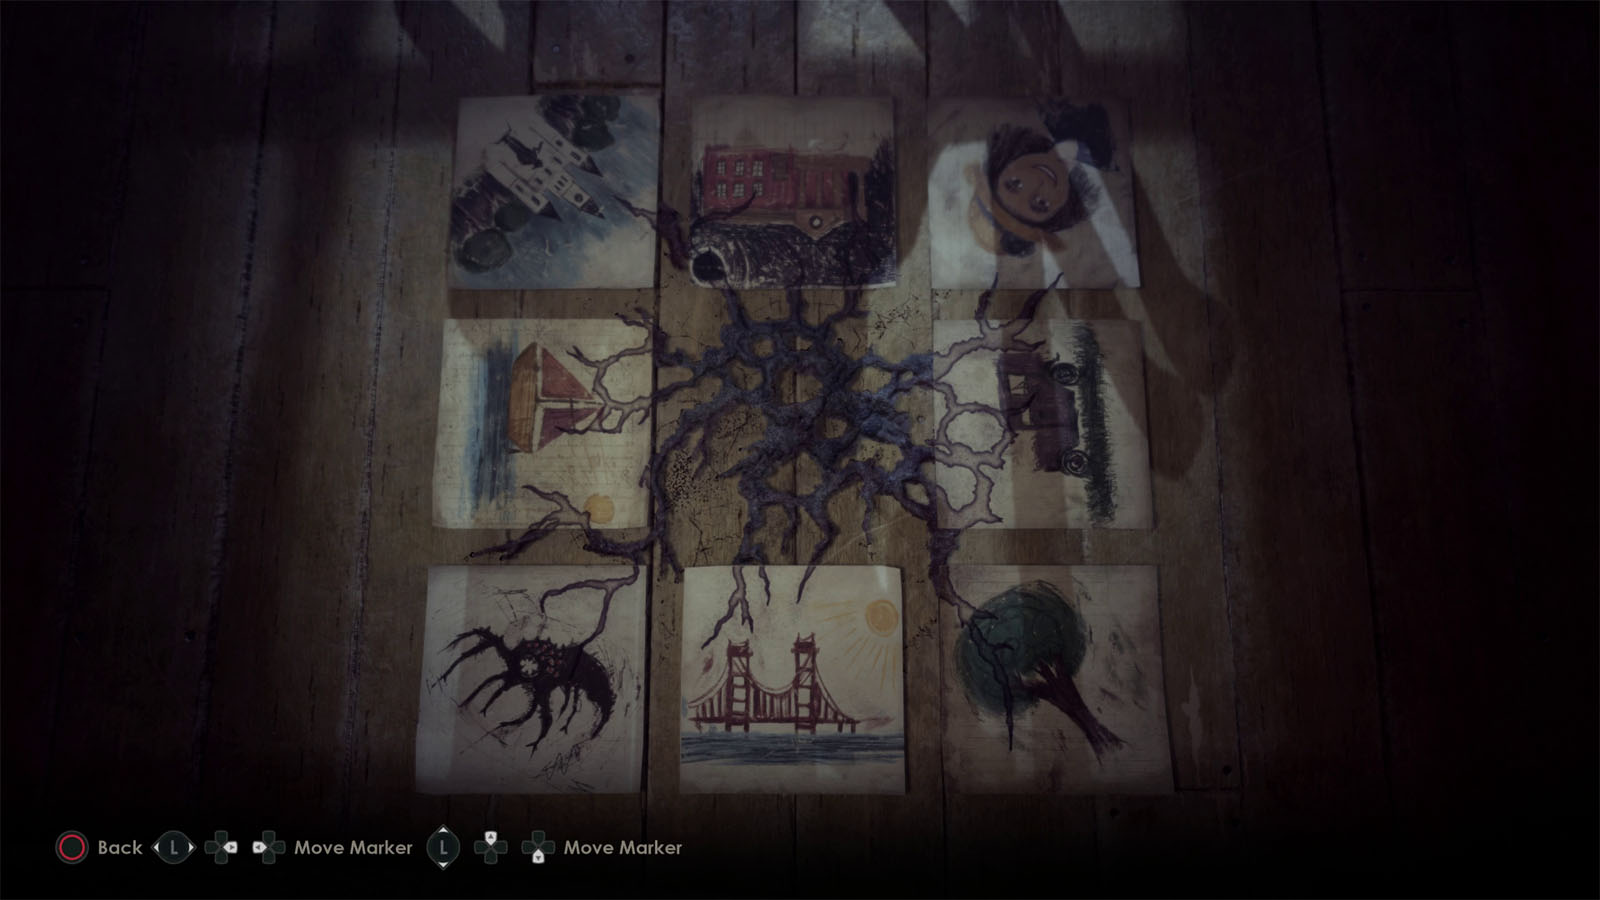
The solution for the drawing puzzle is, from left to right, top to bottom:
- Castle
- Derceto
- Grace
- Sailboat
- Car
- Monster
- Bridge
- Tree
Once the drawings are in their right positions and orientations, the talisman will spin on its own, revealing another section of the manor. However, once you step outside, you will find yourself back in the French Quarter.
Piece your memory back together
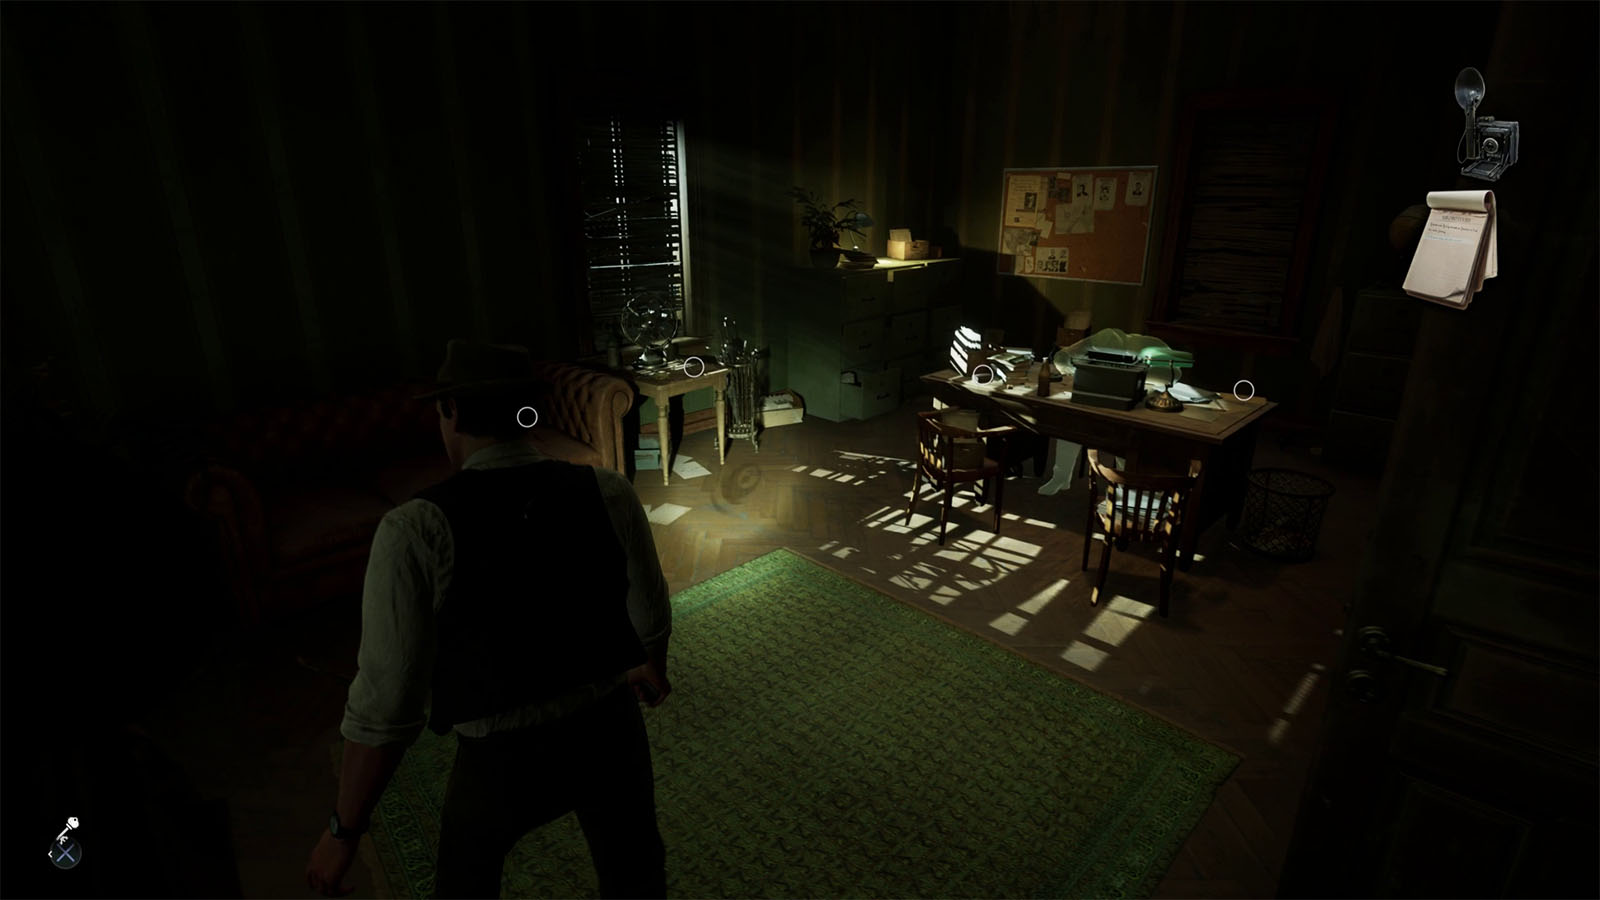
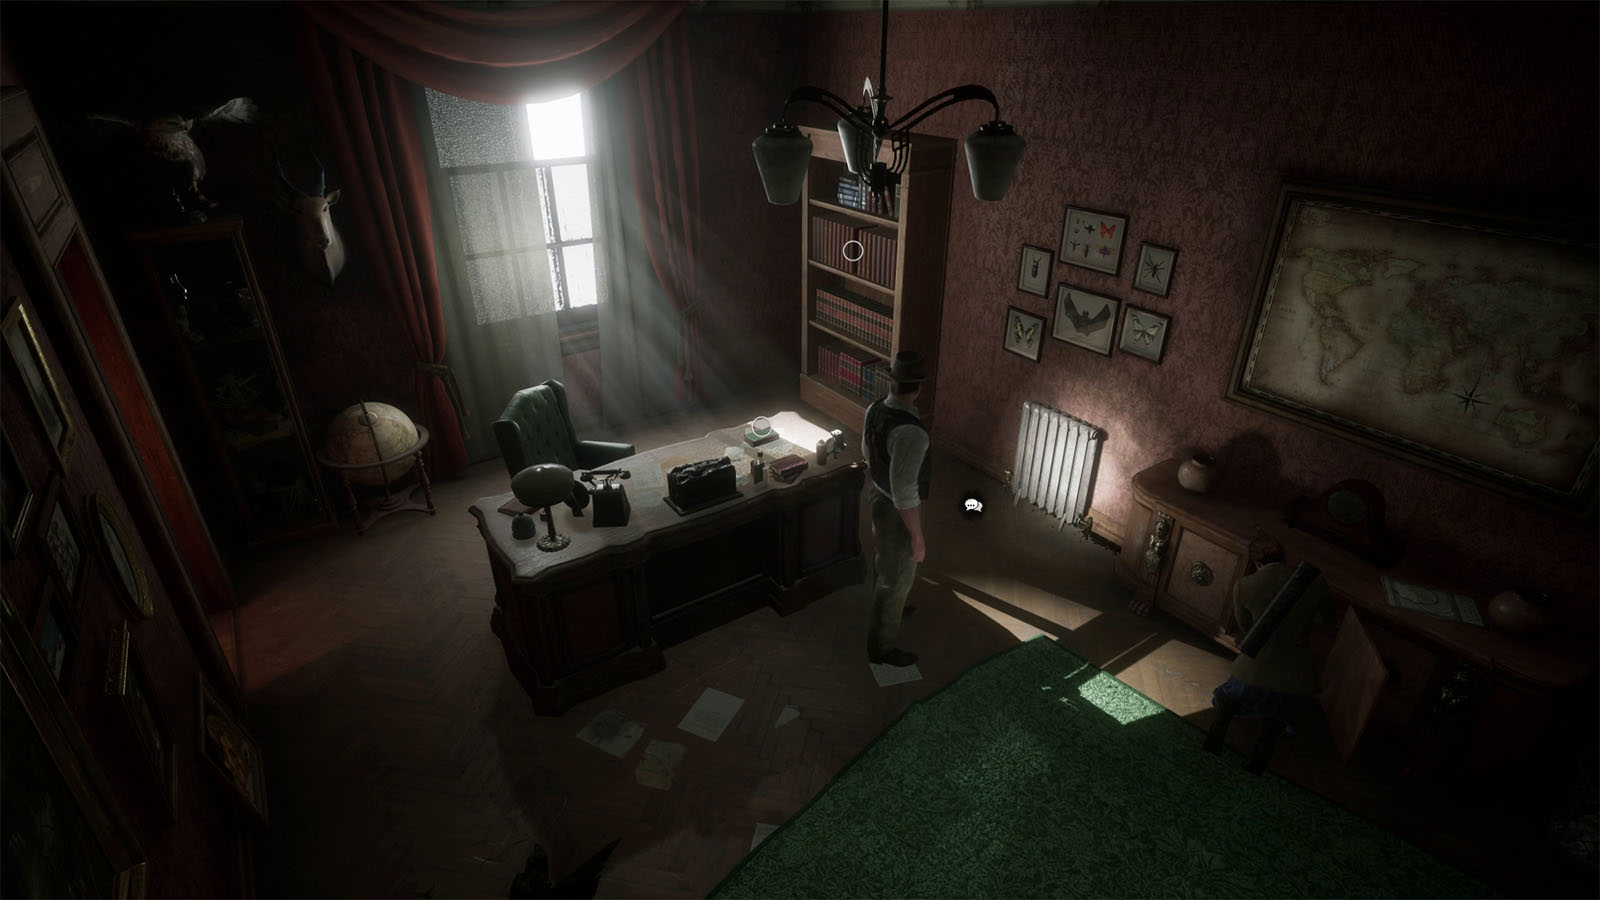
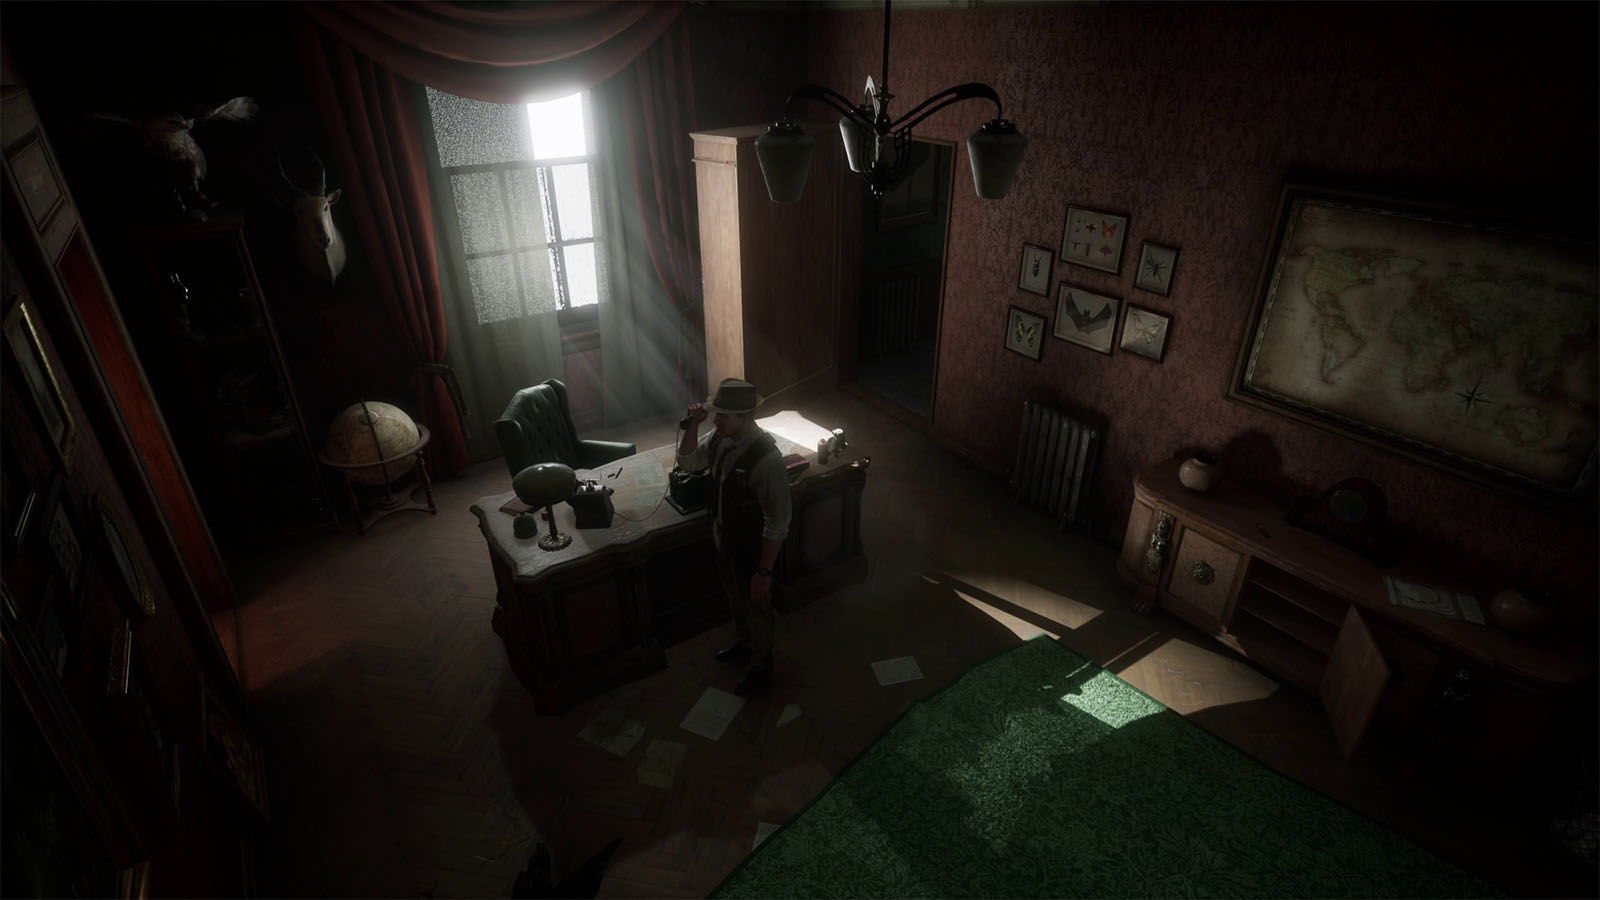
Go through the hall and enter the only unlocked door to find yourself in Edward’s office. On the desk is a ghost of Edward that you can also interact with.
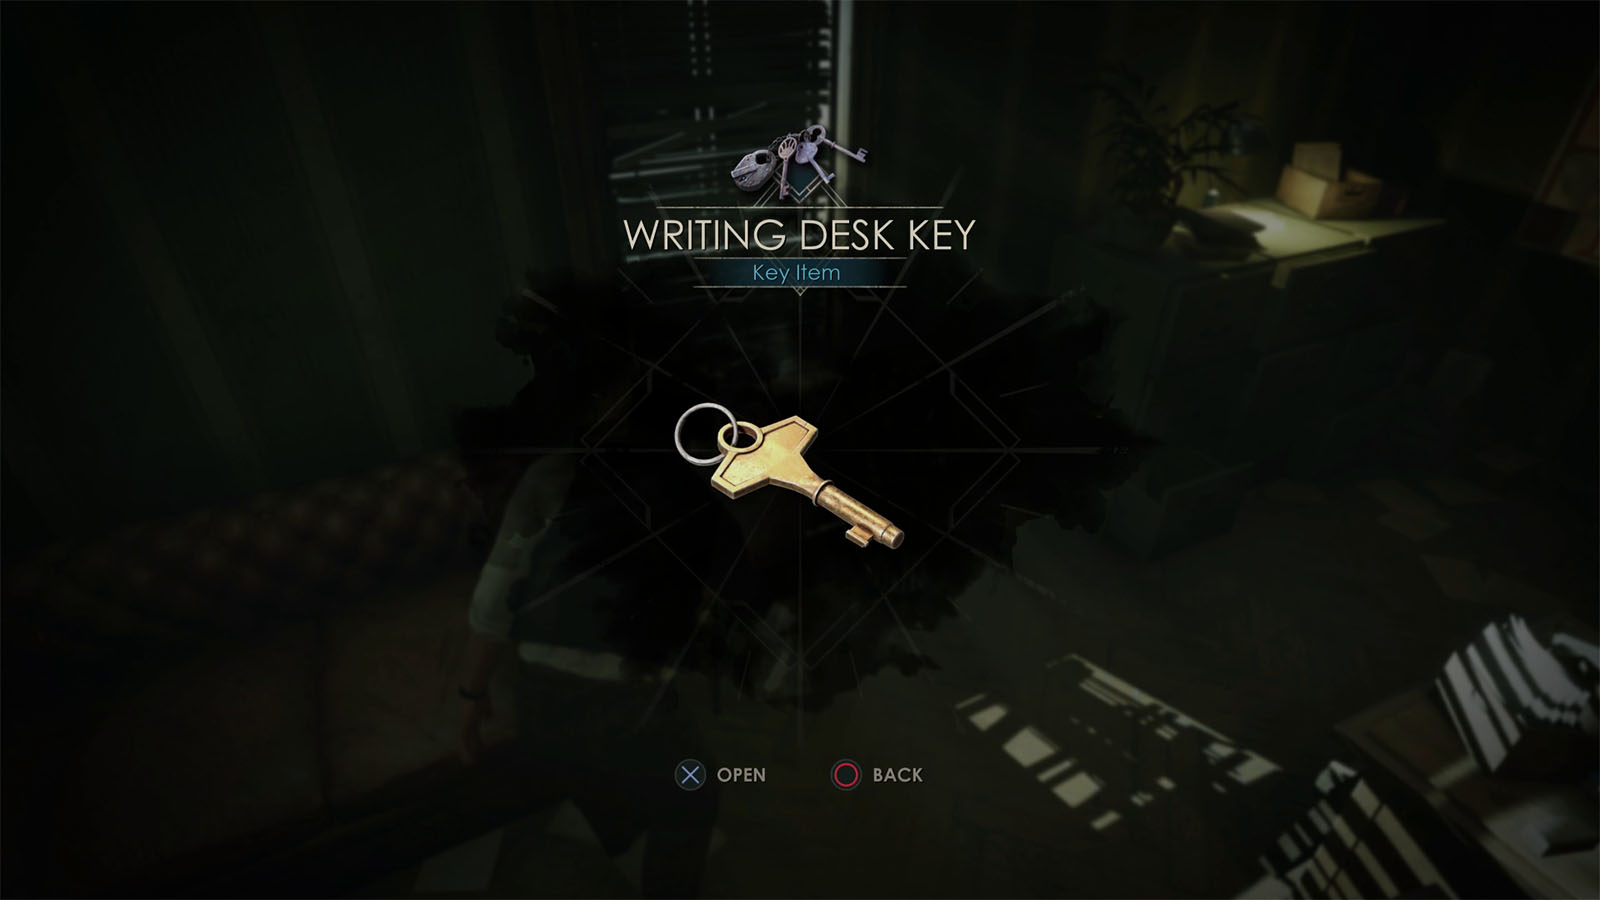
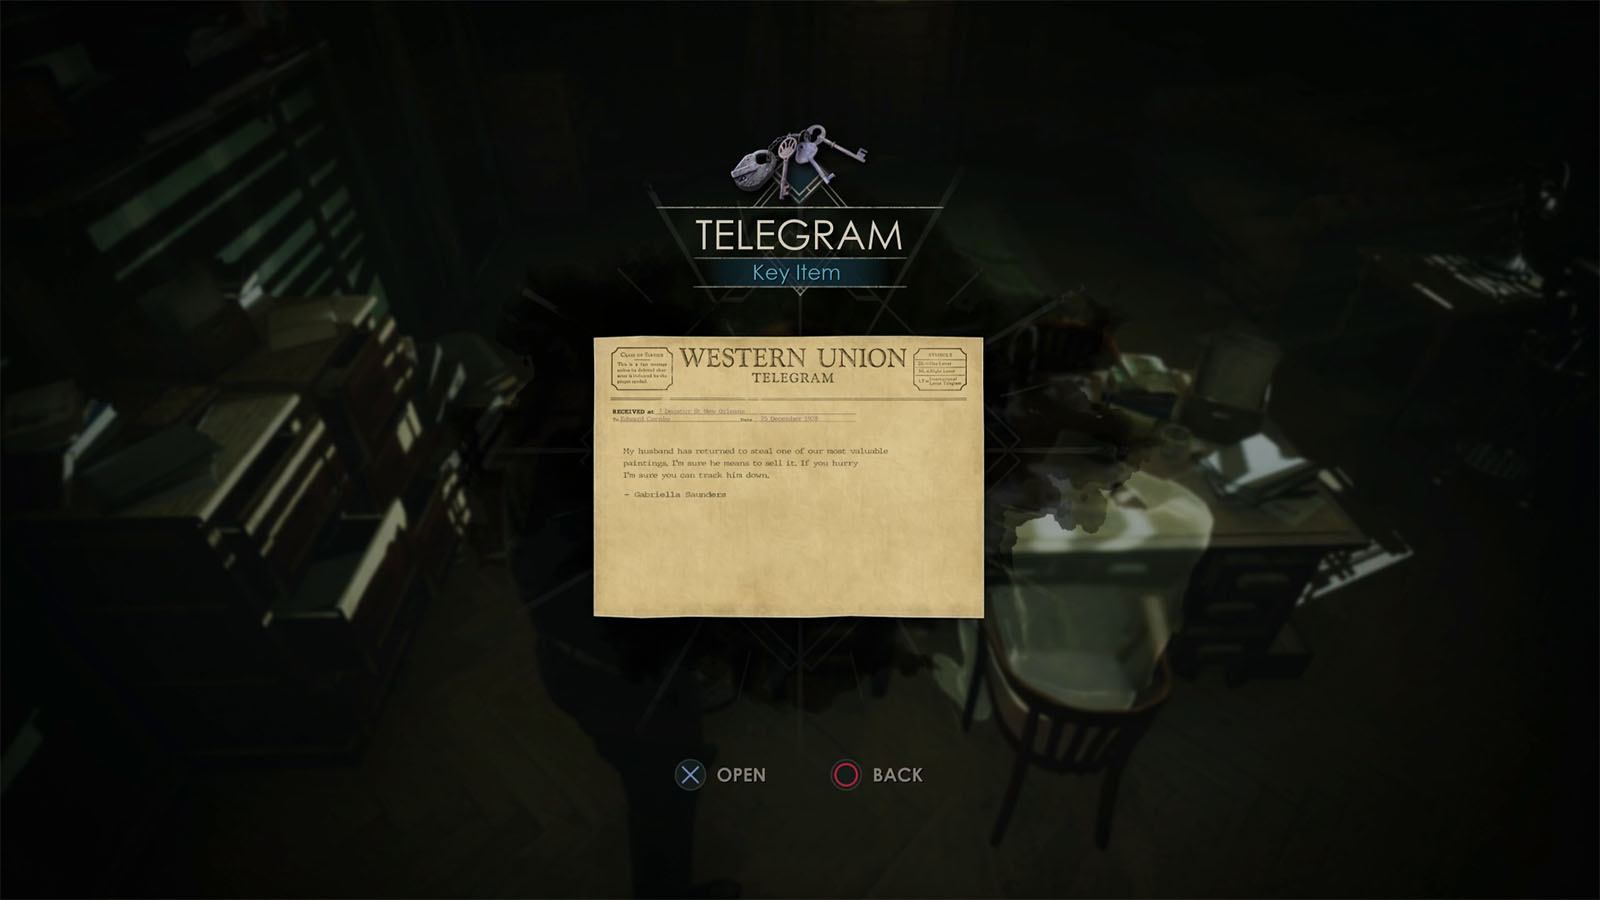
Check the small desk near the window to get the Writing Desk Key, then check Edward’s table to find the Telegram.
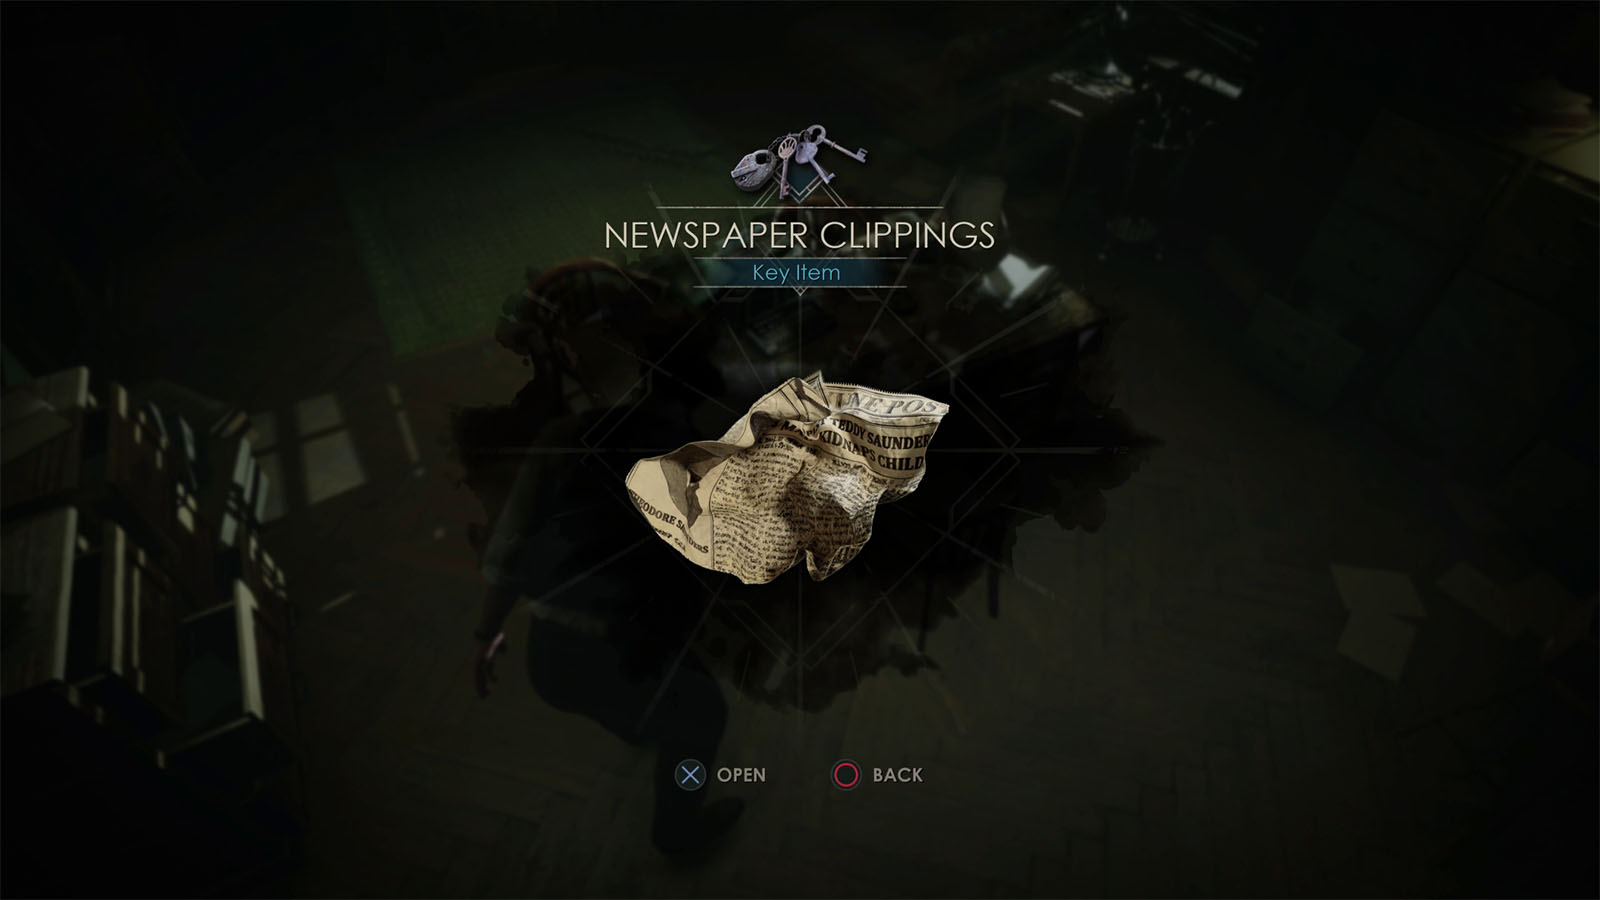
With the key, open the desk drawer to find the Newspaper Clippings and Photograph.
After interacting with Edward’s ghost, try opening the other door to find out that it is locked. Then, head to the case board and inspect it.
Figure out which case Carnby was working

Place the Telegram, Photograph, and the Newspaper Clippings on the board. Then, flip the clipping and telegram to show that Edward was working on Theodore Saunders’ case.
Pay Thornhill, the art collector, a visit
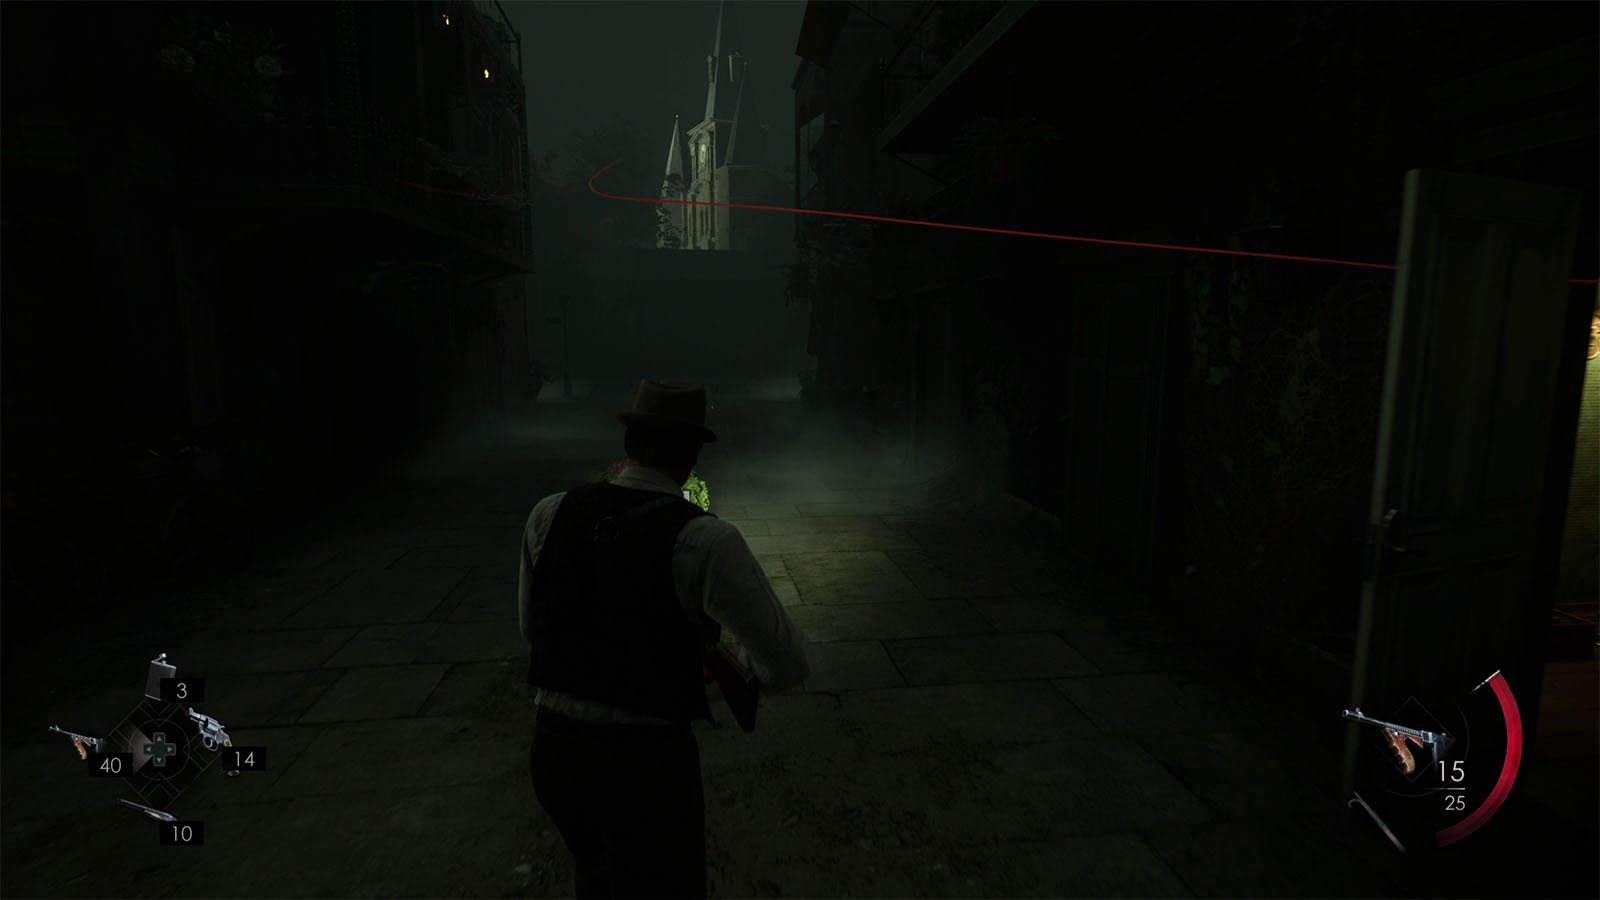
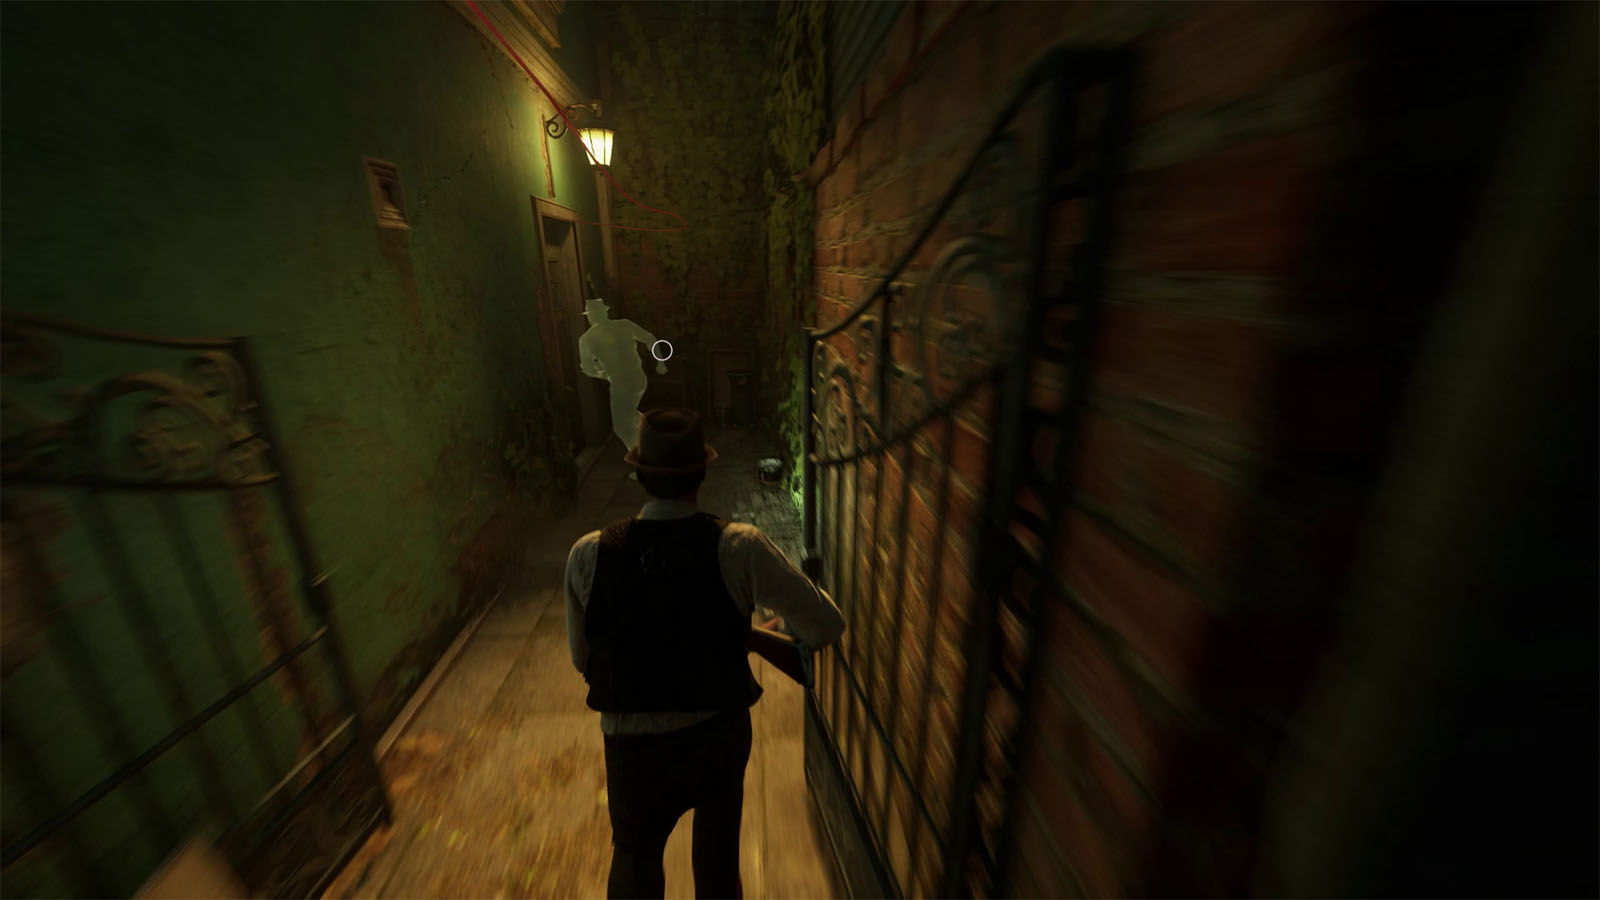
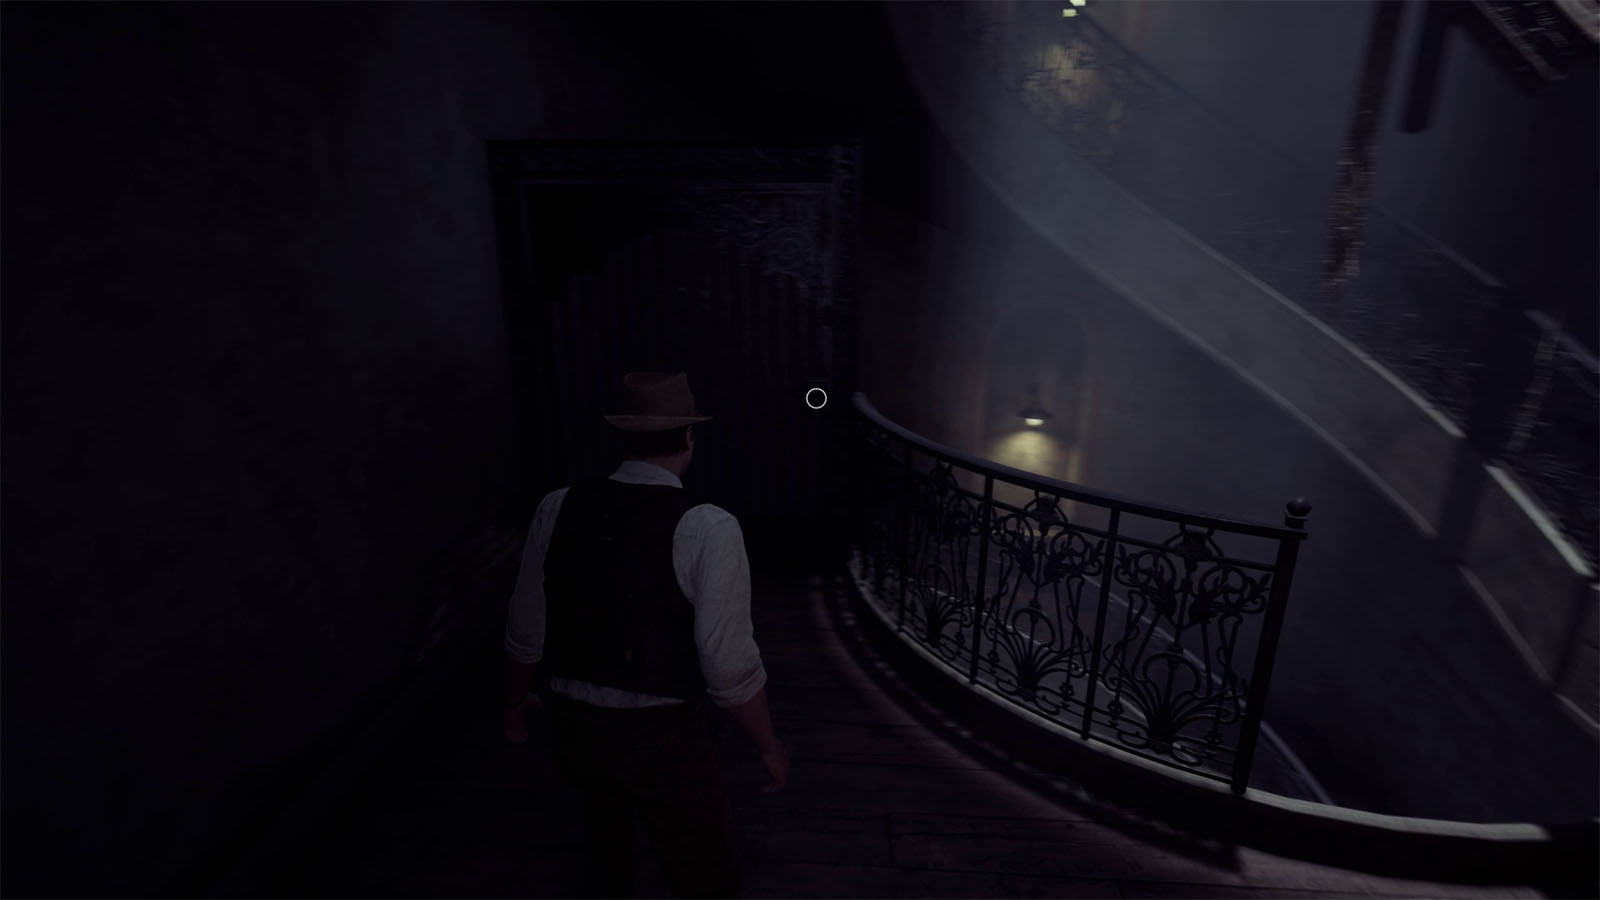
Follow the red thread as it snakes through the hall and out into the street until you reach Thornhill’s. Go up the stairs and interact with Edward’s ghost again to get more details about the case.
Go to St. George’s Hotel by the park and break into the kidnapper’s room
An enemy will suddenly burst out through the wall; kill it and follow the thread through the hole.
Make your way back down to the street where you have to either engage with the enemies or sneak past through them. Take the right path that leads to the lit tram.
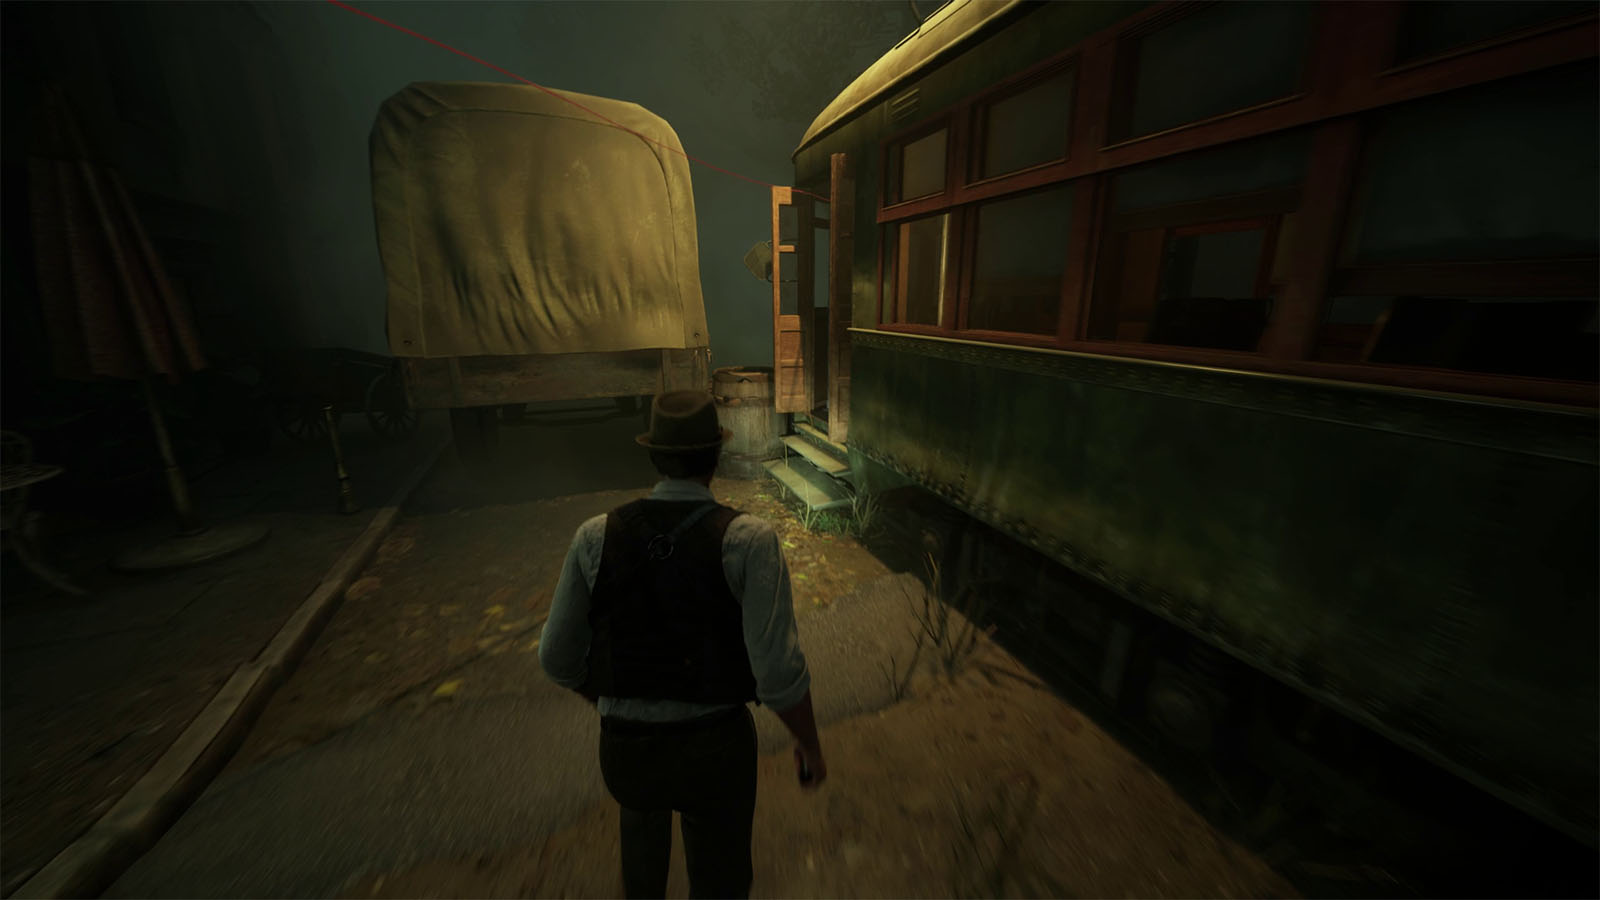
Go through the tram and exit the other door. Before heading into the part, follow the red thread to a small table where you can get a Candlestick as a weapon.
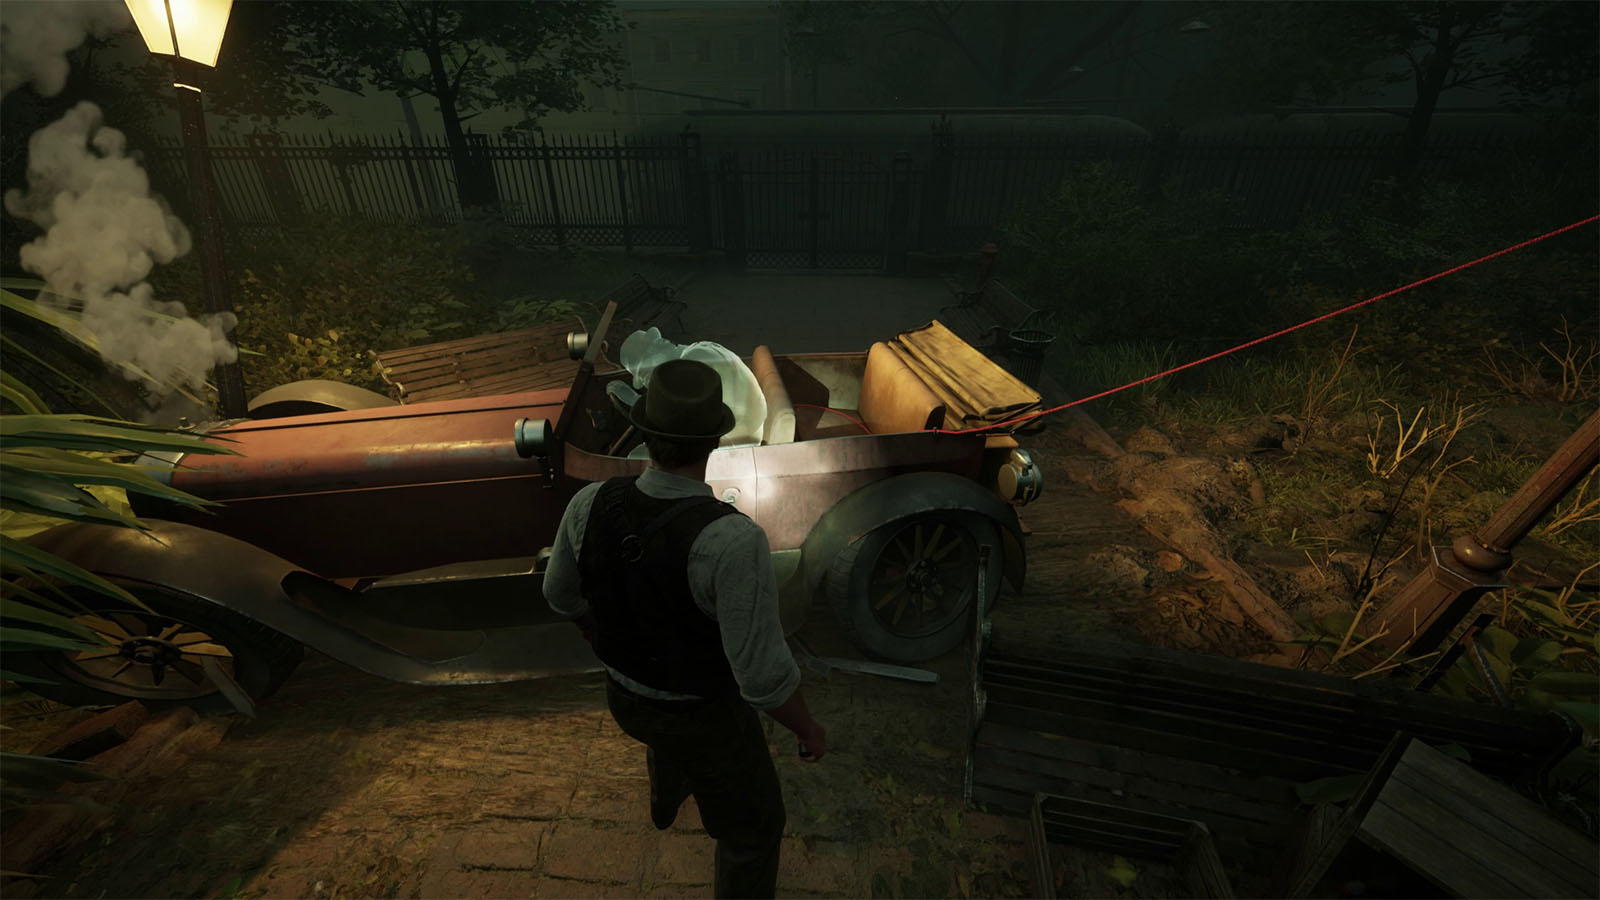
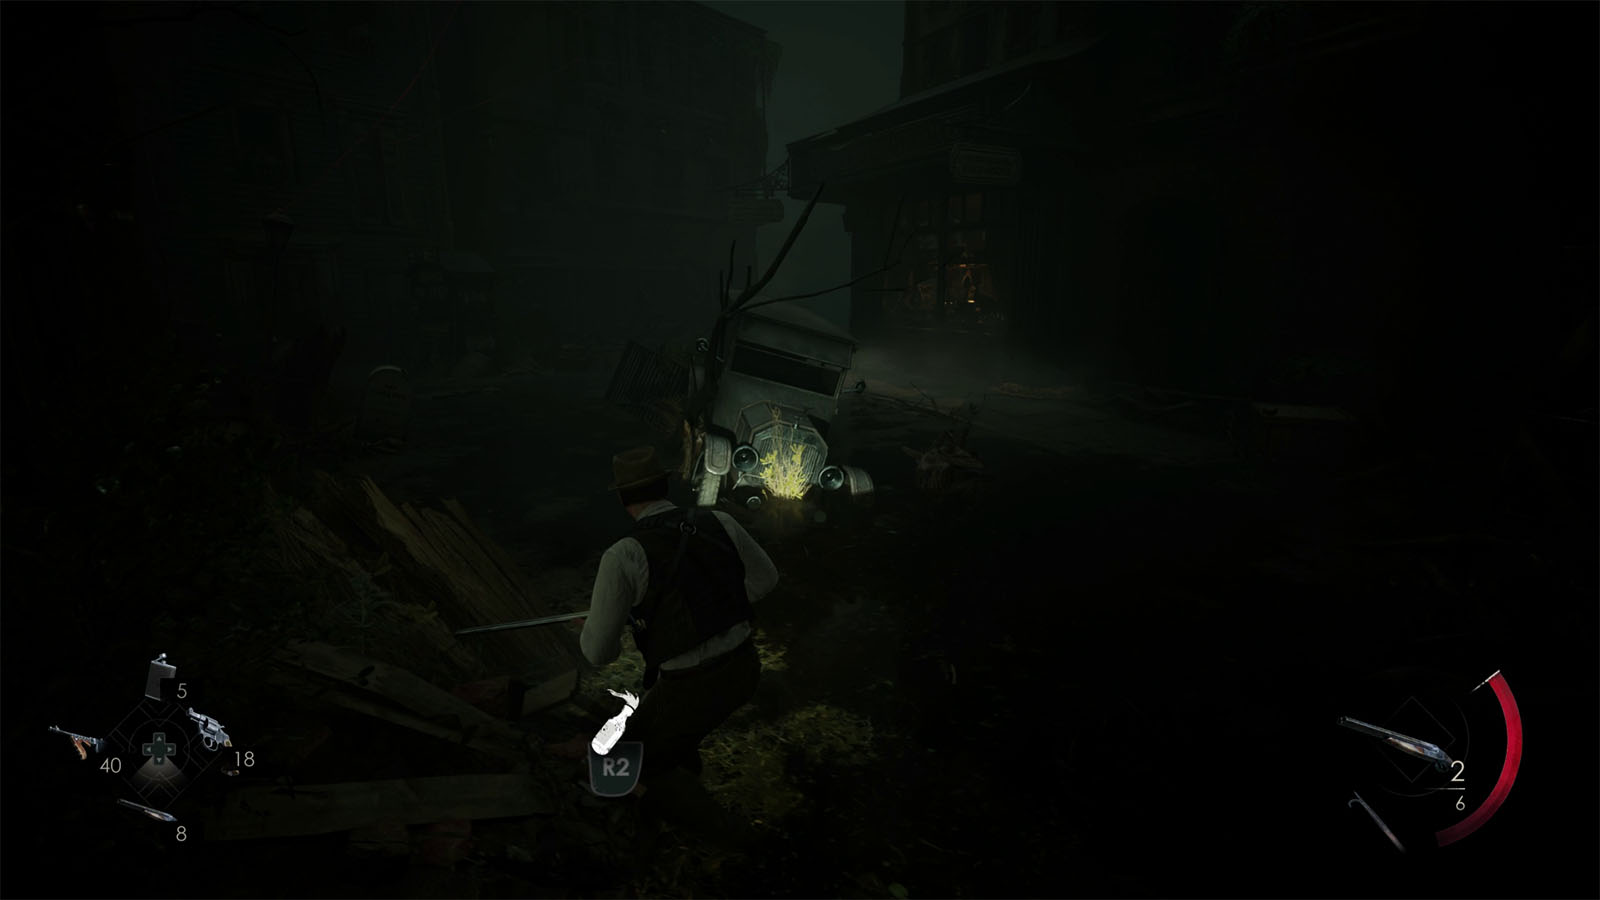
Continue following the thread into the park until you find a crashed car where Edward’s ghost is at. Prepare for another encounter as the bells will ring and attract the enemies towards your location.
Once it’s clear, go towards the door to the hotel. Inside, look to the desk on the right to find the Lagniappe – Curious Napkin. Check the reception area for some ammo and interact with Edward’s ghost once again.
Follow the thread once again up to the third floor and go through the room where it goes in to.

In the room, you will find the Business Card, Hotel Bill, and the Telephone Directory.
Find out where the kidnapper went
Check the map on the bed and place the three evidences on it. Flip all three, then place the hotel bill on the top side, the business card to the left, and the telephone directory to the right to figure out the puzzle.
Once you step out of the room, you will find yourself at the Pearl River Bridge.
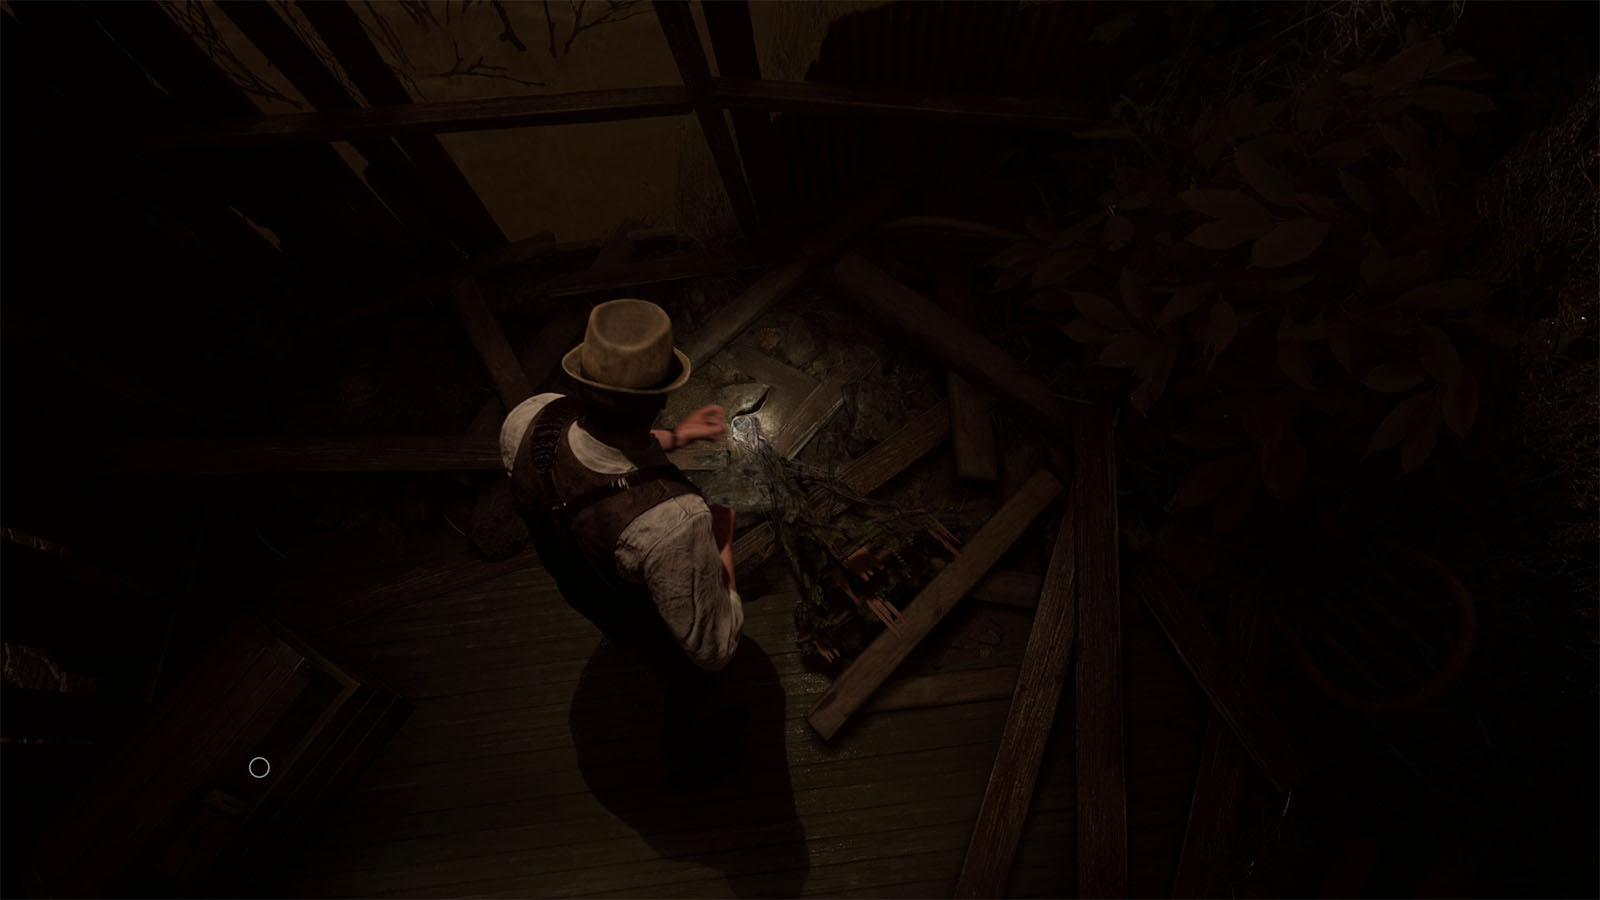

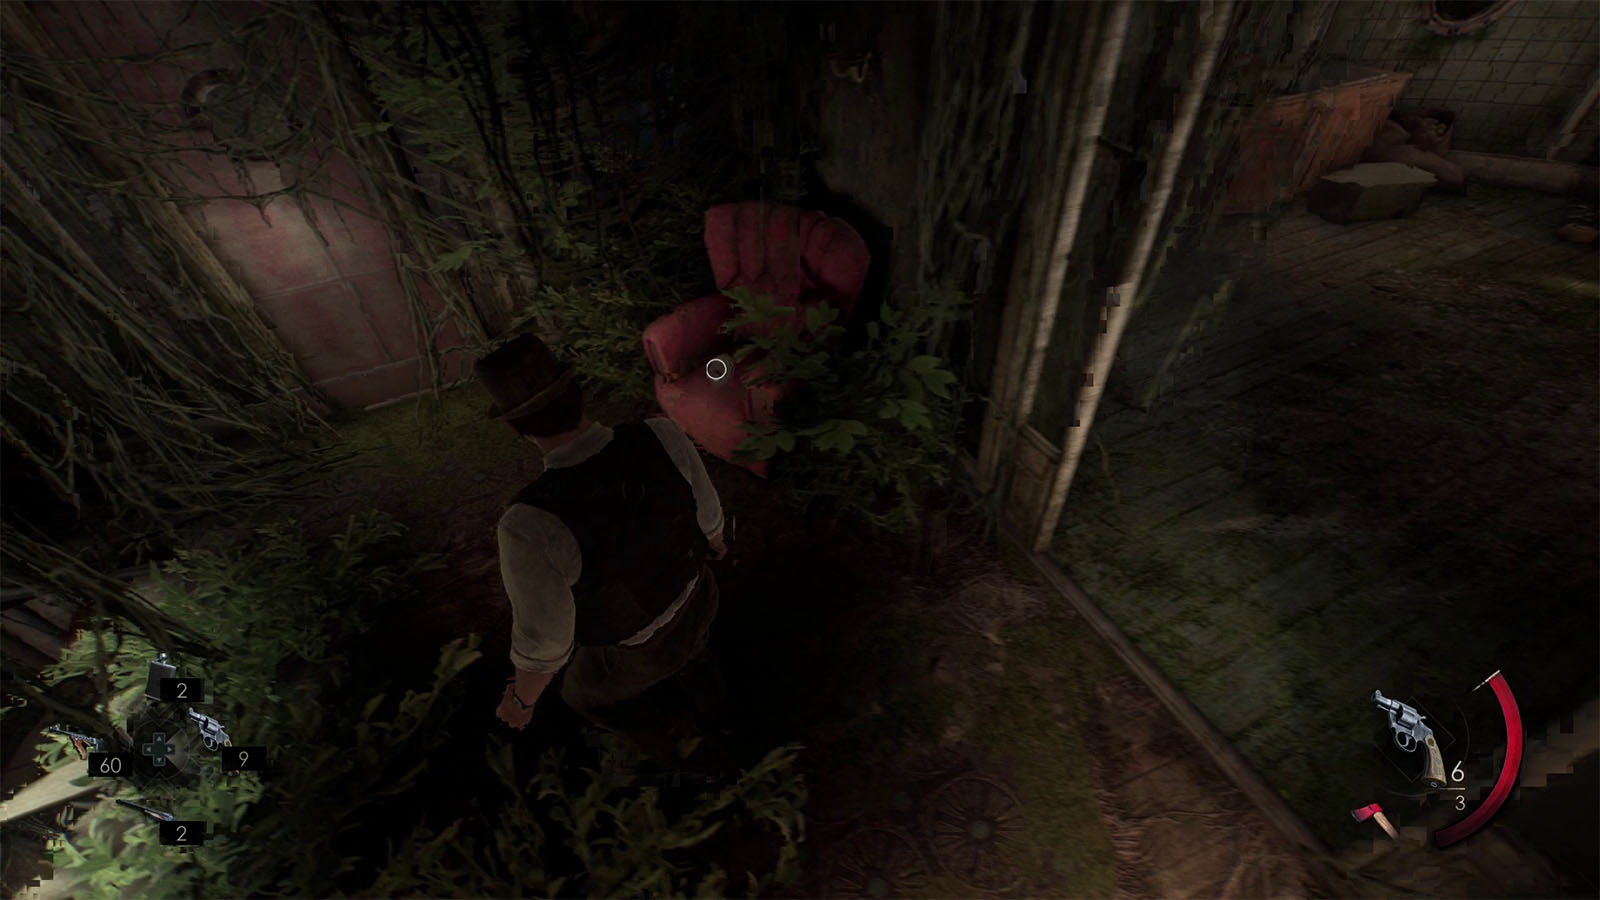
Follow the path through the bayou until you reach a fork. Take the left path first to find the Lagniappe – Profane Totem inside the small shack. Be prepared to be ambushed by an enemy.
Go back to the main path and take the path that connects to the road.
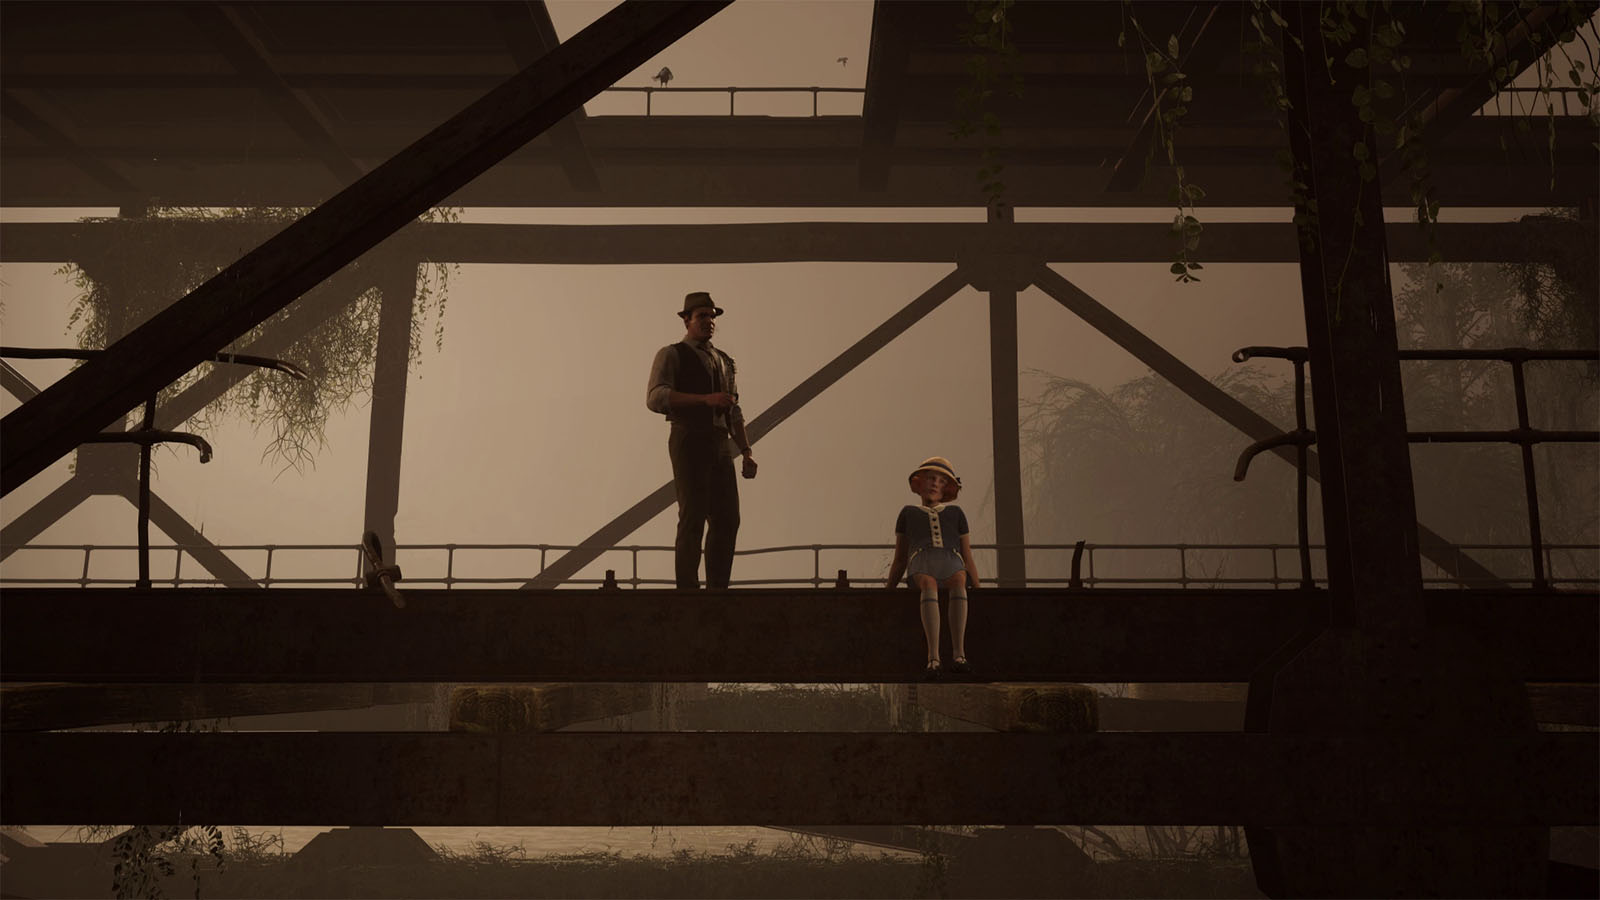
At the bridge, you will see a cutscene with Grace sitting by the edge. Through this conversation, it is revealed that Grace was the child of his client who was taken by her father, but because they were pursued by Edward, their car drove off into the river. Edward managed to save Grace and let her father die. He then sent Grace back to her mother, not knowing that she will eventually be neglected by her mother.
Find a way to raise the bridge
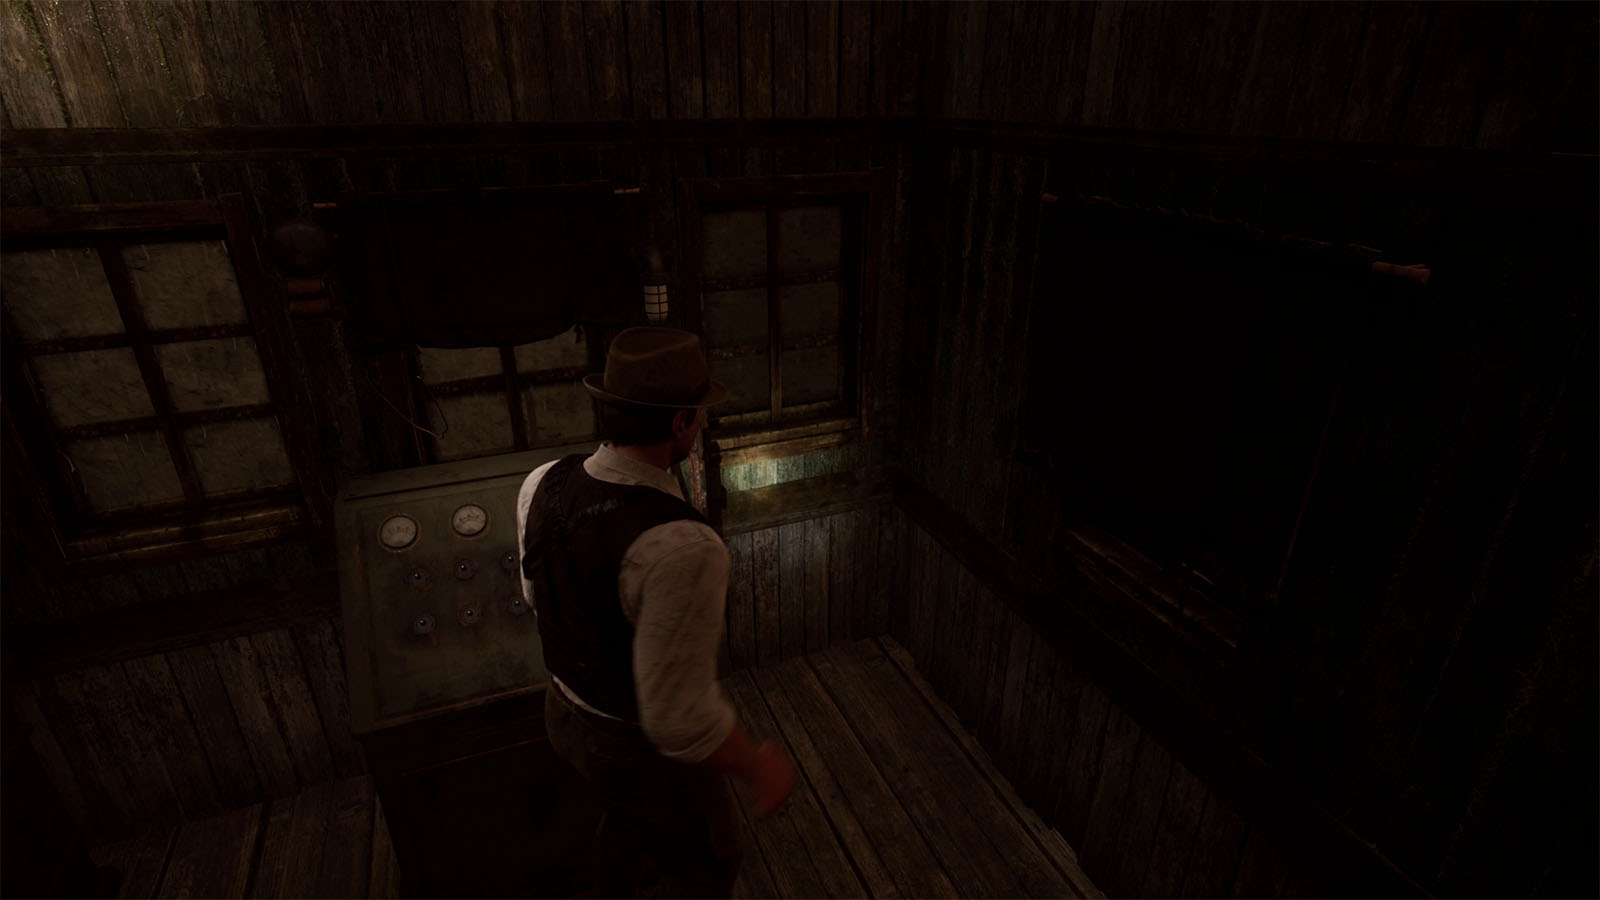
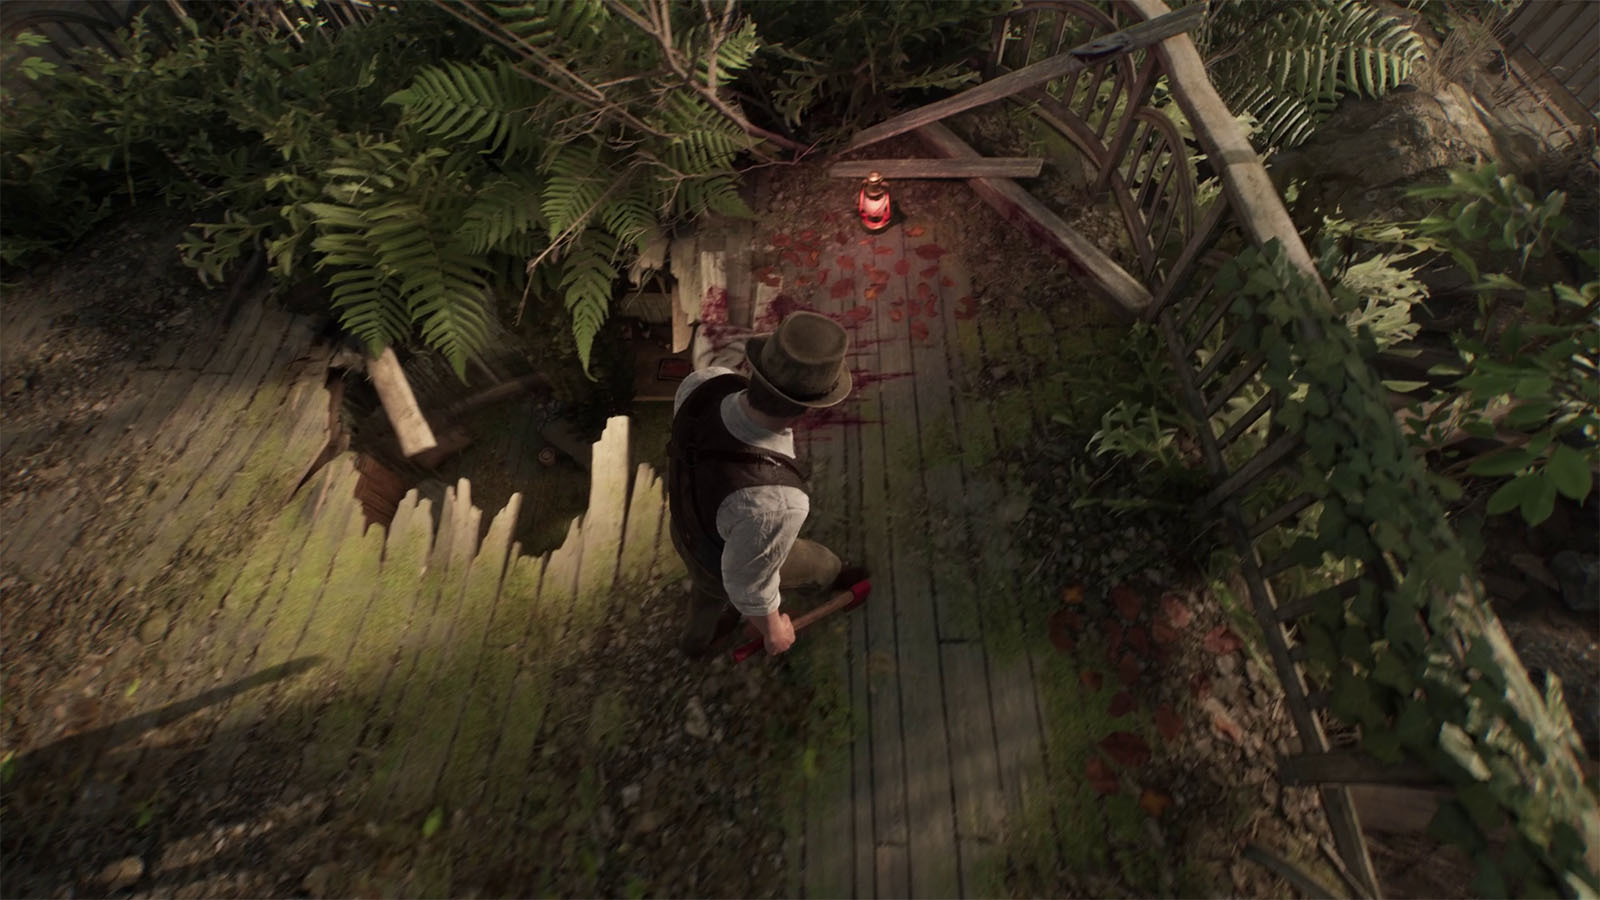
Despite this, you still try to find a way to save Grace’s father from drowning. Head to the stairs up the bridge and go to the building in the middle. Grab yourself an axe from the crate, then activate the bridge controls.
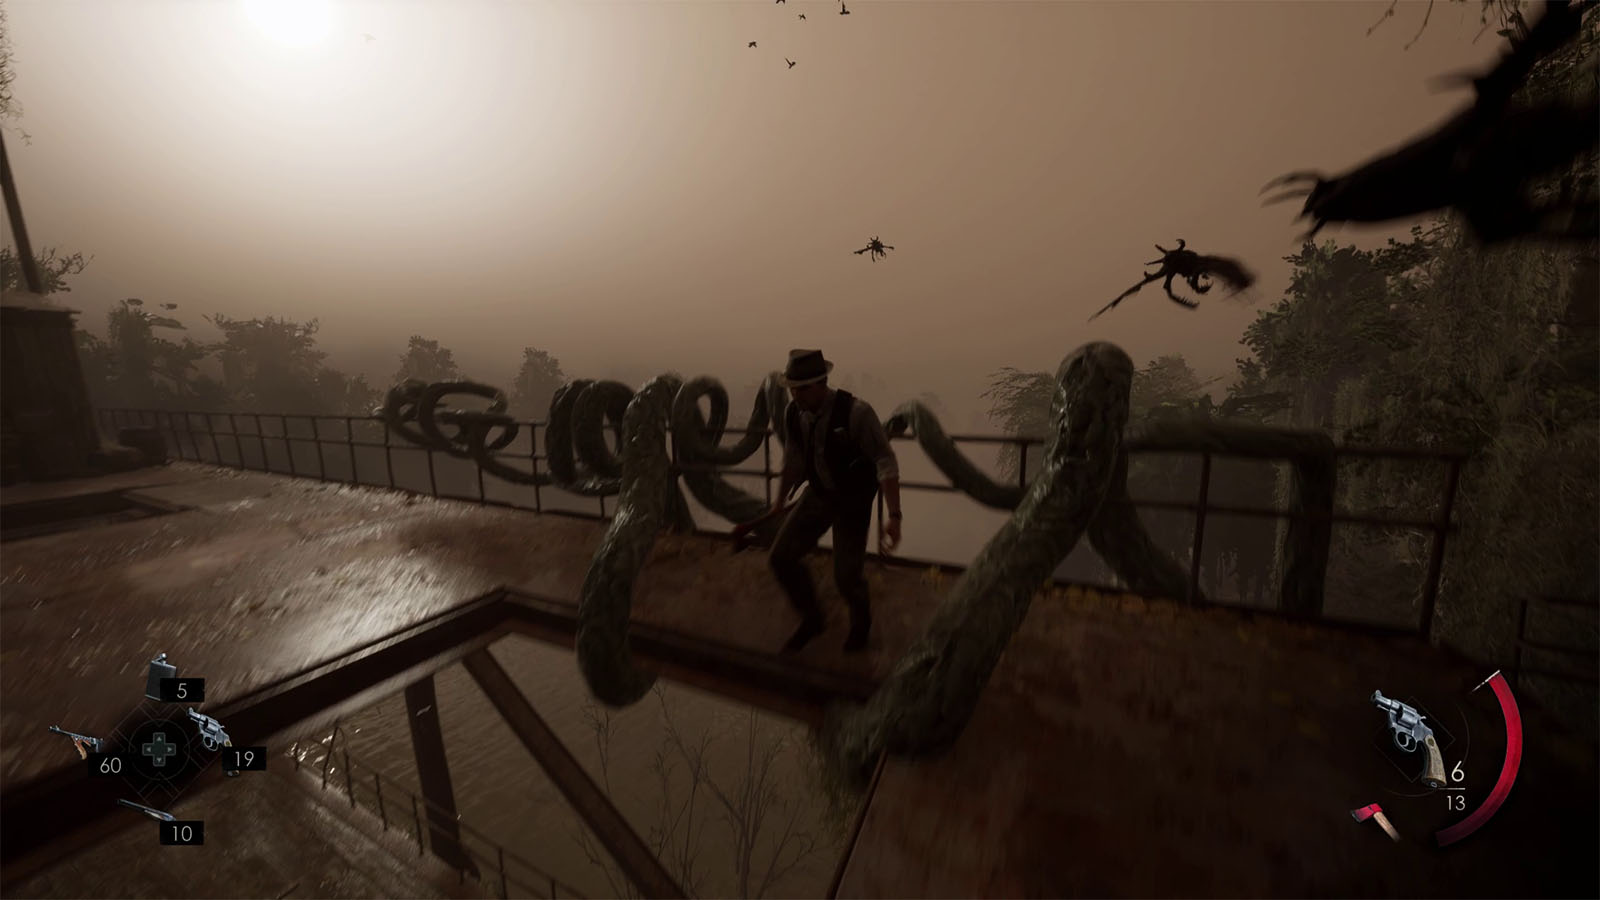
The bridge will start to move, but it is hindered by large vines. Cut these vines off with the axe while dealing with the flying enemies.
Pilot the boat by the house to the sinking car
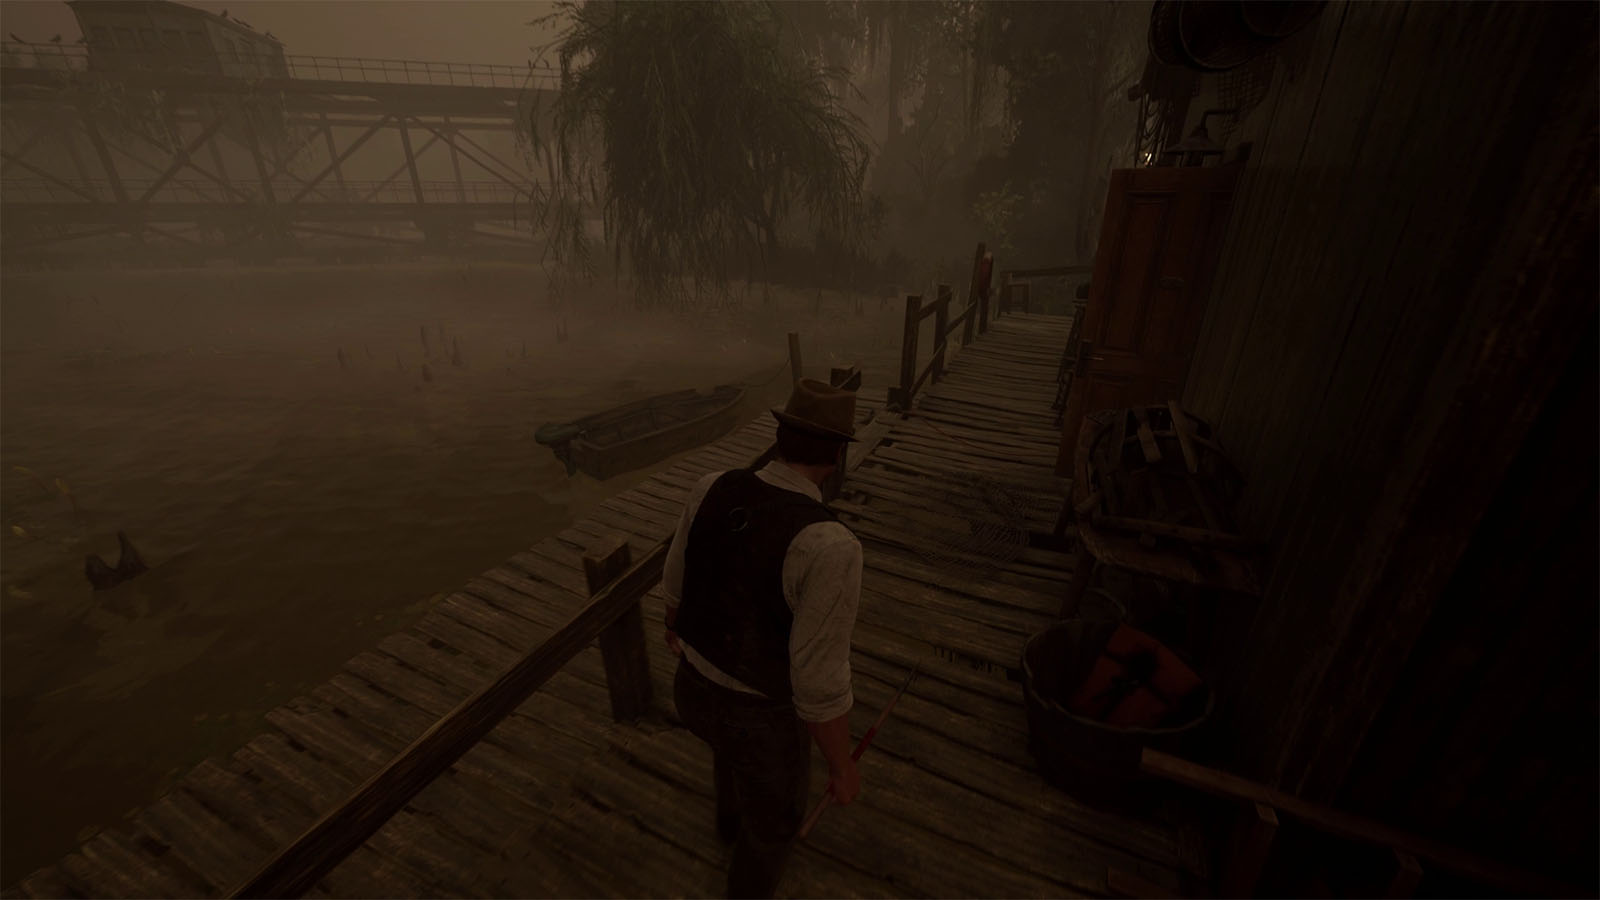
Go down the ladder on the other side and make your way back to the house where you came from. On the dock is where you will find a boat that you can use to get to the sinking car. Ride the boat to get another cutscene.
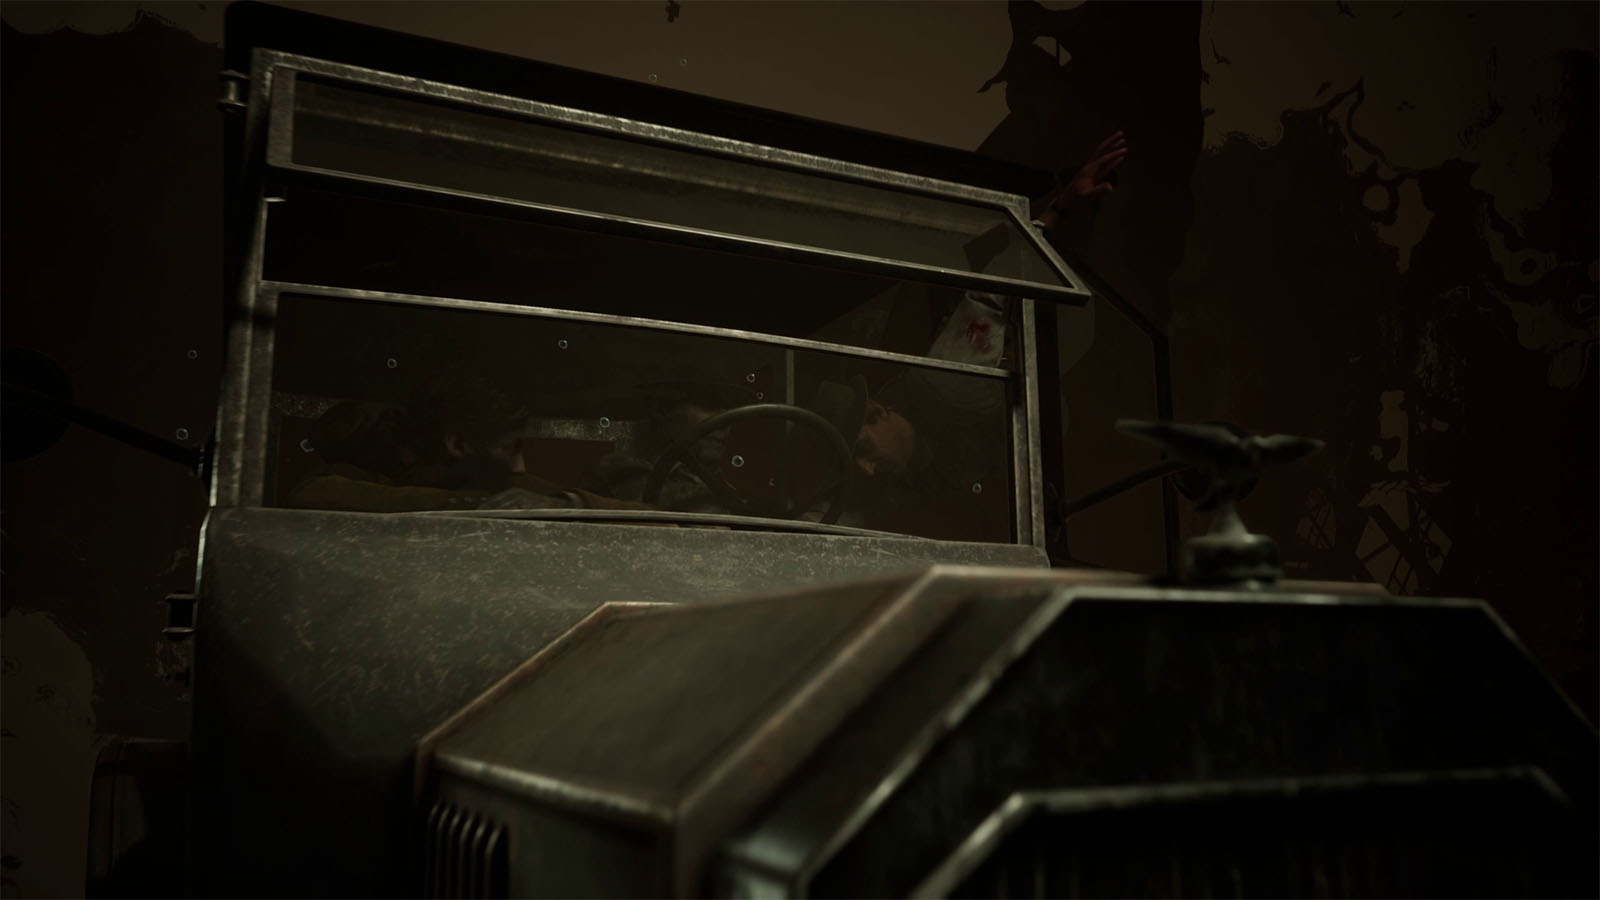
As you get to the boat, you’ll see that the passengers were actually Edward and Emily as you get pulled into the water. You will then wake up back in Derceto with Emily finding you wet from being inside the bathtub. After the talk, you will unlock the I Stole the Child and Let Him Drown Achievement.
Look for Jeremy’s X-ray plates in the infirmary
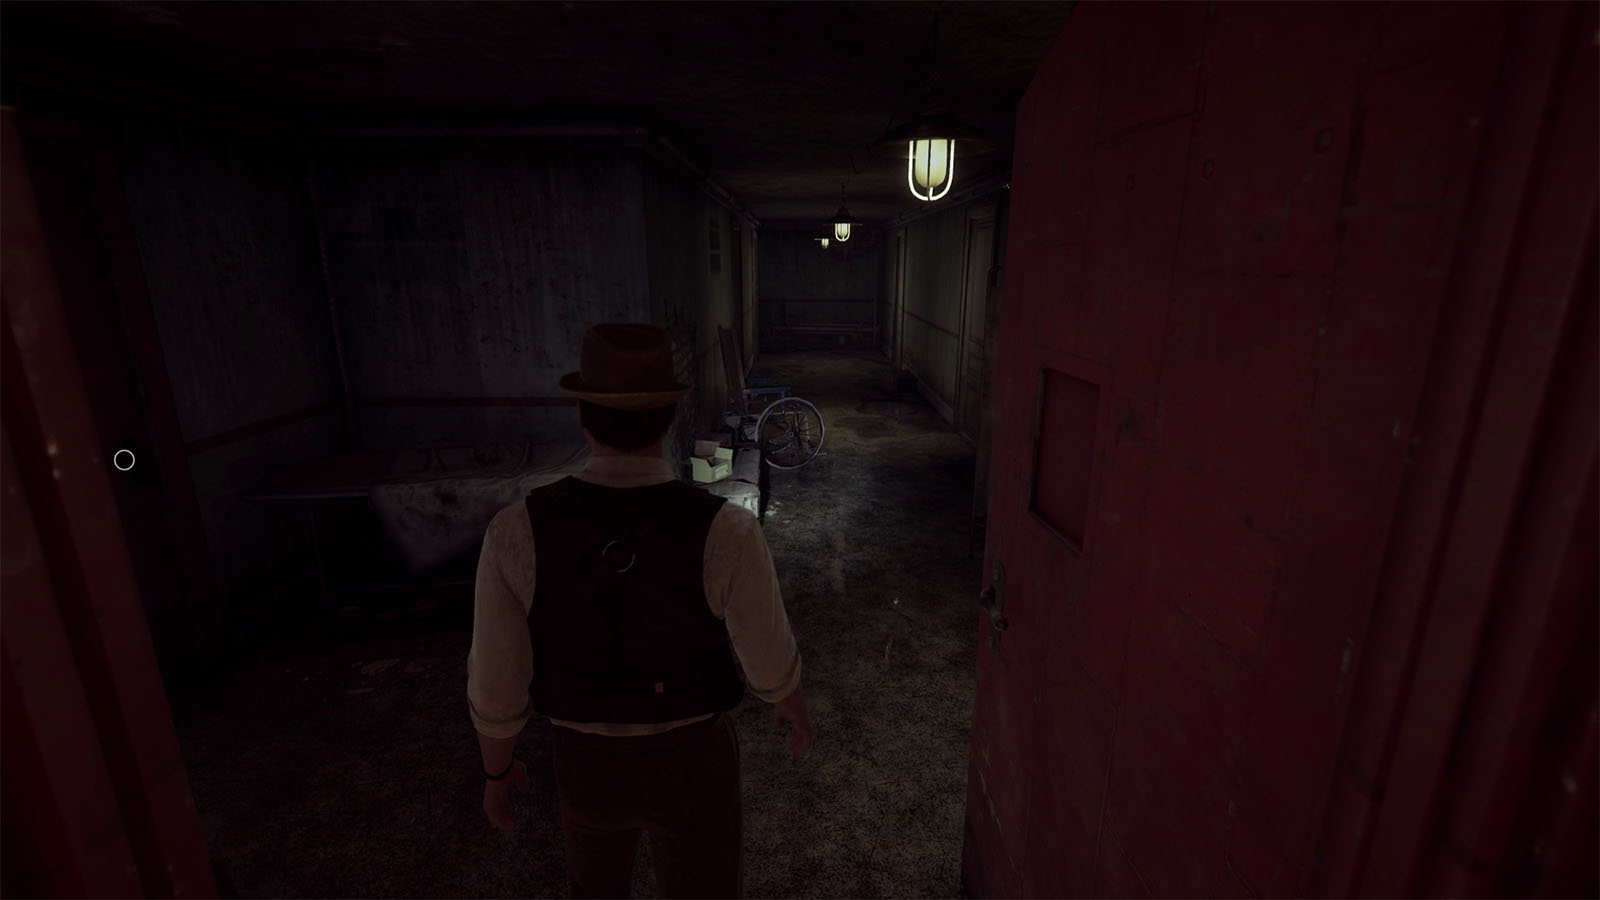
From the Grand Parlor, go through the door leading to the stairwell, then use the Stairwell Key to open the gate to the stairs leading down. Take the stairs down and go through the red door to reach the infirmary.

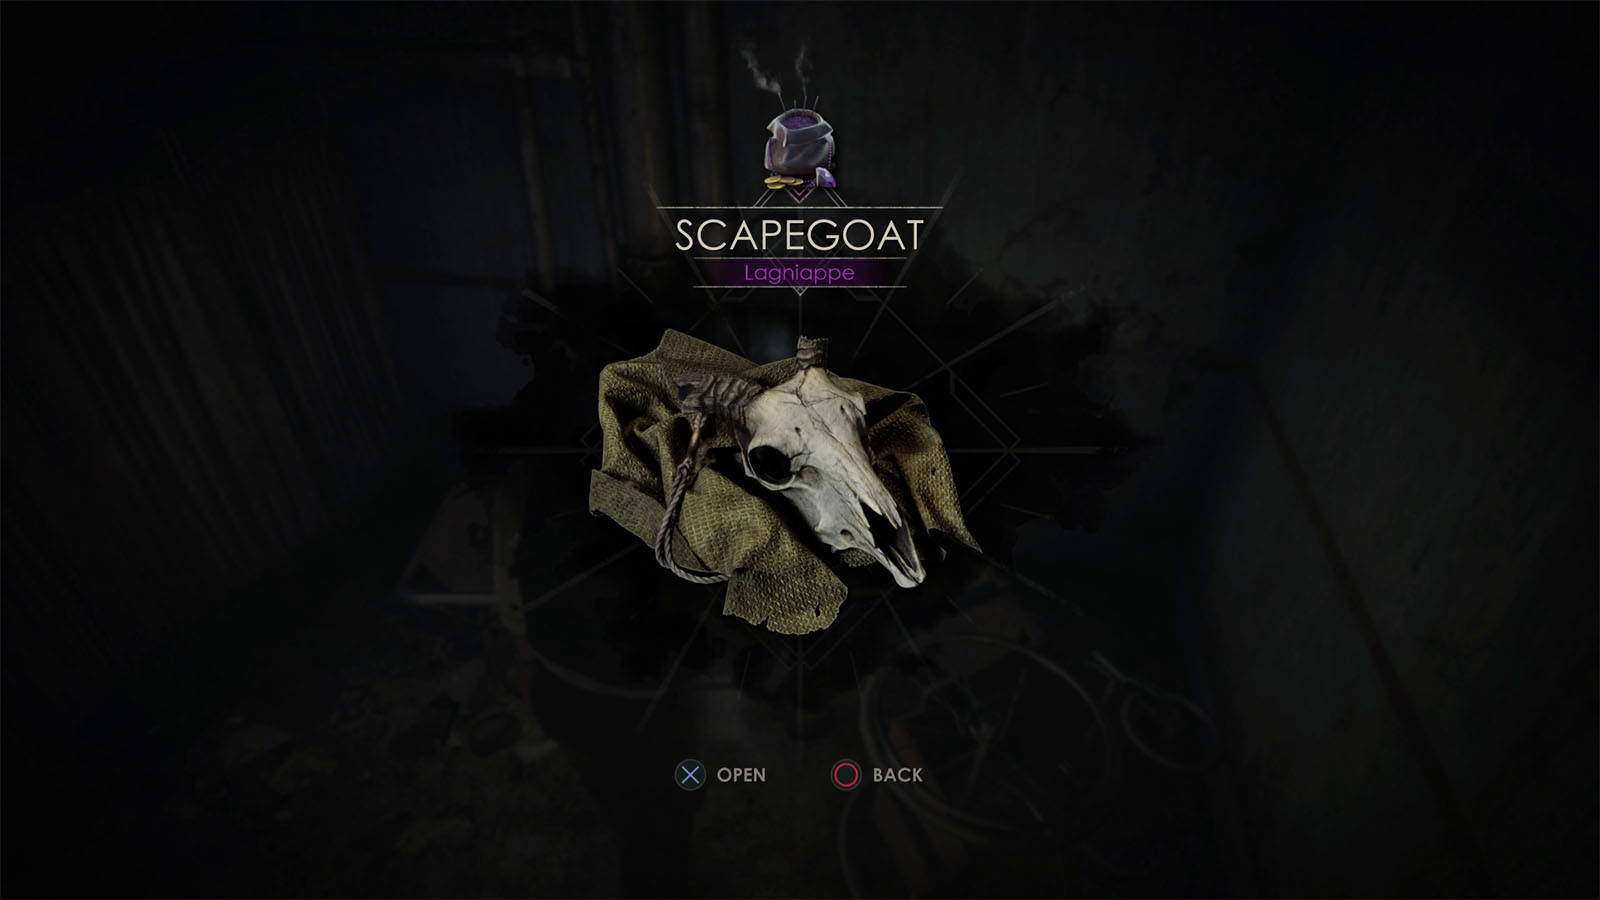
Immediately to your right is where you can find the Lagniappe – Scapegoat.
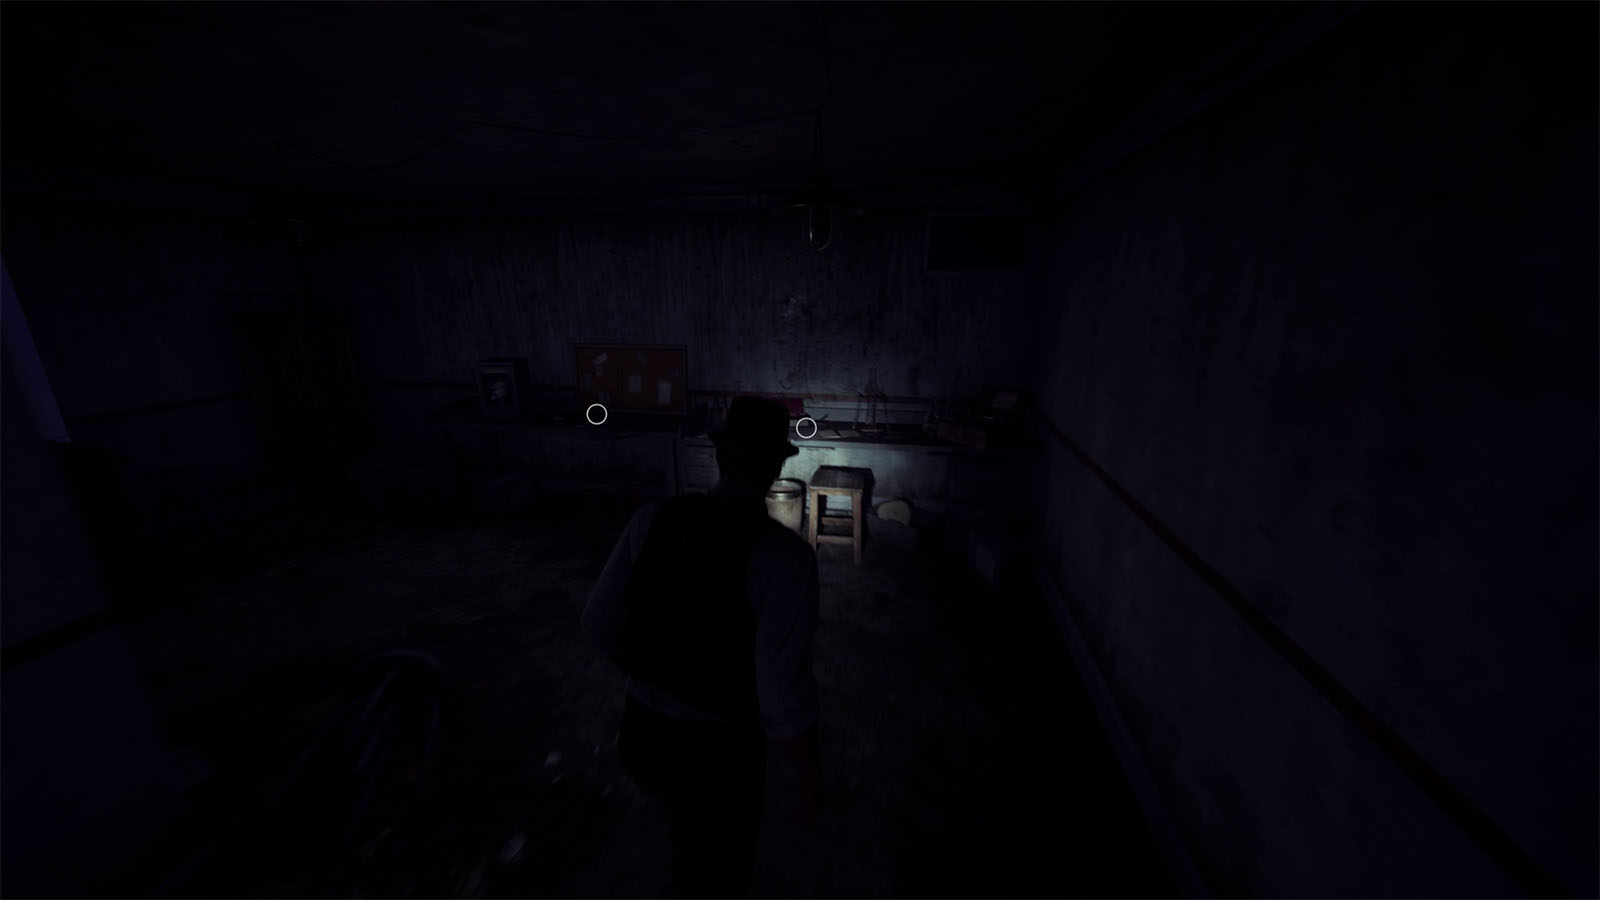
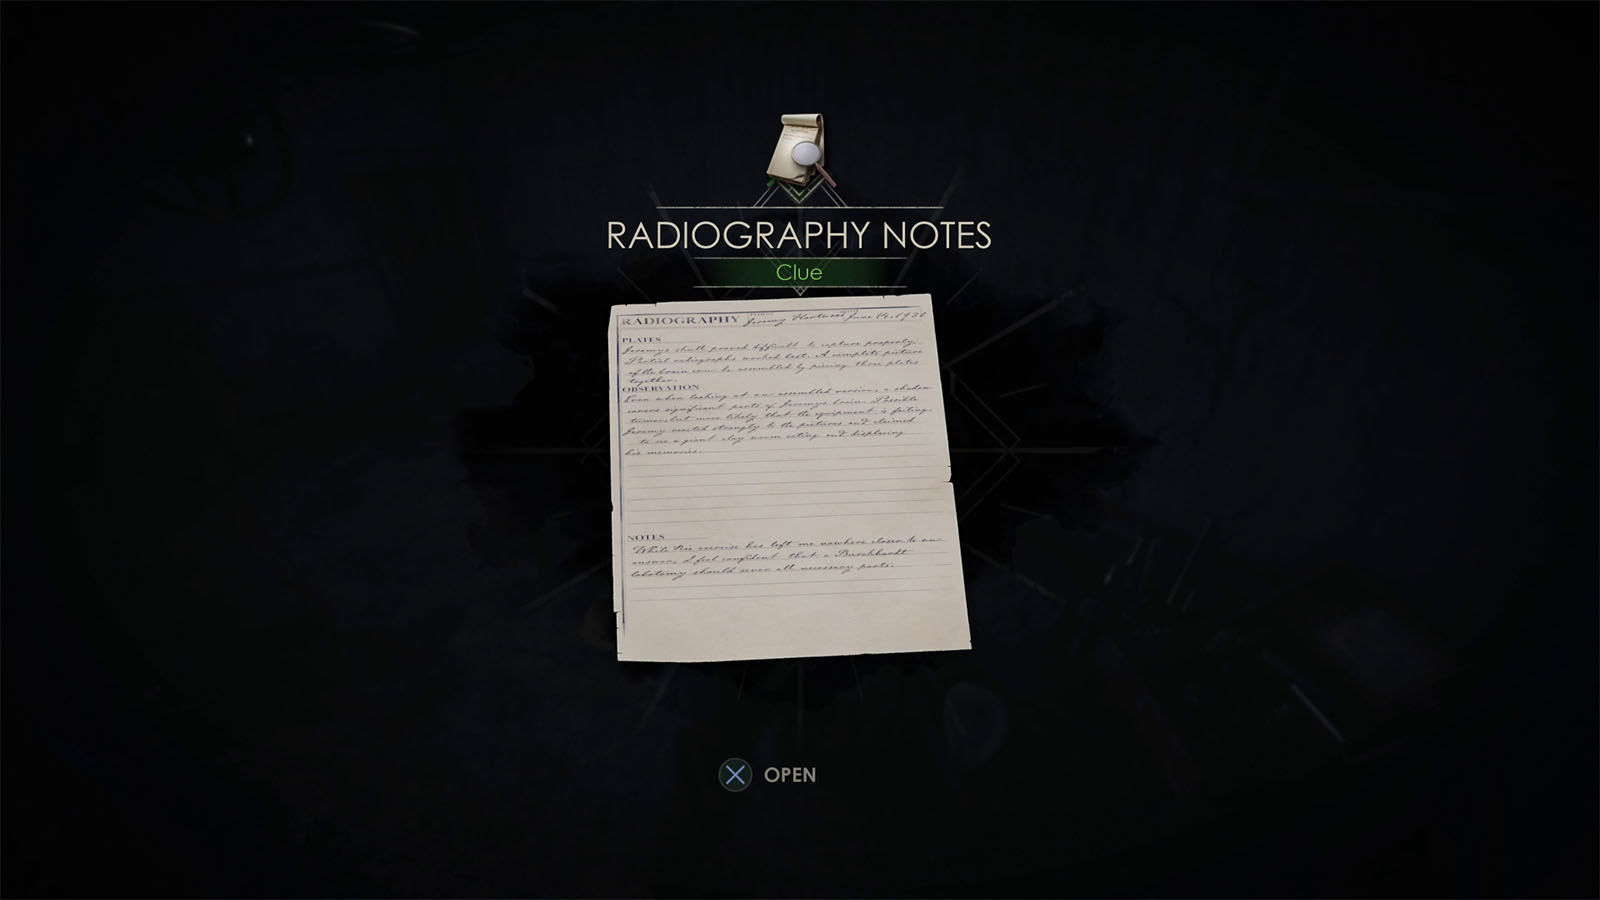

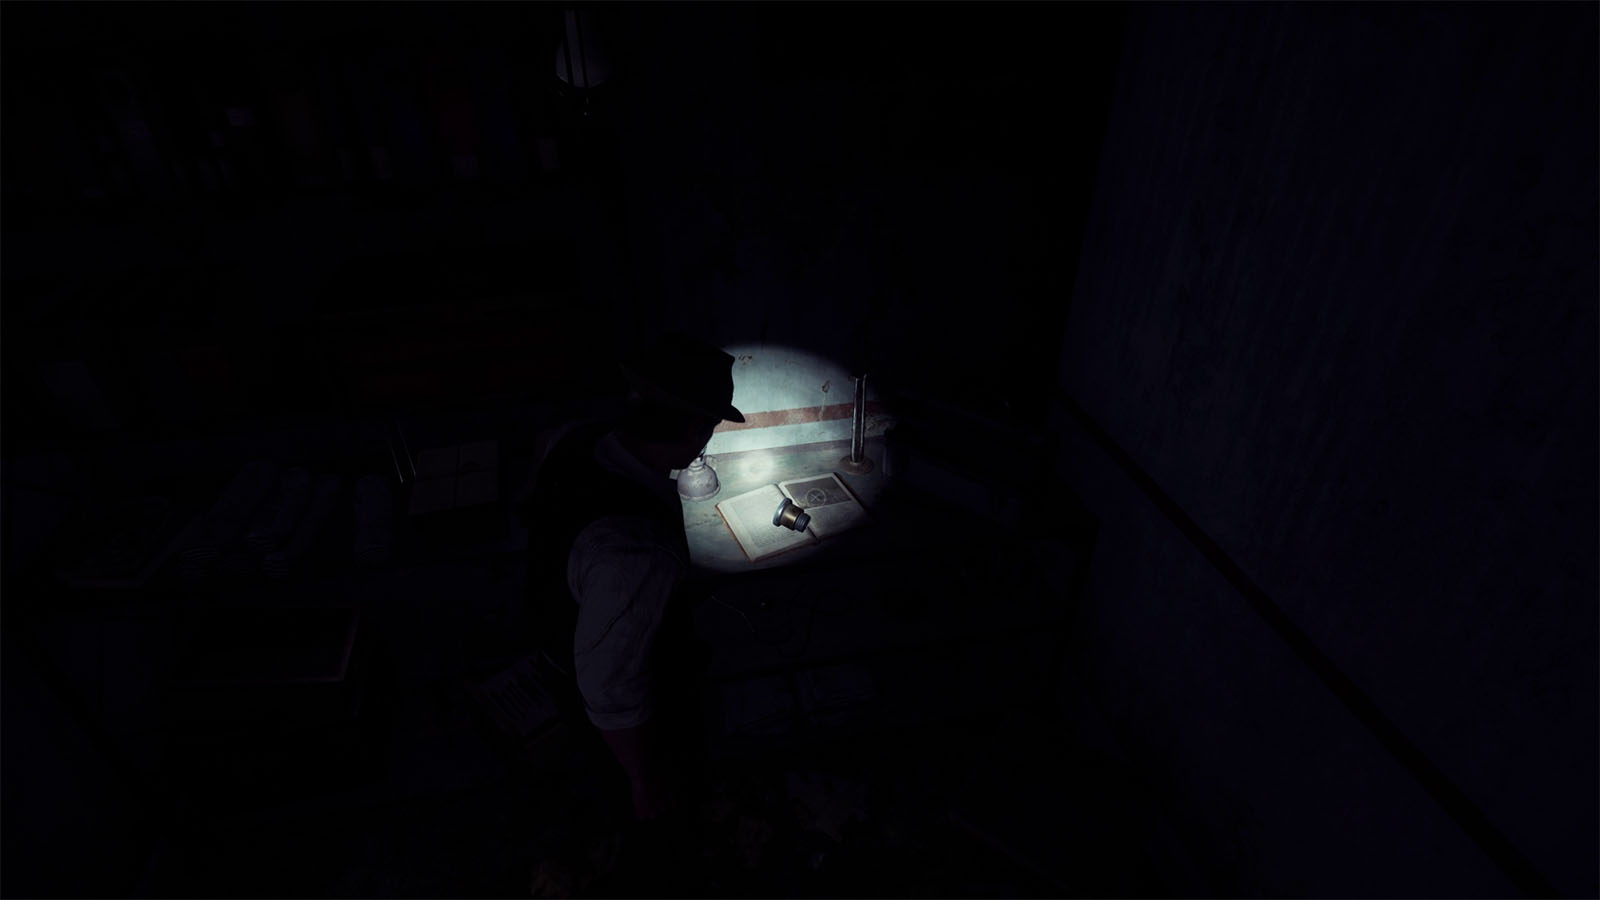
While in the infirmary, the lights will suddenly shut off. The first two doors that you’ll pass by will need a key to be unlocked. Go to the laboratory first to find the Clue – Radiography Notes and the Clue – If All Else Fails, both of which are talking about Jeremy’s head.
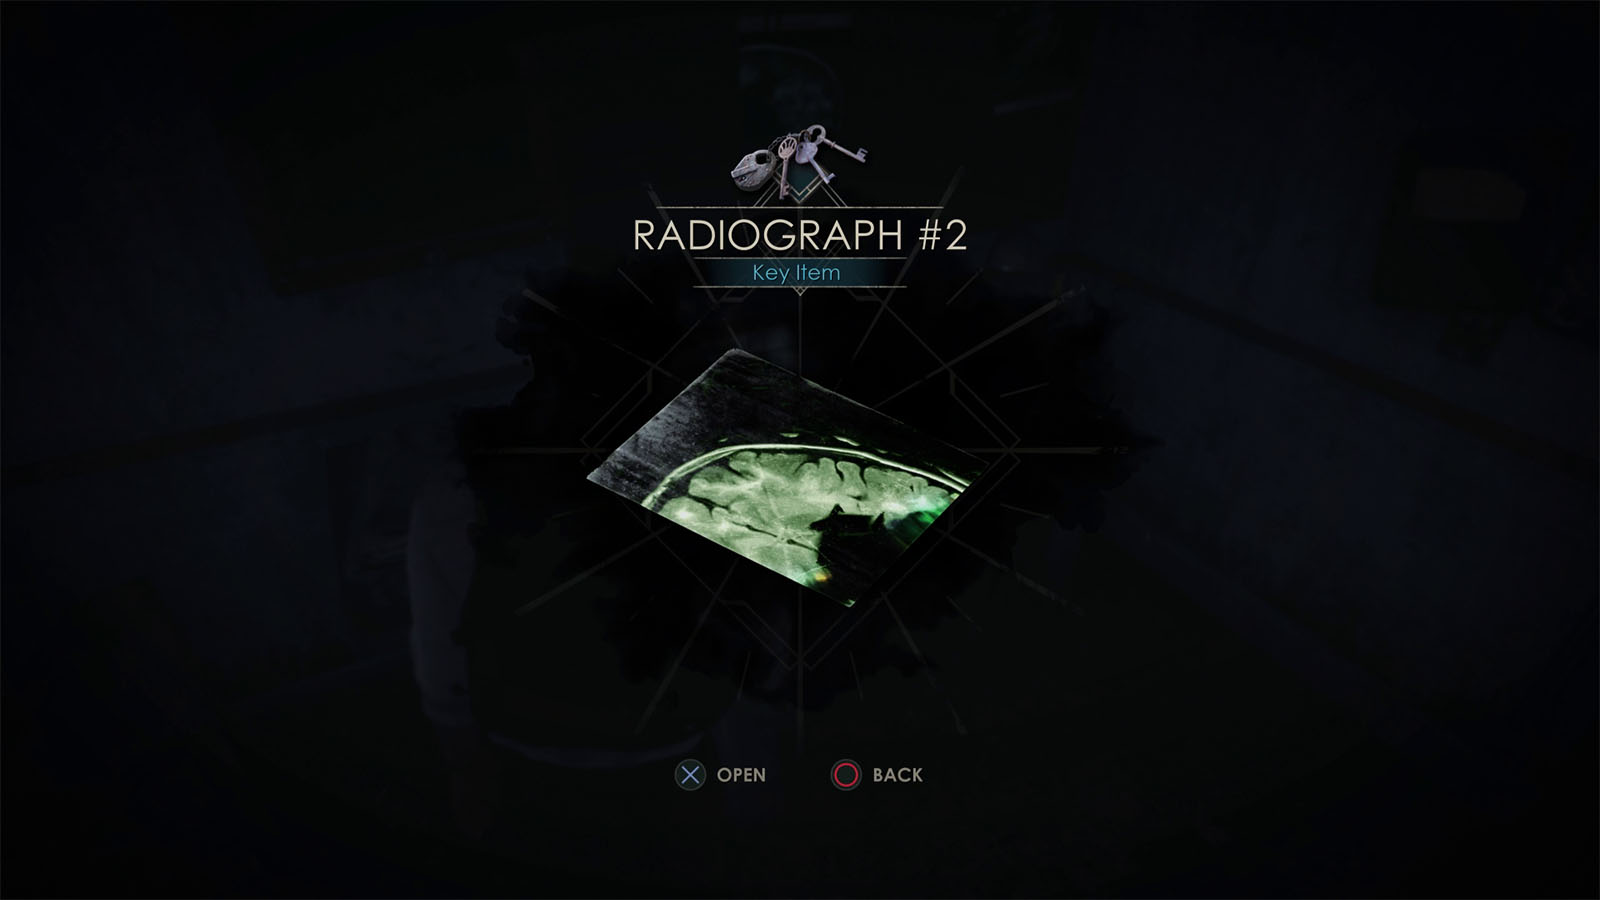
Inside the smaller room is where you can find the Radiograph #2 which is one of the plates showing the x-ray of Jeremy’s head.
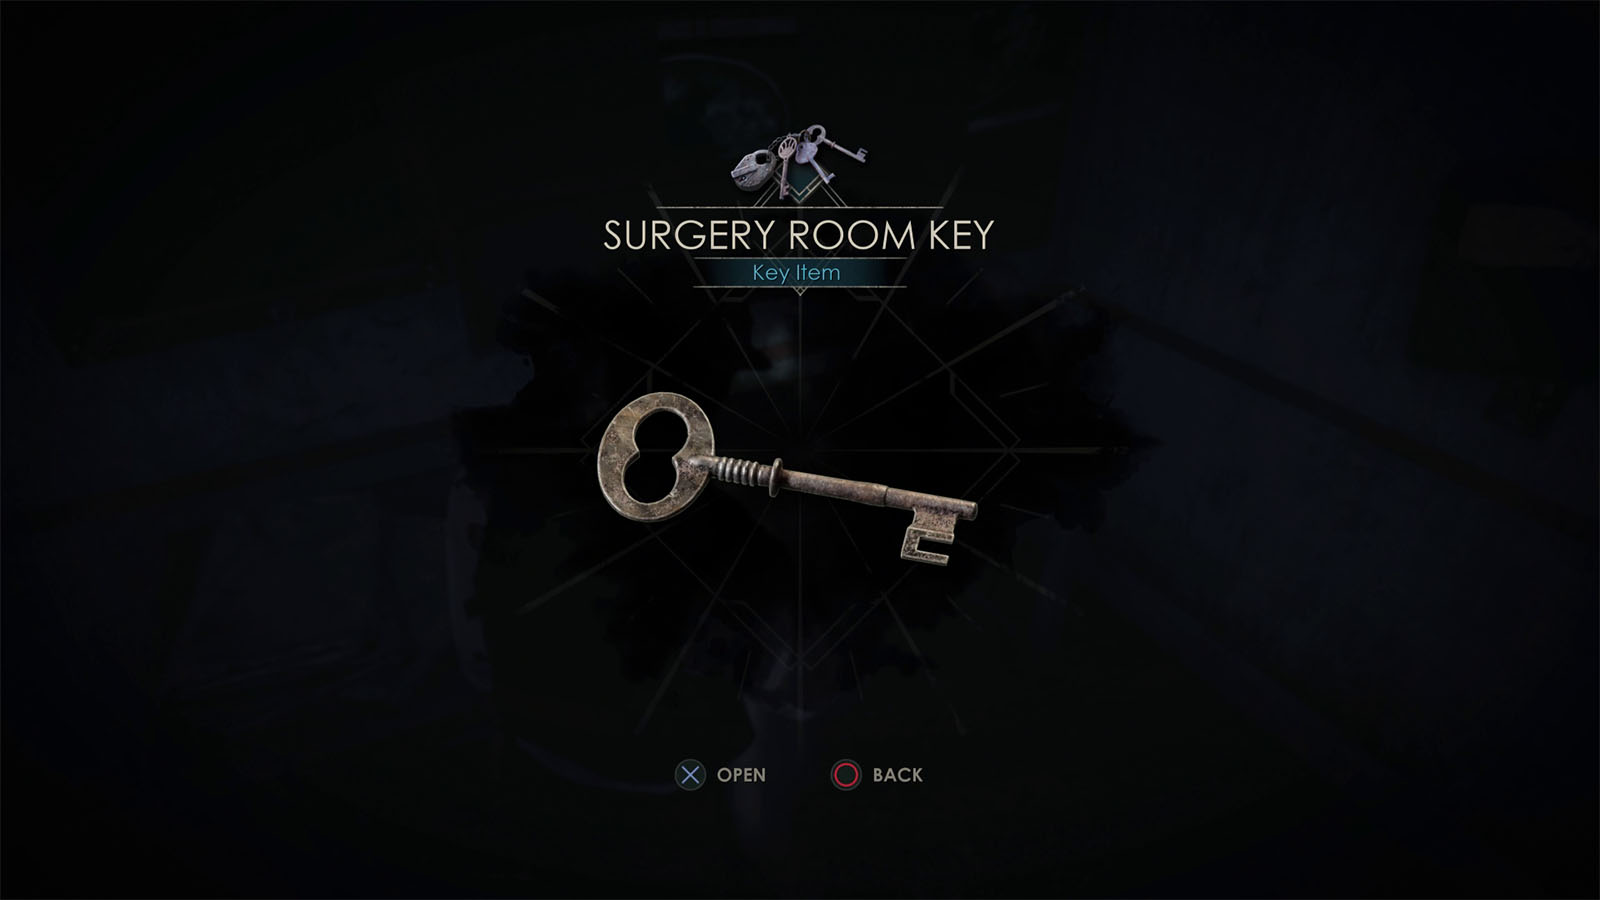
You can also find the Surgery Room Key on the table, and the Electrical Fuse on the other table. There’s a circuit box nearby, but it needs one more working fuse.
Turn on the electricity first to study the X-ray plates
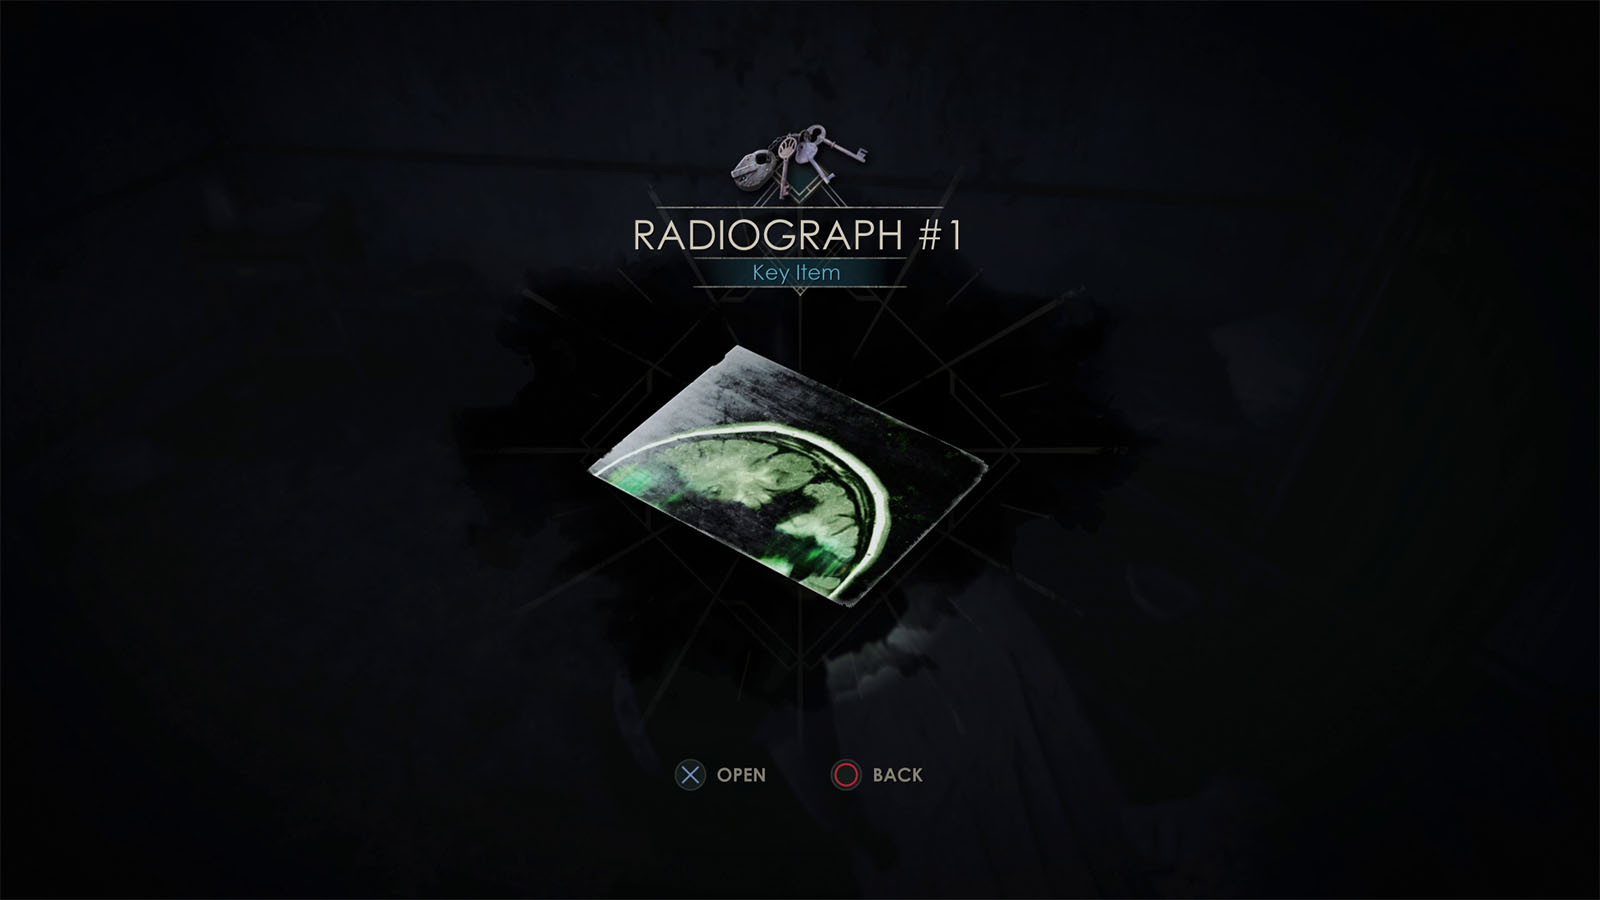
Go into the quarantine room across the hall to find Radiograph #1.
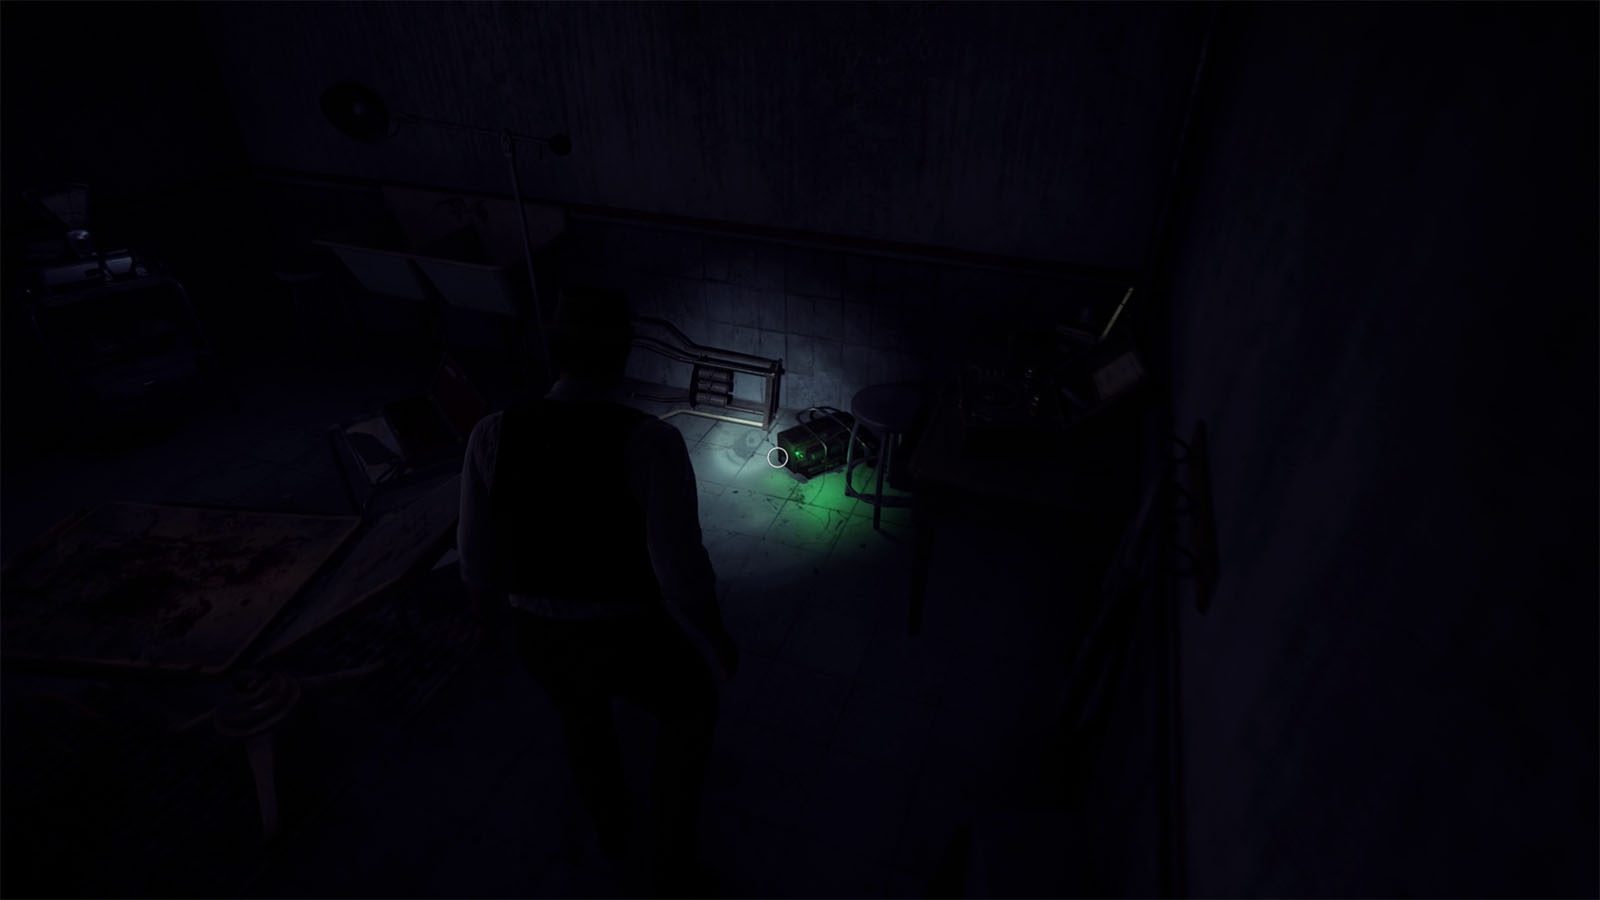
Then go to the surgery room and inspect the glowing object on the ground to get another Electrical Fuse.

Head back to the circuit box and place the fuses in their sockets. Afterwards, pull these switches in this order to make them all go down: 1-4-2. Once done, the lights should turn back on and you will be able to examine the x-ray plates.
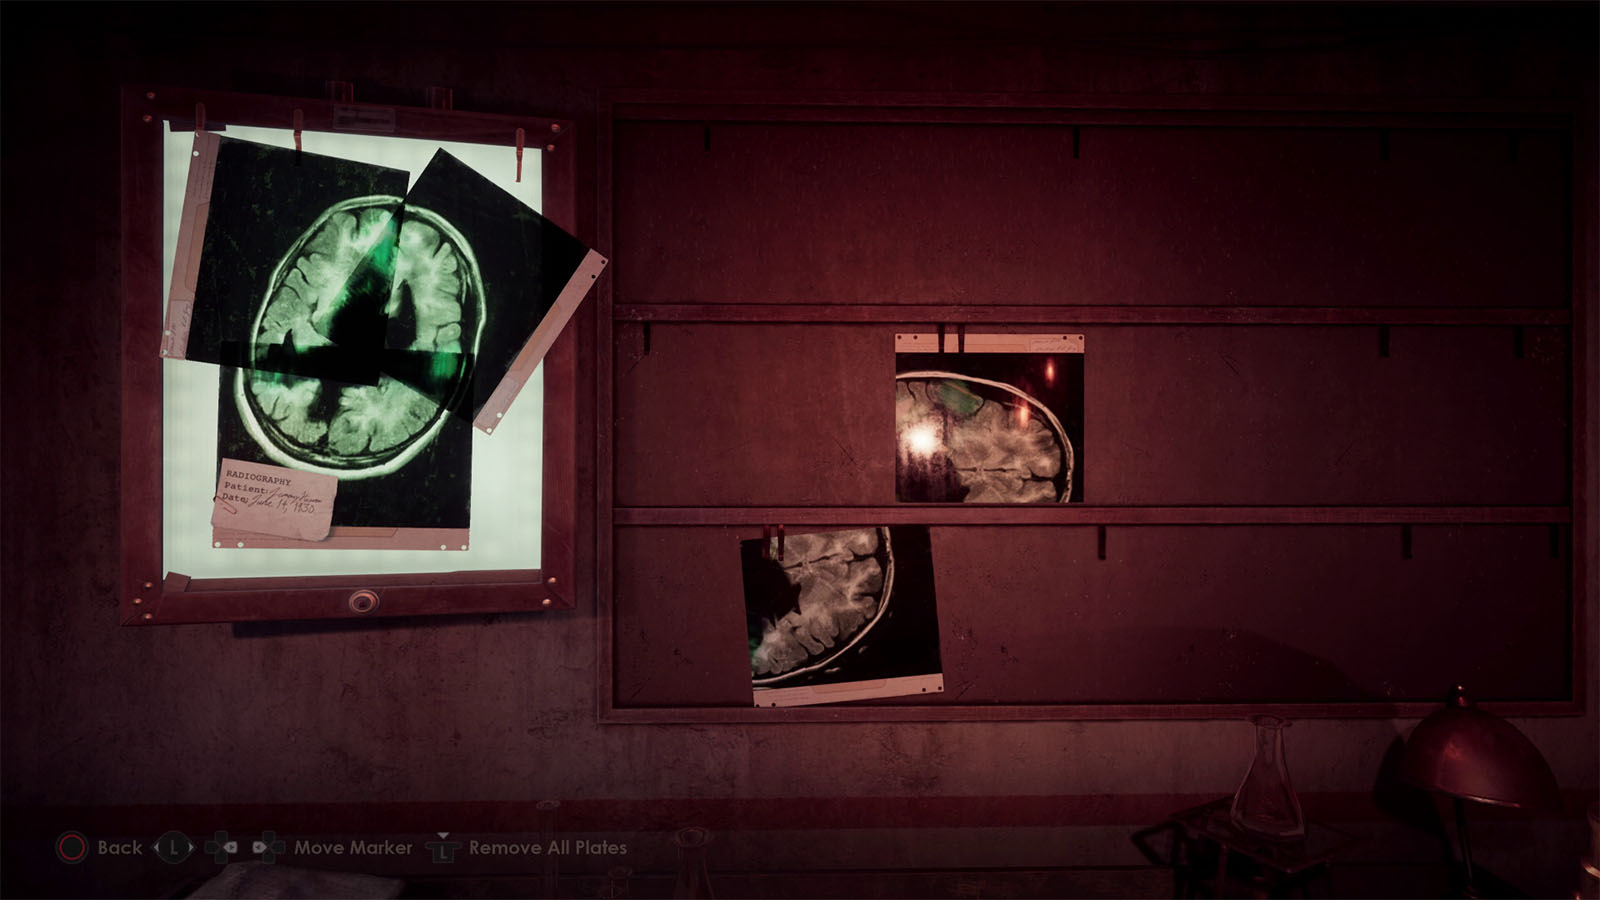
Check the board where the plates are placed, and use only these three plates to rebuild Jeremy’s head x-ray: the two plates on the top row, and the rightmost plate on the second row. Rearrange them so that the plate with the note is on the bottom, while the other two make up the two halves up top.
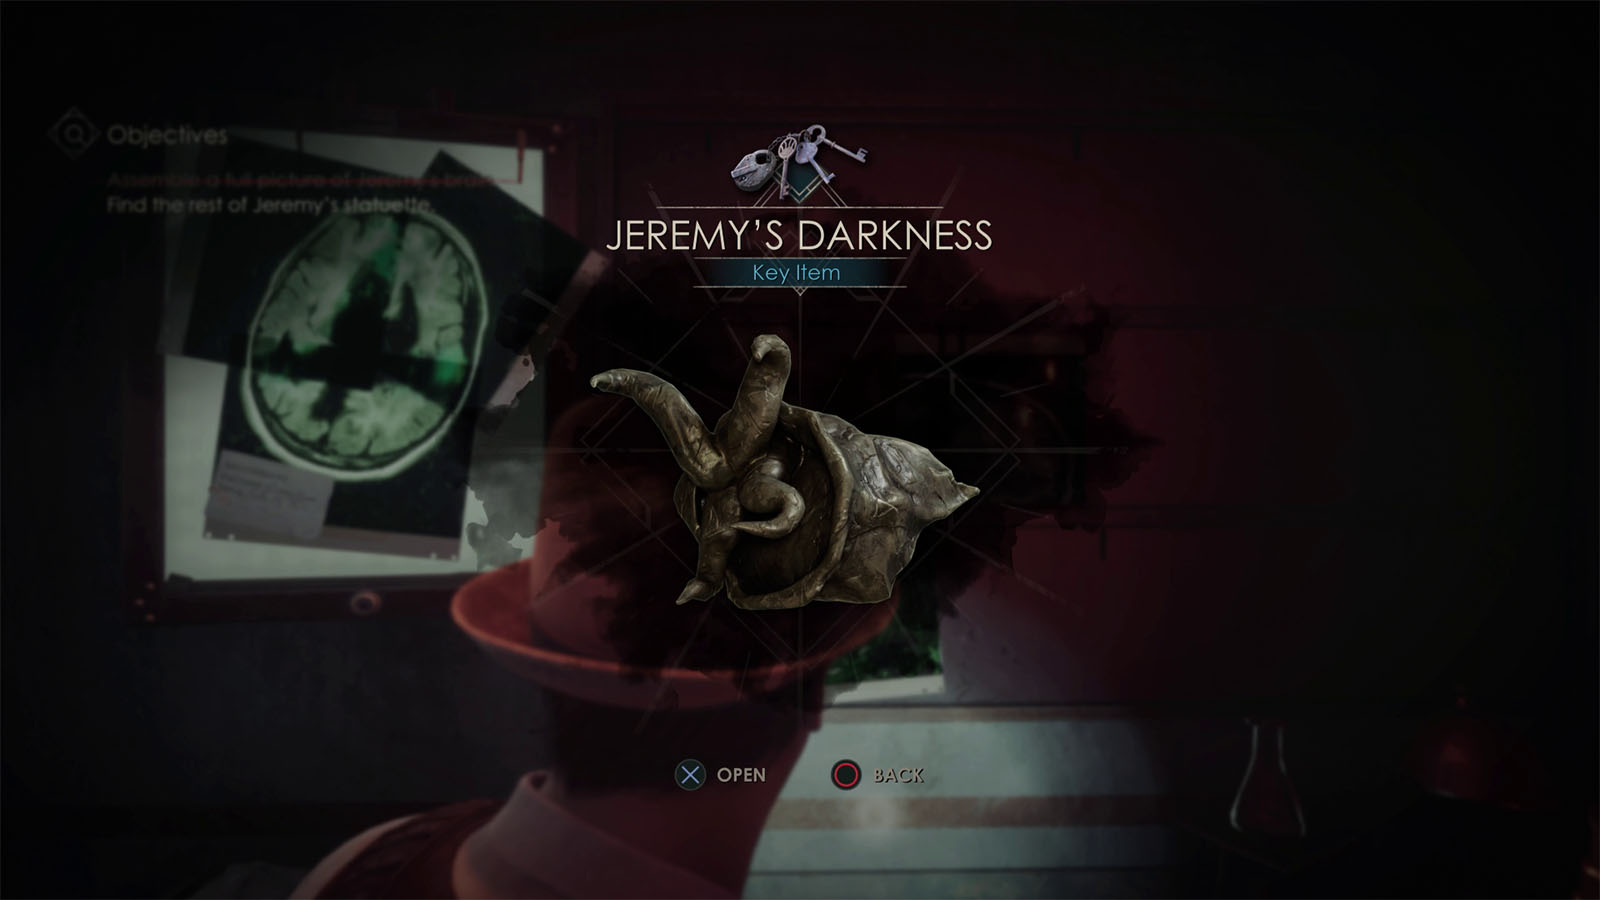
Once arranged properly, the plates will glow and give you Jeremy’s Darkness.
Find the rest of Jeremy’s statuette
As you exit the infirmary, you will find that the stairwell has changed. Water has also started gushing from the outside in. Climb the stairwell all the way to the top as quickly as possible to avoid getting drowned. Use your melee weapon to bash the obstacles blocking your path.
You will find yourself back at the attic and the stairwell will be back to normal.
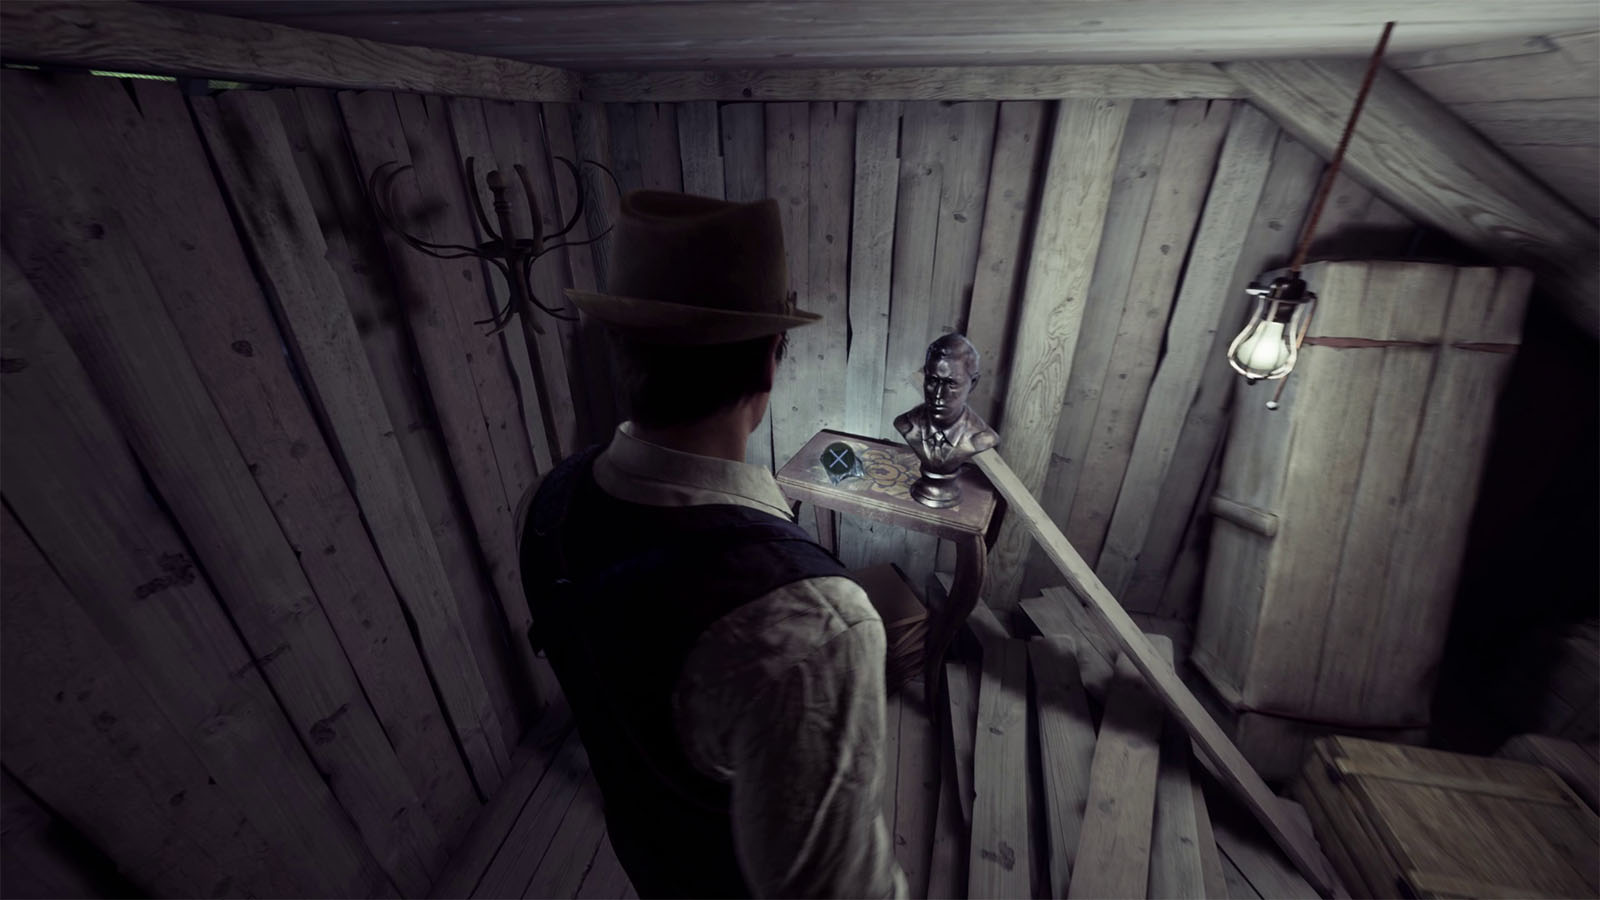
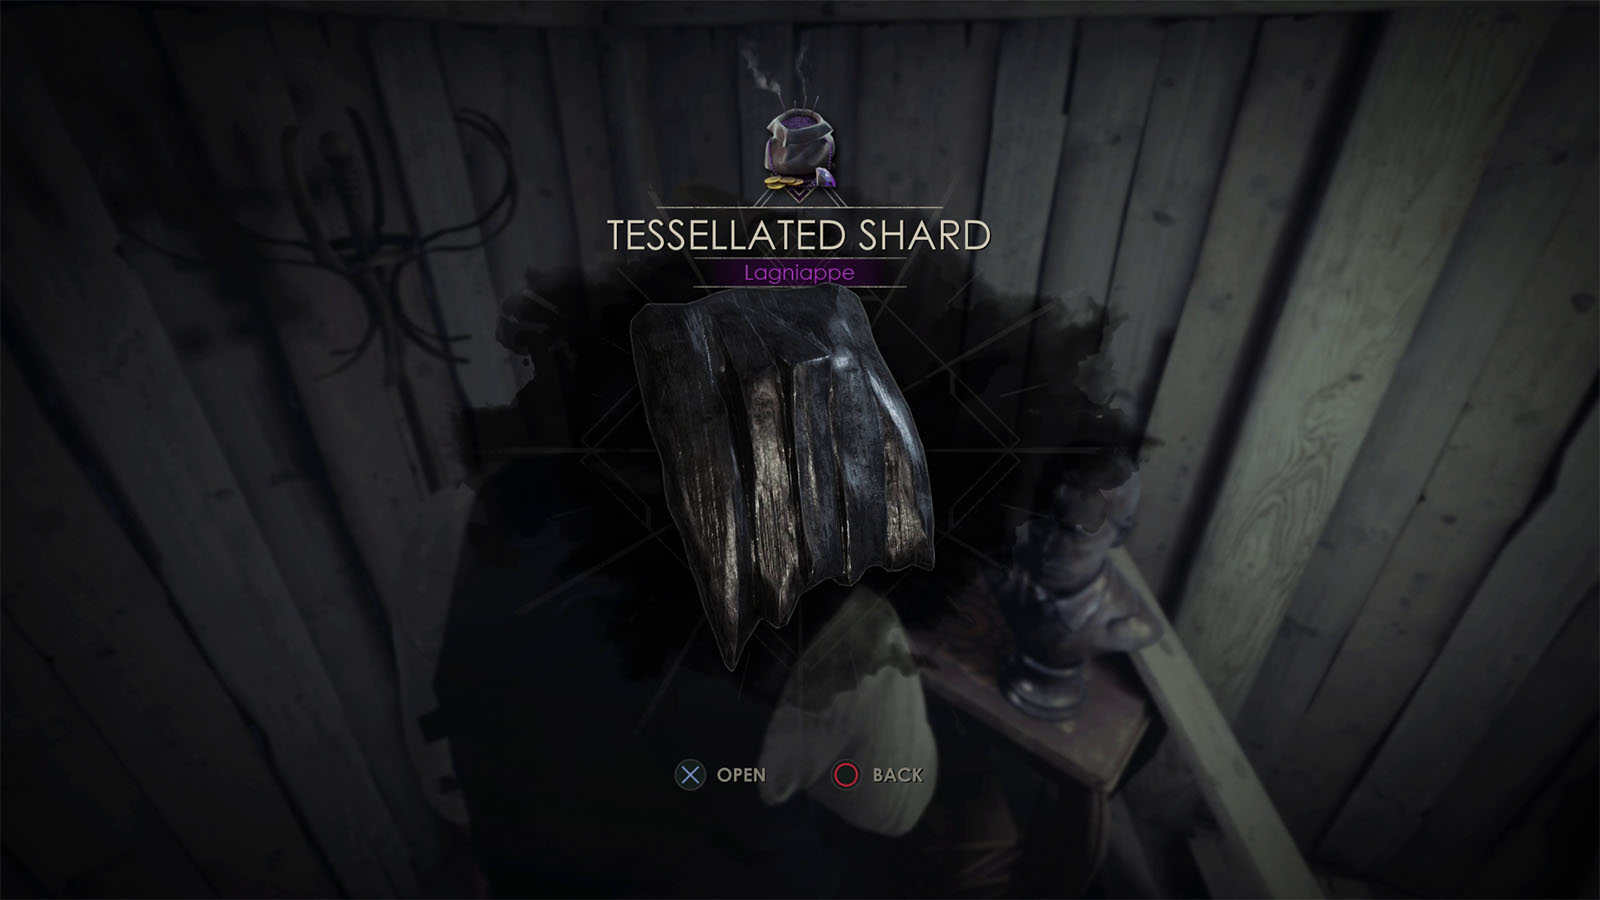
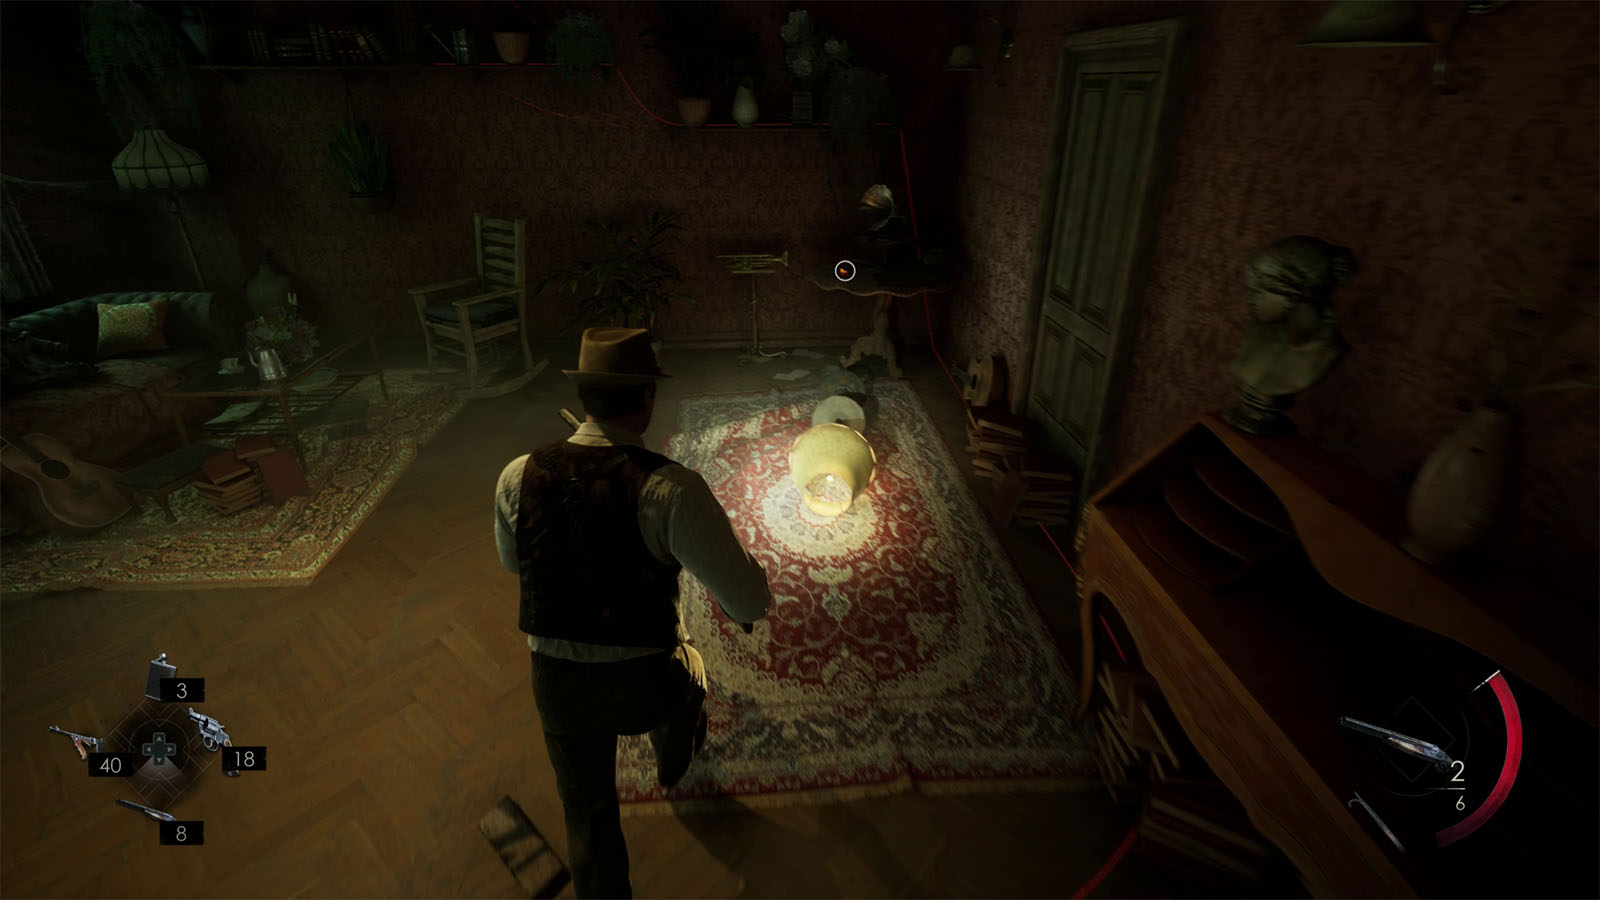
Inside the attic, go to the southwest corner to find the Lagniappe – Tessellated Shard on a table.
Rebuild the broken statuette
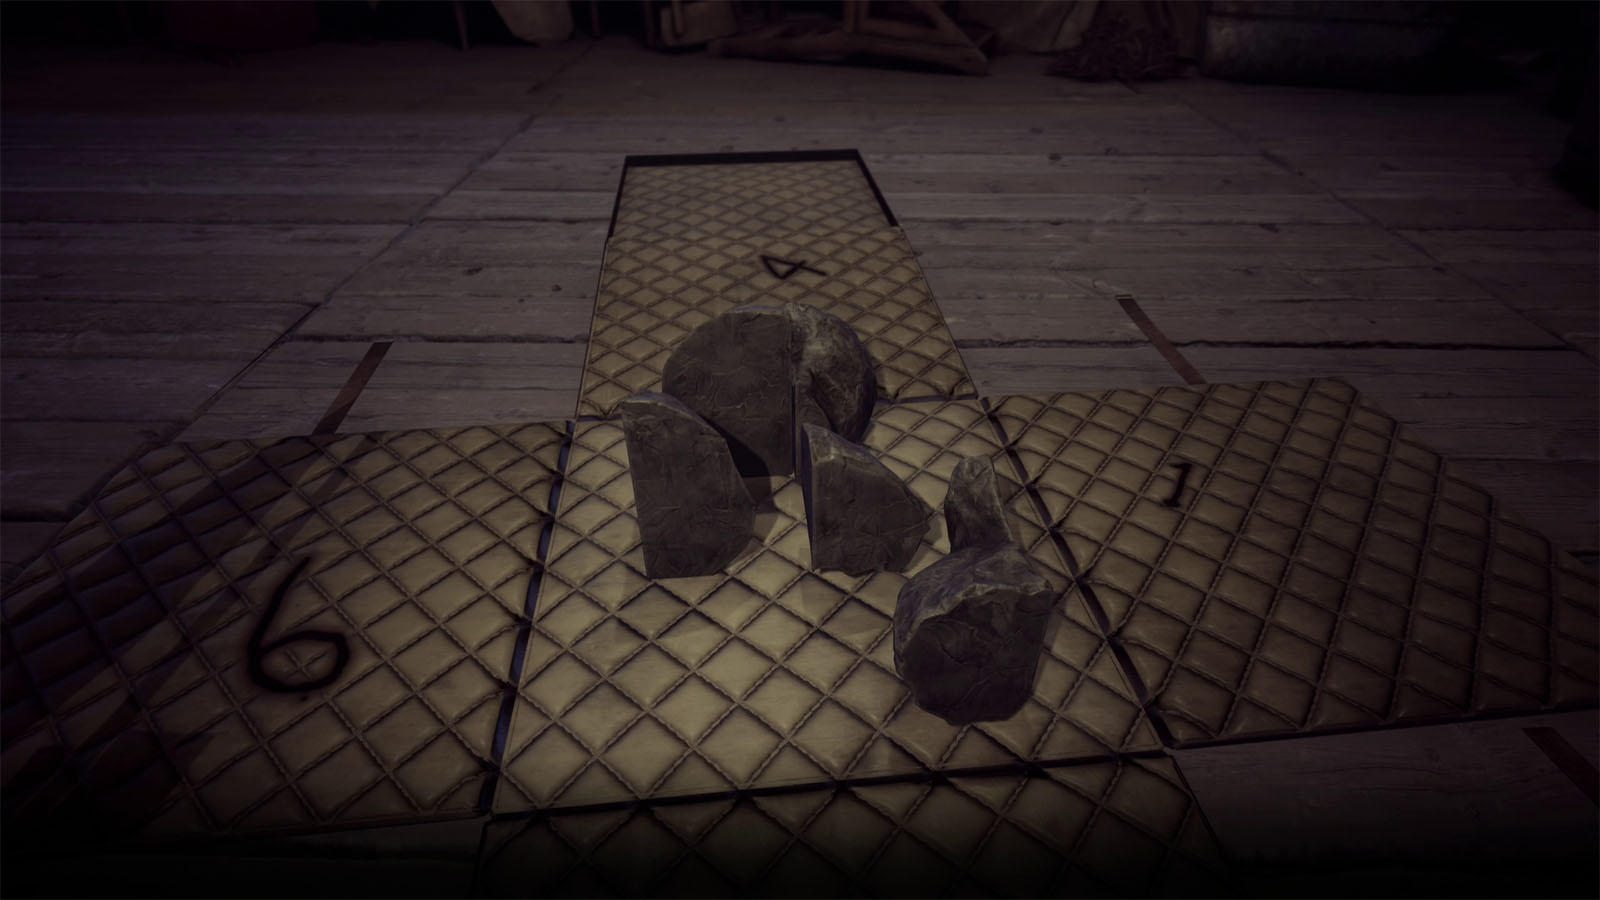
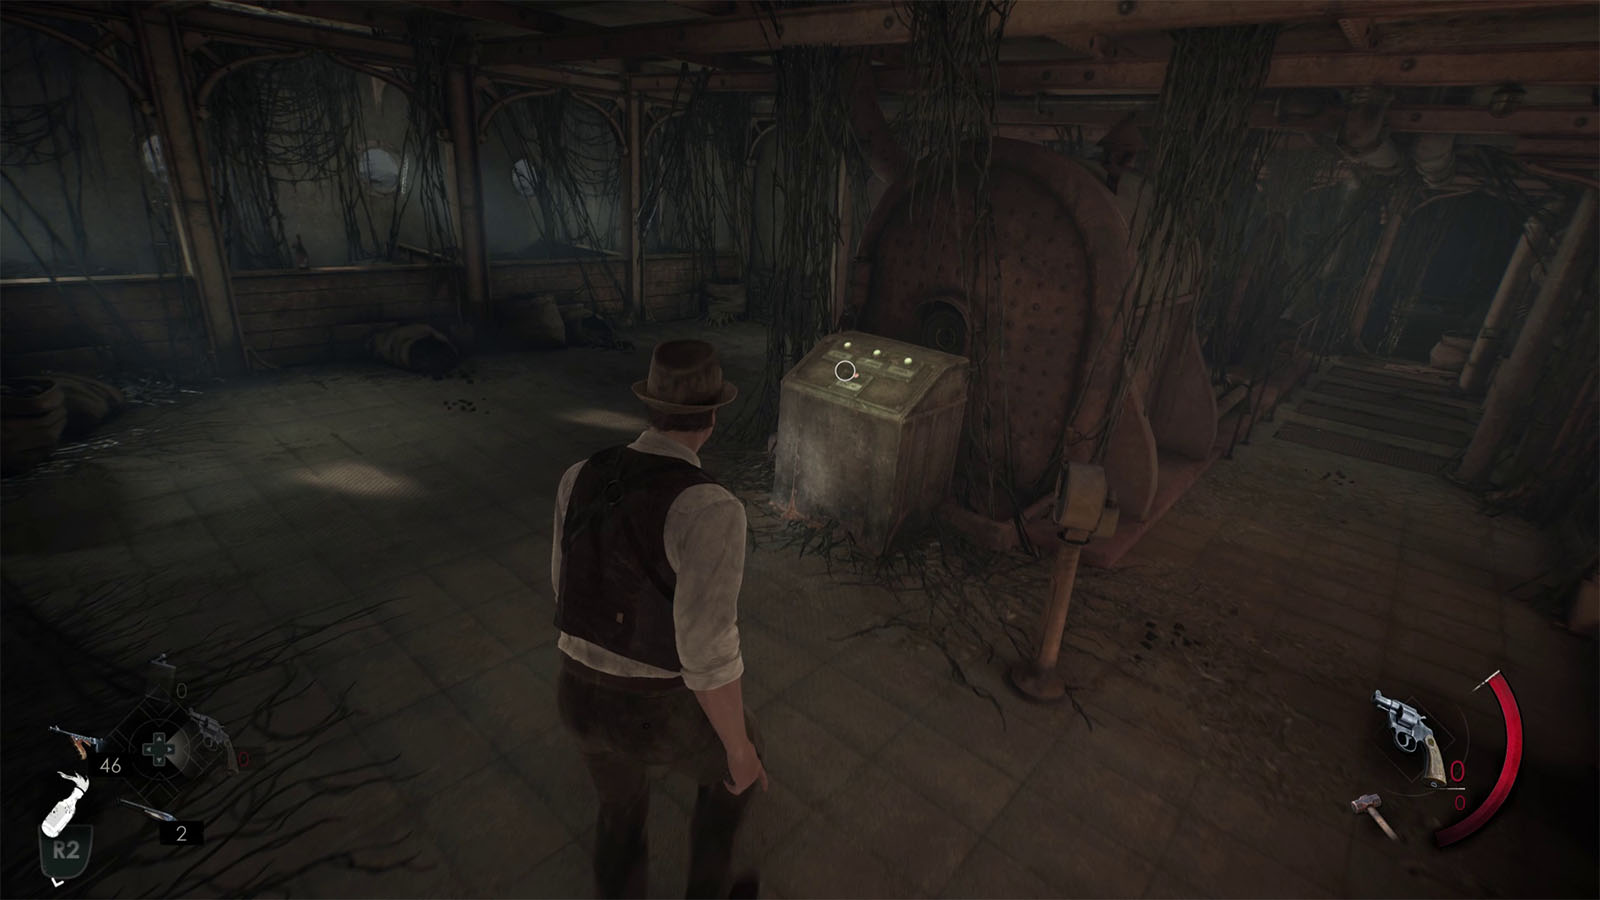
Look for the box under the light and inspect it. It will open up revealing pieces of a chthonian statuette and some numbers written on the panels of the box 6-4-1.
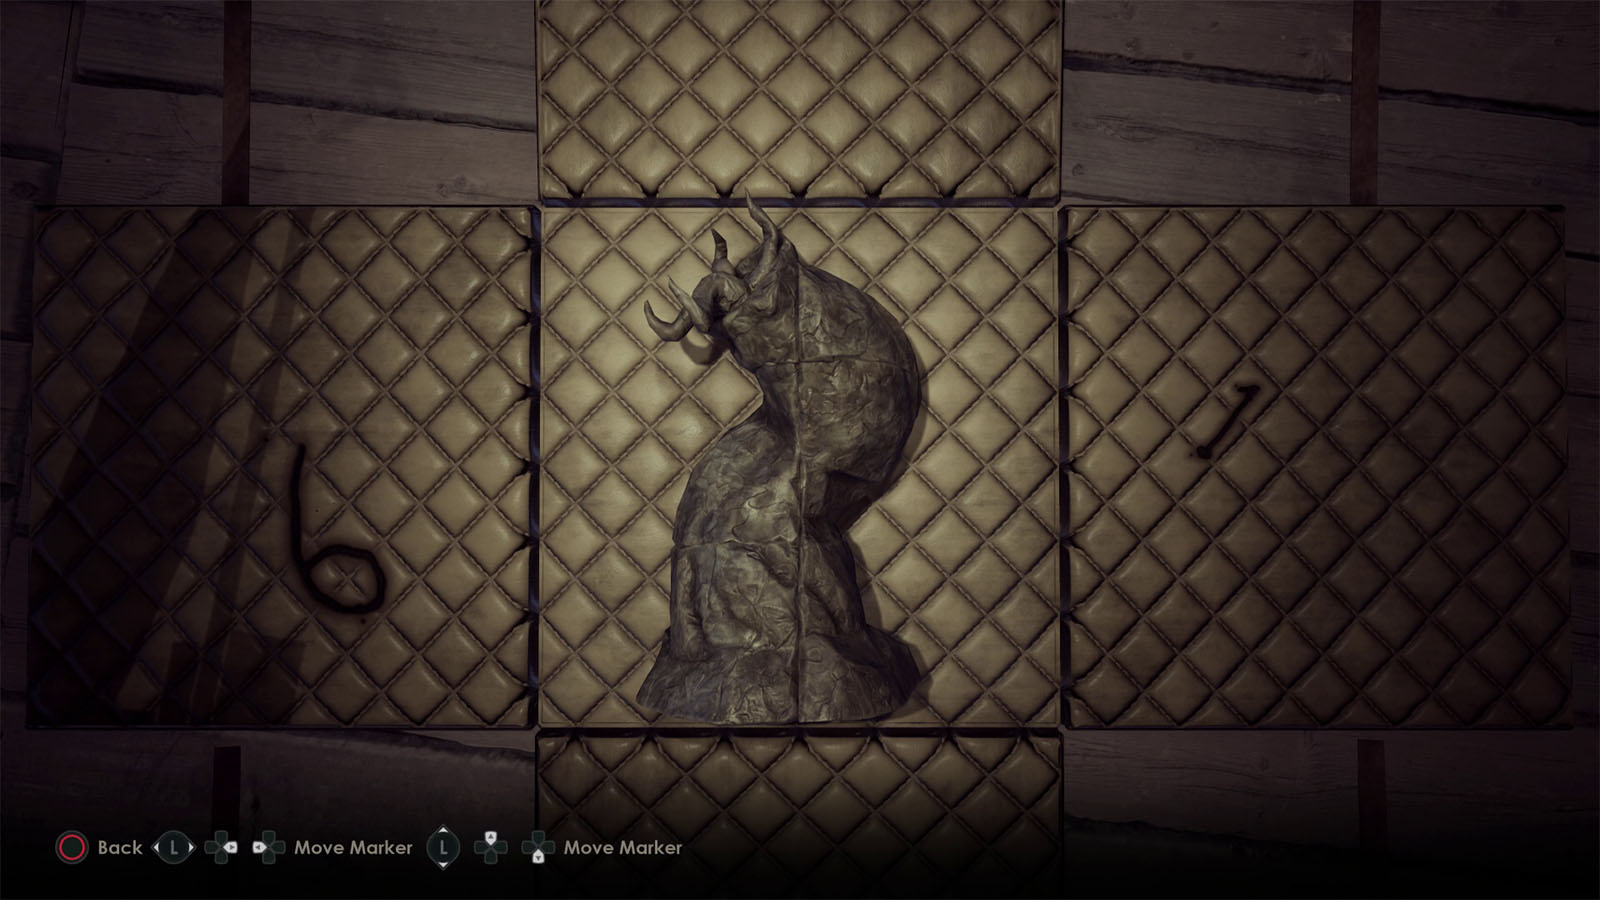
Use Jeremy’s Darkness to add to the pieces, and then rearrange the pieces to rebuild the statuette which resembles a worm.
Use the Talisman to open up Jeremy’s mind
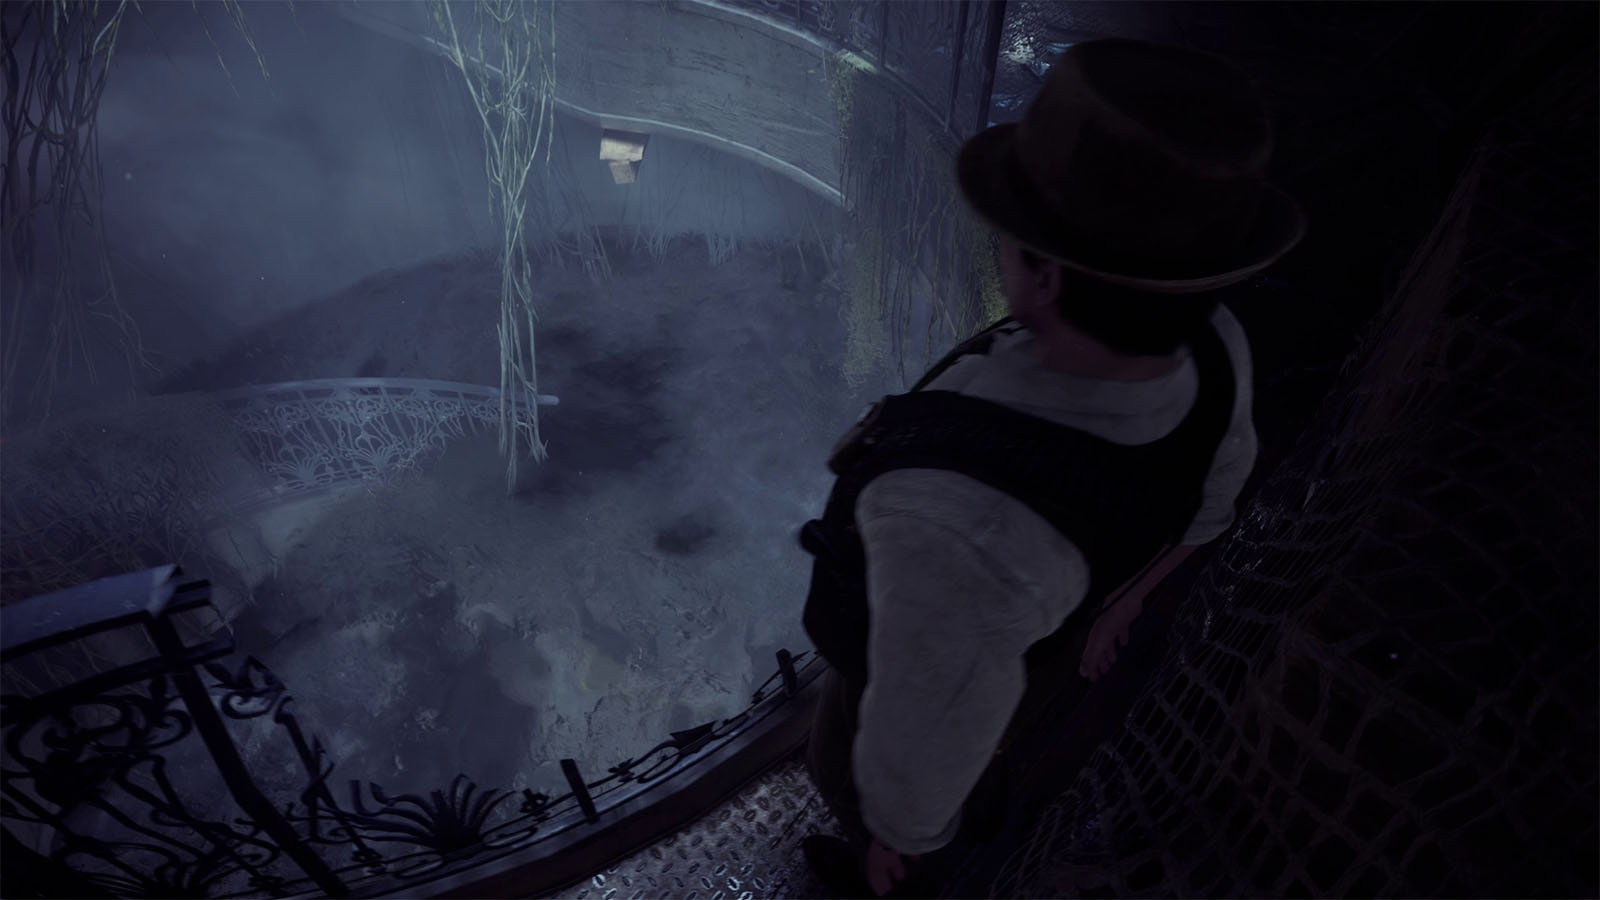
Inspect the statuette again and put in 6-4-1 as the code on the talisman. Afterwards, turn around to see that you can now jump into the hole to reach the Steamboat.
Look for Jeremy
Inside the steamboat, you will hear Jeremy’s voice crying out for help. Go through the door and take the path to the right.
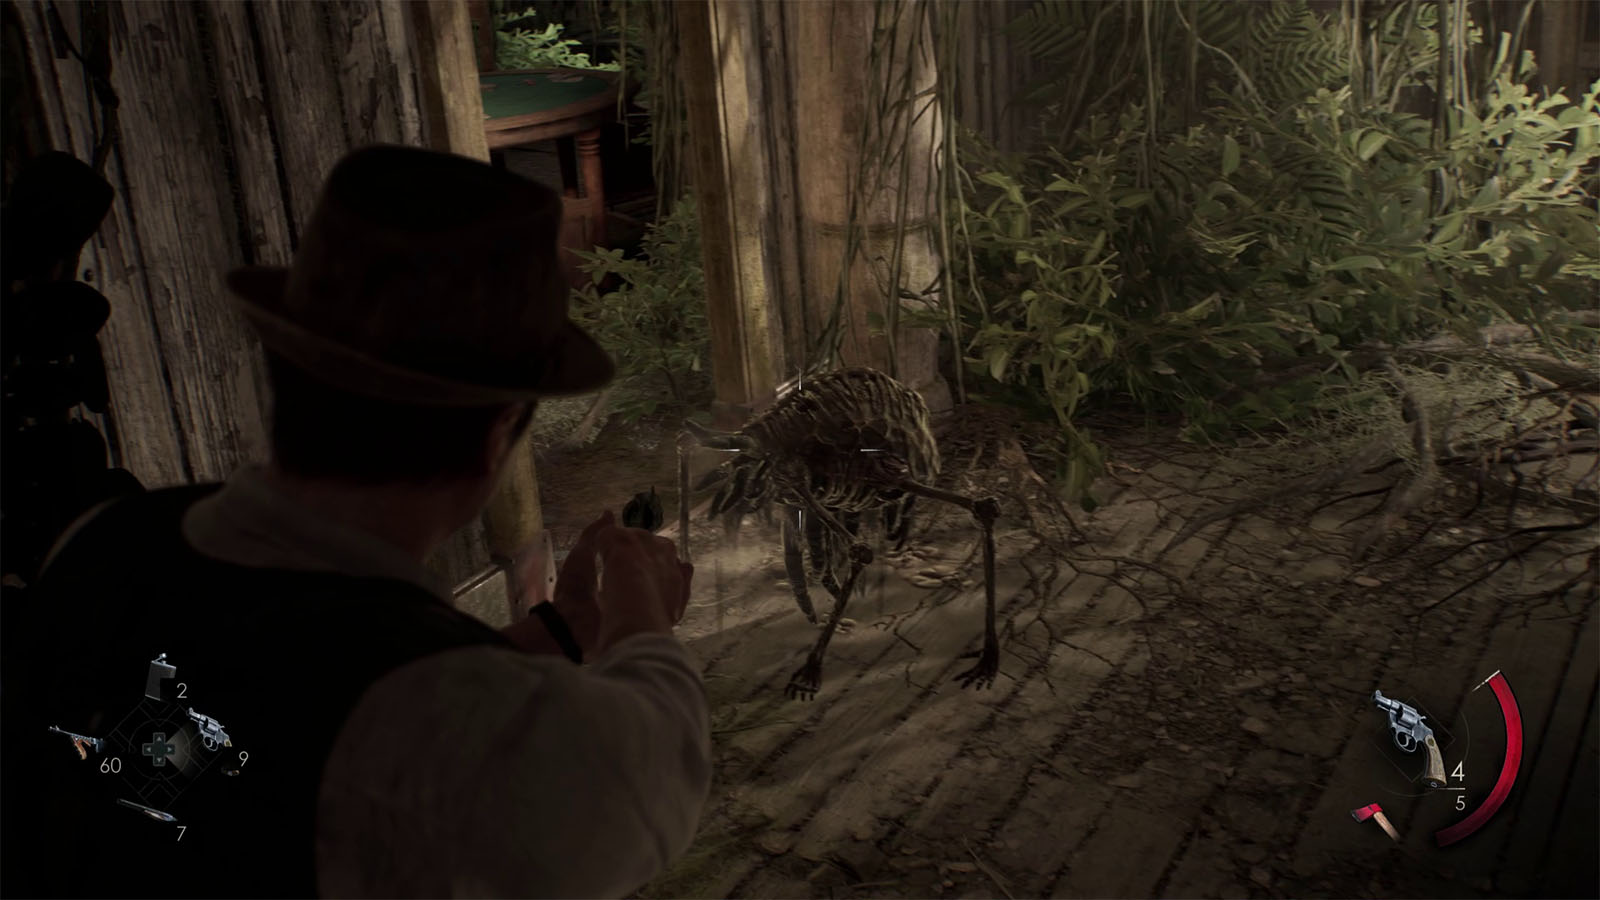
Into the next room, you will encounter a new type of enemy that jumps and latches on to your head. Kill the enemy and continue down the path. You will see a mark by the chair, but you have to go to the upper deck to get to it.

Go up the upper decks and look for the bell. Near the bell is a hole that you can drop into, then go through the door where you can finally obtain the Lagniappe – Pallid Mask, the final item in The Pirates of Pontchartrain Lagniappes.
Release the steamboat from the bayou and return it to the river
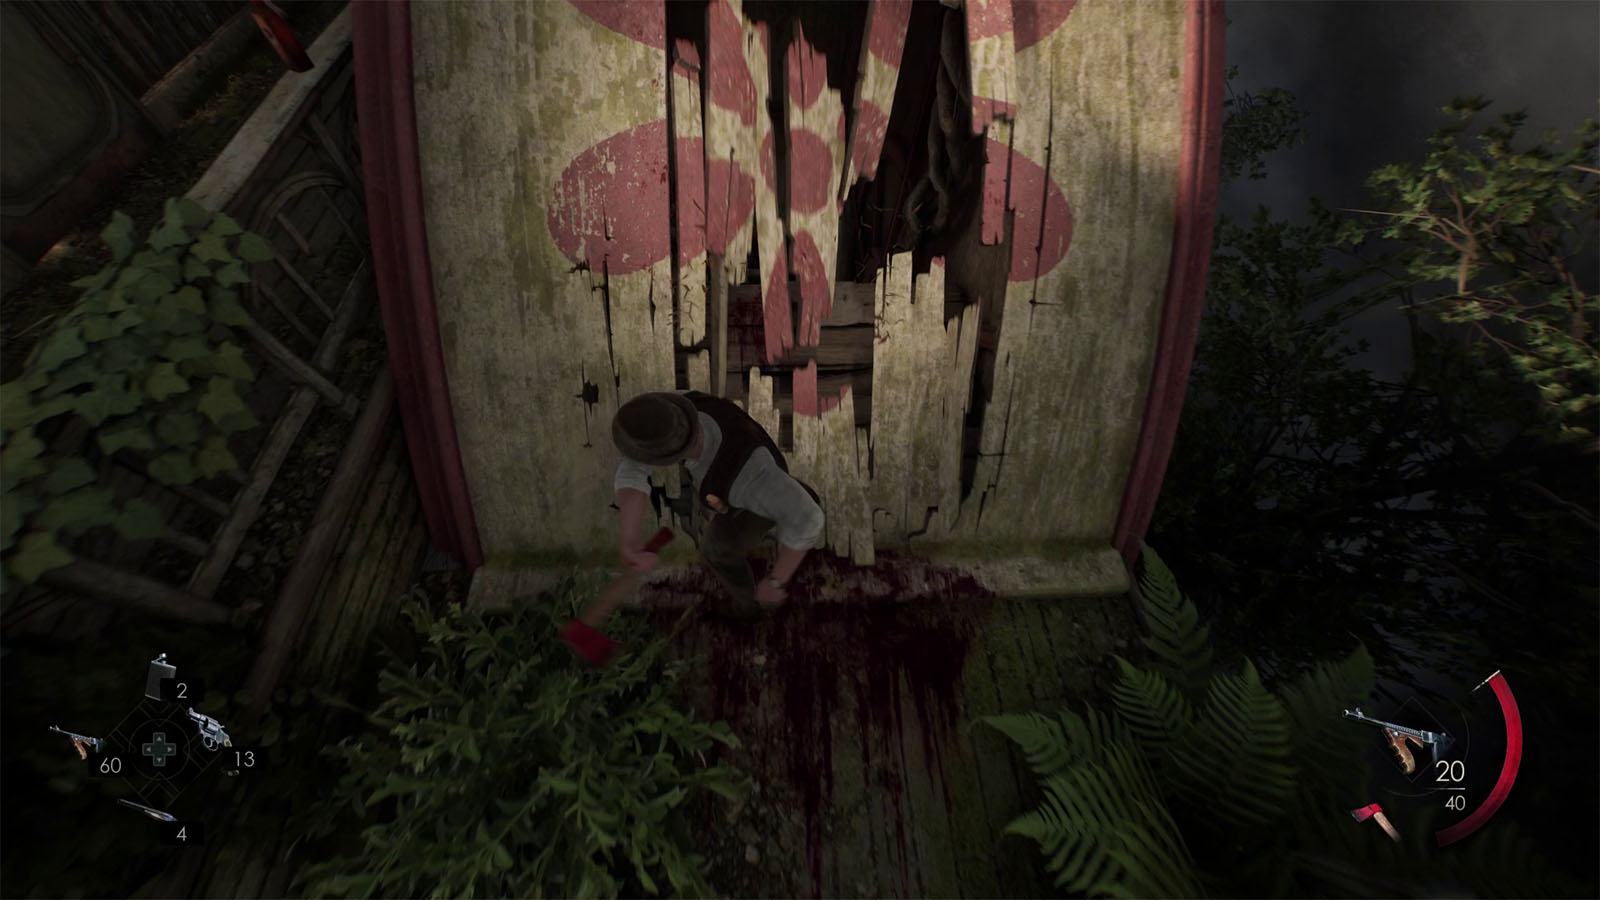
At the upper deck, make your way to the wheelhouse on the other side of the boat. You will notice that this wheelhouse is a bit broken, so hit it a few times with your melee weapon to get access inside.
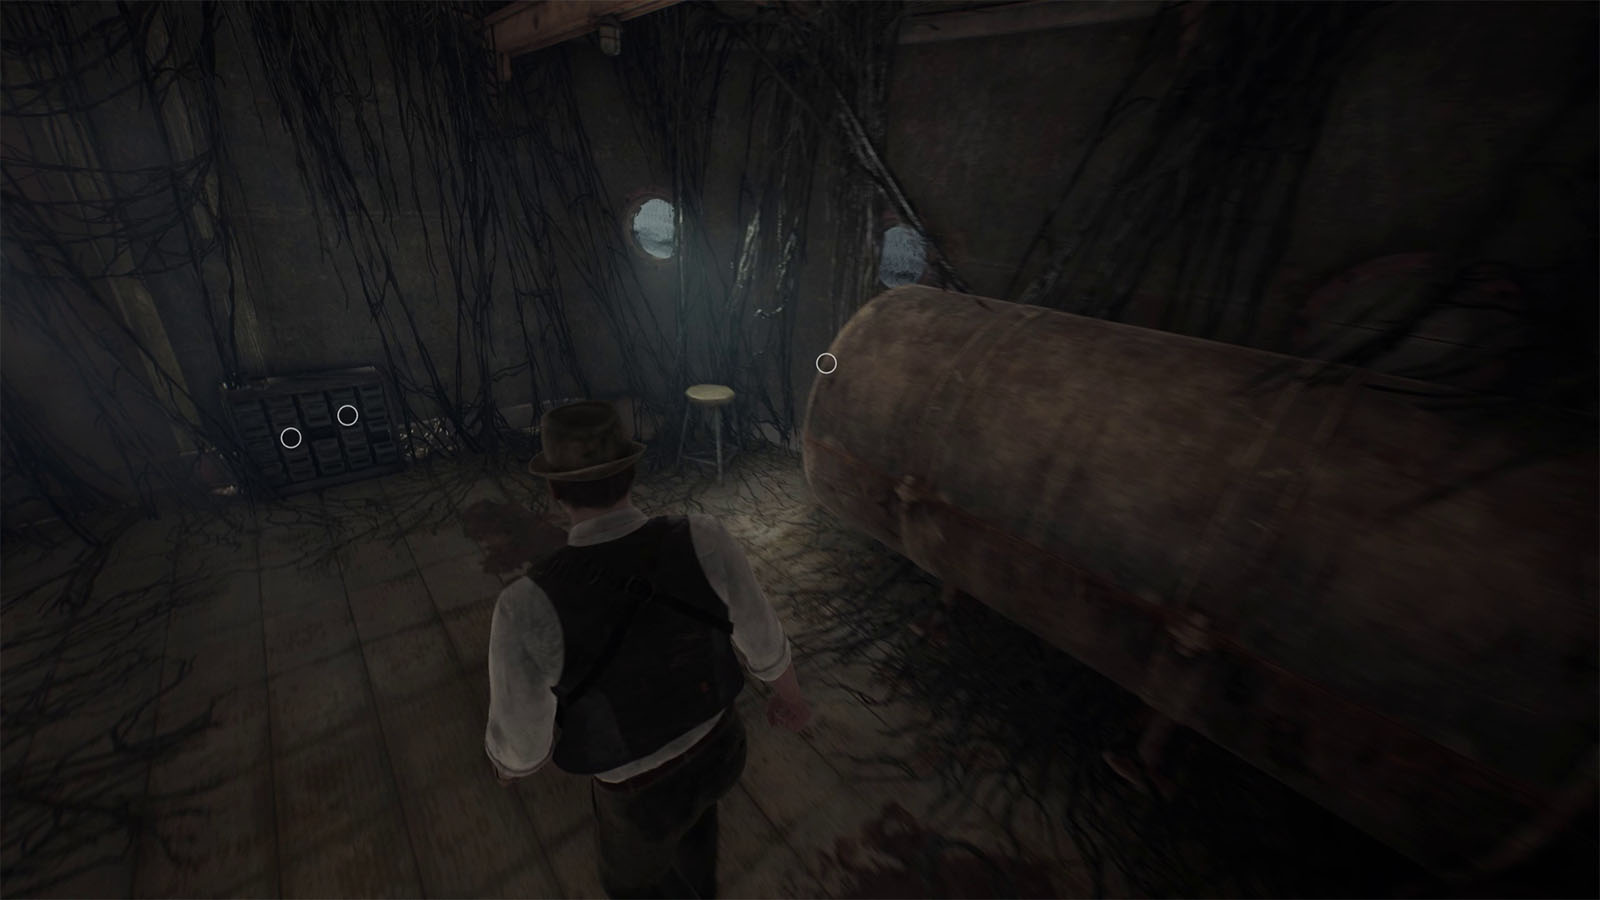
Climb down the roots and squeeze through the gap to reach the engine room.
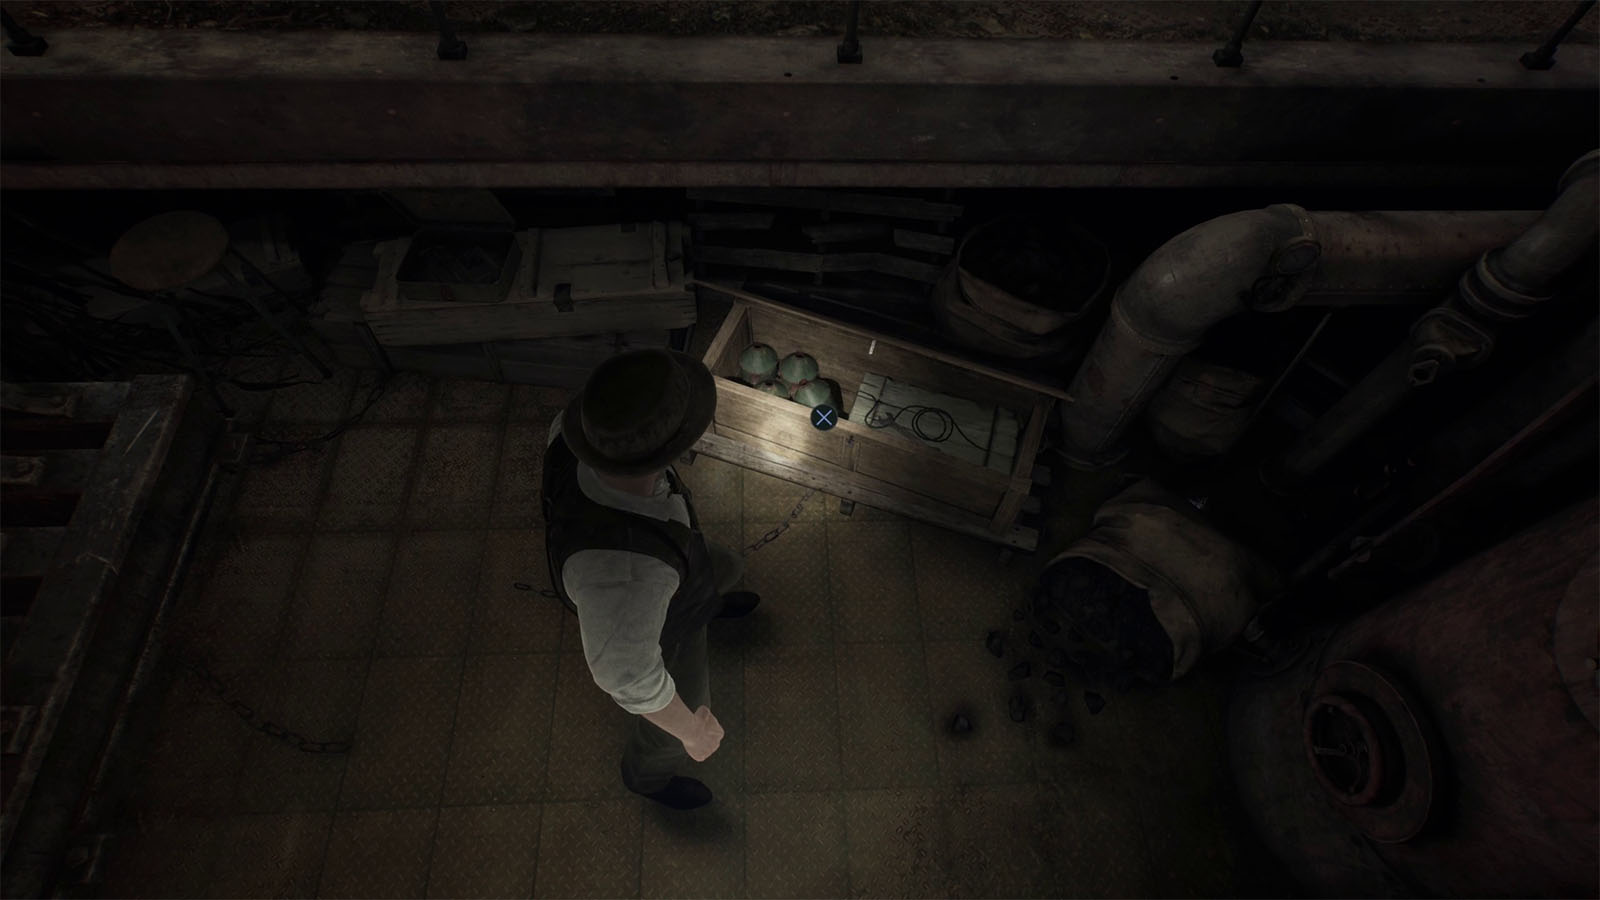
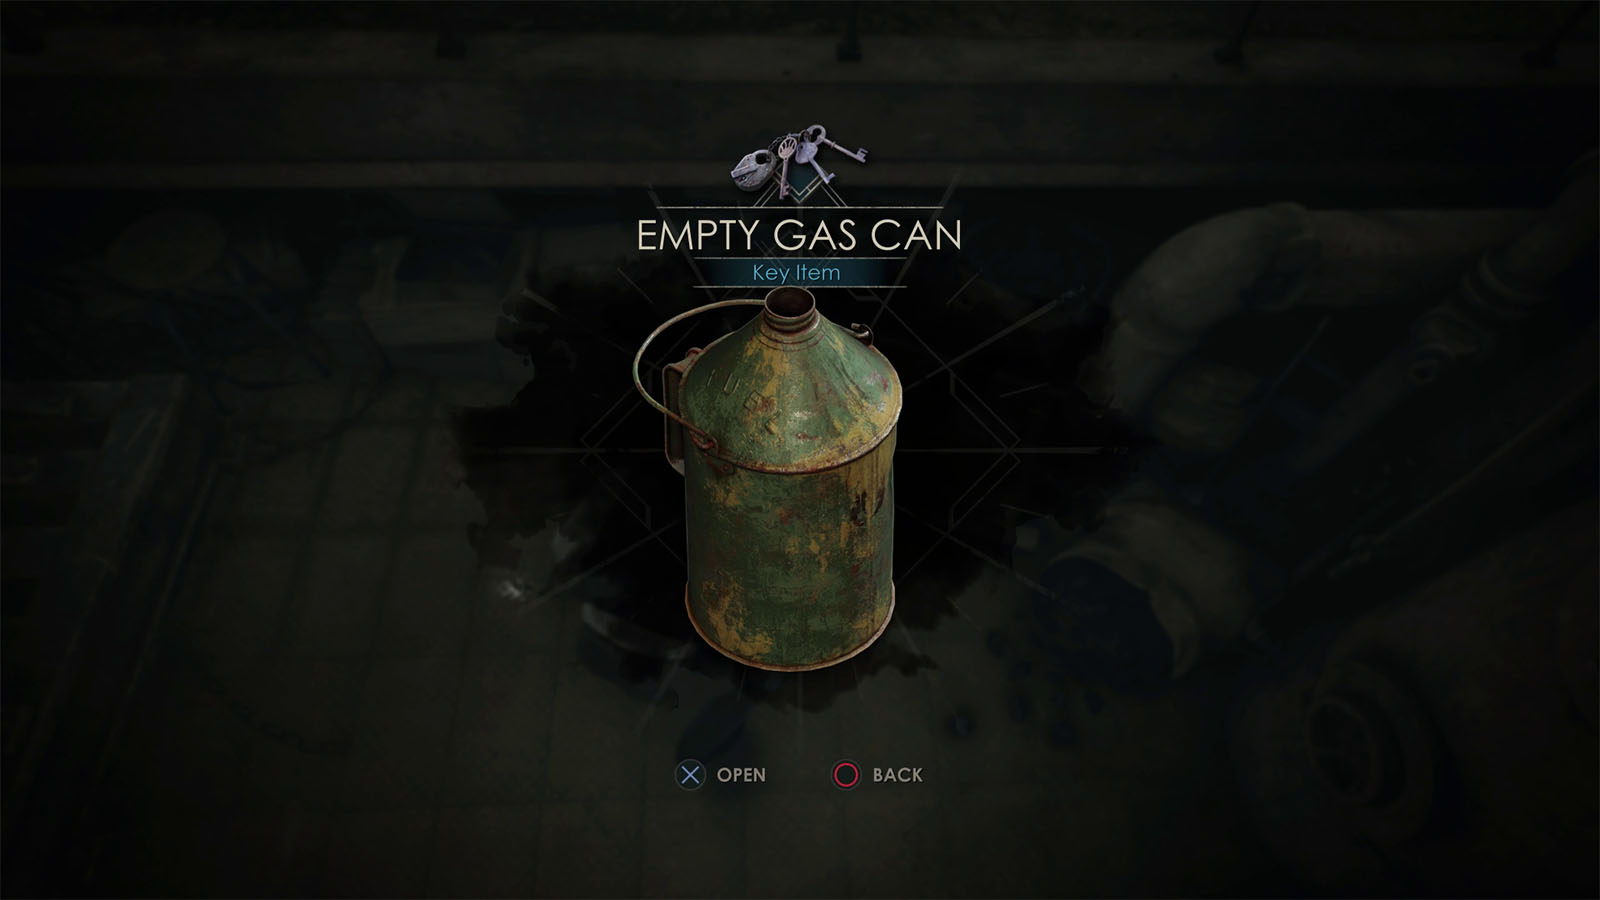
Check the crate to find an Empty Gas Can that you will use to fill up the Power Generator nearby. Then turn the valve wheel to shut off the steam and get through the path.
Go to the fuel tank and use it to fill up the gas can with fuel tog et the Filled Gas Can. Then, go back to the power generator and fill it up with fuel before turning the electricity back on.
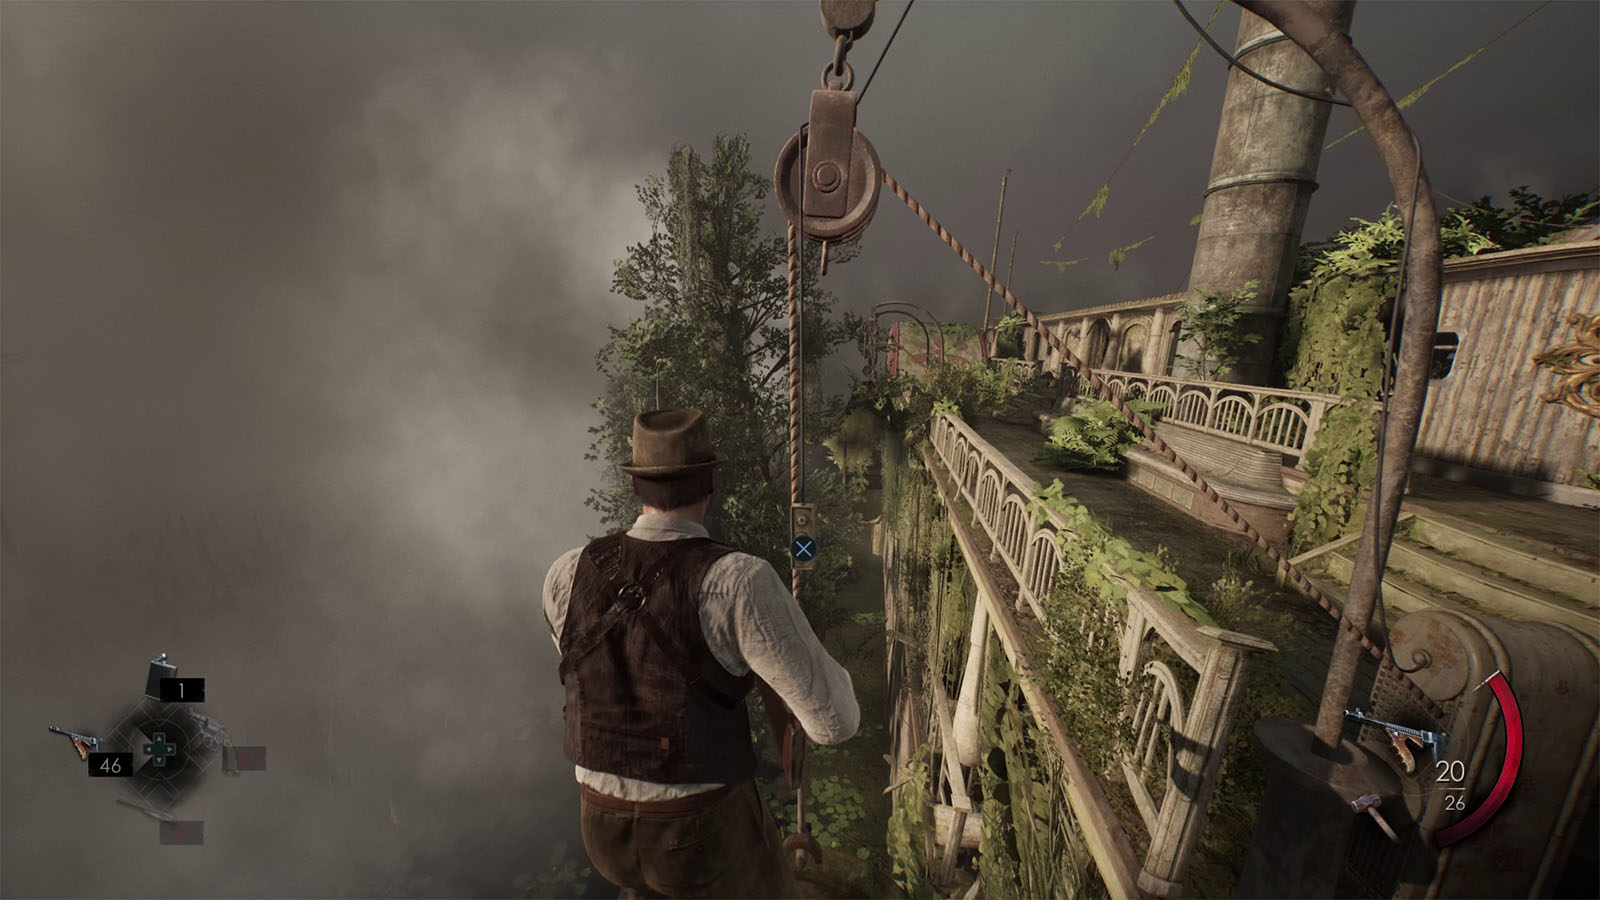
Climb back up to the upper decks and prepare to engage with the enemies as they get awoken by the sounds of the steamboat. Make your way to the life boat and lower yourself down into the lower decks.
Interact with the control panel on the engine and the whole steamboat will start to lower down. A cutscene will then play as you try to escape and jump into what appears to be the treatment room back at Derceto.
You try to call out the attention of Jeremy and Dr. Gray only to find that you’re only shouting at the doctor and you’re back in the real world. After the cutscene, you will unlock the When Therapy Makes It Worse Achievement.
Pay Dr. Gray a visit in his apartment
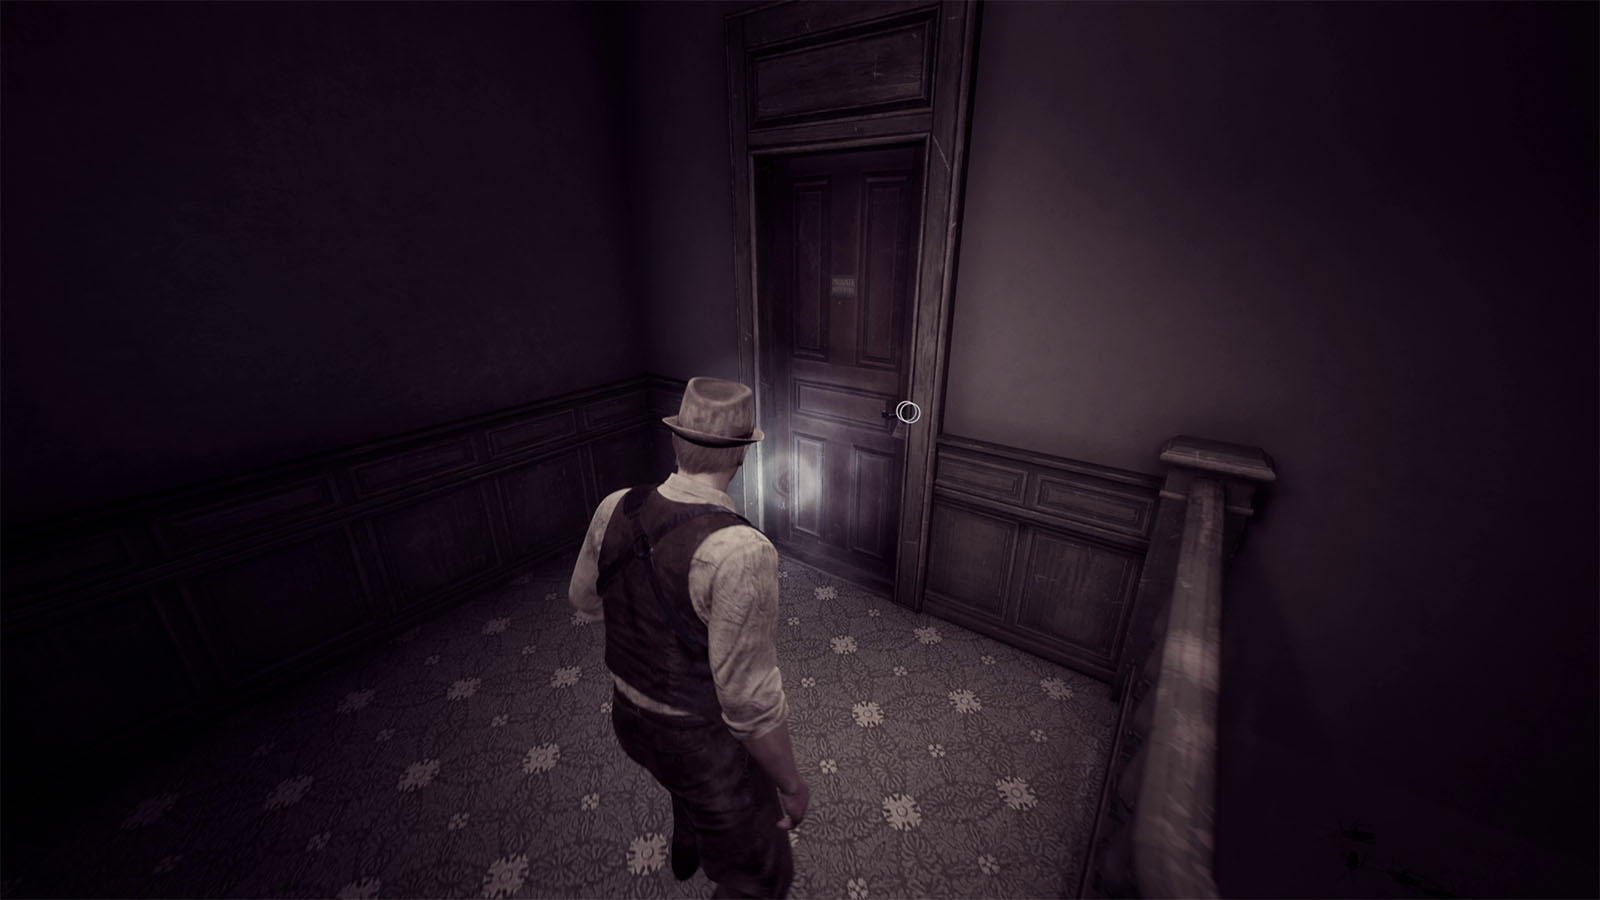
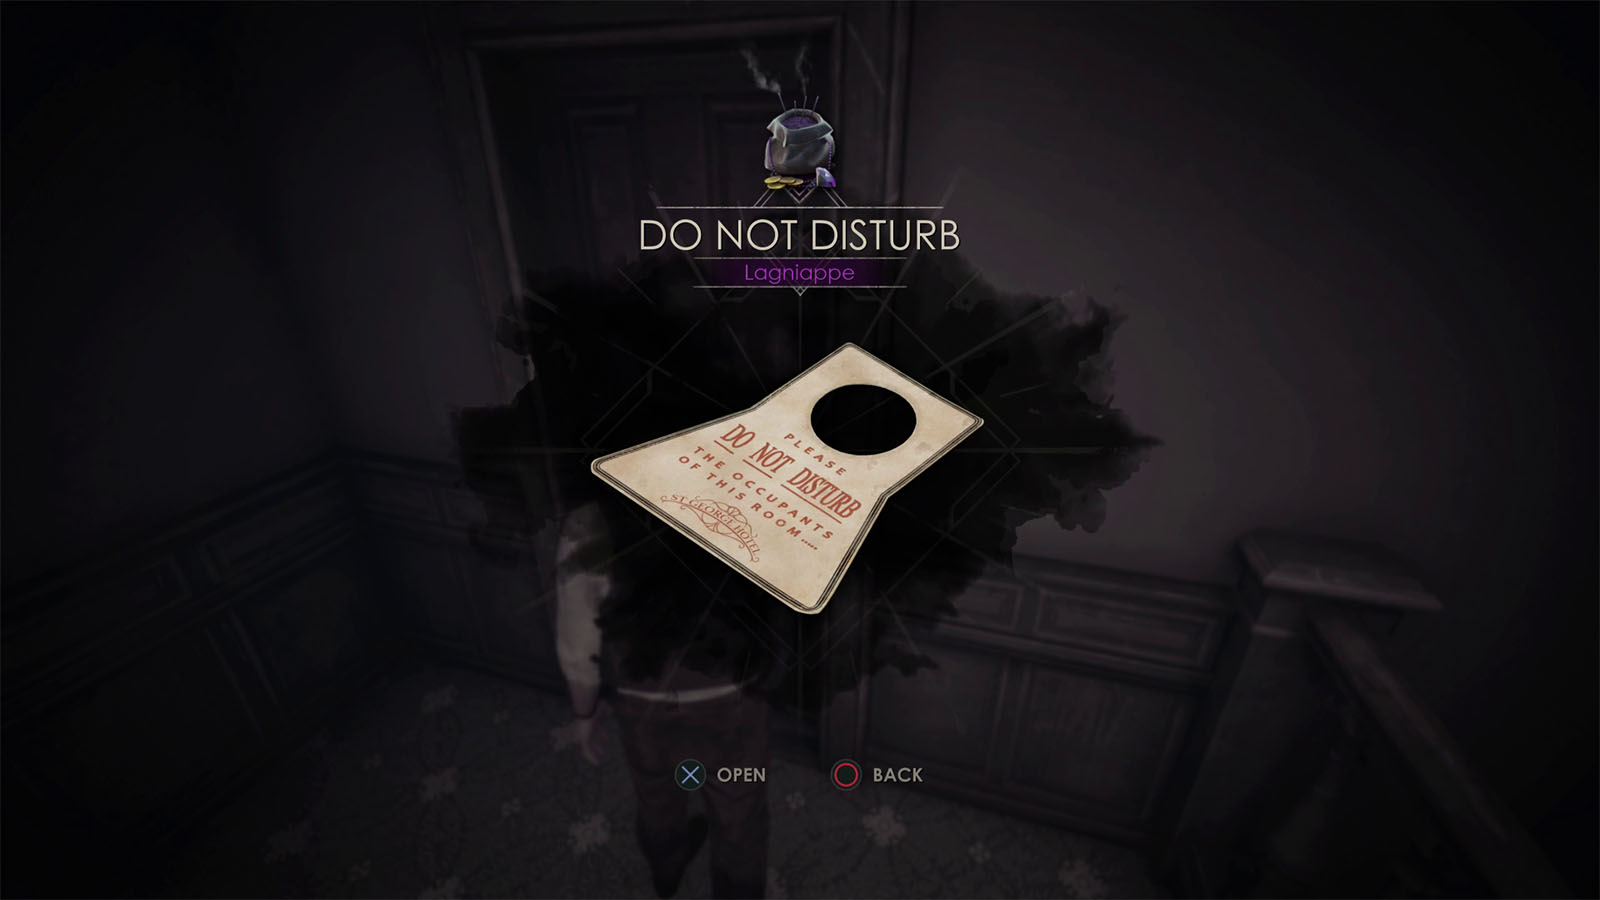
Make your way to the second floor and go through the servant’s staircase. Check the door to Dr. Gray’s apartment to find the Lagniappe – Do Not Disturb, the second item for the Prisoner of Ice Lagniappes set.
Help Emily Hartwood look for clues
Go inside the apartment where you will find your partner and unlock The Past as a Present Achievement. Make sure to talk to your partner first for a conversation.
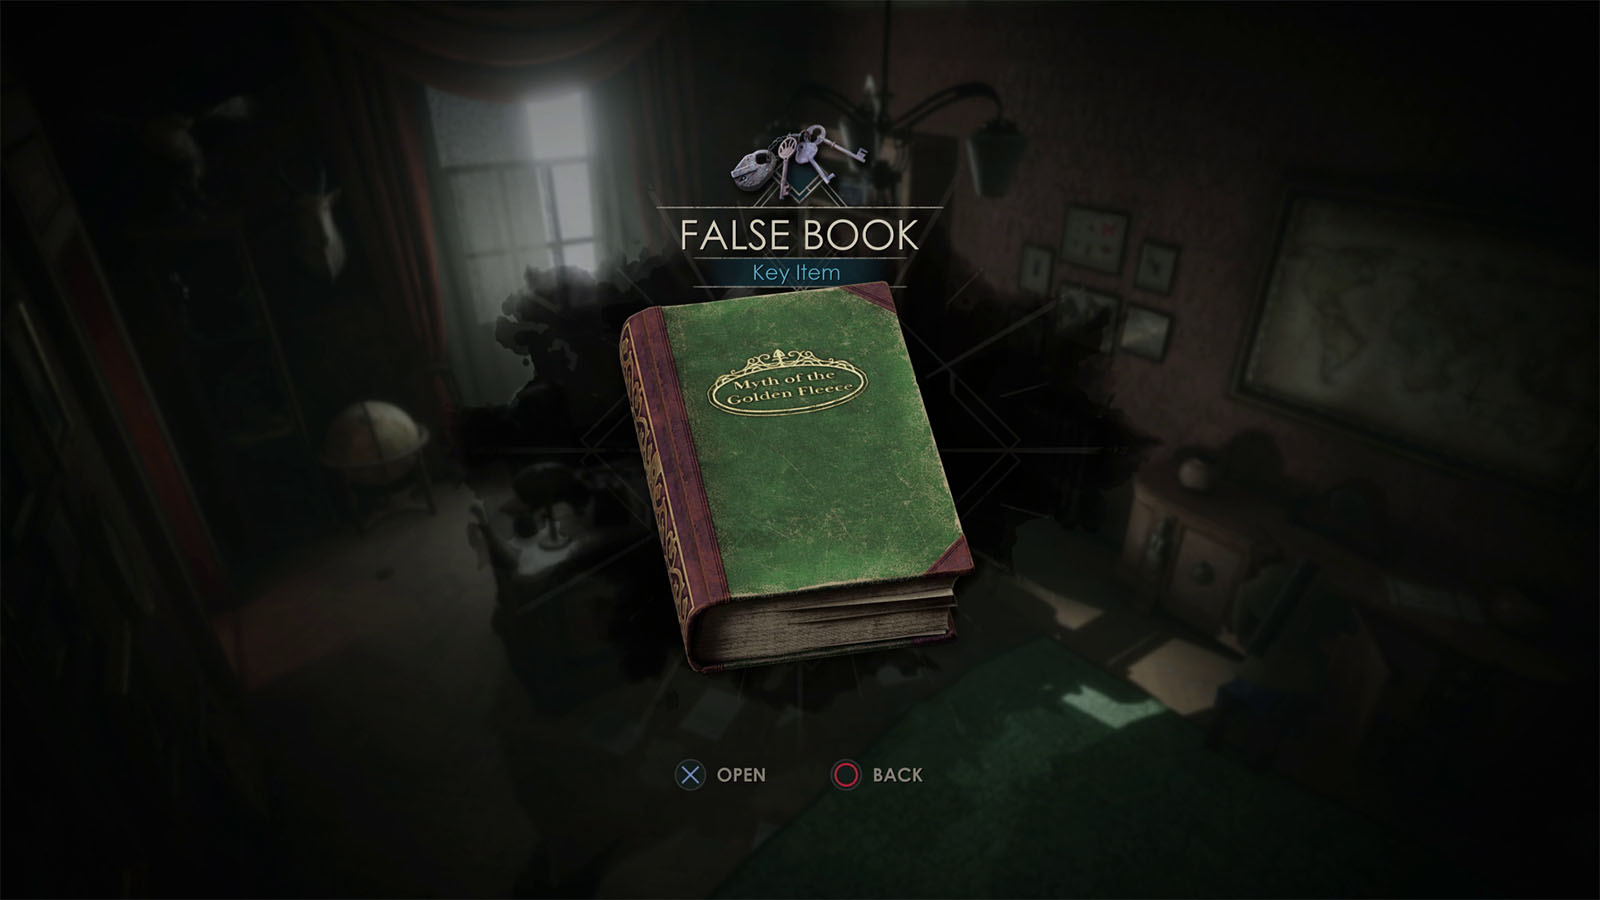
Check the desk to find the False Book which you can then place on the bookshelf to reveal a hidden door.
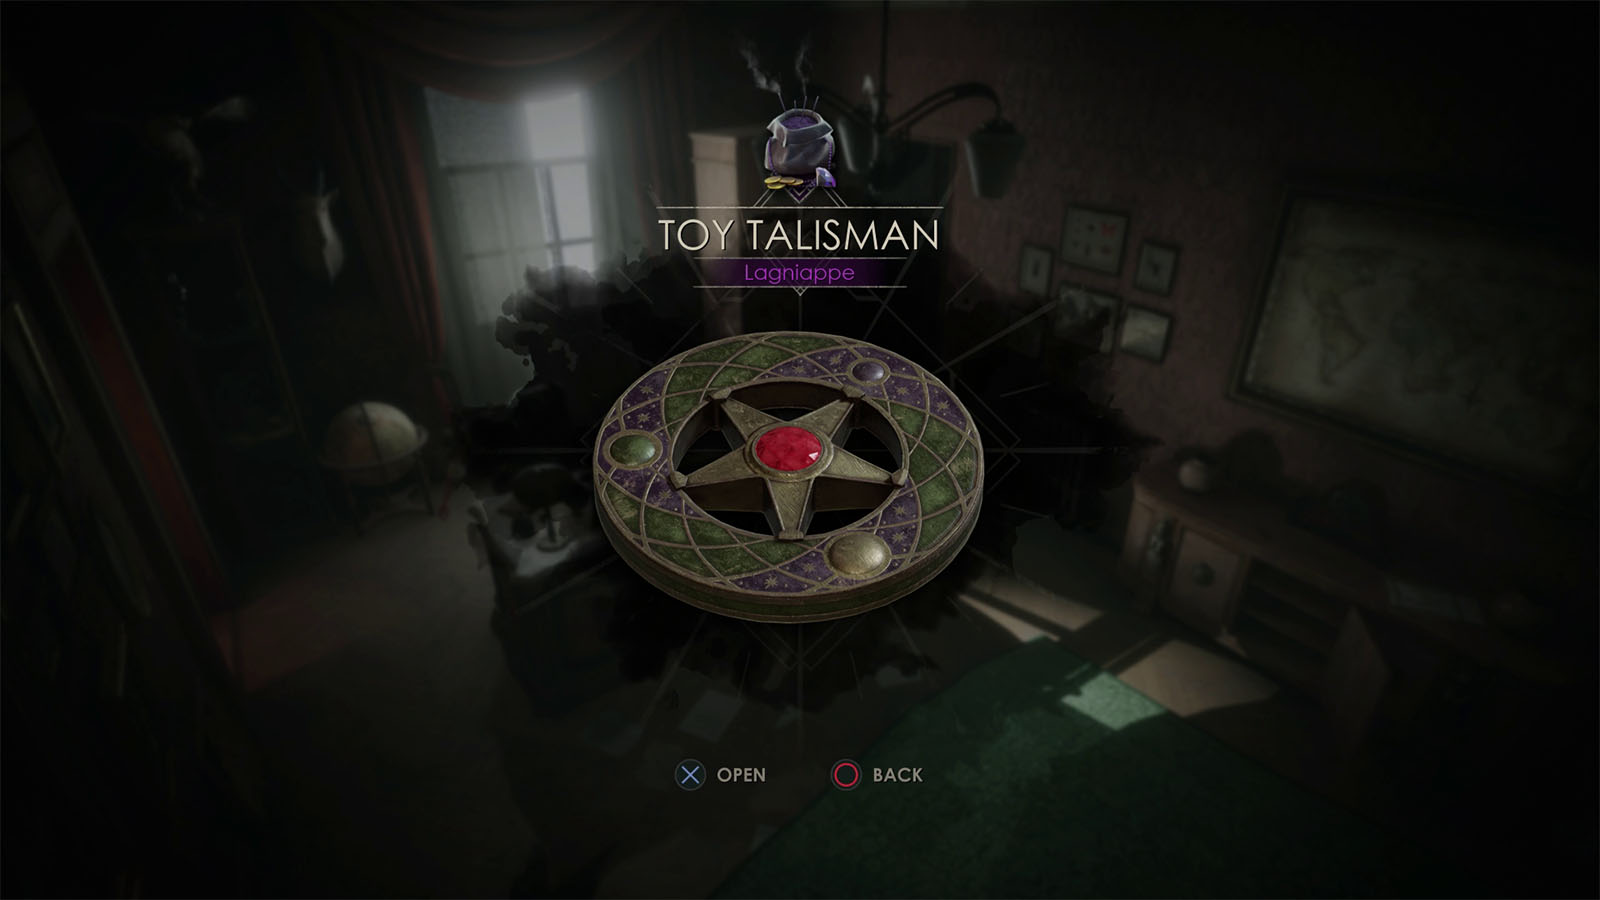
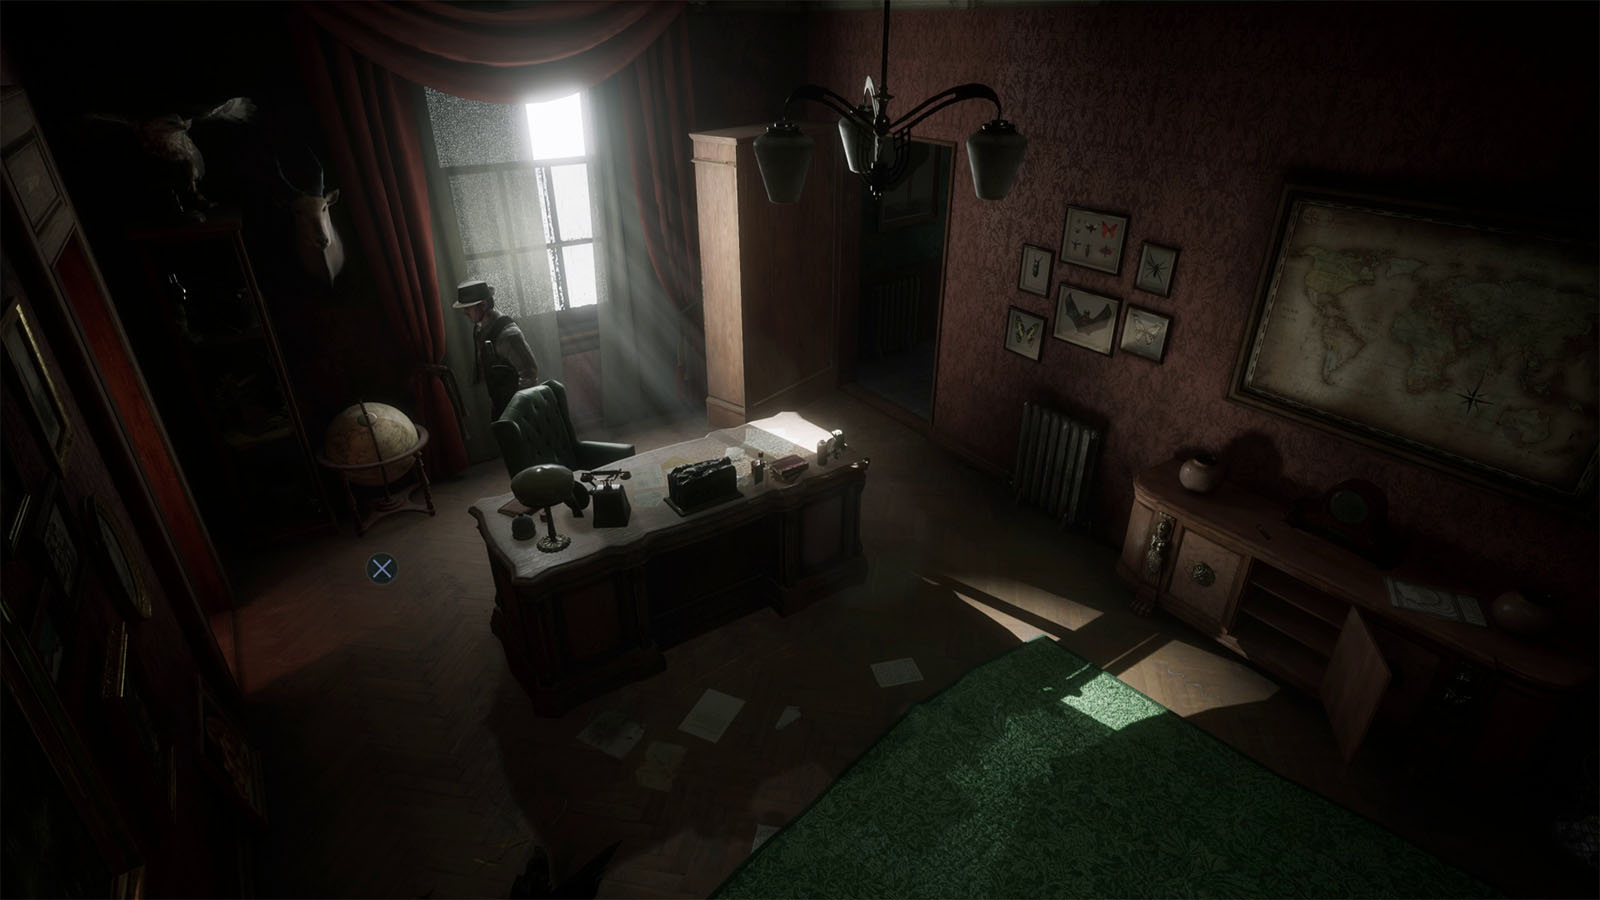
Before going through the door, look at the floor behind you to find the Lagniappe – Toy Talisman.
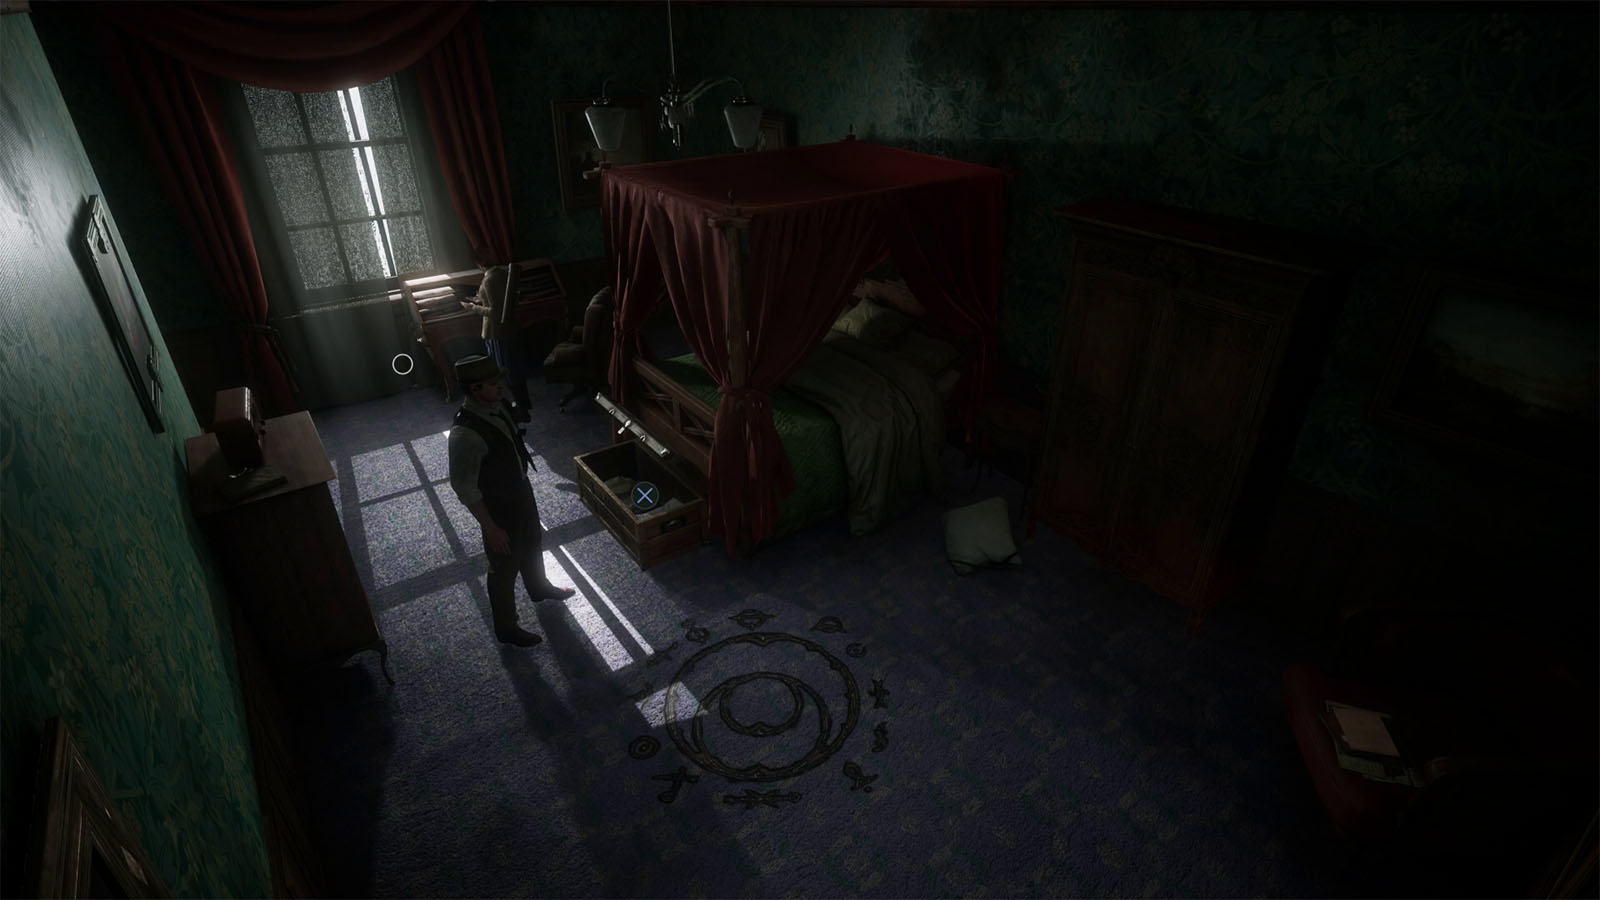
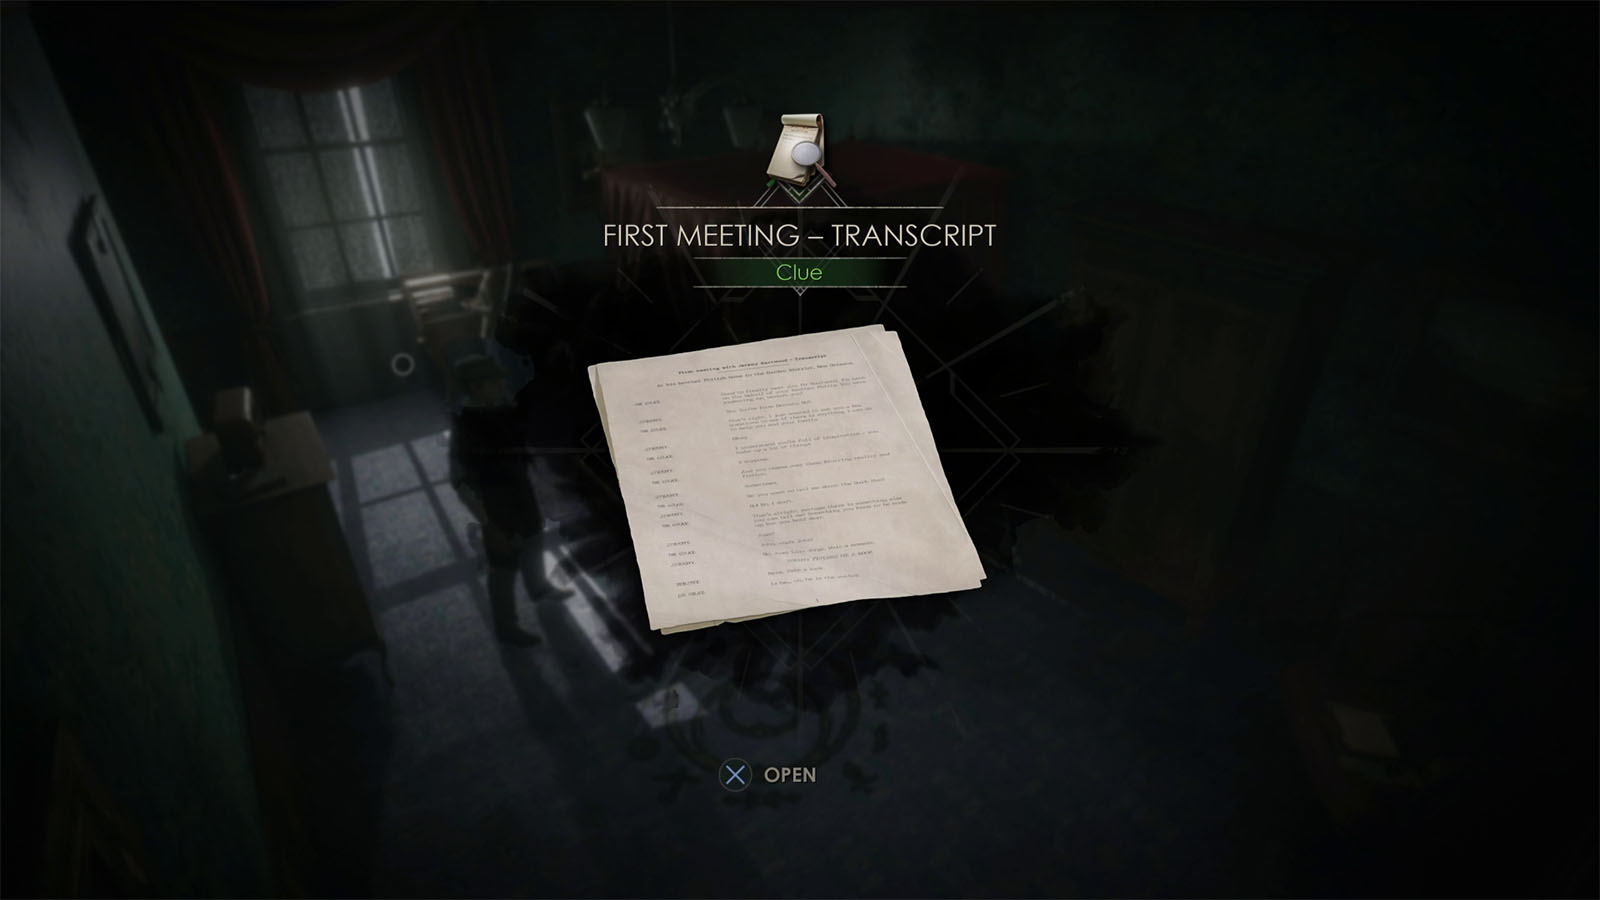
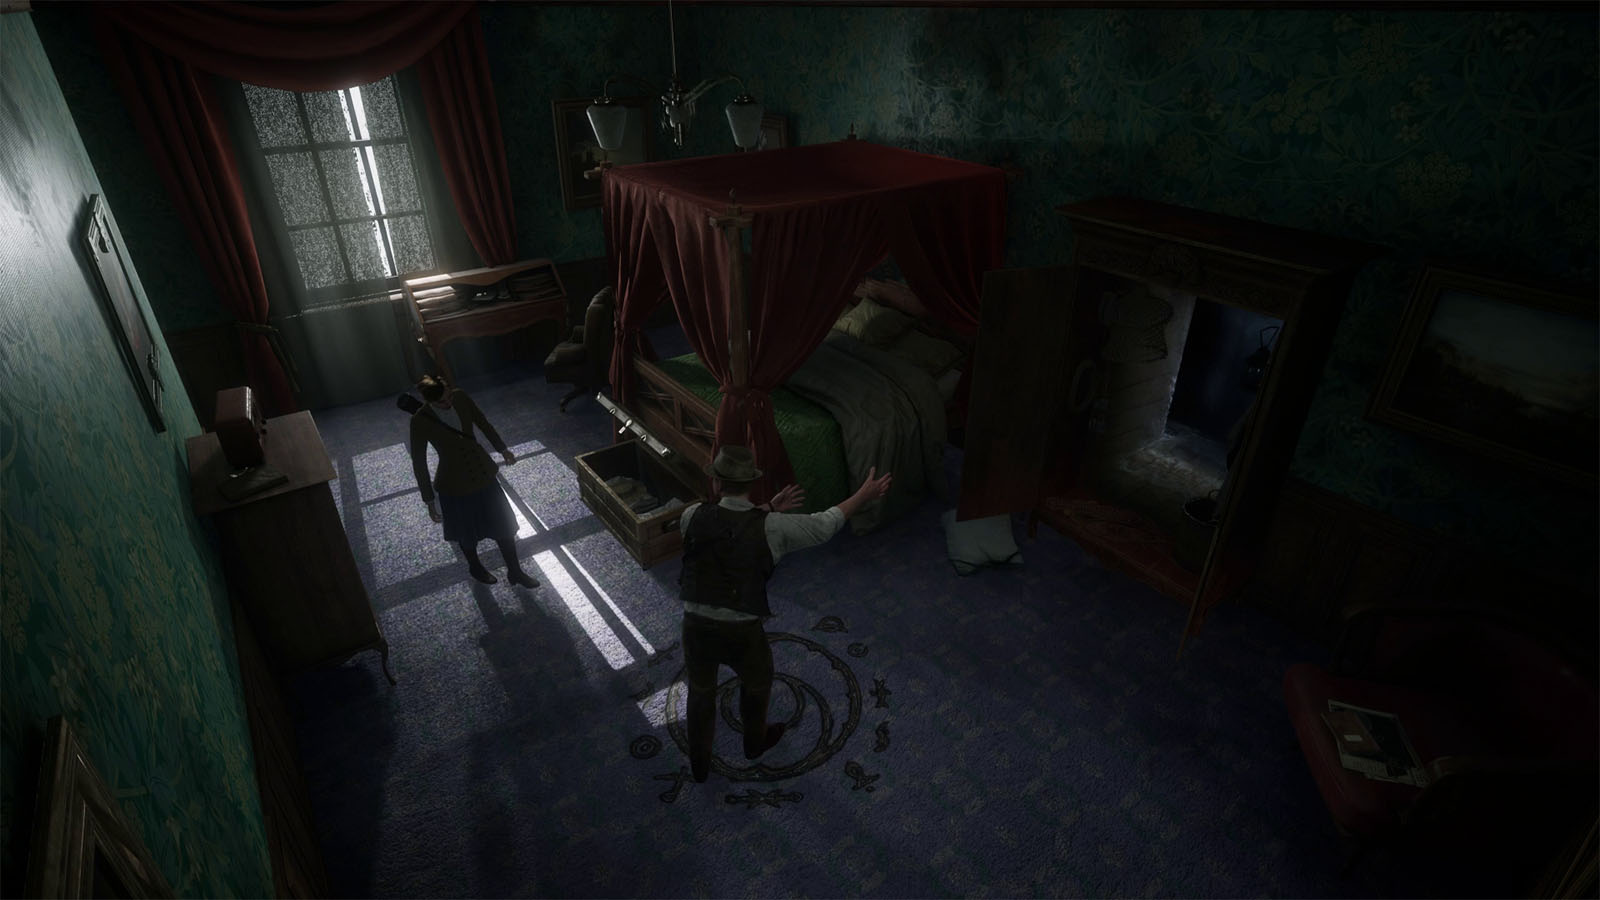
In the doctor’s bedroom, talk to your partner again for a conversation. Then check the chest by the foot of the bed to find the Clue – First Meeting – Transcript.
Check the chair on the corner to find the Clue – The Snake Dagger.
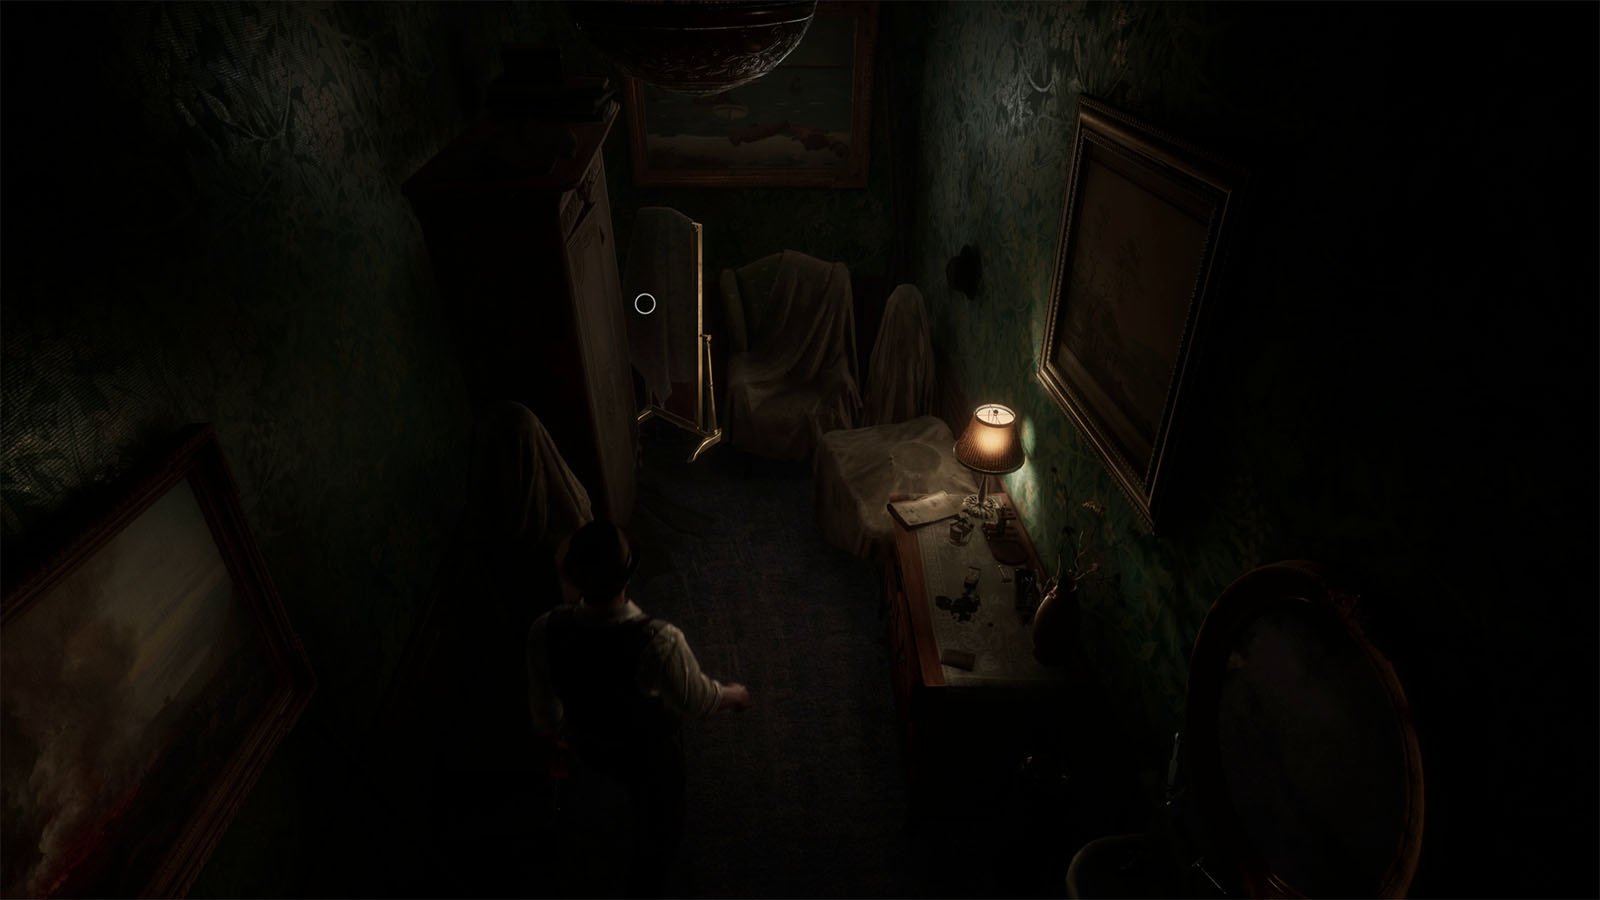
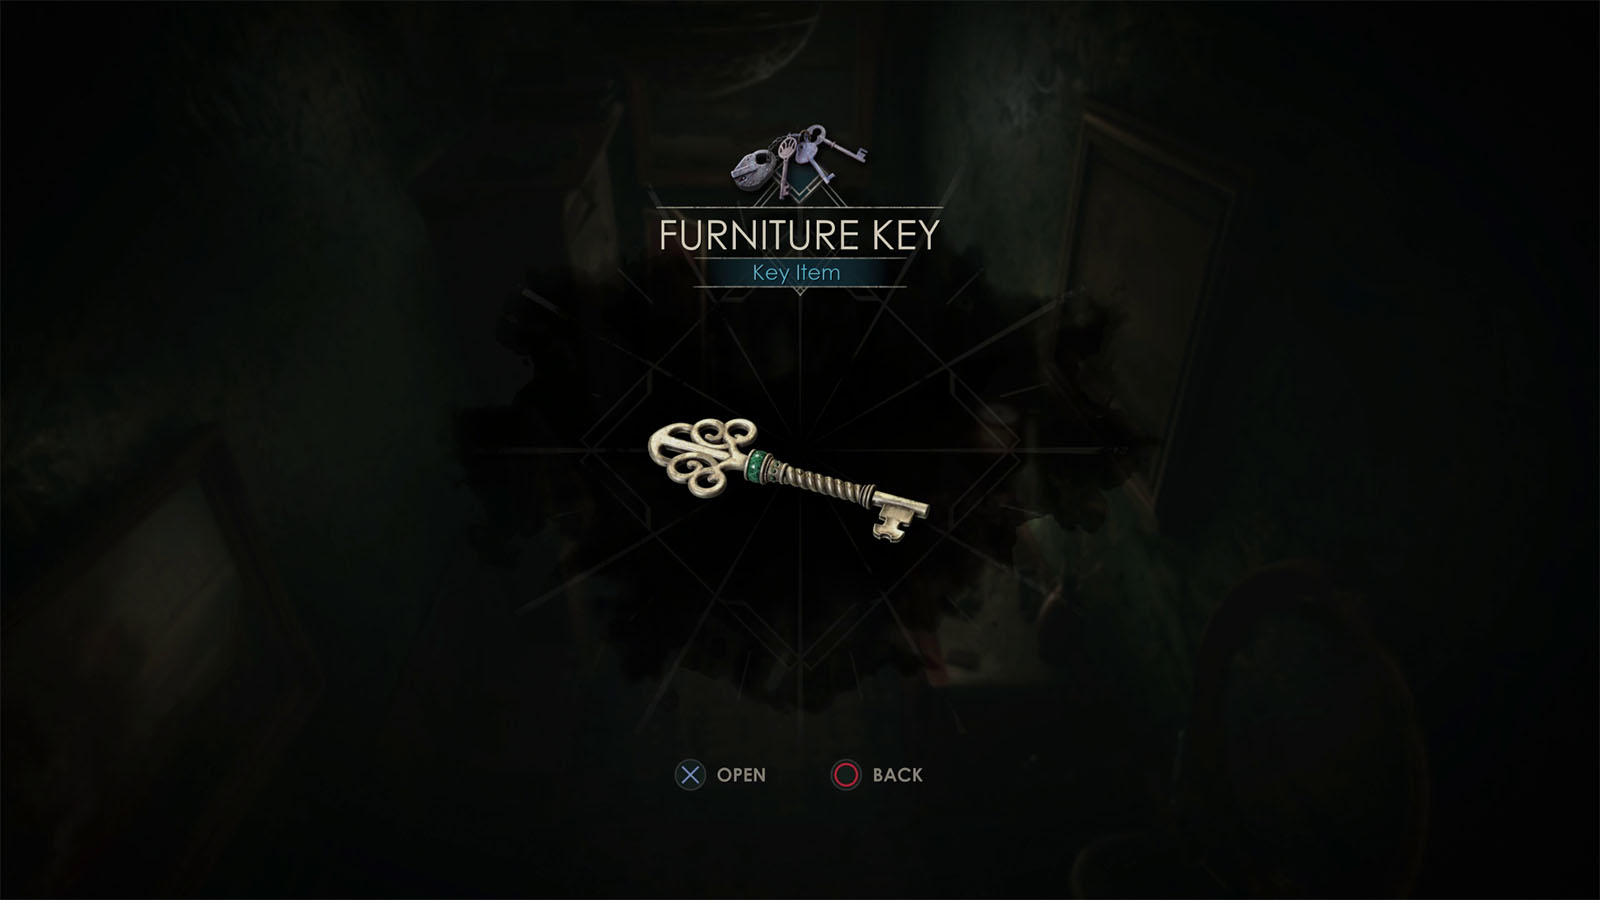
Go to the smaller room in the middle and inspect the sheet to find the Furniture Key stuck on to the side of the cabinet.
Use the key to open the closet in the bedroom. Afterwards, go back tot he study where you will hear the phone ringing. Answer it to hear Jeremy pleading for you to go away from Derceto.
Investigate the broken clock
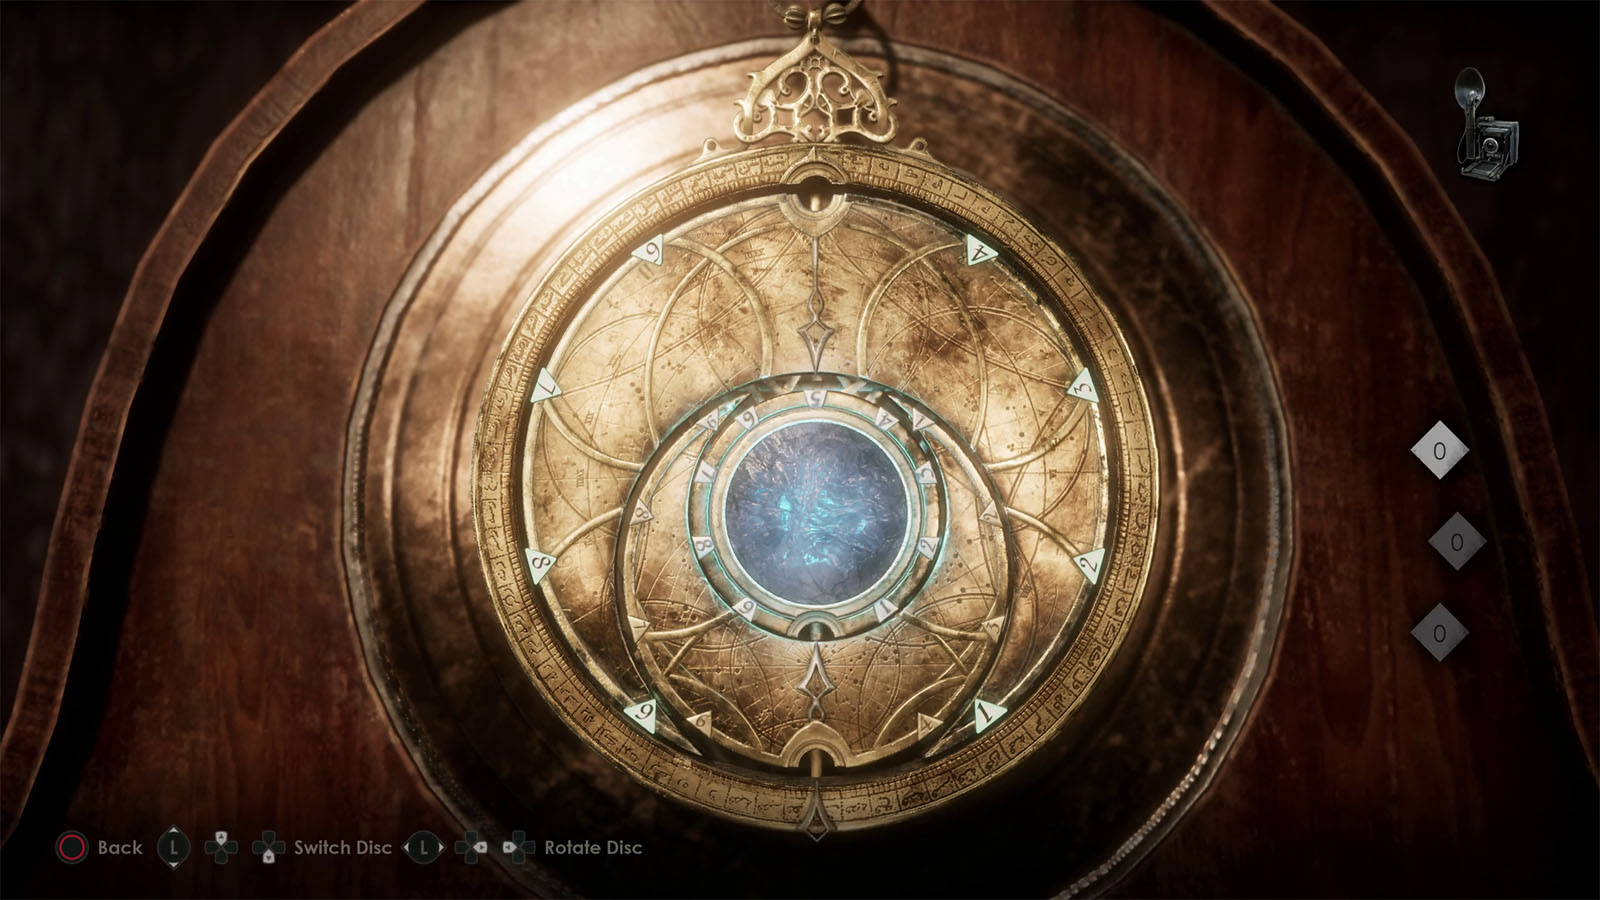
Check the clock near the map to see that the talisman fits on it. Refer to the markings on the floor inside the bedroom to find out the right orientation of the talisman. With the notch of the big dial at the very top and the other smaller dials’ notches pointing downwards, the code for this talisman is 0-0-0.
Enter the gate to another world
Go back to the bedroom where your partner will talk to you again. You try to convince your partner that the closet is now leading to someplace else, but only you can see it, so you head into the closet alone.
You will then arrive inside a ship in the Coast of Greenland. Head outside where you will find a camp and unlock the Frenzy Achievement.
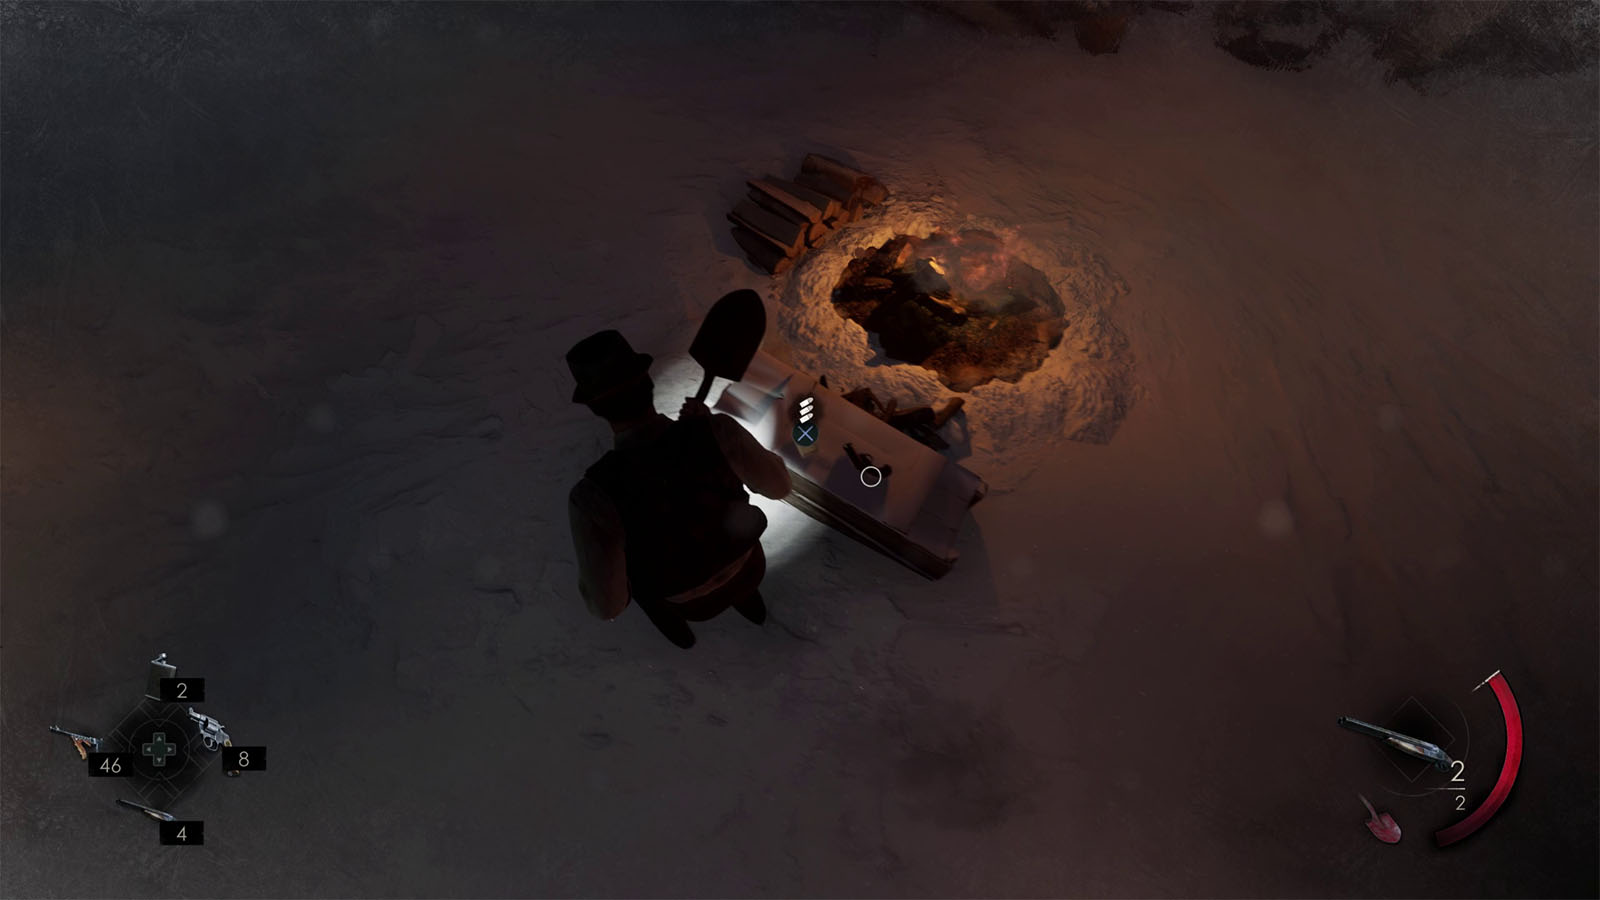
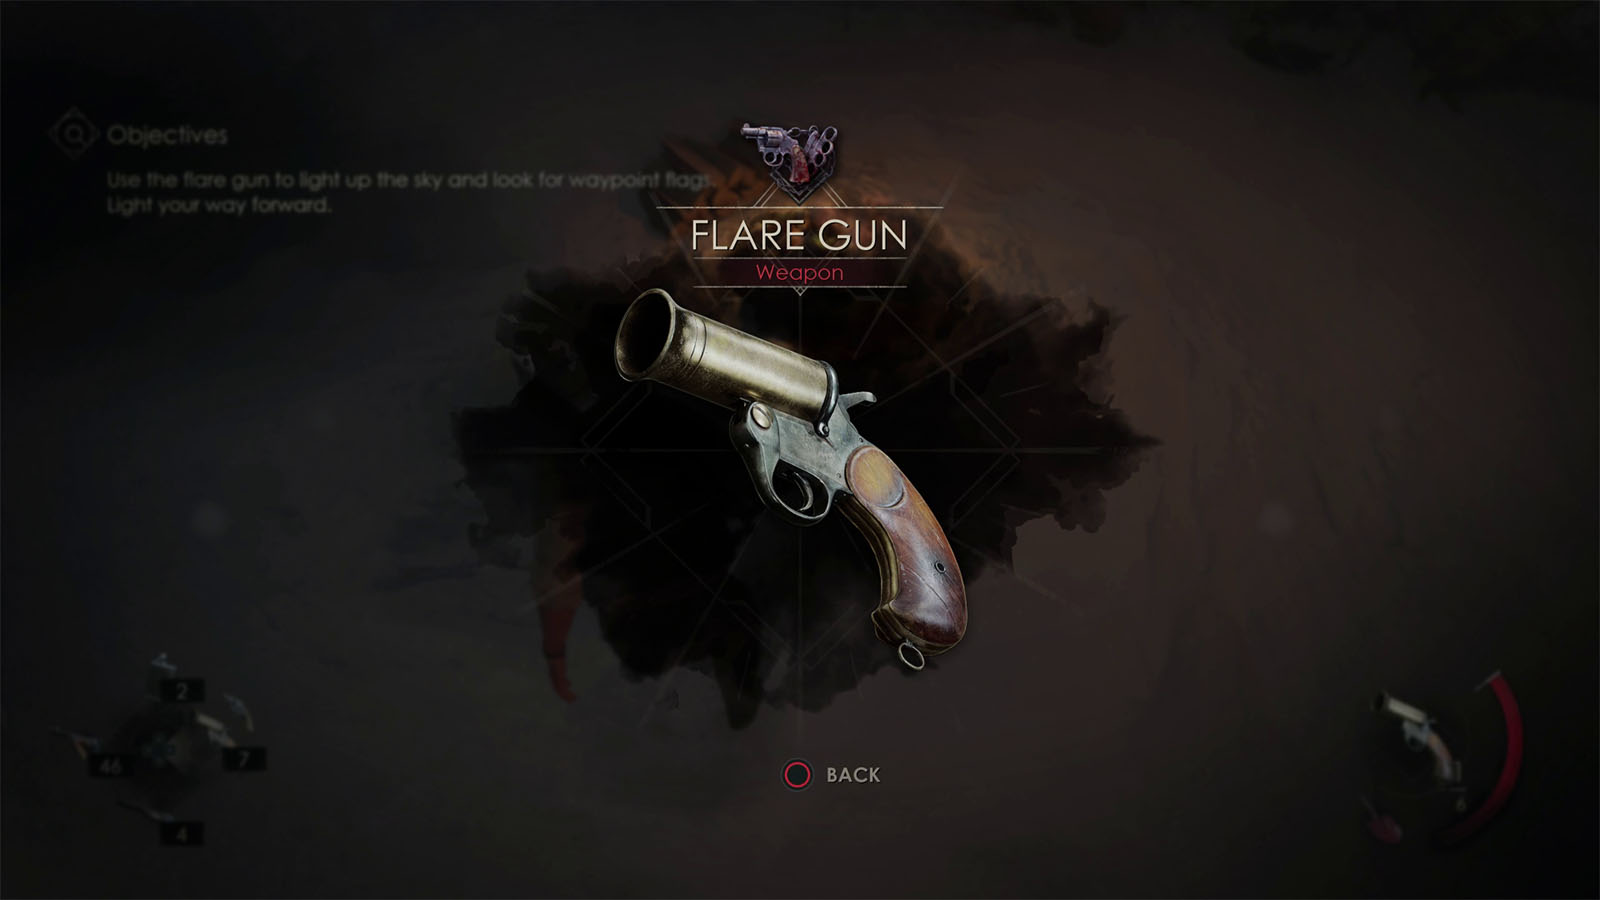
Go to the bonfire and grab the Flare Gun and some Flares.
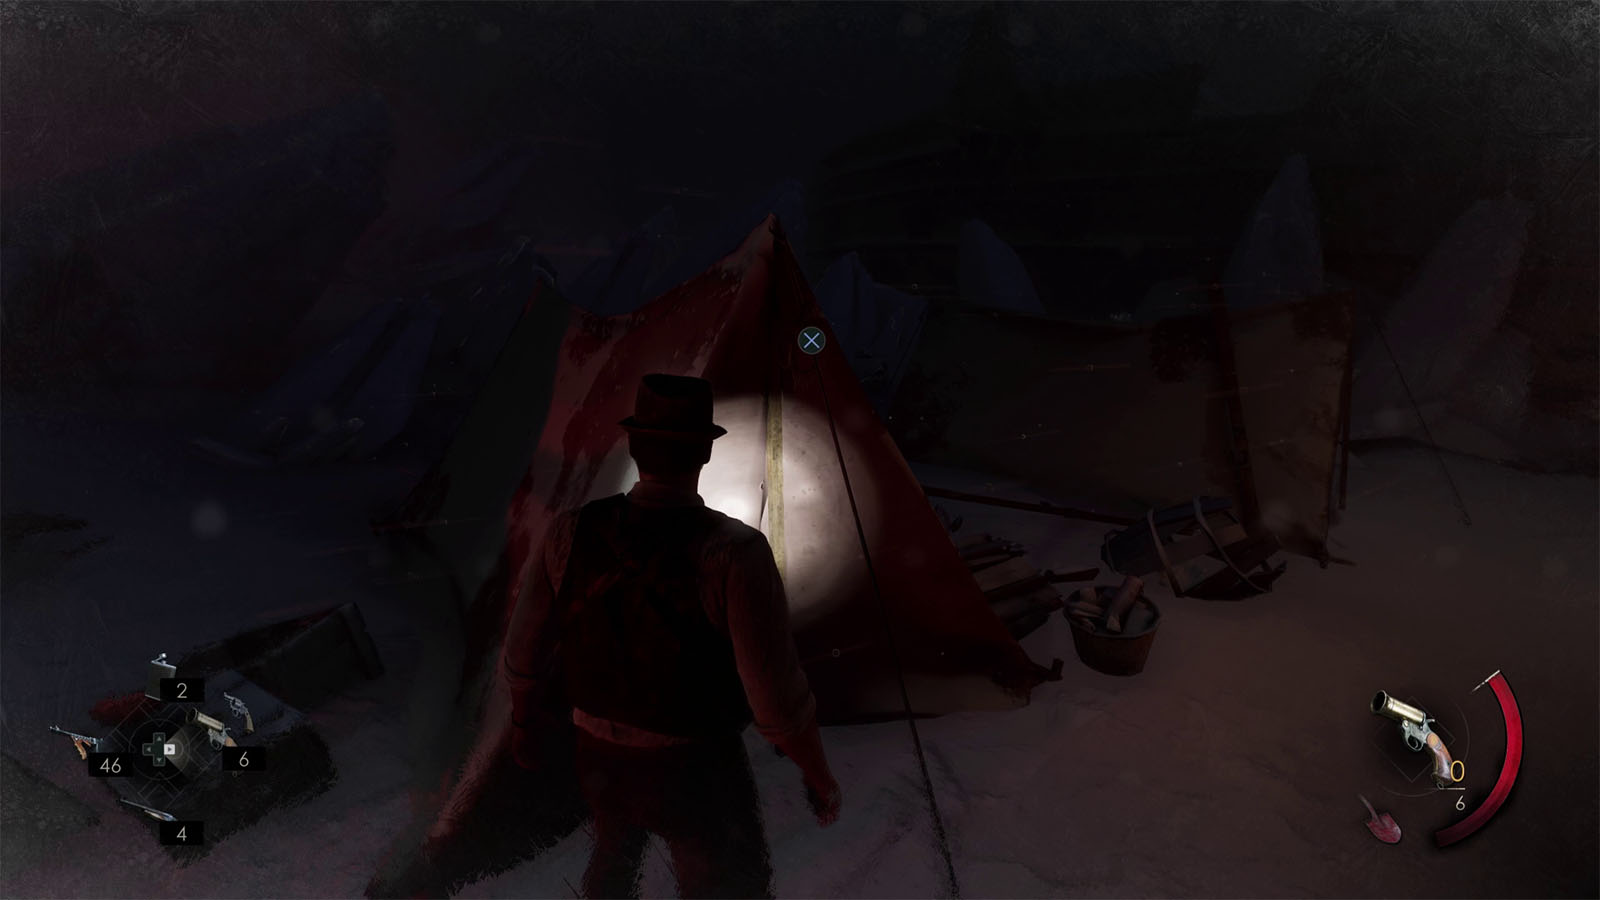
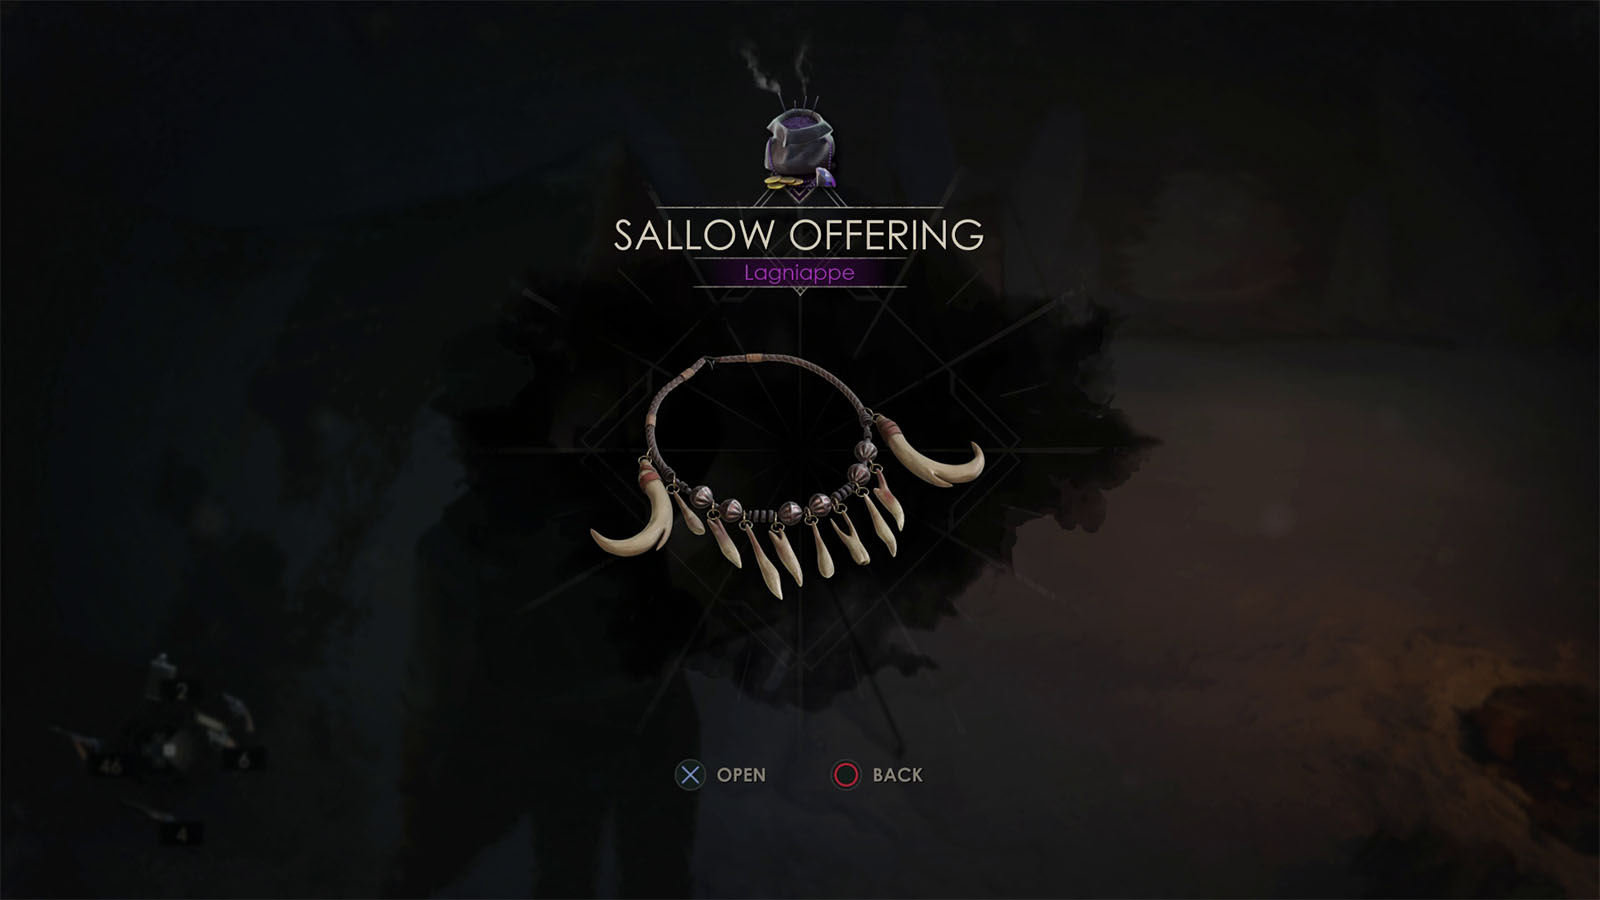
Check the tent nearby to find the Lagniappe – Sallow Offering at the top of its entrance as the last item to complete the Prisoner of Ice Lagniappes set.
Check the document near the tent to find the Clue – The Greenland Expedition.
Light your way forward
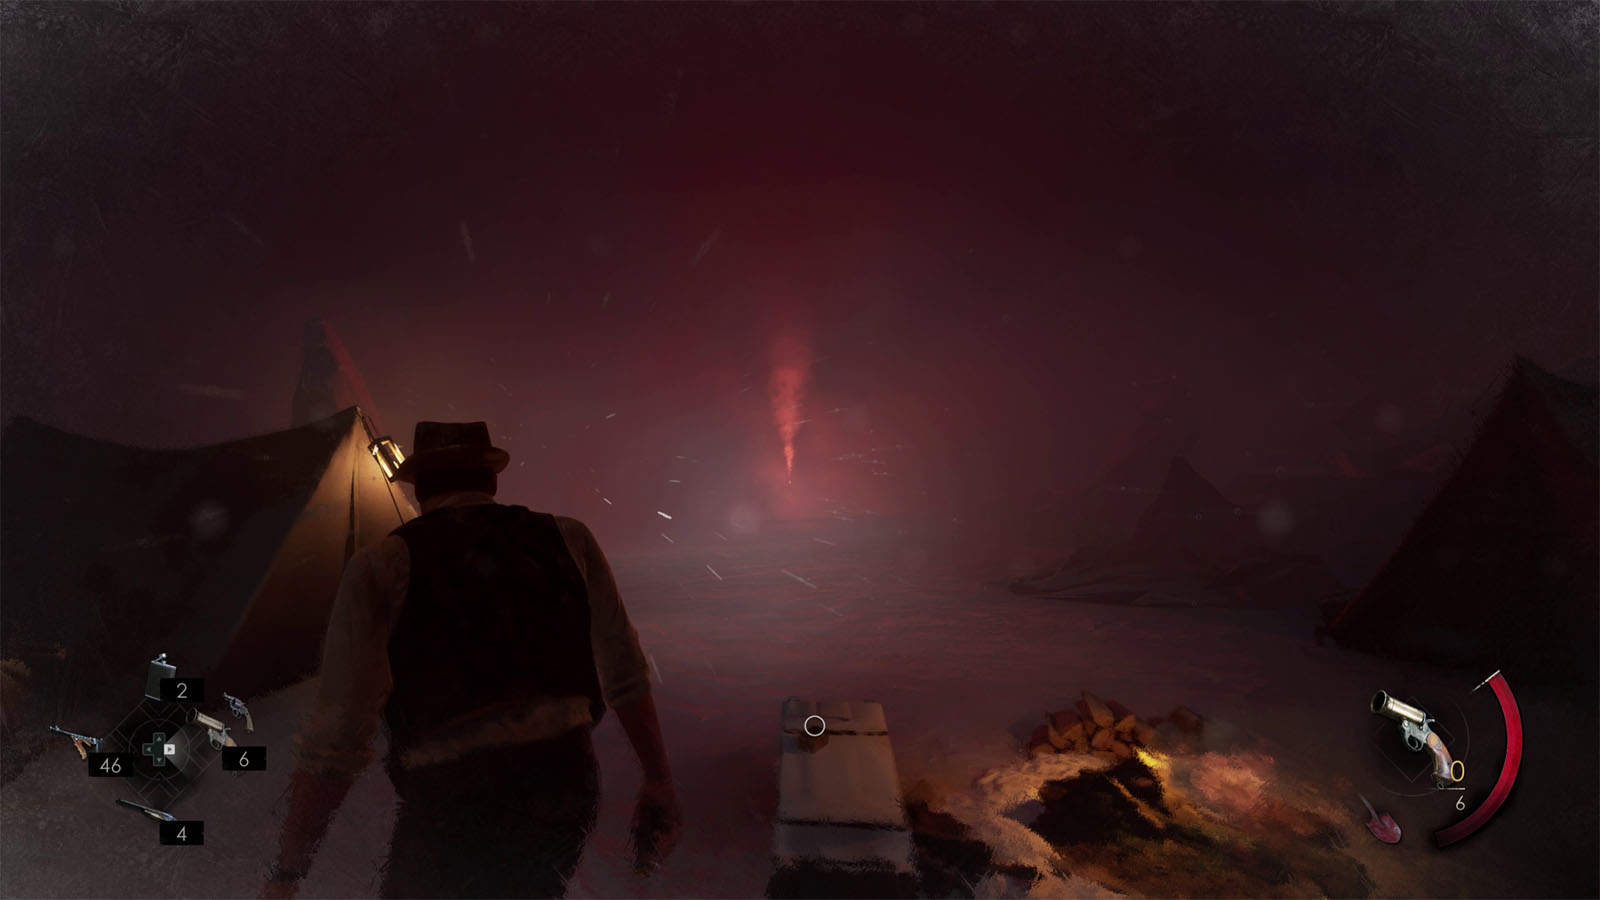
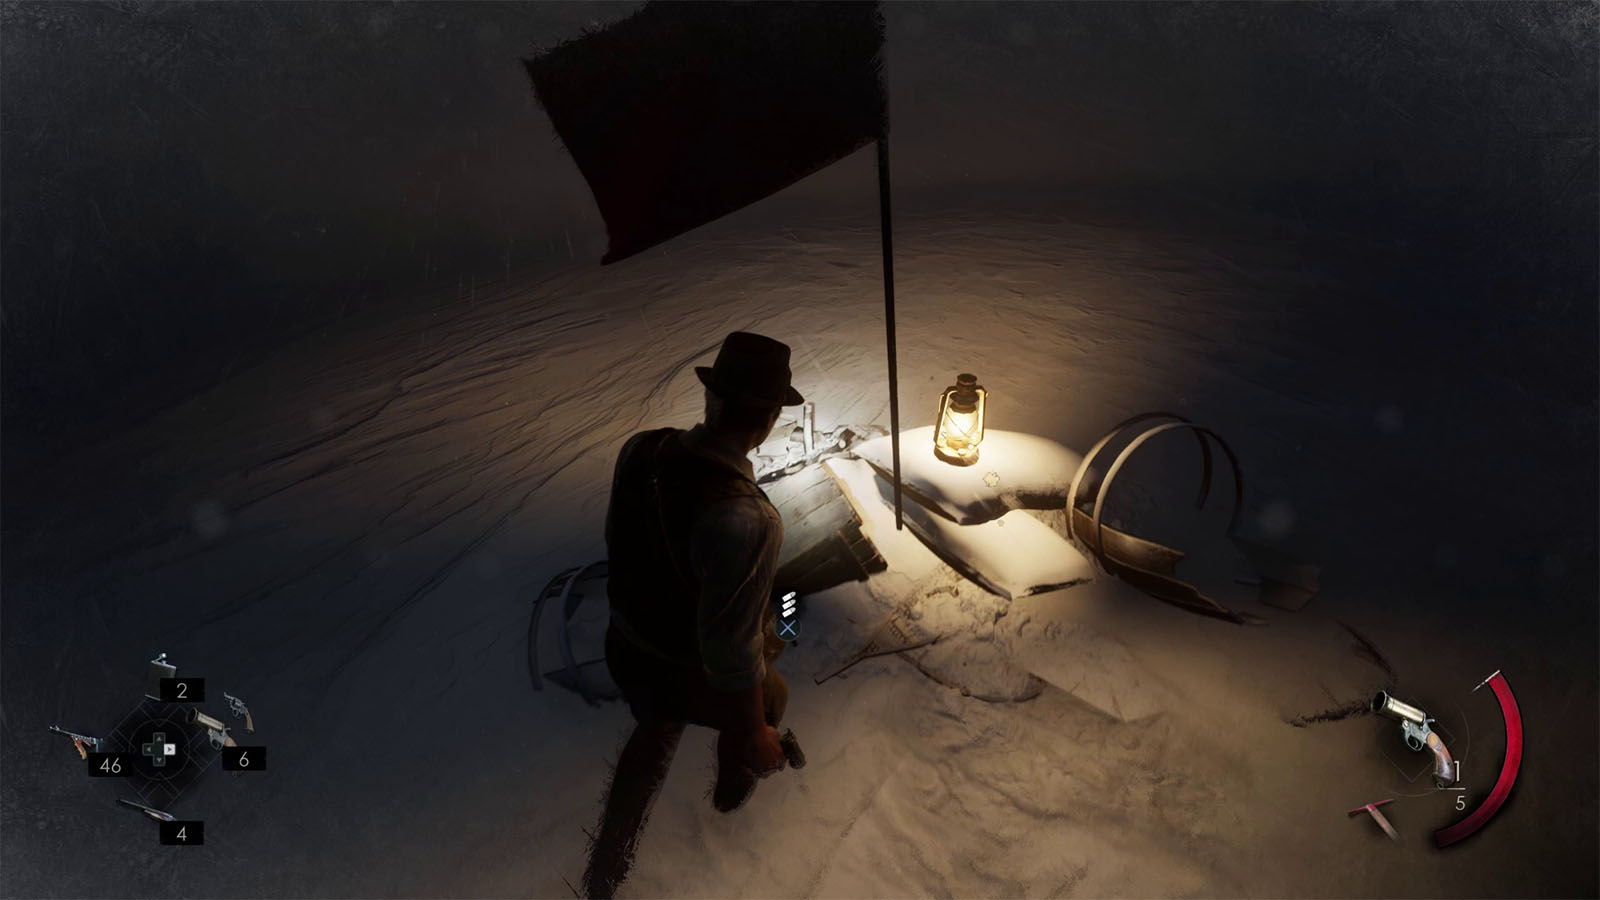
Shoot your flare gun towards the blizzard get some light, then keep moving forward until you see a waypoint. You can then light the lamp to help with your navigation.
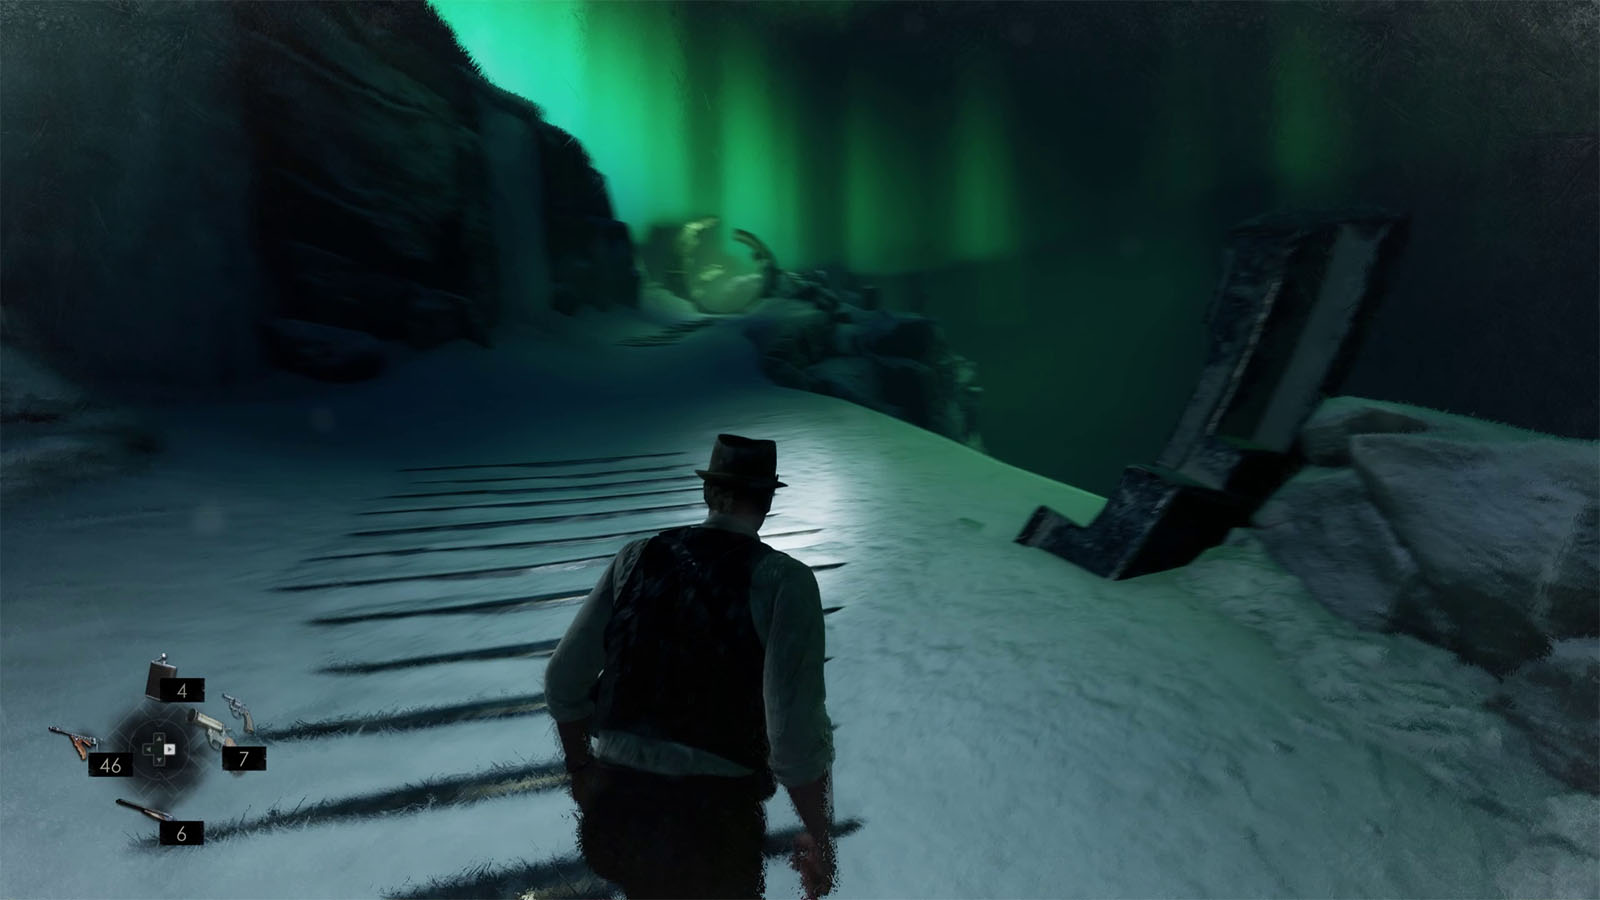
Keep moving forward until you reach the third waypoint, then turn left where you can climb up a slope that leads towards a strange structure.
Investigate the ruins
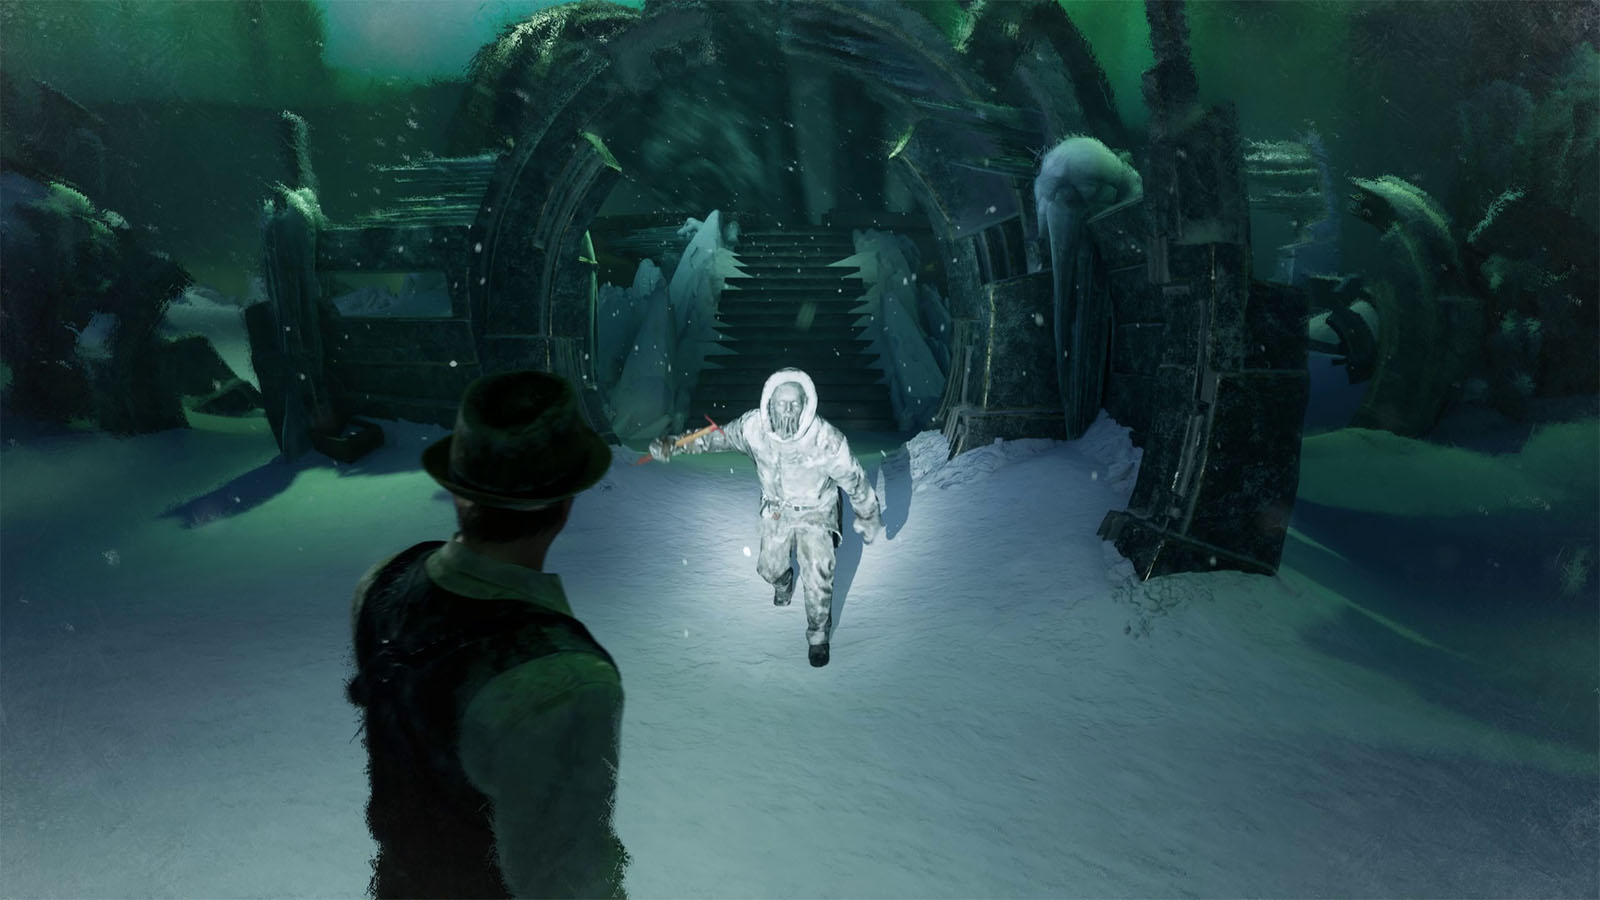
Near the middle of the strange structure is a man who turns out to be Jacob, the same person mentioned in the latest notes. Jacob will become hostile, so attack him until he dies.
Enter the Stellarium / Align the stars
Go up the Stellarium and use the sacrificial dagger on the small pedestal to pry it open, revealing a slot where you can place the talisman on.
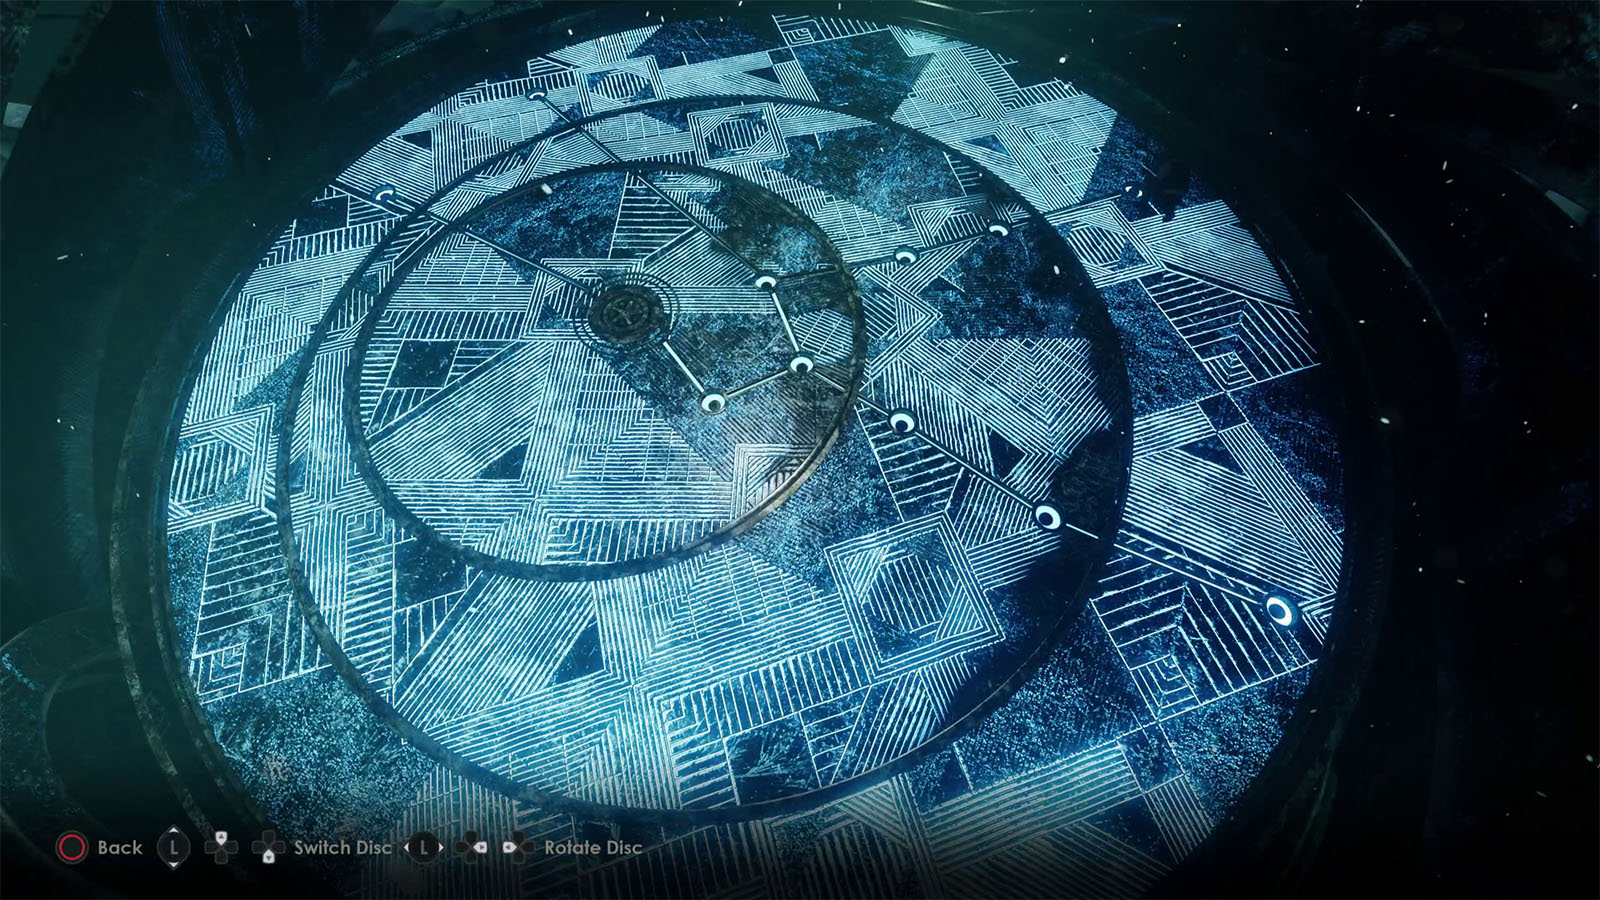
You will then have to rotate the discs so that you will form the constellation of Taurus, with you at the top-right side of the screen or when all of the lines on the discs glow blue.
The entire Stellarium will crumble and you will be shown that Jacob is still alive and has turned into a monstrosity.
Kill Jacob van Ostadte

You will then have a boss fight against Jacob, complete with a health bar this time. Attack Jacob with everything that you got and pay attention when he falls down. When he is down, go towards him to stab the sacrificial dagger and inflict huge damage. Be careful as he has wide range thanks to his elongated arms which can hurt a lot.
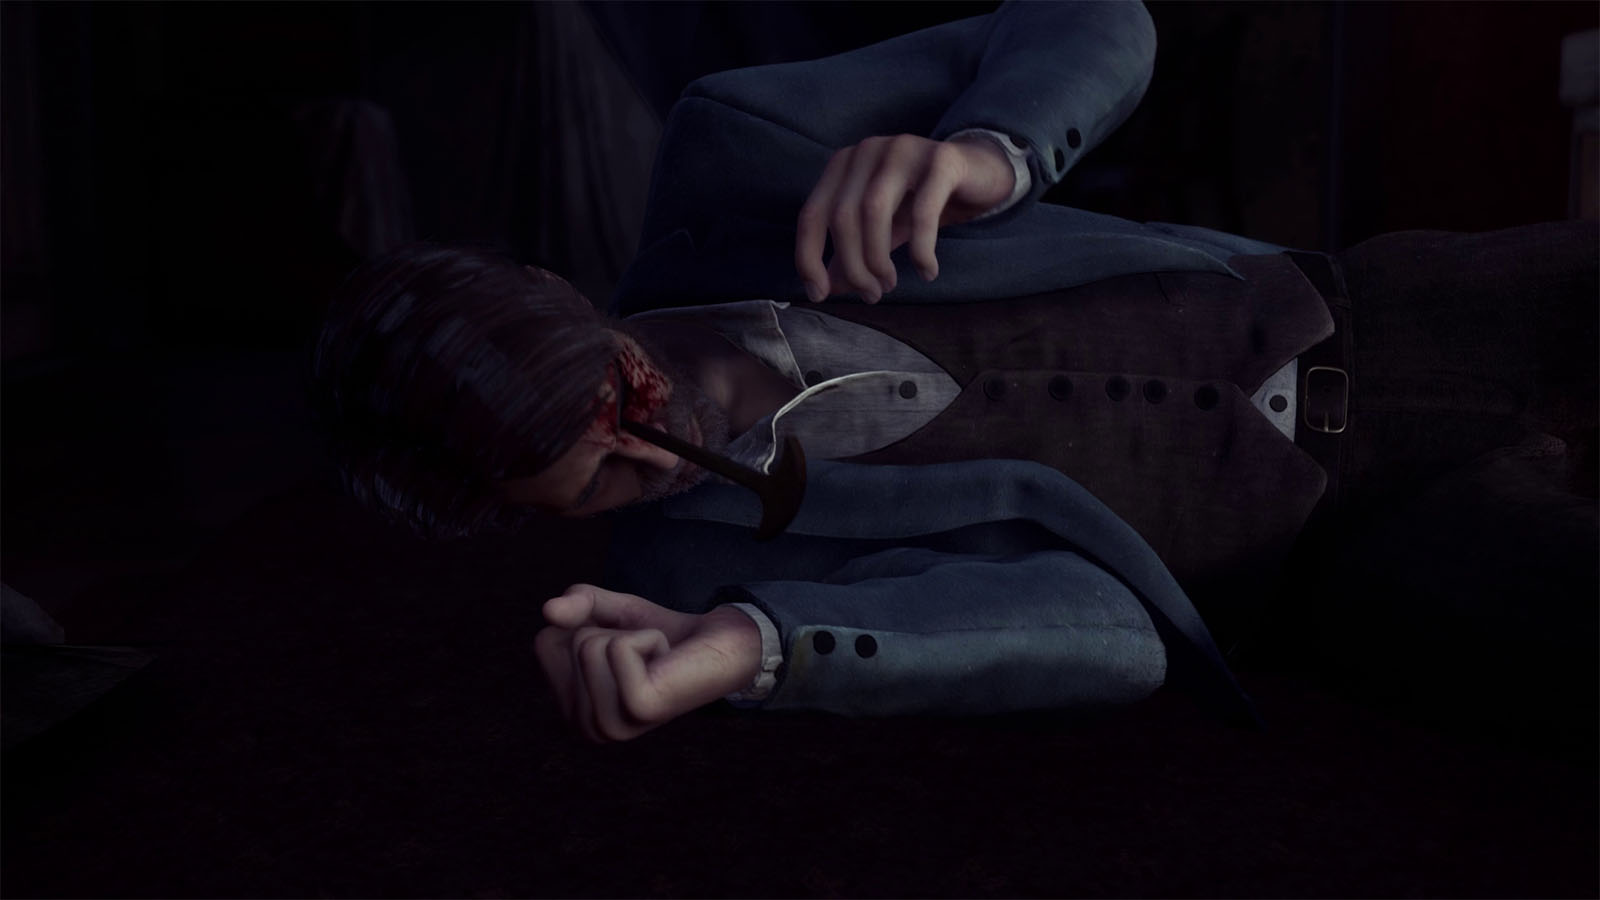
After stabbing Jacob’s eye, you will fall through the different places you’ve been to and end up back at Derceto. As you look at Jacob, you find out that you actually stabbed Jeremy in the eye, who has managed to survive.
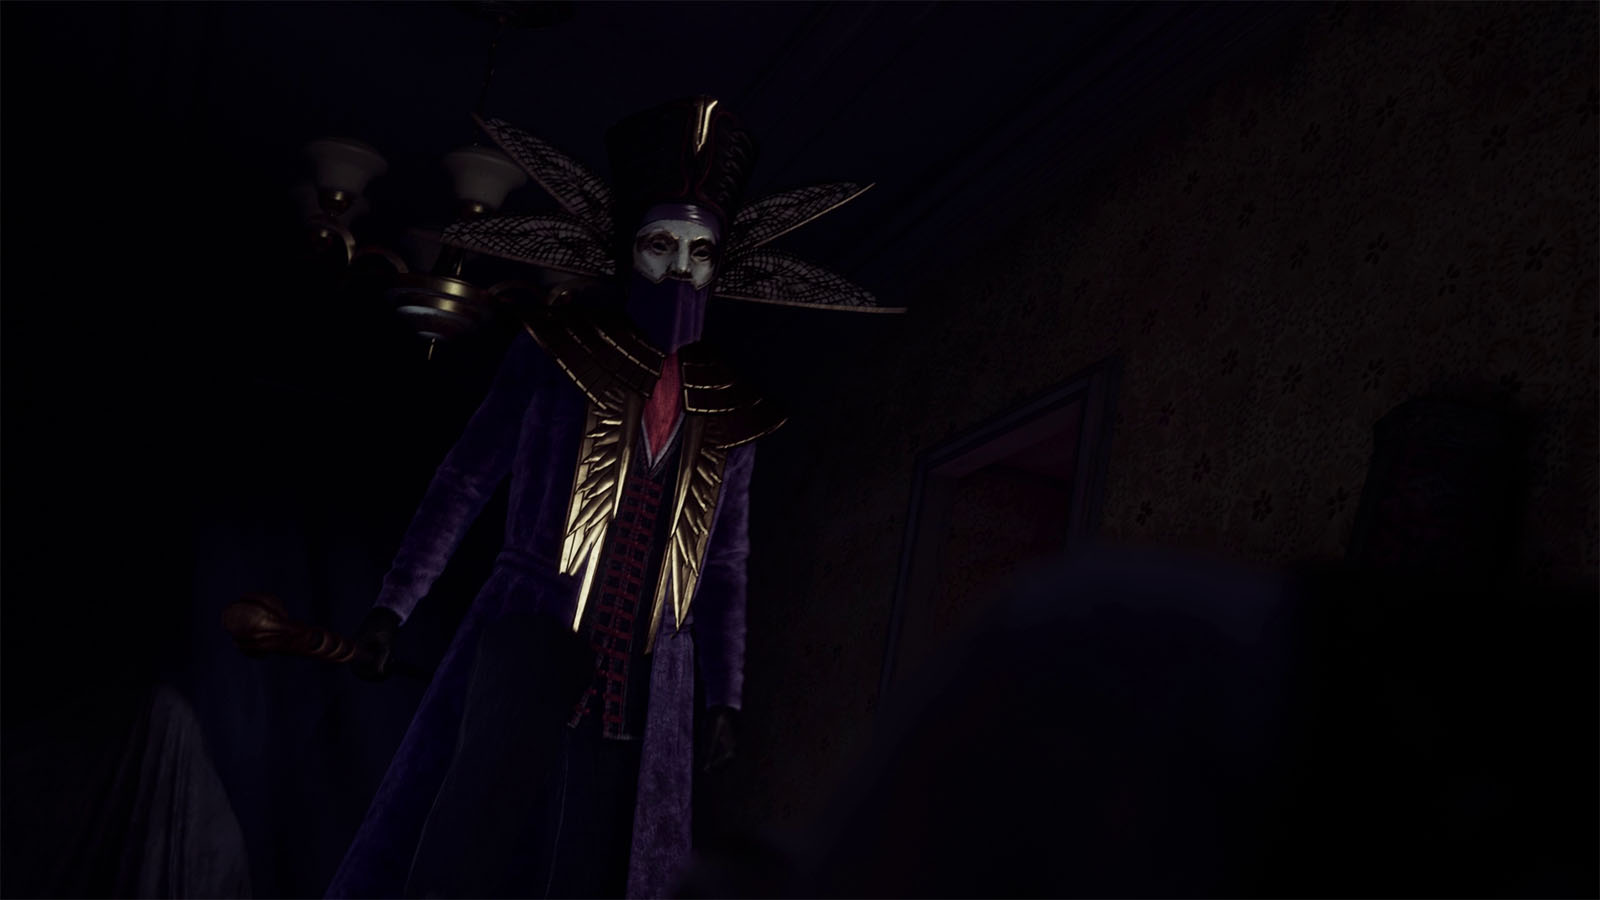
The Dark Man then appears and chases you, but you decide to confront him and attack him instead. It turns out that it was a delusion and it was Dr. Gray, and then you get restrained and sedated shortly as the chapter ends.
See next: Chapter 5
 – Review")
: How to Unlock All Endings & Secret Ending")
: How to Get the Hidden Attic Memory")