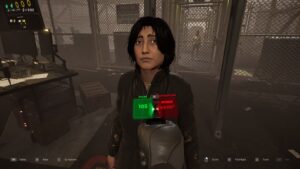
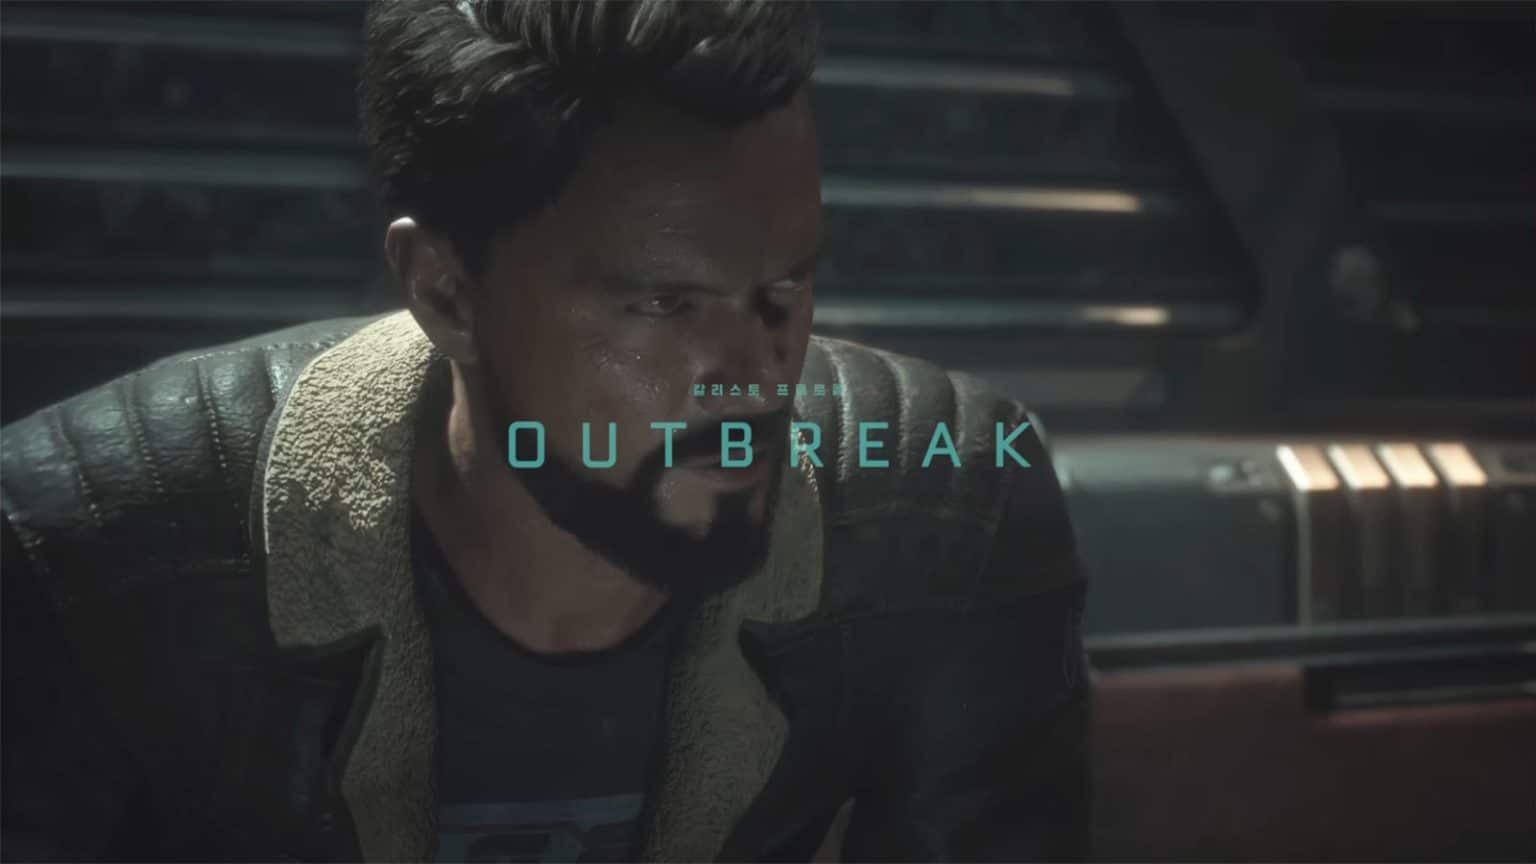
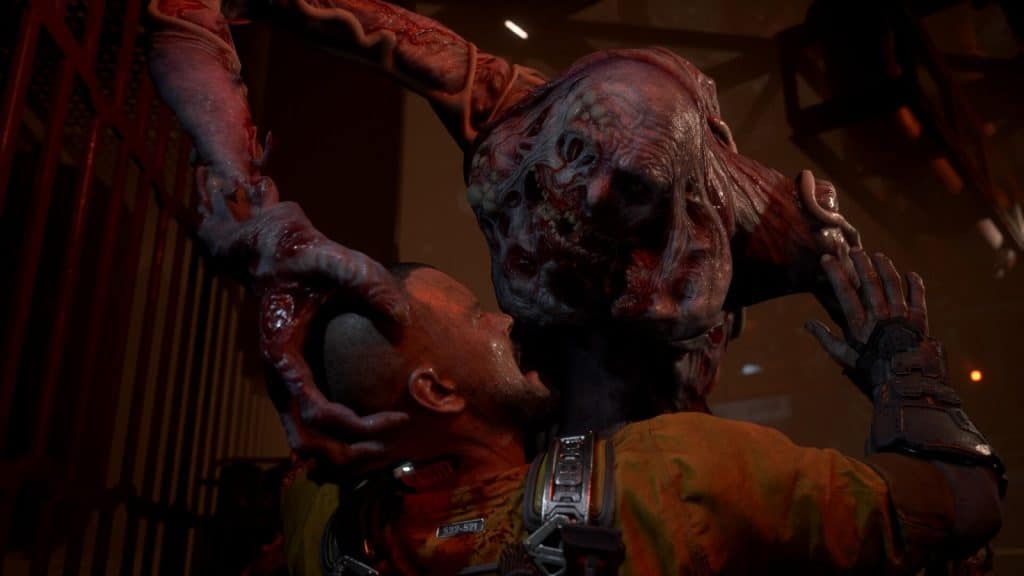
Outbreak is the second chapter of The Callisto Protocol which follows Jacob’s story after he gets sent into the Black Iron Prison for some yet unknown reason. Shortly after recovering from getting an implant, he finds the entire prison facility in disarray as it gets overrun by biophages which infected and turned inmates and guards into ravenous monsters.
In this guide, we will go through the events in Chapter 2: Outbreak of The Callisto Protocol, sharing tips and listing down any collectible that can be found in the chapter.
See previous Chapter 1 - Cargo Walkthrough The Callisto Protocol
Jacob gets taken into the facility and as part of the intake process, he gets an implant called the CORE device on the back of his head which caused him to flatline momentarily. He gets revived and sent into his own cell.
Chapter 2: Outbreak Objectives
- 2.1 Explore the cell
- 2.2 Escape / Desperate Times Achievement
- 2.3 Cross bridge to the control room
- 2.4 Open Elias’ cell
- 2.5 Return to Elias
- 2.6 Find the elevator
- 2.7 Move through Solitary
- 2.8 Sneak past the security units
- 2.9 Find the weapons lockup / Data-Bios #2
- 2.10 Return to the watchtower / Data-Bios #3
- 2.11 Sneak past Cpt. Ferris
- 2.12 Find exit / Data-Bios #4
Explore the cell
Jacob finds himself in his cell. There’s nothing much to do here but to pick up the cube toy that was briefly shown in the intro of the game. Prepare for a jumpscare as Max pops out from nowhere which wakes up Jacob from the nightmare.
You’ll then be woken up by the prison alerts for an evacuation as the entire prison facility has been trashed by something. Make your way to the cell door and open it to go out.

Escape
Make your way through the corridor and past the prison cells. Then, climb down the stairs at the end of the path where you’ll hear someone calling out for help. He’ll introduce himself as Elias and gives you a shiv in exchange of helping him open his cell. You’ll then be rewarded with the Desperate Times achievement.

Cross bridge to the control room
To open Elias’ cell, you need to go to the control room. Head to the panel beside the gate and use your shiv to pry it open and cut the wire inside. You’ll then be able to slip past through the gate.
Cross the bridge and follow the path to find another panel. Same as before, interact with it to open the gate. Prepare for a fight as you’ll be ambushed by some inmates inside. It will also serve as your tutorial for the game’s combat QTE sequences.
After finishing off the two gang members, you’ll then have to fight your first infected prisoner; we’ll refer to them as grunt biophages. You also get to use the pick crowbar while fighting against the grunt. Use this time to practice your newly learned combat controls, but try not to die; as you may have noticed by now, the CORE device also serves as your HP bar, if it runs out from taking a lot of hits, Jacob will die.

Open Elias’ cell
Interact with the panel below the cell monitors and it will open all of the cell gates in the prison.
Return to Elias
Head back out to the gate you slipped past through earlier to meet up with Elias. He’ll then tell you to meet up again at the watchtower in the middle of the prison.

Find the elevator
Make your way to the next corridor to get to the elevator. You’ll have to fight against another grunt along the way. Defeat it and in case you need to heal up, stomp on its body and it will drop health back that you can pick up. Continue down the path and you’ll arrive at the elevator. Interact with the panel to make the elevator go down to a lower level.
Follow the path on the lower floor and you’ll find a barricade that you can crawl through. You’ll run into another grunt again. Defeat it and you’ll find a wall mounted box containing a health injector that you can pick up. Use it if you need to or keep it for later.
Keep moving forward and you’ll find the elevator to the right.

Move through Solitary
The elevator malfunctions and it takes you to the lower Solitary confinement level instead of up towards the watchtower. Follow the path forward, turning right by the hanging body and through the corridor that leads to an access hall.
Walk past the cells and into the connecting hall where you’ll find an Energy Converter that you can pick up. Open the door on the left to proceed to another hall. There are a couple of cells on both sides of this hall that you can explore and grab some Callisto credits from which will be helpful later. Go to the gate at the end of the hall and prepare for another jumpscare as you open it. You’ll see another enemy at the far end of the hall, but it will hide under the vent.
You can further explore a few more cells before moving into another closed gate. Open it up and follow the path until you find a loot crate that contains a health injector and some credits. Move to the next elevator on the left side to go up to the next level.
Sneak past the security units
As you make your way through the hallway, you’ll be alerted by Elias that the security units are back online, followed by a scene of a security unit killing two inmates. The next part will become a stealth mission as you try to move past the security units. Use your crouch to stay low and pay attention to where their spotlight it pointed at to know which parts are not safe.
Starting from the vent that you climbed on, move towards the right and through the unlocked door. Then interact with the locked door’s panel to unlock it and continue towards the next doors until you reach the operating room. Another crate is nearby, but opening this will make a parasite jump out and attack Jacob, so best to leave it be.

Find the weapons lockup / Data-Bios #2
You’ll find another panel on the wall to the right where you can get a Gate Fuse that you can use power up any unpowered door. Just near the door beside the panel is the Data-Bios #2: Mahler’s Appointment.
Continue to the stairs on the left to the mezzanine floor and use the gate fuse on the panel to open the door. The next hallway will be in flames and a burning grunt will be running at you. Take care of it and continue to the door on the left and down to another door at the end of the walkway. There are points that you can check in the next room which contain some credits and health gel. You’ll then be met by another holograph of Warden Cole.
After the holograph’s message, make your way through the vents until you arrive at another room. You’ll be facing against two grunts. Be careful and avoid letting them pinch you. Try to use the lay of the room to keep one away while you take care of the other one. Once you kill one of them, the other one will flee through the vents. Leave it be and make your way through another vent to reach the control center.
You’ll see one of the dead guards holding the Stun Baton. Grab it to replace your crowbar.

Return to the watchtower / Data-Bios #3
Interact with the center panel below the monitors to open the door leading out the control room. Prepare for an ambush as you open the door. Defeat the grunt then proceed to the next section. Continue going through the corridors and doors until you’re back at the central cells where the watchtower is. Ahead is another box containing a health injector.
Further ahead are some more grunts. You can try and sneak behind one of them to go for a fatal stab, but be prepared to get ambushed by at least two more from behind. After doing the critical stab, try to back away first before engaging the one ahead so that you can concentrate on the two ambushers.
Once all three grunts are dealt with, hop over the barricade and look to the right inside Elias’ cell to find Data-Bios #3: Elias’ Anticipation.
Climb up the stairs ahead and turn left to get to the elevator that will take you to the watchtower.

Sneak past Cpt. Ferris
Once you arrive at the watchtower, Cpt. Ferris will be busy at the control panels. Sneak to the right and access the panel beside the door and a cutscene will play.

Find exit / Data-Bios #4
After the scuffle against Cpt. Ferris, you’re free to roam the watchtower. You can then grab the Data-Bios #4: Ferris’ Lament on top of the desk.
Continue through the path and out the gates to complete the chapter.
Chapter 2: Outbreak Achievements
Here are the achievements that can be obtained in chapter 2:
- Desperate Times: Elias gives Jacob a shiv.
See next Chapter 3 - Aftermath Walkthrough The Callisto Protocol
If you like this guide, be sure to check out our other The Callisto Protocol articles:
- The Callisto Protocol Characters and Cast
- The Callisto Protocol Chapters List
- The Callisto Protocol ending explained
- How to upgrade weapons in The Callisto Protocol
- How long to beat The Callisto Protocol?
- The Callisto Protocol PC Plays Horrendously
- The Callisto Protocol Post-Launch Content Revealed
- Is The Callisto Protocol on Xbox Game Pass?
- The Callisto Protocol PC System Requirements Revealed
- The Callisto Protocol to Include Denuvo DRM Protection
- The Callisto Protocol Devs Refute “Extra” Death Animations Behind Paywall
Check out this video by theRadBrad showing the gameplay for Chapter 2 – Outbreak:


