
The Spire of the Watcher is the latest dungeon that players can go through in the newest Season 19 in Destiny 2. In this dungeon, players will have to be good at sorting and following wires while fighting against hordes of enemies and bosses as the new dungeon mechanic mixes in puzzle and platforming action.
In this guide, we will go through the Spire of the Watcher dungeon and talk about its mechanics, the encounters, and all the boss fights, plus share some tips to make clearing this dungeon easy.
How to unlock the Spire of the Watcher?
To unlock the Spire of the Watcher, visit Ikora Rey and take on the Ares Desperado quest. This quest will immediately grant you access to the dungeon which can be accessed through Savathun’s Throne World.
The Spire of the Watcher is made up of four encounters, including a boss fight in the end. In all of the encounters, you will have to play with the wire and nodes mechanic while fighting against the Vex enemies. These are the four encounters:
- Re-establish Power
- Ascend the Spire
- Akelous, the Siren’s Current
- Persys, Primordial Ruin
There are also collectibles called Devilish Recordings that can be found within the dungeon. Check out our Spire of the Watcher Devilish Recording Locations Destiny 2 guide to know where to find them.
Re-establish Power
For this first encounter, you’ll be able to learn how to work with the wires and nodes mechanic. It’s a fairly simple mechanic as soon as you get familiar with the lay of the playing field.
At the opening part of the dungeon, you’ll be fighting in an area that has four power nodes in the middle that have to be powered up in order to access the spire. These power nodes are connected to an arc circuit to other nodes that are scattered across the playing field. Each node is connected to another node by a yellow wire and at the very end of a circuit is a generator.
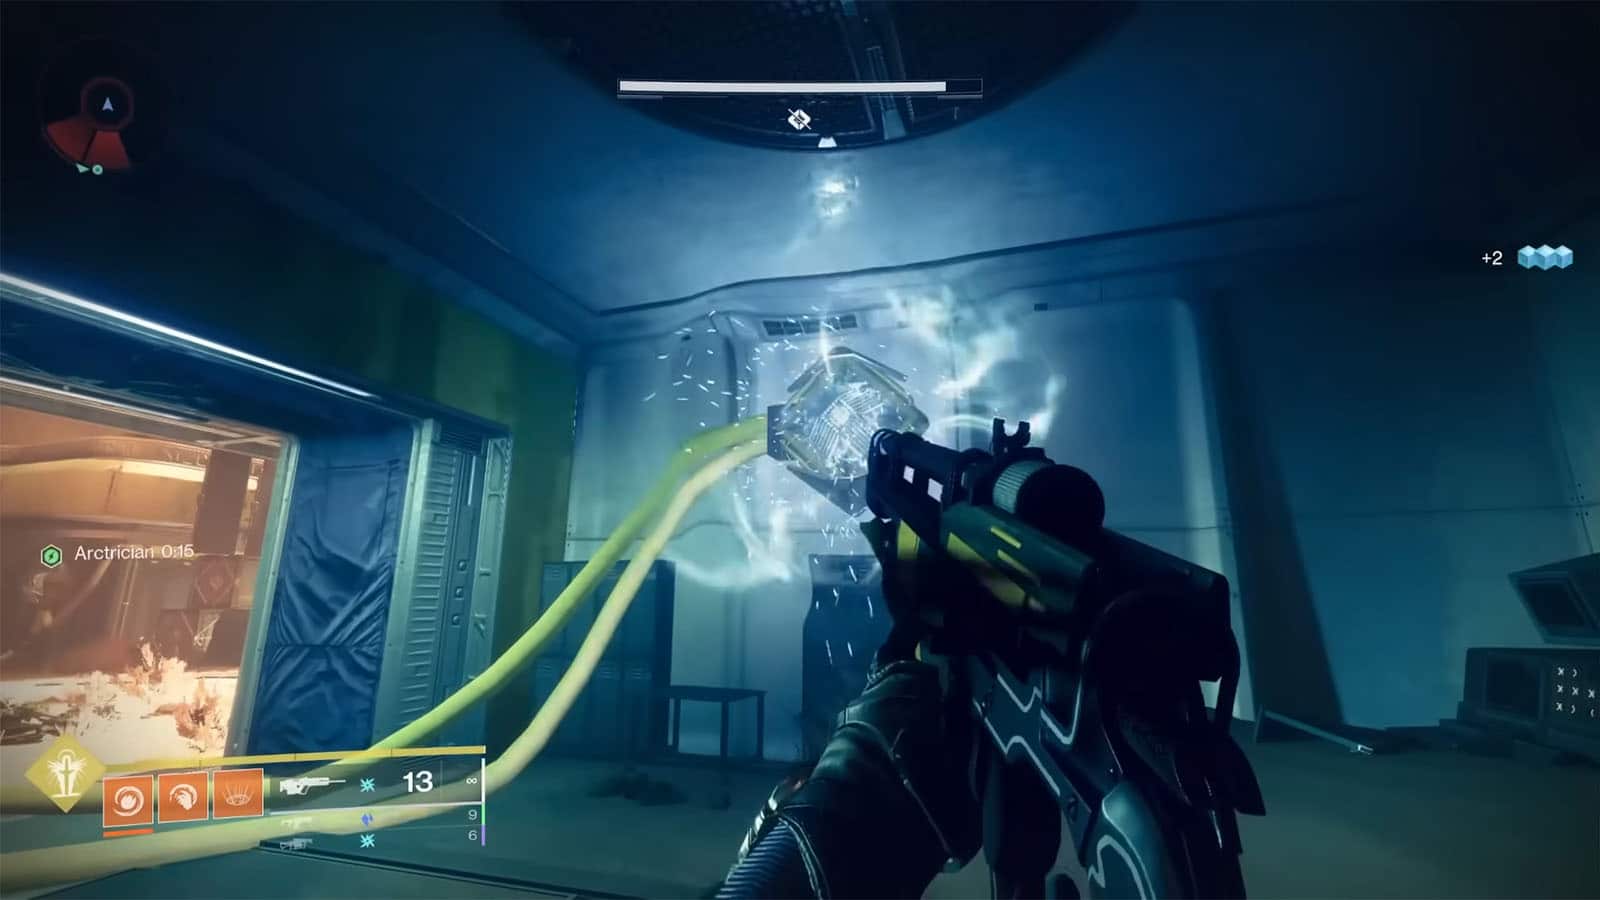
Generators can be identified as a node that has a sort of power box attached to it that shows the way the power flows with some arrows. To activate these generators, they can be attacked or shot at while having the Arctrician buff which can be obtained by killing Conduit Minotaurs. These Minotaurs leaves a pool of Arc power which you can stand on to gain the buff for 30 seconds.
Once you have the buff, you’ll then have to shoot at the connected nodes in the proper order starting from the generator and all the way until you power up the connecting node in the middle. Each correct node that you shoot adds 5 seconds to your buff’s duration, to a maximum of 45 seconds. If it runs out, you need to kill another Conduit Minotaur and stand on the pool.
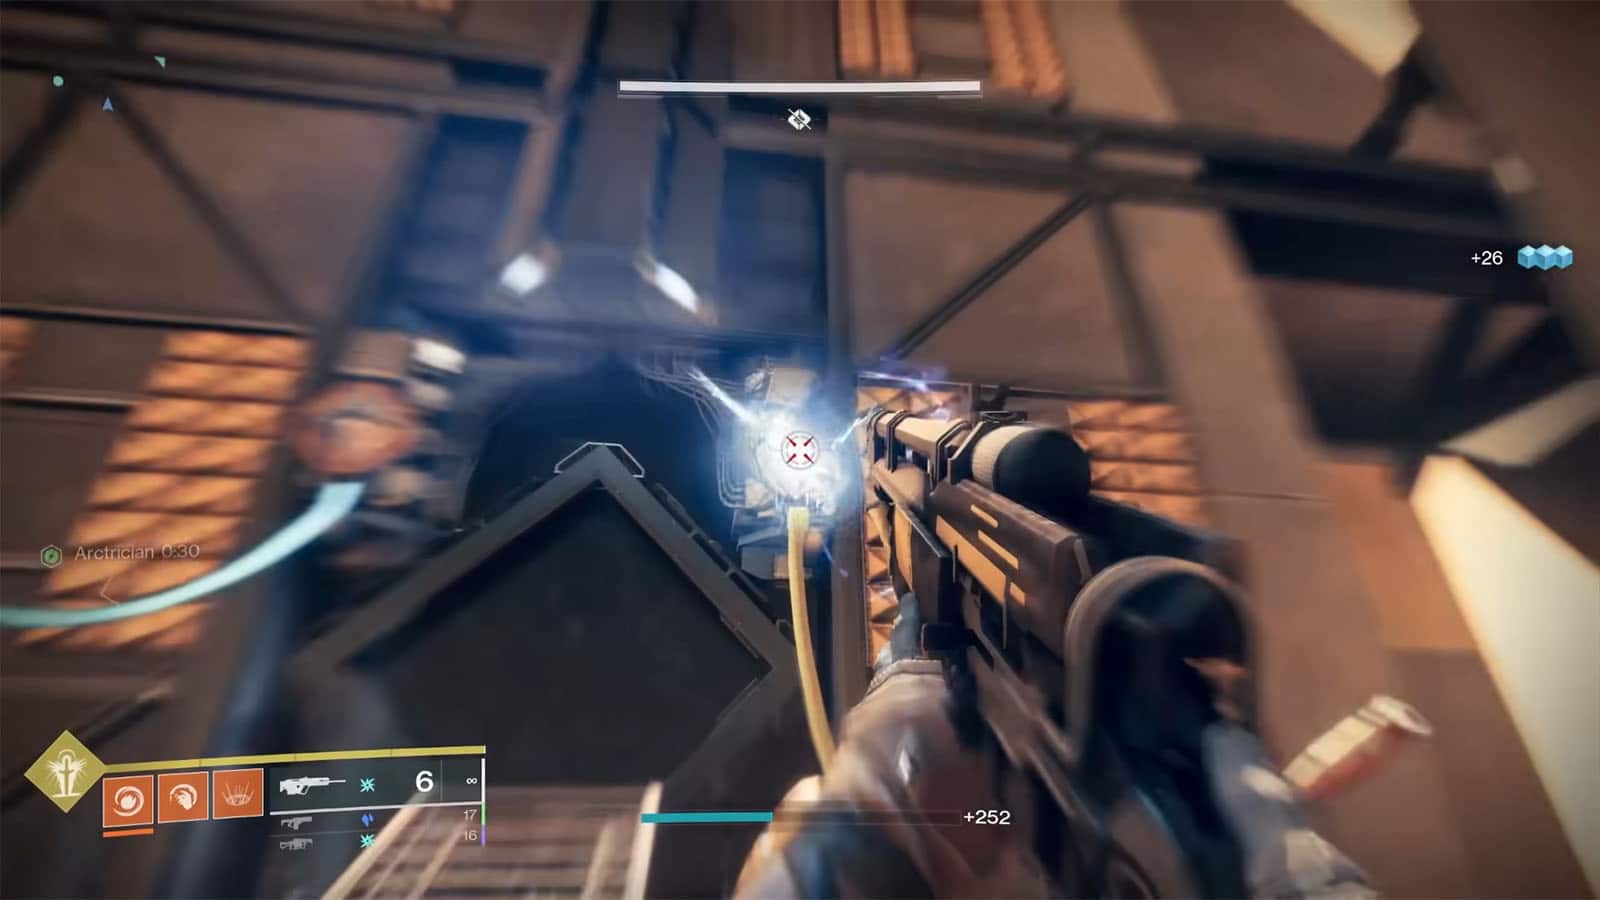
The nodes are visibly connected by the yellow wire, but it can get confusing at the start especially that the wires snake around floors, walls, and ceilings, and are often slightly entangled with other wires from a different series circuit. You’ll know that the wire is powered up as it turns electrically charged blue if both the nodes that it’s connected to are powered up. Once a node is powered up, it stays powered up until you complete the phase.
The nodes have to be turned on in the proper order from the generator to the end, otherwise skipping a node will just do nothing. However, there is a small leeway wherein if you skip a node and shoot the next one, but you immediately shoot the skipped node within ~2 seconds, both nodes will still light up.
As a recap:
- Defeat Conduit Minotaurs and get the Arctrician buff.
- Locate the generator and shoot it while having the buff.
- Shoot the next connected node while the buff is still active, all the way to the hatch node in the middle.
- Do these steps until all four hatch nodes are lit.
Ascend the Spire
The next encounter will have you spawn on the base of the spire. The same mechanic applies in this phase with the added challenge of vertical platforming, so make sure that your jumps and glides are on point.
The climb up to the top of the spire will take three similar stages. On the first stage, you will have to power up two nodes that will activate the elevator to the next stage. As you spawn in, you’ll have to go around to the opposite side of the spire to find the generators. What’s convenient is that the Conduit Minotaur that you need will also spawn there. Once you have the generator activated, it’s as simple as powering up the chain of nodes back to the elevator node.
You still have the yellow wires to work with as a guide to find the next node. However, most of the nodes are placed at hard to reach spots, so try to find the right angle where you have a clean line of sight. There are only minor adds that will spawn in from time to time which shouldn’t be much of a problem.
Once both elevator nodes are activated, head to the elevator to go up to the next stage. From here, you just need to do the entire thing again to activate the elevator up to the third stage where the next encounter happens.

Akelous, the Siren’s Current
For this encounter, you’ll be fighting against Akelous, the first boss of this dungeon. But before that, you’ll have to work on charging up the nodes. There are four catwalks that stretch out to all four sides and an arc node circuit running up on each of them starting from the generator in the middle to the power nodes at the end. Once all four of these power nodes are charged up, Akelous will then spawn near the last charged node.
Once Akelous spawns, your first task is to shoot at its red eyes to disable its shield. When all of its red eyes are destroyed, its damage phase will begin. A chunk of its health bar will be lit up as it heads back to the middle and charges up for its shockwave attack. If you manage to deal enough damage to remove the lit up health bar, you’ll prevent it from doing its attack.
If the boss’ lit health is not depleted in time, it will send out a huge shockwave attack that deals damage and severe knockback to anyone that is close. Moving towards the end of a catwalk will be the safest place you can be at; you’ll still take damage, but not as much. You can also try to hide behind some of the obstacles to cut the boss’ line of sight.
If the boss still has health after the attack, you’ll need to recharge the nodes once again and repeat the same process until the boss is killed.

Persys, Primordial Ruin
The final encounter is a boss fight against Persys. On top of this, the node mechanic has been made more challenging with the addition of red wires. Nodes that are connected to these red wires have to be shot within close interval to each other, otherwise they’ll lose charge and you have to start over again. The good news is that two Conduit Minotaurs will spawn, allowing two team members to have the buff at once.
The phase starts off with the boss spawning, along with some adds and two Incarcerator Hydras. These Hydras have to be killed off right away in order for the Conduit Minotaurs to spawn. Once you get the buff, you and your teammate should work together as fast as possible to charge up the five nodes that will power up the gate to the next room. The nodes are on the inner sides of the four pillars, plus the node on top of the gate.
The next stage of the fight starts off once the gate is open. The next task is to activate two of the four power nodes in the reactor room. Some of the connecting nodes can be found in the previous room, so make sure to follow the yellow wires. You will also have to make sure that the boss has to be within the reactor room once both power nodes have been charged to initiate the damage phase.
Once both power nodes are charged, there will be a notification that tells you to leave the room right away. At the previous room, you’ll then have to shoot at the red wire nodes once more to close the door while the boss is in the other room. If it’s done successfully, you should be able to fight the boss on its damage phase after the reactor purge.
The boss will then walk back to the previous room while being vulnerable, so unload all your attacks on it as soon as possible. After a short while, the boss will regain its shield and you will have to do the entire mechanic all over again until the boss is defeated.

Spire of the Watcher Rewards
Spire of the Watcher is a repeatable dungeon where particular weapons and armor can be obtained from each of its encounters. All weapons and armor from this dungeon’s loot pool have a chance to be rewarded at the end of the final encounter.
Ascend the Spire Encounter Loot Drops:
- Terminus Horizon | Arc Machine Gun
- Long Arm | Arc Scout Rifle
- Seventh Seraph Carbine | Kinetic Auto Rifle
- TM Cogburn Gauntlets | Arms
- TM Cogburn Legguards | Legs
- TM Cogburn Cover | Helmet
Silence the Spire Encounter Loot Drops:
- Terminus Horizon | Arc Machine Gun
- Seventh Seraph Officer Revolver | Kinetic Hand Cannon
- TM Cogburn Gauntlets | Arms
- TM Cogburn Plate | Chest
- TM Cogburn Mark | Class Item
Persys Encounter Loot Drops:
- Terminus Horizon | Arc Machine Gun
- Long Arm | Arc Scout Rifle
- Seventh Seraph Carbine | Kinetic Auto Rifle
- Seventh Seraph Officer Revolver | Kinetic Hand Cannon
- Liminal Vigil | Stasis Sidearm
- Wilderflight | Void Grenade Launcher
- Hierarchy of Needs | Solar Combat Bow
- TM Cogburn Gauntlets | Arms
- TM Cogburn Legguards | Legs
- TM Cogburn Cover | Helmet
- TM Cogburn Gauntlets | Arms
- TM Cogburn Plate | Chest
- TM Cogburn Mark | Class Item

If you like this guide, be sure to check out our other Destiny 2 articles:
- Destiny 2 Season of the Seraph Best Hunter Build
- Destiny 2 Season 19 Best Warlock Build
- Destiny 2 Lightfall Gameplay World Premiere Airs on The Game Awards 2022
- Destiny 2 Season of the Seraph – All New Seasonal Weapons List
Check out this video by Fallout Plays showing how to clear the Spire of the Watcher dungeon:


