
The Cradle of Centuries is the eleventh chapter in A Plague Tale: Requiem which follows the de Rune siblings and Sophia heading back into the theatre ruins in the hopes to find Basilius, the first carrier of the Macula.
In this guide, we will go through the walkthrough of chapter 11: The Cradle of Centuries, of A Plague Tale Requiem, showing some tips, tricks, or solutions on how to complete the chapter.
See previous A Plague Tale Requiem Walkthrough Chapter 10 - Bloodline
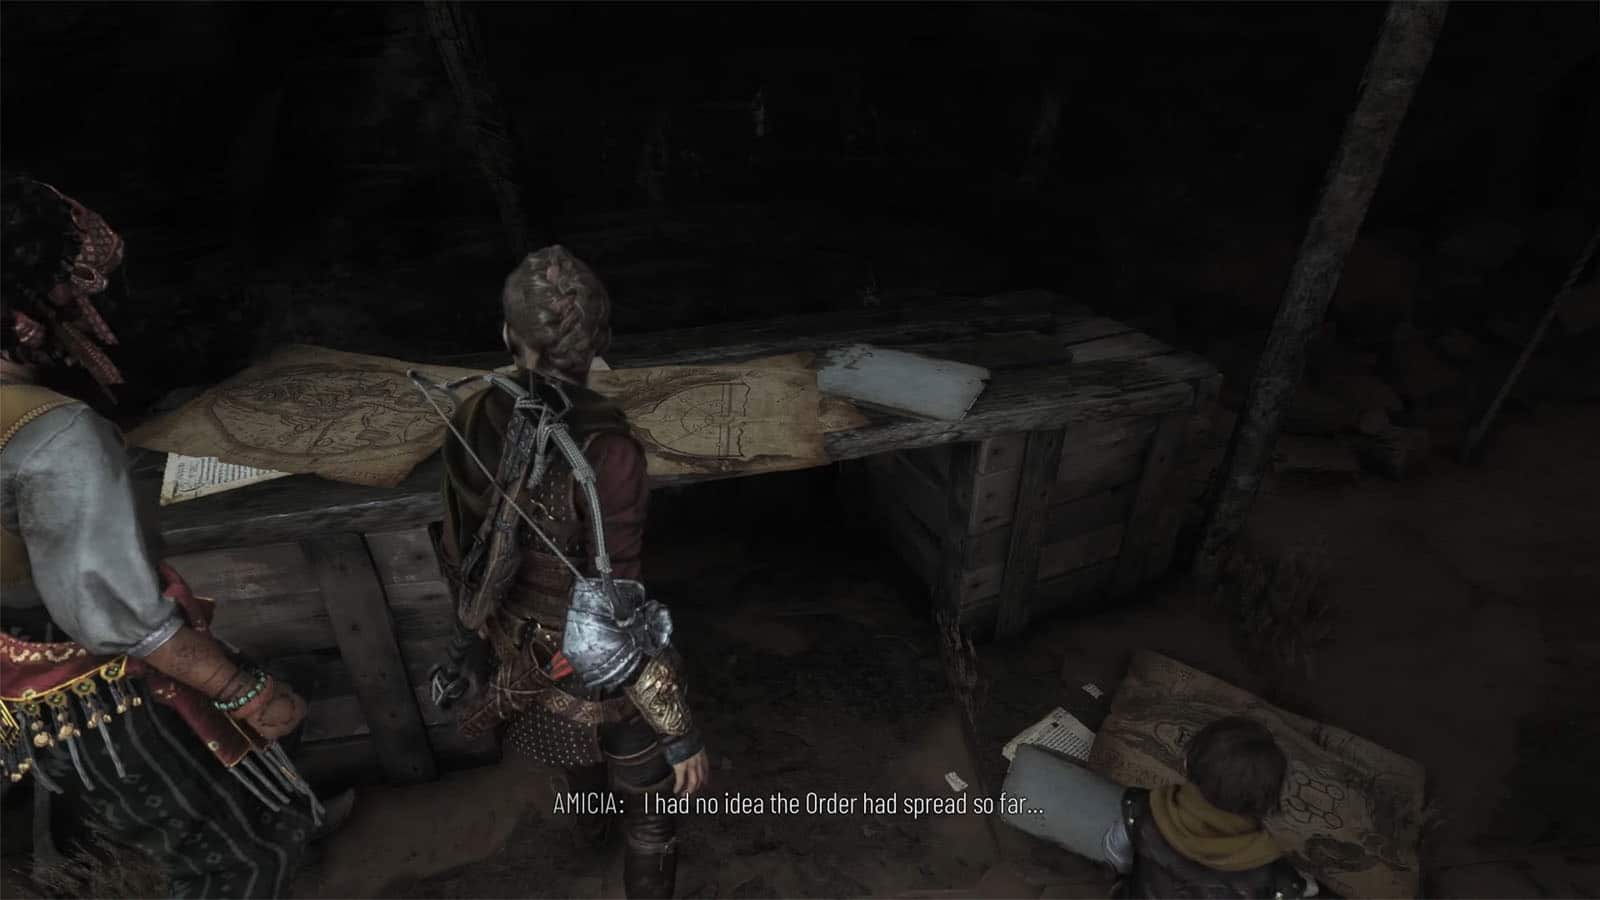
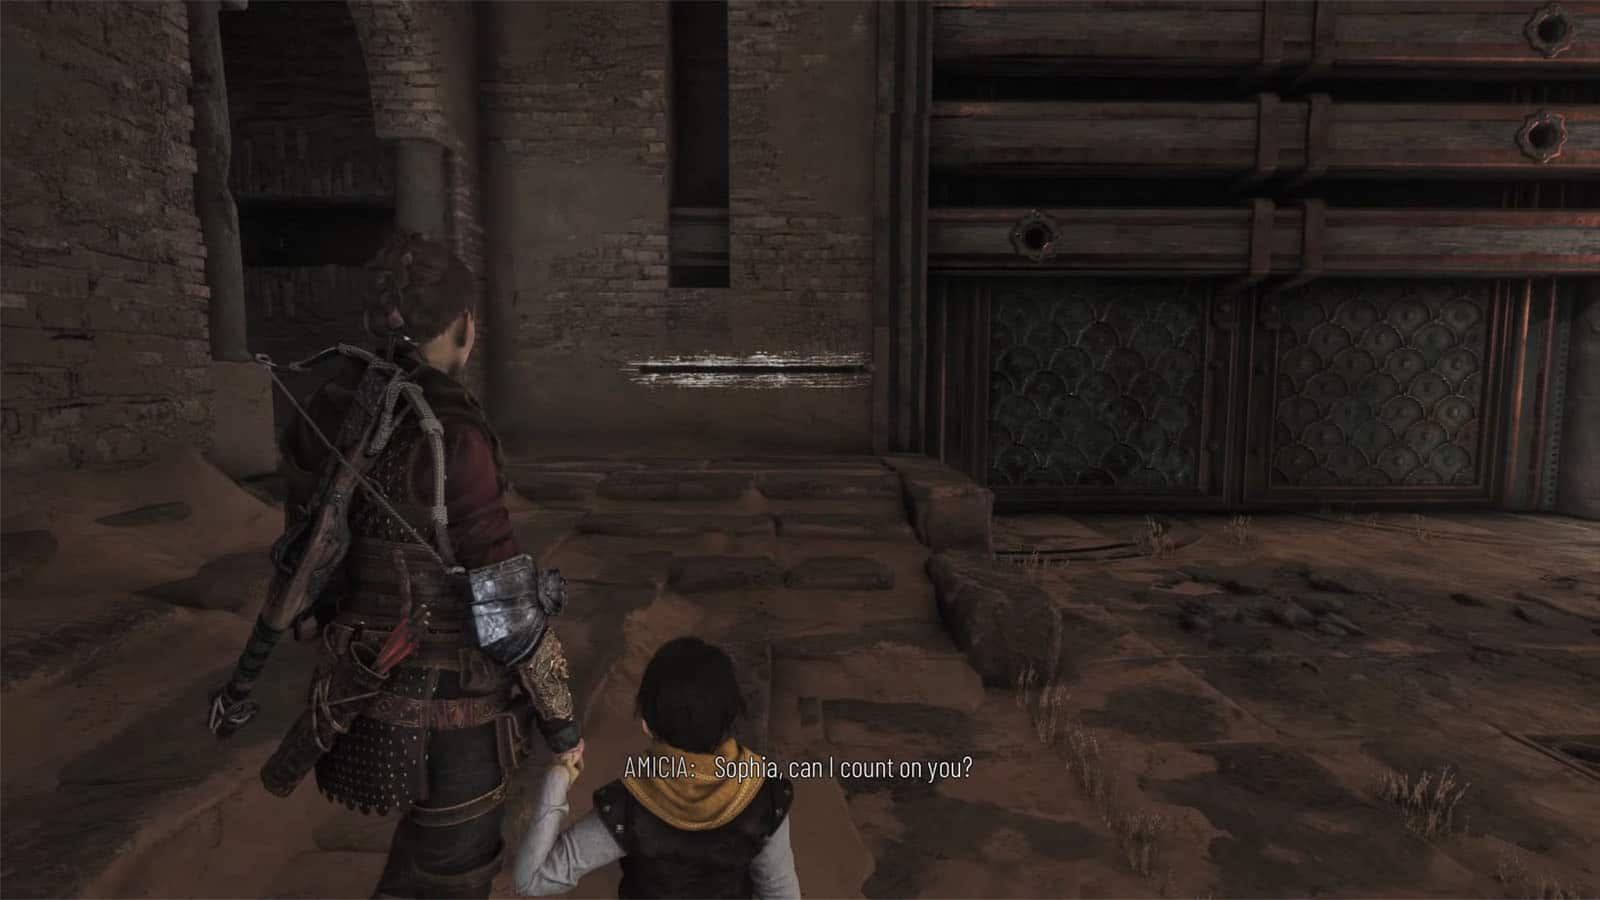
A Plague Tale Requiem Chapter 11: The Cradle of Centuries starts off with Amicia, Hugo, and Sophia making their way back to the theatre ruins where they first saw the map of the Order.
Chapter 11 Objectives:
- Emergence Aftermath
- Reach the ruins at the center of the island
- Back to the map
- Find a way inside the ruins
- Sealed Passage
- Explore the underground area
- Byzantine Technology
- Shoot at the tank
- Defense system
- Aelia
- Open the gate
- Rat tank
- Explore the rest of the underground area
- The well
- Ancestral corruption
- Flee the prison of the carrier
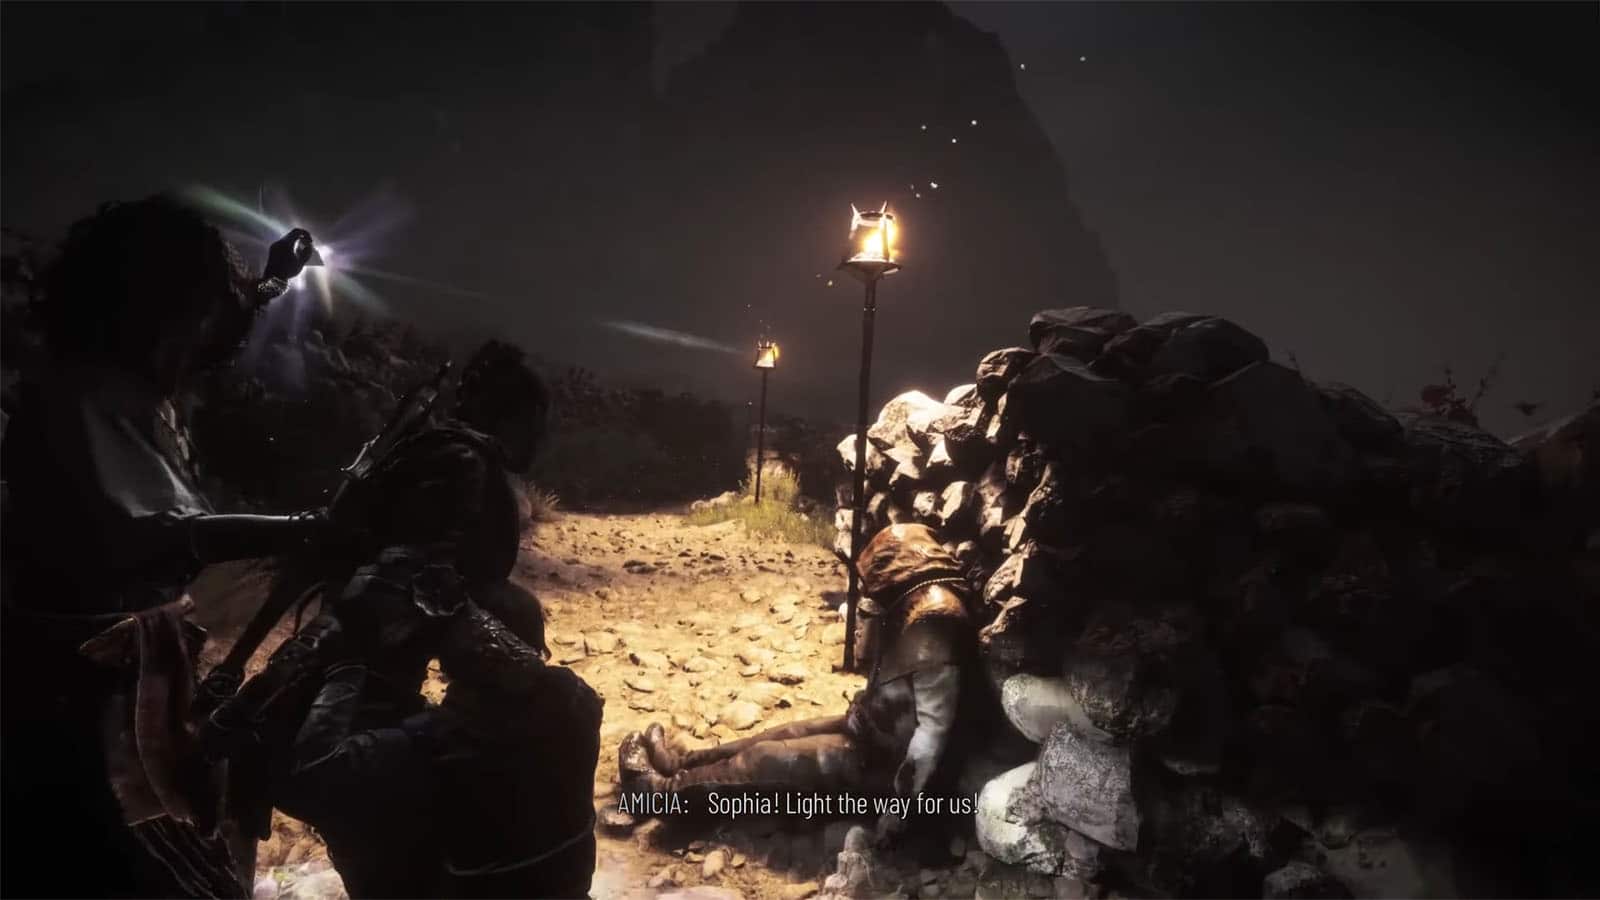
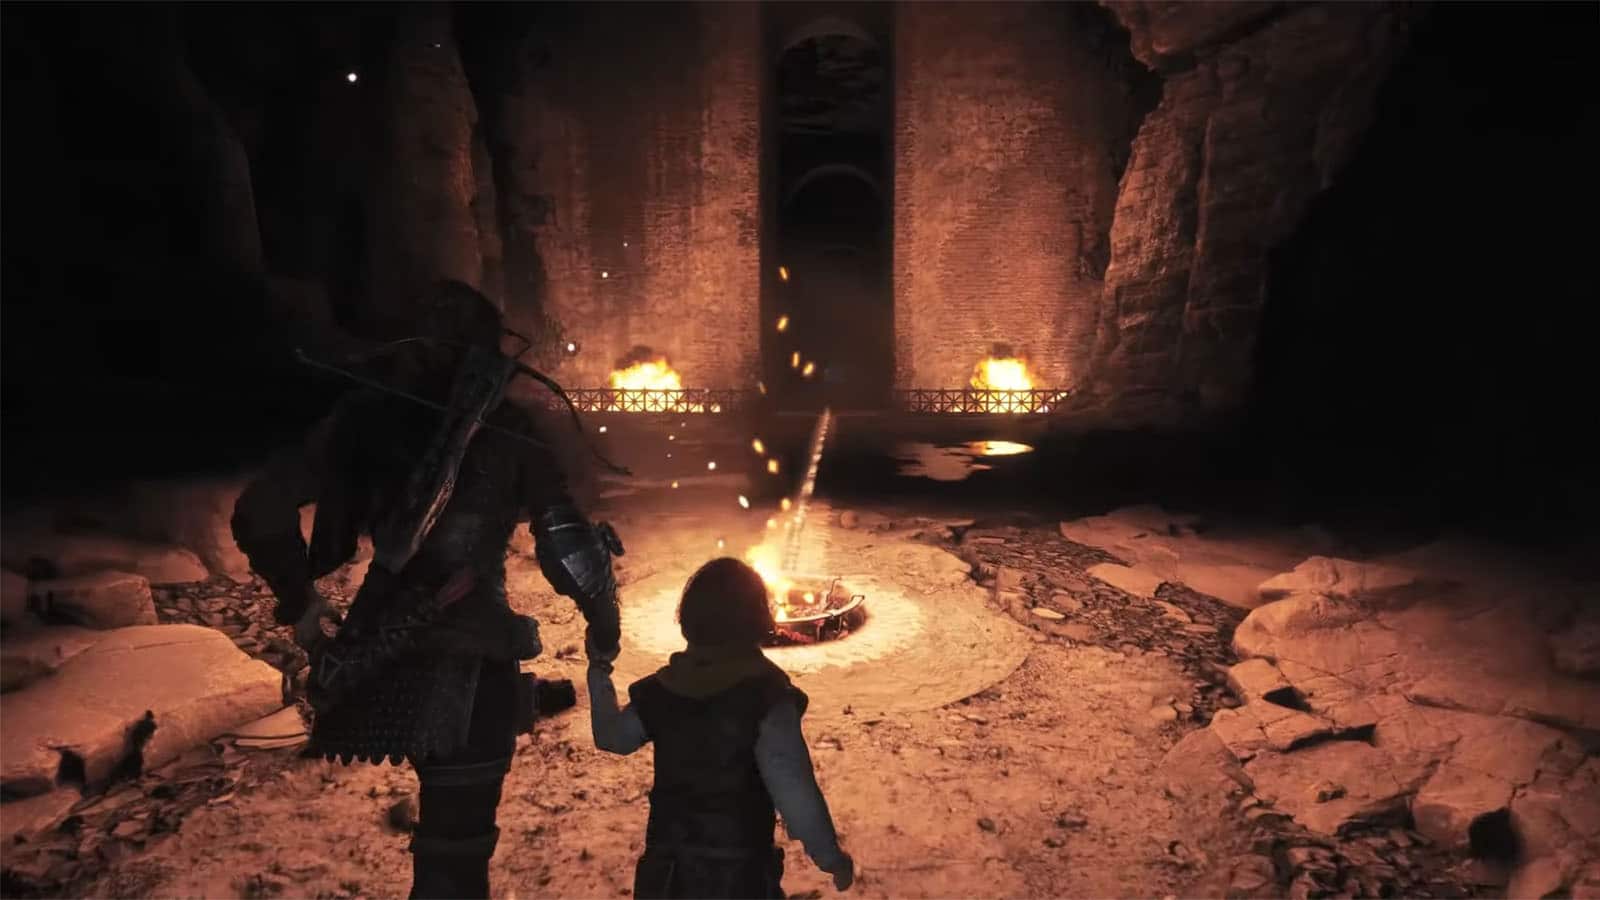
Reach the ruins at the centre of the island
First off, you need to make your way past the swarms of rats that have managed to go up the surface of the island. Use Sophia’s prism to cross the rats and get to the farthest lit lamp. Once there, grab and light a stick then head to the next fire lamp and light it up. Check the nearby chest for materials.
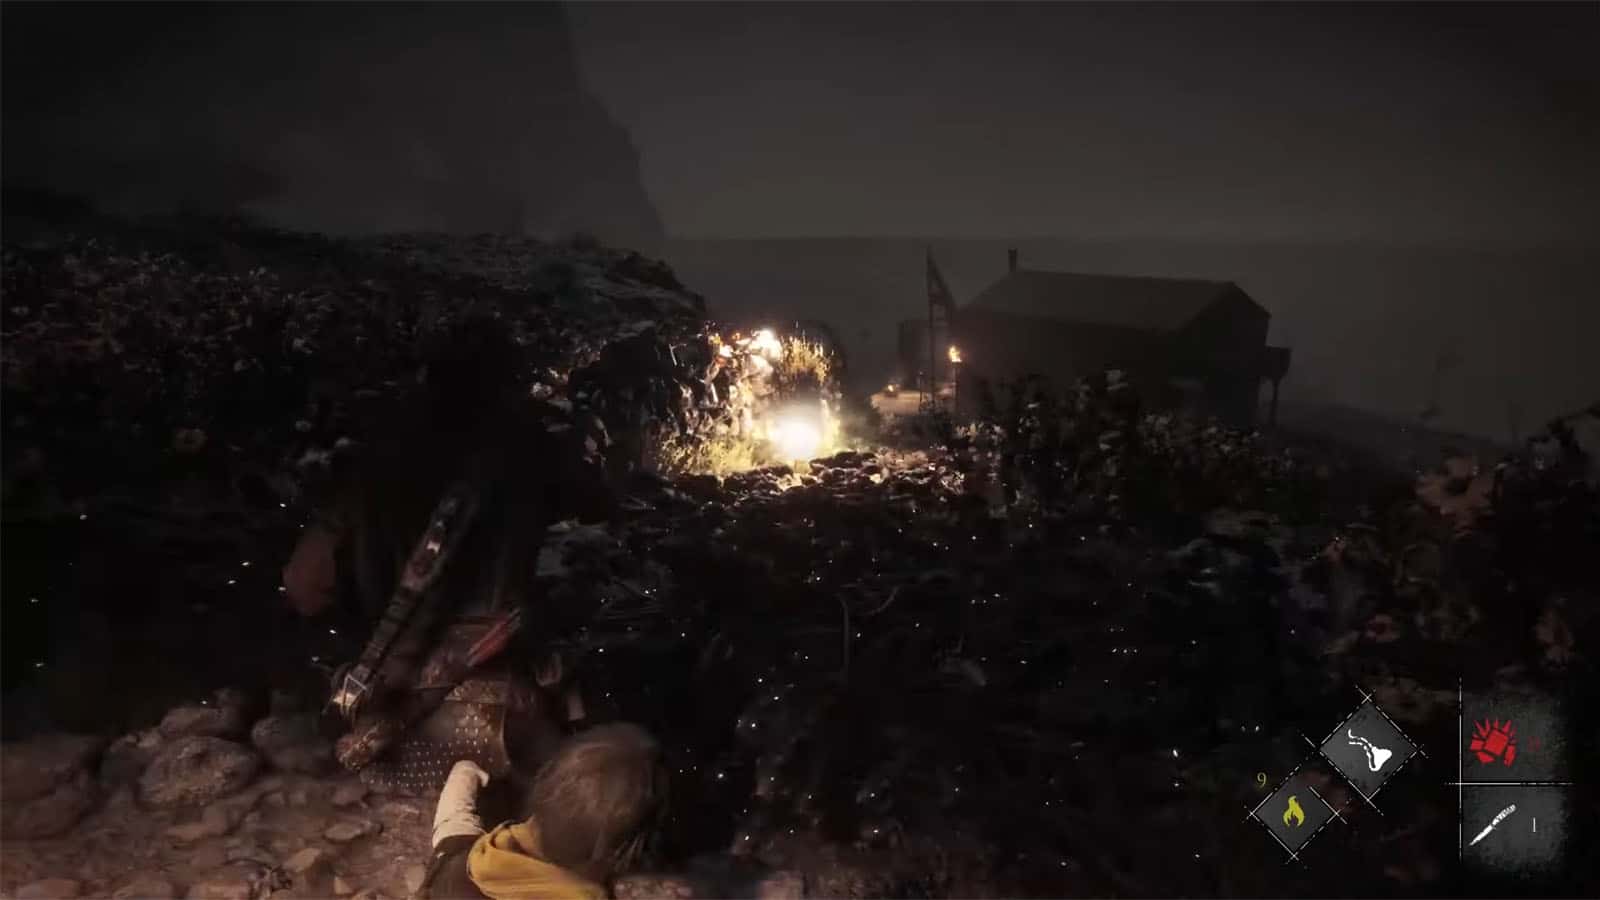
Light the hay bale ahead then run to the next light source where another chest can be looted. Light the next lamp, then use Sophia again to cross. Ahead are some stranded villagers who will get swarmed by rats. Push through to loot another chest plus some more items on the ground.
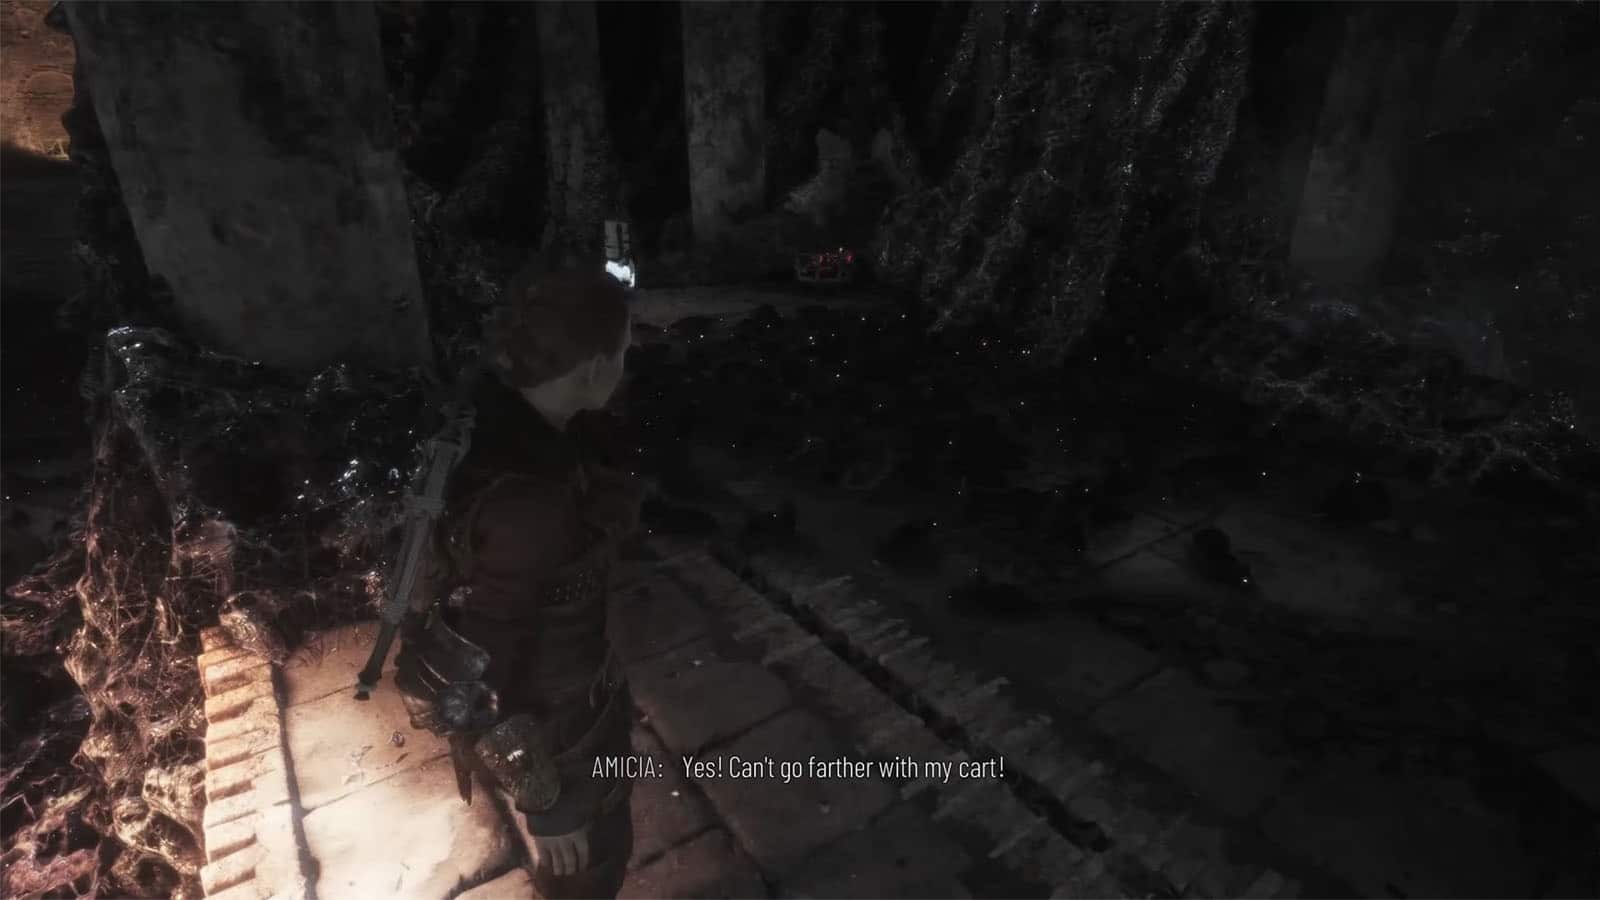
Go to the brazier cart, but it’s blocked by a beam. Shoot a firebolt at the wooden board nearby, then use Sophia to cross to it. Use the rope pole and shoot a rope towards the beam, then pull the beam. The cart will start rolling down, so chase it as it passes by.
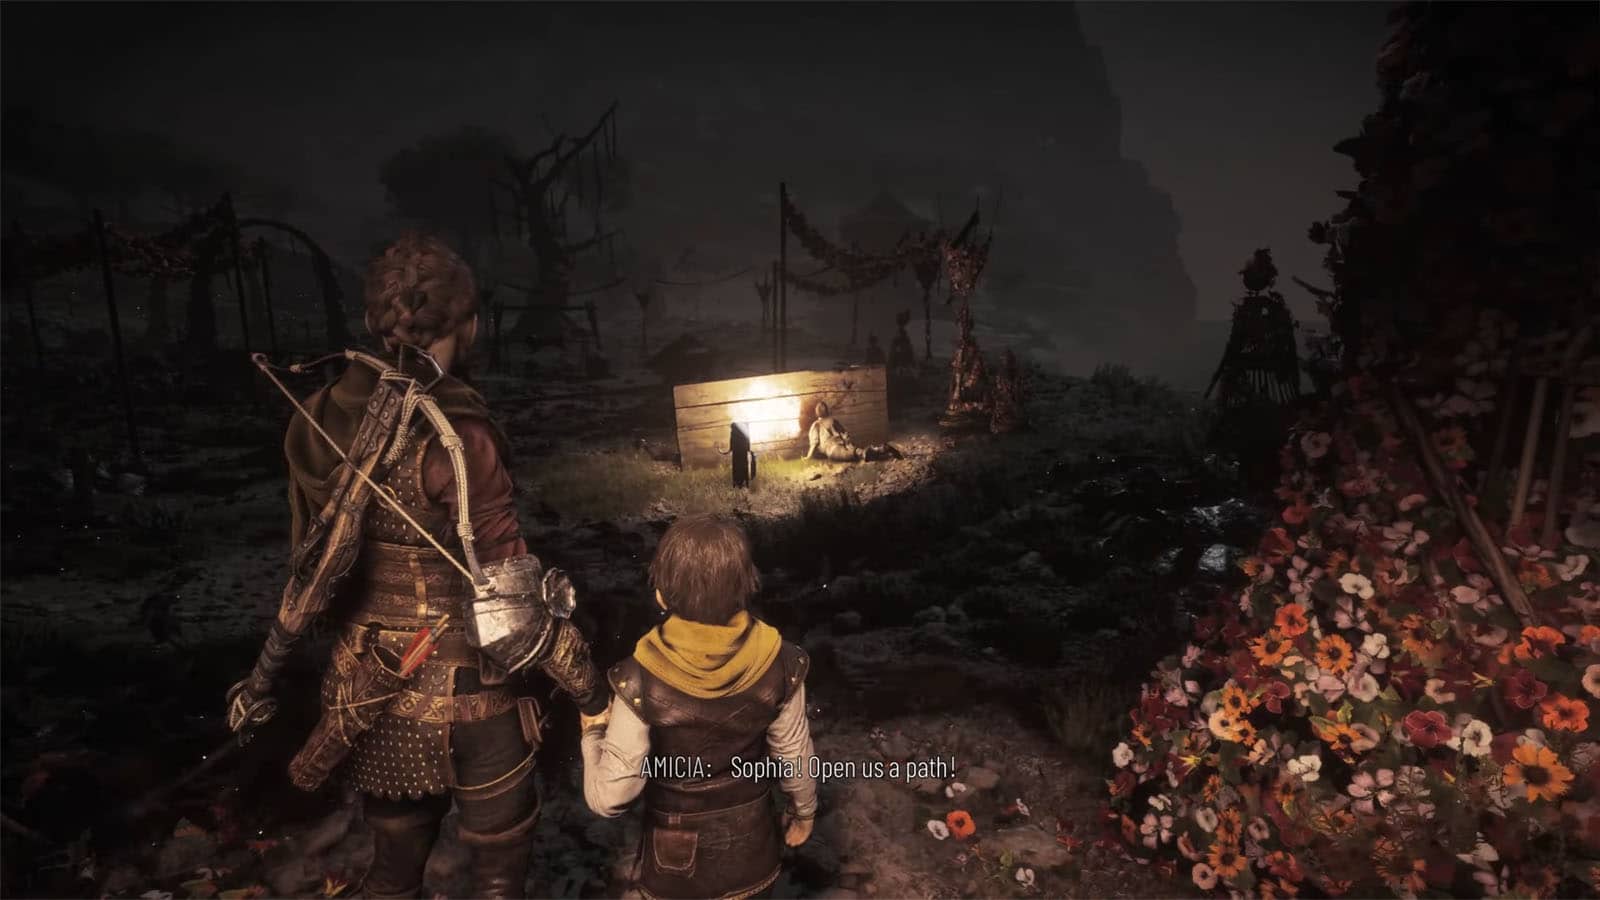
Push the cart further head until the fallen flower arch. Light the hay bale to the left and run towards the next lamp and loot the chest. Afterwards, climb up the crate and the ledge to proceed.
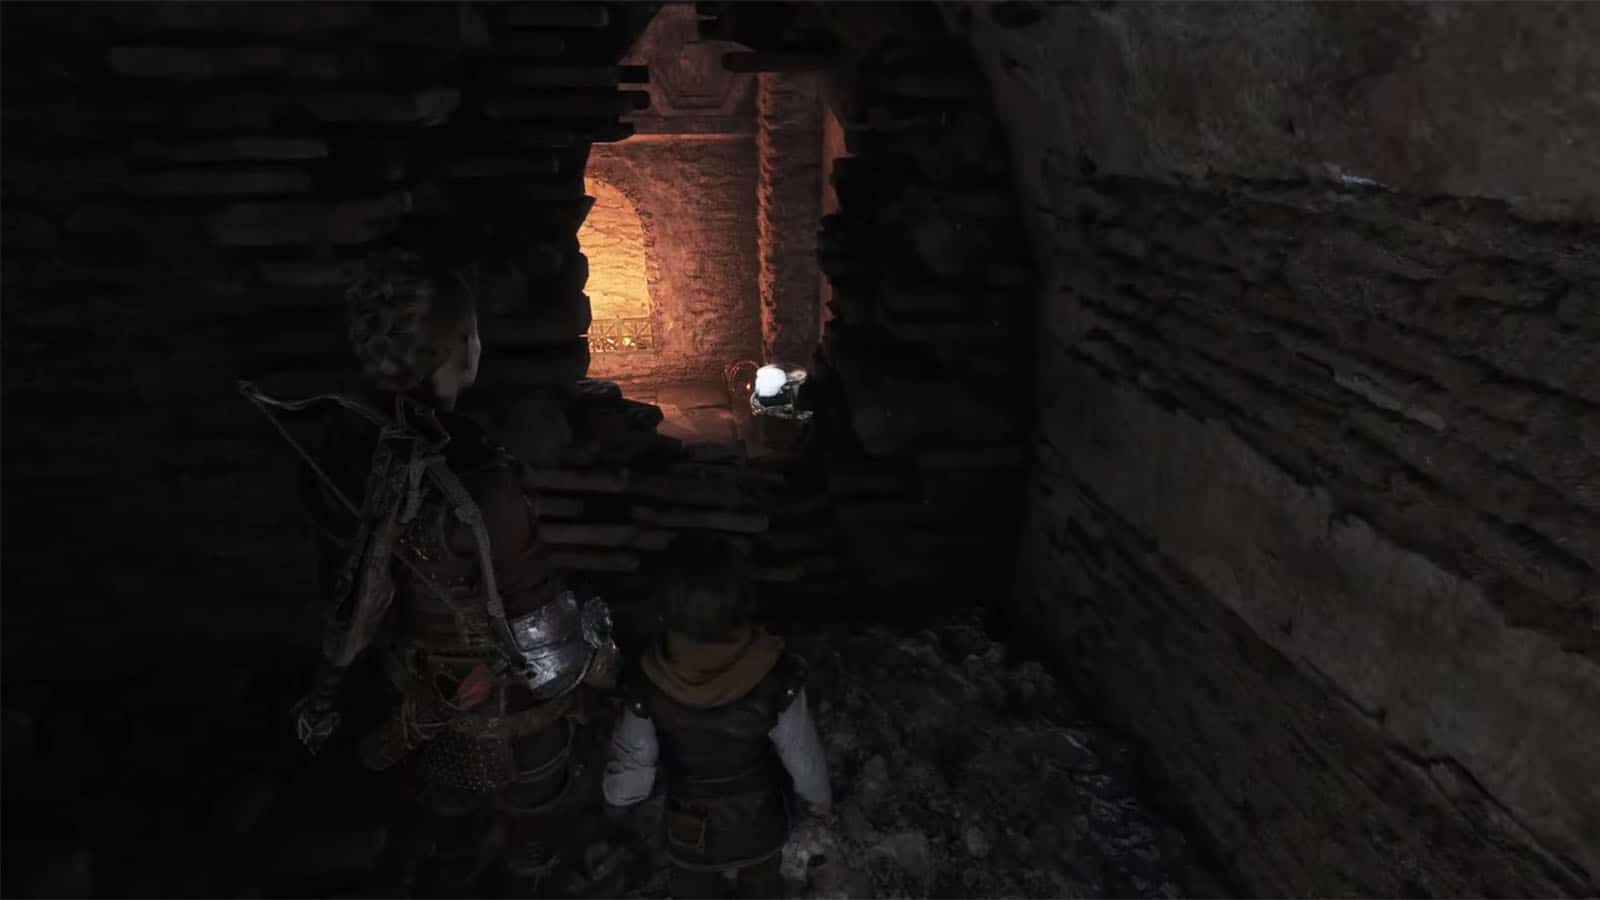
Find a way inside the ruins
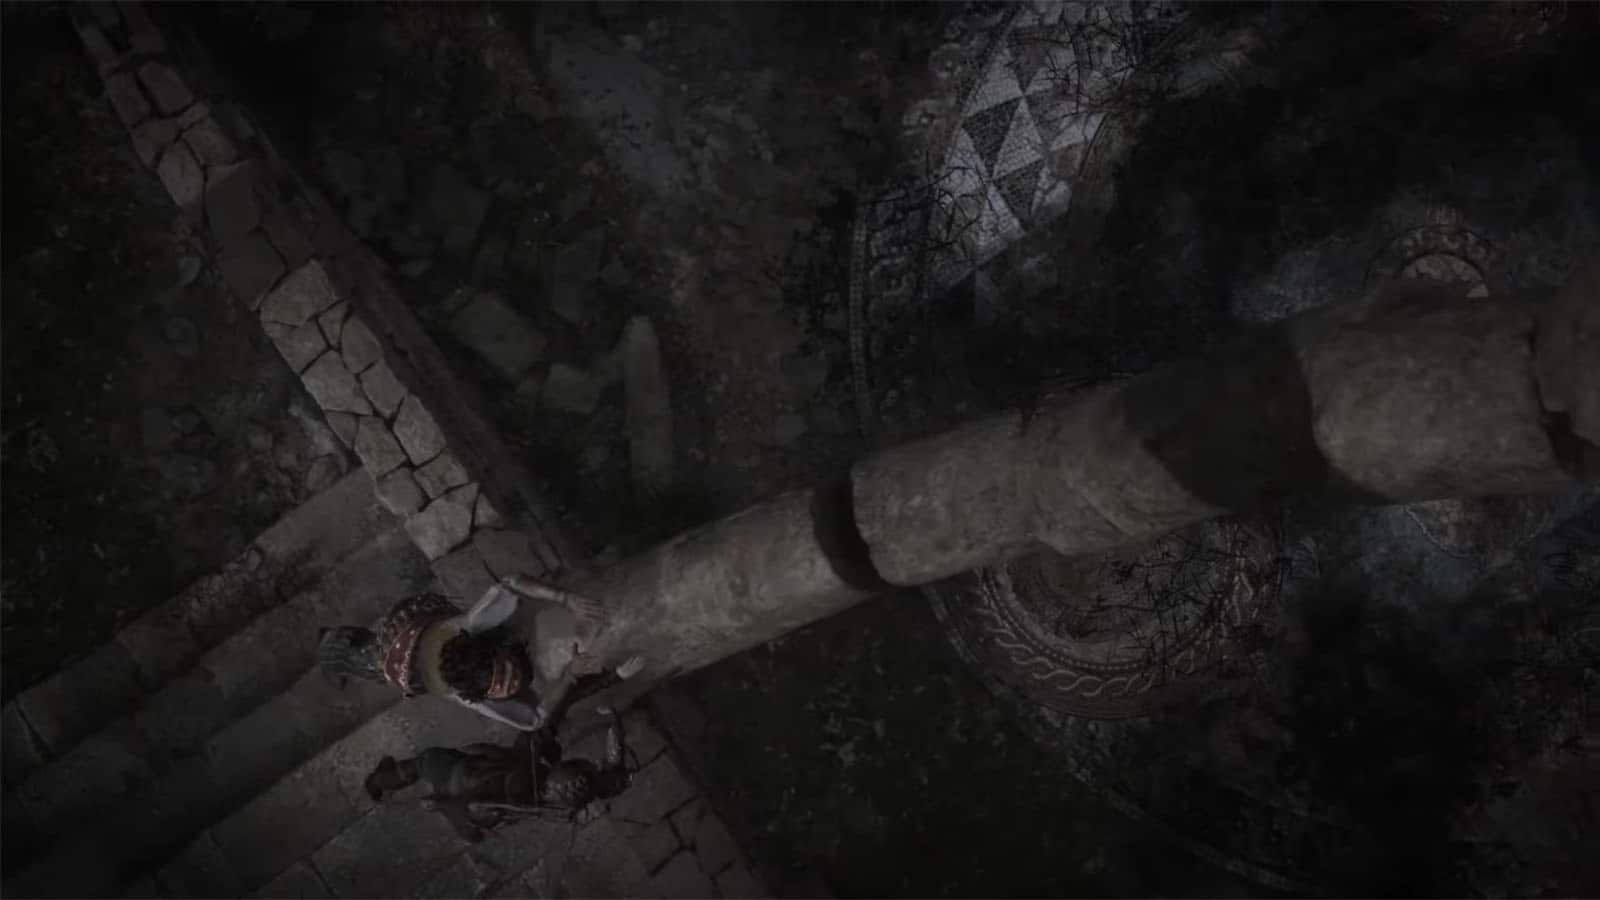
Once at the ruins, climb the stairs and push the pillar to make it fall on the map and reveal the passage. Go down the passageway and down its stairs. After the second staircase, check the chest on the right.
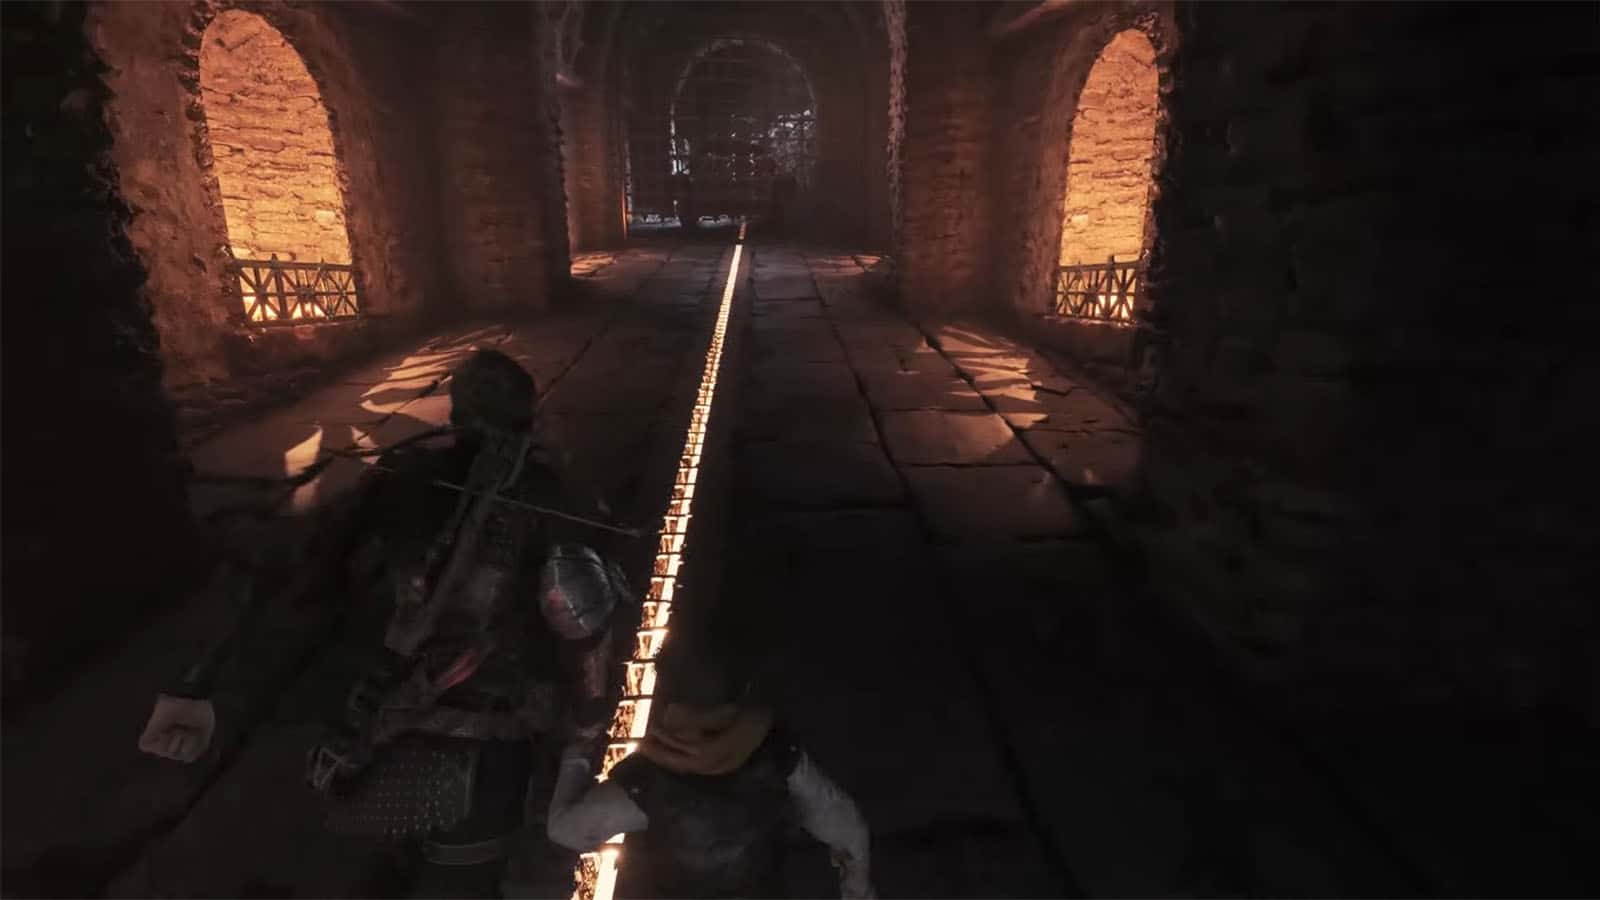
Explore the underground area
You’ll arrive at a chamber, light the brazier to light the rest of the braziers in it. Check the left side for a chest.
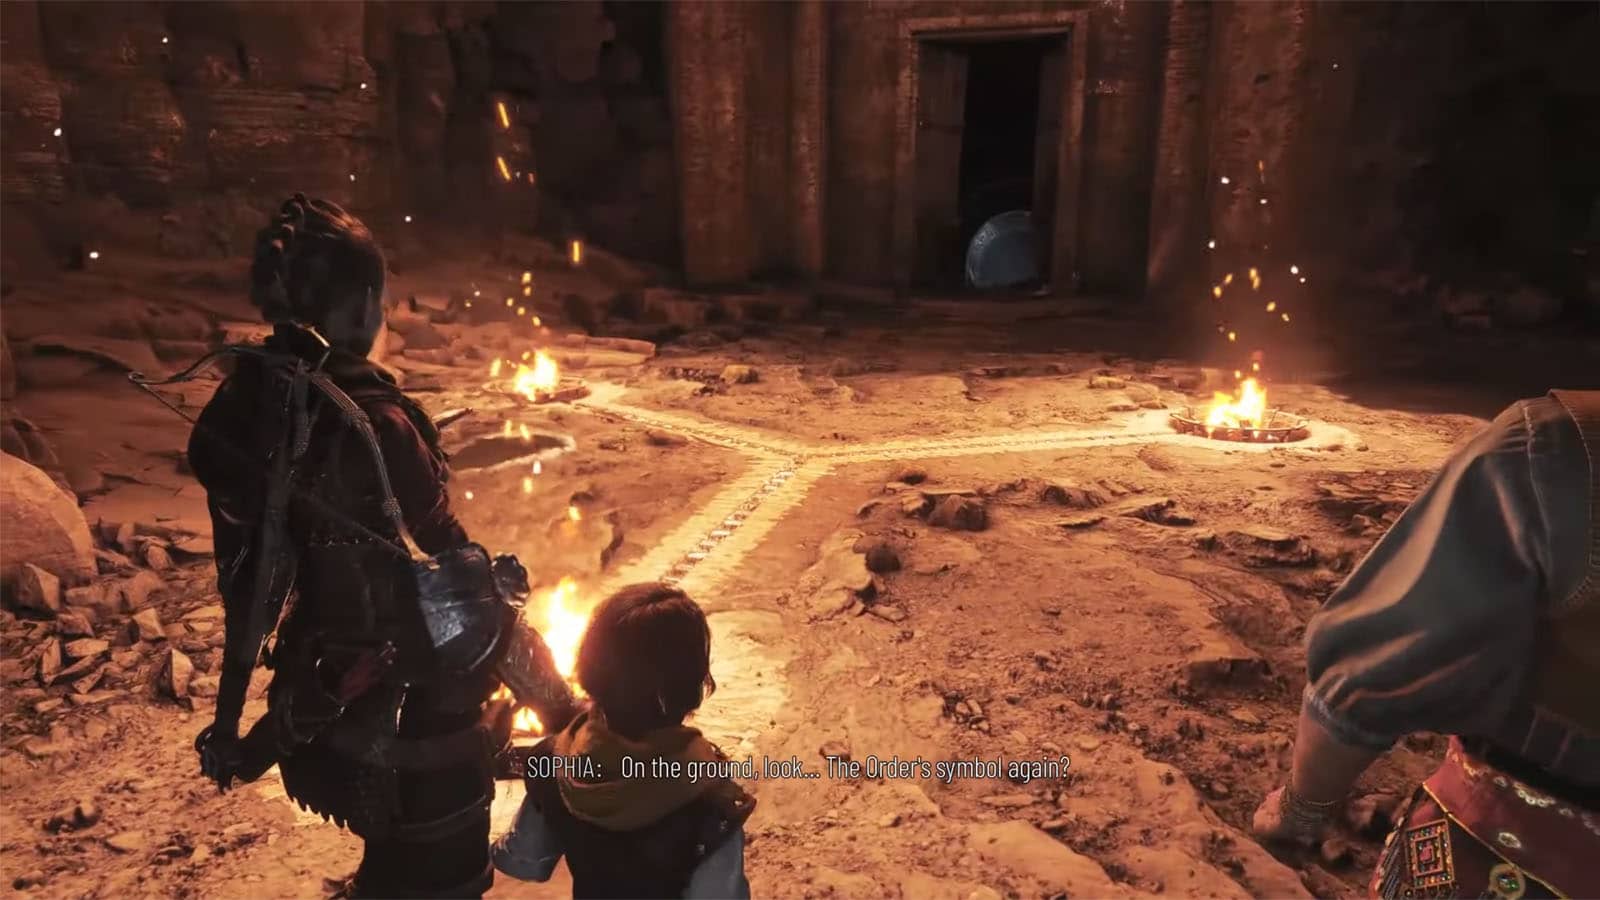
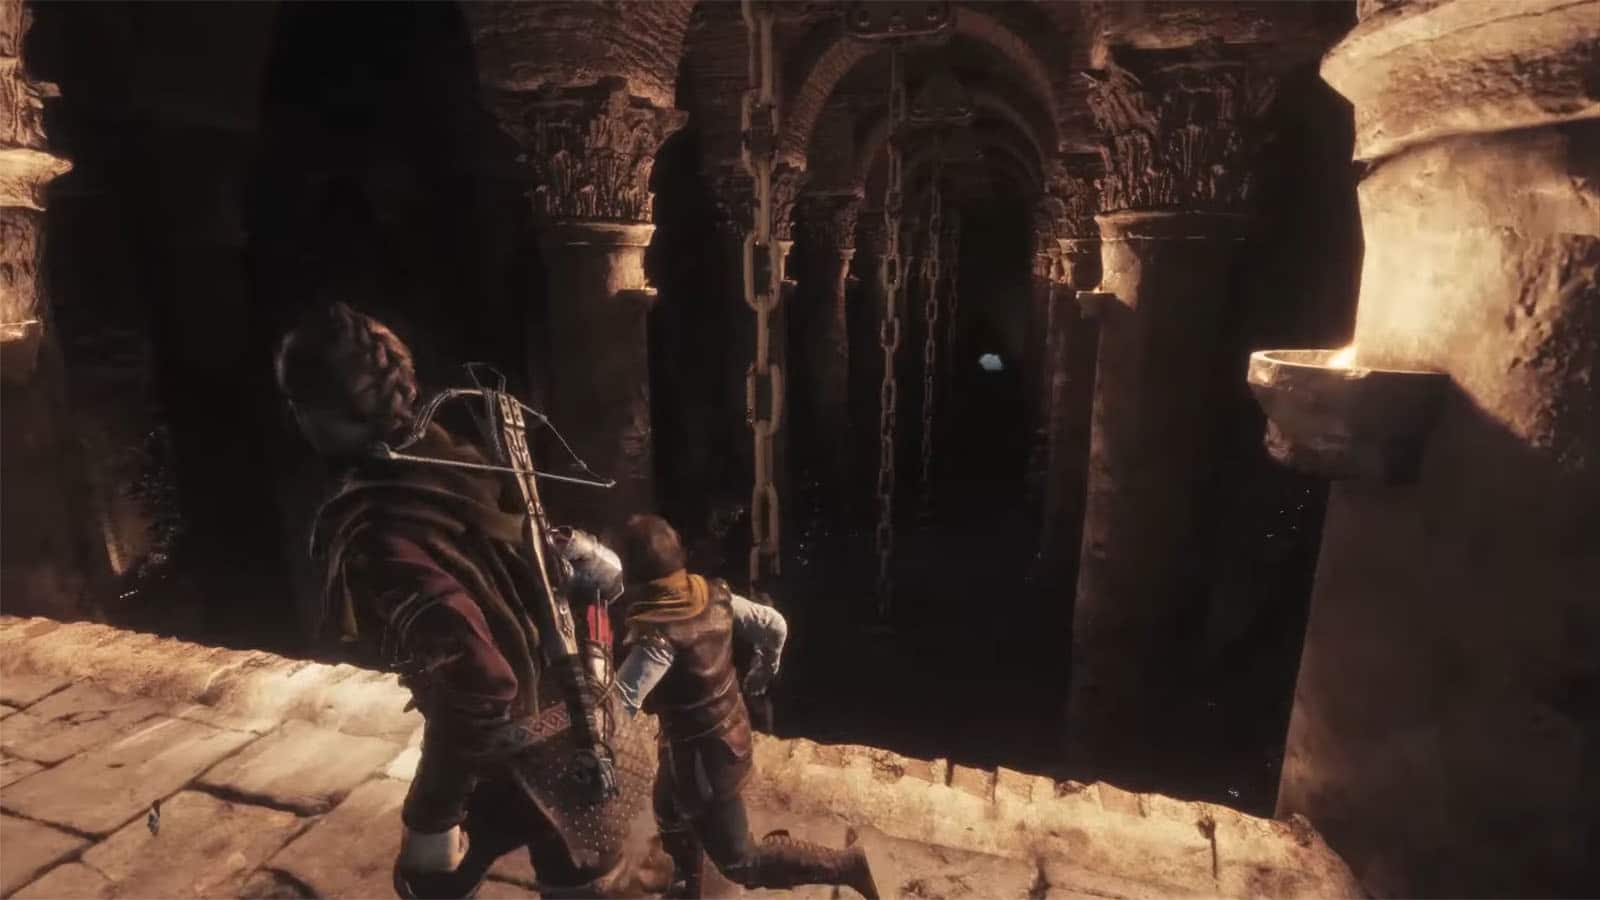
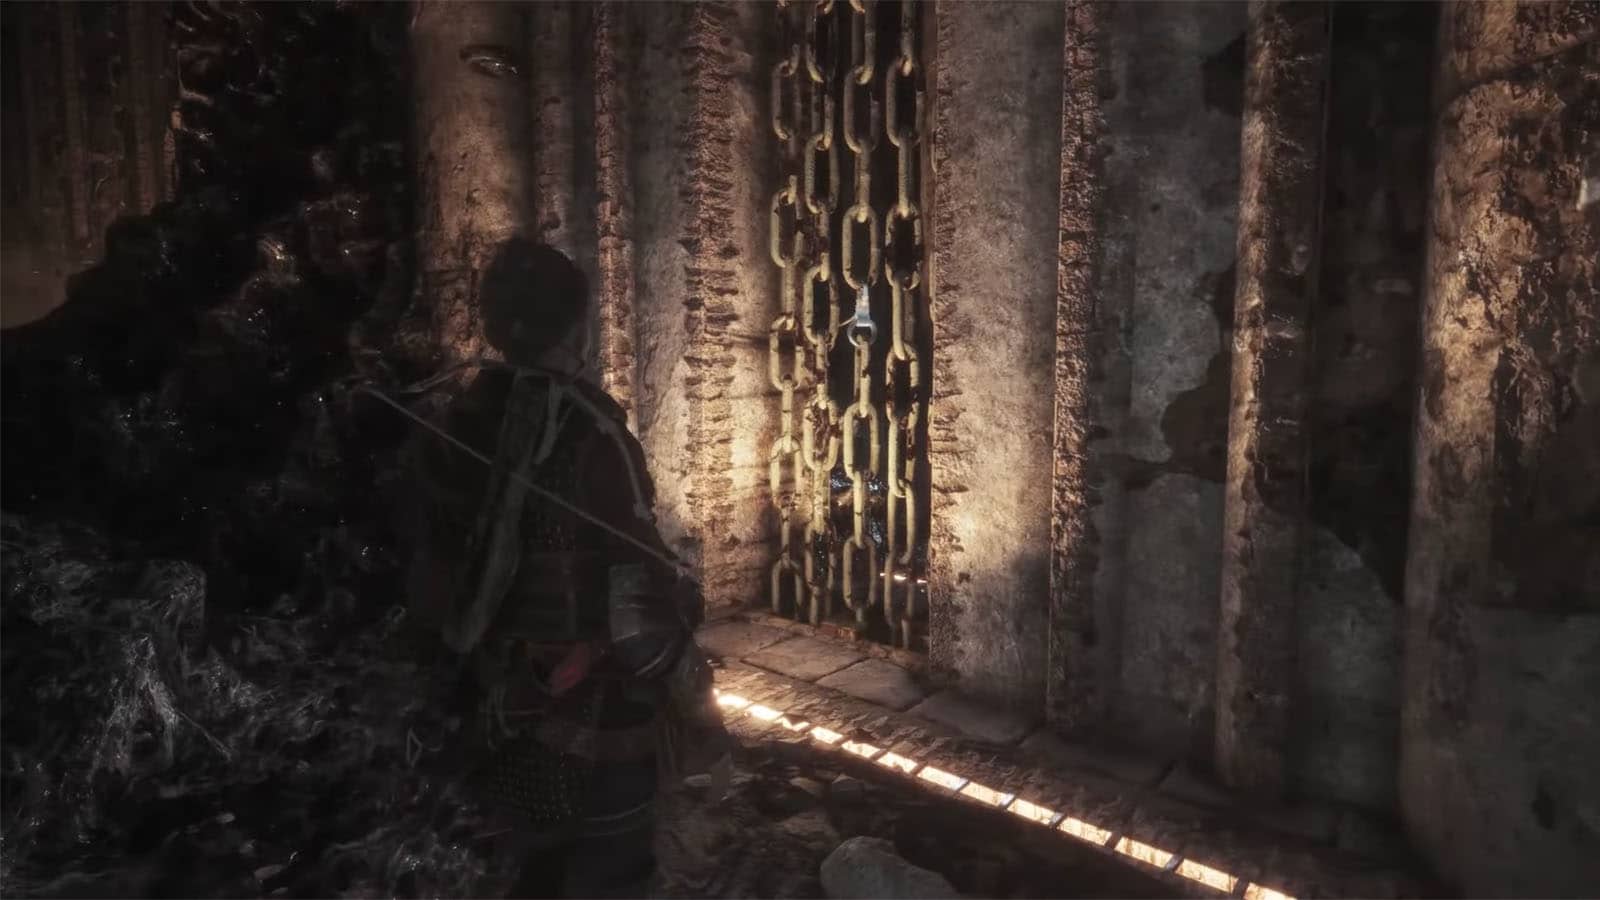
Proceed through the chamber until you find the Order’s insignia. Check the chest to the right. Proceed through the blown door and into the tunnels. Arriving at the dead end, squeeze through the gap in the wall to the right. Follow the path down the ledges until you arrive at a lit gate. Check the chest on the right.
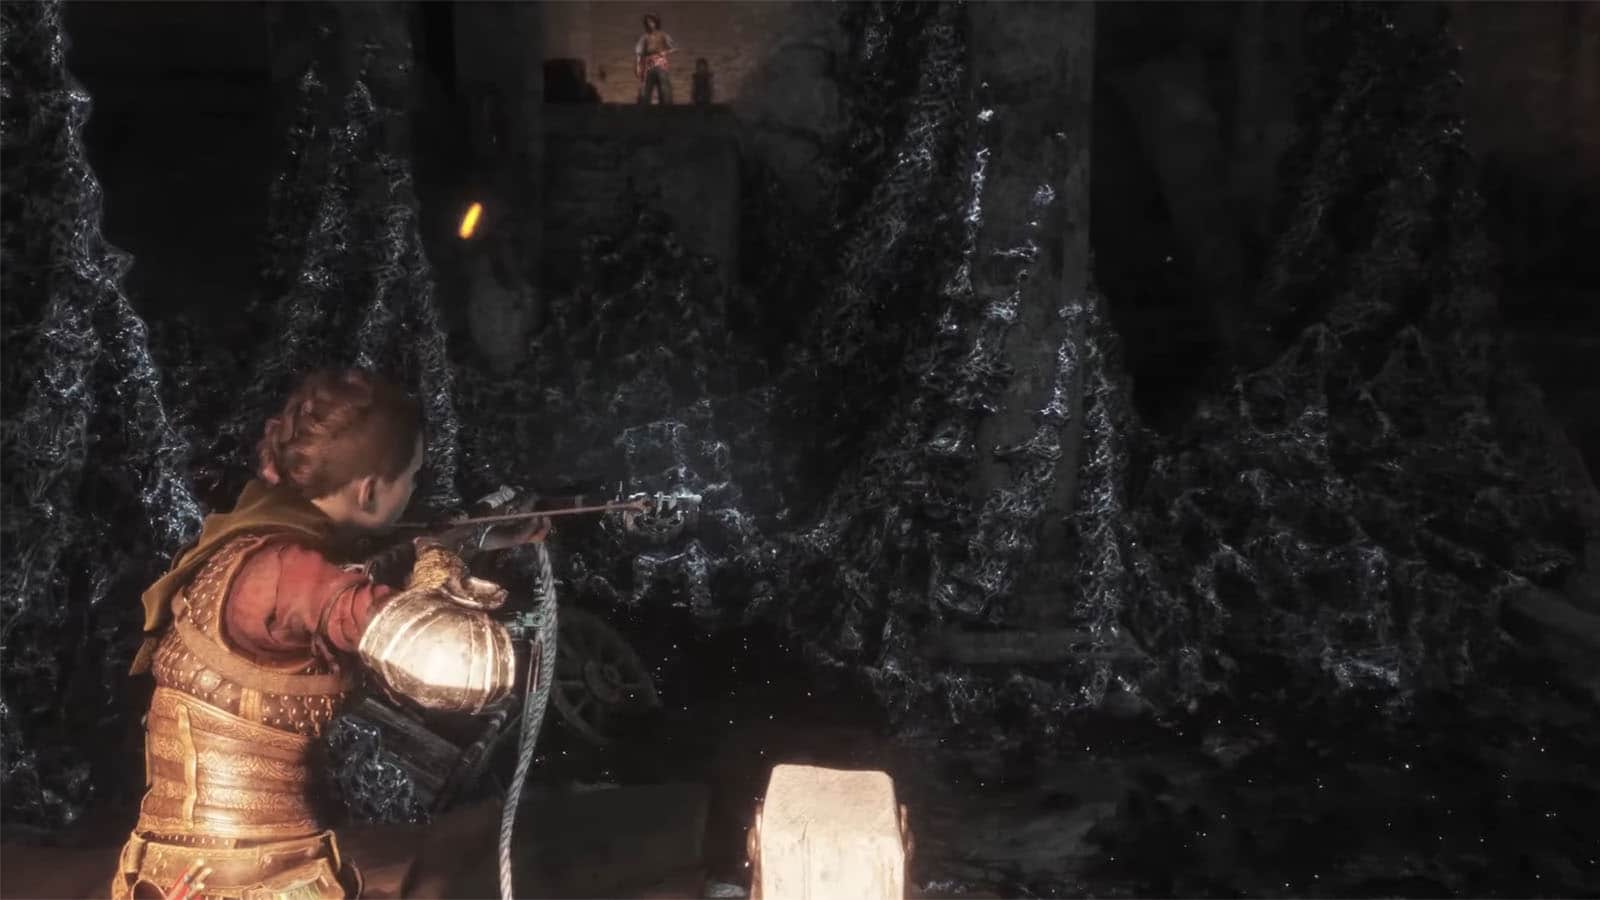
Shoot at the tank
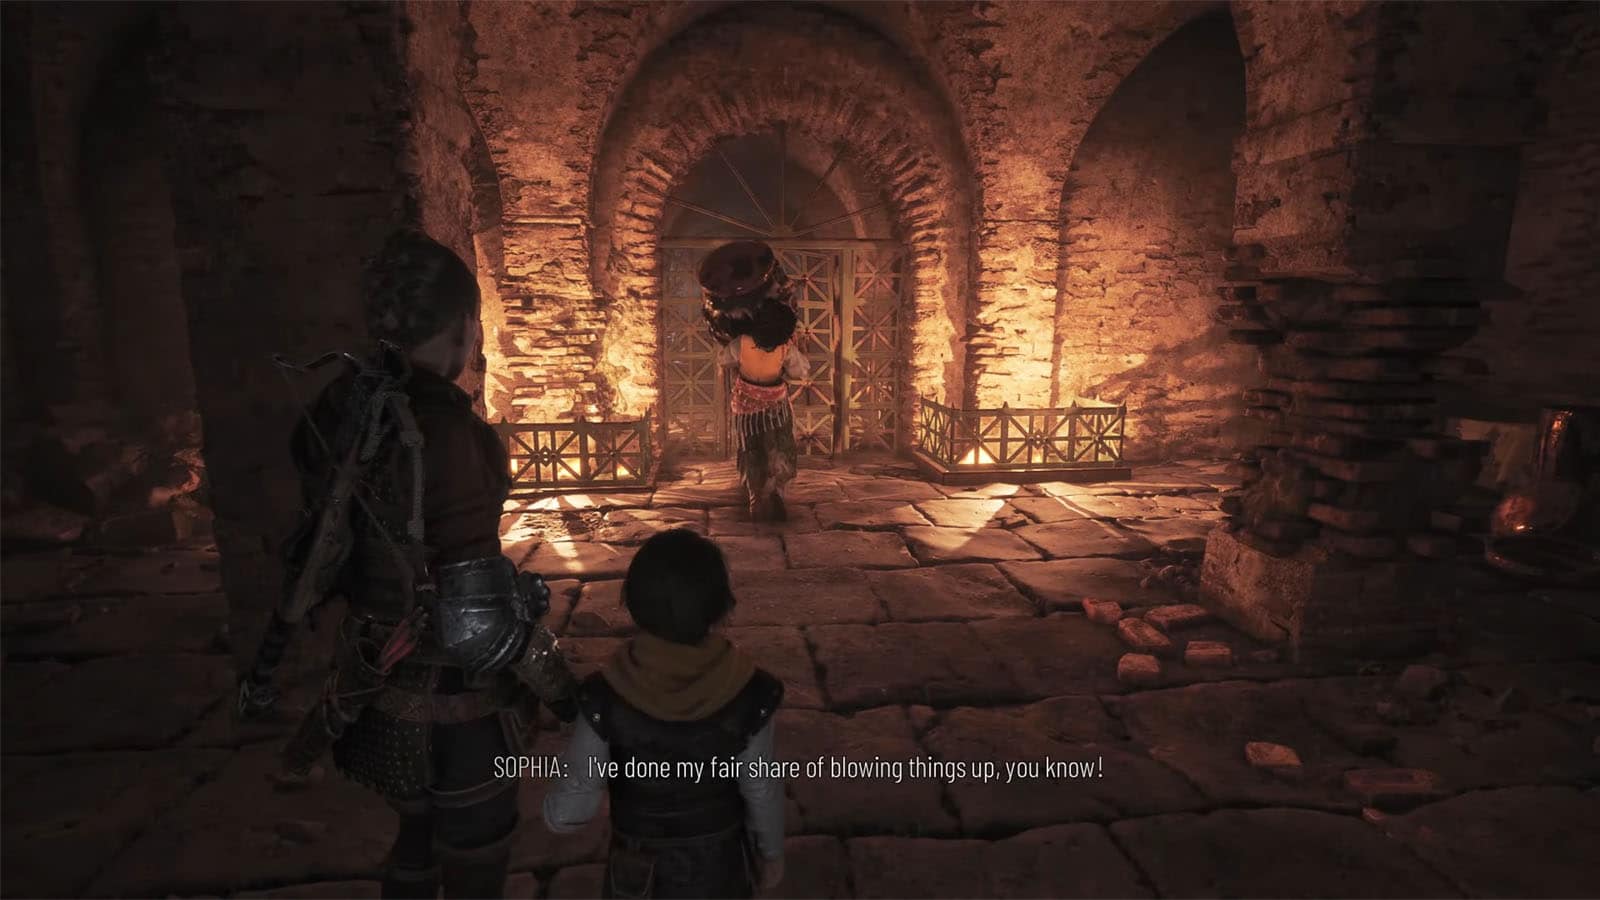
Sophia will place a tank of Greek fire at the stuck gate which you can shoot with ignifer to blow it up. Head through the gate afterwards and you’ll see a workbench inside.
Check the far right corner and shoot an ignifer through the hole to blow the tank up and reveal a passageway. Go inside and you will unlock the European oldfinch feather collectible.
Head back to the previous room and go to the hole near the workbench. Climb up the ledge and blow the tank through the hole to open the gate. Head back to the previous room and go through the blown gate.
You’ll arrive at a lit hallway. Check the corpses for some pieces and a knife. Go to the path on the left and through the hole in the gate to find a chest behind the cart. Use the crank to open the gate and let the cart roll down to the other end, blowing up the blockage to the next area.
Go to the next area which is a huge defense chamber. Rats will start swarming in once you approach the middle, so light up the brazier quickly.
Use the rope pole in the middle and shoot the three carts, then pull them closer to you. Starting off with the middle cart, use Sophia to reach the cart on the left. Pull the left cart back to reach the chest, then push it forward again. Push it all the way to the left until you hit the broken cart. Shoot the tank with ignifer behind the broken cart to blow it up. Make your way back to the rope pole.
Next, go to the cart on the right and push it forward to get the chest. Push it to the left until the next junction, then push it to the right towards the chest. Jump down the ledge nearby to unlock The Chateau d’Ombrage souvenir.
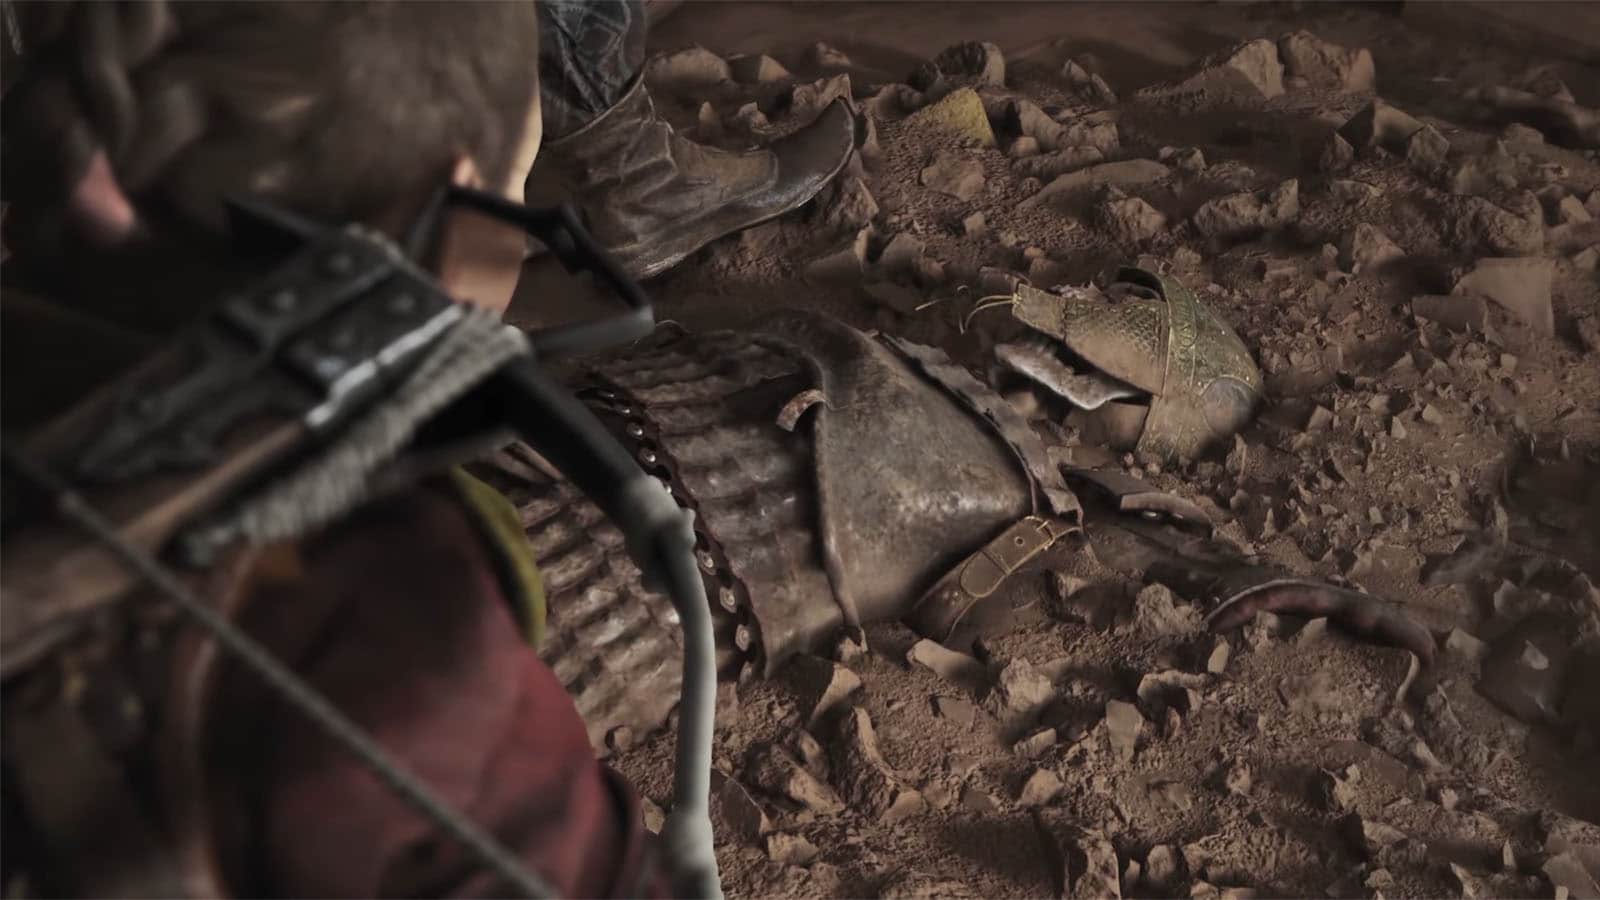
Go back to the cart and push it all the way to the end, then push it to the right until you reach the bridge. Go to the next section where you will find Aelia’s corpse.
Open the gate
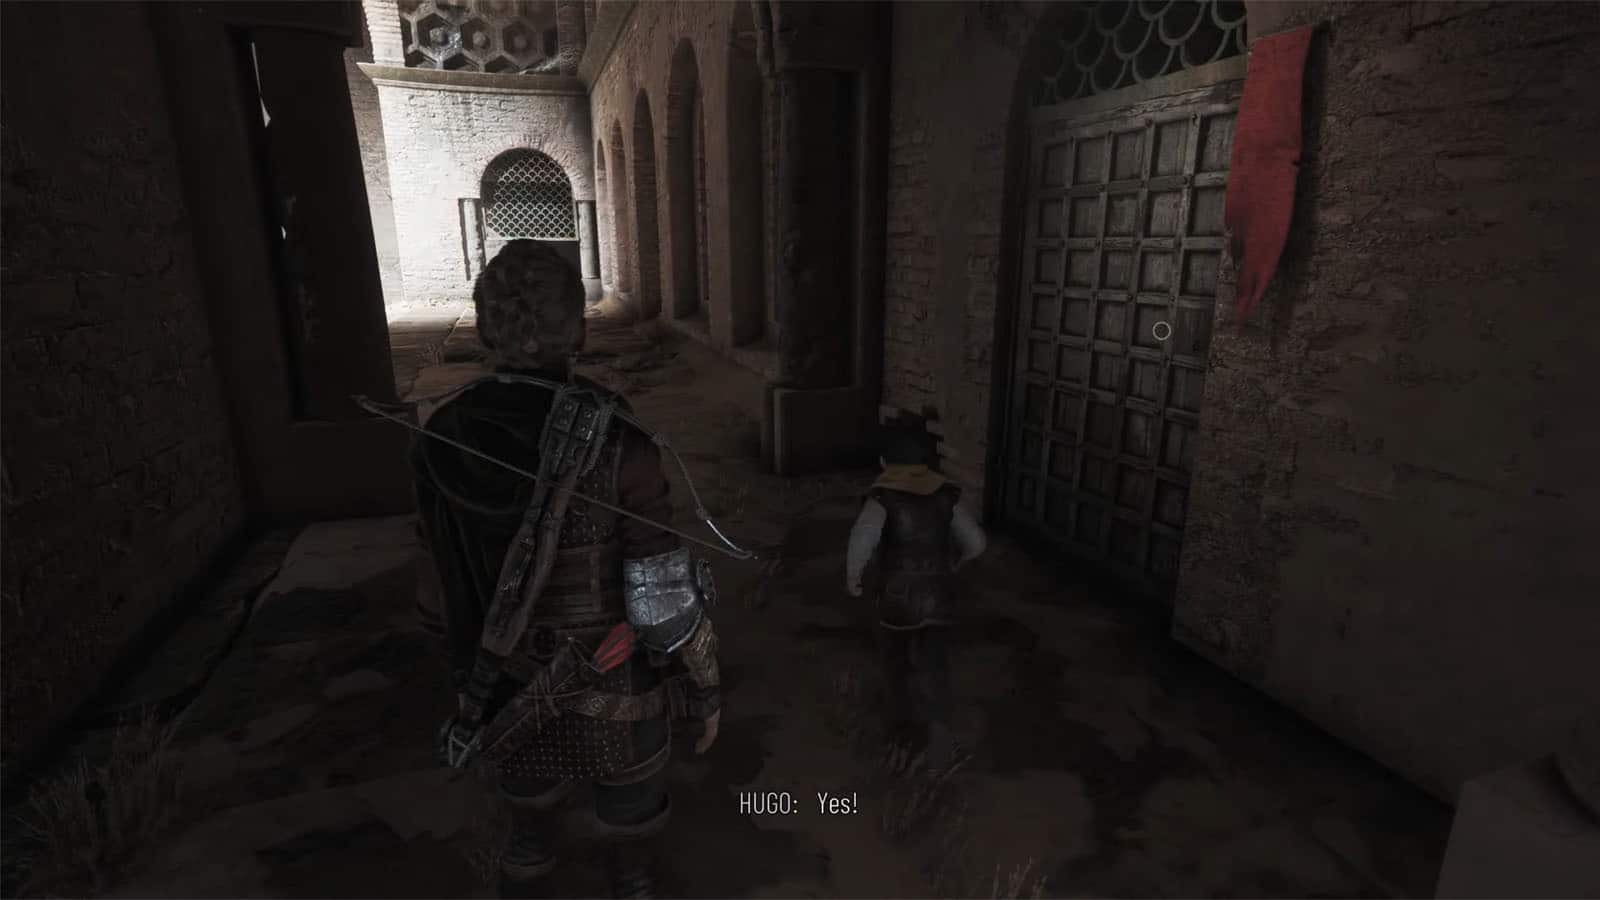
After going through the cutscene, head back to the door where you came from to see a chest. To the right is a door marked with a red cloth. Have Hugo climb through the hole and unlock the door from the other side. Inside the room is the His toys… souvenir.
On the other side of the chamber, have Sophia operate the crank, then get the cart with the pole. Pull out the cart back into the chamber. Then, have Sophia pull on the lever on the left side of the gate. Go to the pole on the cart and shoot a rope on the bundle to pull the latch to keep the bar in place.

On the opposite side, have Sophia pull the lever again, then pull the lever in the corner to lock the bar. Once done, go to the crank and turn it with Sophia to finally open the gate.
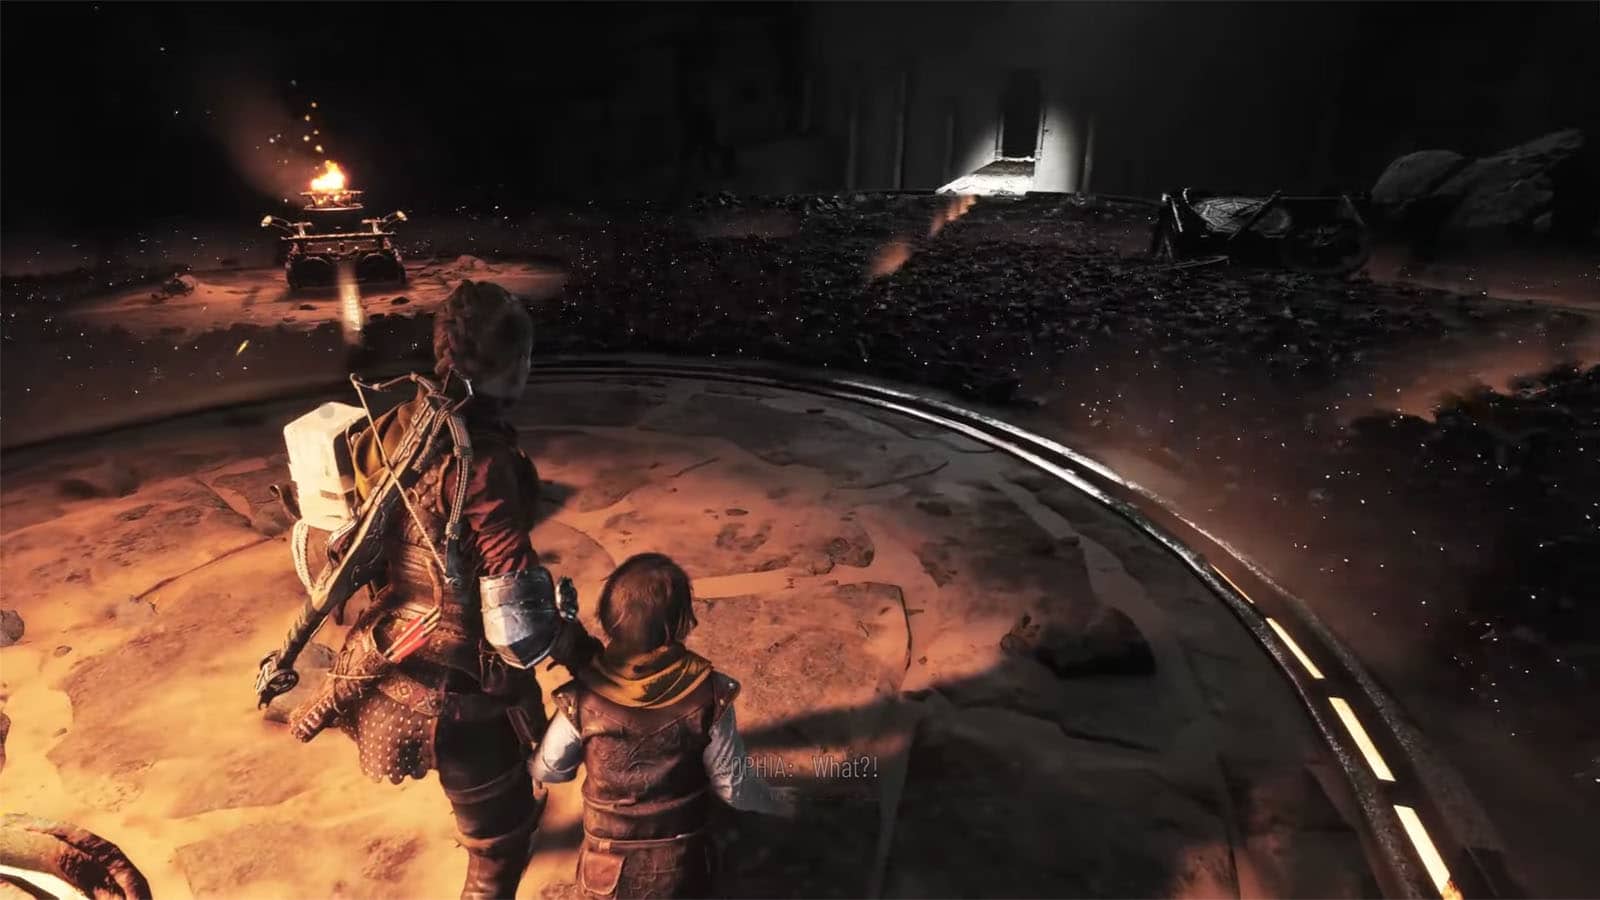
Explore the rest of the underground area
Go through the gate and light the brazier to illuminate the path. At the end of the path, shoot the chain off the lever to the right to raise the platforms. Go to the side and Amicia will slide down into the depths. Immediately run towards the ladder to avoid the rats.
At the top, go to the left side and through the chain to find a chest, then go to the right and shoot the chain holding the other chains to raise one of the missing platforms. Go through the gap and shoot the brazier below.
Jump down and turn around to see a chest behind. Shoot a firebolt at the wooden board across and use tar on it to make the fire brighter before crossing. Grab and light a stick and use it to go to the next brazier and light it up. Check the chest nearby.
Go to the path to the left through the chain to find some episanguis and pieces. To the right, you’ll find another chest and another chain to raise the next platform. Head through the chains and turn left to find a locked workbench.
Light the brazier cart below and then jump down. Push it forward until you hit the blockage, then climb the ledge to the right. Light up the brazier and use tar on it to clear the rats, then head to the brazier. Sophia will drop a tank that you can shoot to blow the blockage. Head back to the cart and continue pushing it while checking the right for some pieces and the left for a huge chest.
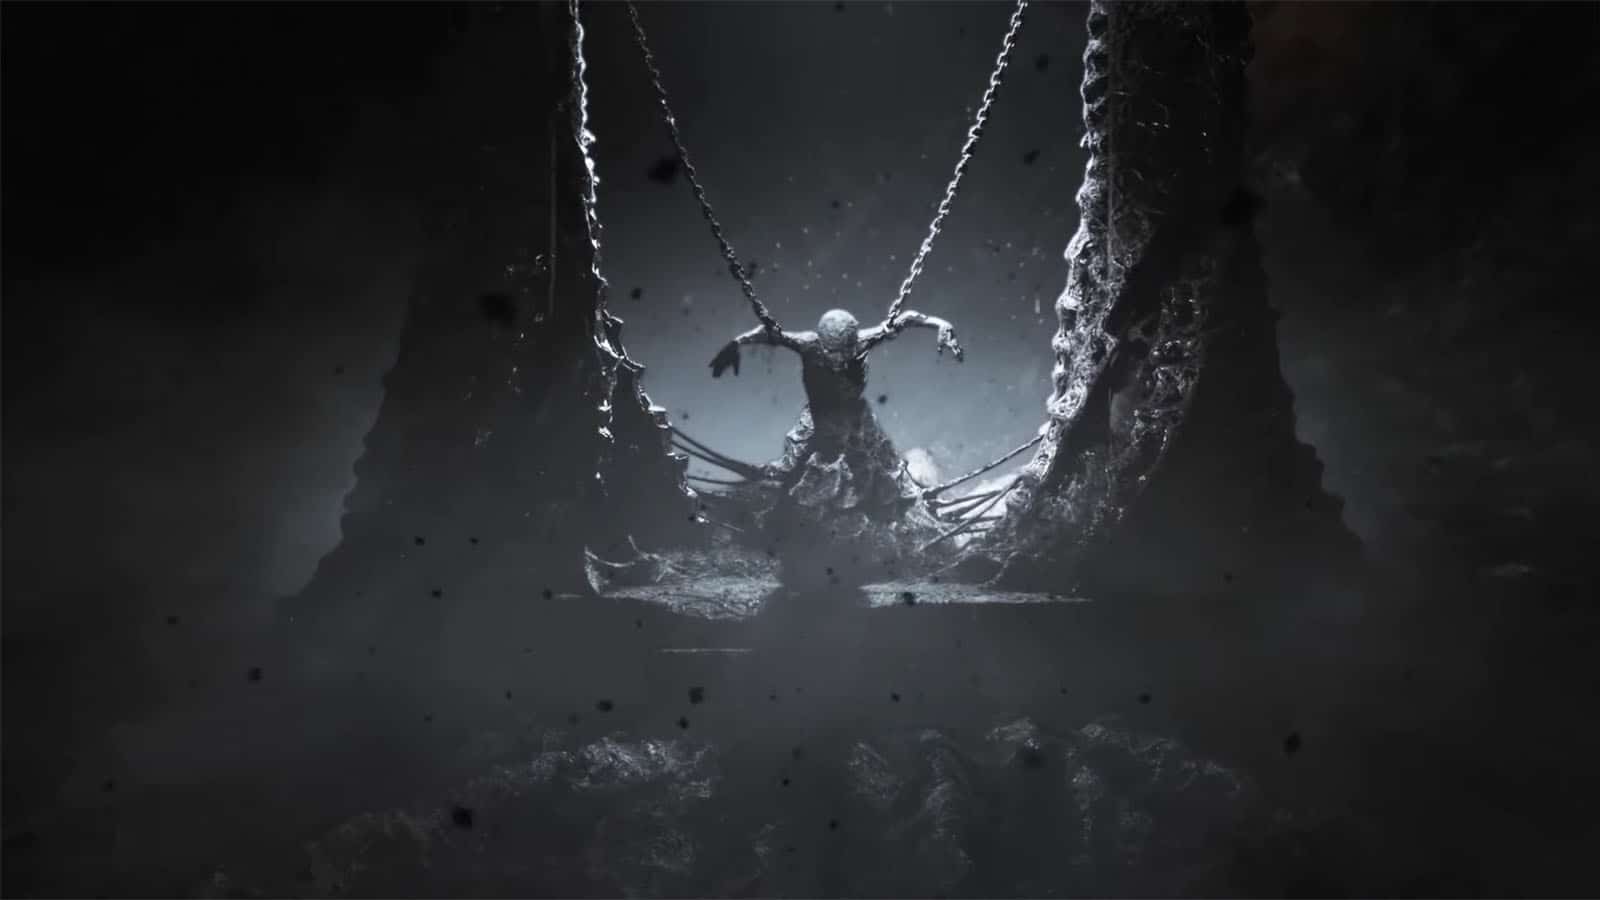
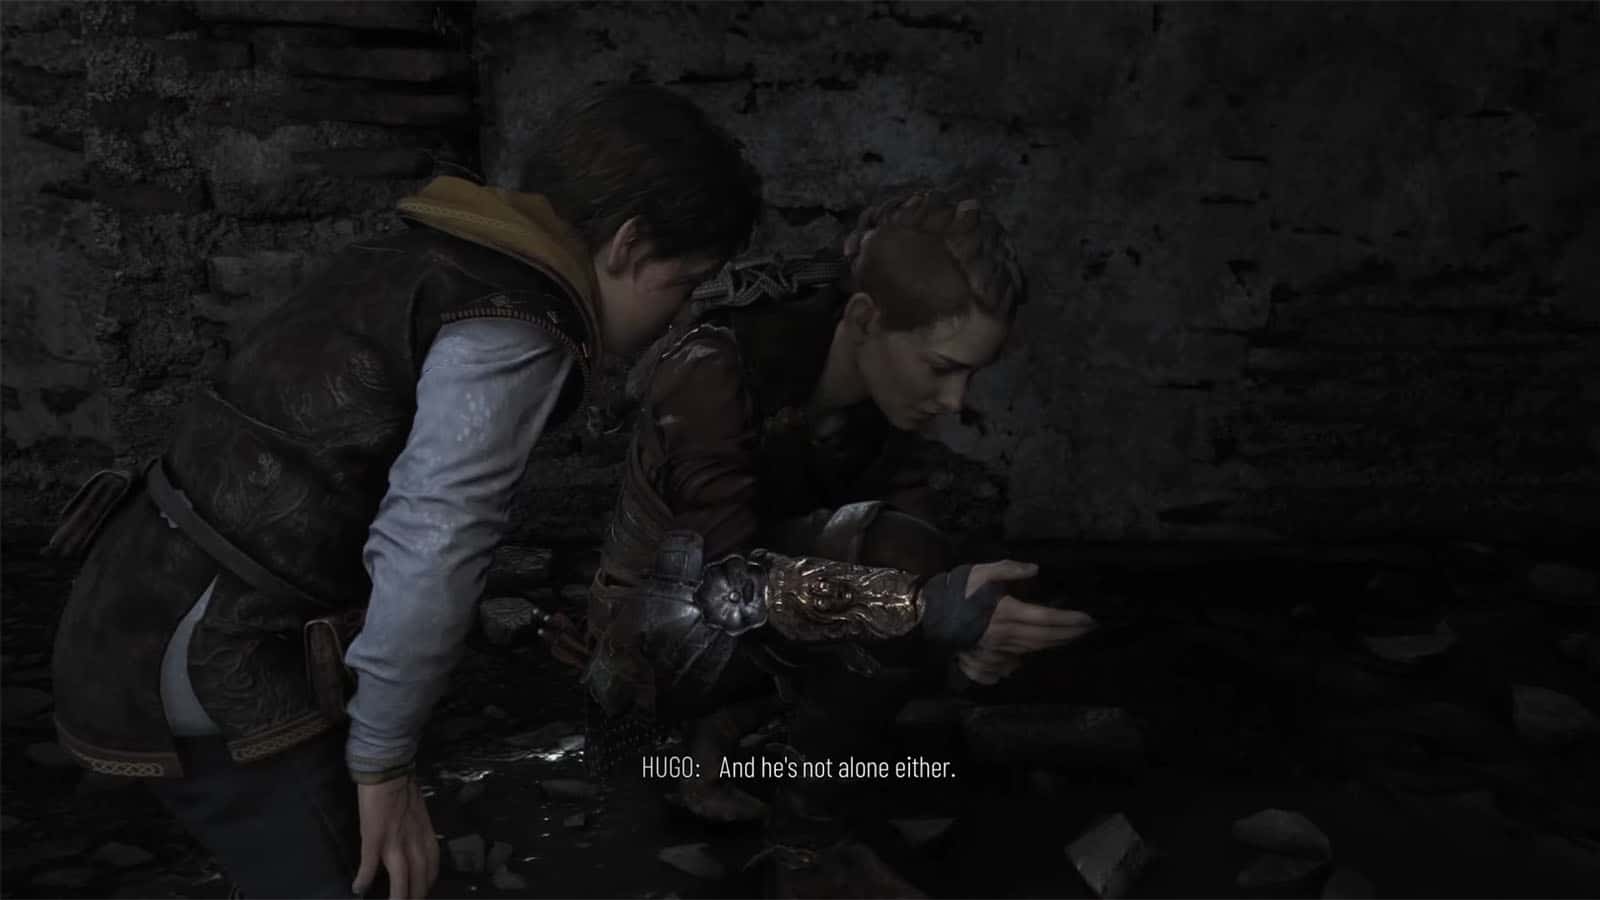
Climb up the stairs to reunite with Hugo and Sophia, then follow the path to the left, up the stairs and ledge. Then, head down the dark corridor and down the staircase to the very bottom where you’ll find Basilius.
Flee the prison of the carrier
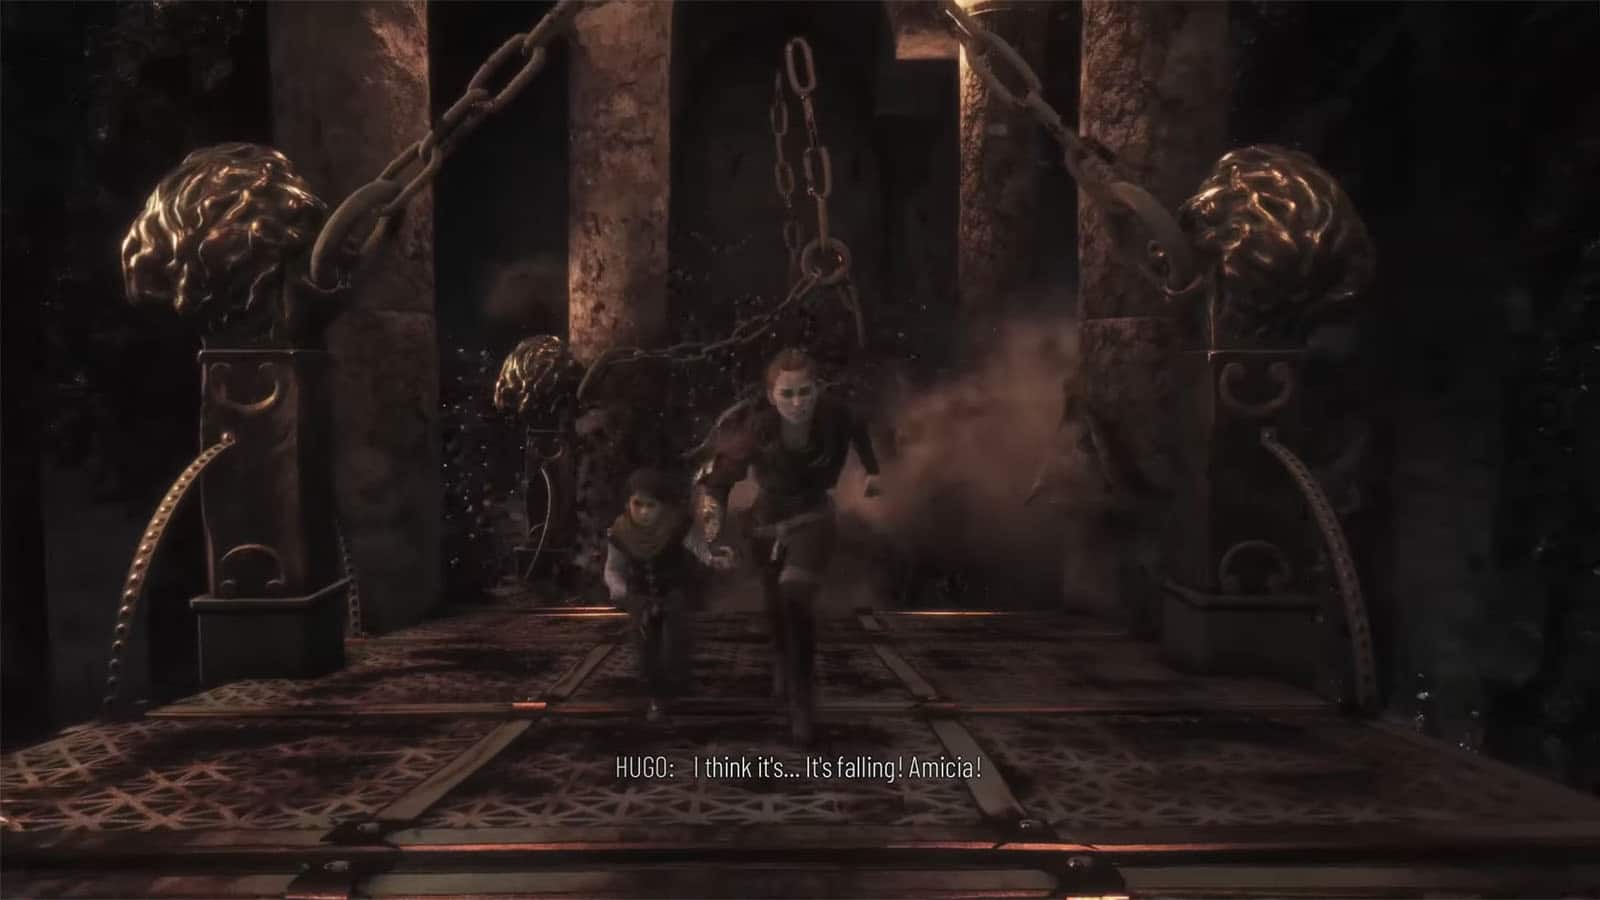
After the cutscene, Hugo becomes so distressed that the rats start flooding the cathedral. Quickly follow the path ahead to get away from the horde until you get out into the open. The chapter ends as Amicia calms down Hugo.
Chapter 11 – The Cradle of Centuries Trophies in A Plague Tale Requiem
Here are the trophies that can be obtained in Chapter 11:
- The Cradle of Centuries – complete Chapter 11.
See next A Plague Tale Requiem Walkthrough Chapter 12 - The Life We Deserve
If you like this guide, be sure to check out our other A Plague Tale: Requiem articles:
- A Plague Tale Requiem Trophy Guide & How To Get Platinum
- A Plague Tale Requiem Considered Book Closed According to Developers
- A Plague Tale Requiem – All Hugo’s Herbarium Locations
- A Plague Tale Requiem – Chapter 2 Collectibles Locations
- A Plague Tale Requiem – Chapter 6 Collectibles Locations
- A Plague Tale Requiem – Chapter 8 Collectibles Locations
- A Plague Tale Requiem – Chapter 9 Collectibles Locations
- A Plague Tale Requiem – Chapter 10 Collectibles Locations
- A Plague Tale Requiem – Chapter 13 Collectibles Locations
Check out this video by RavingFox Gaming showing gameplay for Chapter 11:


