
Bloodline is the tenth chapter in A Plague Tale: Requiem which follows the siblings’ journey towards the fort in La Cuna to try to get some answers about what happened to Basilius and his protector Aelia.
In this guide, we will go through the walkthrough of chapter 10: Bloodline, of A Plague Tale Requiem, showing some tips, tricks, or solutions on how to complete the chapter.
See previous A Plague Tale Requiem Walkthrough (Chapter 9 - Tales and Revelations)
A Plague Tale: Requiem Chapter 10: Bloodline starts off with Amicia, Hugo, and Sophia after exiting the Las Madres sanctuary. They have to make their way to the fort which is on the far side of the island.
Chapter 10 Objectives:
- To the Round Tower
- Find the round tower
- Find a way to the fort
- The Coast
- Find the fort
- Reach the fort
- Slavers
- The Old Temple
- Approaching the Fort
- In the Courtyard
- Cross the courtyard
- Use Sophia’s prism
- Reach the inner courtyard
- The Chapel
- Enter the chapel
- Find Aelia’s track
- Survive the assault
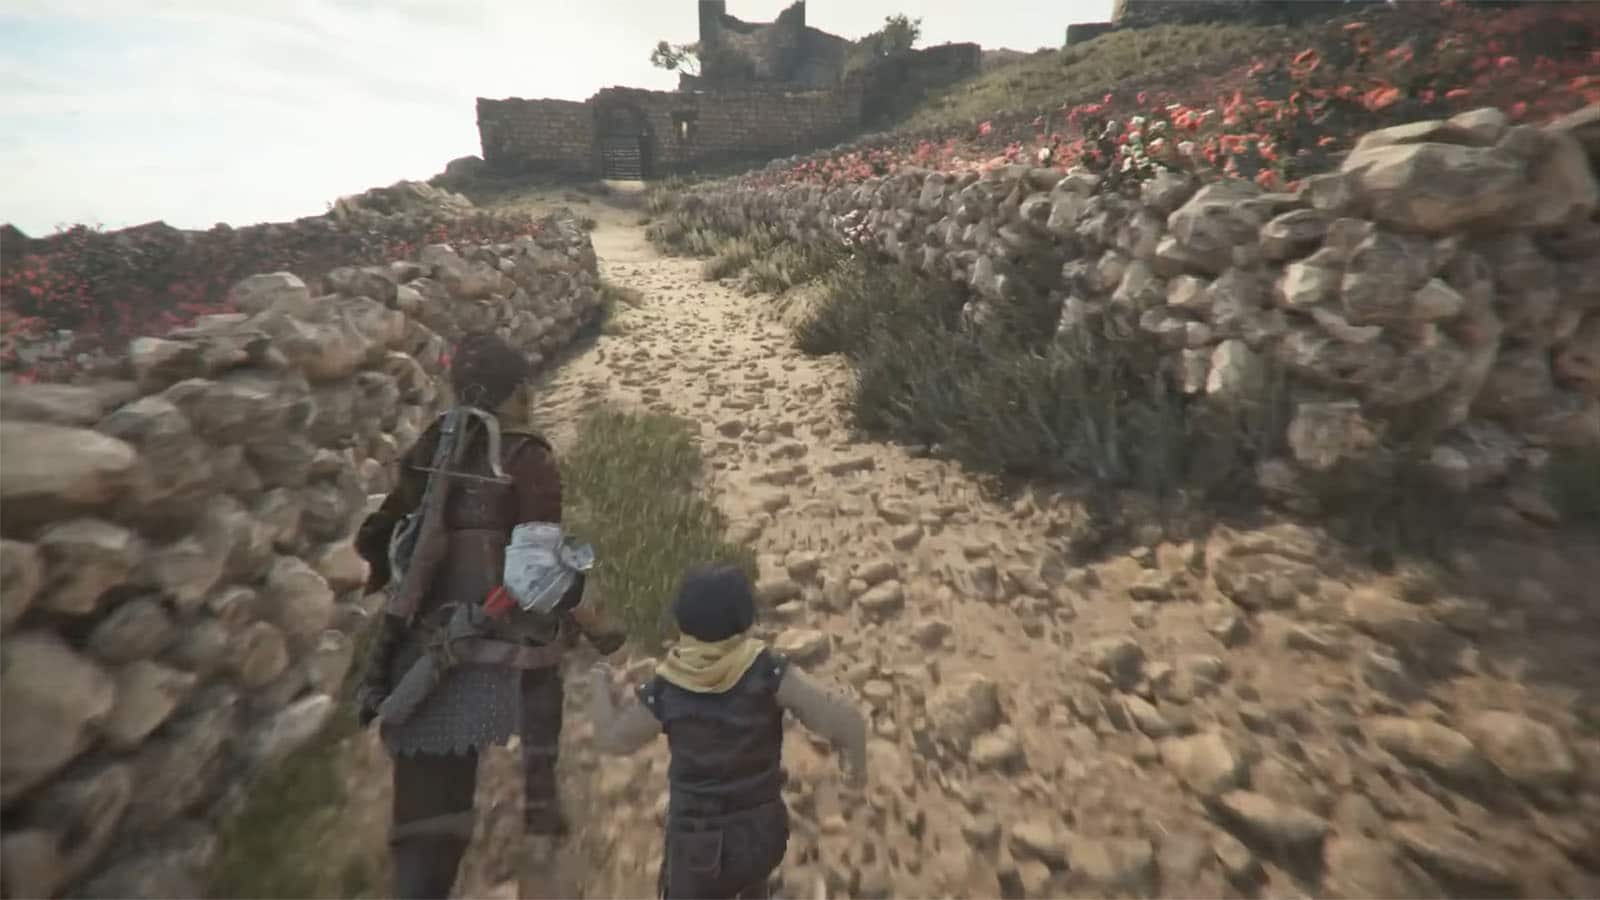
Find the Round Tower
Starting back at the base of the path to the mountains, head back towards the watchtower and through the festival stalls. Then, go through the flower field towards a gate.
Find a way to the Fort
Enter the gate and you’ll find a chest to the left. Continue climbing up the stairs to catch up with Hugo, check towards the left again for a chest. You’ll eventually end up at a tower.
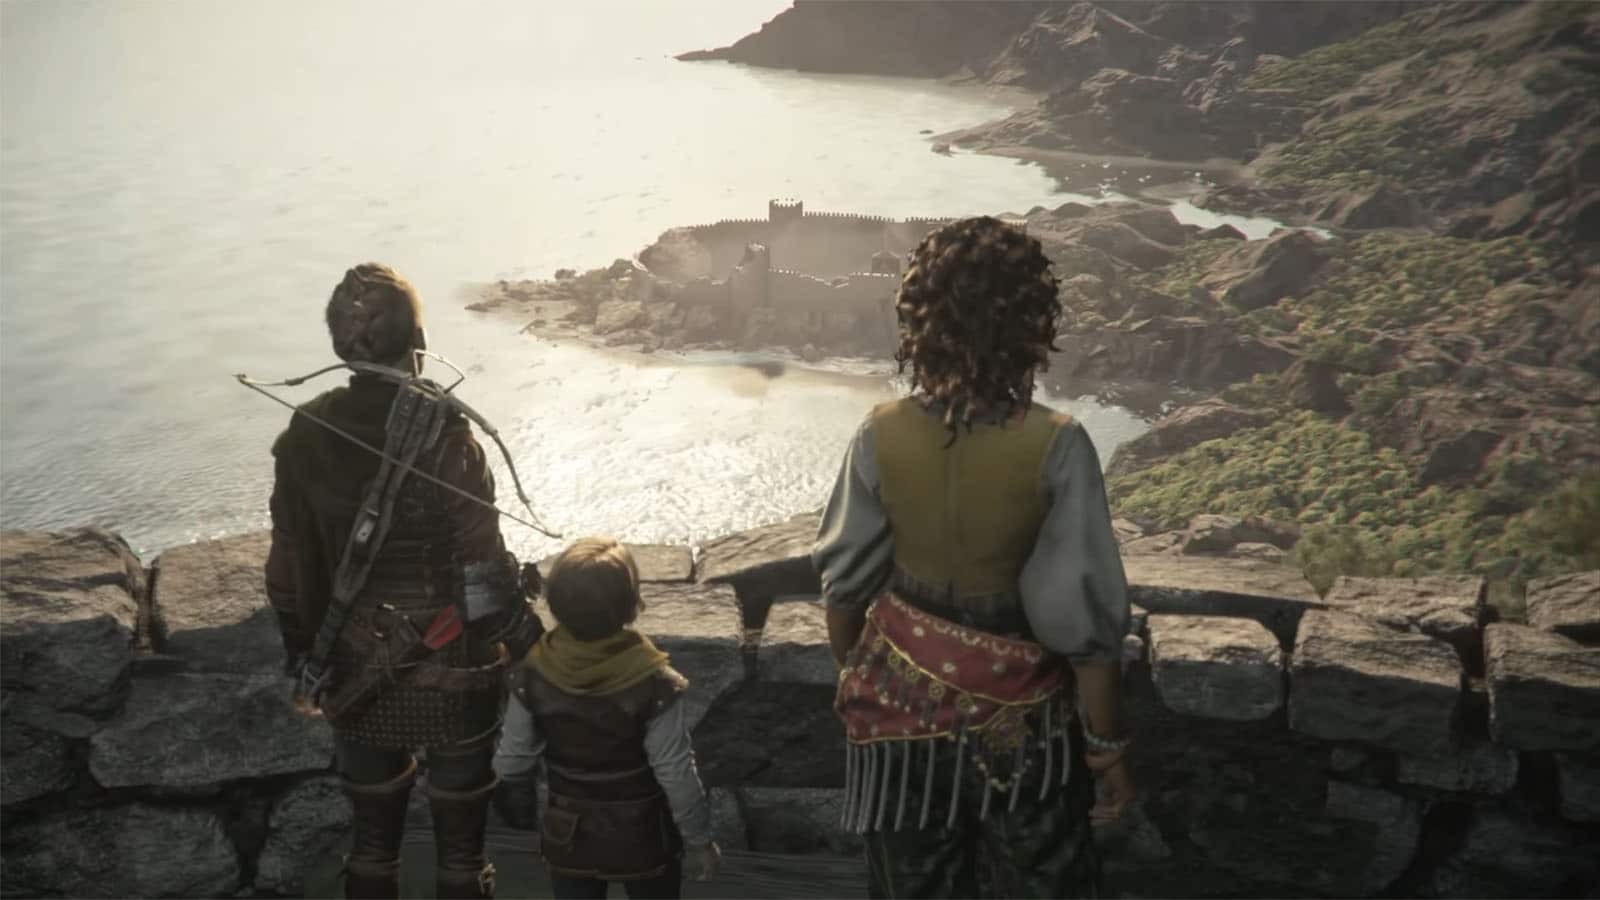
Go around the tower and go through the window. Check the chest then climb the ladder where you’ll find another chest. Walk on the ledge to the other side then look through the hole and shoot the chain on the gate. Head back out the tower and go through the main door. Climb up the stairs then go through the gate to get an overview of the fort.
Find the Fort
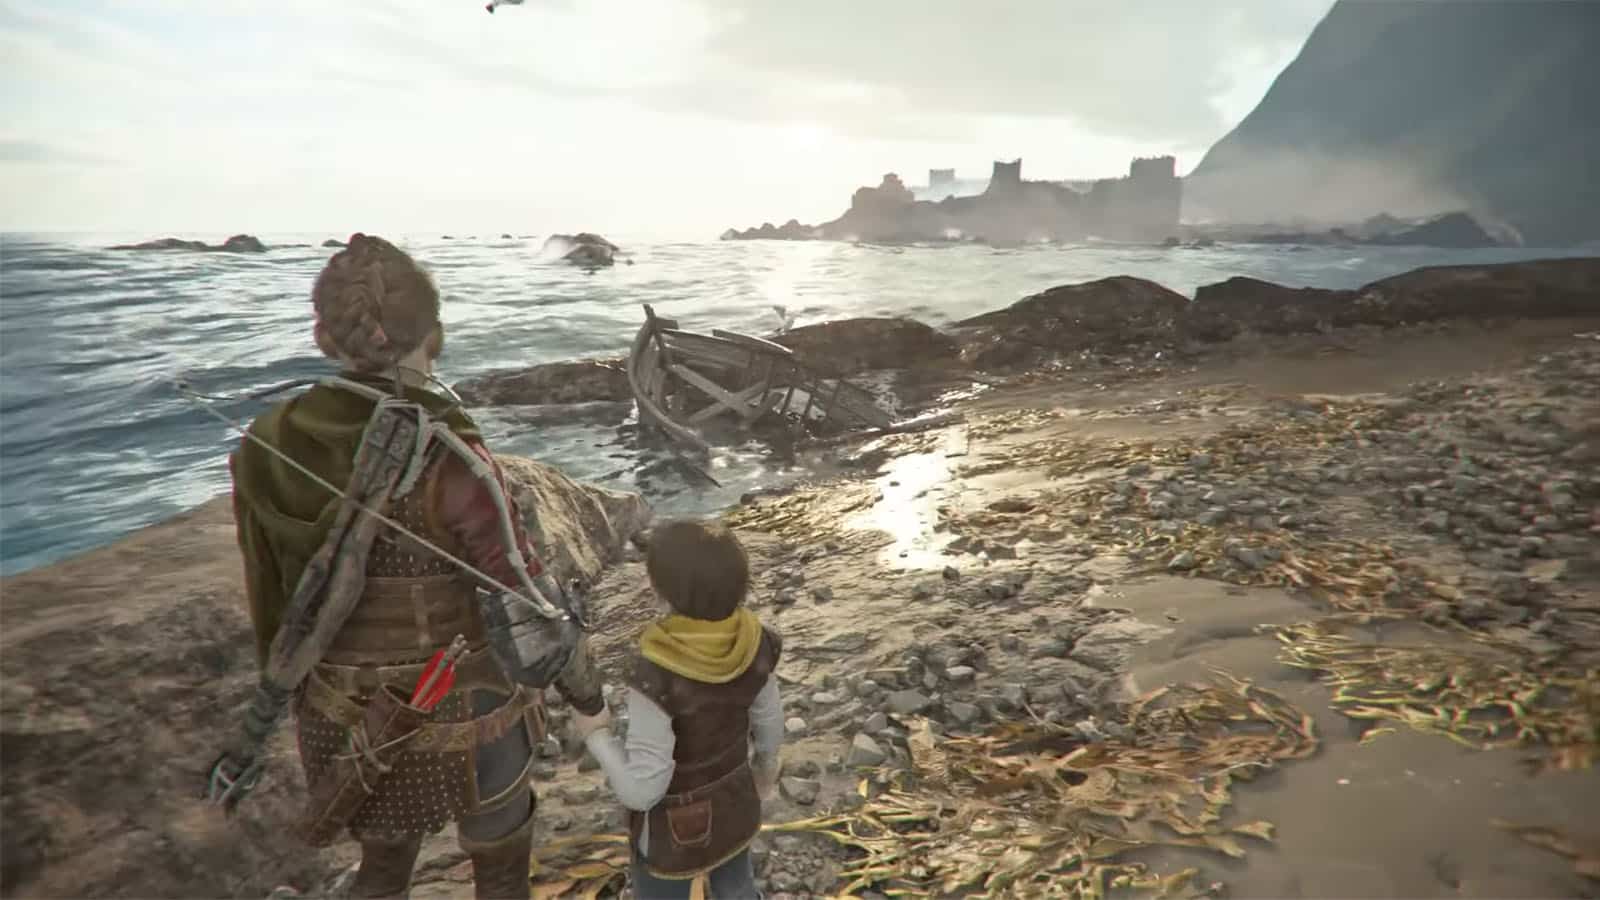
Follow the path towards the fort until you arrive at the broken bridge. Head towards the rope post and use the crossbow to shoot at the bundle of ropes. Then, pull the rope to bring the bridge down and create a ramp.
You’ll then arrive at the beach where a chest is to the left behind a boat. Continue to the right path to see the fort.
Reach the Fort
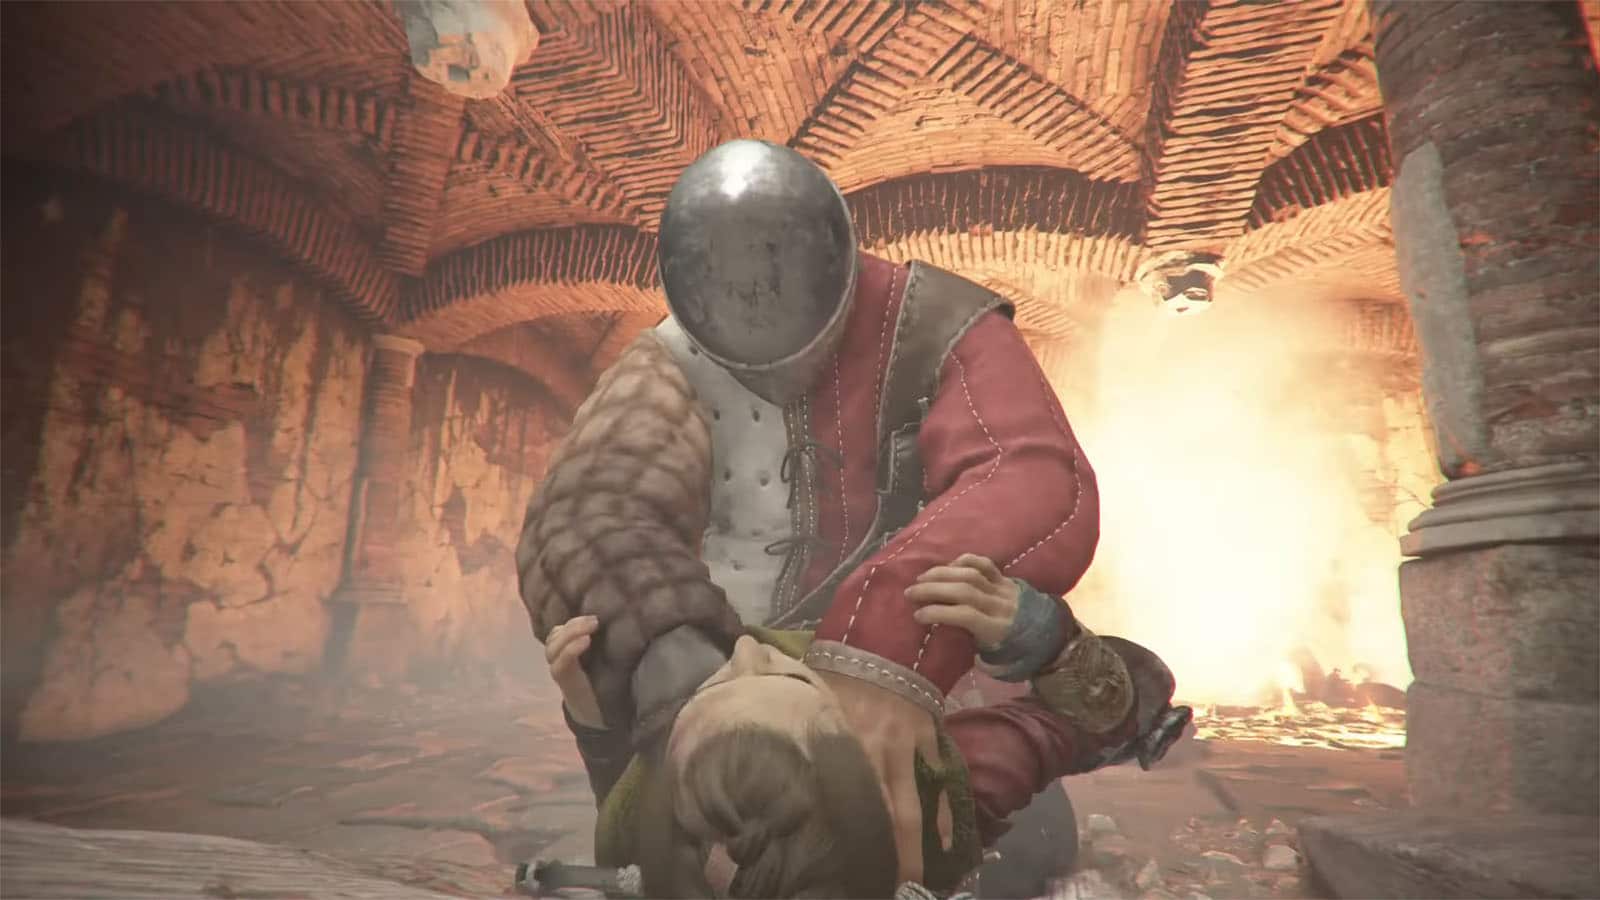
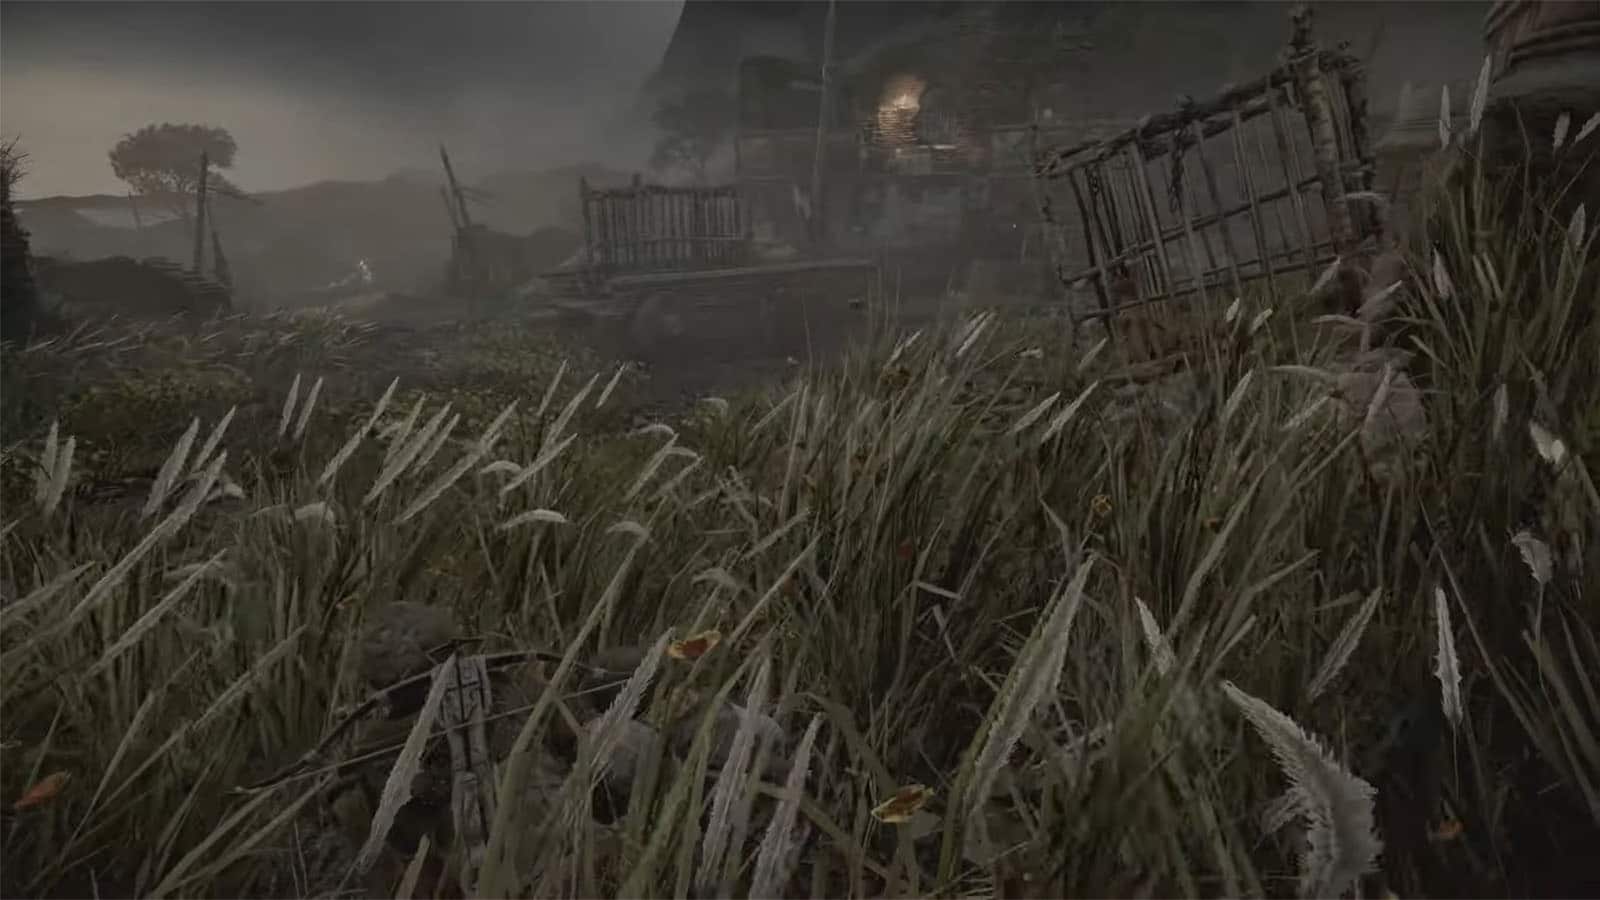
Continue following a path and you’ll see a chained corpse. Ahead the path, another corpse will be thrown from above. You’ll eventually arrive at one of the slavers’ camp. The group hides in the tall grass, but when Amicia tries to jump down, she falls through the ground and into the catacombs. The bombardier guard inside ambushes her, so prepare for a QTE.
After the scuffle, head through the door and head back up the stairs. You can then either sneak through the guards using the tall grass or eliminate them all. If you plan to eliminate them, try to target the archers on top of the buildings first. There will also be bombardier guards patrolling that drop their flammables when they die, so be aware about setting the tall grass on fire near them.
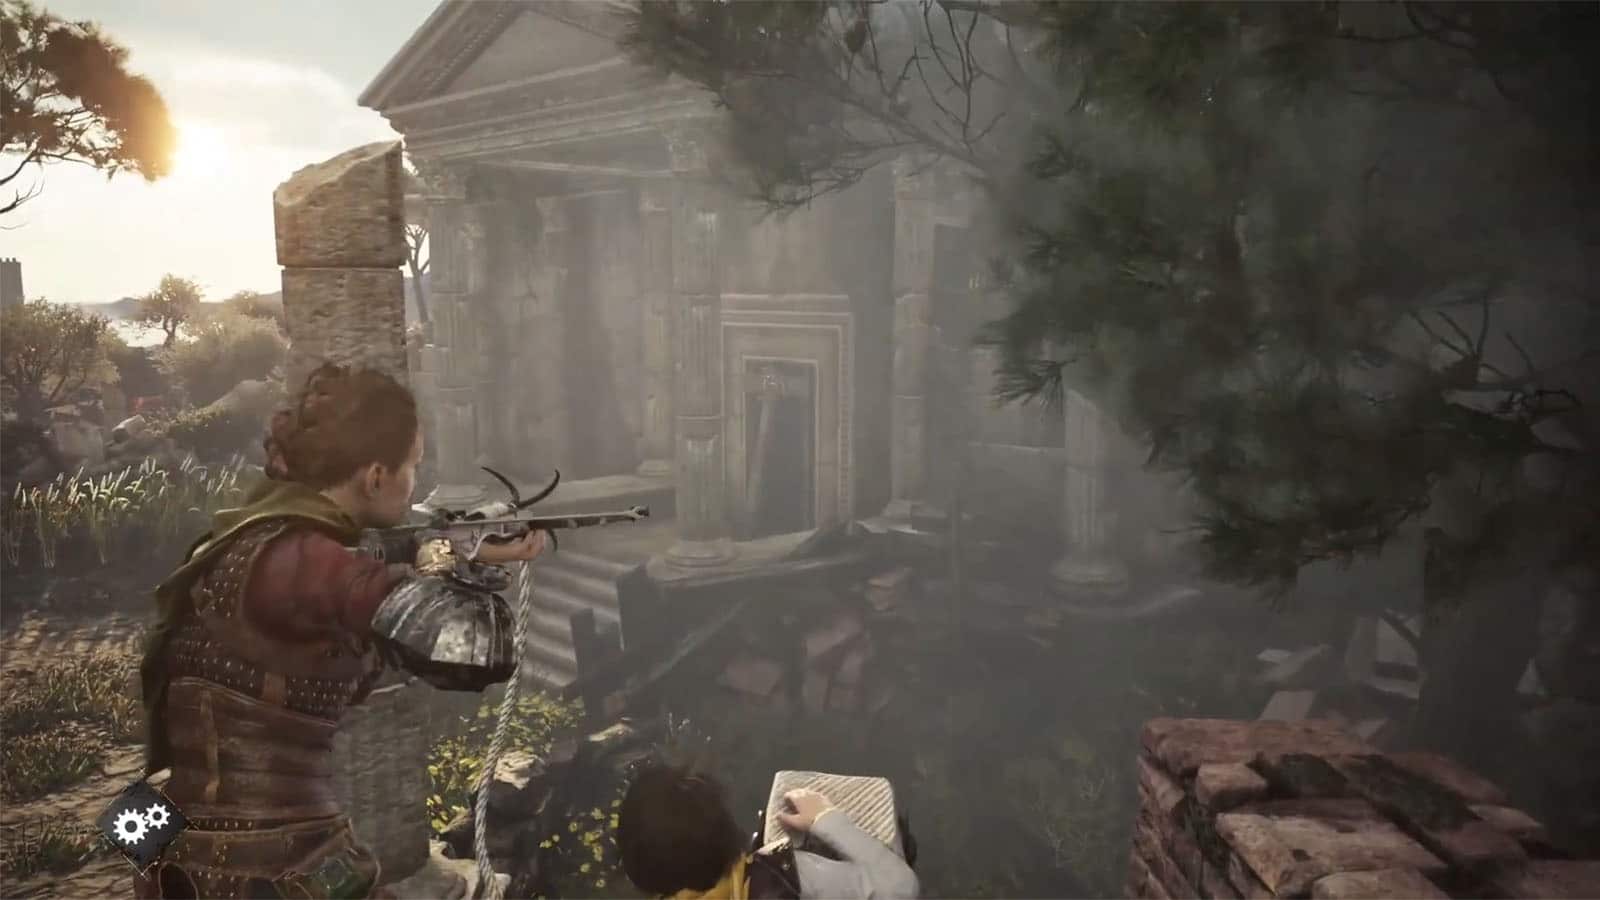
Points of interests in this part are the place where the archer is on the right where you can find a knife, the stairway leading underground where you can get a chest, and the tower ruins ahead with a chest upstairs. You’ll eventually find a blocked door towards a temple. Head up the buildings in front of it where you can find a rope post. Shoot a rope towards the door and then pull it to clear the entrance. Check the other building to the left with another rope post to find a huge chest.
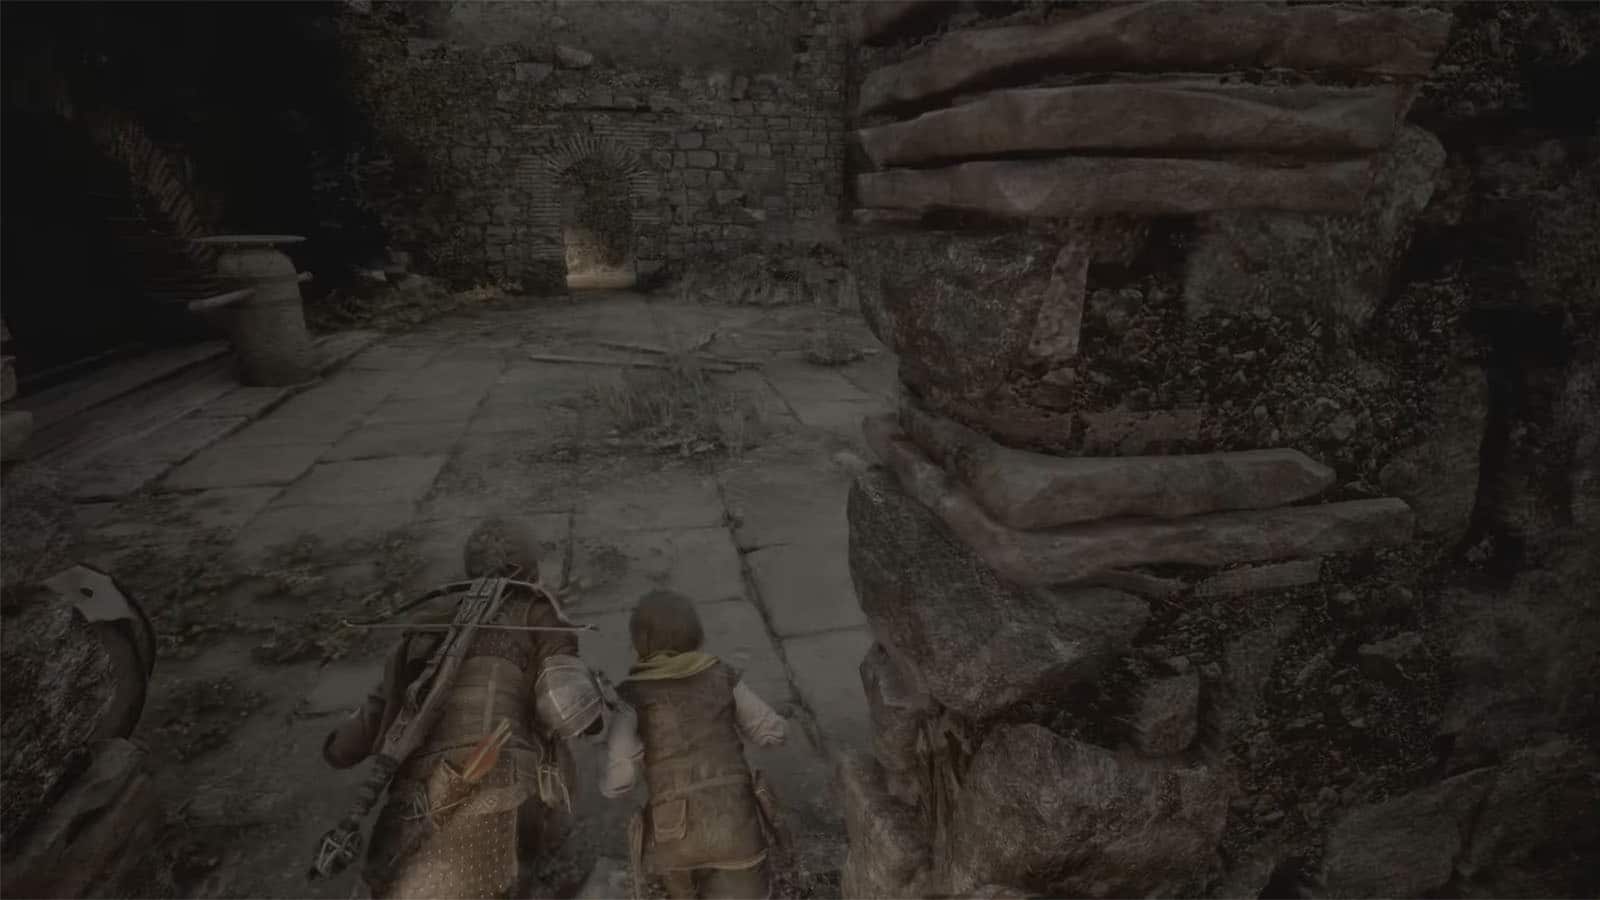
Inside the temple, go under the gap across and then go up the ledge to the right. Have Sophia operate the crank to raise the chandelier, then shoot a rope towards it then pull. The chandelier will swing and break through the door for your exit.
Outside the temple, take the path to the left to find the Raven feather collectible.
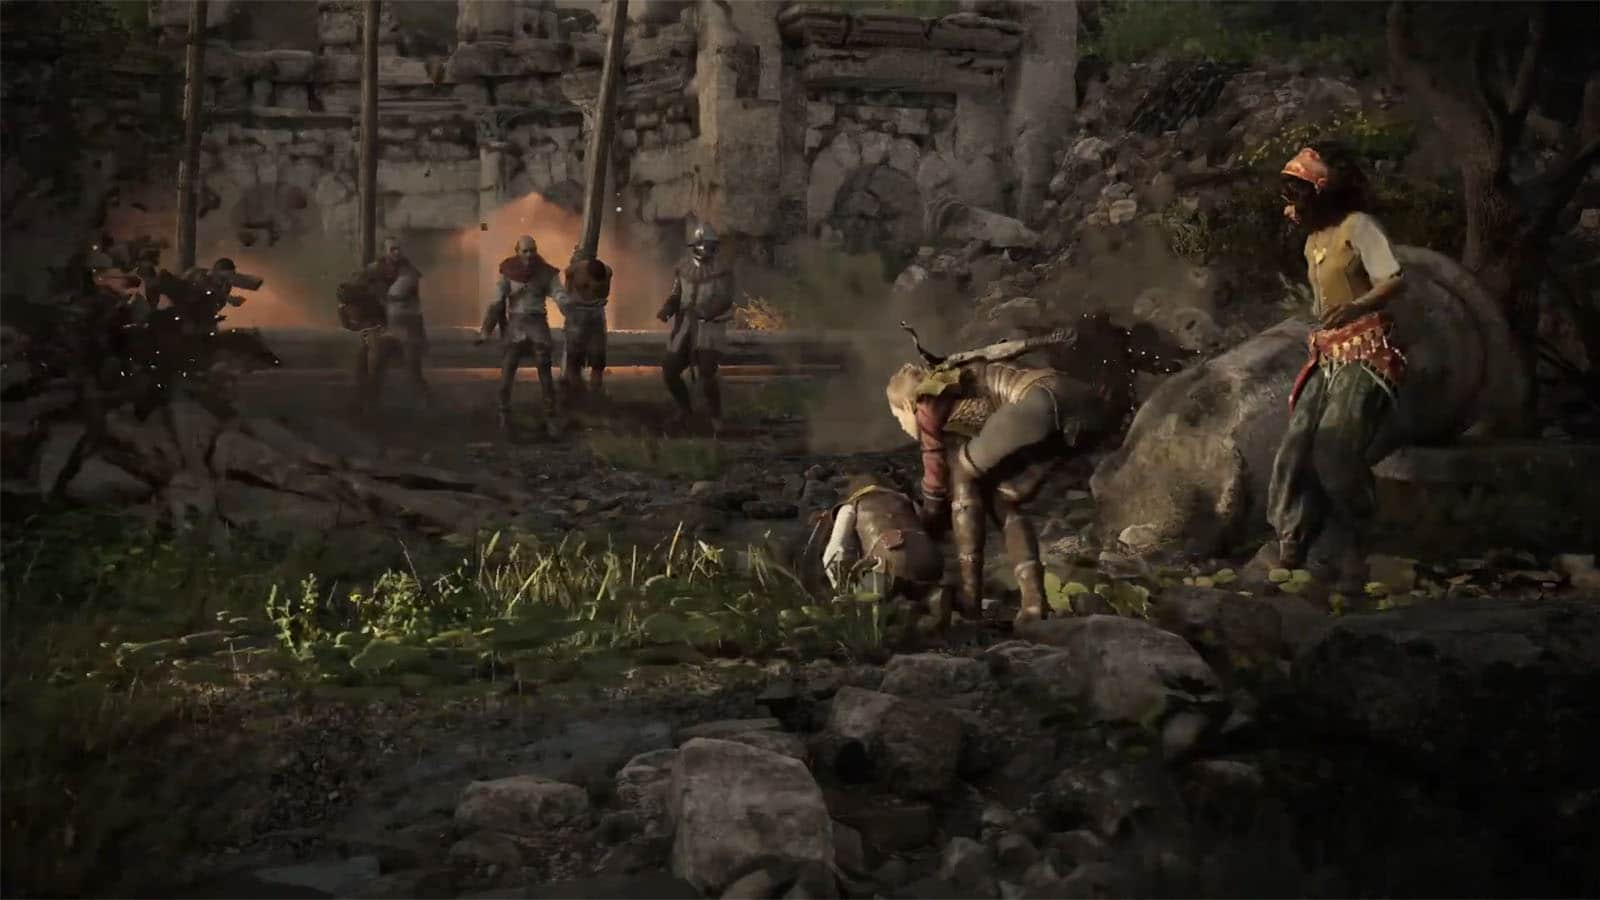
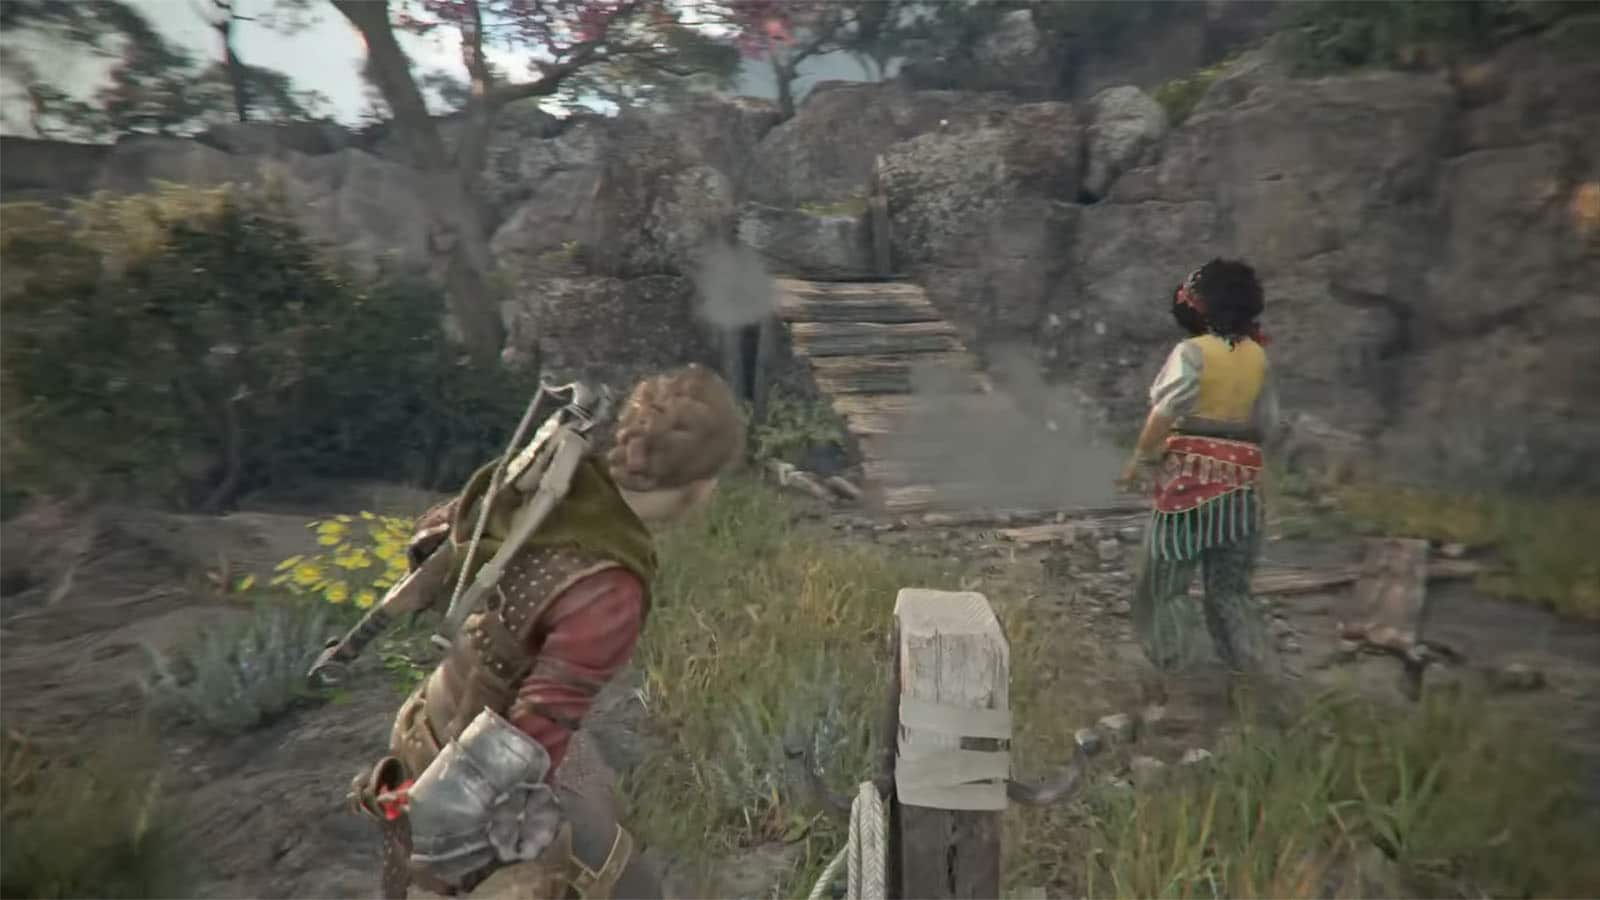
Head back to the main path where you will see a workbench. You’ll arrive at another slaver camp and a cutscene plays showing Milo, the leader of the slavers. Hugo interrupts and sends out rats towards the other guards. Amicis tries to stop him, but Hugo runs away.
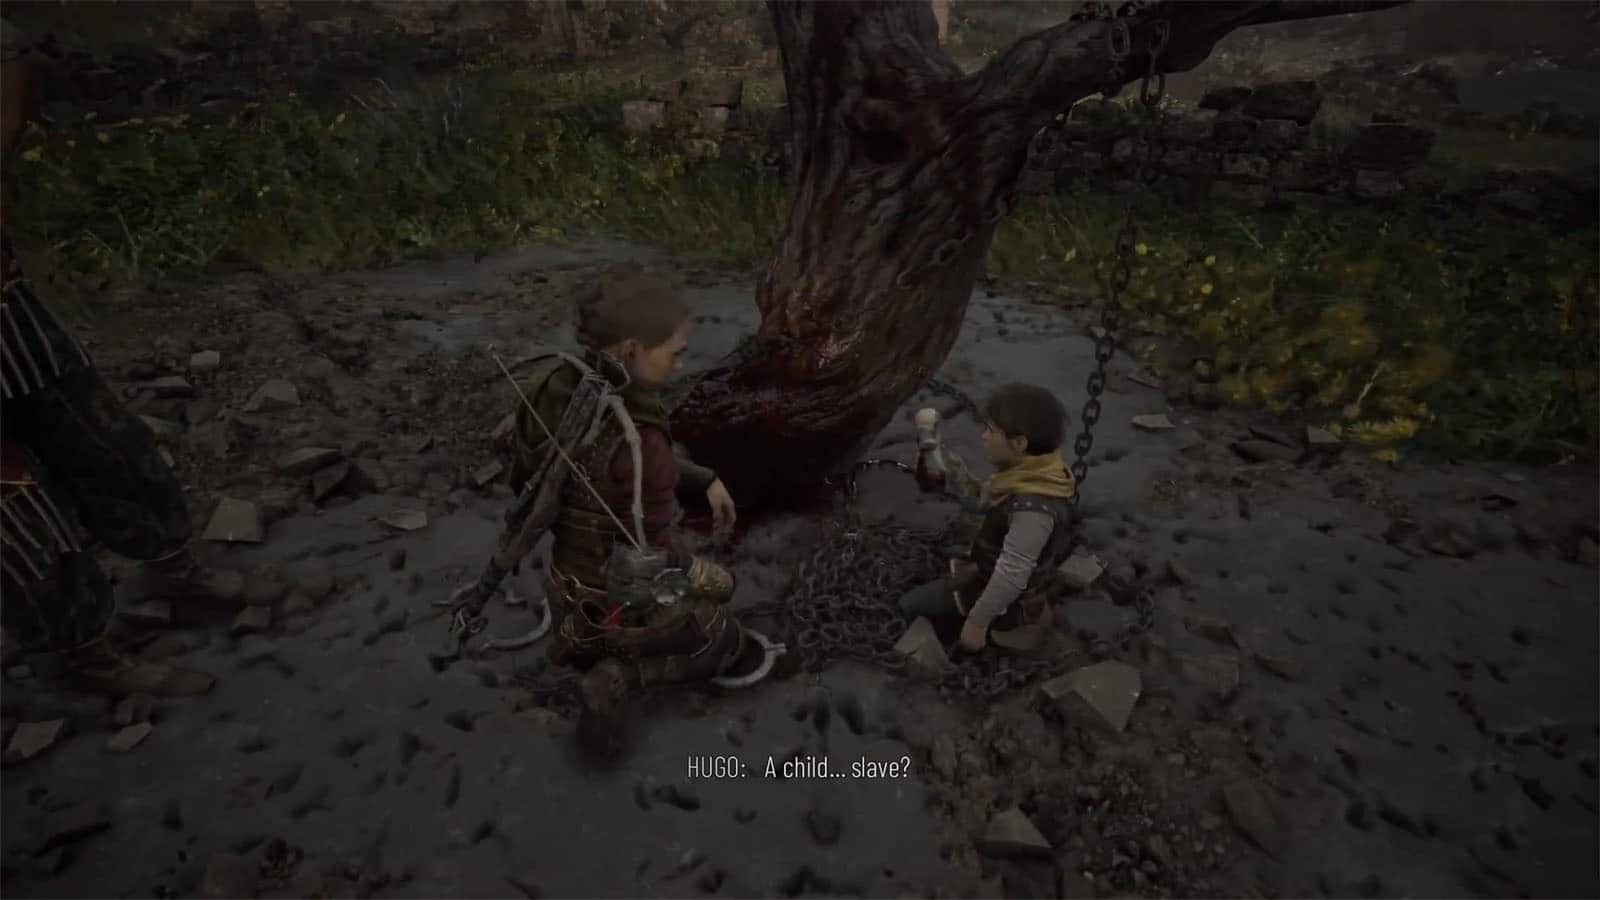
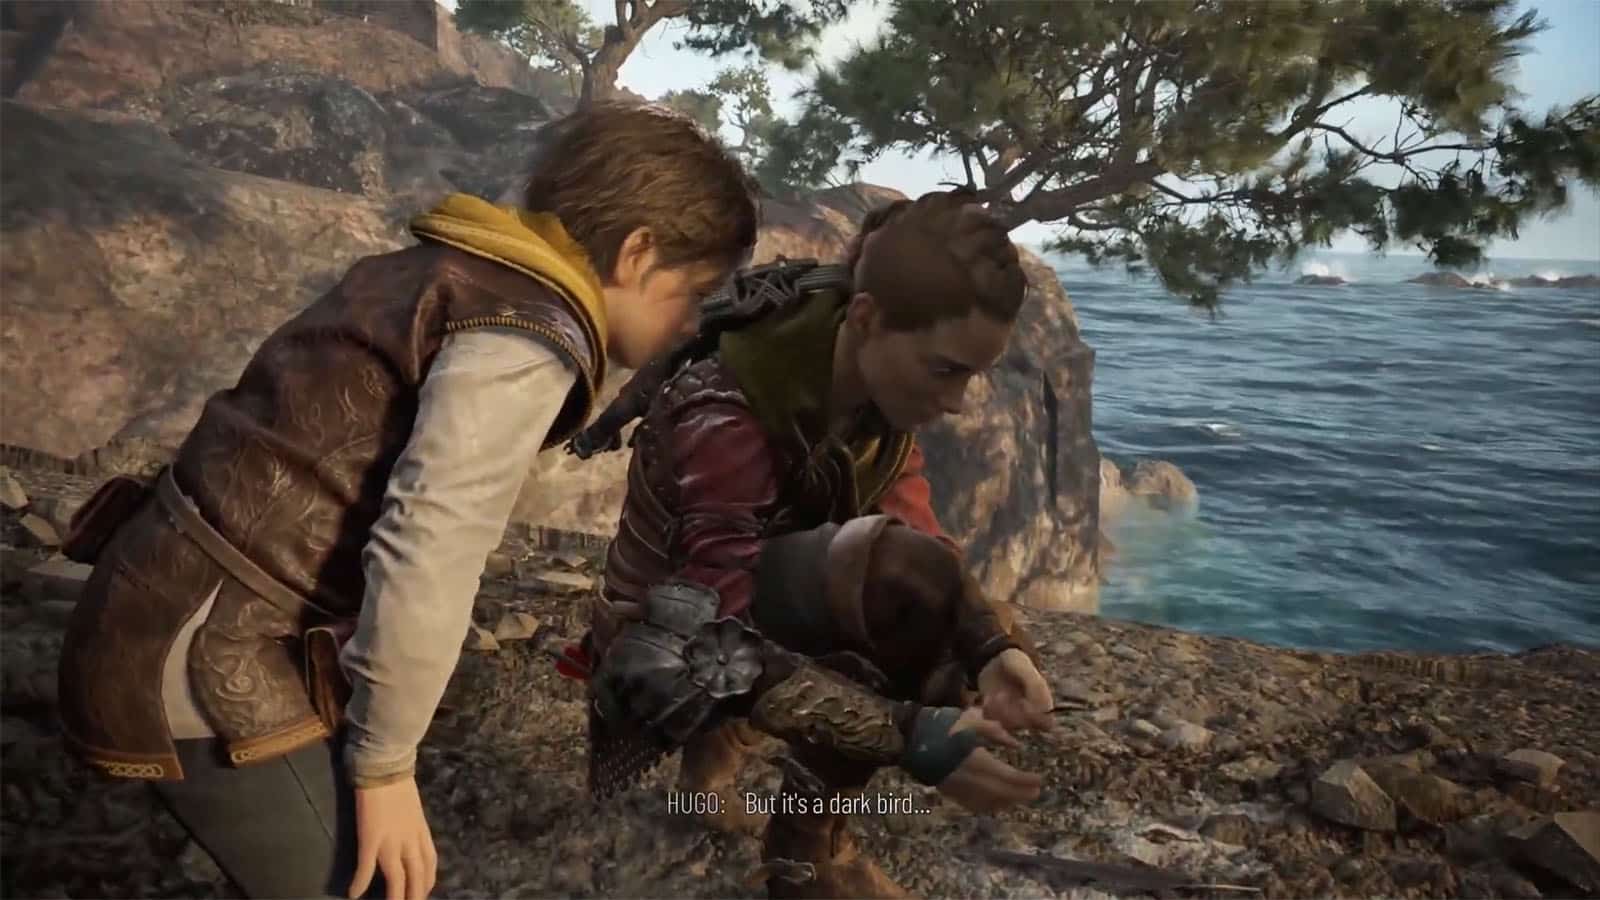
Approach Hugo and then after the dialogue, head to the building to the right and turn left to see a rope post behind a wall. Shoot a rope to the opposite side of the building and pull it to reveal a ledge. Head to the ledge and then inspect the bloody tree to unlock the A rag doll souvenir.
Proceed to the next camp where you can decide to sneak through or eliminate the guards once more. To make it easier, target the tar pot near the archer on the highest point.
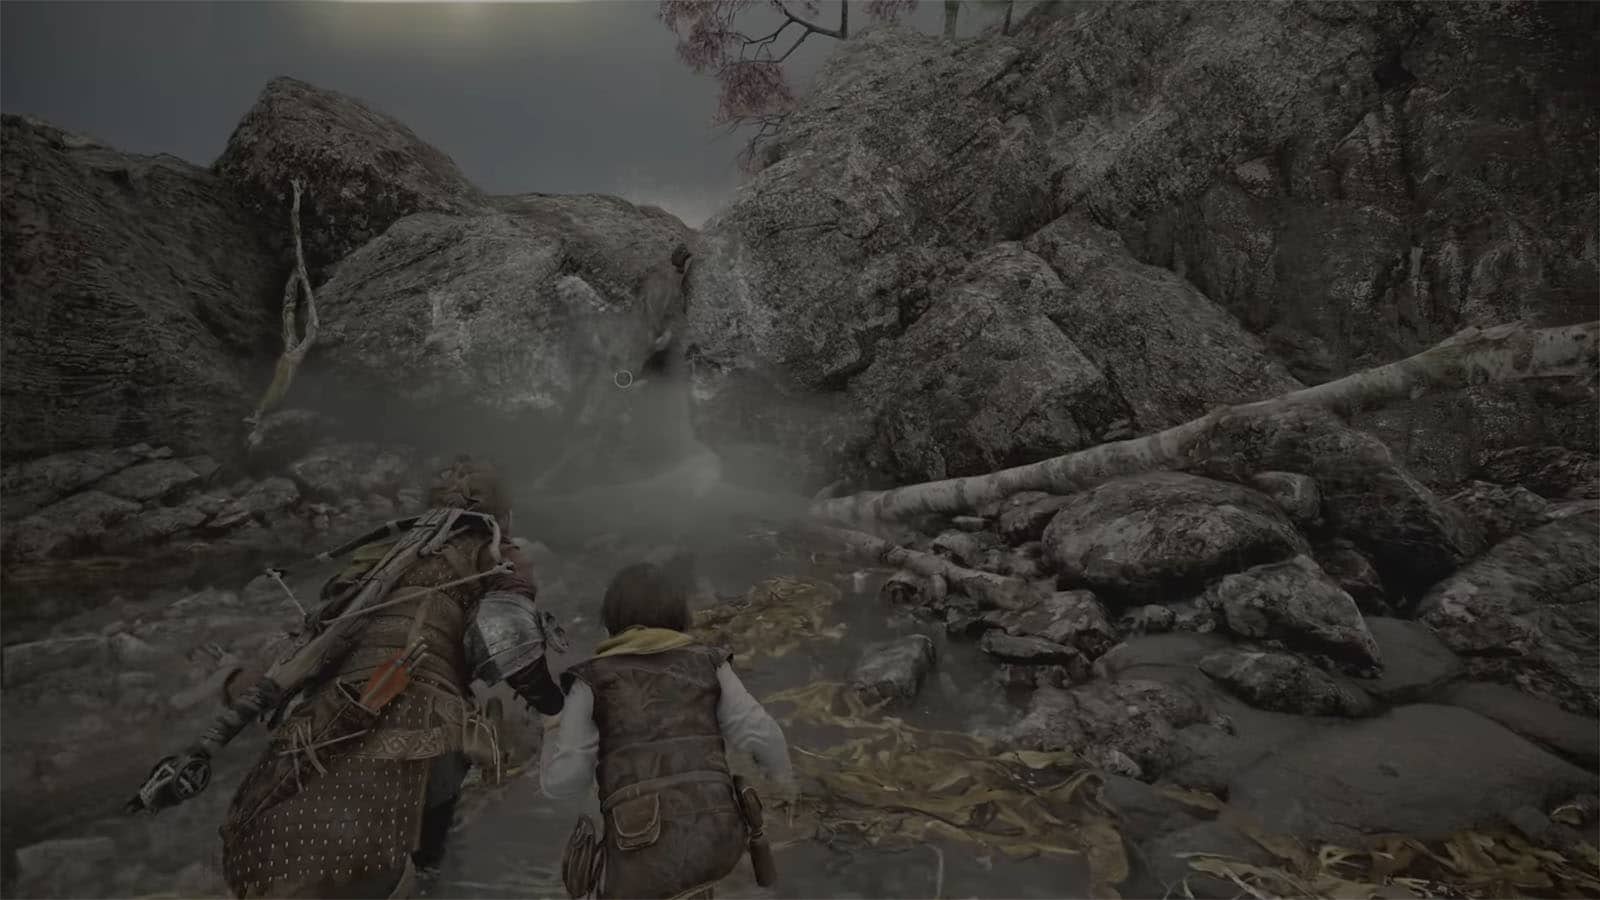
Make your way to the bridge by the fort gate, then head down below it. To the right is another chest behind the boat. Then, go to the left and squeeze through the gap between the rocks.
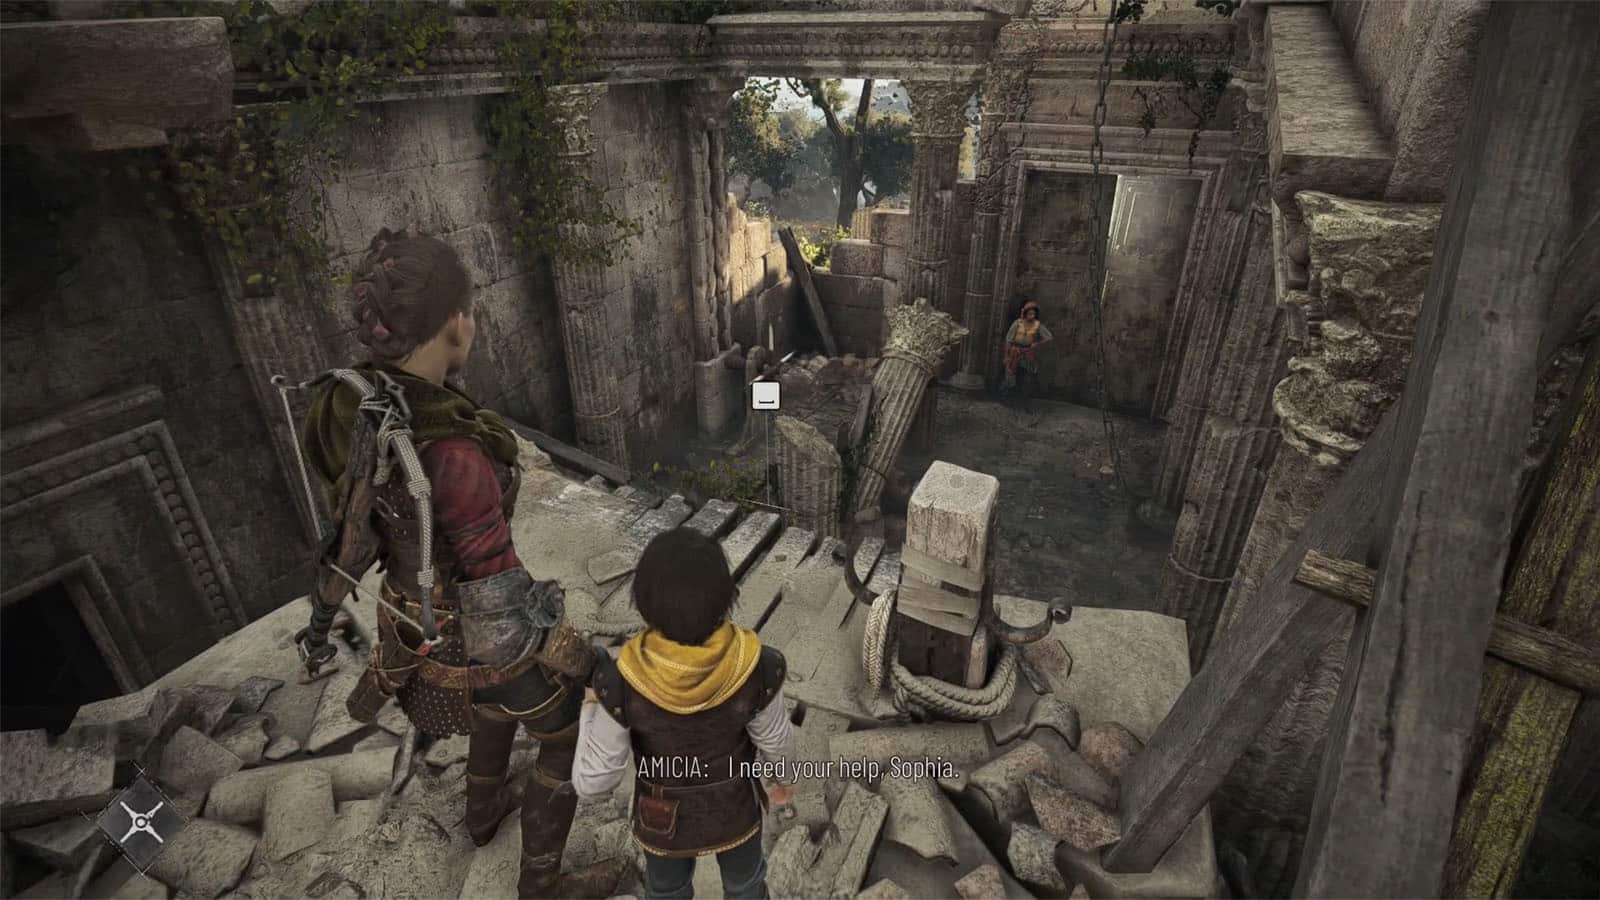
Climb up the stairs and enter the room where Amicia will be ambushed again. Sophia will help out and kill the guard. There’s a workbench in the room that you can use. Once you’re down, head outside and down the stairs. Another cutscene plays where Sophia heads to the top and raises the portcullis to let the cart where the siblings are in pass through.
Cross the Courtyard
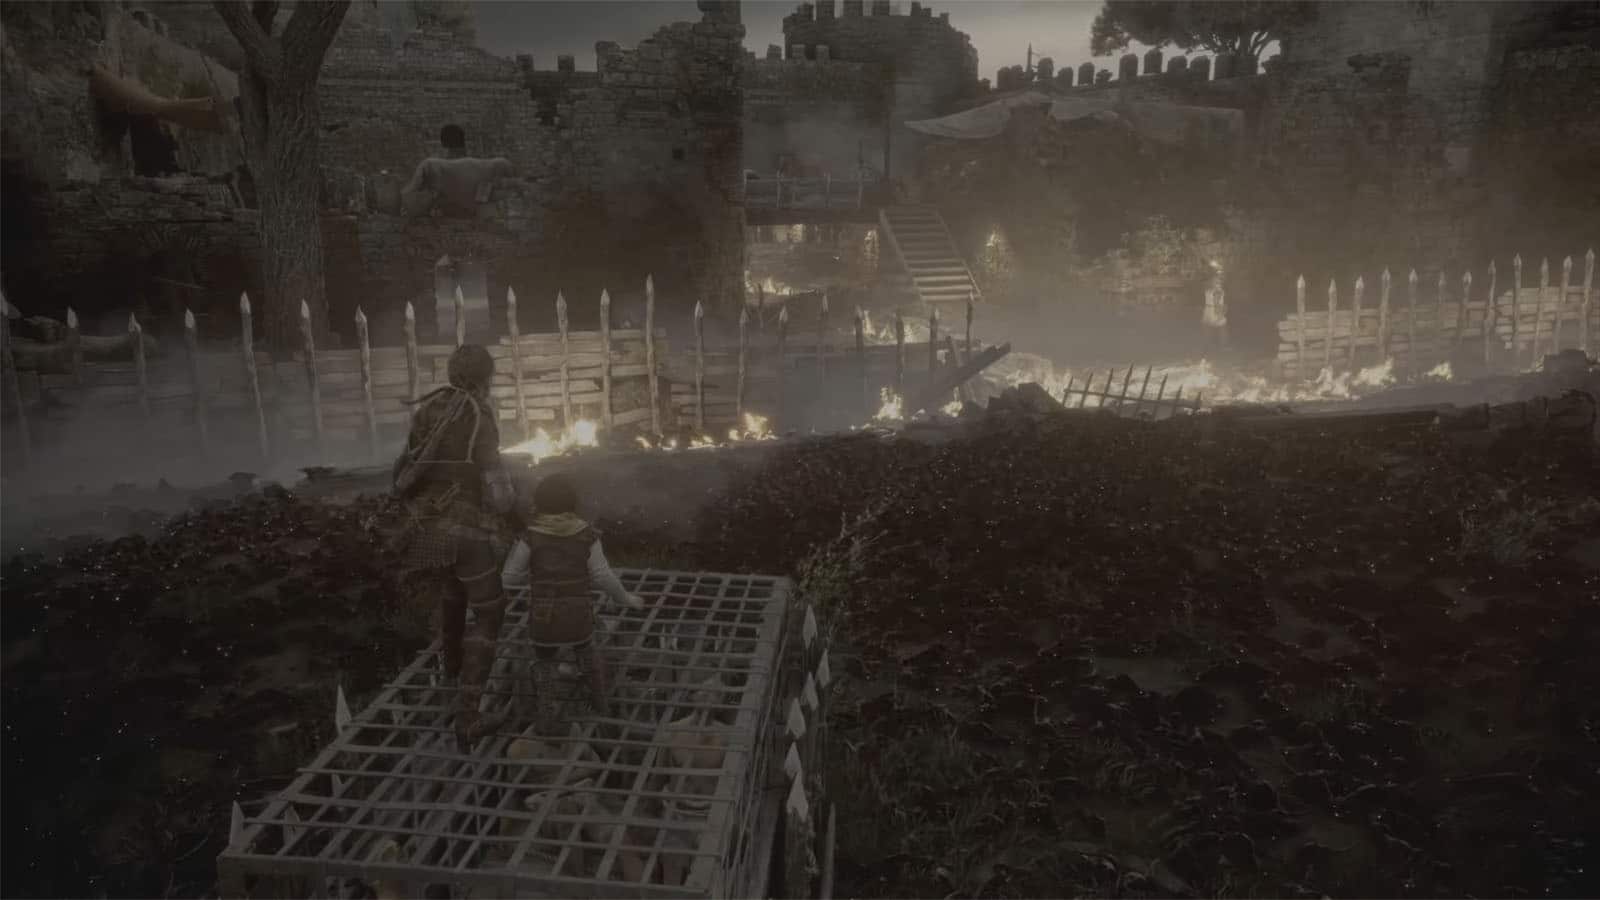
As the cart tries to pass, the rats will start pouring in the fort. Light up the nearest brazier then head for it. Sophia will reappear and use her prism as a makeshift lamp. Use her to cross through the rats by telling her to focus the prism on a nearby light source.
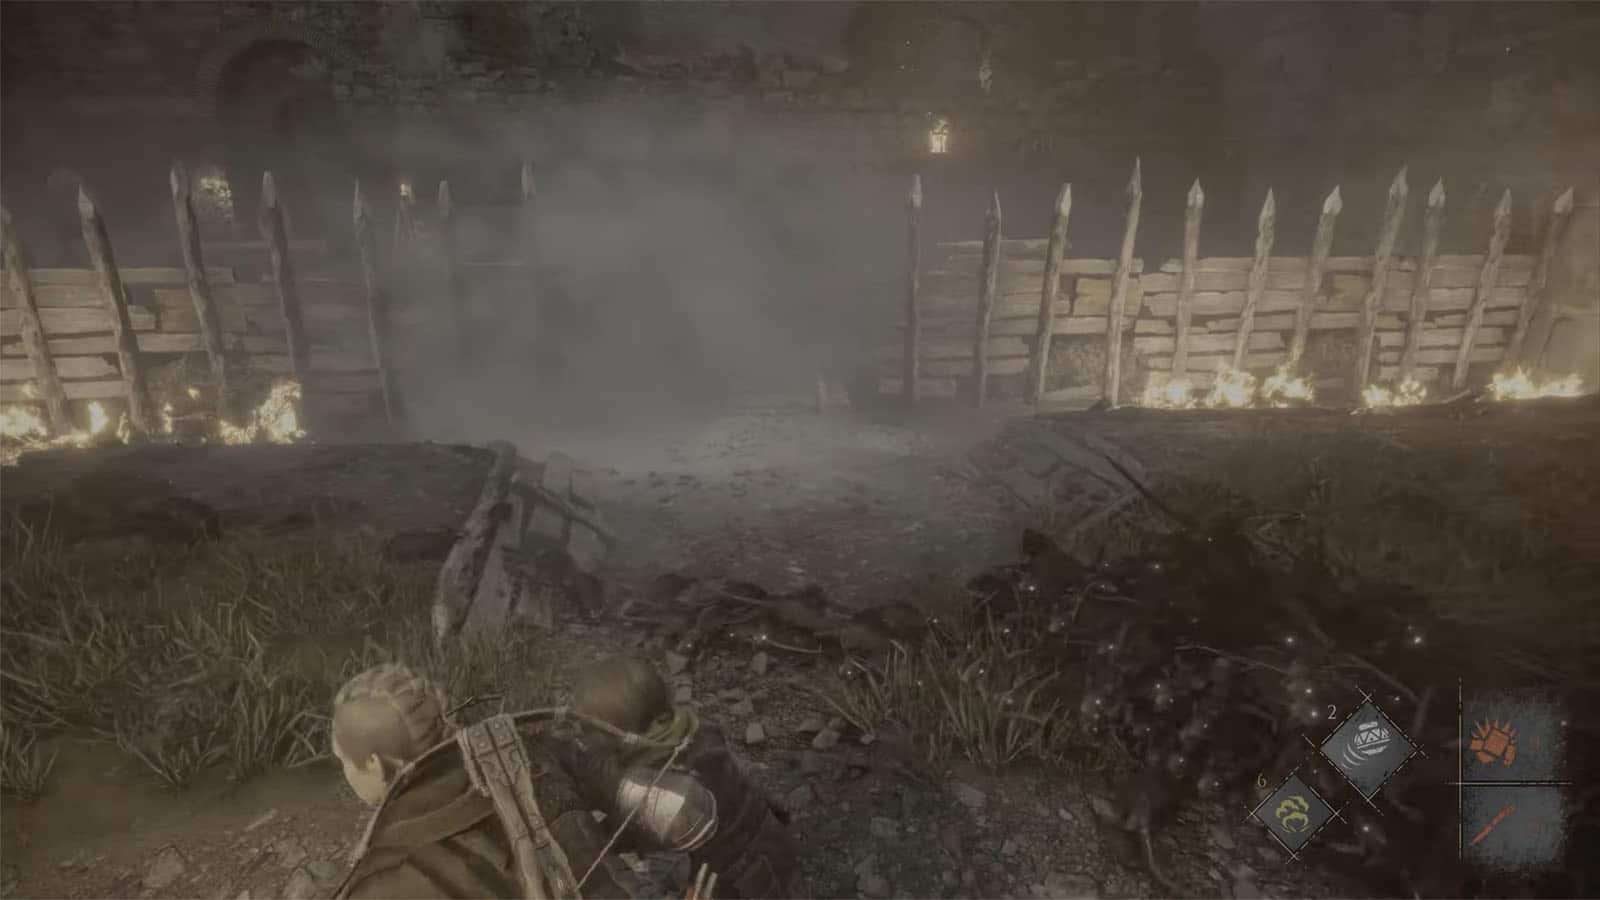
Light up the next brazier and go to it. A building on the right has a chest inside. Use odoris to lure the rats away from the chest. Afterwards, head back out and go to the next brazier. Throw an exstinguis pot towards the flame wall to create an opening, then grab a stick and light it up to be able to cross safely.
Go up the stairs and then take the prompt to look at the inner courtyard.
Reach the Inner Courtyard
While on top of the platform, you can go to the left where you’ll find a chest and a bombardier that you can eliminate. Towards the left path are guards. You can use Hugo to command the rats below to eliminate all the guards in the area and make it safer; use exstinguis on the guards’ torches if needed.
Hug the path to the right and use Sophia to cross to the next building. In dark buildings, use odoris instead. Do this until you reach the top of the gate where you’ll find a crank to raise the gate up. Head back down and go through the passageway past the gate.
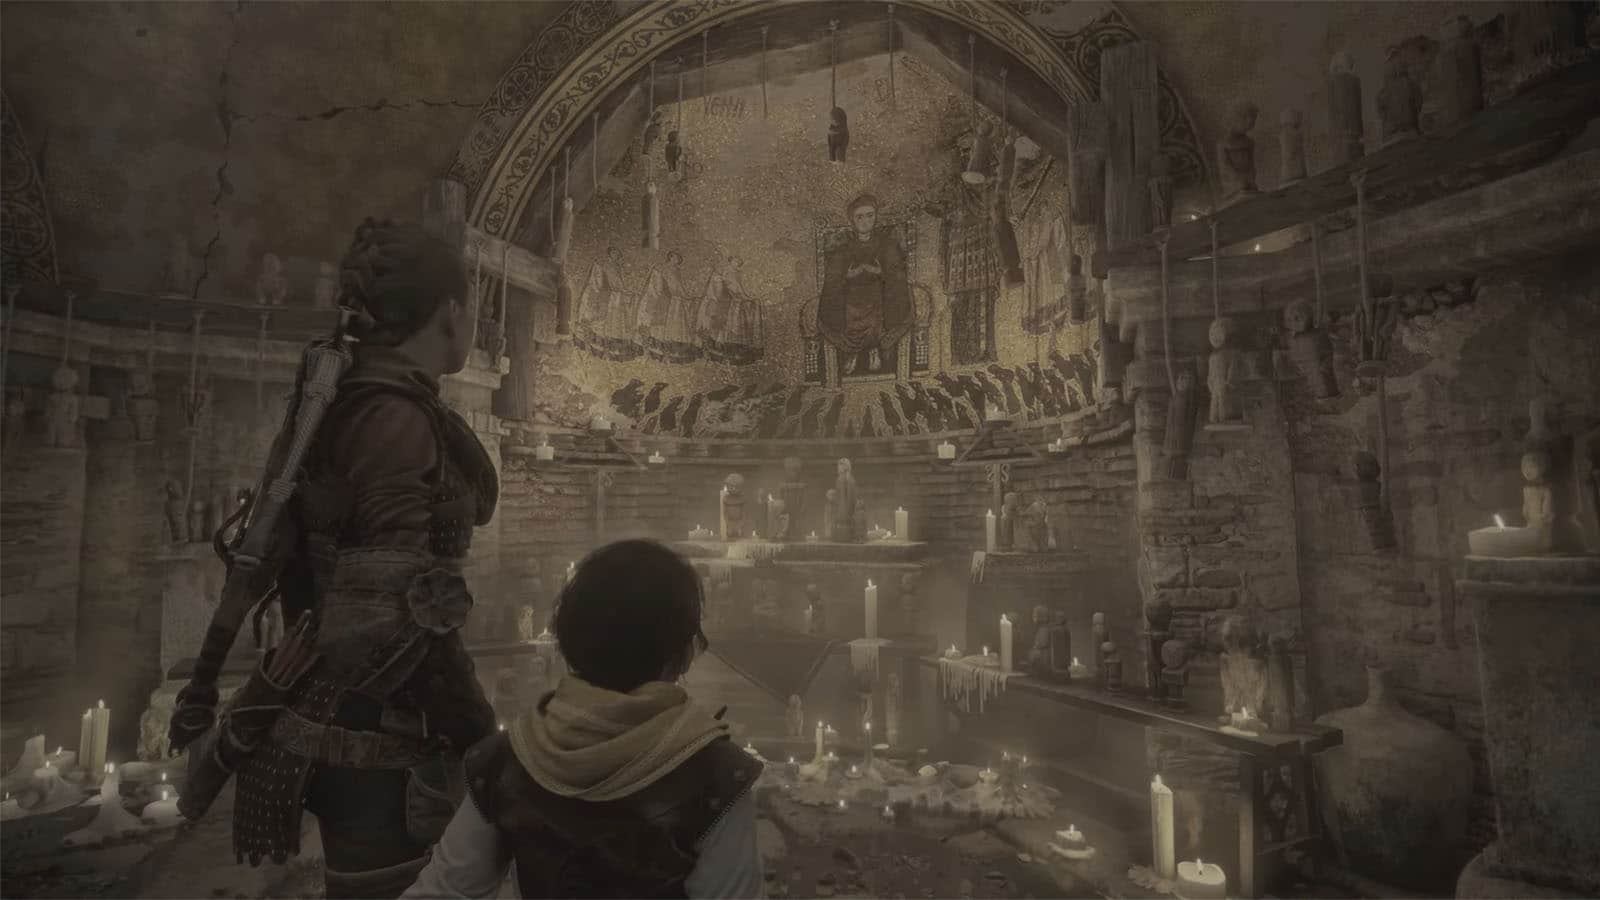
Enter the Chapel
Go inside the chapel where you’ll see more murals about the Child.
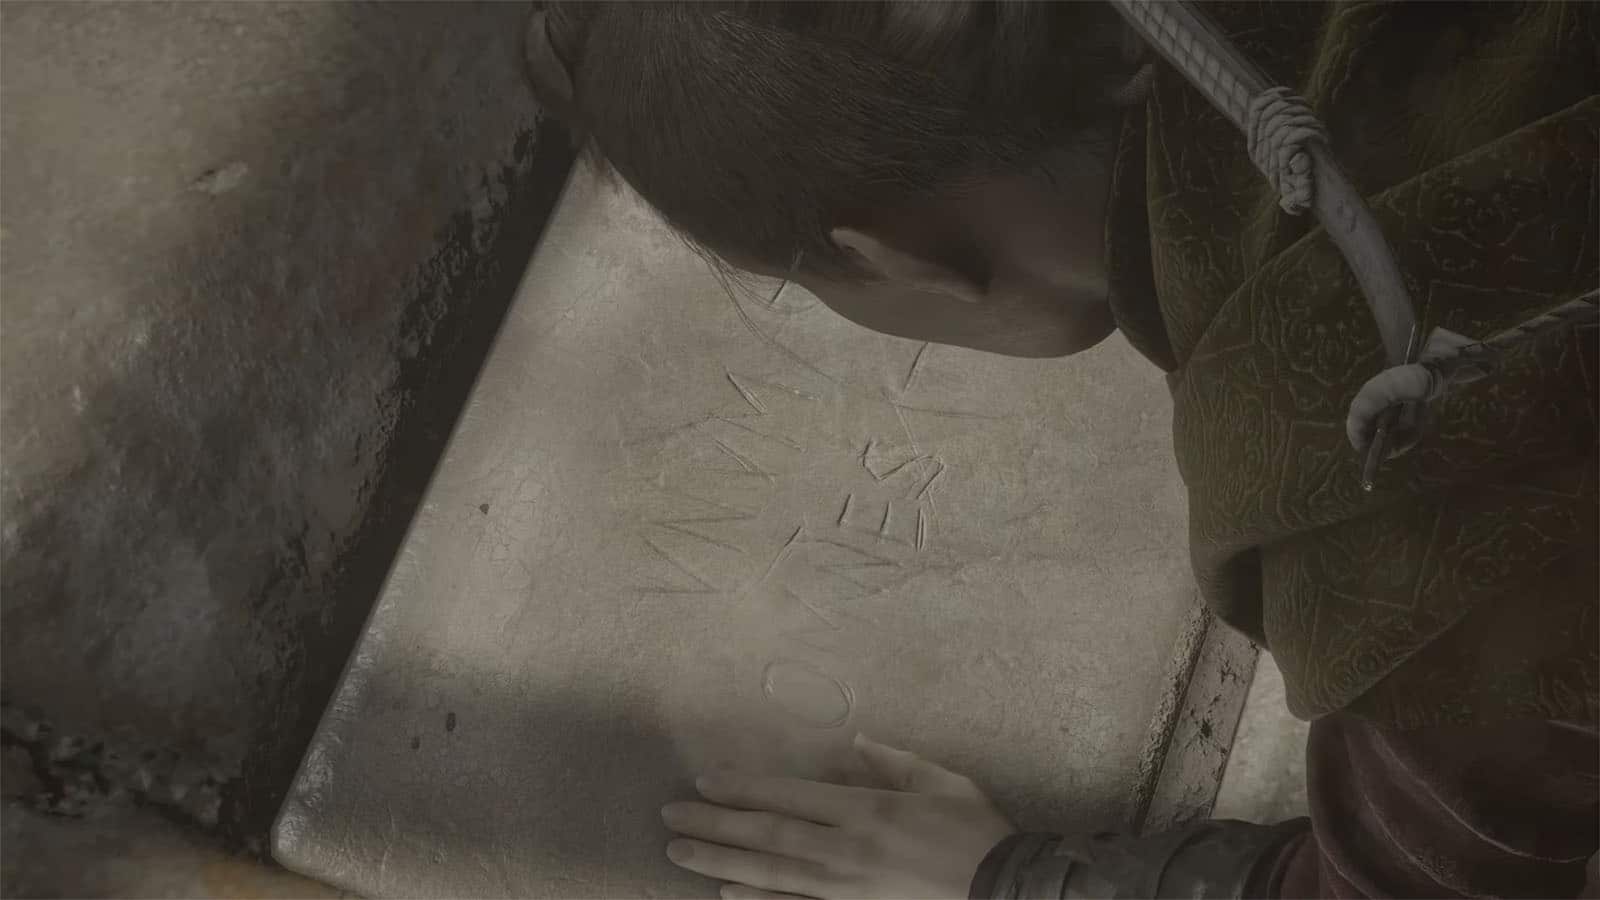
Find Aelia’s Track
Head down the stairs into the crypt. Go inside and interact with the writing on the floor. Amicia will lift the slab and see the Order’s insignia once more. Buried in the middle of it is Aelia’s ring which tells them to go back to the map that they found in the theatre ruins.

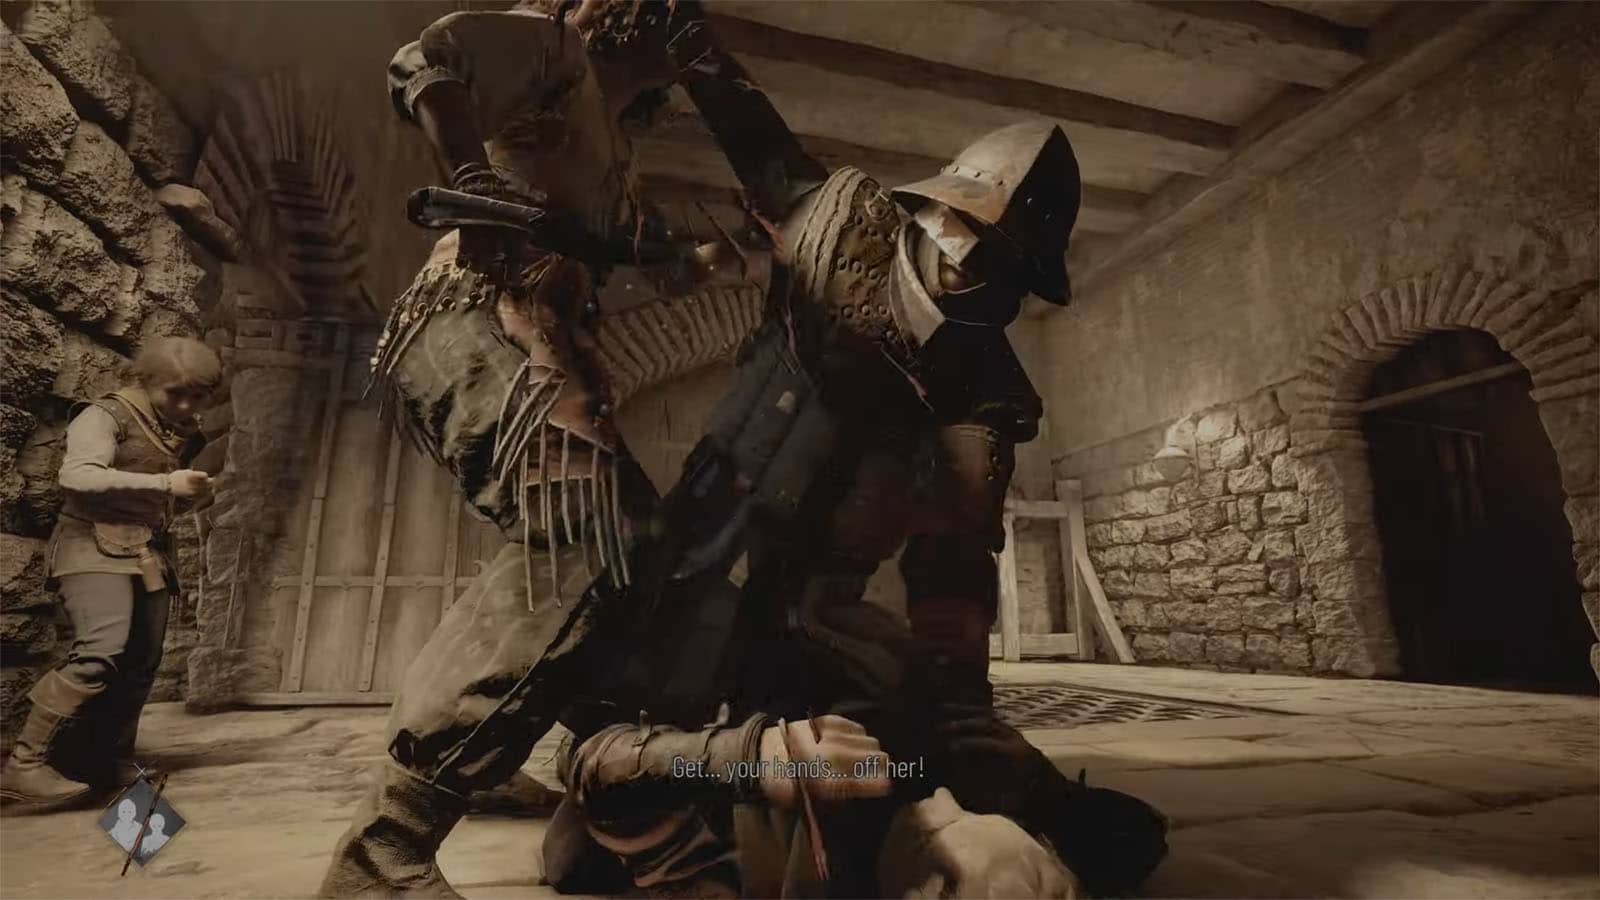
As the group heads out, Sophia gets ambushed by Milo. Amicia tries to help, but she also gets knocked down. Milo gets distracted by Hugo, then Sophia finds the chance to kill him.
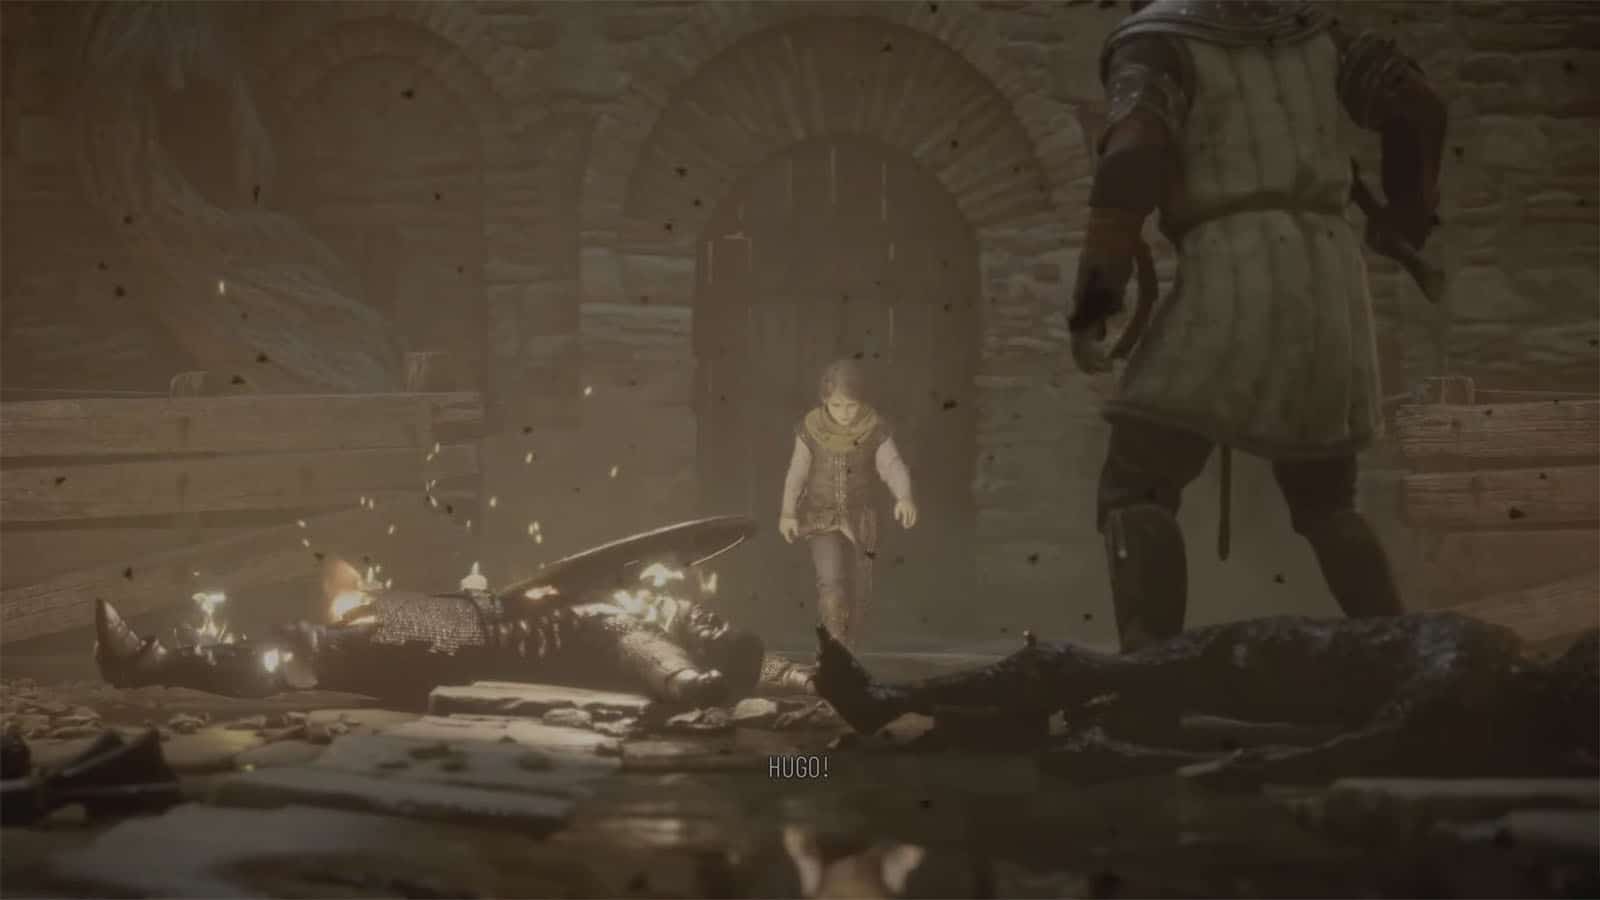
Survive the Assault
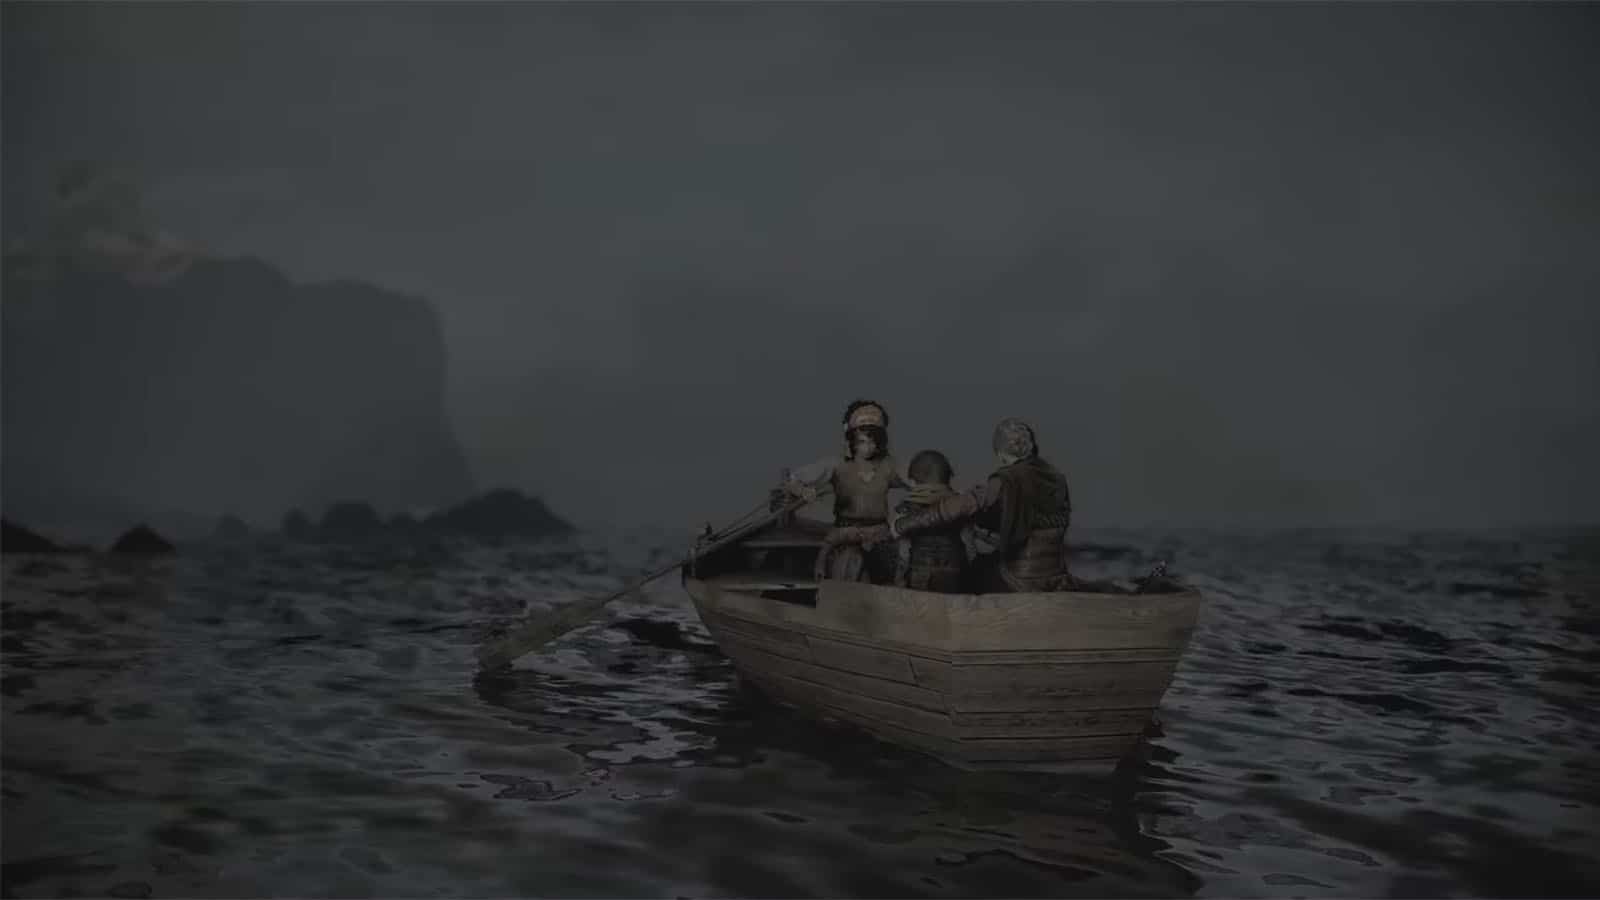
The rest of the slavers then storm into the area upon seeing their leader die. You then have to fight waves of them. During the encounter, Hugo desperately wants to help his sister, until he unleashes the rats on the slavers. The siblings managed to escape with the help of Sophia and the chapter ends as they ride a boat back into the sea.
Chapter 10 – Bloodline Trophies in A Plague Tale Requiem
Here are the trophies that can be obtained in Chapter 10:
- Bloodline – complete Chapter 10.
See next A Plague Tale Requiem Walkthrough (Chapter 11: The Cradle of Centuries)
If you like this guide, be sure to check out our other A Plague Tale: Requiem articles:
- A Plague Tale Requiem Walkthrough Chapter 1: Under A New Sun
- A Plague Tale Requiem Walkthrough Chapter 2: Newcomers
- A Plague Tale Requiem Walkthrough Chapter 3: A Burden of Blood
- A Plague Tale Requiem Walkthrough Chapter 4: Protector’s Duty
- A Plague Tale Requiem Walkthrough Chapter 5: In Our Wake
- A Plague Tale Requiem Walkthrough Chapter 6: Leaving All Behind
- A Plague Tale Requiem Walkthrough Chapter 7: Felons
- A Plague Tale Requiem Walkthrough Chapter 8: A Sea of Promises
- A Plague Tale Requiem Walkthrough Chapter 9: Tales and Revelations
- How to get A Plague Tale Requiem Bracer Secret Armor
- A Plague Tale Requiem Trophy Guide & How To Get Platinum
- A Plague Tale Requiem Considered Book Closed According to Developers
- A Plague Tale Requiem – All Hugo’s Herbarium Locations
- A Plague Tale Requiem – Chapter 2 Collectibles Locations
- A Plague Tale Requiem – Chapter 6 Collectibles Locations
- A Plague Tale Requiem – Chapter 8 Collectibles Locations
- A Plague Tale Requiem – Chapter 9 Collectibles Locations
- A Plague Tale Requiem – Chapter 10 Collectibles Locations
- A Plague Tale Requiem – Chapter 13 Collectibles Locations
Also check out this gameplay video by NeatPick for for A Plague Tale: Requiem Chapter 10 – Bloodline [100% Hard] [No Commentary]:


