
Protector’s Duty is the fourth chapter in A Plague Tale: Requiem that follows the journey of Amicia and Lucas heading towards the docks to meet up with the Order’s boat and secure their ride away from Provence. However, under the Beast’s command, the guards have imposed a strict curfew to the citizens, with the underlying intent of purging the city using the Bite.
In this guide, we will go through the walkthrough of chapter 4: Protector’s Duty, of A Plague Tale Requiem, showing some tips, tricks, or solutions on how to complete the chapter.
See previous A Plague Tale Requiem Walkthrough Chapter 3: A Burden of Blood
A Plague Tale Requiem: Protector’s Duty follows the events where Hugo’s condition hasn’t improved for days despite being under the care of Magister Vaudin. With this, Amicia and Lucas are sent to the harbor to meet up with the boatman who will take them over to Marseille.
Chapter 4 Objectives:
- Curfew
- Reach the Docks
- Night Work
- Find the Order’s Boat
- Reach the Order’s Boat
- Risky Itinerary
- Reach the Order’s Boat
- The Tar Workshop
- Reach the Order’s Boat
- Craft Tar
- Get Back to Lucas
- Obligatory Cooperation
- Cooperate with the Soldier to Cross the Dock
- Reach the Order’s Boat
- The Mass Grave of the Marshes
- Get to Joseph at the Pontoon
- Hugo’s Call
- Run from the Rats
- Reach the River
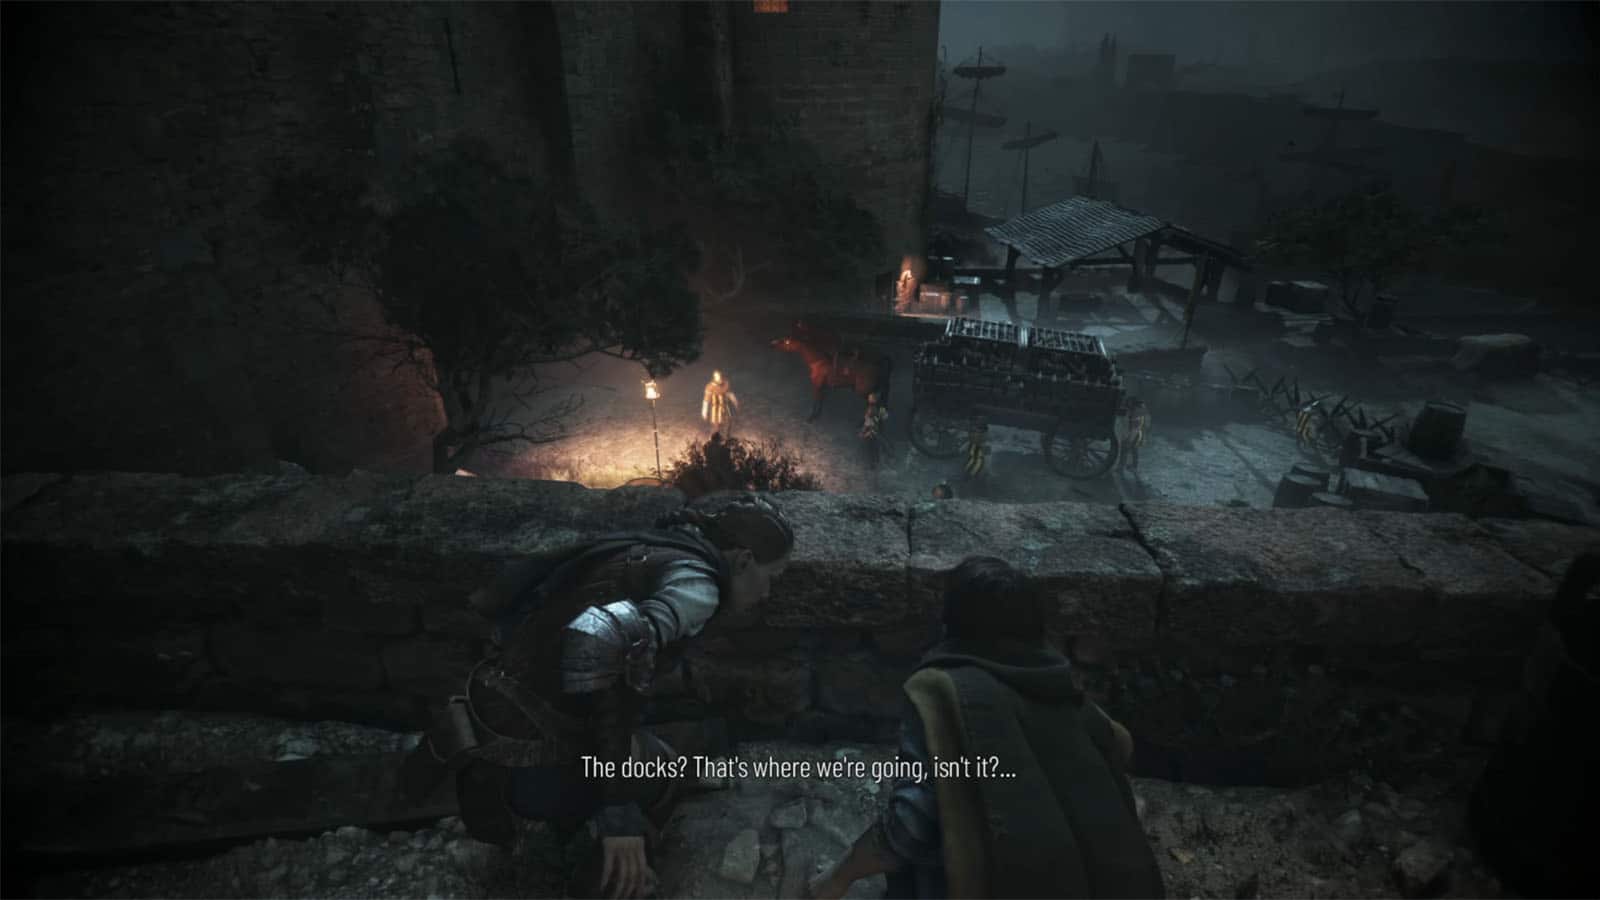
Reach the docks
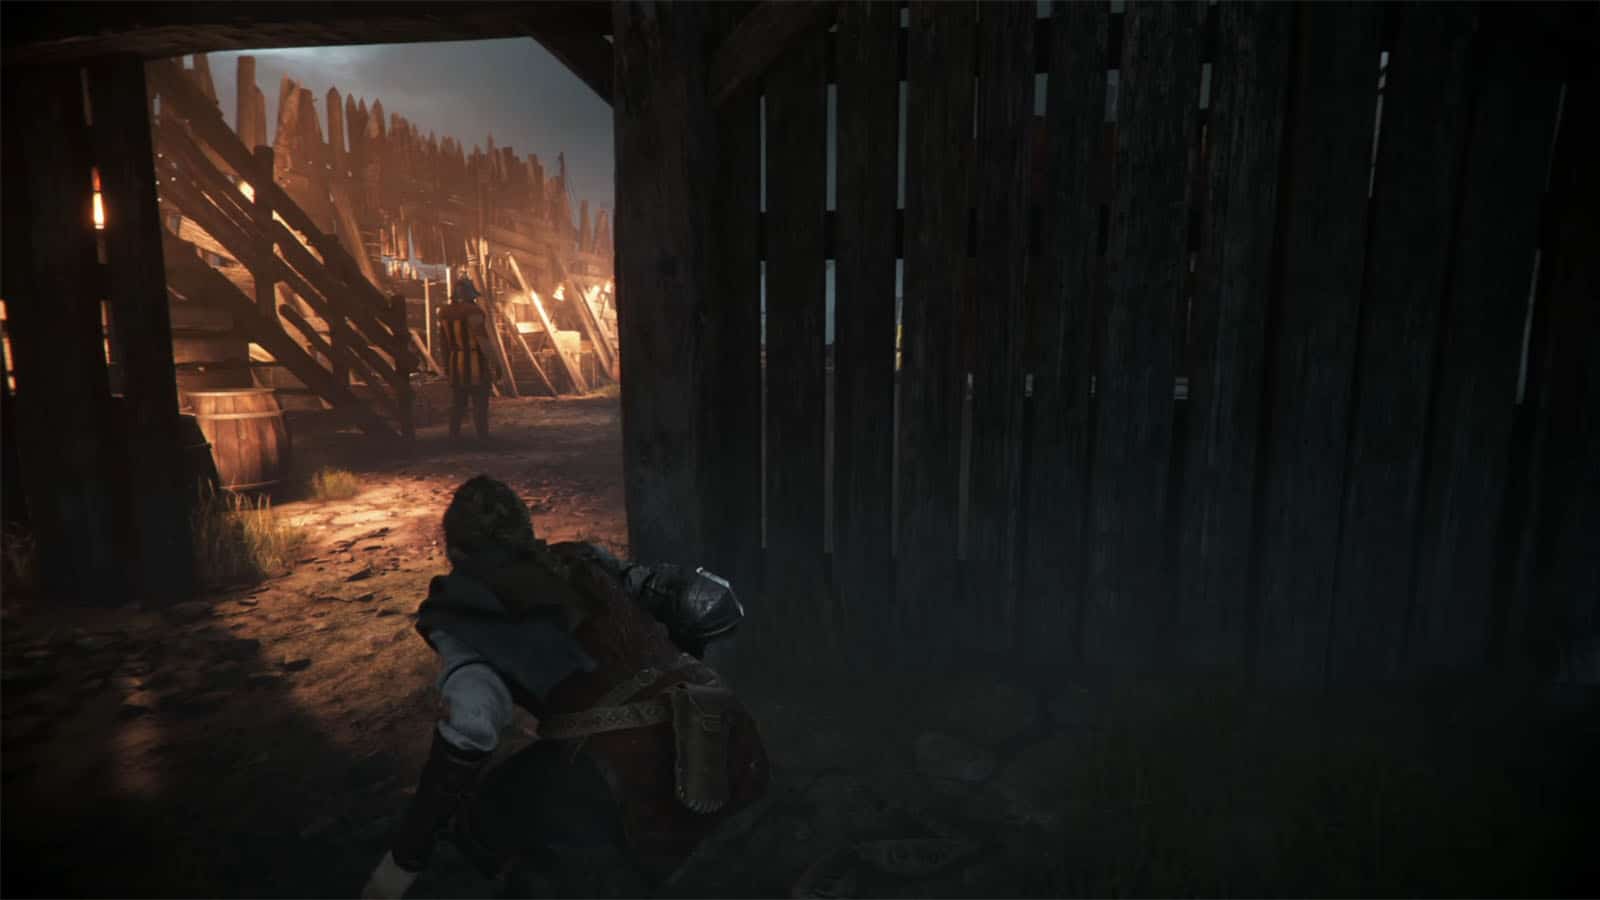
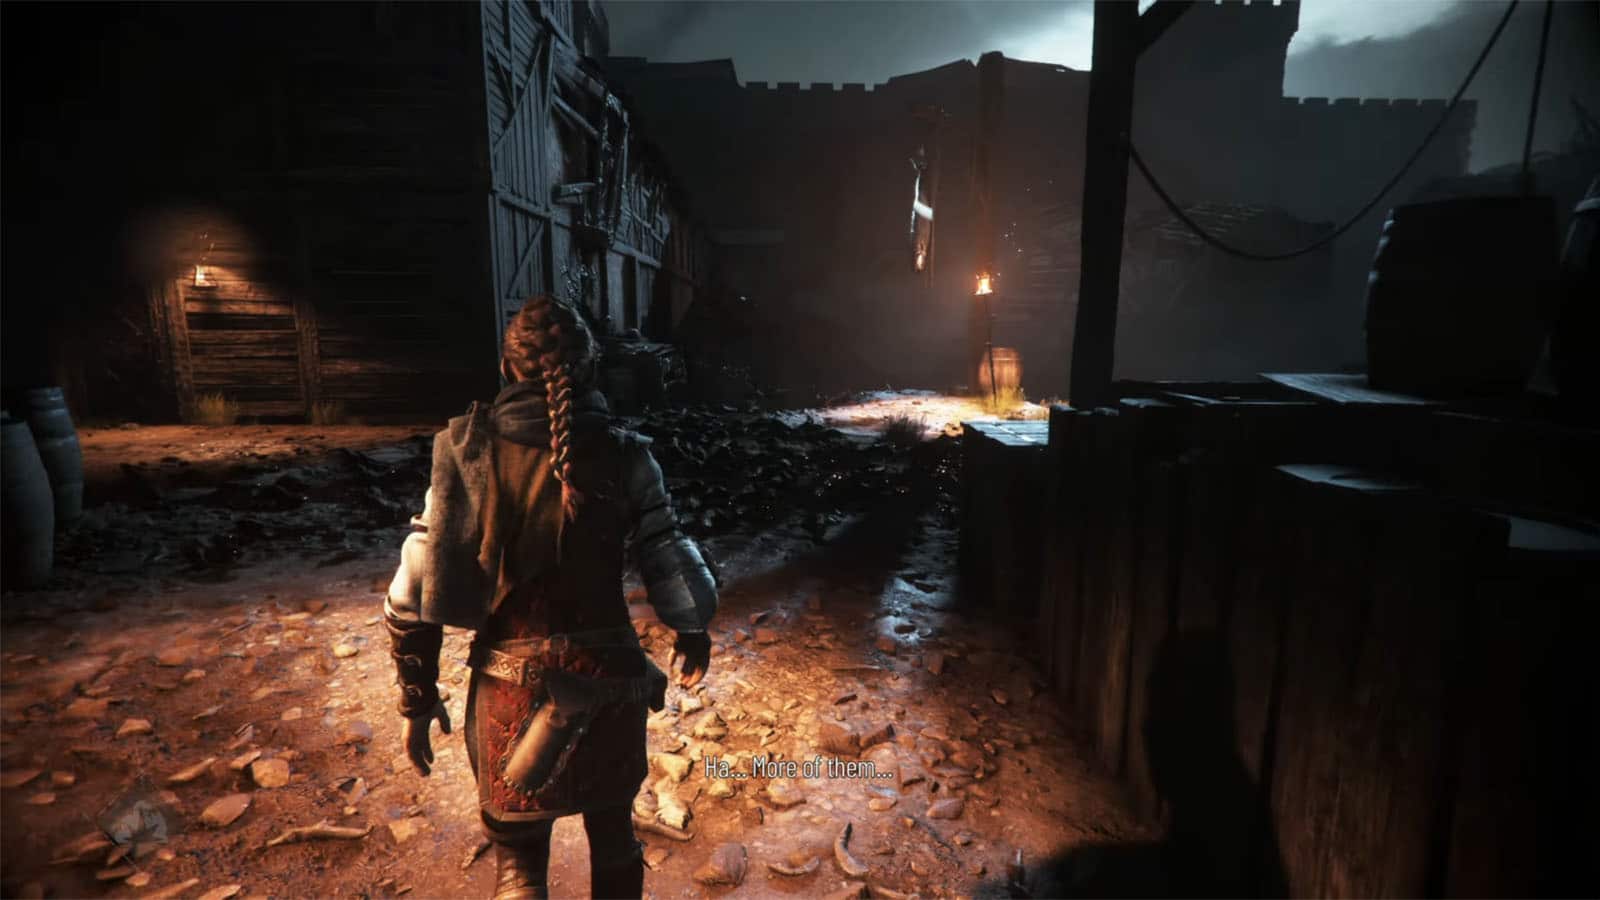
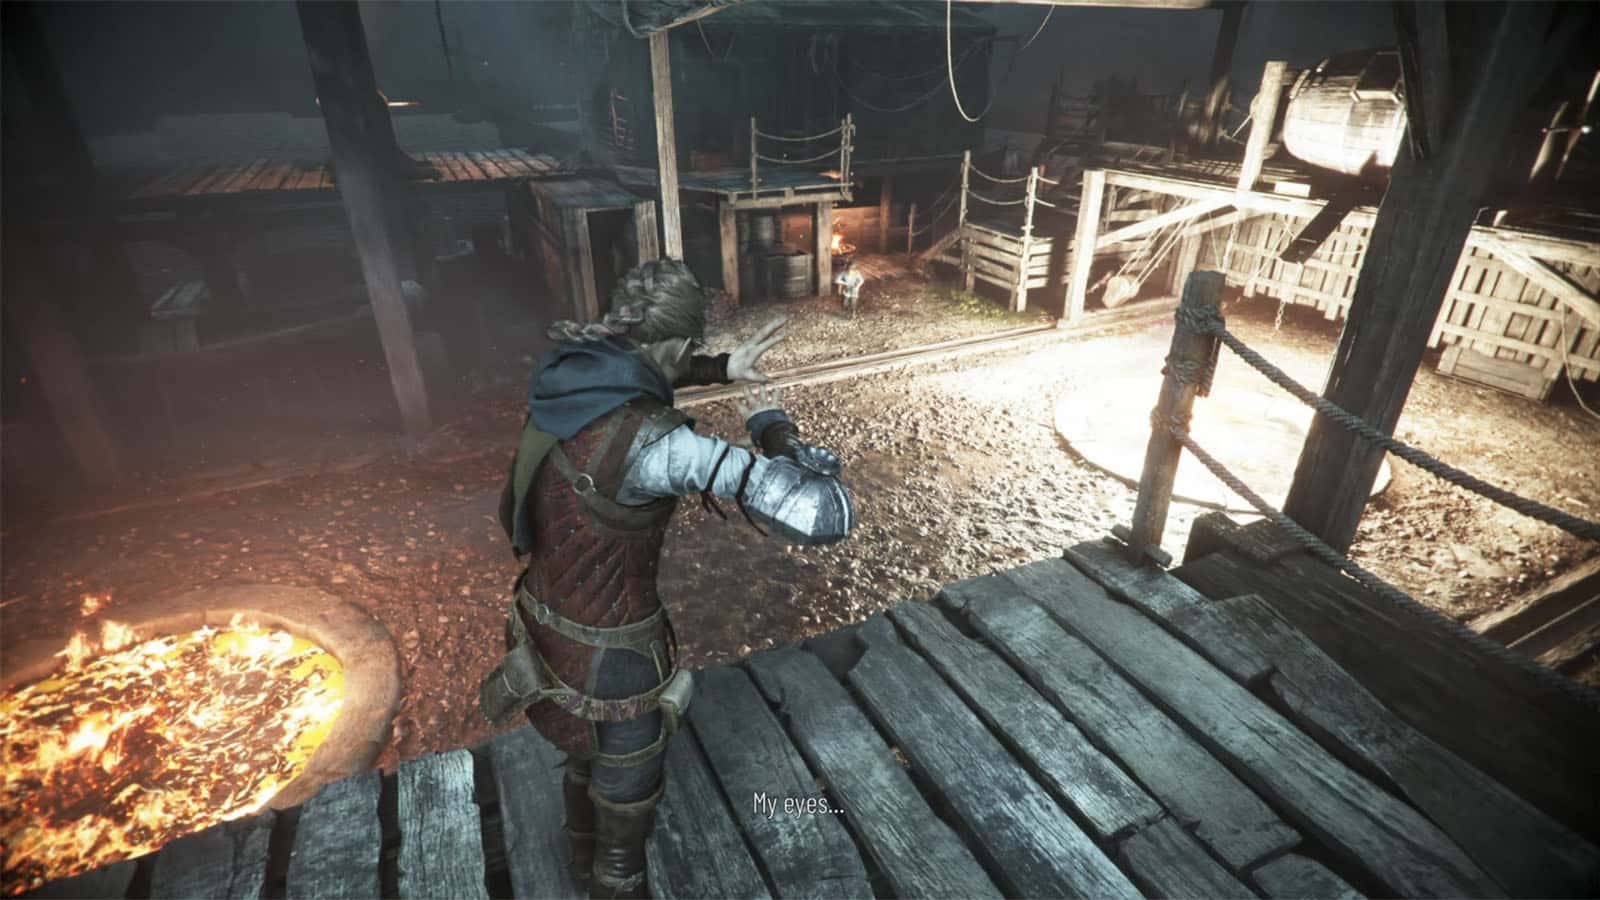
As Amicia and Lucas head out into the city at night, they encounter citizens who are being sent back to their houses as the royal guards have imposed a city lockdown. In order not to get in trouble, the two sneak away into the backstreets once more.

Find the Order’s boat
Continue moving towards the harbor where you will spot the Order’s boat.
Reach the Order’s boat
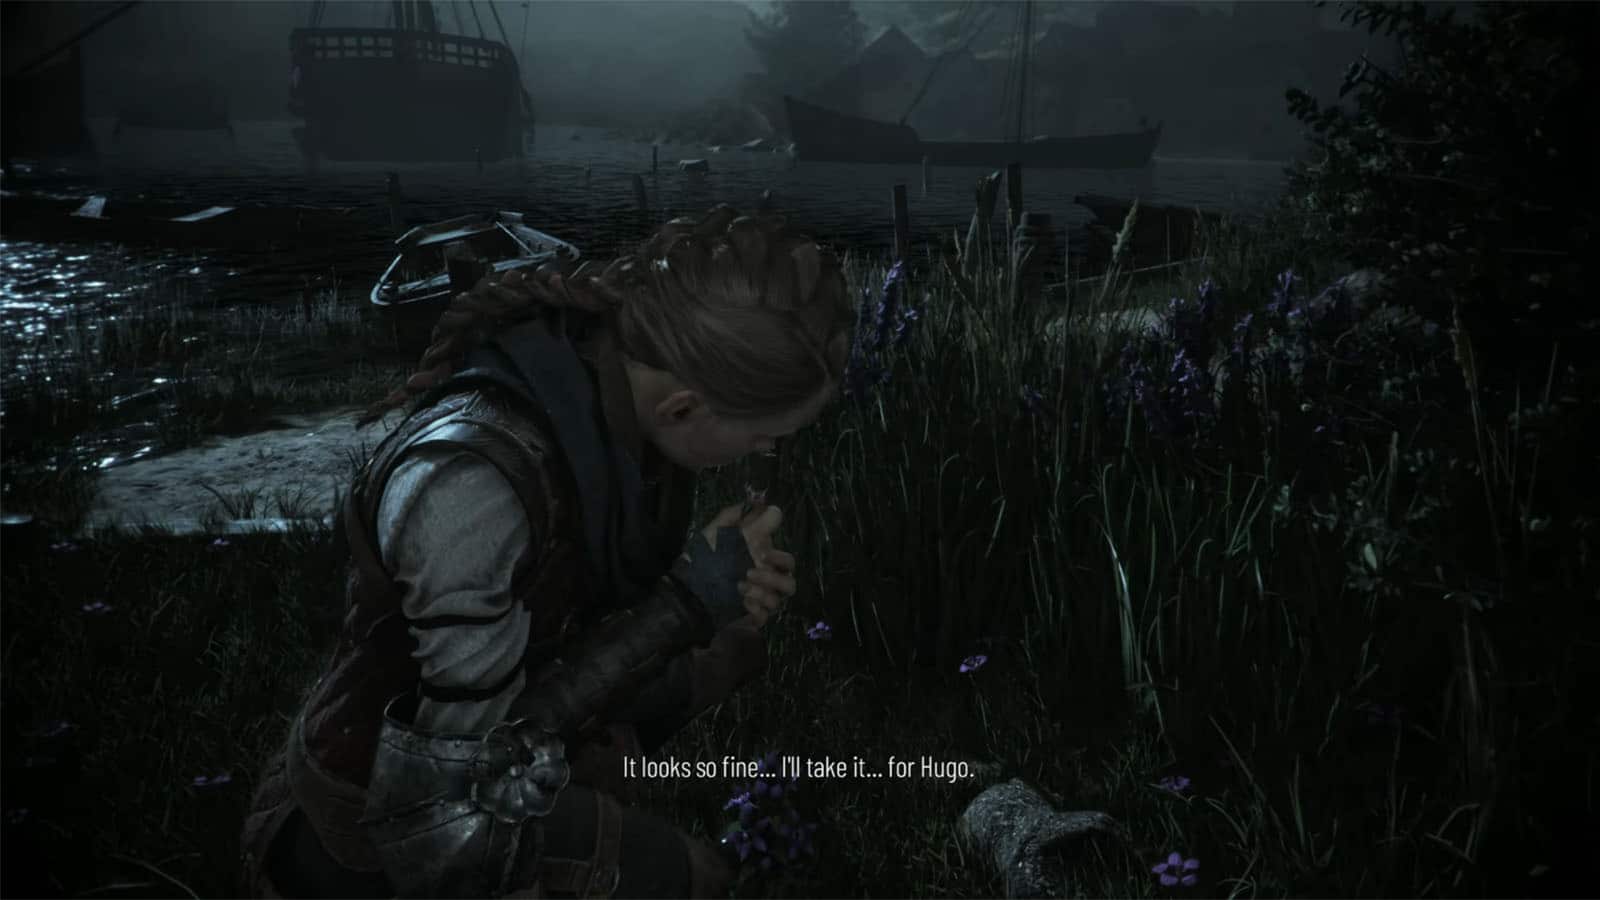
As you make it to the docks, head to the path on the right first to grab the Gentian herbarium collectible. Then, follow the path to the left and check out the chest for materials. Squeeze through the gap and then follow the ladder upwards.
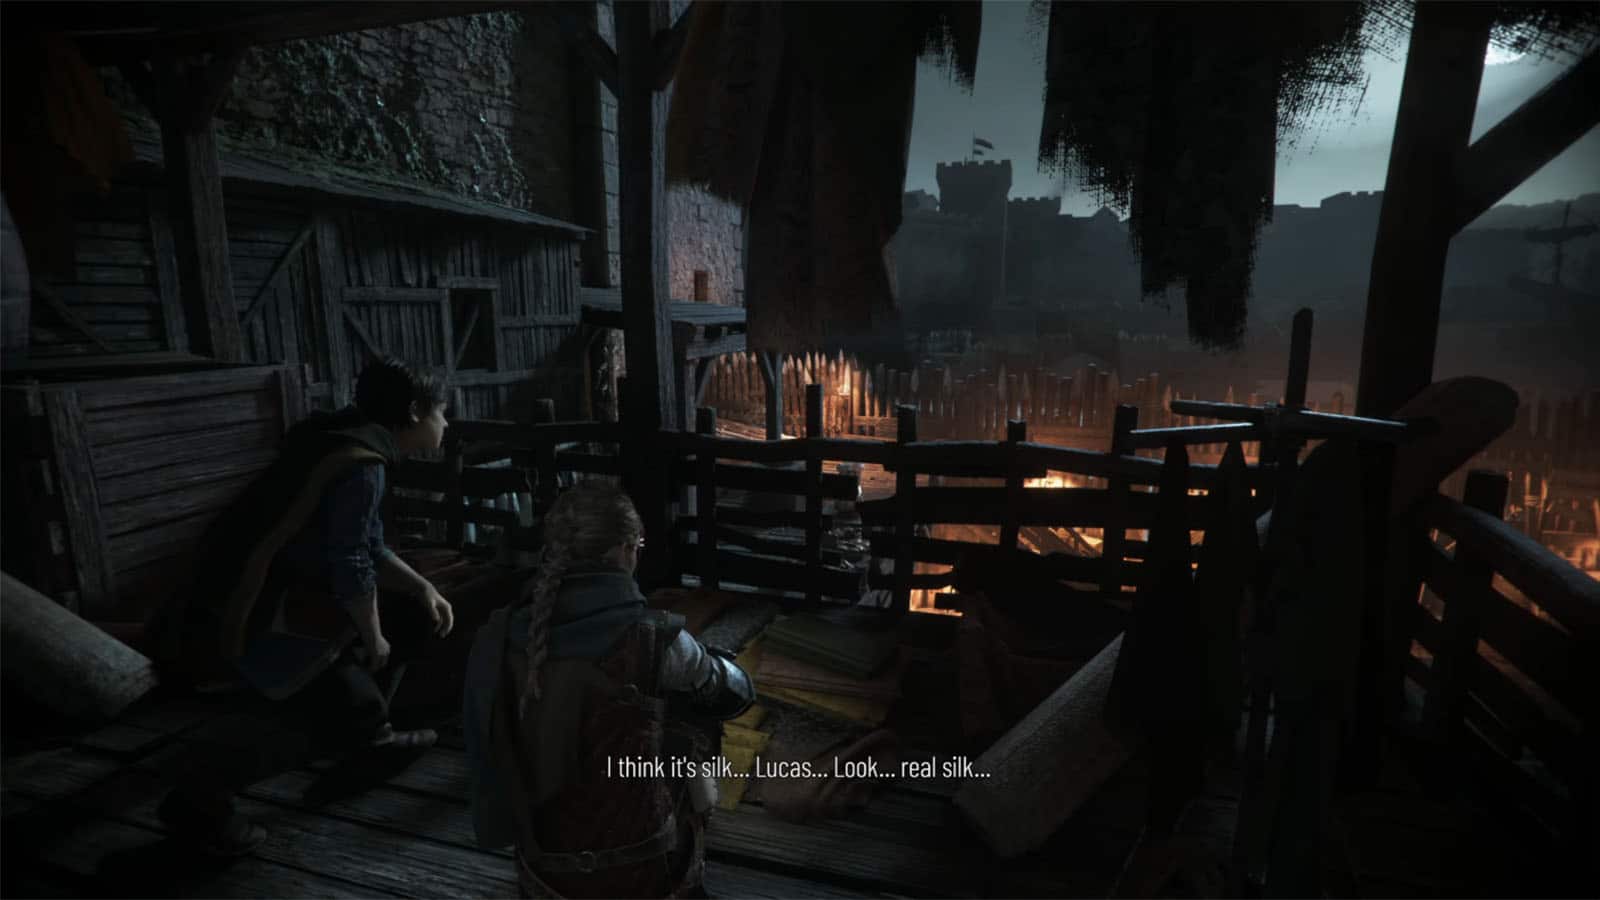
You would want to stay close to the left side where you’ll see a chest near the barrels, then move forward. Head inside the shed and to the right is a very dark hole that you can fit into. Head inside and move the cart to the ledge to be able to climb it. Above is where you will find the Silk treasure souvenir.
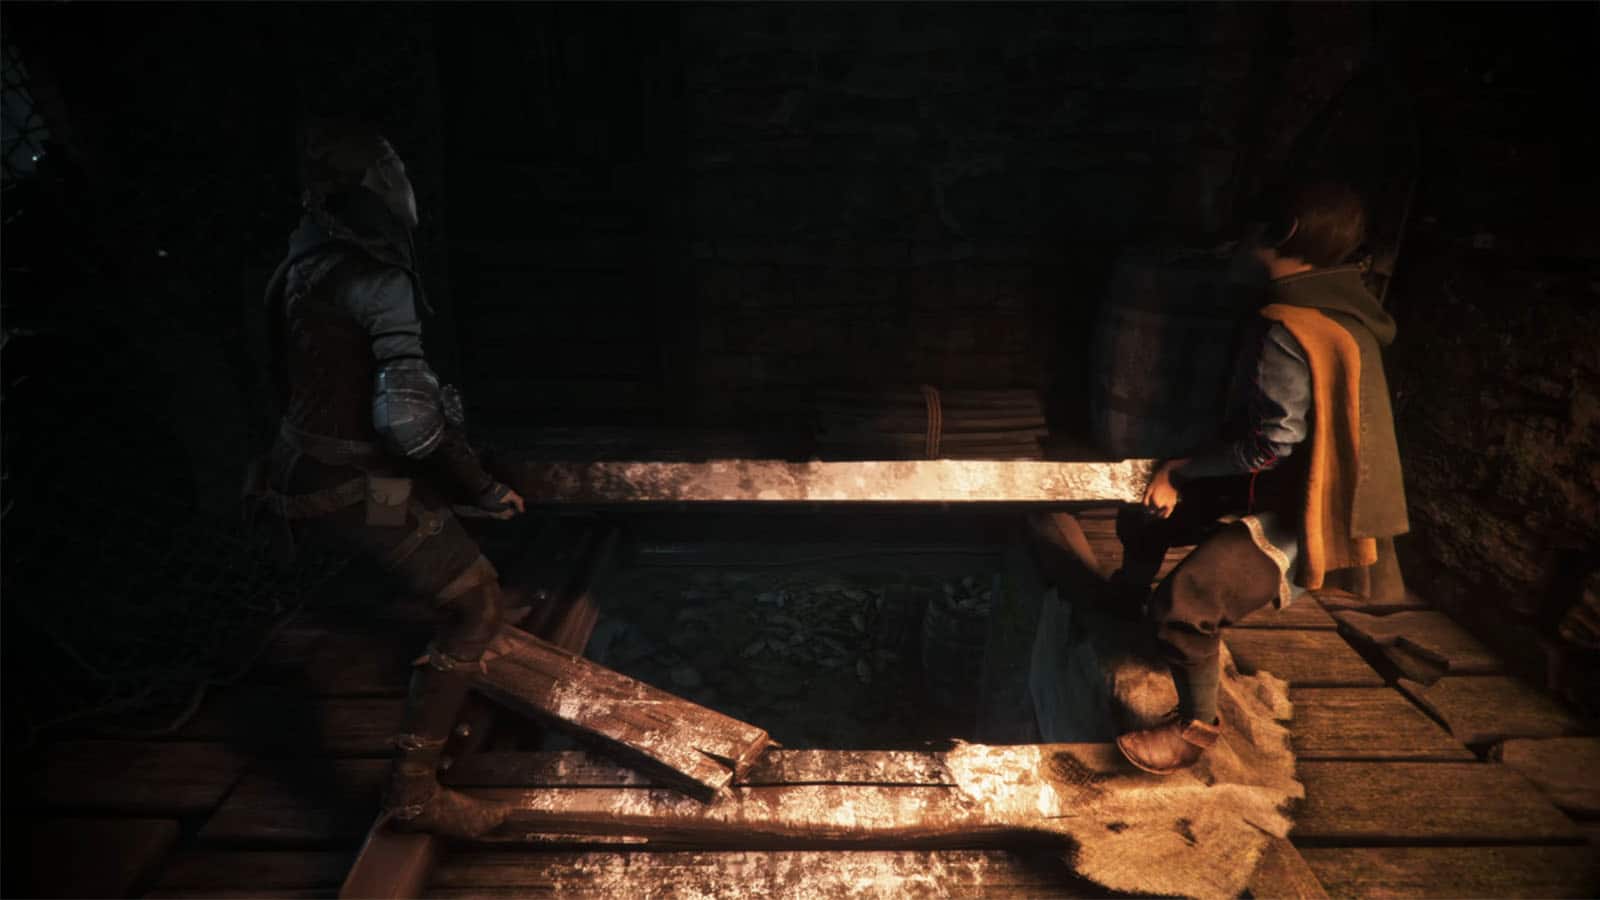
Head back out the hole, open the trap door across, and then jump down.
You’ll then arrive at another location where there are crates and other hiding places in the middle. There will be two guards nearby. There is also a knife by the drying racks in the middle that will be useful soon. You can use the two tool chests, one for each of them, to distract them and create an opening for you to sneak by.
Staying inside the shed near the standing guard will be useful when timing the distraction. You can also just use stupefacio when both guards are nearby, then quickly head up the stairs and through the gap.
You’ll then arrive at another open area. Head towards the guards under the fire lamp and a short cutscene will play showing guards preparing to do a counter attack against the rats, but they get easily swarmed. Before moving forward, check out the chest beside you.
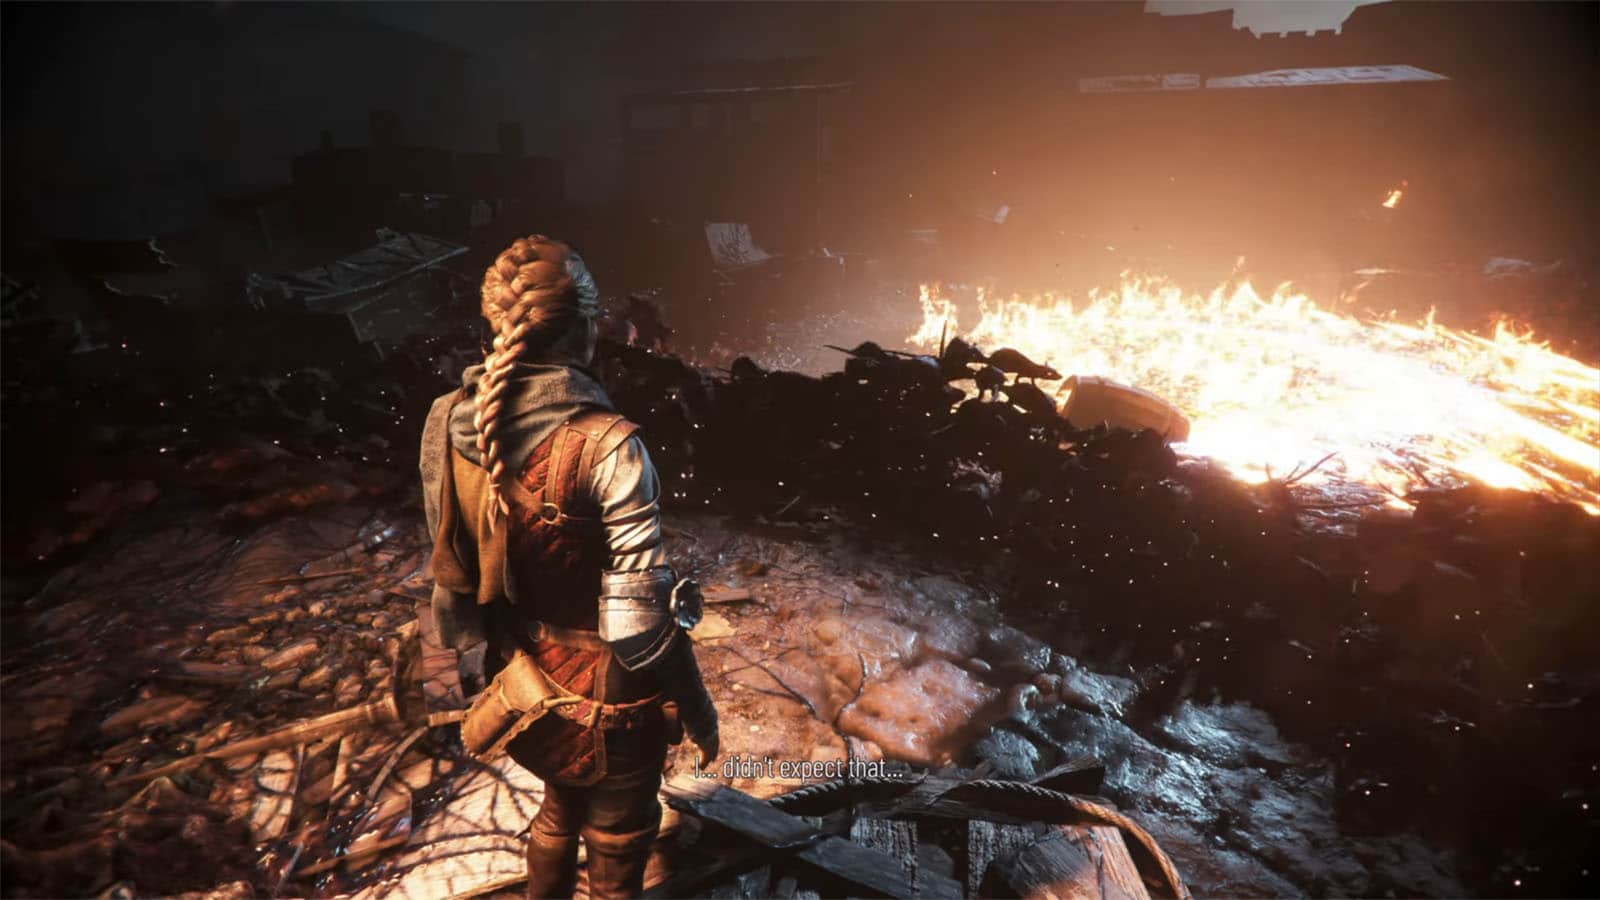
You’ll then learn how to use the tar for your advantage. Use an ignifer and throw it towards the tar spill to create a massive fire area. Follow the path around the fire to find another chest. You will also see another brazier on a cart. Light it up and use it to navigate through the rats.
First, head towards the ladder to the left where you will find a locked workbench that can be unlocked with a knife. Afterwards, head back down and go to the path to the left until the cart stops. Make sure to get the materials in the crate nearby.
Go to the next area and shoot the fish down, then shoot exstinguis on the lamp to lure the rats over. Go through the door on the left, then cross to the other side of the room across the tar spill to trigger the rats to come out. To the left, look through the bars and then shoot the chain to unlock the door in the previous room. Go through the unlocked door and check the chest.
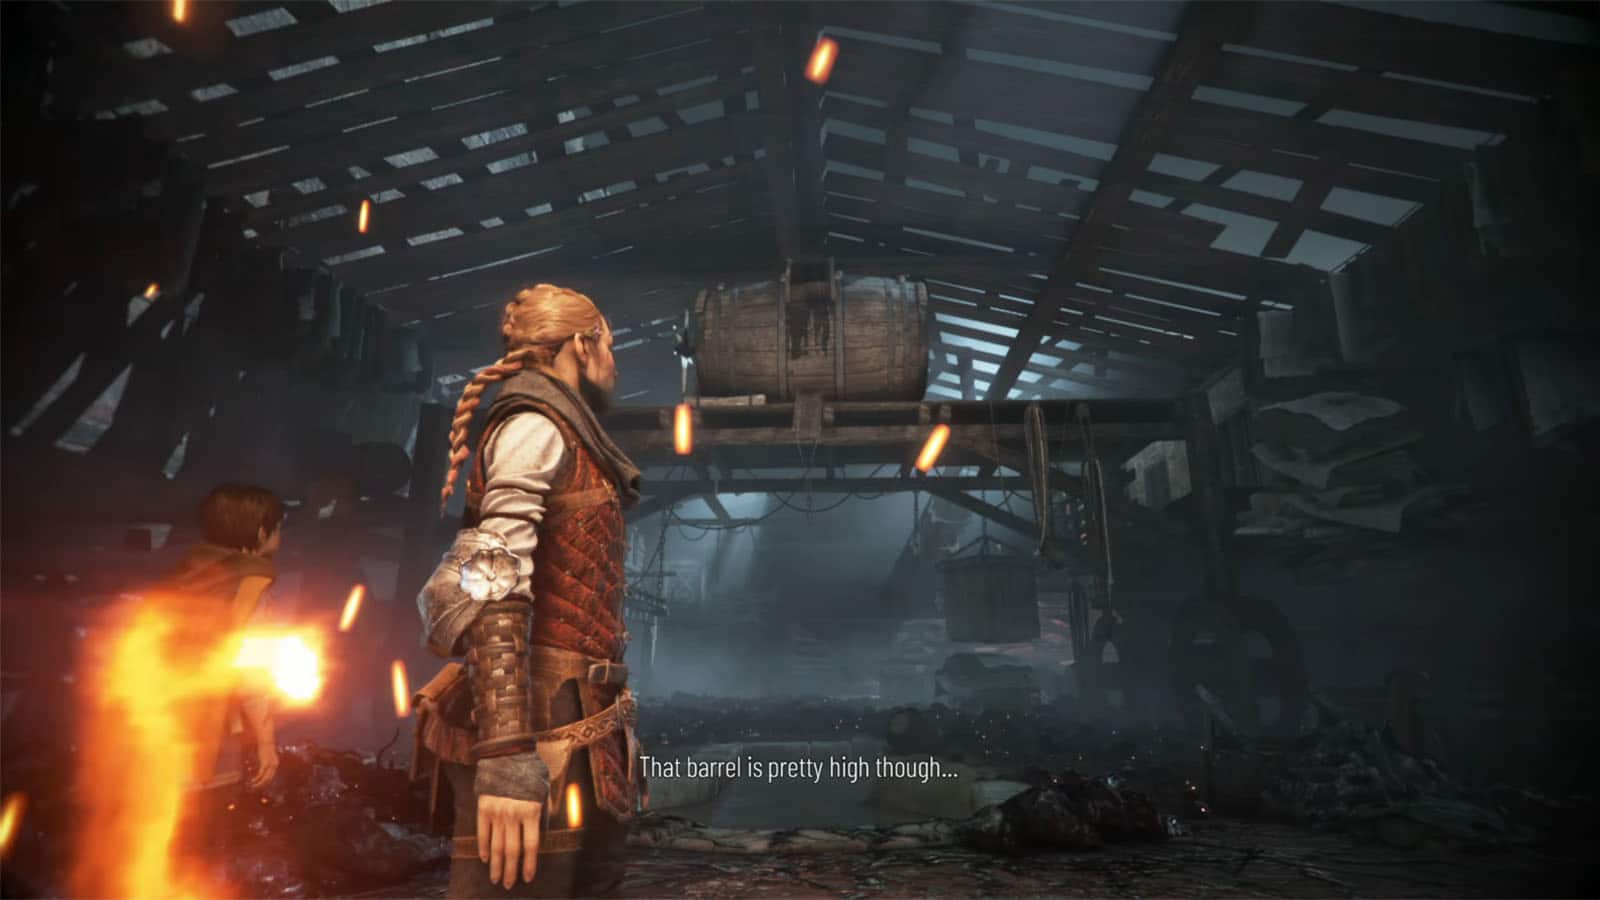
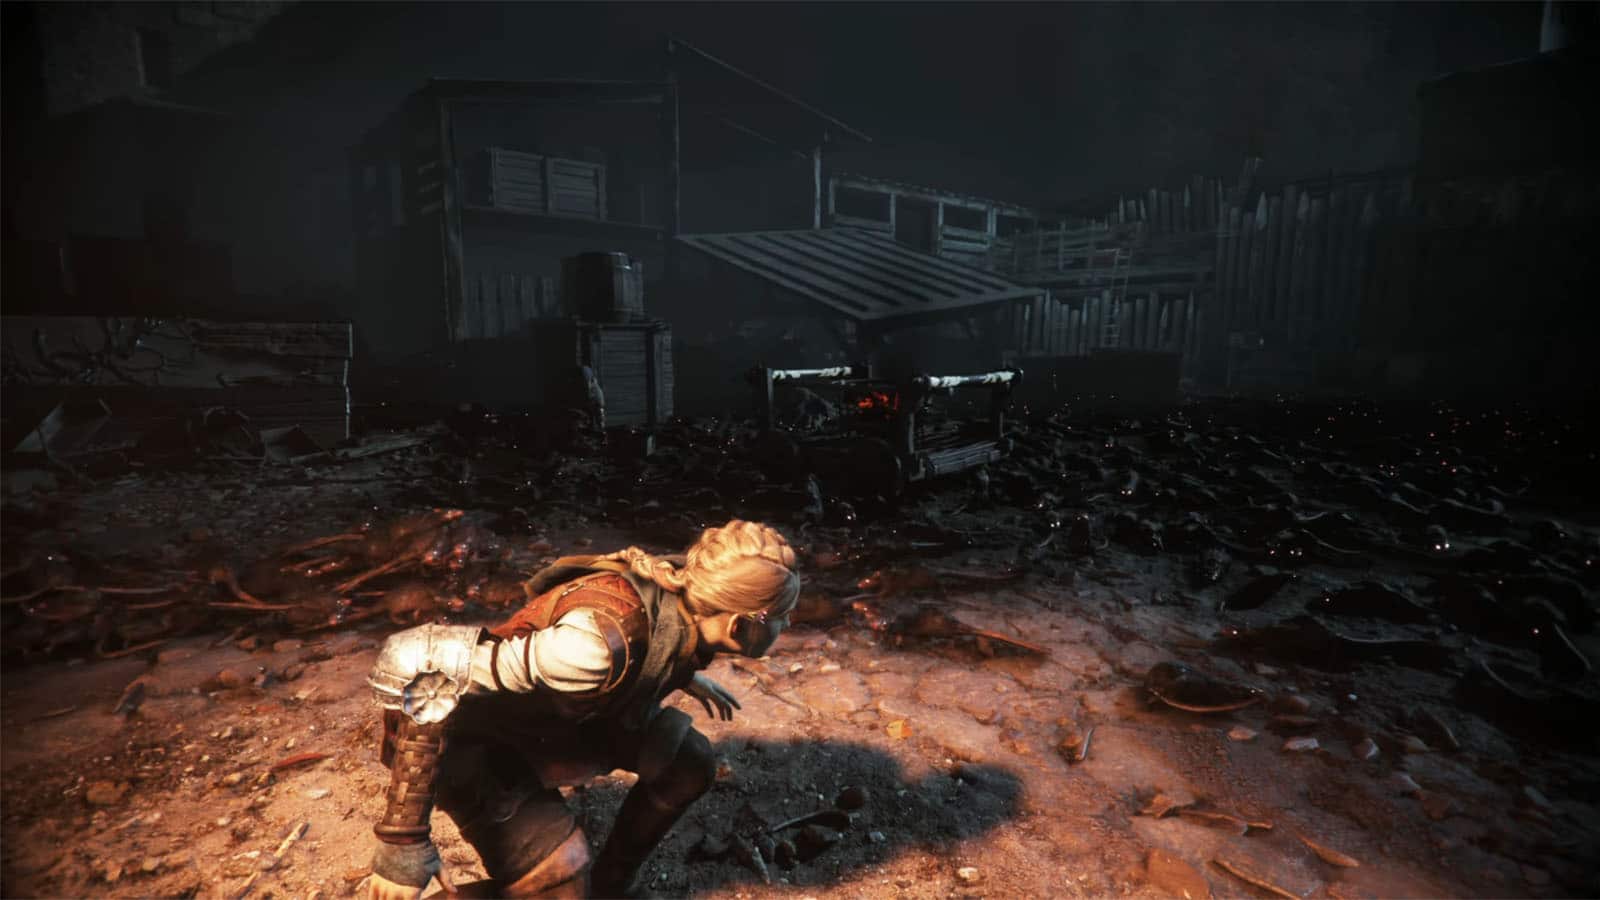
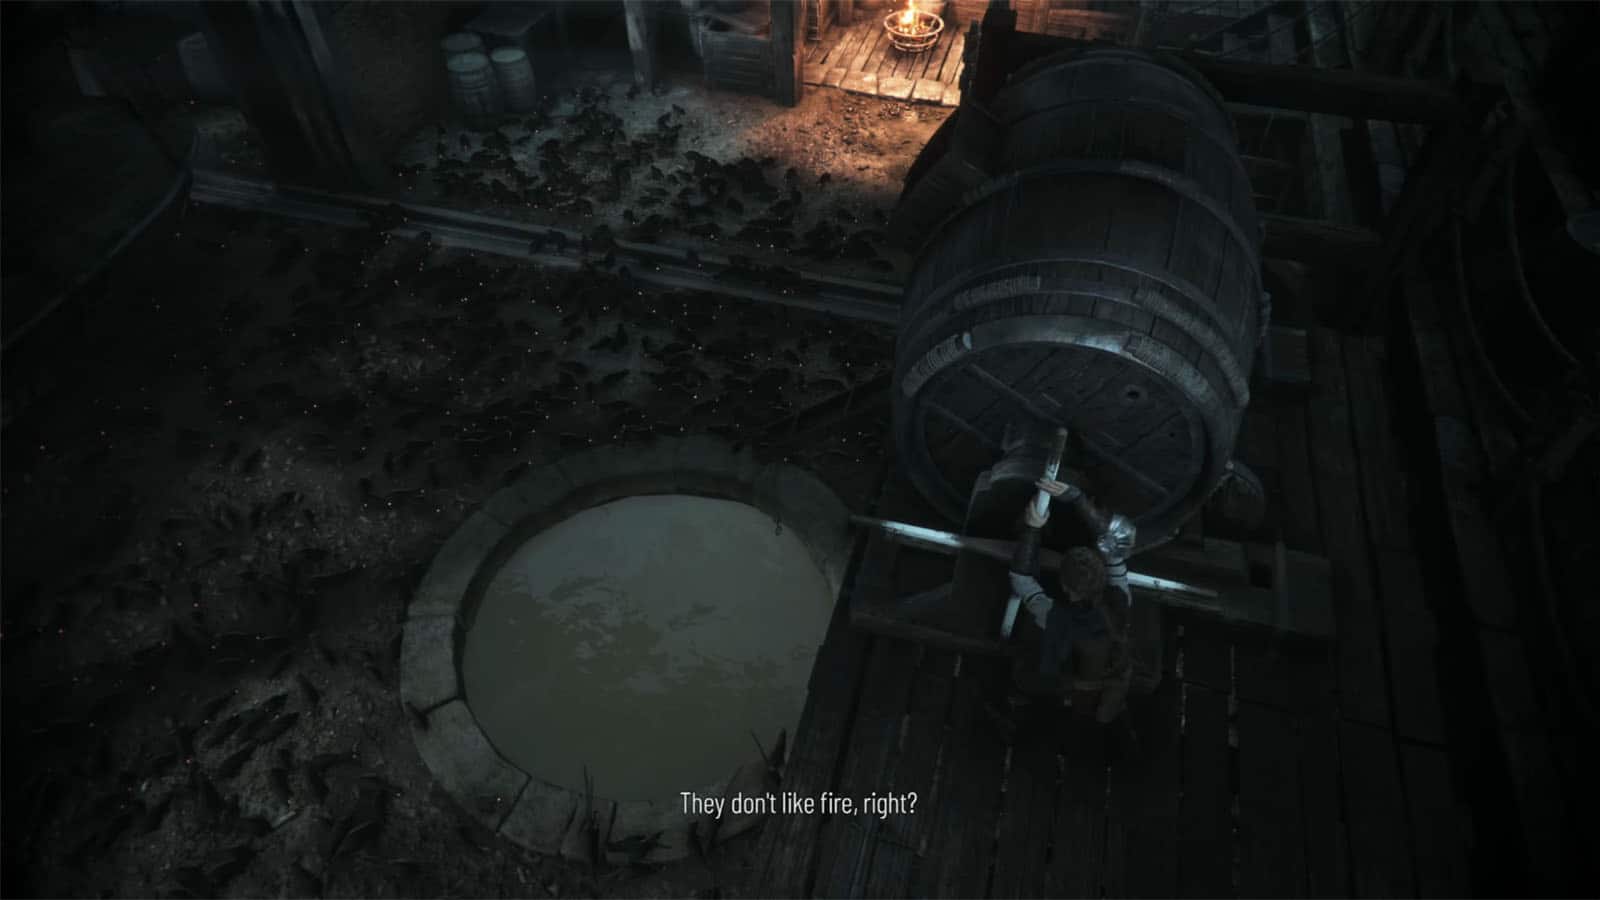
Next, have Lucas operate the crank connected to the barrel above the platform, then use the crank to move the platform to line up with the resin pool. Head back out near the pool to trigger Lucas to pour the alcohol. Then, light the pool on fire to scare the rats. Move to the next section to learn about how to create tar.
You’ll then see a small empty pool. Craft a tar pot and throw it in the empty pool, then quickly head to the next safe area. Light the next tar pool and then climb the same ladder where Lucas climbed down to reach a chest. Proceed through the next section, and once you get past the ramp, turn right to see a chain that can be shot. This unlocks a path towards the A Grain of Sand souvenir. To the left of the ramp are more upgrade pieces. Once you arrive at another section of the dock, check the chest on the left.
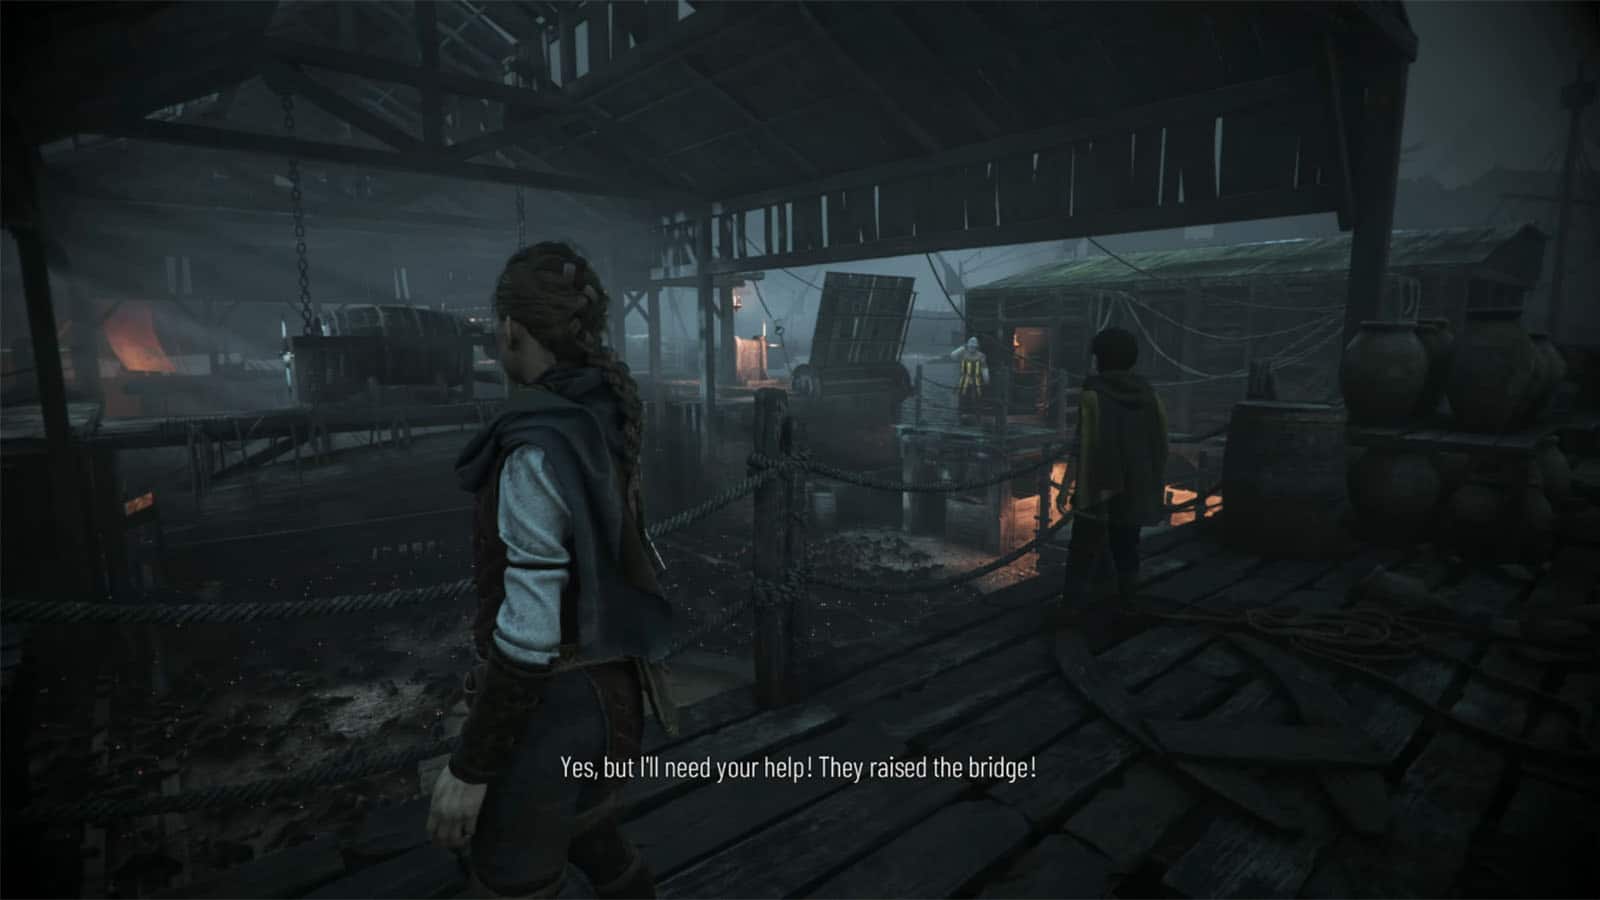
A guard will show up on the other side of the dock and will agree to help you out through the rats.
Cooperate with the soldier to cross the dock
First, you need to shoot the chain near the guard to lower the bridge and help him get to the crank that raises the ship. Once the ship is raised, the platform with the barrel will move closer. Climb up it and use the crank to pour the alcohol in the pool, then light it up.
Then, tell Lucas to move the platform forward while the guard raises the next boat. Once you’re past the boat, tell Lucas to stop, then pour the next batch on to the pool and light it up. For the final pool, head to the next crank to lift the second boat, then tell Lucas to move the platform forward. Head back to the barrel, dump the alcohol, then light up the last pool.
Head back up to where Lucas is and craft a tar pot. Throw it into the pool to create a blinding blast and let Lucas go through the rats. You can then shoot the chain up holding the bridge to help the guard cross.
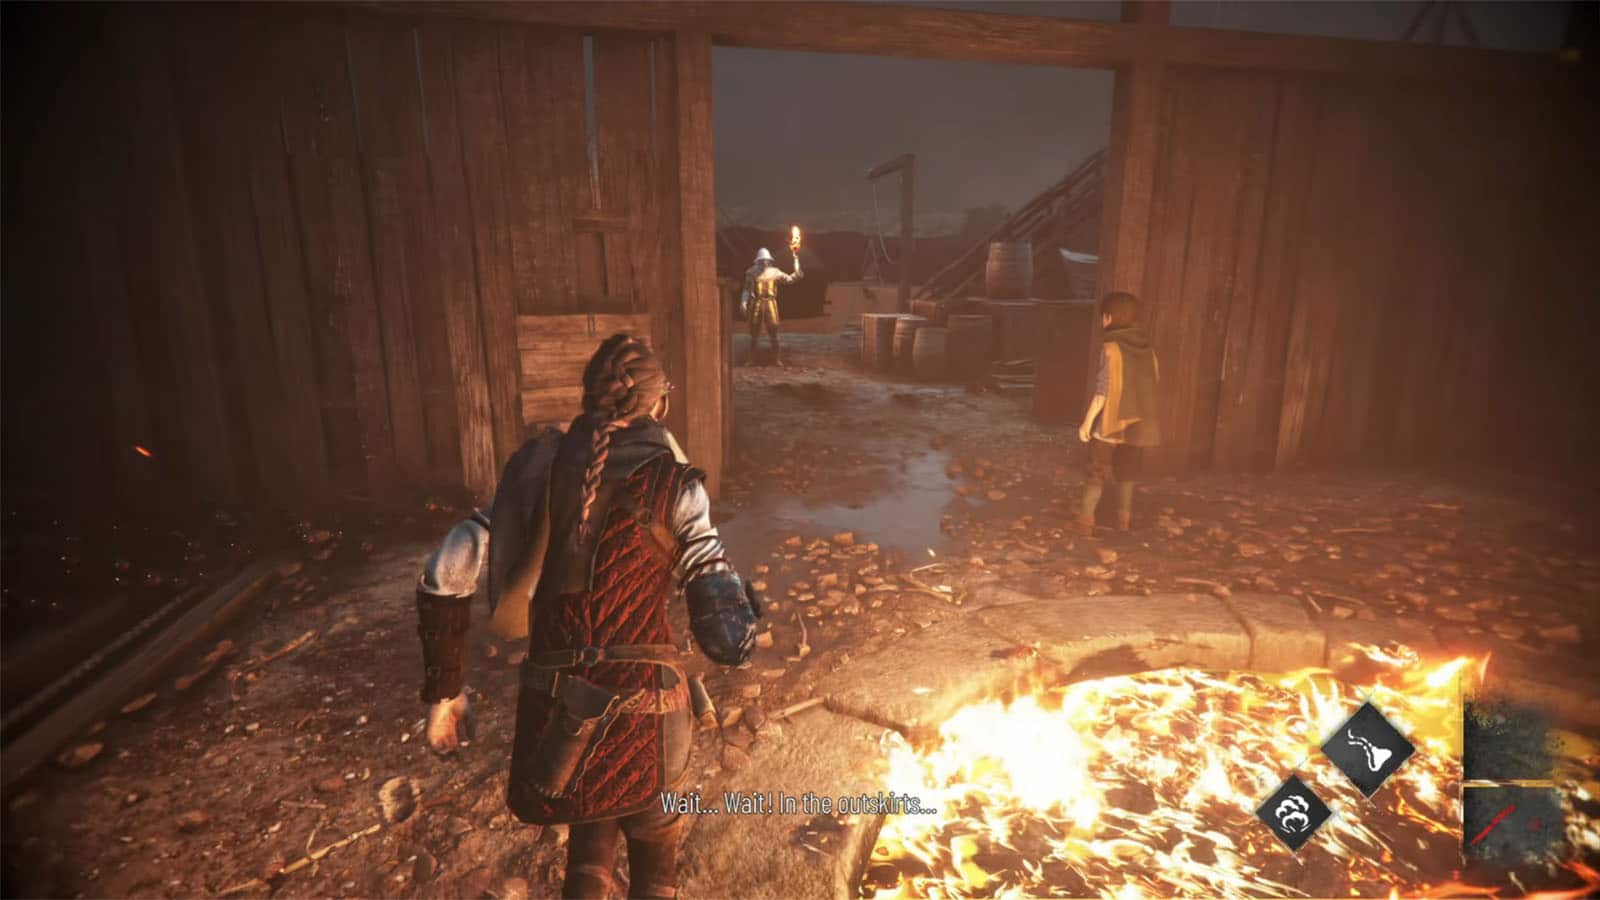
After helping the guard, he will tell you to go back home and he will not let you pass through. He then decides to arrest both of you for disobeying. At this point, you can either kill the guard or just use stupefacio on his torch to blind him momentarily for you to slip through. Sparing his life and choosing the stupefacio option will earn you the Mercy trophy.
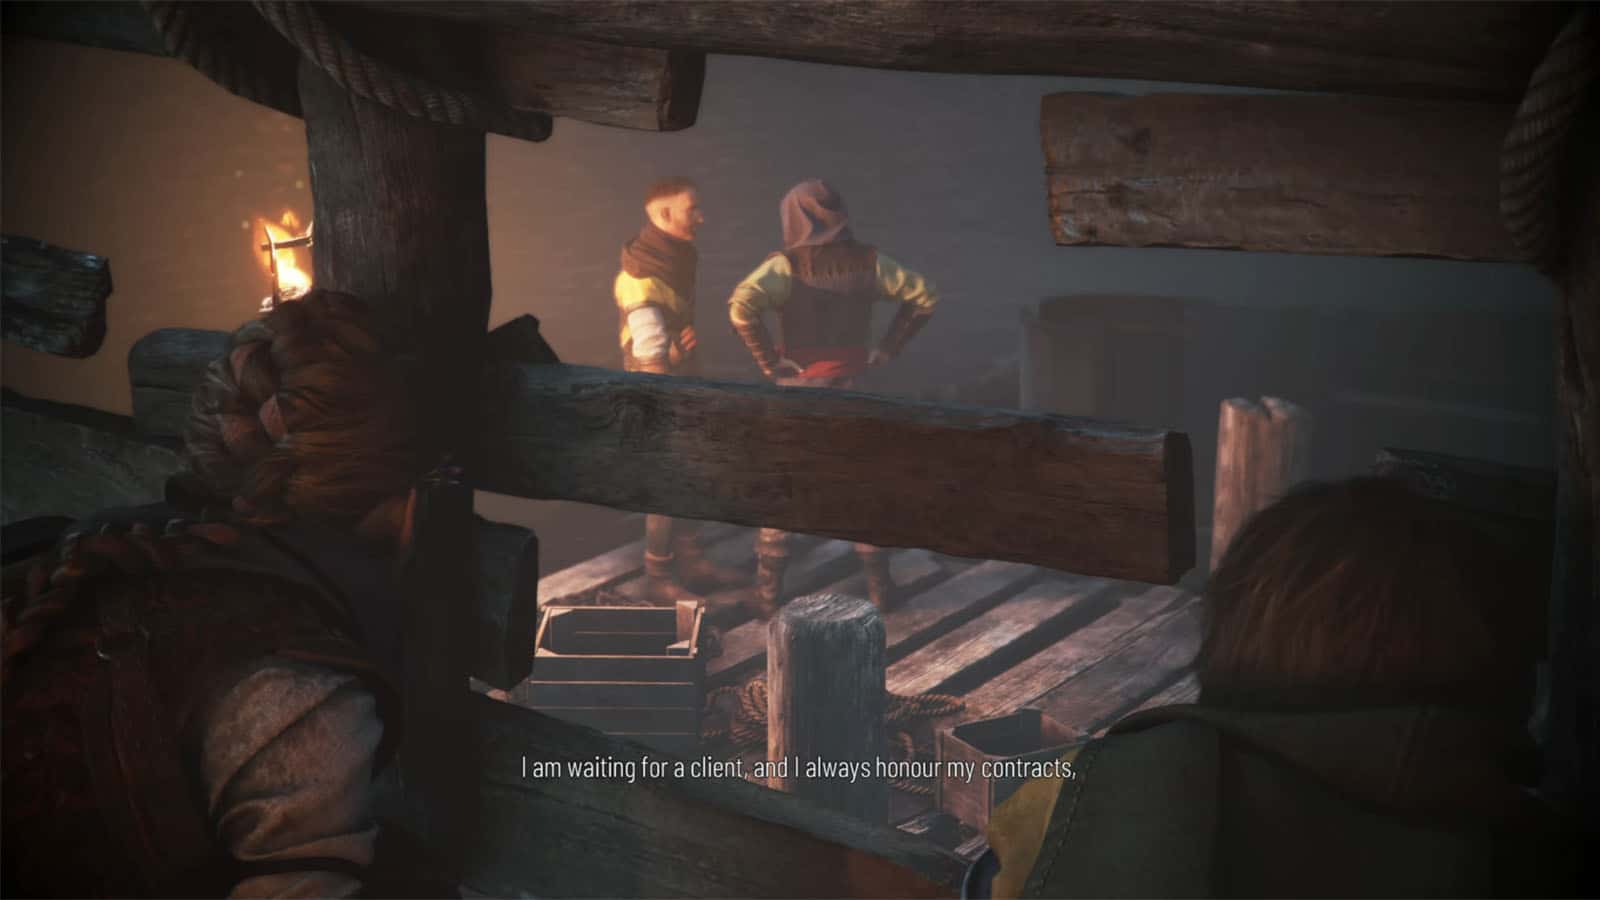
Head to the next door where you will see another workbench to use. Then, head out and you’ll see the cutscene of the boatman Joseph arguing with the guard. The two then call out his attention to prevent him from sailing away, but then they get caught by a guard, which then gets easily silenced by Joseph. You then need to meet Joseph at the next pontoon.
Get to Joseph at the pontoon
You will then have to sneak past multiple guards on your way to the next pontoon. You’ll have Joseph to support you with arrow shots from his boat, but only if he has a line of sight towards the guard. If you’re close to the bank of the sea, you can intentionally get yourself spotted by melee guards and have Joseph shoot them, or you can sneak through them instead.
To sneak past the guards, hug the path to the left where you’ll see a chest and a bunch of sticks. Take a stick and make your way to the house where there are two guards patrolling nearby. You can lure them out one by one, make them walk towards the rats, and then snuff out their torches once they’re surrounded. Once it’s clear, head into the house. Outside to the left is a hanging fish that you can shoot to lure the rats.

Then, head back to the path to the left after seeing the huge firepit. There will be an archer nearby and a patrolling guard that walks towards the large wall. Sneak past the guard as he walks by and then head up the stairs, pass by the archer, then jump on the ledge into the tall grass. Use the shacks on the left side to avoid detection. If needed, you can break the tar jars to ward off the rats, but this will also alert any guard nearby. You should arrive at the next huge door where there is a workbench inside.
Once you’re done, head back out and you will finally meet with Joseph. The two tell him that he still needs to wait for your other companions as Amicia heads back into the city to fetch them.

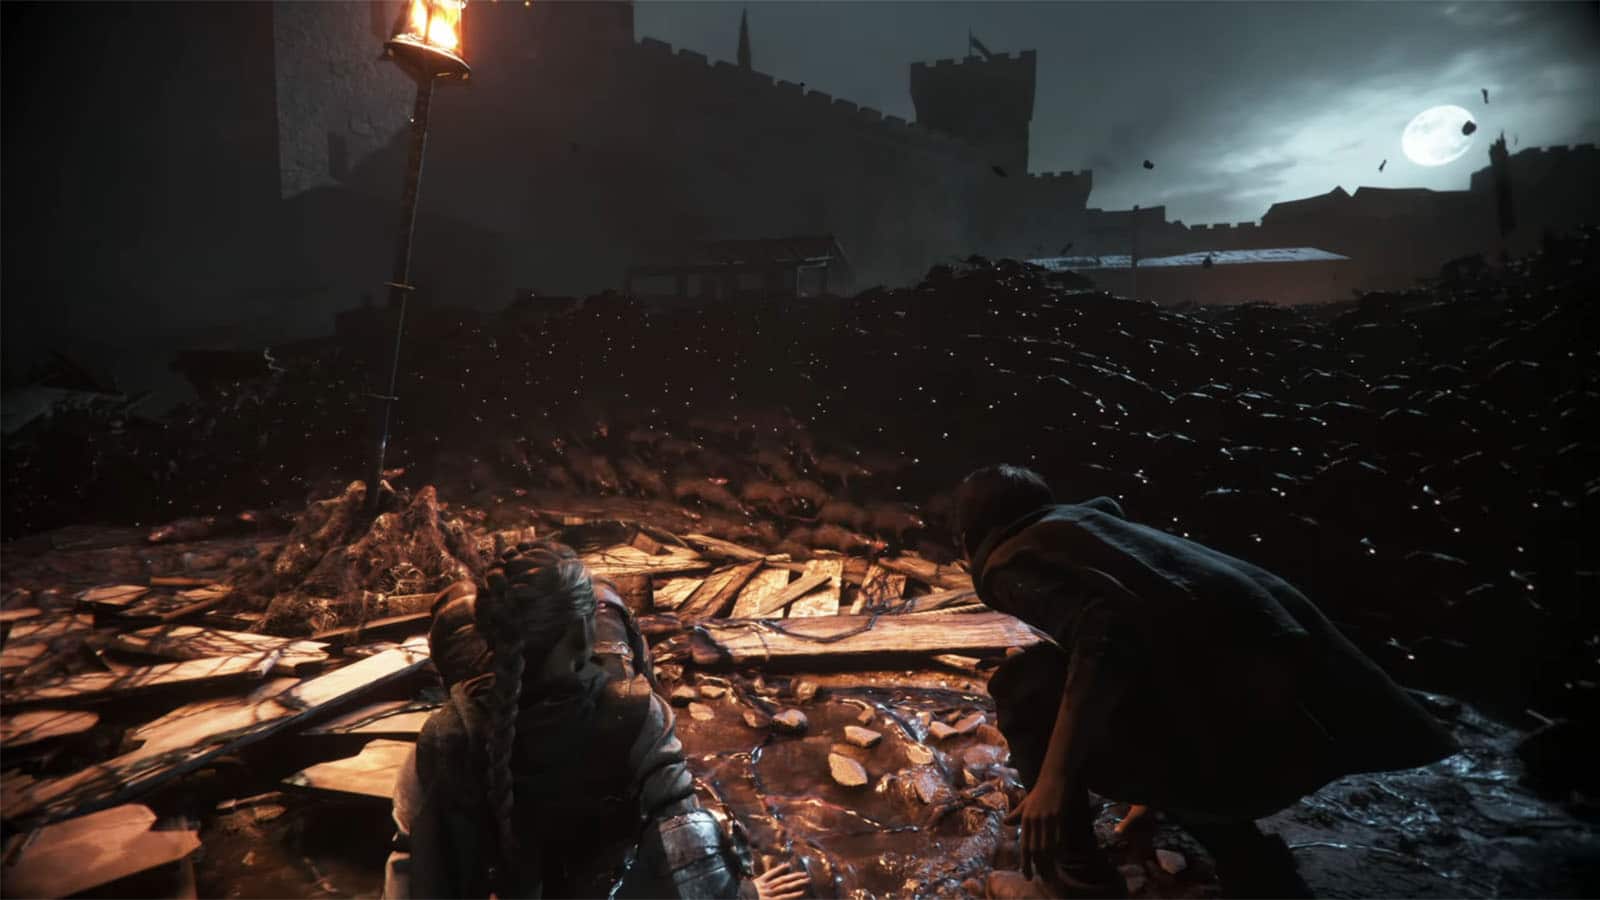
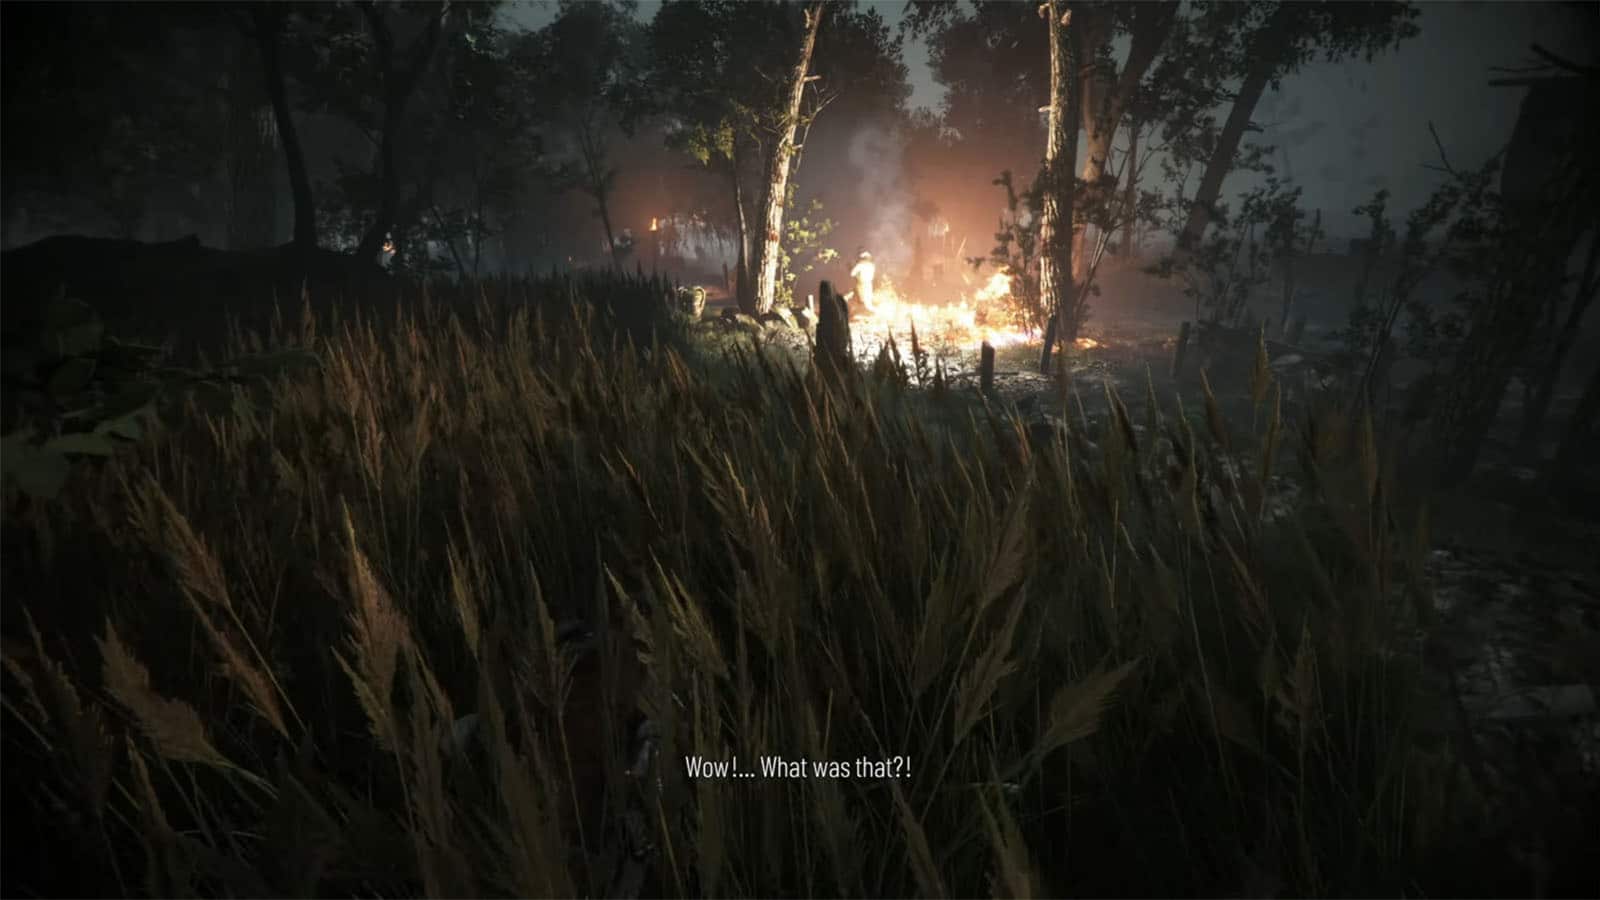
Run from the rats
The entire city starts to rumble and worrying for her brother and mother, Amicia heads back into the city alone. Eventually, she ends up seeing a wave of rats surging through the streets and devouring anyone that gets caught.
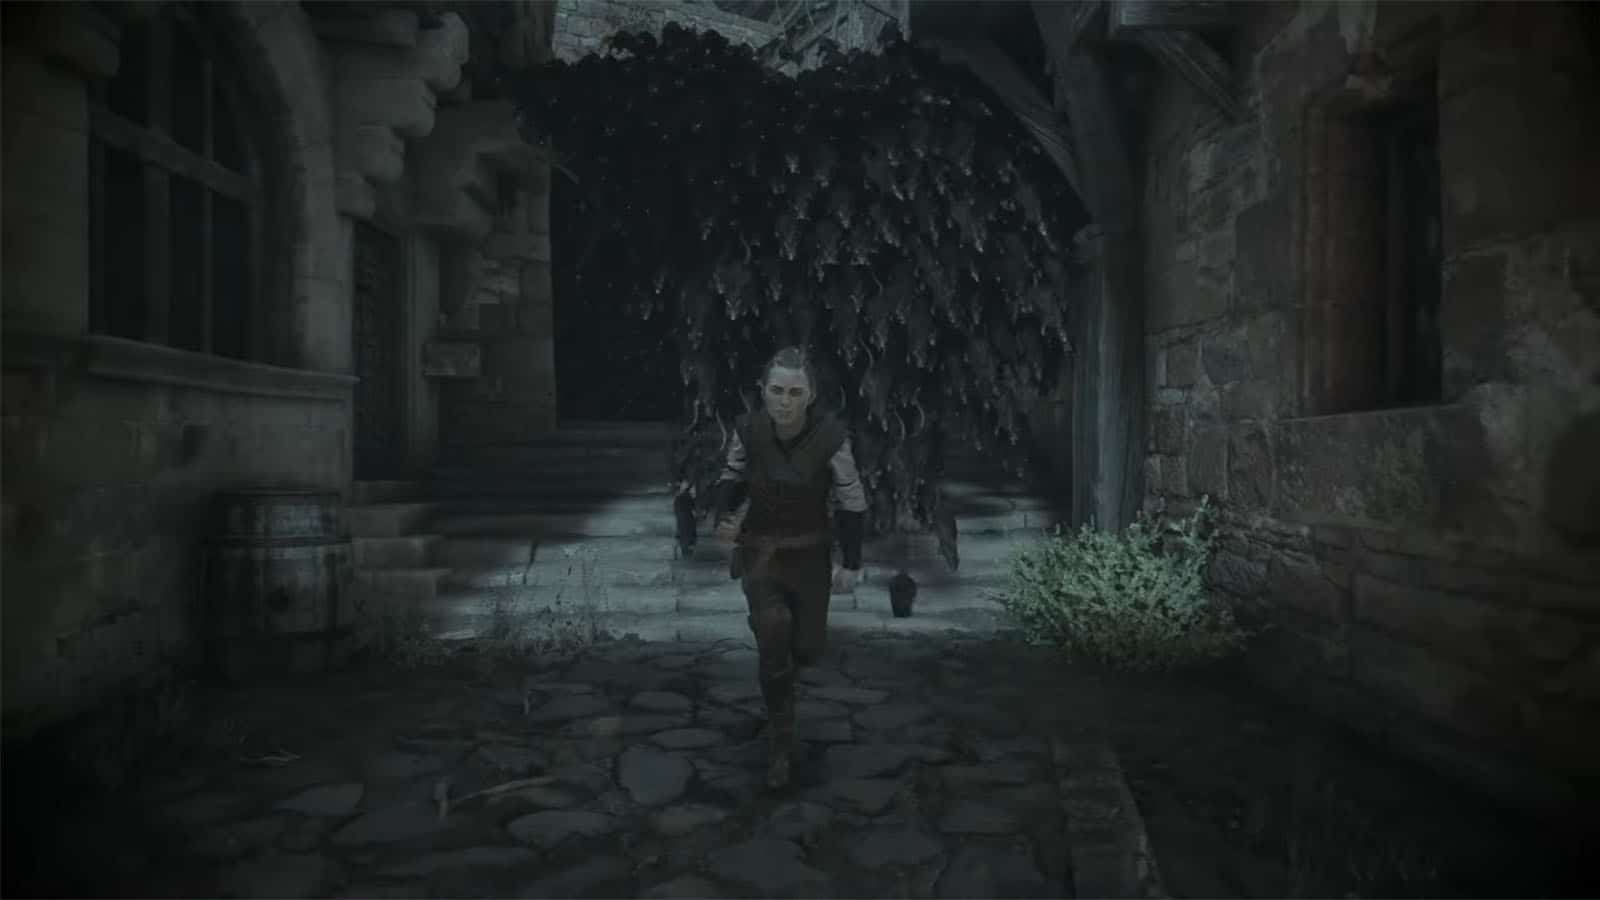
You then need to weave your way through the streets and on top of rooftops to avoid the chasing rats and get back to your house. The camera will switch between a front and a back view of the chase, so make sure to just stay in the middle of the path and try to avoid the obstacles.
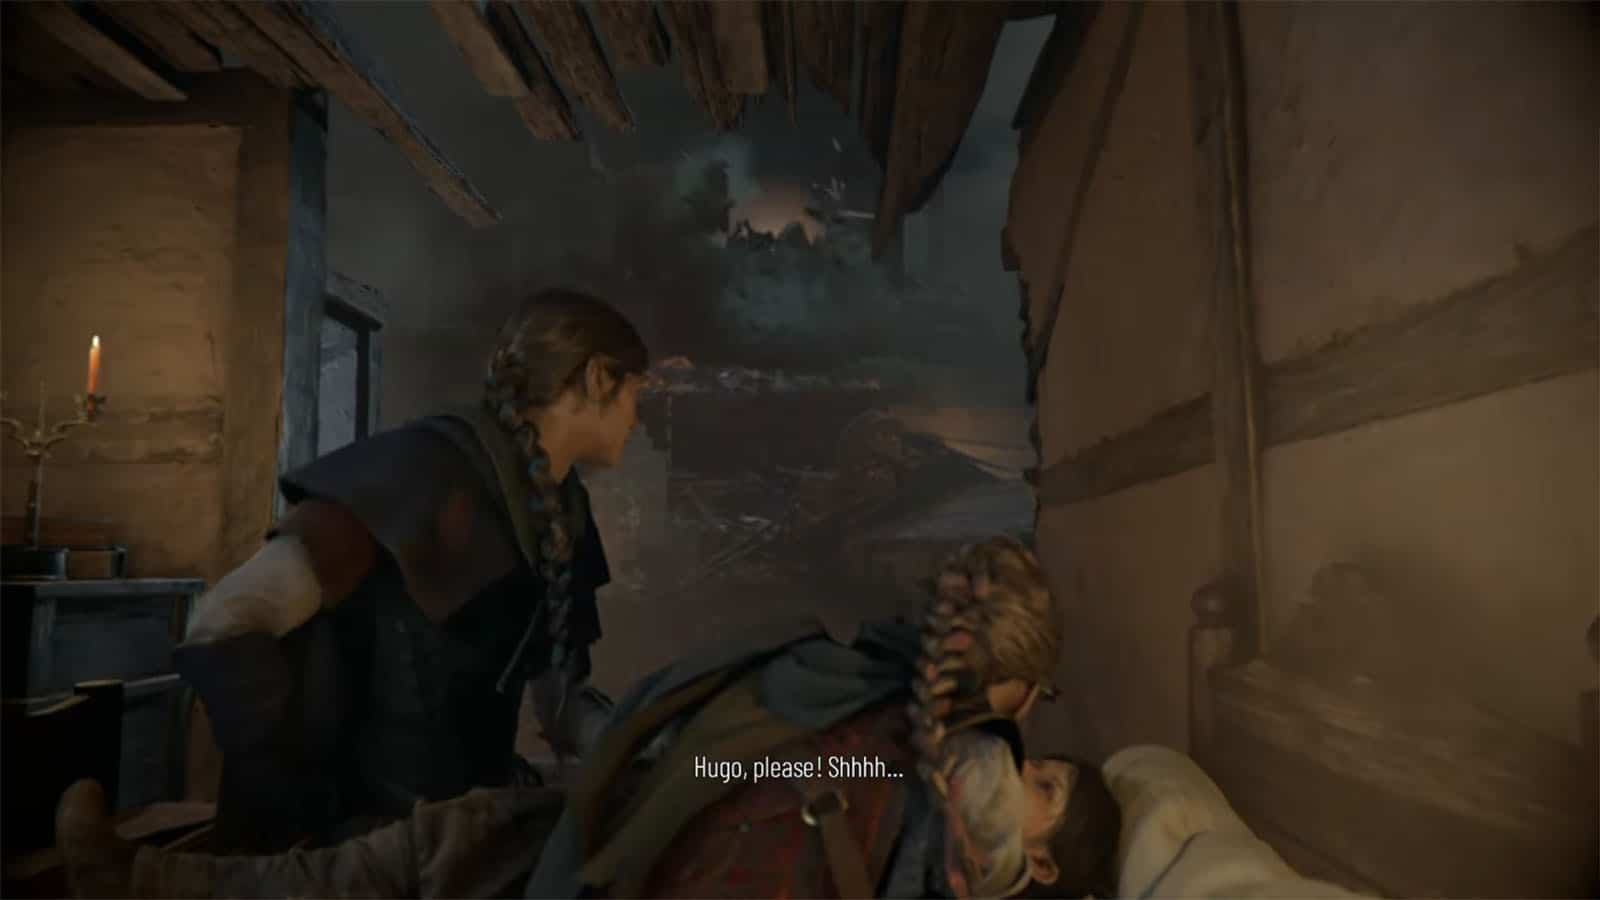
Once Amicia gets back home, she tries to keep Hugo calm as their house is about to fall apart. It eventually works, but to the demise of Magister Vaudin who got hit by falling debris and sent down into the rats.
Reach the river
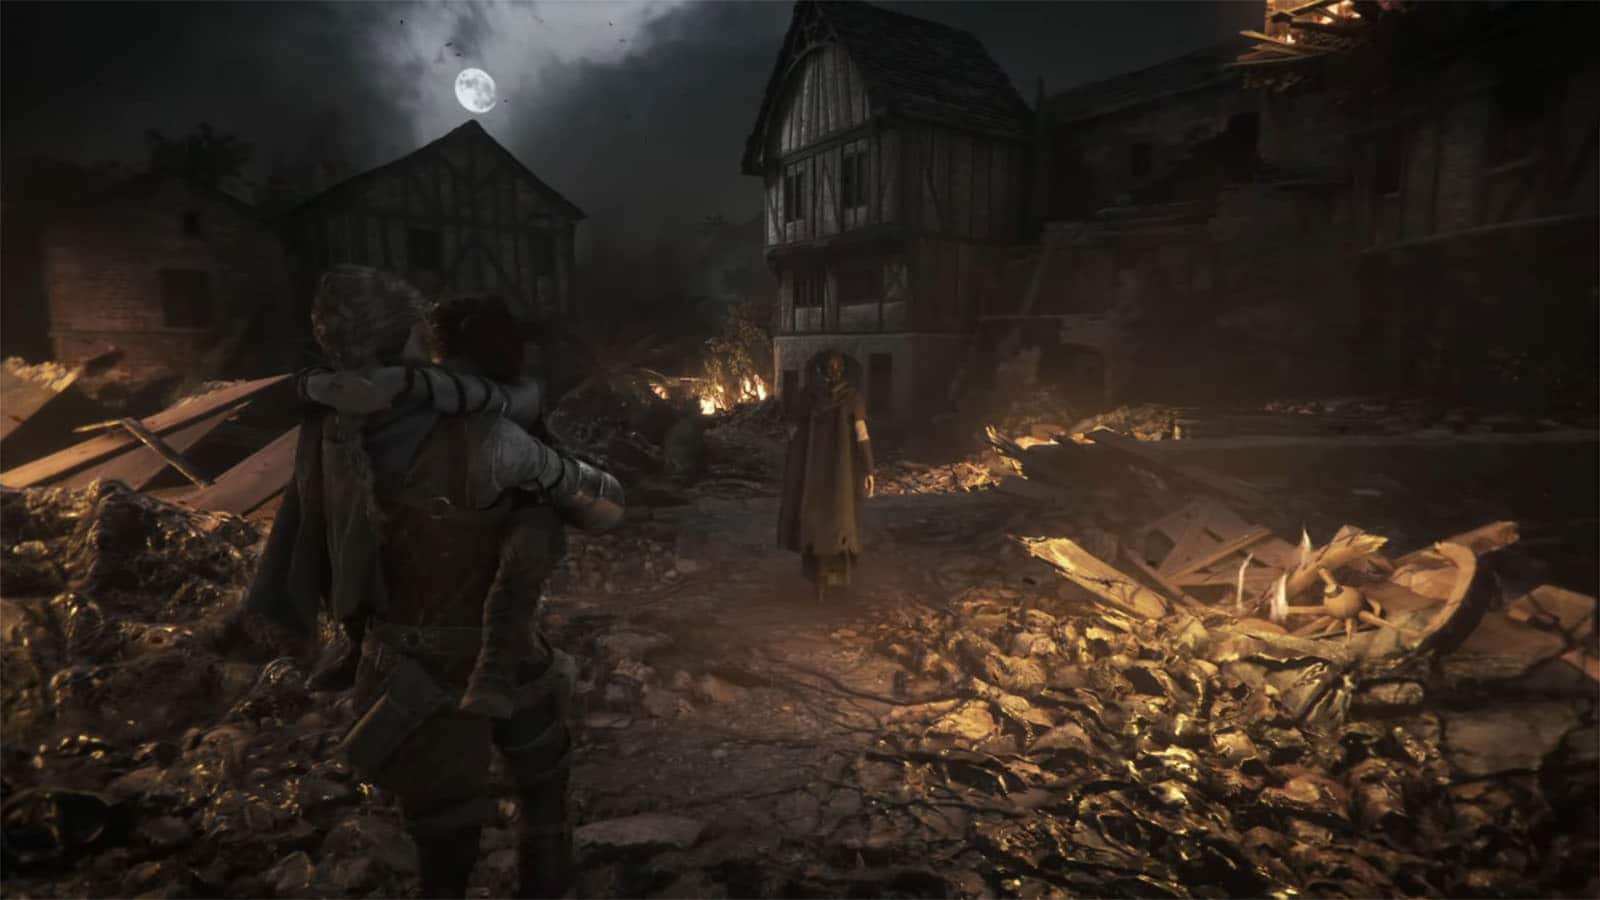
The de Rune family then walks down through the ruined streets of Provence, but with a calm Hugo so there’s no more threat of rats.
Walk towards the harbor
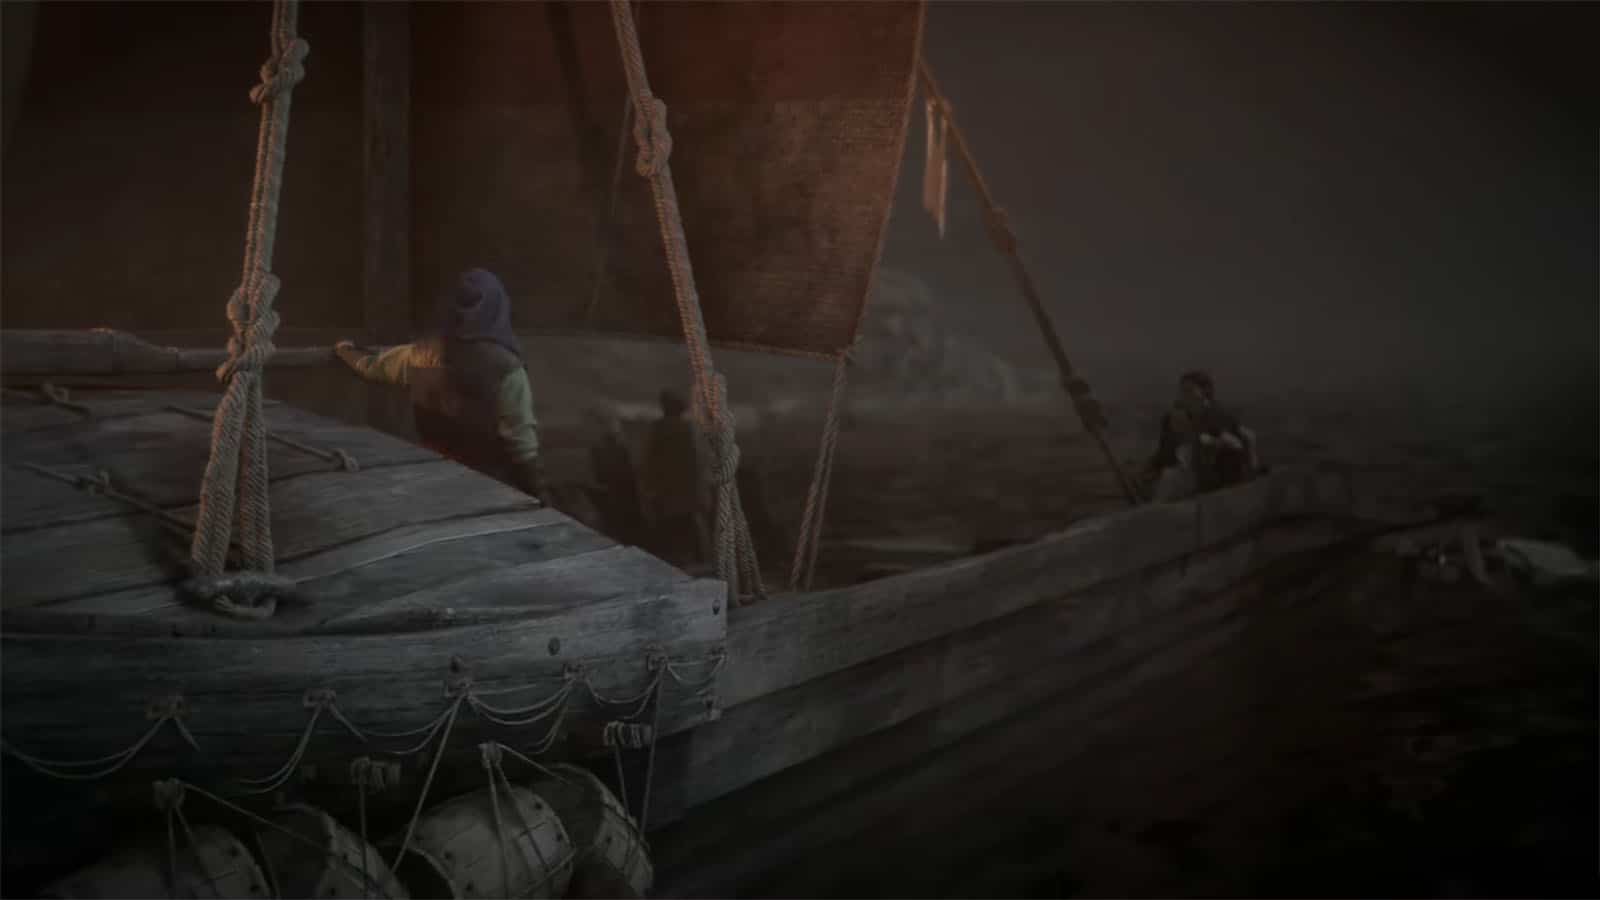
The final scene shows the de Rune family finally getting on the boat and sailing off to Marseille.
Chapter 4 – Protector’s Duty Trophies in A Plague Tale Requiem
Here are the trophies that can be obtained in Chapter 4:
- Protector’s Duty – complete Chapter 4.
- Mercy – spare the guard’s life.
See next A Plague Tale: Requiem Chapter 5 Walkthrough - In Our Wake
If you like this guide, be sure to check out our other A Plague Tale: Requiem articles:
- A Plague Tale Requiem Trophy Guide & How To Get Platinum
- A Plague Tale Requiem Considered Book Closed According to Developers
- A Plague Tale Requiem – All Hugo’s Herbarium Locations
- A Plague Tale Requiem – Chapter 2 Collectibles Locations
- A Plague Tale Requiem – Chapter 6 Collectibles Locations
- A Plague Tale Requiem – Chapter 8 Collectibles Locations
- A Plague Tale Requiem – Chapter 9 Collectibles Locations
- A Plague Tale Requiem – Chapter 10 Collectibles Locations
- A Plague Tale Requiem – Chapter 13 Collectibles Locations
Check out this video by ChristopherOdd showing gemplay for Chapter 4 – Protector’s Duty:


