
The Extraction Lost Sector is arguably one of the hardest ones to tackle in the Throne World. There are no shortage of Overload Chieftains in your way and a challenging defense section that can be frustrating to deal with. You’ll need to know exactly what to do in order to make to the end of this Lost Sector.
This guide will show you how to complete the Extraction Lost Sector in Destiny 2.
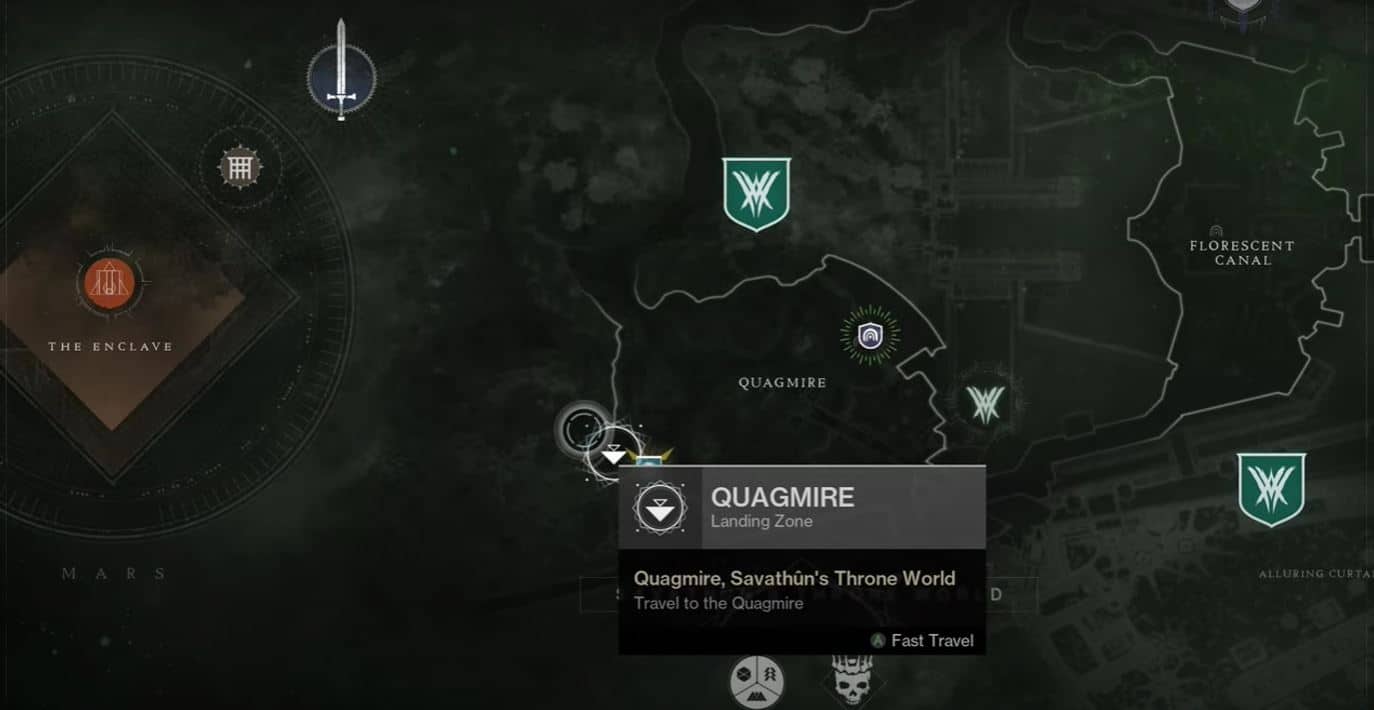
Where is the Extraction Lost Sector in Destiny 2?
You can find the Extraction Lost Sector over at the Quagmire, in the Throne World. However you won’t be able to start this Lost Sector in the Director until you’re at least 1510 Power Level and have completed the the normal version of the Lost Sector at least once.
Extraction isn’t going to be an easy Lost Sector to complete. If you want a chance of it dropping any exotics, then you also have to tackle it solo. You’ll want something that kills Overloads and Champions fast since there’s no shortage of those in this Lost Sector.
There are three main sections you have to go through to complete the Extraction Lost Sector in Destiny 2. First, is the Entrance where you fight a bunch of enemies. After that, you’ll have to go through a tough defense section where you’re tasked to capture three plates being defended by Hives. And finally, there’s the boss fight at the end with two Unstoppable Ogres and a Lightbearer Wizard.
Your hands are going to be full taking on these enemies all at the same time. But not to worry! Our guide comes with a walkthrough of how to deal with each section of this Lost Sector.
Extraction Lost Sector Guide
Here is a step-by-step guide for completing the Extraction Lost Sector of Destiny 2:
Section One: Entrance
The moment you drop into the Extraction Lost Sector, you’ll be fighting against Raiders that have shields you need to break. We recommend using any Void weapon or anything else that depletes shields fast in order to gain the upper hand. Beware of the snipers around the area
Once you’ve dispatched most of the Raiders, you’ll have to deal with the Overload Chieftain. It will be accompanied by Scorn that will spawn at the center of the arena. Focus your attention on the Scorn first before moving onto the Overload Chieftain. Use a grenade to clear out most of the Scorn and then use Overload Rounds on the Chieftain to prevent it from teleporting around and regaining its health.
Section Two: Defense
The defense section of the Extraction Lost Sector may be the hardest part as you’re asked to capture three plates being defended by Hives. If you’re not prepared, you could see yourself having a hard time. Thankfully, the Scorn and Hive will be busy fighting among themselves so if you can manage so long as you don’t get caught in the crossfire.
For every plate that you capture, you’ll have to kill an Overload Chieftain that spawns right next to you. You should have no problems dispatching the provided that you use the Overload Rounds. To ensure maximum efficiency, stun it immediately and deal as much damage as possible while it’s recovering.
We recommend saving the middle plate for last. Focus on the right and left plates first. This is because the middle plate you have to take has the most number of enemies and is the most challenging to acquire. There’s also that Ogre that guards the middle plate making it even harder. Use a Sniper if you can to deal damage at a distance before approaching and ensure the mobs around you are dealt with first.
Section Three: Bosses
The moment you enter the final boss room, do not immediately go inside. Instead go back to the previous hallway and two Ogres will spawn. Deal with the Ogres first by using the cover you get from the entrance frame to your advantage. Once you’ve dealt with the two, you can enter the room to deal with the Lightbearer Wizard.
The Lightbearer Wizard will easily go down now that it doesn’t have the two Ogres to protect it. Use whatever you have at your disposal to get rid of the boss. It will hover over the Lost Sector chest making it an easy mark. Try not to get near it while breaking its Ghost whenever possible.

Once you’ve done all of that, you’ve completed the Extraction Lost Sector in Destiny 2. We hope you found our guide to be helpful. Here are some more Destiny 2 content:
- Destiny 2 Best PvP Build Season 19 – What You Need to Make It
- Destiny 2 Season of the Seraph Guide – God Roll IKELOS SMG for PvP and PvE
- All Destiny 2 Security Drone Locations: Season of the Seraph
- Destiny 2 Season of the Seraph – How to get Revision Zero Exotic Pulse Rifle
- Destiny 2 Season 20 Release Date, Lightfall Story Leaks, Strand Details, and More
Check out this Youtube video from Daiboot showing the exotic armor you get from completing the Extraction Lost Sector in Destiny 2 at the moment.


