
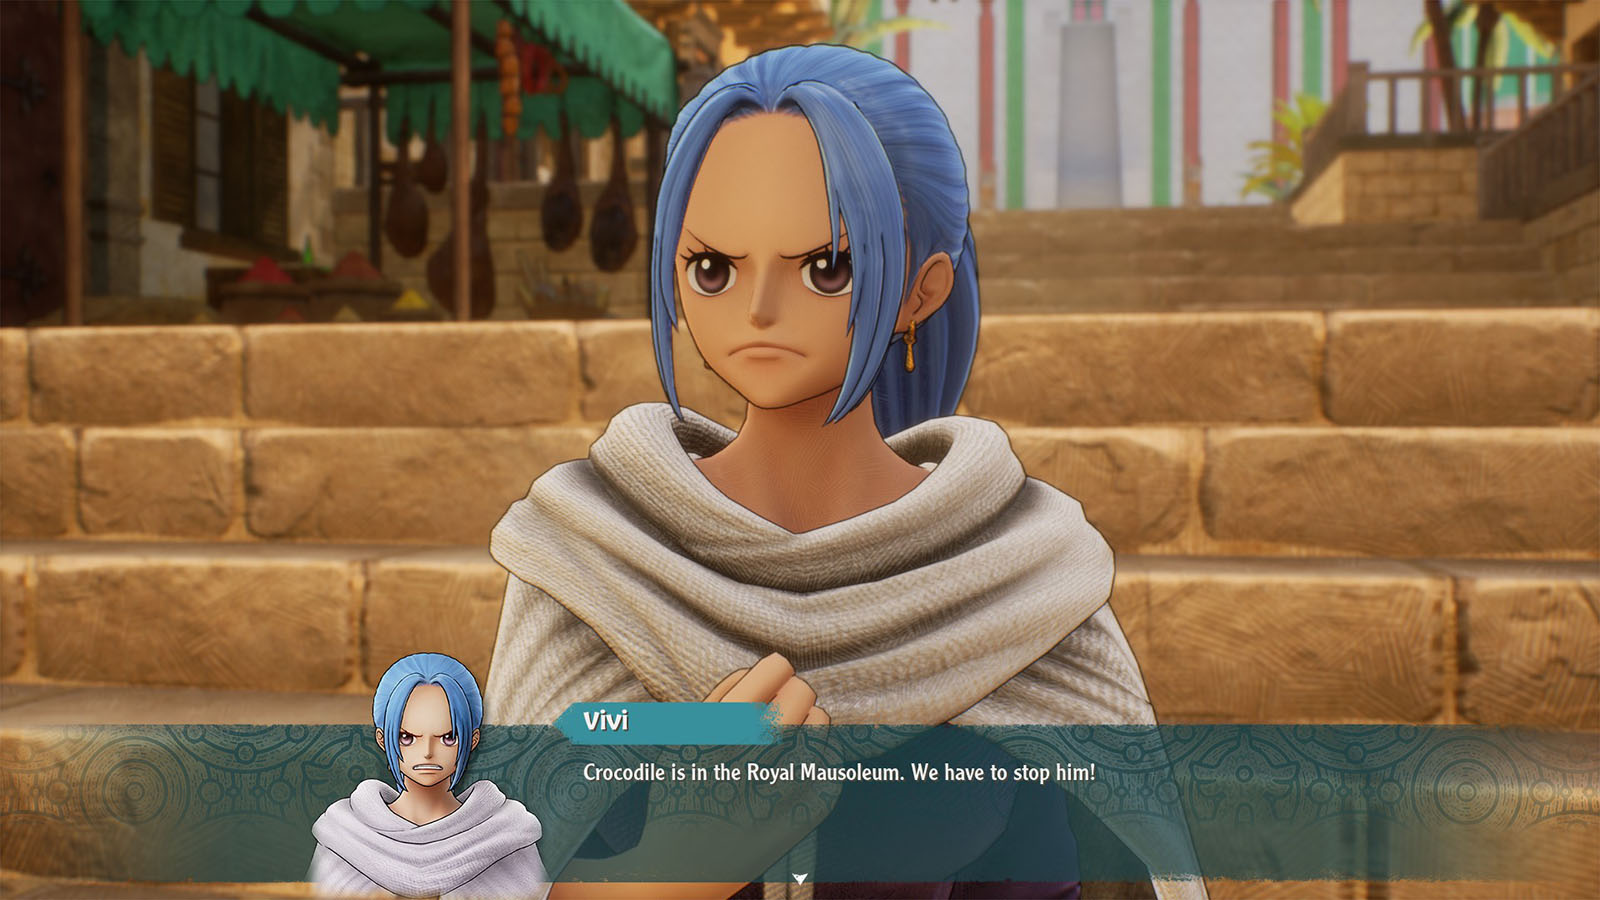
Defeat Crocodile Part 2 is the eighth objective of Chapter 2: Memories of the Desert Kingdom, Alabasta in One Piece Odyssey. The Straw Hats finally catch up to Crocodile in Alubarna, but he has managed to hide within the city’s mausoleum while waiting for the civil war that he stirred to end.
Read ahead as we go through the events in Defeat Crocodile Part 2, sharing some tips and tricks, as well as some hints on the whereabouts of the collectibles.
See previous One Piece Odyssey Stop the Bombardment Chapter 2 Walkthrough
Defeat Crocodile Part 2 Objectives
- Head to the Royal Mausoleum
- Go Deep Into the Royal Mausoleum
- Solve the Mystery of the Switch
- Go Deep Into the Royal Mausoleum
- Open the Sub Level 1 Door
Head to the Royal Mausoleum
Sea Cat Plaza
Make your way to the Plaza near the Royal Mausoleum, but before your head to the mausoleum, head towards the west to the Sea Cat Plaza and you’ll find a chest that contains Pell’s Hat the provides +762 HP.
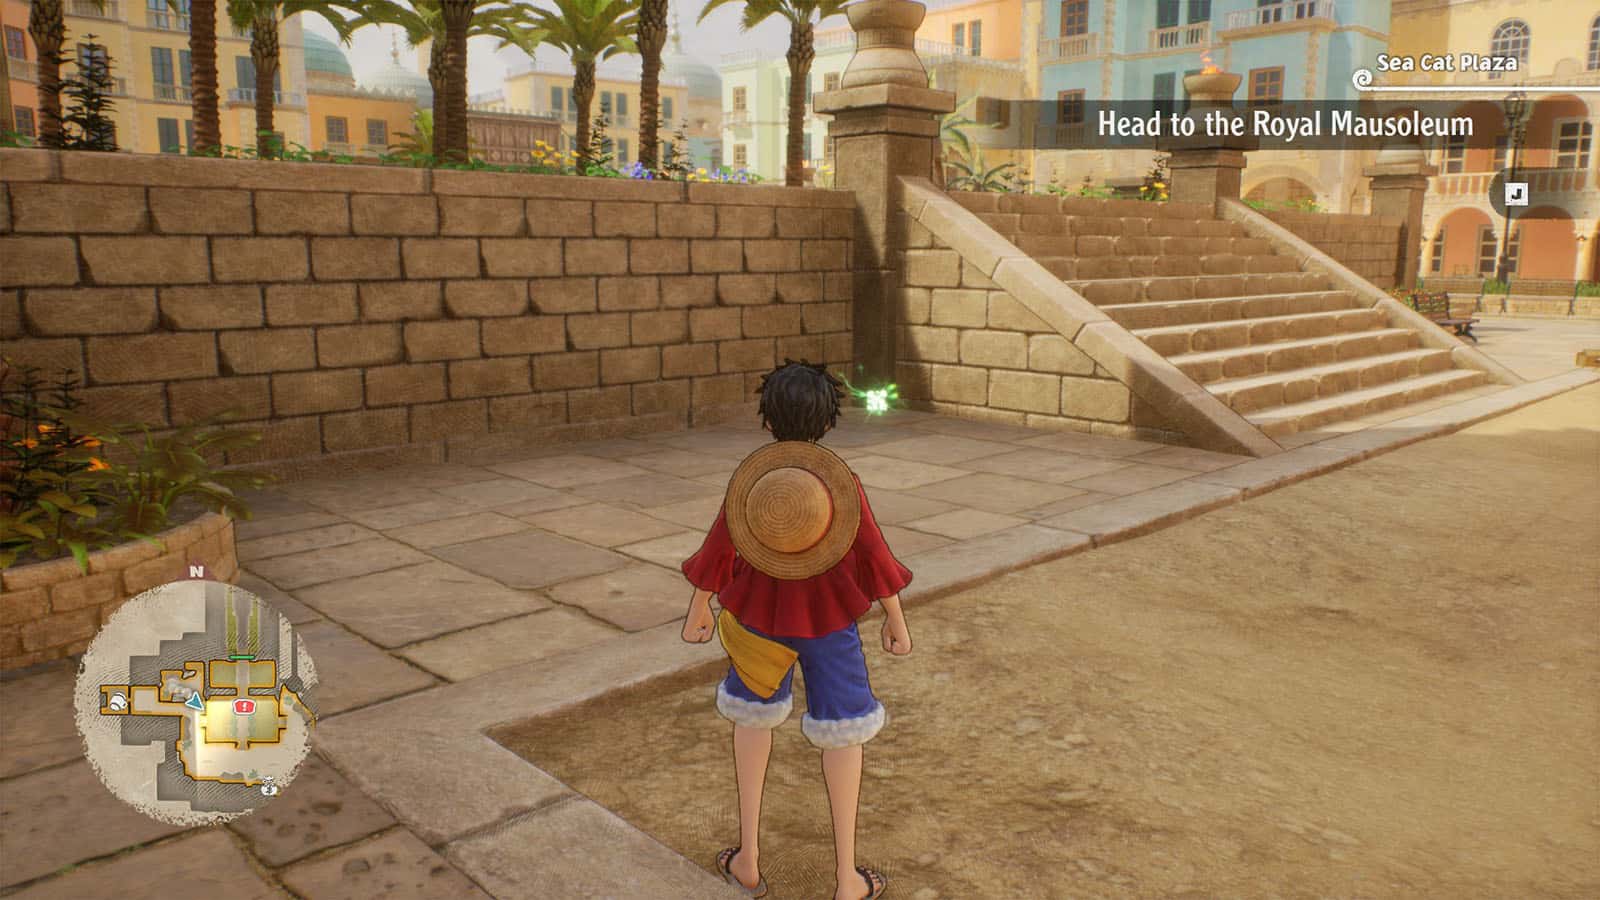
Look behind the the west stairs that lead to the mausoleum to find Robin’s cube fragment. You can also stop by at The Sea Cat Tavern to stock up or rest.
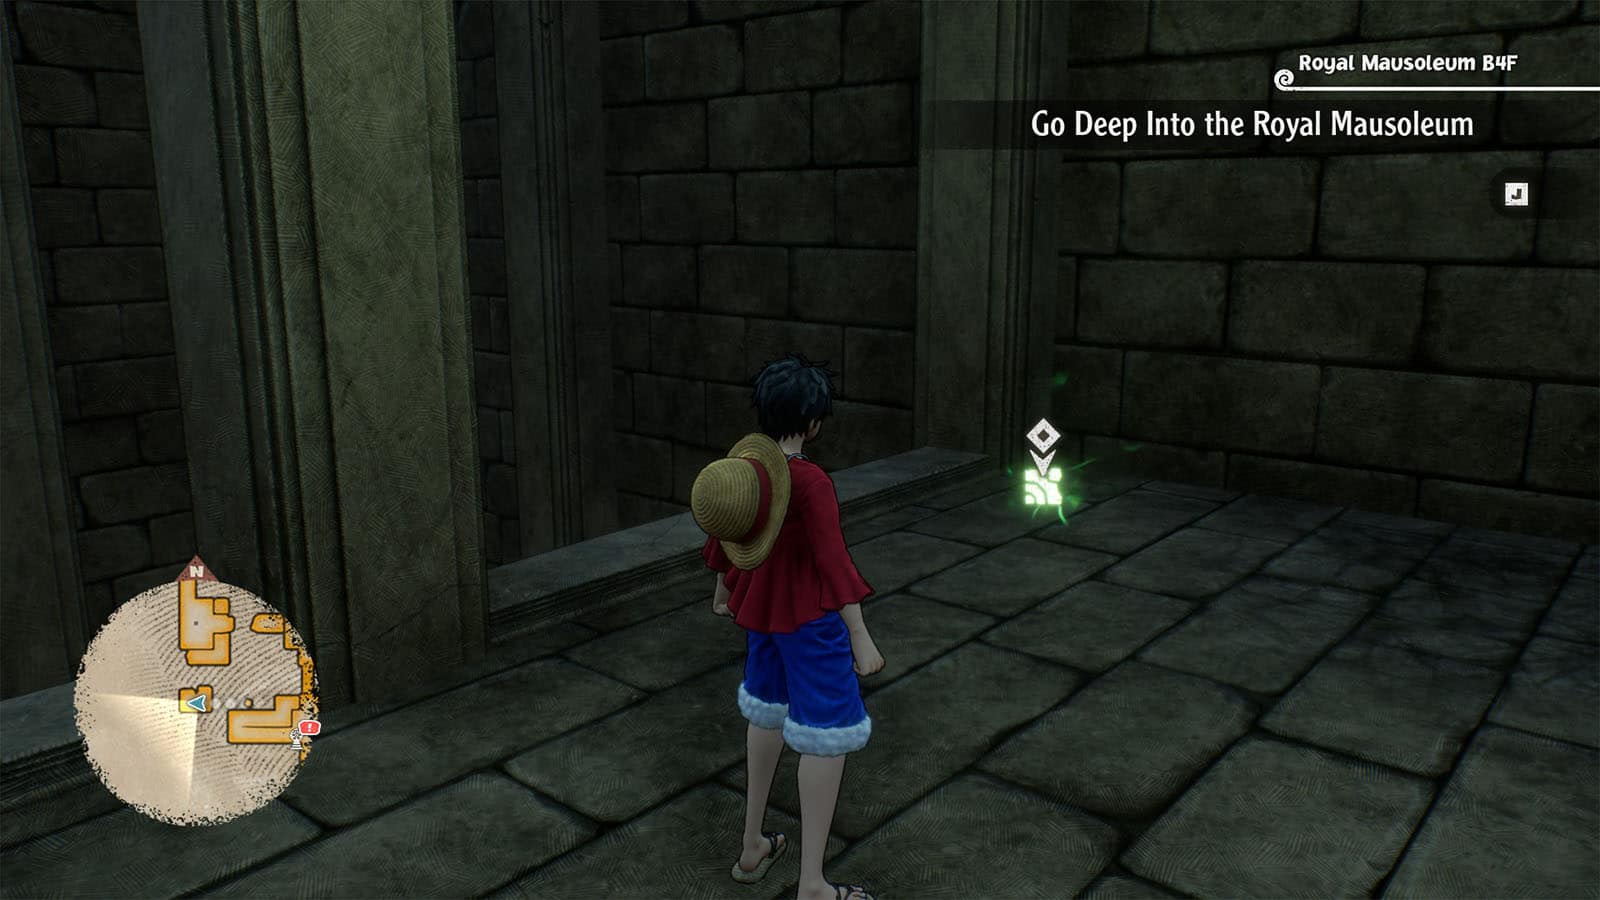
Go Deep Into the Royal Mausoleum
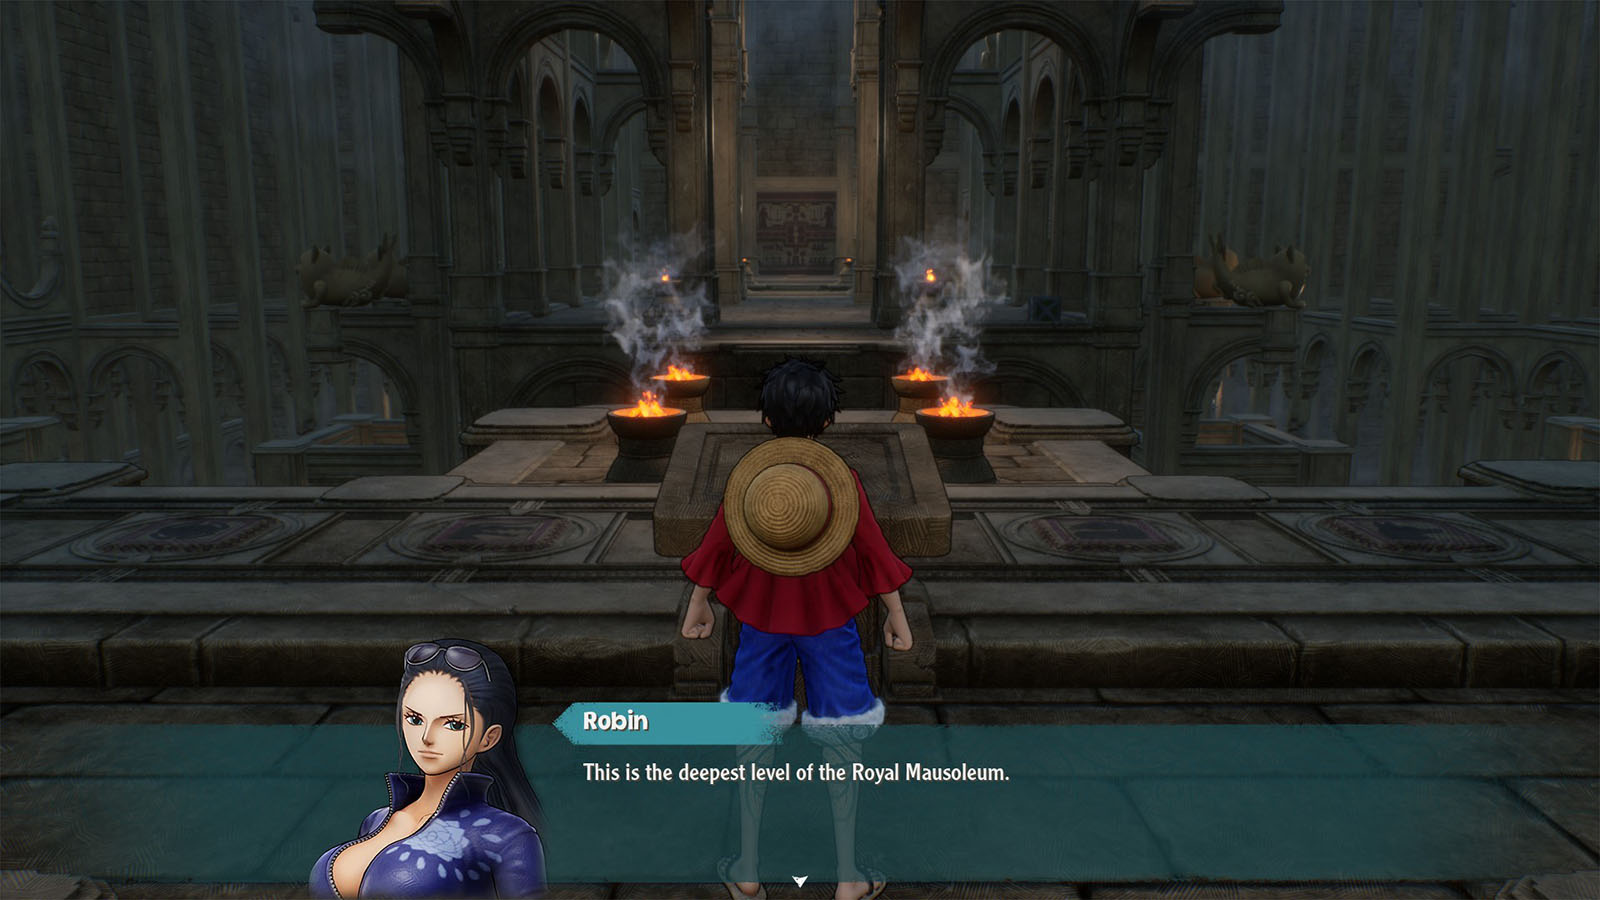
Alubarna Royal Mausoleum
The crew will meet up once again with Robin who rejoins the group. She has already investigated the mausoleum to prove her suspicions of the mystery behind Waford. Make your way towards the lower level by taking the stairs on either side.
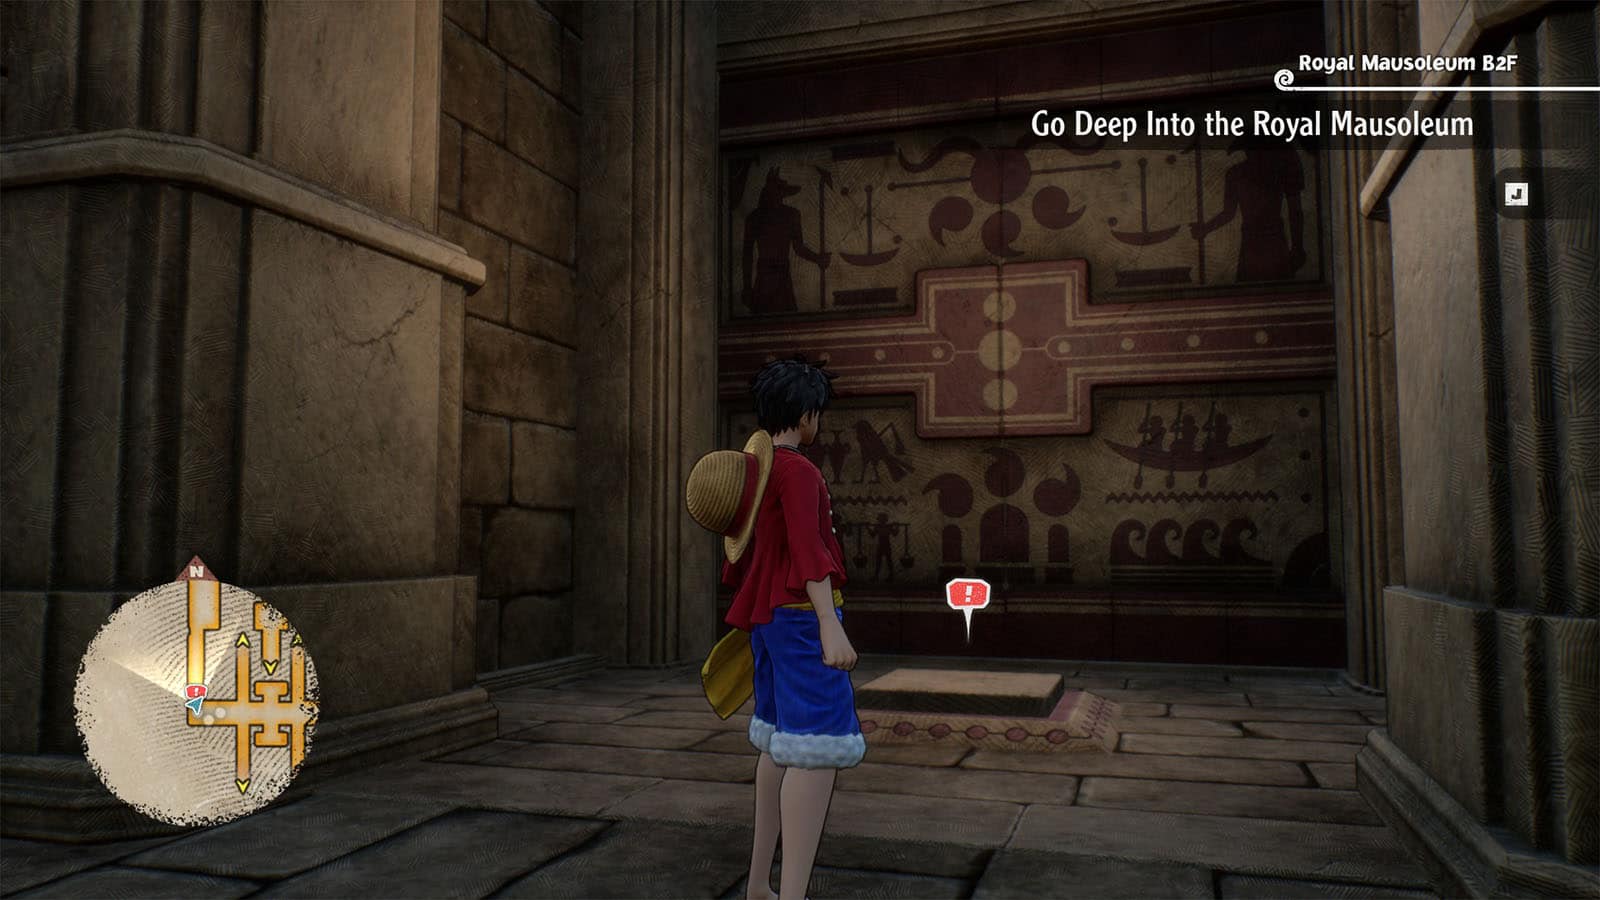
Royal Mausoleum B2F
Head to the west side where you’ll find a pressure plate that will open the door to the next room.

There’s another pressure plate that lights up the torches around another pressure plate on the other side of the room. Use the rings on the far side of the room to swing to the other side. Then stand on the other pressure plate to reveal bridges that connect to the center platform. Take the stairs down and then stand on the next plate to open the next door.
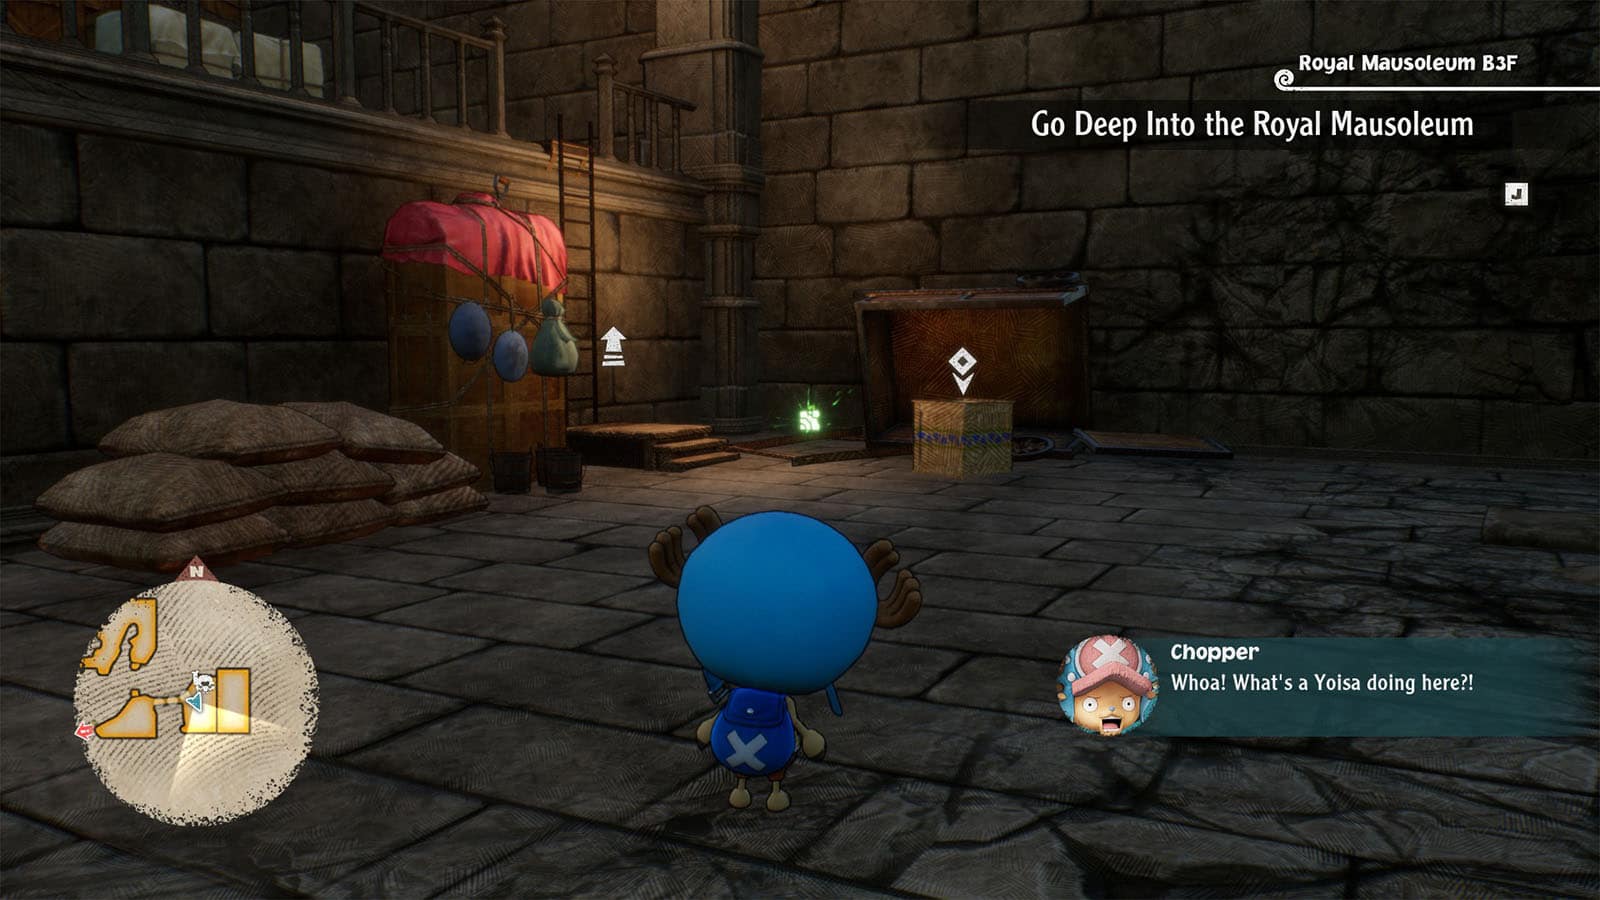
Royal Mausoleum B3F
In the next floor, take the path on the left first, jump the gap, then use Chopper to crawl to the next room. In this room is another Yoisa merchant and Usopp’s cube fragment.
Head back to the main path and take the ramp down on the right. Chopper will then find Lil’ Mover nearby which will offer some help later on.
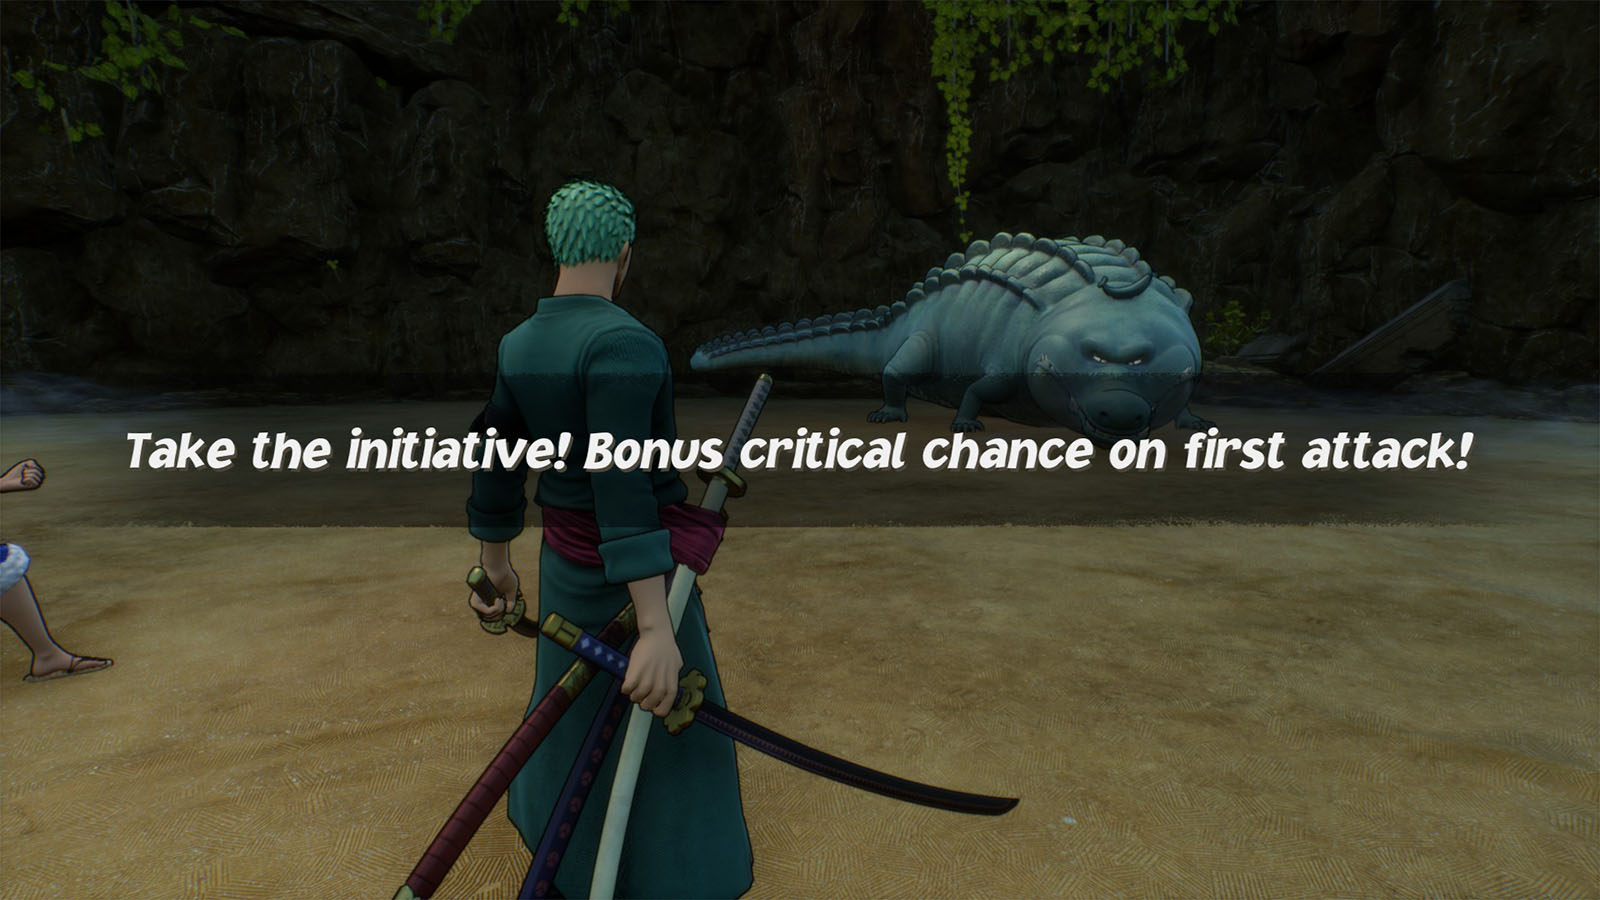
Instead of moving towards the quest marker, head down into the pit where Lil’ Mover is and you’ll find an Unripe Banana Gator that you can fight. Talk to Lil’ Mover and it will give you a Burst Brew. There’s also a chest up ahead that has a Cobra’s Necklace that provides +299 DEF.
Head back to the quest marker to proceed.
Solve the Mystery of the Switch
Royal Mausoleum B4F
You’ll arrive in a huge puzzle room that has strange images of creatures on the floor that goes, from left to right, scarab, monster, snake, dog. The plates that will activate these images are scattered inside the room. They can be stepped on in any order.

Head off to the west side of the room first where you’ll find Usopp’s cube fragment. Then follow the wall and you’ll find the scarab plate. Next, head to the middle section of the room where the monster plate is. Then continue eastwards and you’ll find the snake plate. Follow the stairs down and you’ll find the dog plate. Make your way back up to the starting point and step on the falcon plate to reveal bridges.
Cross the bridge to get the other side, but before stepping on the next plate, head down the stairs to the right and have Zoro cut down the doors to get the chest that has Mr. 1’s Haori that provides +329 ATK.
Then, swing on the rings to reach the platform that has Chopper’s cube fragment.
Go Deep Into The Royal Mausoleum
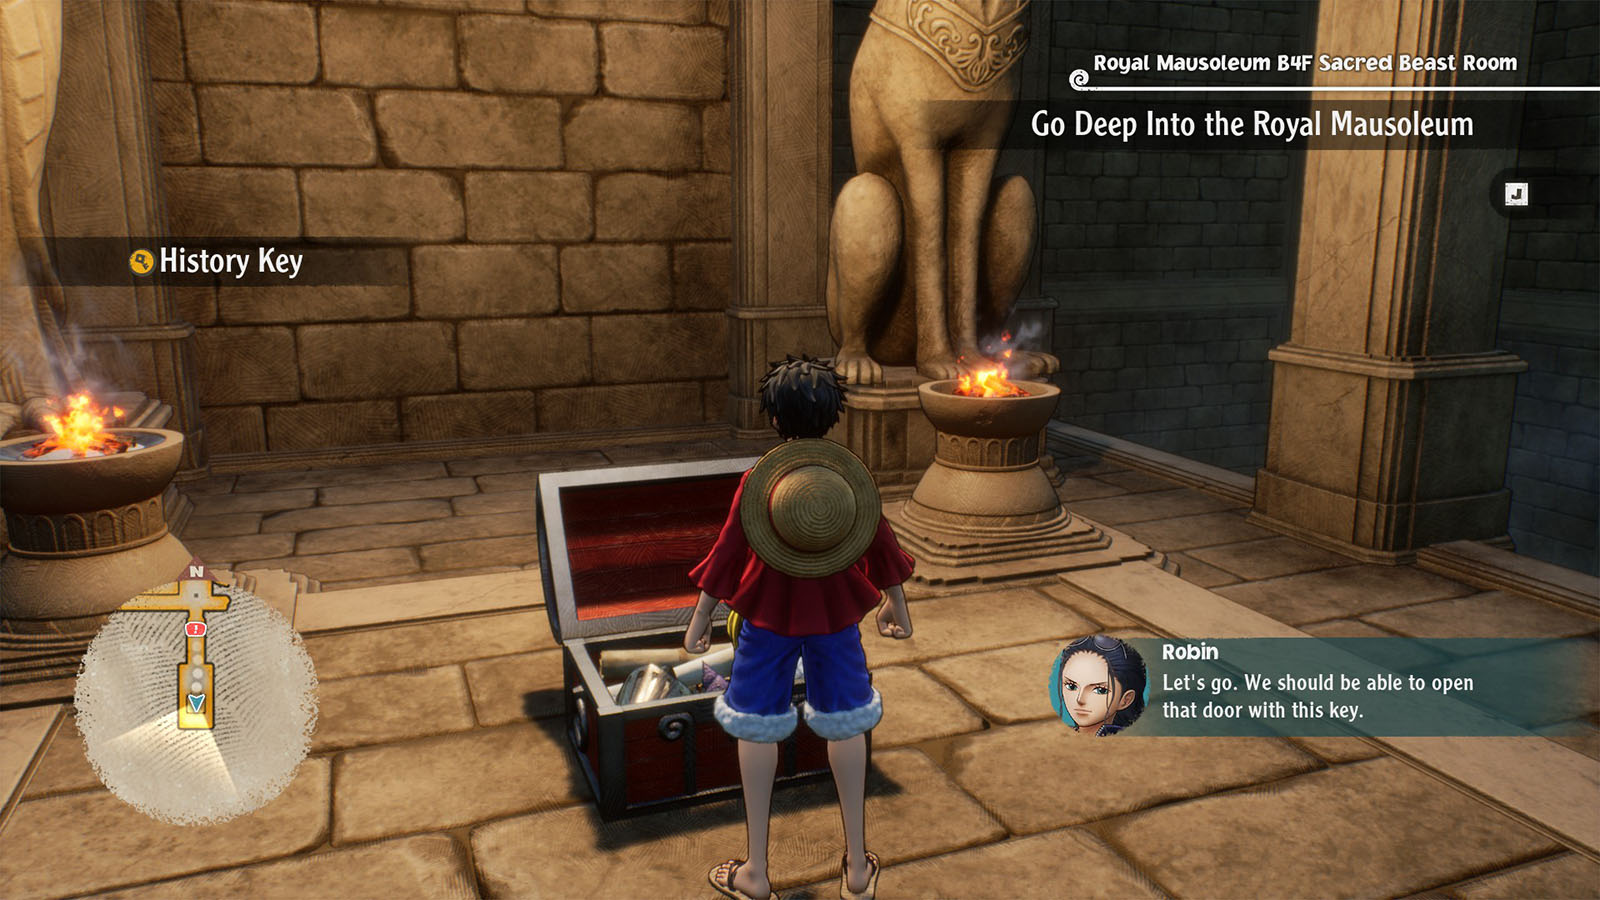
Sacred Beast Room
Step on the plate to open the door to the next room which has a chest on the other end. This chest contains the History Key that you need to open the door at the sub level of the mausoleum.

Open the Sub Level 1 Door
As you exit the room, more Baroque Works agents will start coming into the mausoleum. Make your way back up to the sub level 1 door and clear the enemies along the way.
Crocodile Boss Fight
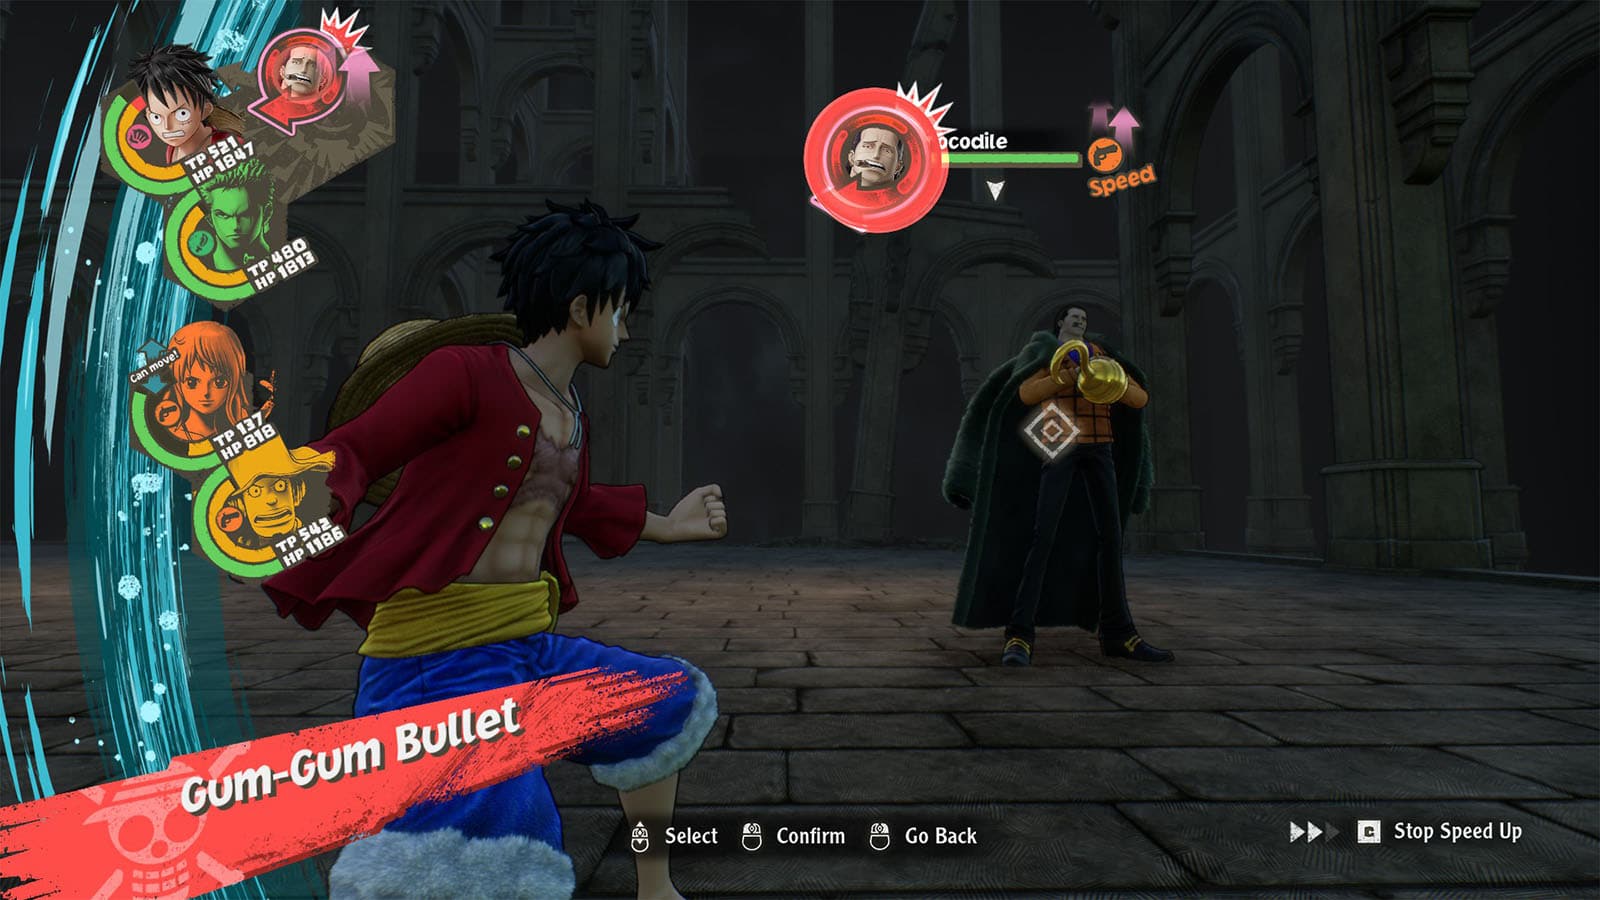
Once the door has been opened, you’ll be facing against Crocodile. He is a Speed type boss, so Luffy, Sanji, and Chopper are effective against him. He also summons Sandstorms that act as adds during the fight; they’re Power types so have Zoro and Robin take care of them.
Crocodile has the ability to make even effective attacks ineffective (except for Bond Attacks), so make sure that your crew is prepared for a counter attack. It’s best to have only Luffy up against Crocodile’s area to limit the damage, while Sanji and Chopper attack from the back line with their ranged attacks. It also helps to give Luffy the Evasion +15 Petite Jewelry accessory that provides lucky evades.

After defeating Crocodile, he will rise once again and become powered up. His attacks will be stronger than before, and he can attack multiple times in a turn. The same tactics apply as before with someone like Chopper or Usopp supporting in the backline.
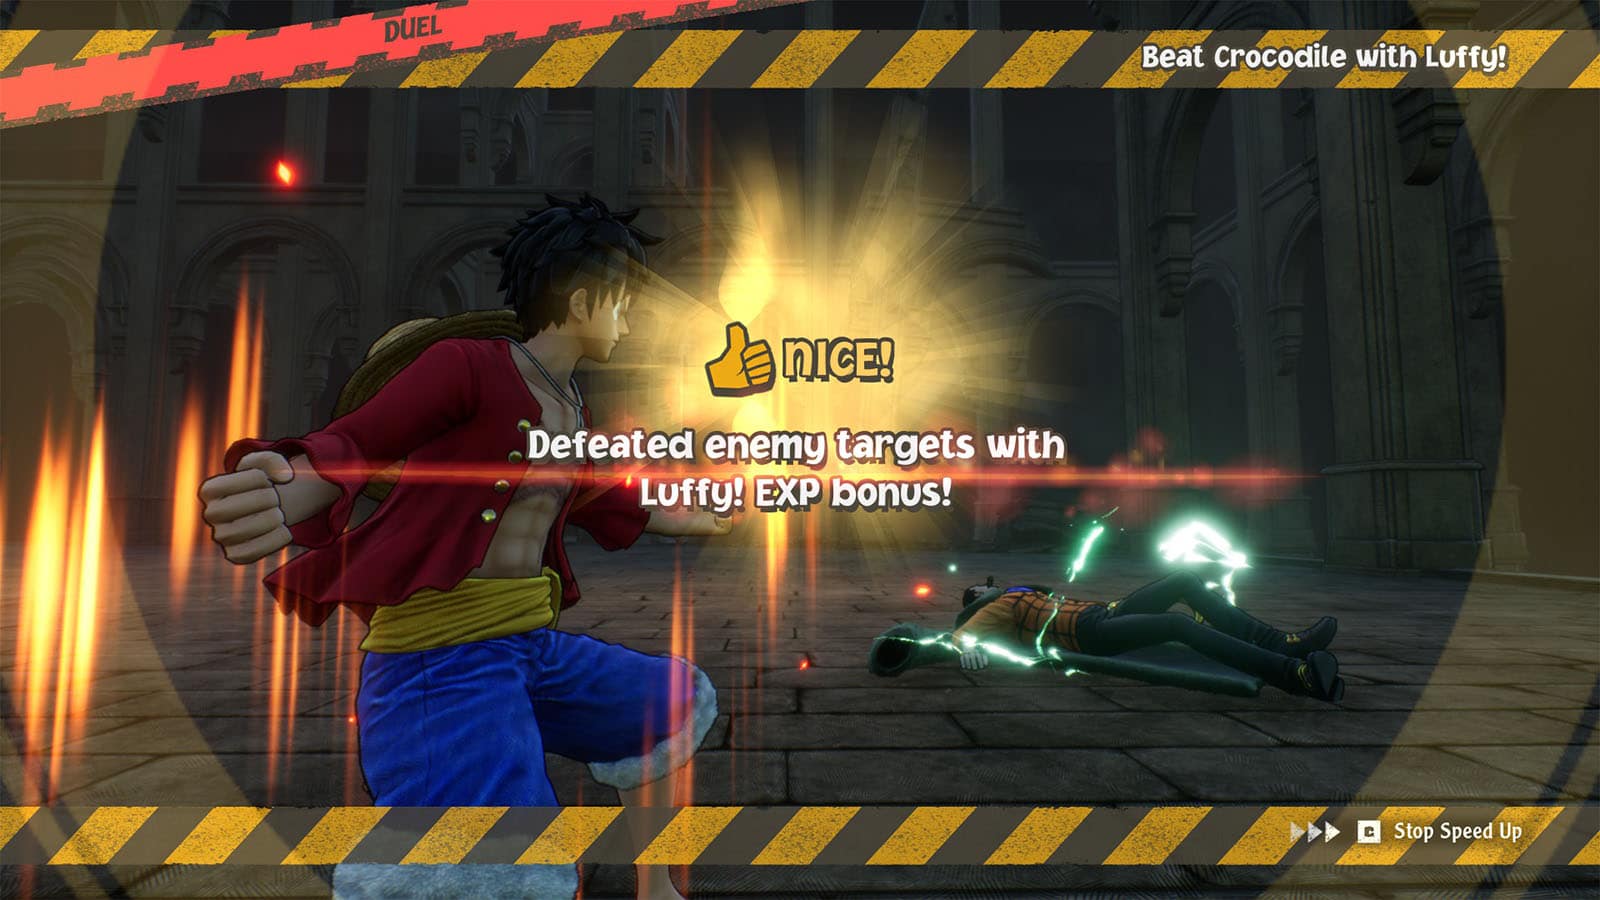
Don’t forget to use the consumables and trick balls if the fight gets too tough. Prepare to get a special objective which requires Luffy to do the finishing blow against Crocodile.
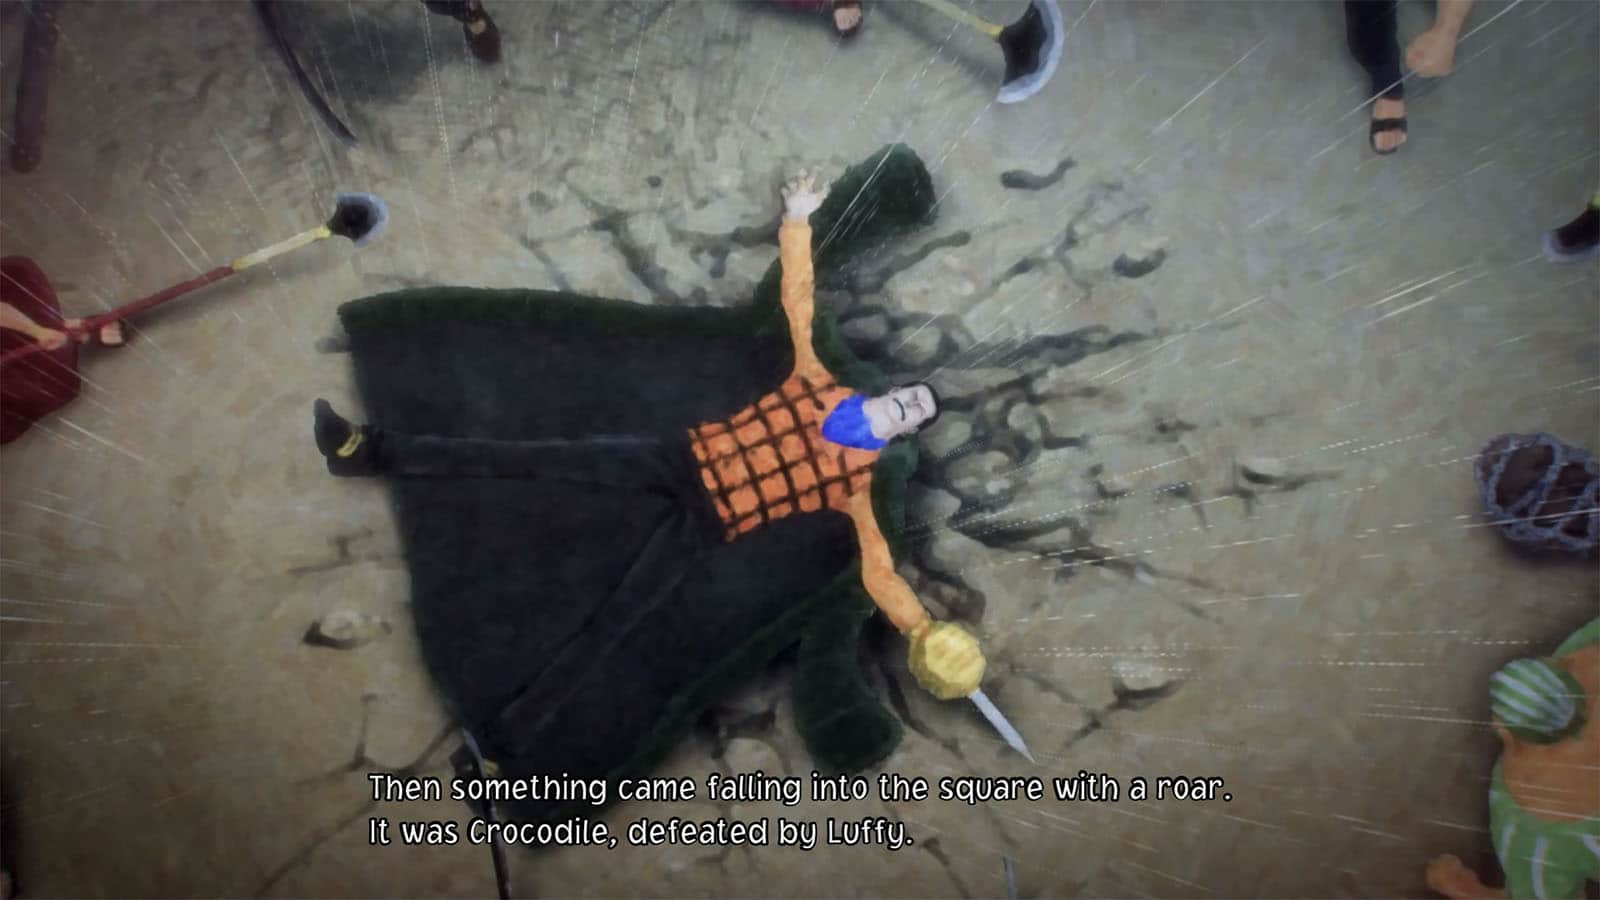
Once Crocodile has been defeated, you’ll receive Crocodile’s Coat that give +372 ATK, and Luffy will also remember his Gum-Gum Storm ability.
See next One Piece Odyssey Meet Up With Your Friends Chapter 2 Walkthrough
If you like this guide, be sure to check out our other One Piece Odyssey articles:
- Will One Piece Odyssey be on Nintendo Switch? (Answered)
- How to unlock secret ending: One Piece Odyssey ending explained
- How to Defeat Divine Breath Final Boss Fight One Piece Odyssey
- One Piece Odyssey Ending Explained
- How Many Chapters in One Piece Odyssey?
- All One Piece Odyssey Outfits & How to Get Them
- Is One Piece Odyssey Multiplayer?
- One Piece Odyssey Berries: How to Earn Money Fast
- One Piece Odyssey Battle Skills Guide
- One Piece Odyssey Length – How long to beat?
- One Piece Odyssey Leveling Guide – How to Level Up Fast
- One Piece Odyssey Trophy Guide & How to Get Platinum
- Is One Piece Odyssey on Game Pass? (Answered)
- One Piece Odyssey Characters: All Playable Party Members
- One Piece Odyssey Voice Actors and Cast List
- One Piece Odyssey Story Explained & Everything You Need to Know
Check out this video by Cyberman65 showing the events in Defeat Crocodile Part 2:


