
Explore the Thunderhead Ruins is the third objective of Chapter 1: Island of Storms in One Piece Odyssey. Luffy and the gang are being accompanied Adio while exploring the Thunderhead Ruins in search for the colossus that is holding the crew’s lost powers.
Read ahead as we go through the events in Explore the Thunderhead Ruins, sharing some tips and tricks, as well as some hints on the whereabouts of the collectibles.
See previous Retrieving Lost Strength Walkthrough One Piece Odyssey
Explore the Thunderhead Ruins Objectives:
- Explore the Thunderhead Ruins
- Defeat the Thunder Colossus
Explore the Thunderhead Ruins
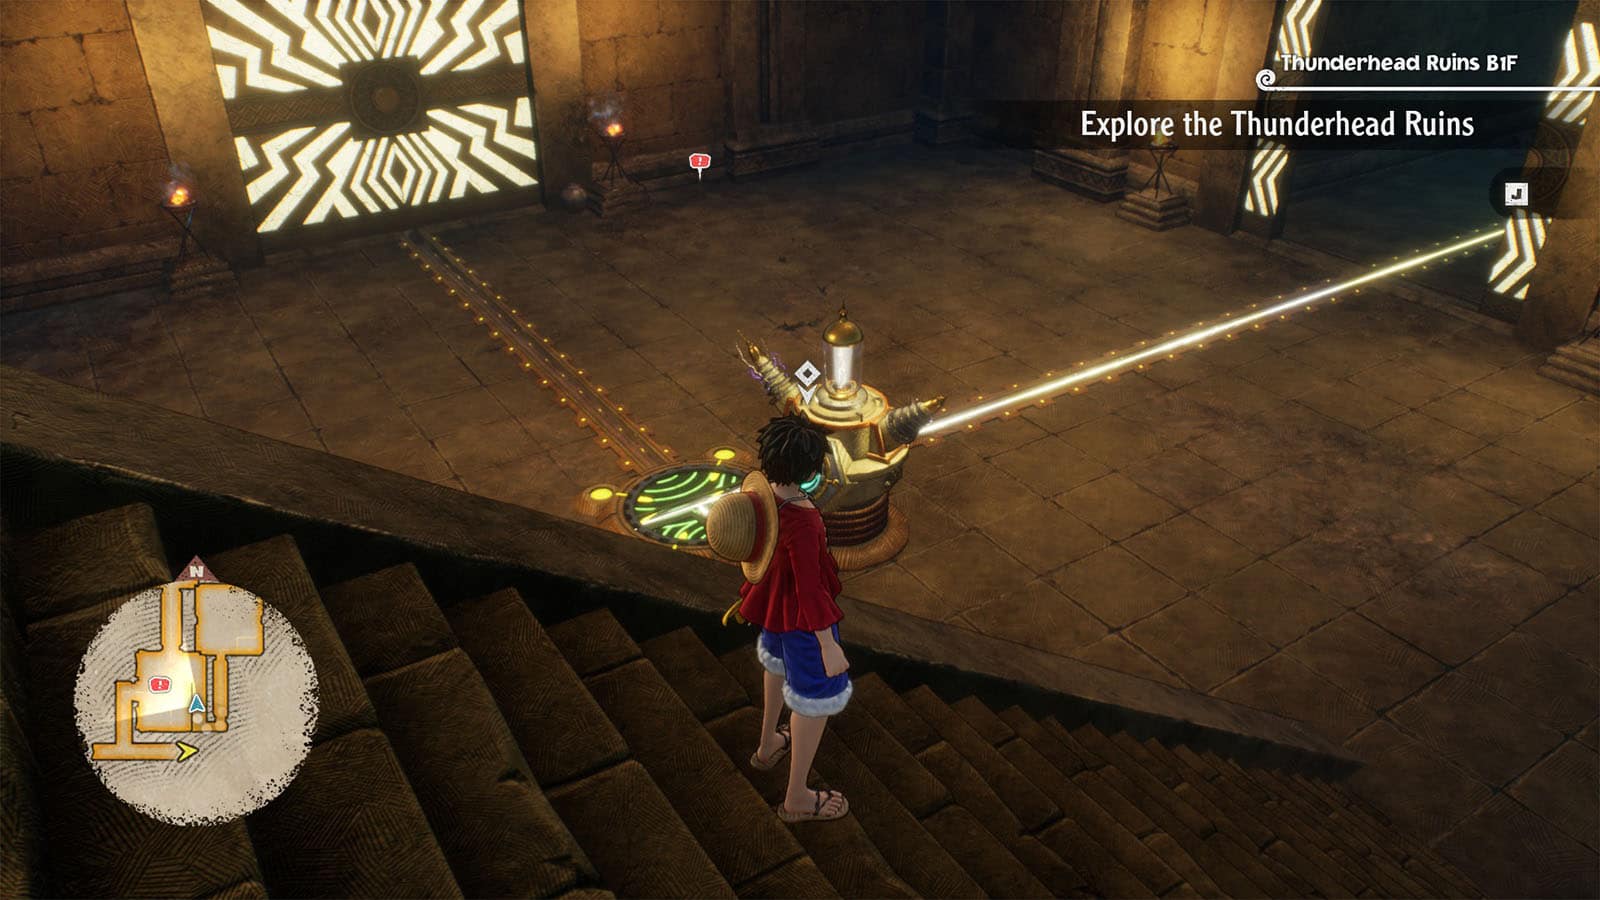
Thunderhead Ruins B1F
Head down the ruins and reach the room with the electric pyres. Then just follow the stairs down into the next room where there is a door puzzle. Push the button on the device twice to make the conduit rotate and power up both doors at the same time.
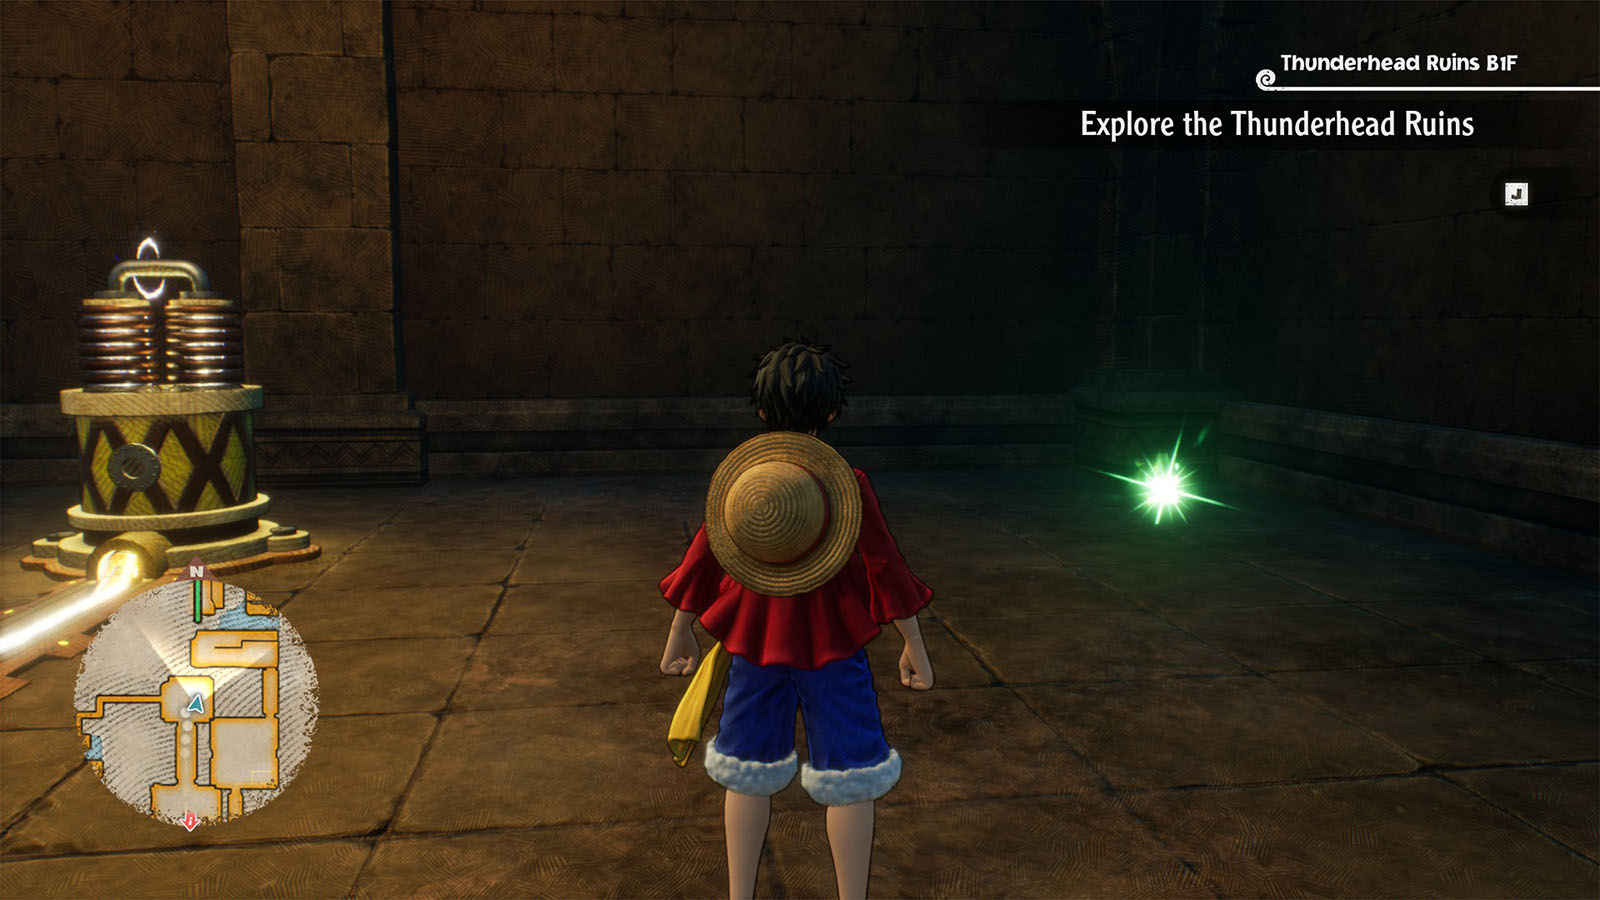
Then, check the next room first to find Zoro’s cube fragment.
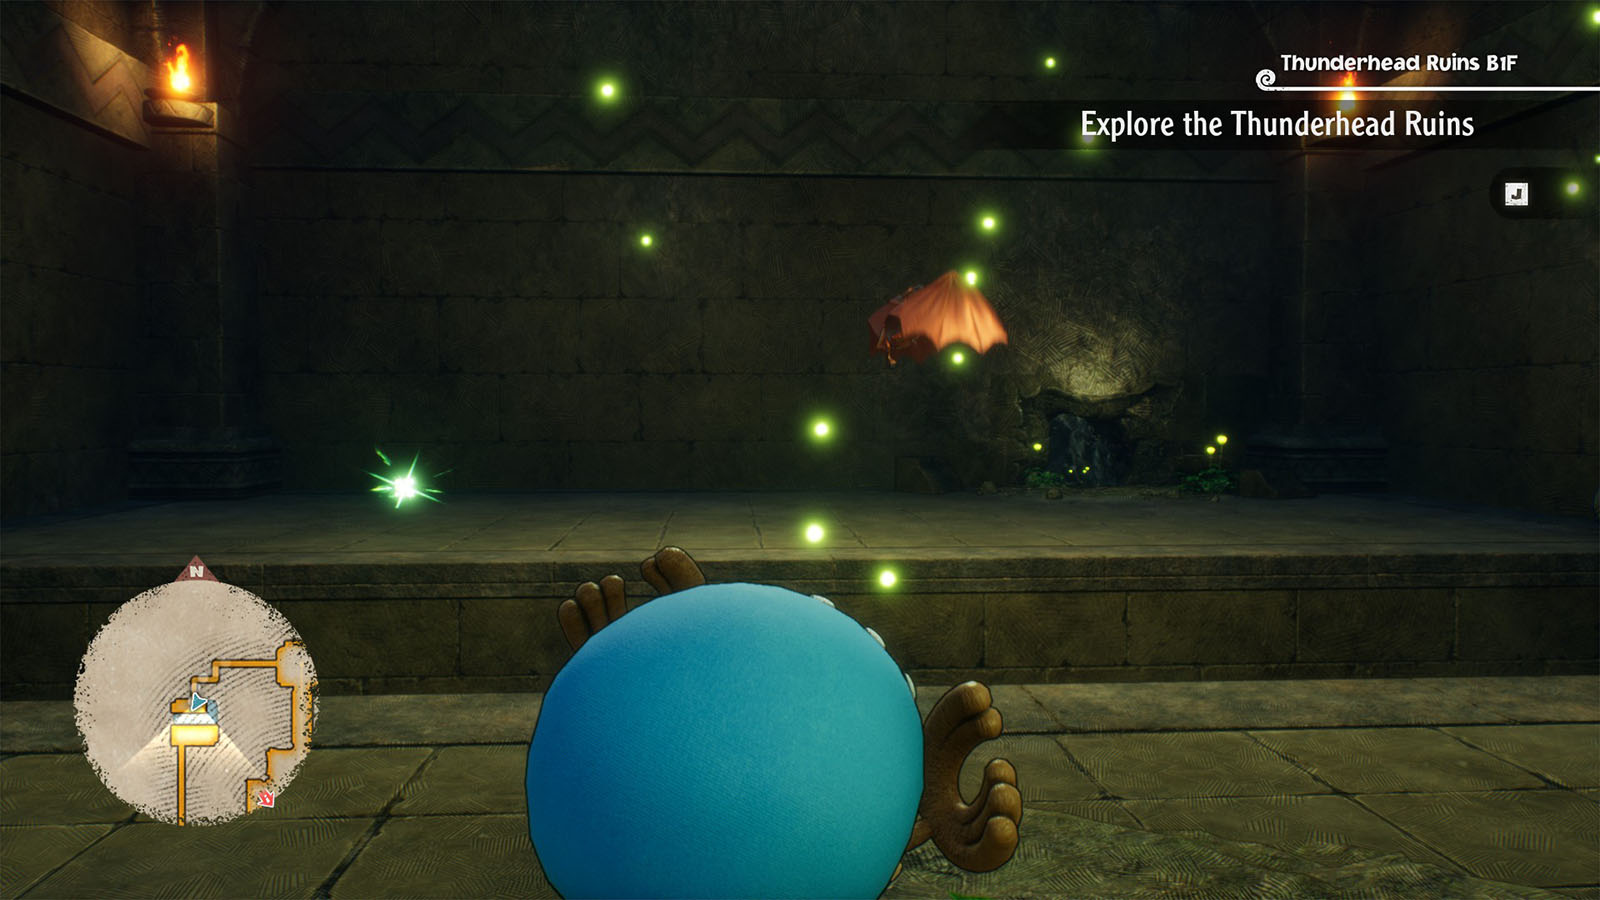
Then, switch to Chopper and go through the hole to the next room. Take the Fire Element Jewelry from the chest, then defeat the enemy on the other side. Grab another one of Zoro’s cube fragment. Continue up ahead where you’ll arrive at the same spot where the other door leads to.
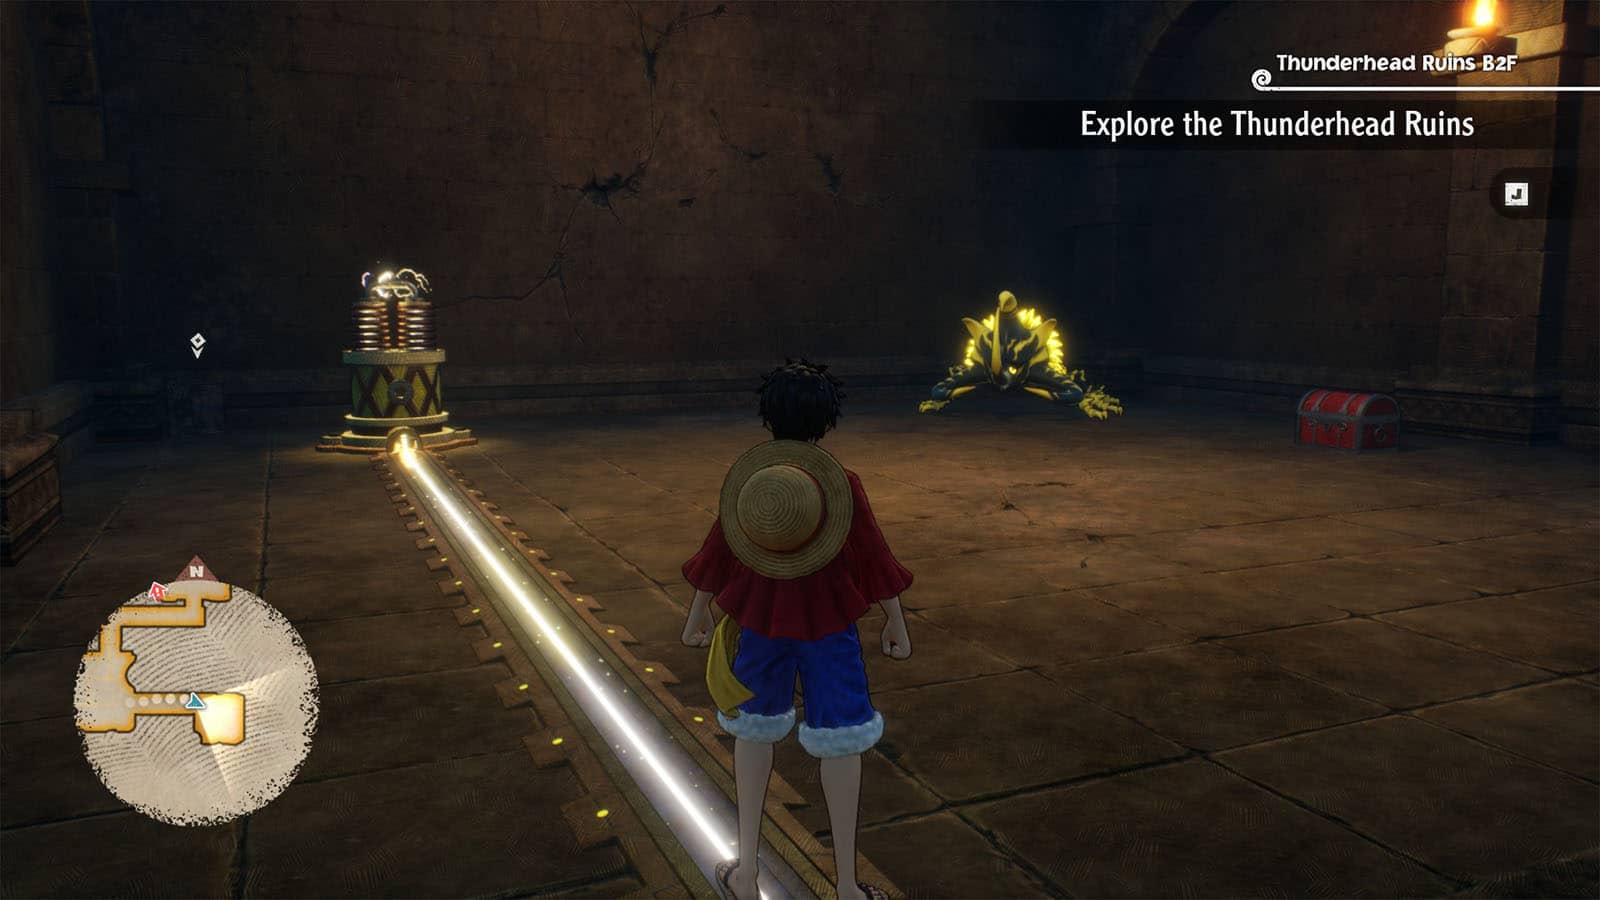
Thunderhead Ruins B2F
You’ll arrive at another puzzle room with two devices. Push the buttons on the devices twice to open both doors.
Check the room on the right first to fight a Shock Kabuto and then check the chest for an ATK +87 Badge.
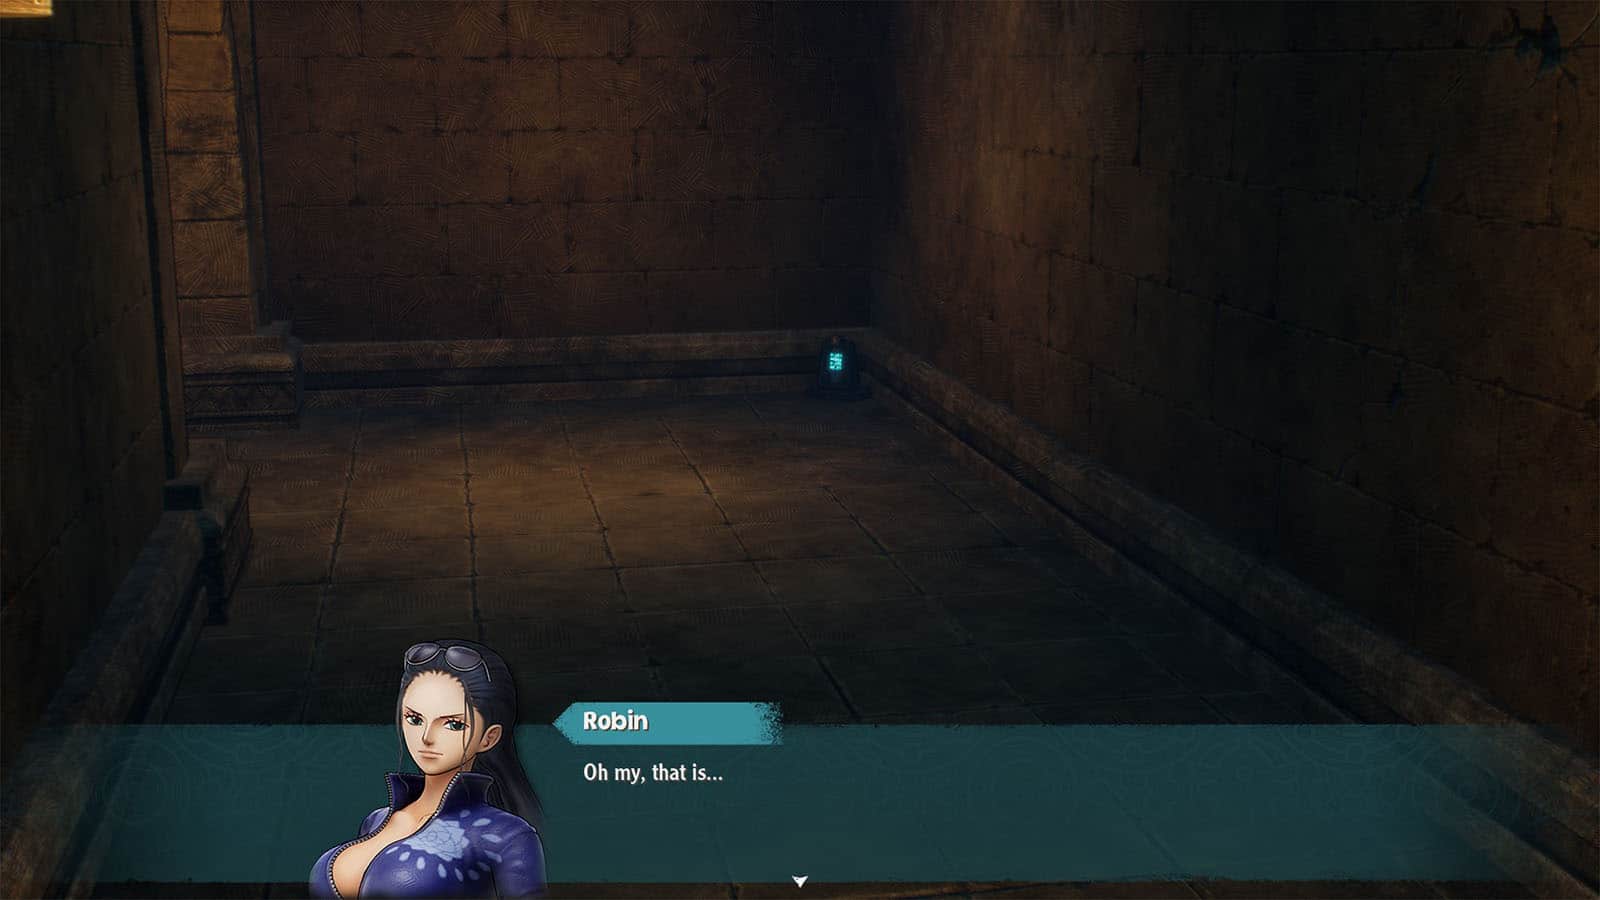
Go back then head to the next room where Robin will find the Thunder Tablet, then clear the next room to get the Golden Jelly from the chest.
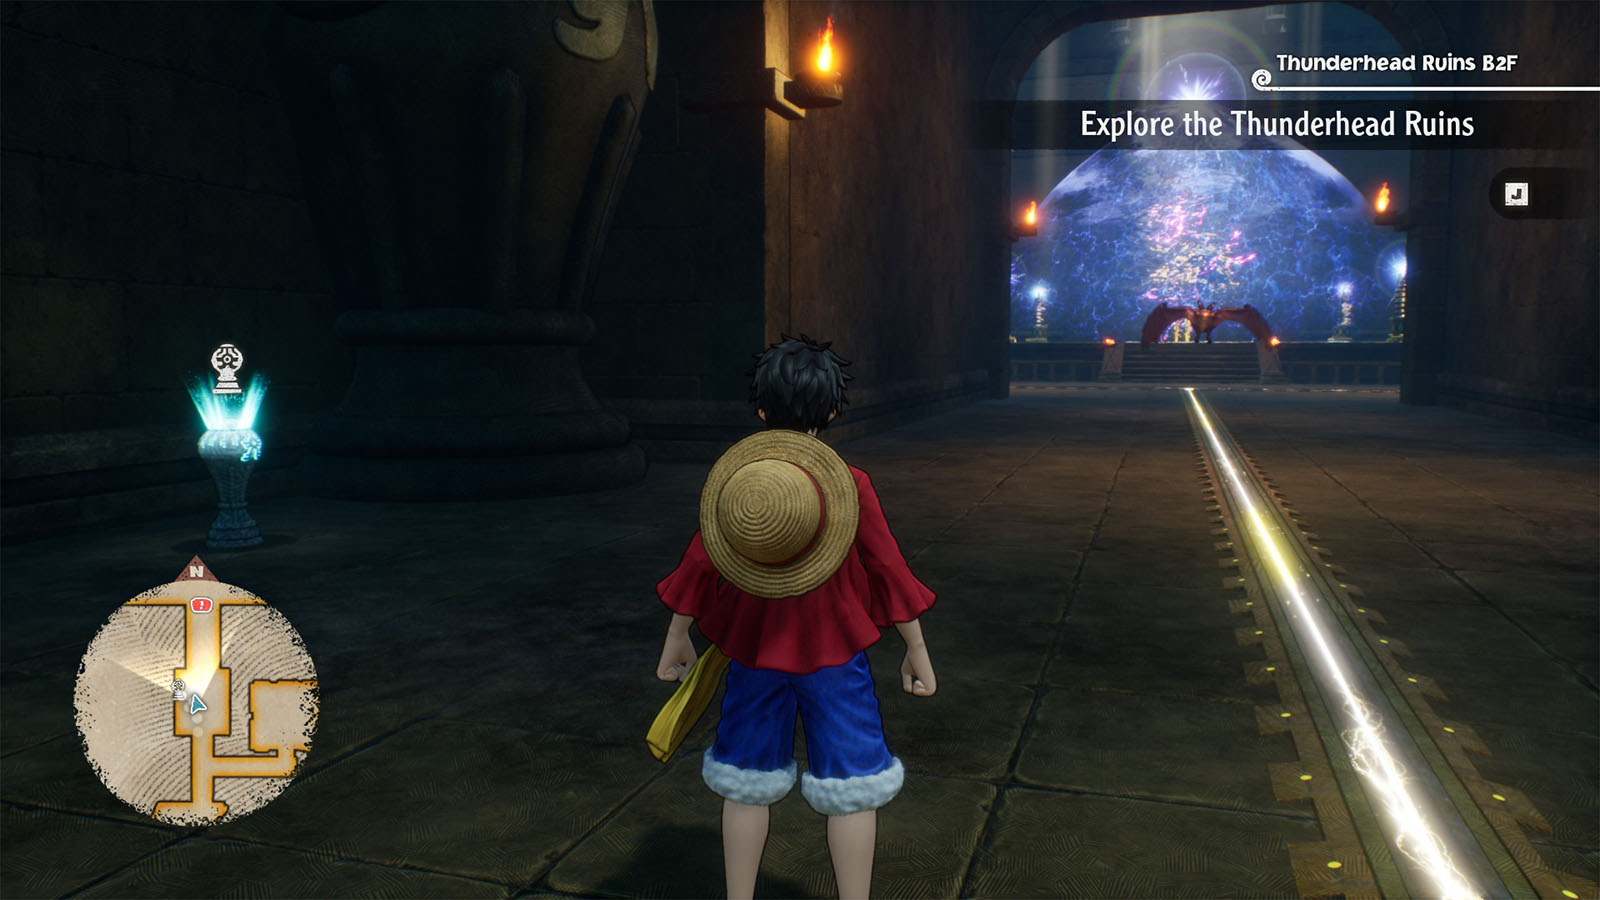
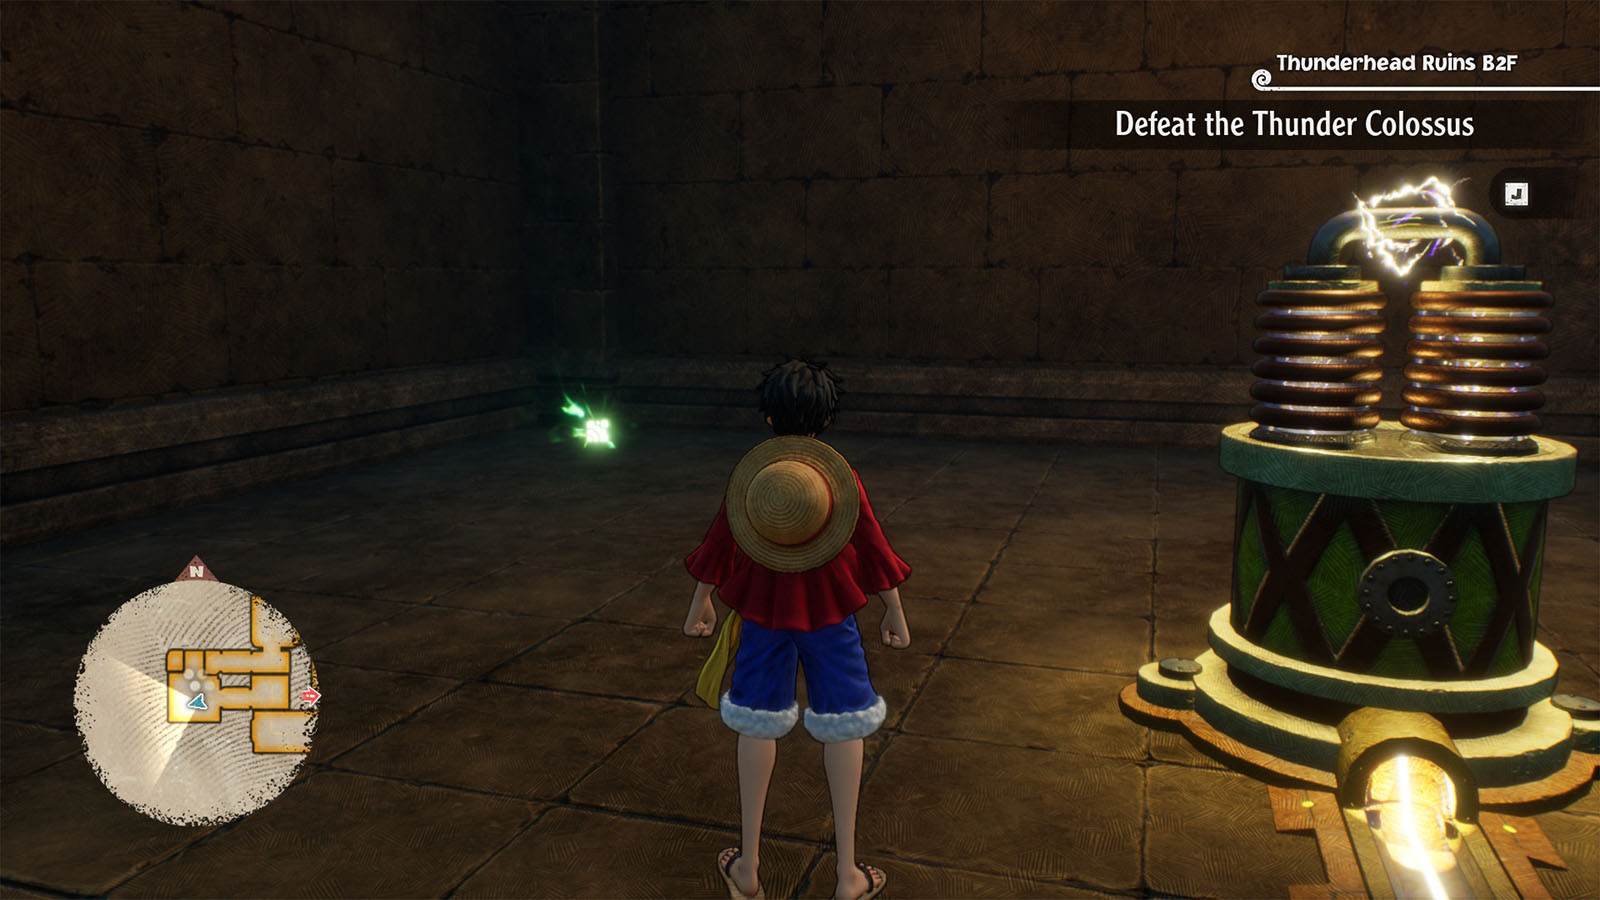
Go back to the fork in the path and head to the main hall where there’s a save point and a mysterious device ahead.
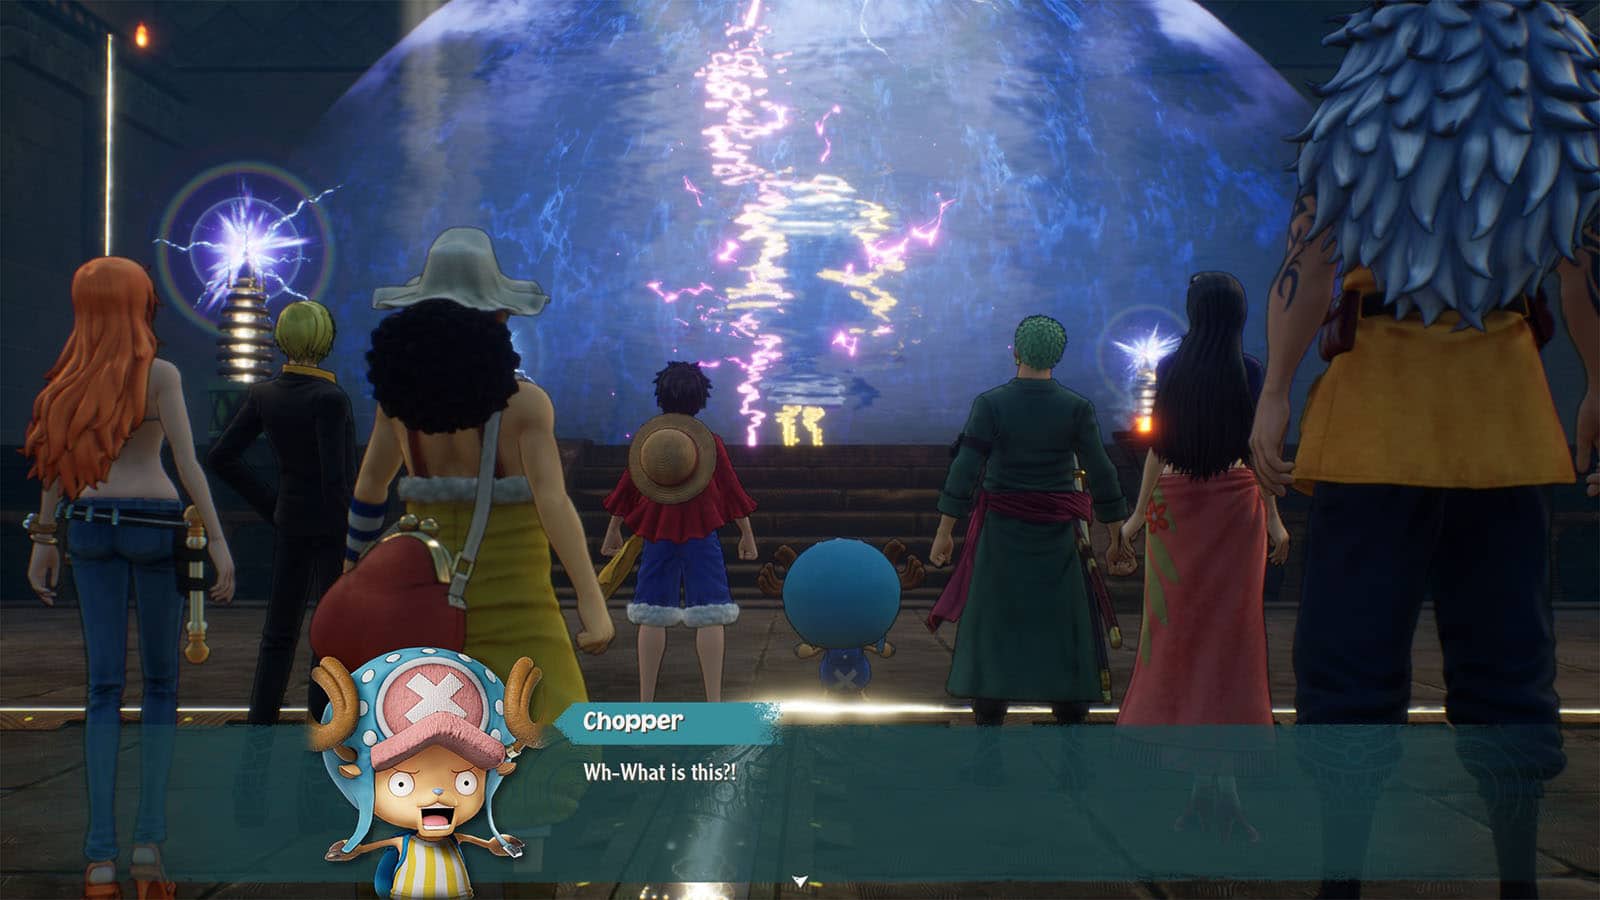
Defeat the Thunder Colossus
At the end of the hall is the Thunder Colossus inside an electric barrier. You’ll need to disable the barrier first before you can fight it.
Head to the left side and climb the ladder. Then push the button twice to open both doors and deactivate one of the pylons holding the barrier.
Continue to the room on the left, then defeat the enemy and pick up Zoro’s cube fragment.
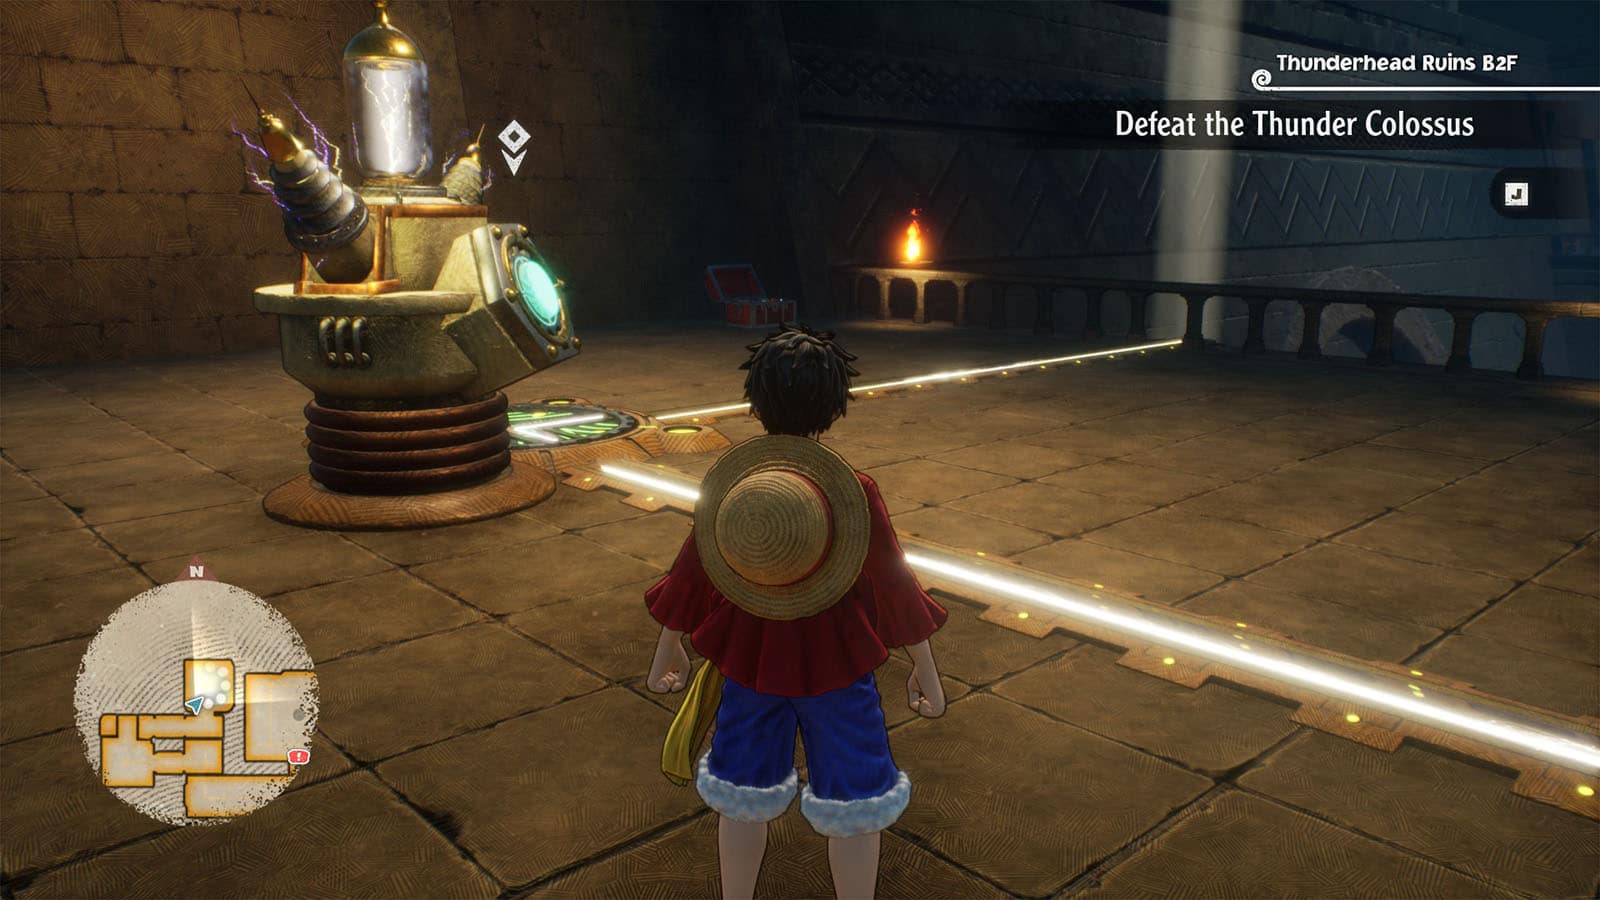
Move up the ledges to reach the upper floor, and then push the button on the device once to deactivate the next pylon.
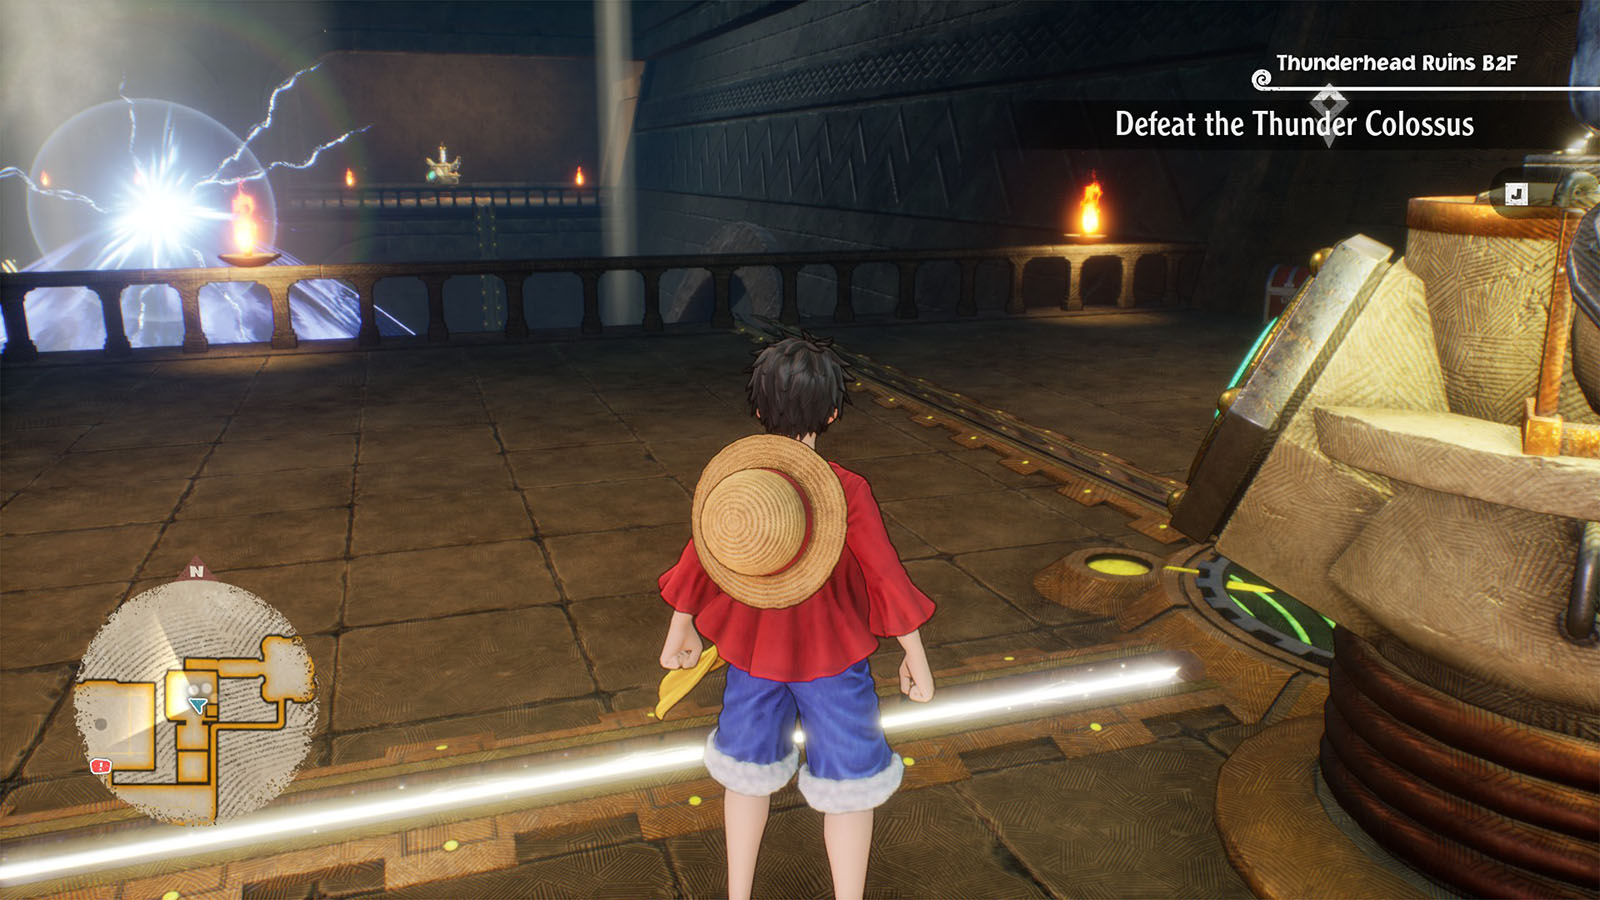
Head back down and go to the other side of the room for the next two pylons. Use Chopper to go through the hole. Keep following the path until you reach the wall with the roots. Climb up the roots and you’ll arrive at another switch; press it once to deactivate the third barrier.

Just in the other room is where you can get Sanji’s cube fragment.
Go down to the next switch and pus it once to deactivate the last pylon. You can then go down and head back to the save point to save the game first before facing the colossus.
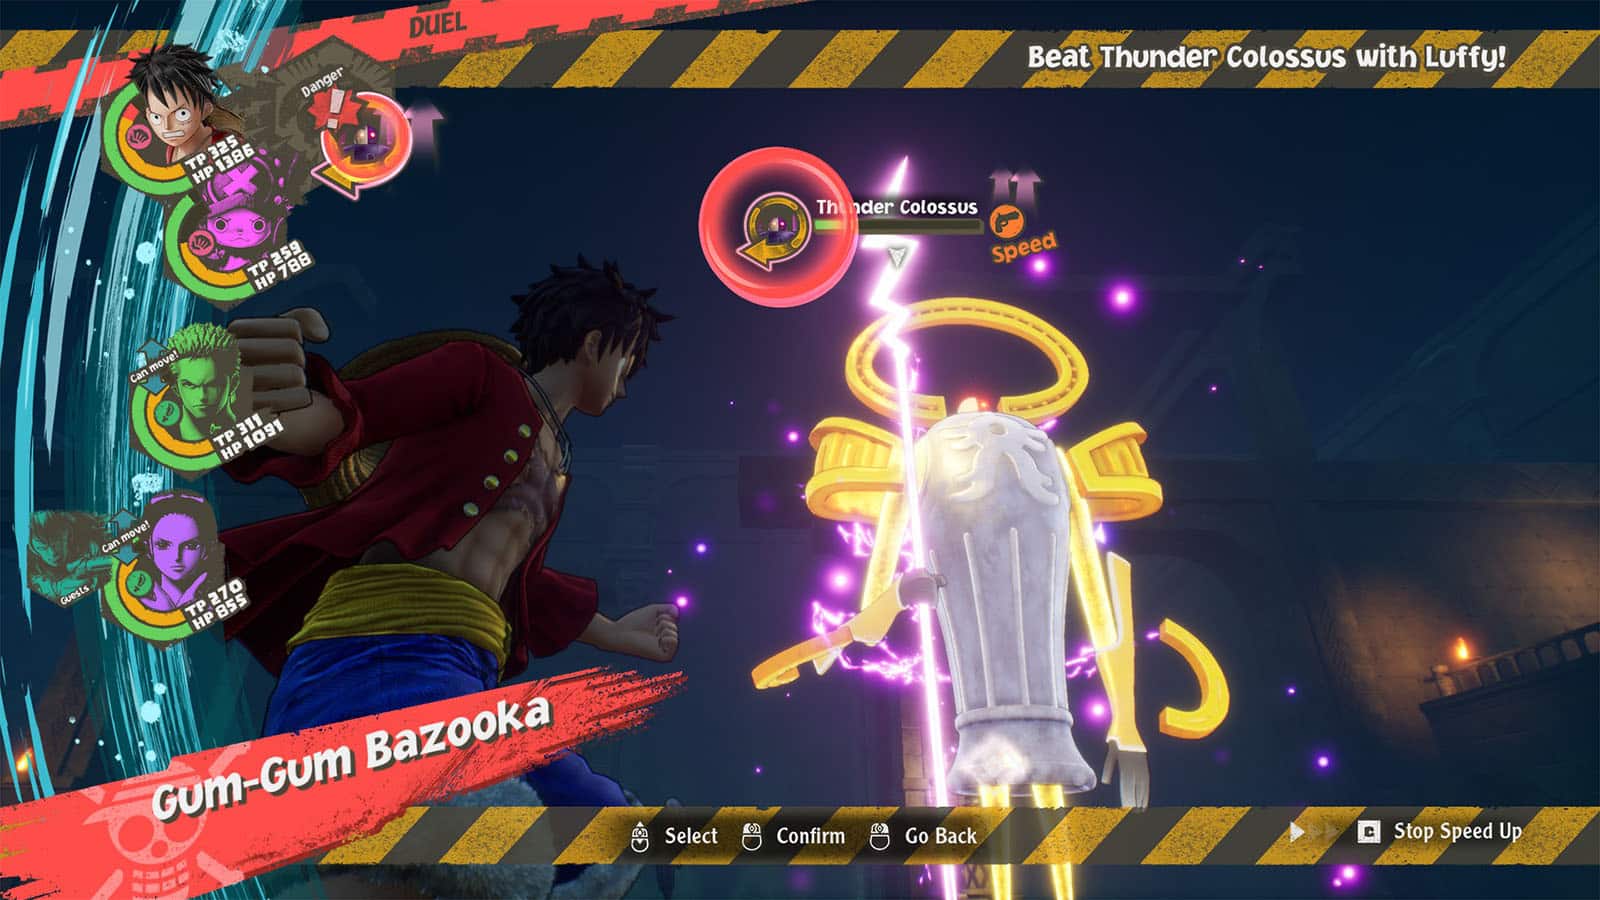
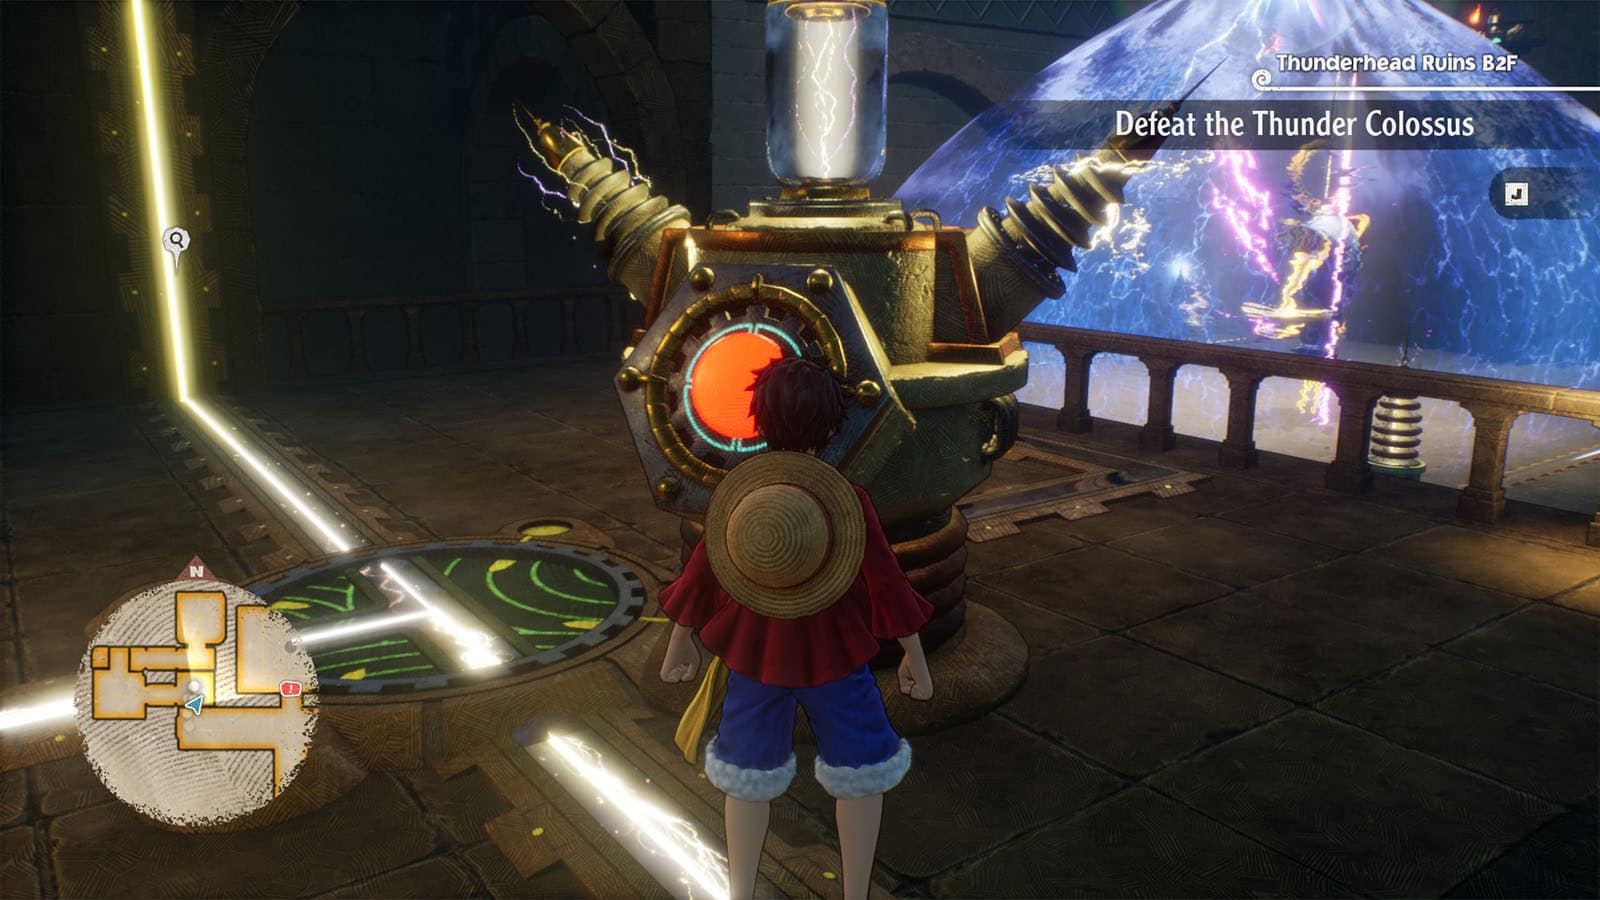
Head towards the Thunder Colossus to engage with it. It’s a Speed type, so Power types like Luffy and Chopper are effective against it. In the middle of the fight, an optional objective will appear where you have to land the final blow with Luffy. In case it’s not Luffy’s turn, you can stall by letting the other members use healing items instead. Completing the objective will double the amount of exp that you’ll get.

After the fight, you’ll then receive the Thunder Colossus Core.
See next Regain Strength Walkthrough One Piece Odyssey
If you like this guide, be sure to check out our other One Piece Odyssey articles:
- Will One Piece Odyssey be on Nintendo Switch? (Answered)
- How to unlock secret ending: One Piece Odyssey ending explained
- How to Defeat Divine Breath Final Boss Fight One Piece Odyssey
- One Piece Odyssey Ending Explained
- How Many Chapters in One Piece Odyssey?
- All One Piece Odyssey Outfits & How to Get Them
- Is One Piece Odyssey Multiplayer?
- One Piece Odyssey Berries: How to Earn Money Fast
- One Piece Odyssey Battle Skills Guide
- One Piece Odyssey Length – How long to beat?
- One Piece Odyssey Leveling Guide – How to Level Up Fast
- One Piece Odyssey Trophy Guide & How to Get Platinum
- Is One Piece Odyssey on Game Pass? (Answered)
- One Piece Odyssey Characters: All Playable Party Members
- One Piece Odyssey Voice Actors and Cast List
- One Piece Odyssey Story Explained & Everything You Need to Know
Check out this video by BennyBiohazard showing the events in Explore the Thunderhead Ruins:


