
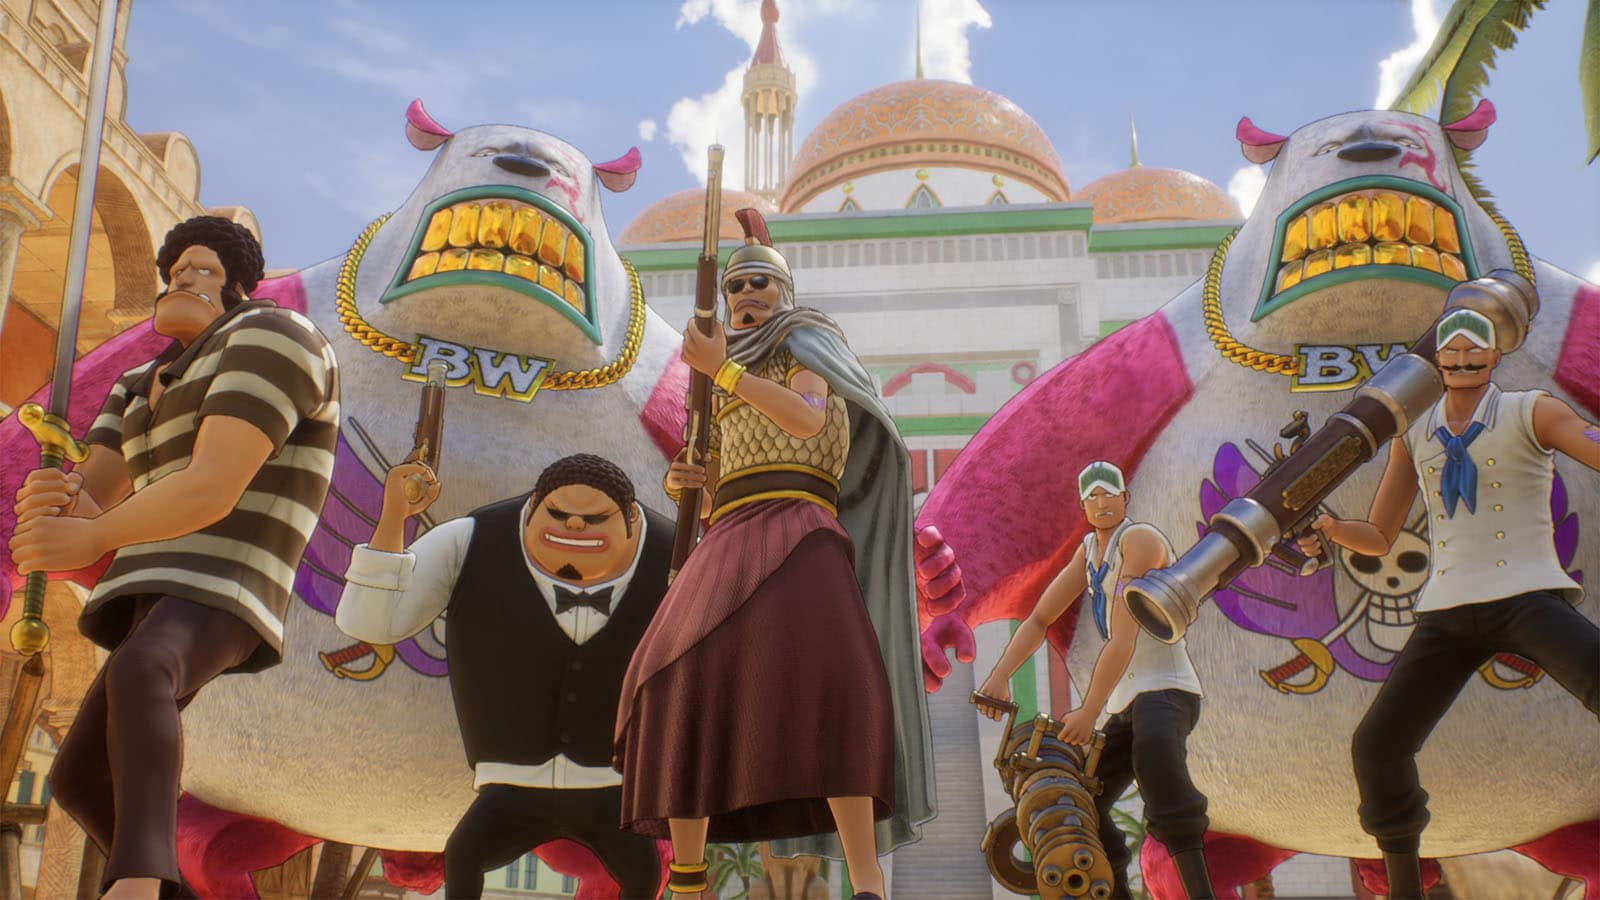
Get Vivi Back is the sixth objective of Chapter 2: Memories of the Desert Kingdom, Alabasta in One Piece Odyssey. Following the commotion in the Marine’s checkpoint, it turns out that the sailors were actually fake ones who work for the Baroque works. The Straw Hats then work quickly to retrieve the princess from her captors.
Read ahead as we go through the events in Get Vivi Back, sharing some tips and tricks, as well as some hints on the whereabouts of the collectibles.
See previous One Piece Odyssey Stop Crocodile's Plans Chapter 2 Walkthrough
Get Vivi Back Objectives
- Chase the Fake Sailor
- Surface, then head to Alubarna
- Head to the Castle
- Meet Up With Your Friends
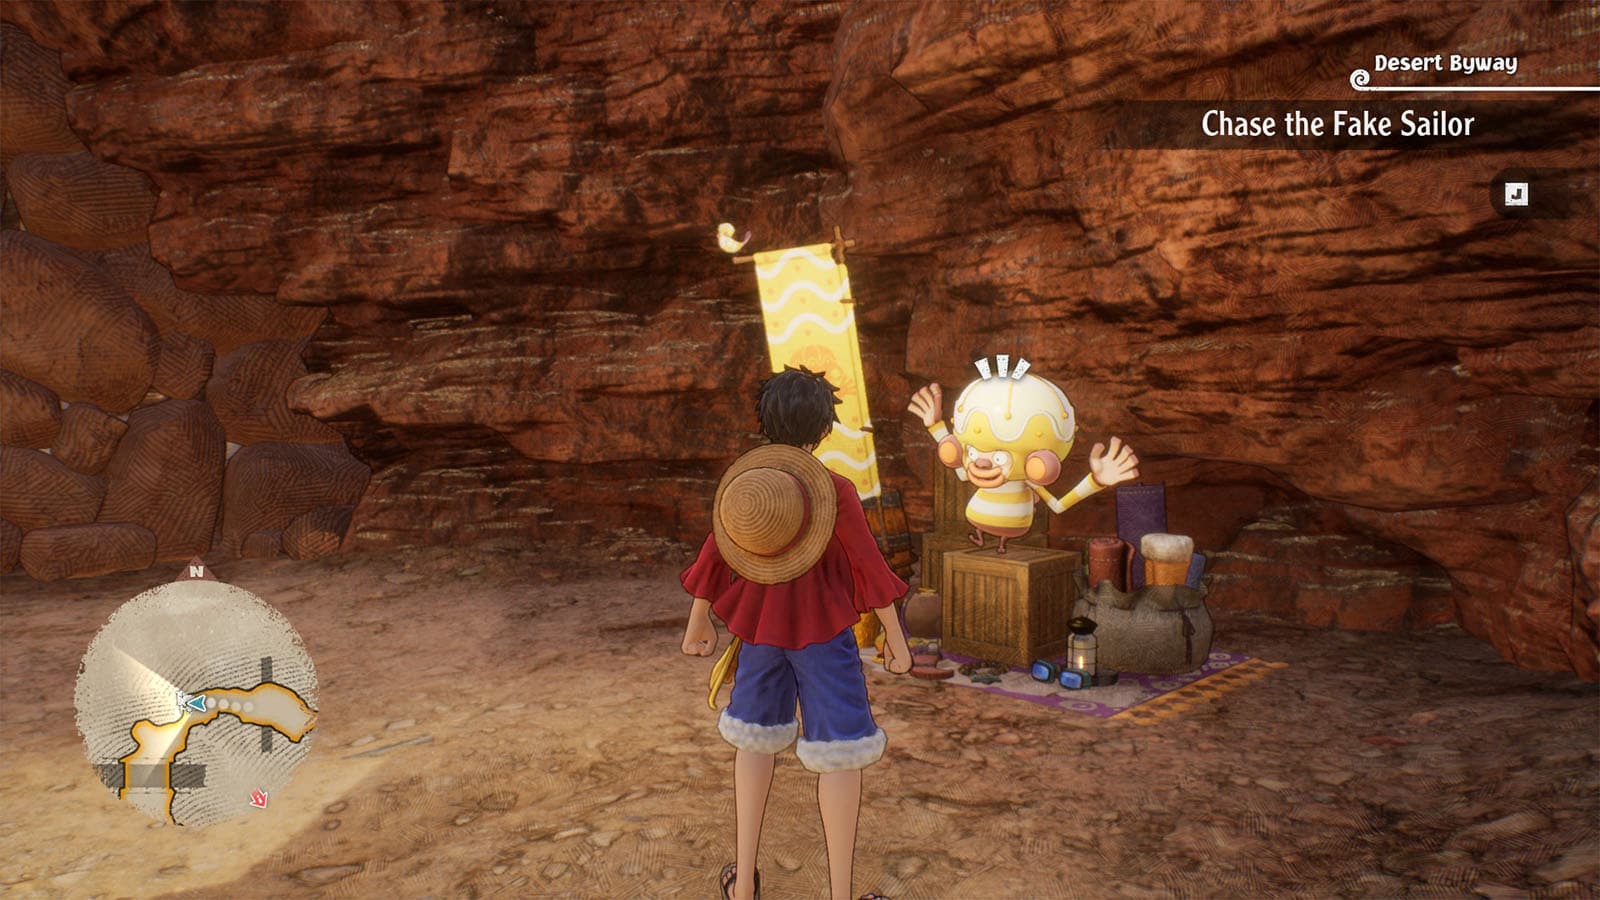
Chase the Fake Sailor
Chase the fake sailors down the canyon. You’ll find another Yoisa along the way, so take the time to check its wares and see anything that might be useful for your crew. Continue down the path by defeating the patrolling bandits and breaking the rock walls.
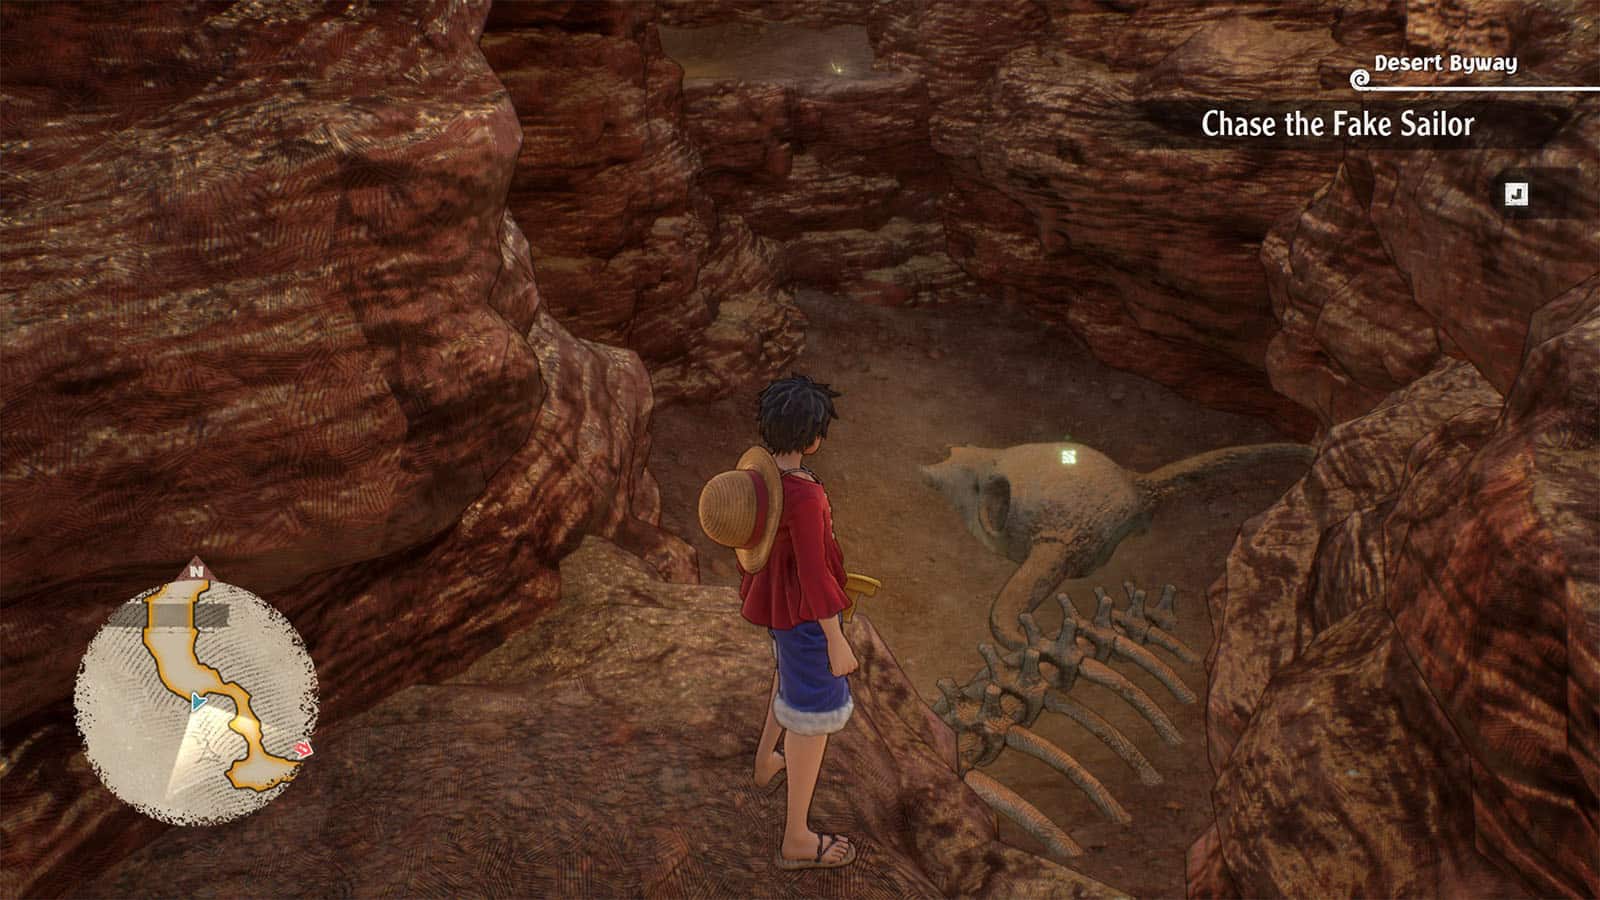
Just before you break the second rock wall, look down the pit on the left to find Luffy’s cube fragment.
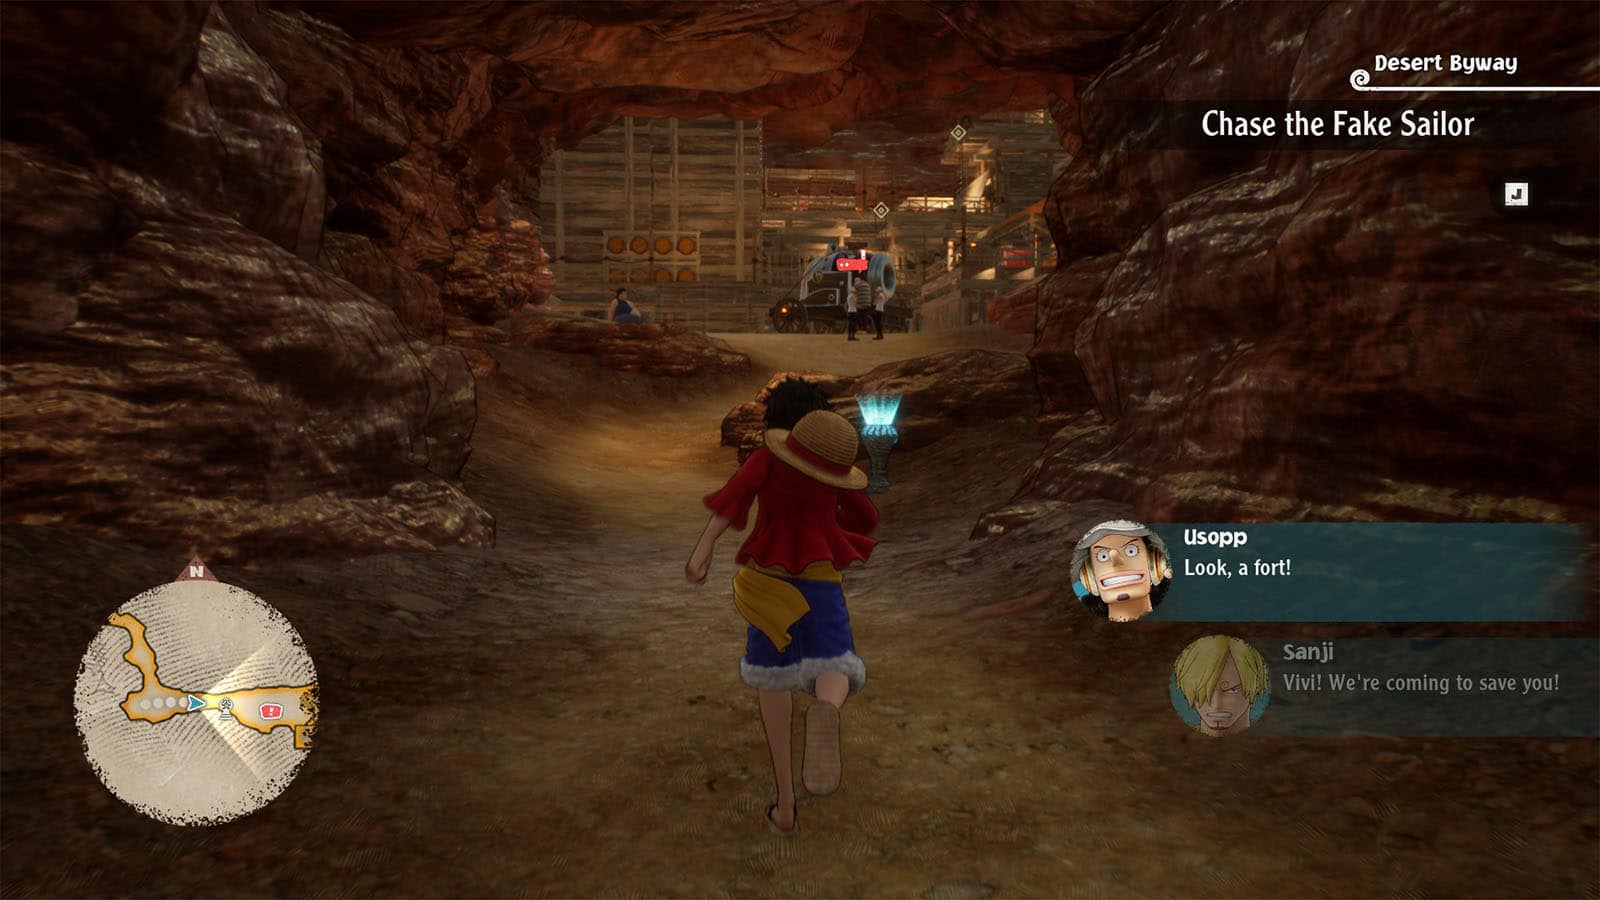
Baroque Works Hideout
You’ll arrive at the Baroque Works Hideout where the fake sailors took Vivi. Engage with the enemies and defeat them. Afterwards, they will reveal that Vivi is no longer there and has been taken into Alubarna.
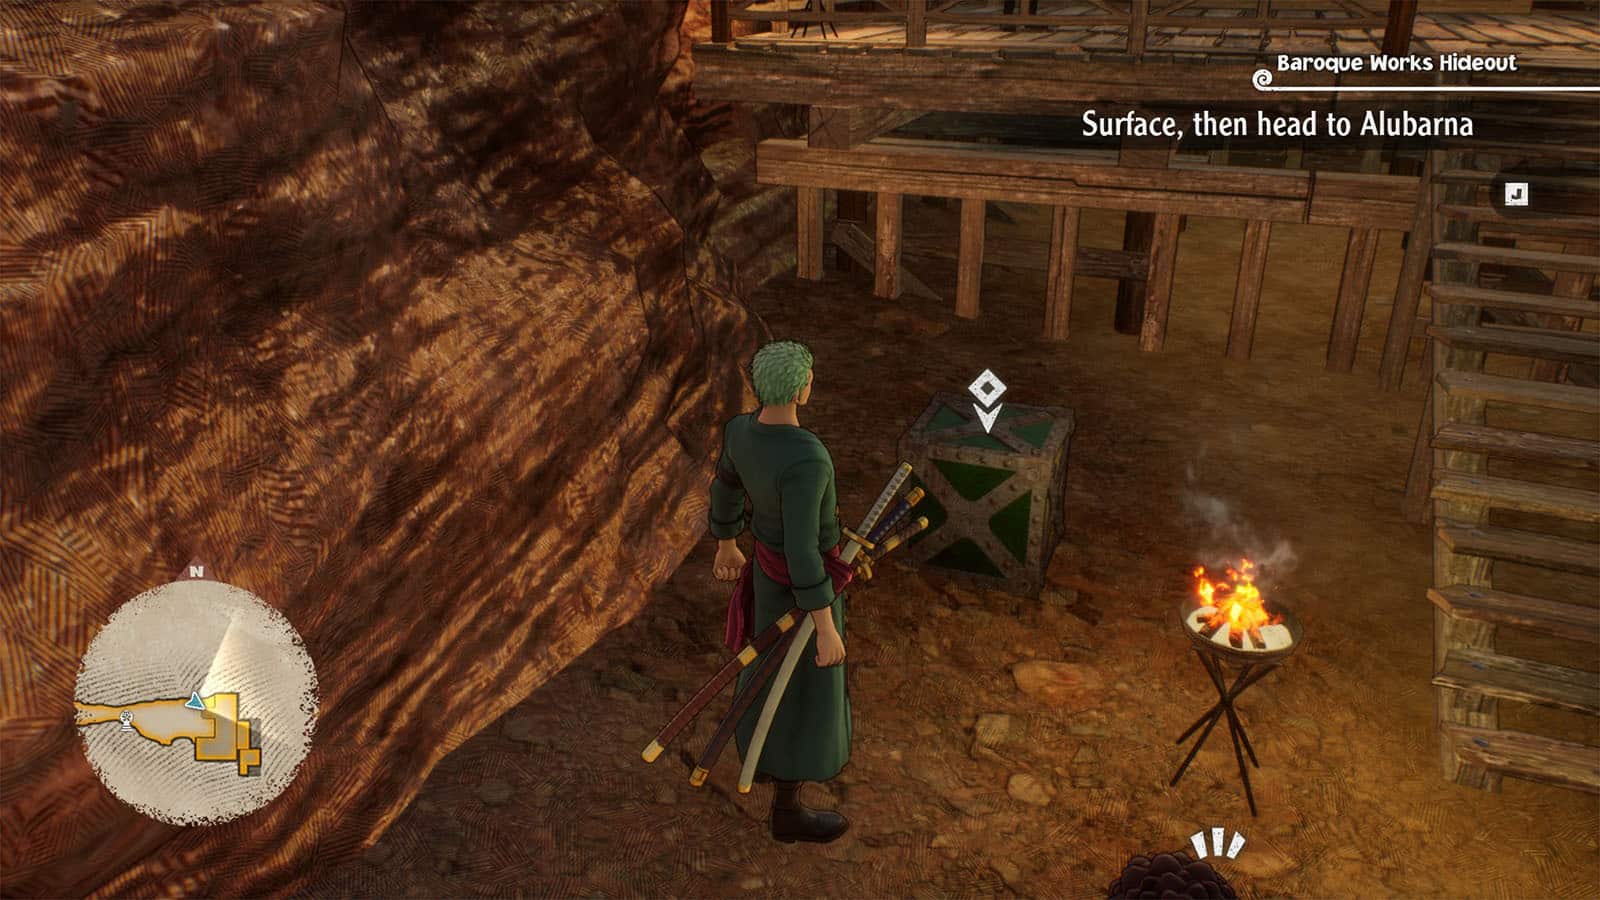
Before heading back, take the time to explore the hideout. Zoro will also be able to cut down iron boxes from here on out.
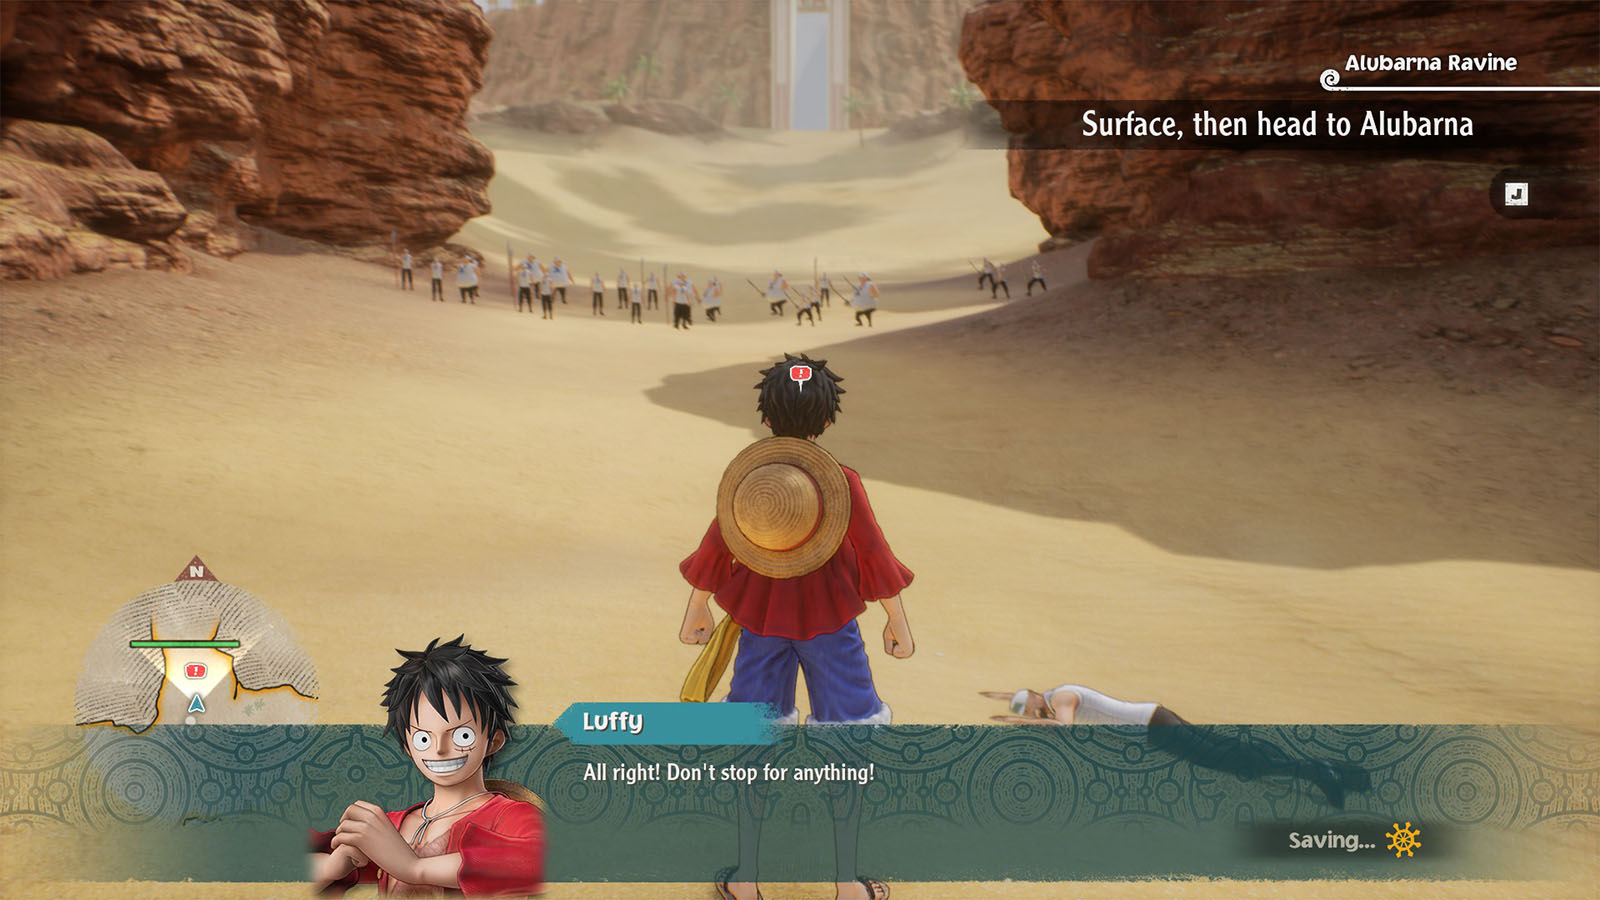
Surface, then head to Alubarna
Once you’re done with the hideout, take the ladders all the way to the top where you’ll resurface back into the Royal Army Garrison.
Alubarna Ravine
Go back to the Marine checkpoint and engage the fake sailors blocking the way.
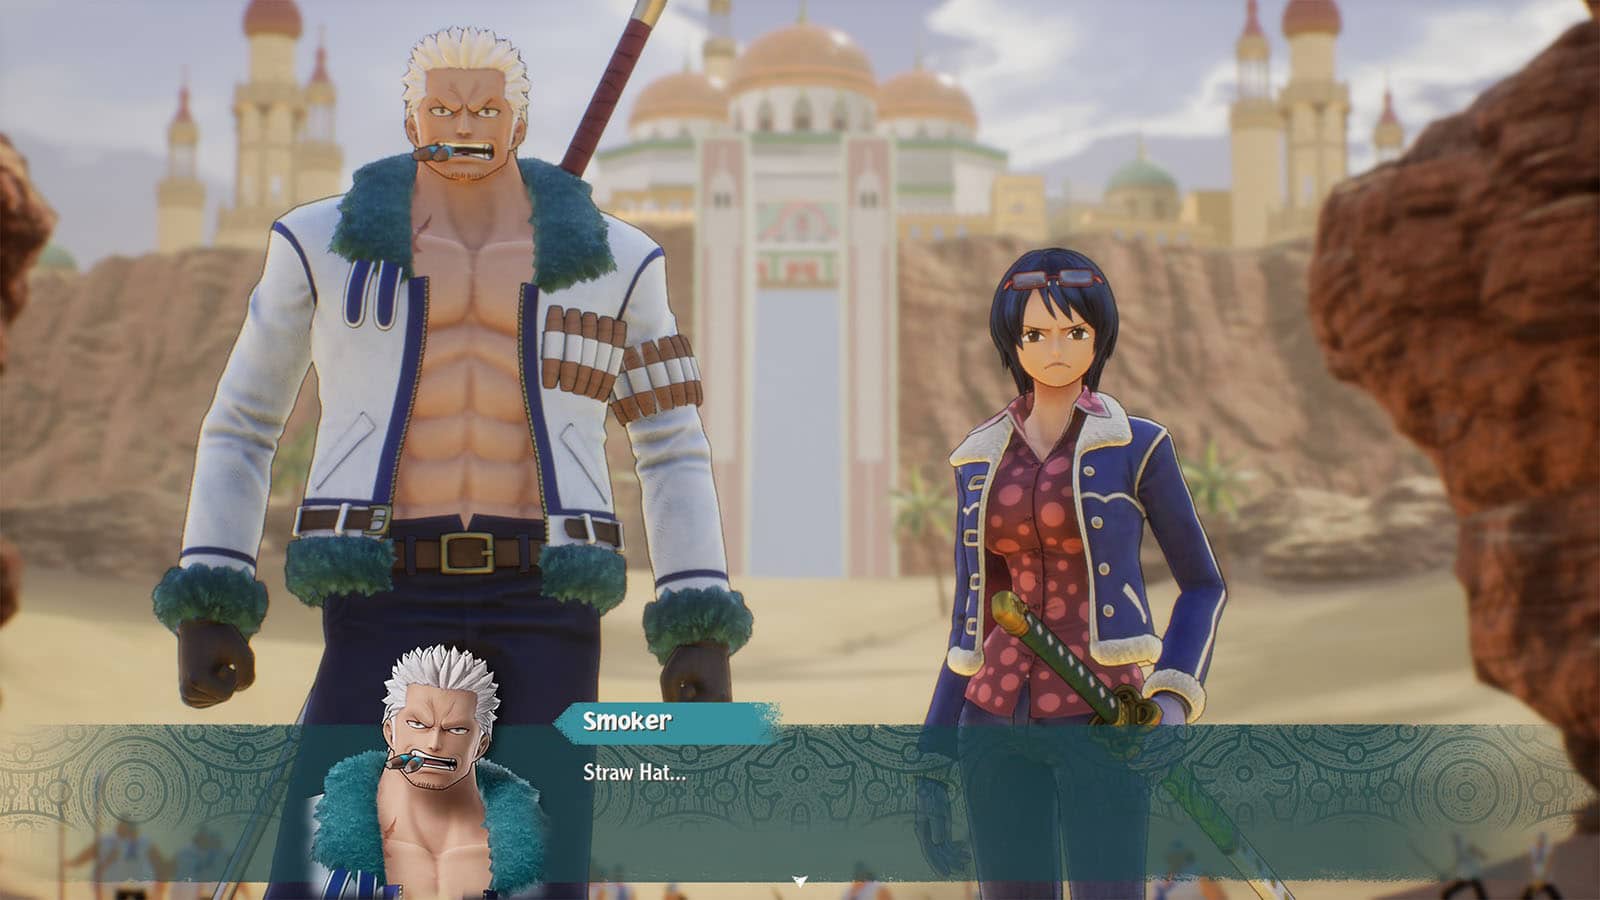
After clearing the first wave, Smoker will arrive along with his right hand Tashigi to fight the crew. Defeating the other members of the opposing enemies will increase Smoker’s attack, so prepare to heal up Luffy who will most likely be facing directly against him.
Midway through the fight, a special objective will appear which requires beating Smoker with Luffy. Despite none of Luffy’s skills affect Smoker, his Bond attack can deal some decent damage, so make sure that you have enough bond charge saved up and make sure to have the other members help whittle down Smoker’s health just enough for Luffy to deal the final blow.
Once the fight is over, you’ll receive Smoker’s Jacket and Tashigi’s Power.
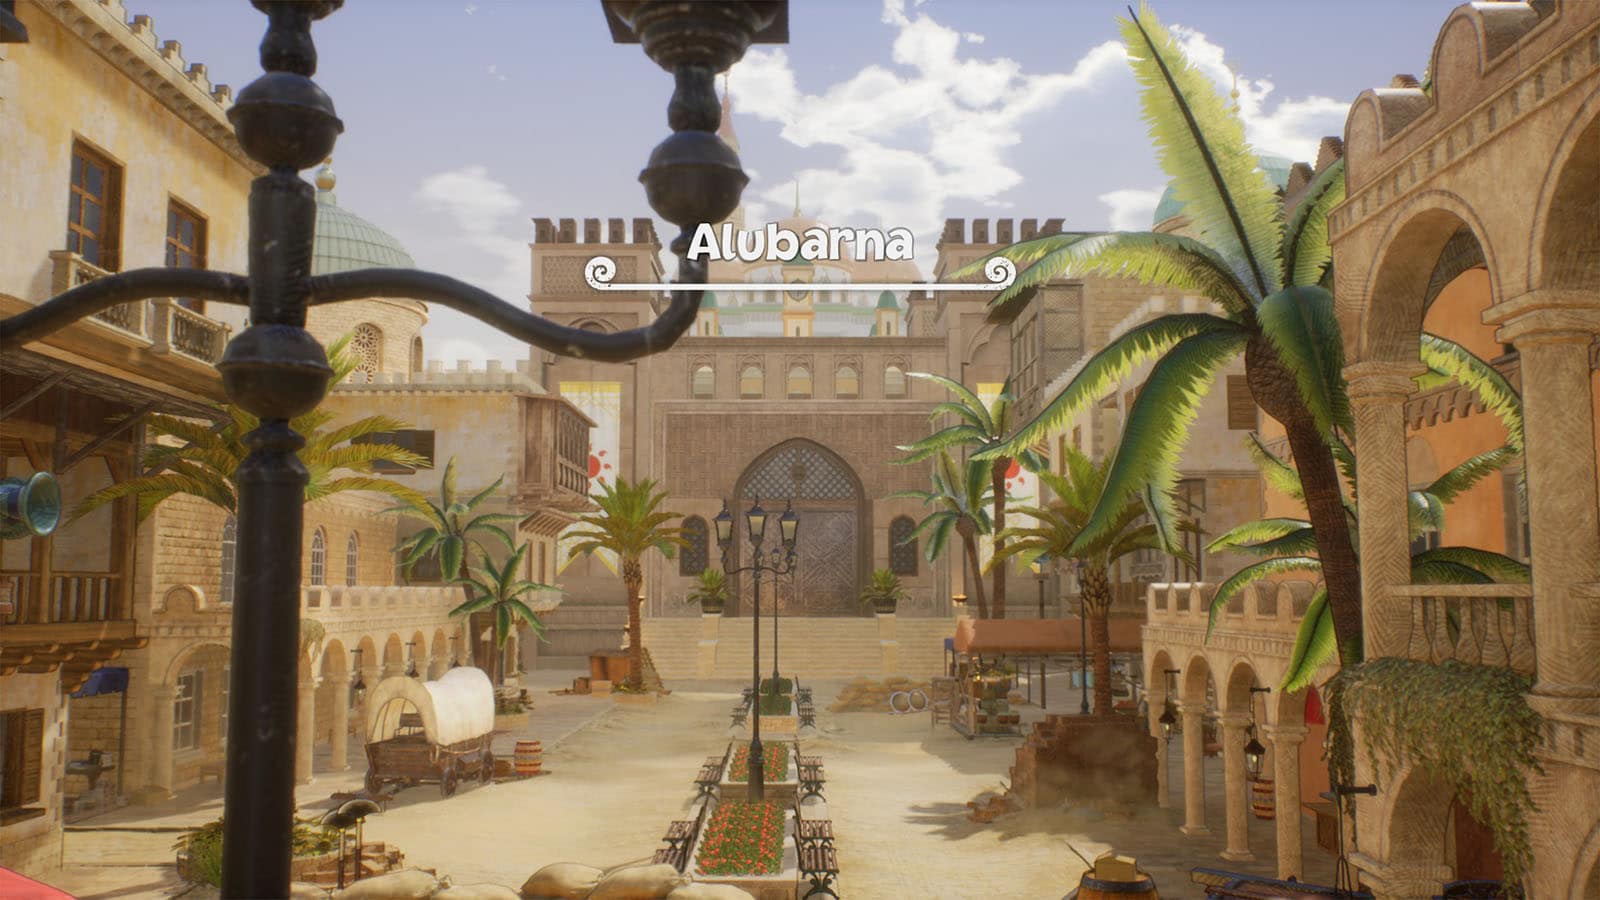
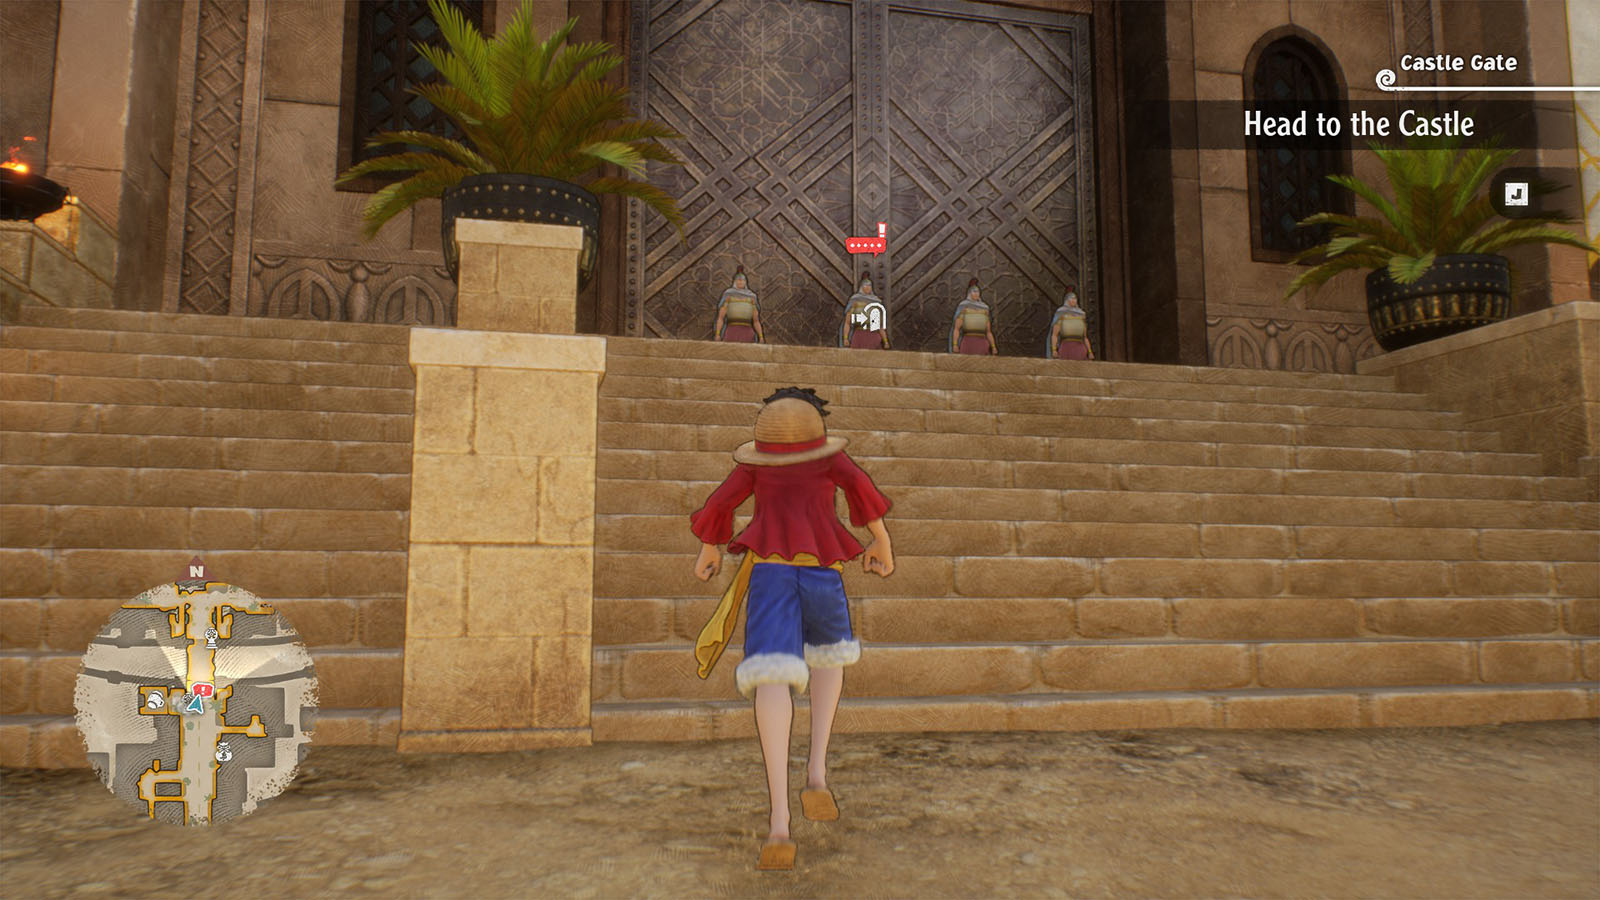
Head to the Castle
Palace Highway
The path to the palace has been guarded off by the Royal Army soldiers, so try to use the back streets to go around the blockades.
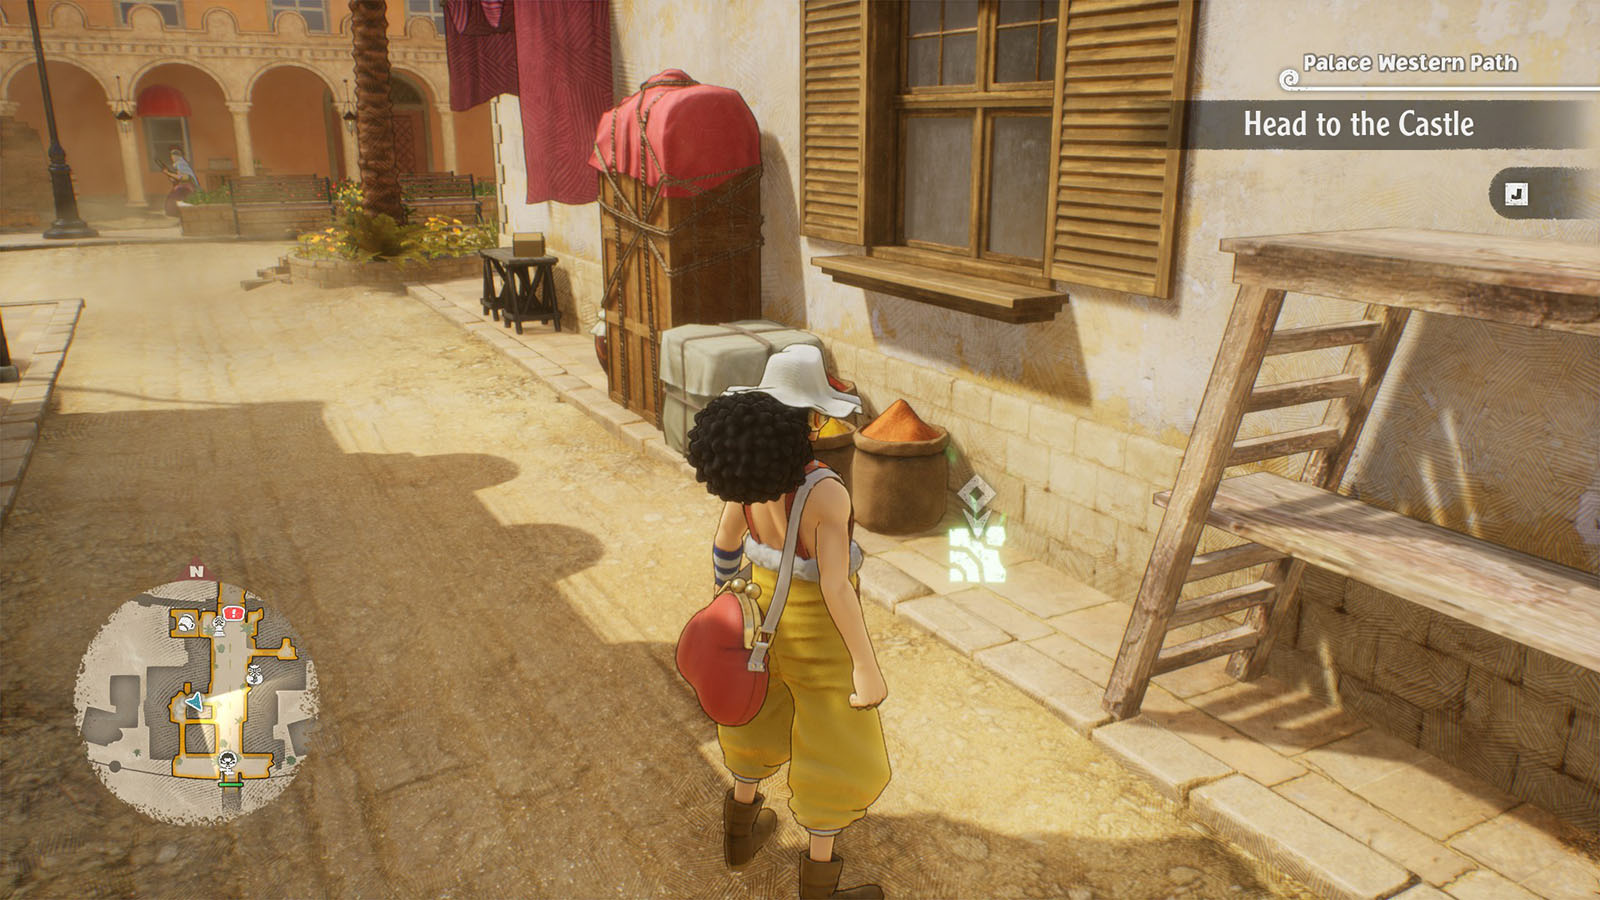
Go to the end of the Palace Western Path and you’ll find Sanji’s cube fragment. There’s also a chest up a wall on the opposite side that has Koza’s Sunglasses which gives +342 ATK.
Once you’re good to go, challenge the final blockade of guards at the door. Defeating them will reward you with the Millions’ Power that gives +156 GUTS.
Another cutscene will play showing Vivi being brought to Crocodile. Make your way through the first two doors and you’ll arrive at the next area.
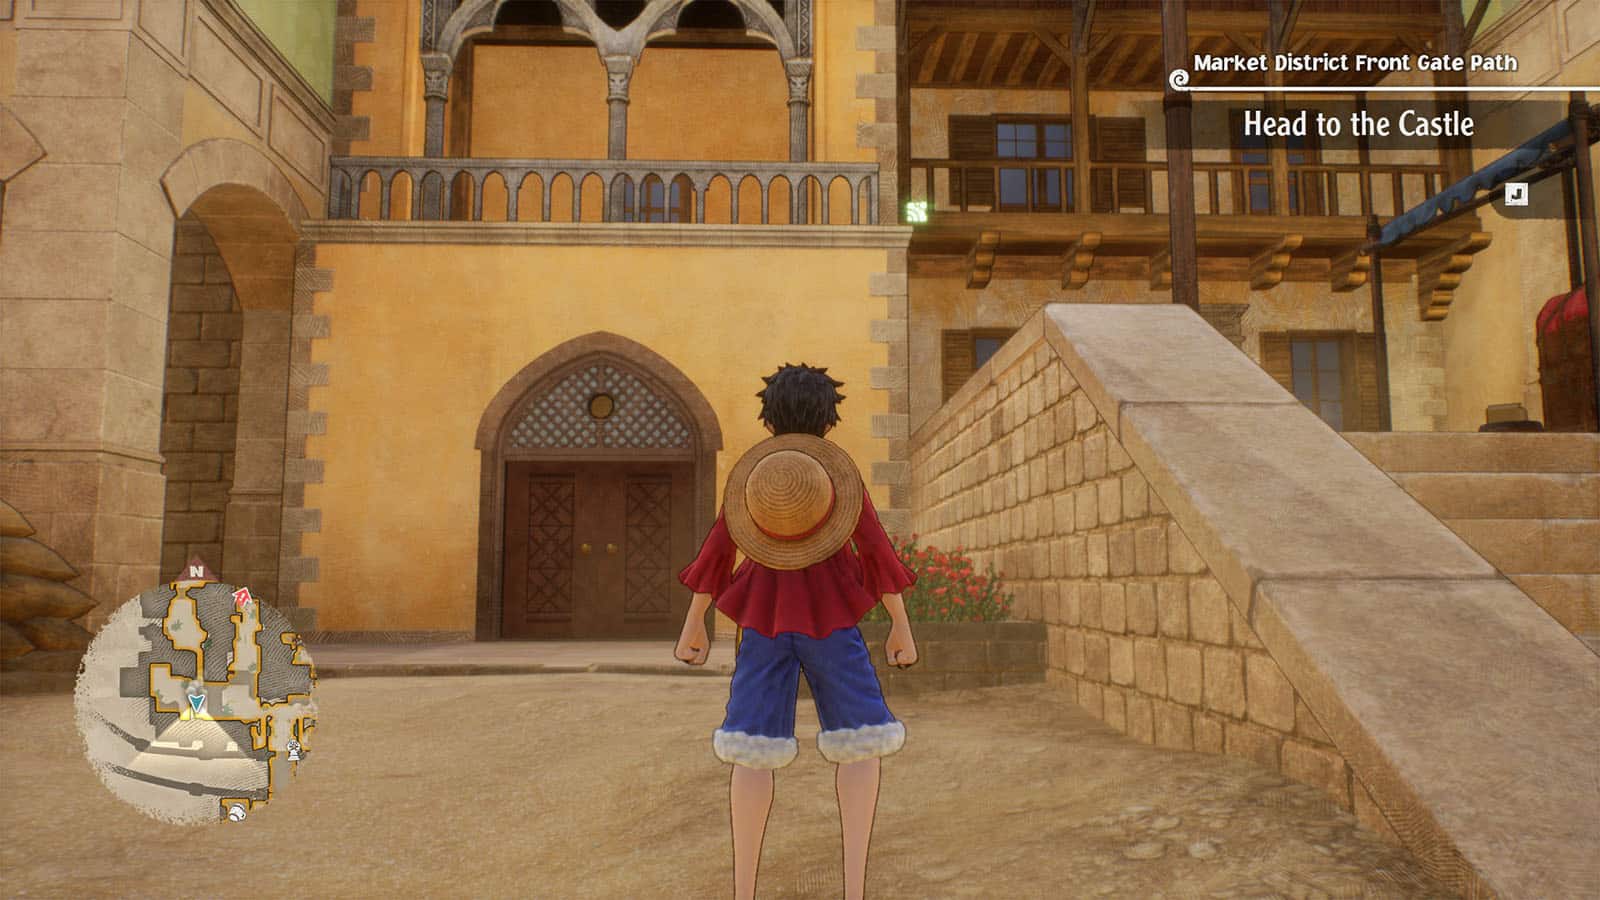
Market District Front Gate Path
The Market District is huge and is in a disarray, so take the time to explore its streets for more loot. Check the central path first, then head towards the east path. You can either crawl through the barricade as Chopper or climb up to the building on the left side to pass through.
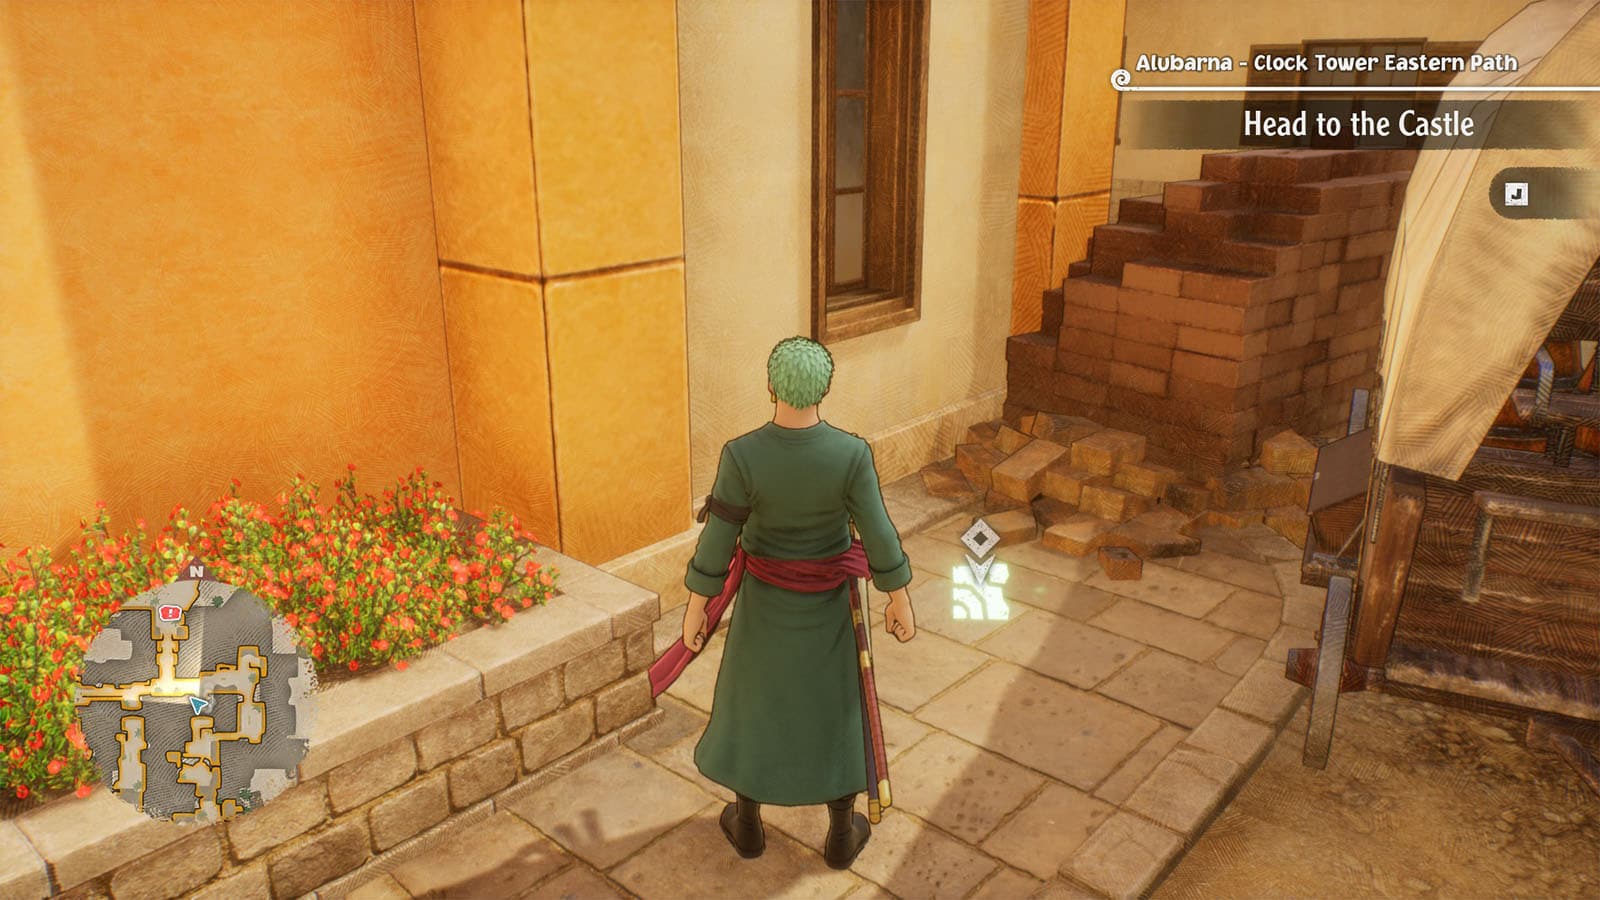
Alubarna – Clock Tower Eastern Path
On the eastern path, near the gate where two rebels corner a soldier, look around the cart to find Luffy’s cube fragment.
Then, make your way to the west side of the city, and near the plaza where the rebels and soldiers are is Usopp’s cube fragment.
Head back to the Palace Central Path and you’ll be blocked by another group of goons. Clear them out then make sure to activate the Yoisa Marker up ahead.
Palace Square
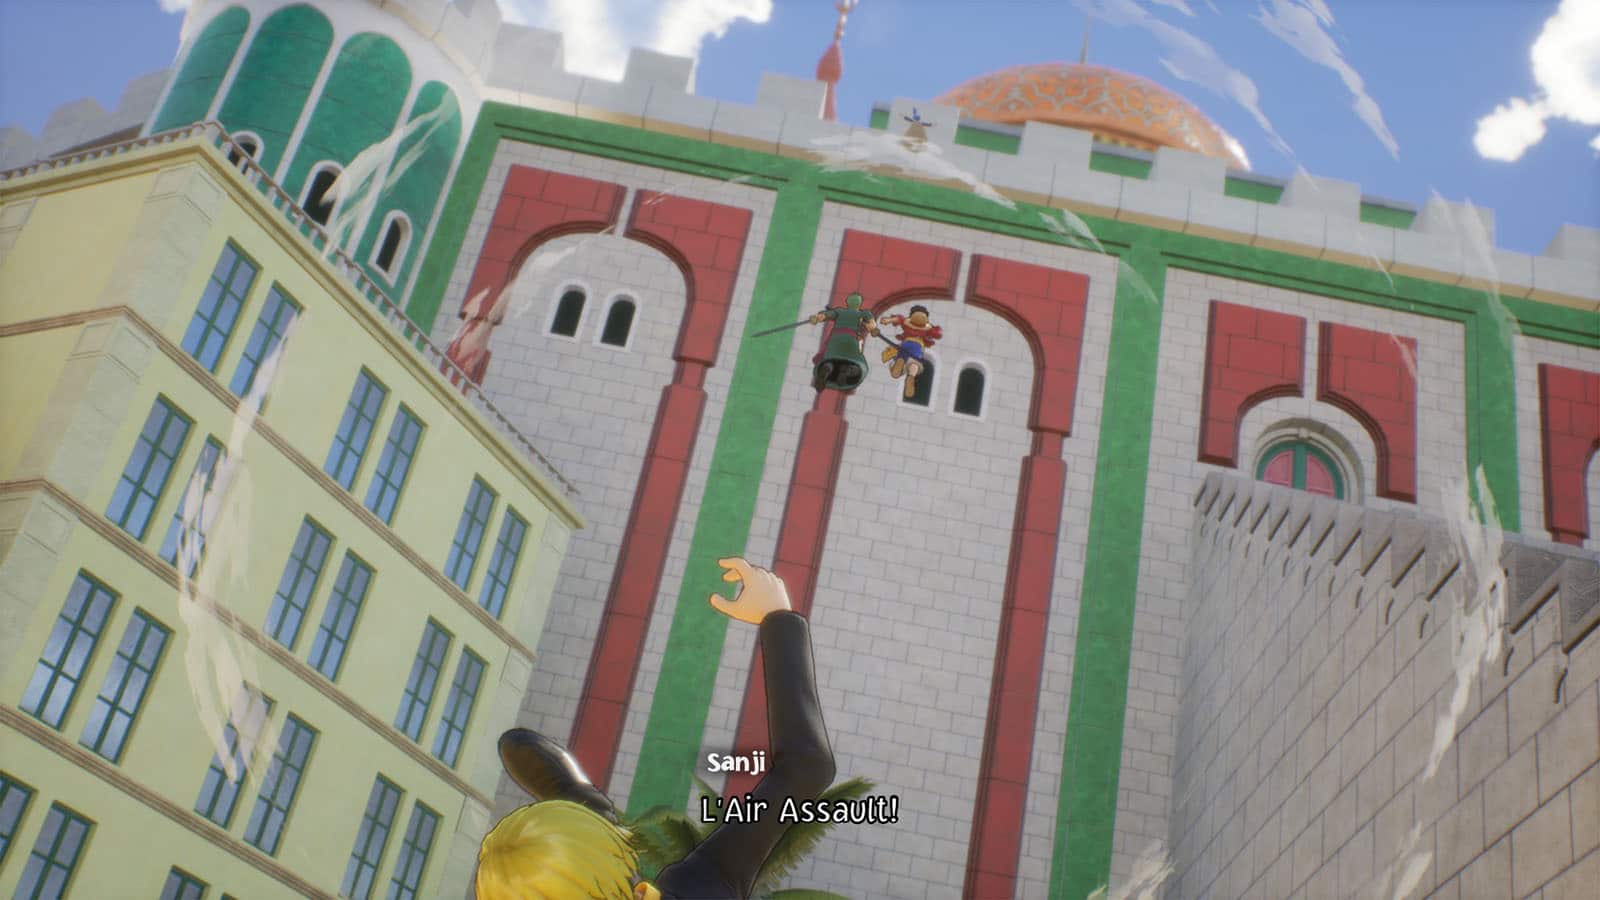
Another cutscene will play showing Crocodile dropping Vivi from atop the castle. Sanji, Luffy, and Zoro rushes in to catch Vivi. After the cutscene, Luffy and Zoro will be temporarily separated from the crew.
See next One Piece Odyssey Stop the Bombardment Chapter 2 Walkthrough
If you like this guide, be sure to check out our other One Piece Odyssey articles:
- Will One Piece Odyssey be on Nintendo Switch? (Answered)
- How to unlock secret ending: One Piece Odyssey ending explained
- How to Defeat Divine Breath Final Boss Fight One Piece Odyssey
- One Piece Odyssey Ending Explained
- How Many Chapters in One Piece Odyssey?
- All One Piece Odyssey Outfits & How to Get Them
- Is One Piece Odyssey Multiplayer?
- One Piece Odyssey Berries: How to Earn Money Fast
- One Piece Odyssey Battle Skills Guide
- One Piece Odyssey Length – How long to beat?
- One Piece Odyssey Leveling Guide – How to Level Up Fast
- One Piece Odyssey Trophy Guide & How to Get Platinum
- Is One Piece Odyssey on Game Pass? (Answered)
- One Piece Odyssey Characters: All Playable Party Members
- One Piece Odyssey Voice Actors and Cast List
- One Piece Odyssey Story Explained & Everything You Need to Know
Check out this video by Cyberman65 showing the events in Get Vivi Back:


