
Mysterious Island Exploration is the first objective of Chapter 1: Island of Storms in One Piece Odyssey. Following the events of the Thousand Sunny crashing into the sea, the Straw Hat Crew found themselves washed up on a mysterious island with some of their crew members missing.
Read ahead as we go through the events in Mysterious Island Exploration, sharing some tips and tricks, as well as some hints on the whereabouts of the collectibles.
Mysterious Island Exploration Objectives:
- Search for the Crew
- Save Nami from the Beast
- Find the Straw Hat
- Follow the Mysterious Man
Search for the Crew
South Beach
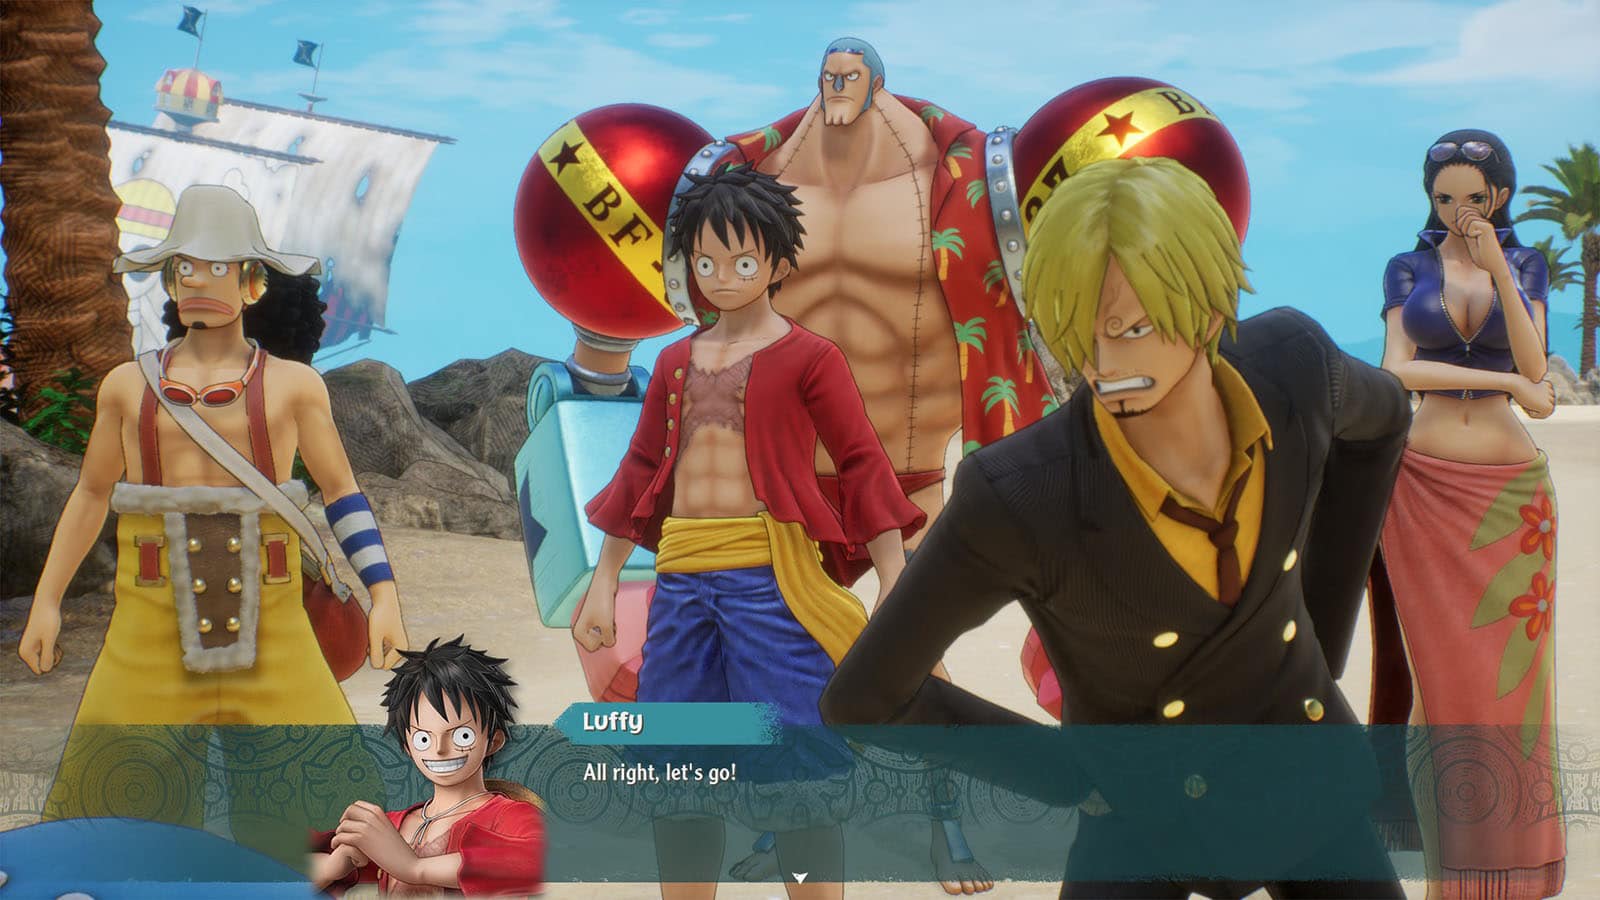
After going through the cutscene where Luffy and his crew crashed into the ocean and surviving the shipwreck, your first objective is to locate the missing crew members which are Nami, Zoro, and Brook.
Go talk to Franky by the beach, Usopp by the cove, Sanji by the coast, Robin by the rocks, and Chopper near the cave. Chopper will then tell you that he can smell Nami’s scent coming from the cave (Or you can skip to Chopper right away, everyone will still be added to your crew).
Points of Interest

You'll see markers with magnifying glasses on them. These are just points of interests that provide additional lines from the other crew. Unless they're red, they don't necessarily have to be inspected, but some of these points can help you see any collectibles like tablets or cube fragments, so it's worth to check them out, especially if they're located in an interesting and unassuming spot.
Beach Cave
Inside the beach cave is where you’ll find your first save point by using the glowing stone pillar. Interacting with it will allow you to create a save file or save over an existing one. It also heals up your party.
Exit the cave through the other side and you’ll end up in King Kong Garden where you’ll see Nami with a huge gorilla on the other side of the river.
Save Nami from the Beast
King Kong Garden
At this point, you’ll be going through the game’s tutorial on the controls, including how to use Luffy’s Gum-Gum Rocket to swing over gaps. You’ll also be introduced to shiny objects that you can pick from the ground, and breakable objects. Take the time to break the jars and gather the ingredients inside them.
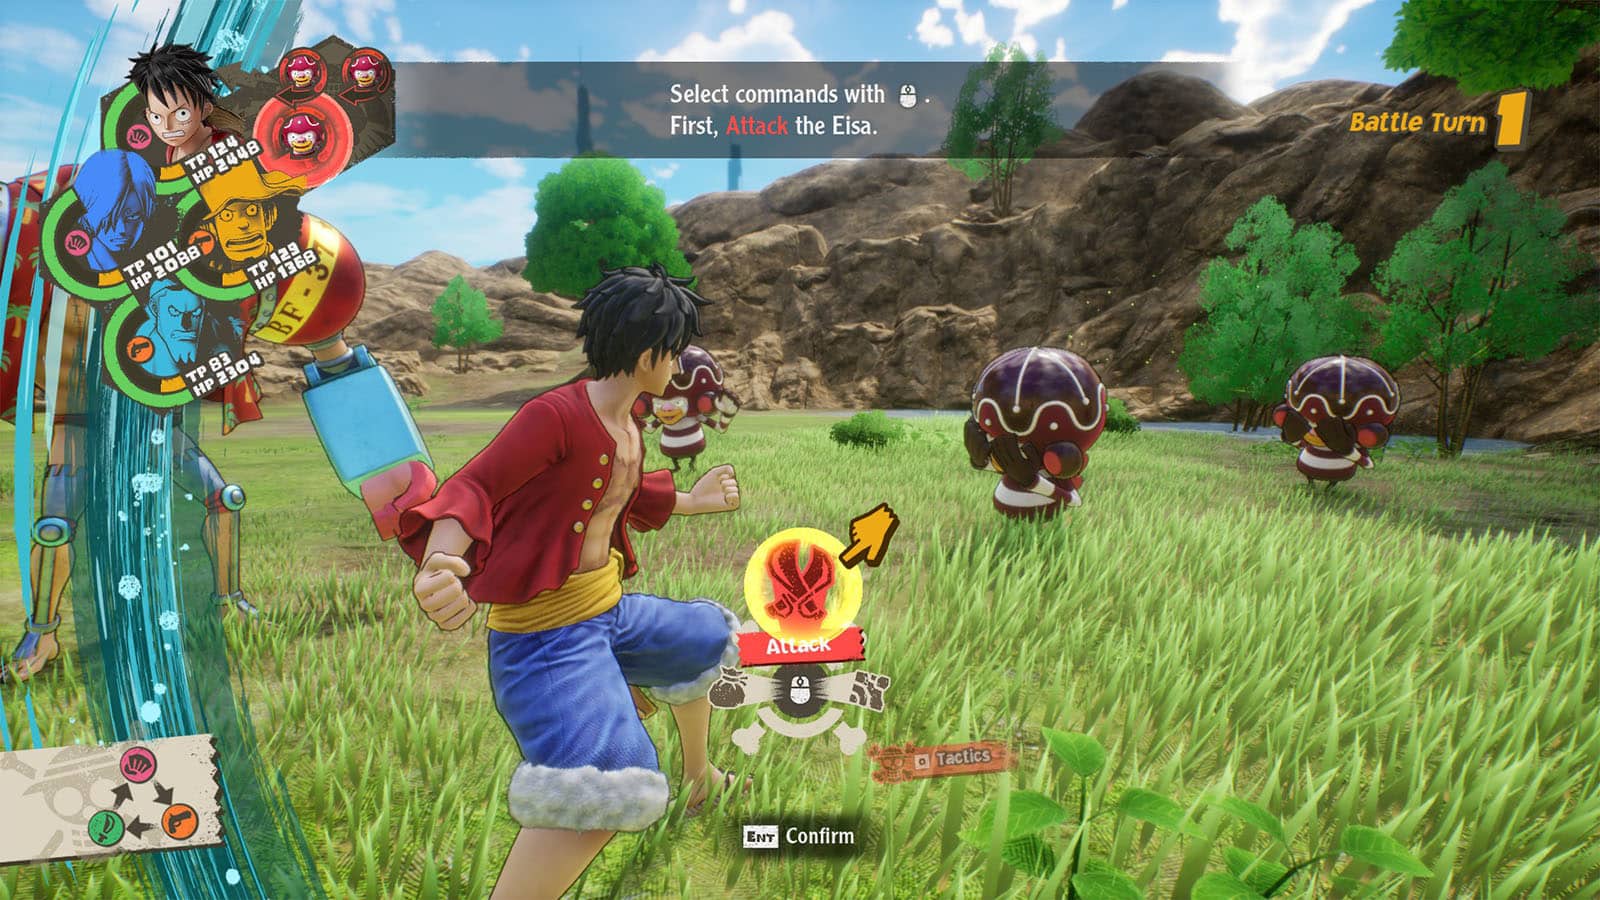
After climbing the ledge, you’ll be met with your first enemy encounter against the enemies called Eisas. This fight counts as your basic tutorial for combat as you learn the positioning and the mechanics of Tension Points or TP.
Right after the first fight, you’ll be ambushed once more. This time, you’ll learn about using skills in combat.
Continue forward where the road forks to a cave and some enemies up ahead. You can only go towards the enemies for now so engage with them. In this combat, you’ll learn more about Dramatic Scenes where enemies might get powered up or down, or your crew might get status effects.
After the fight, continue moving the path ahead until you get closer to the gorilla. You’ll be ambushed once more where you’ll learn about Type Effectiveness.
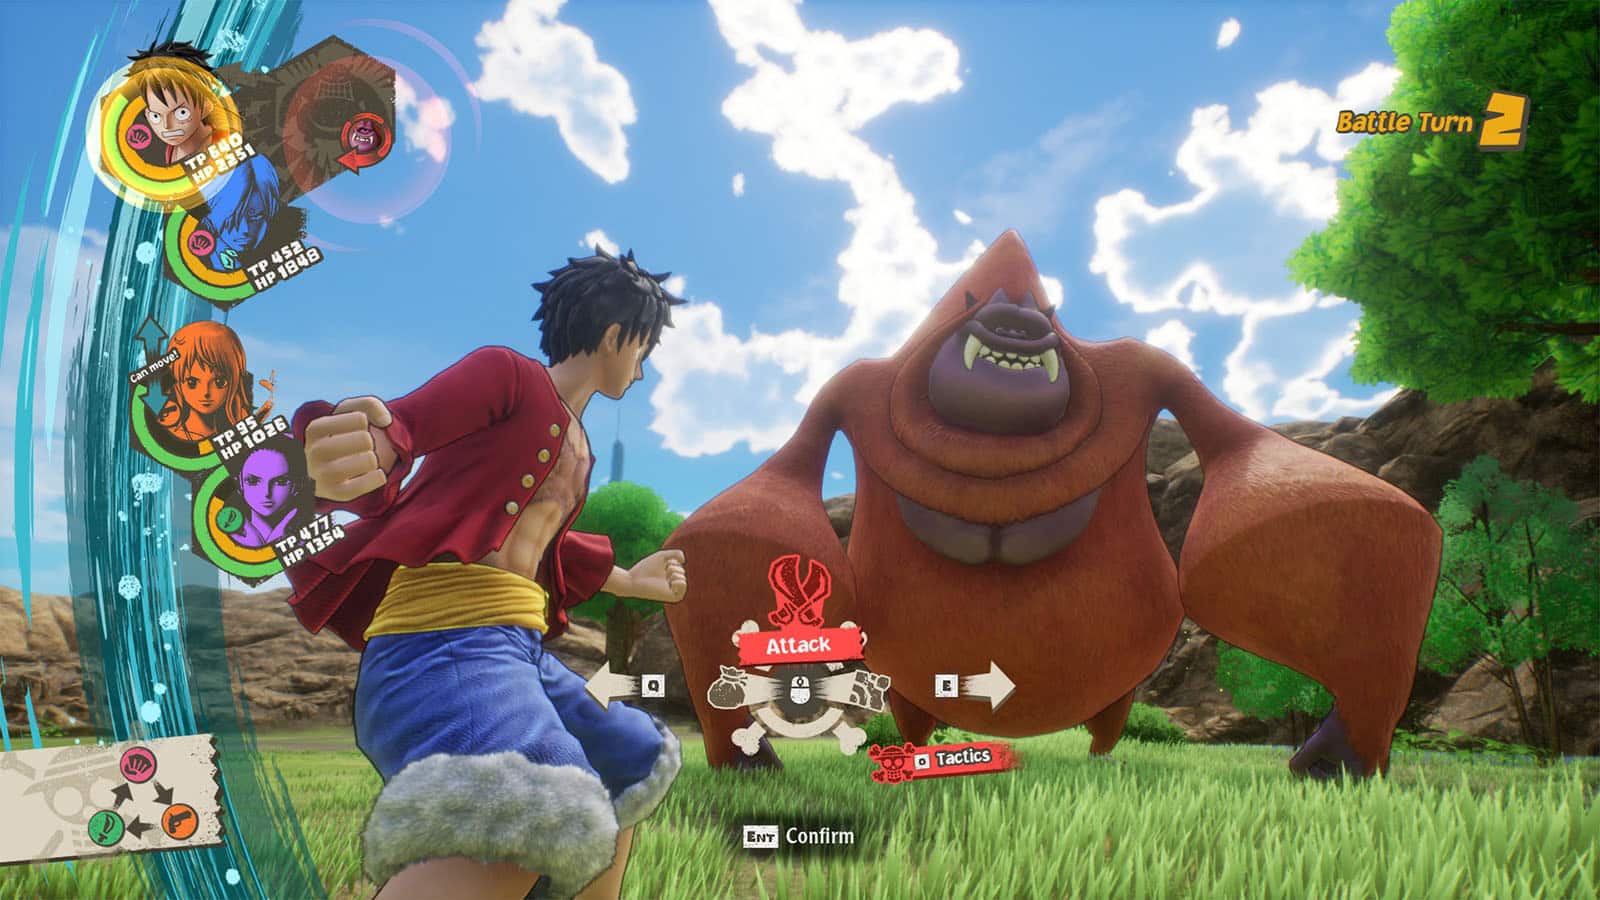
Finally, you can fight the gorilla boss, Del Kong, but before that, Zoro comes in and joins your party. You’ll then learn how to use items during combat as you heal up Nami. Del Kong has adds helping it in the fight, so after taking care of them, you can have all your crew members focus on the boss.
Since Del Kong is a Power type, use your crew that can use Technique attacks which are strong against his type. He has quite the HP, so it will take a couple strong hits to defeat it.
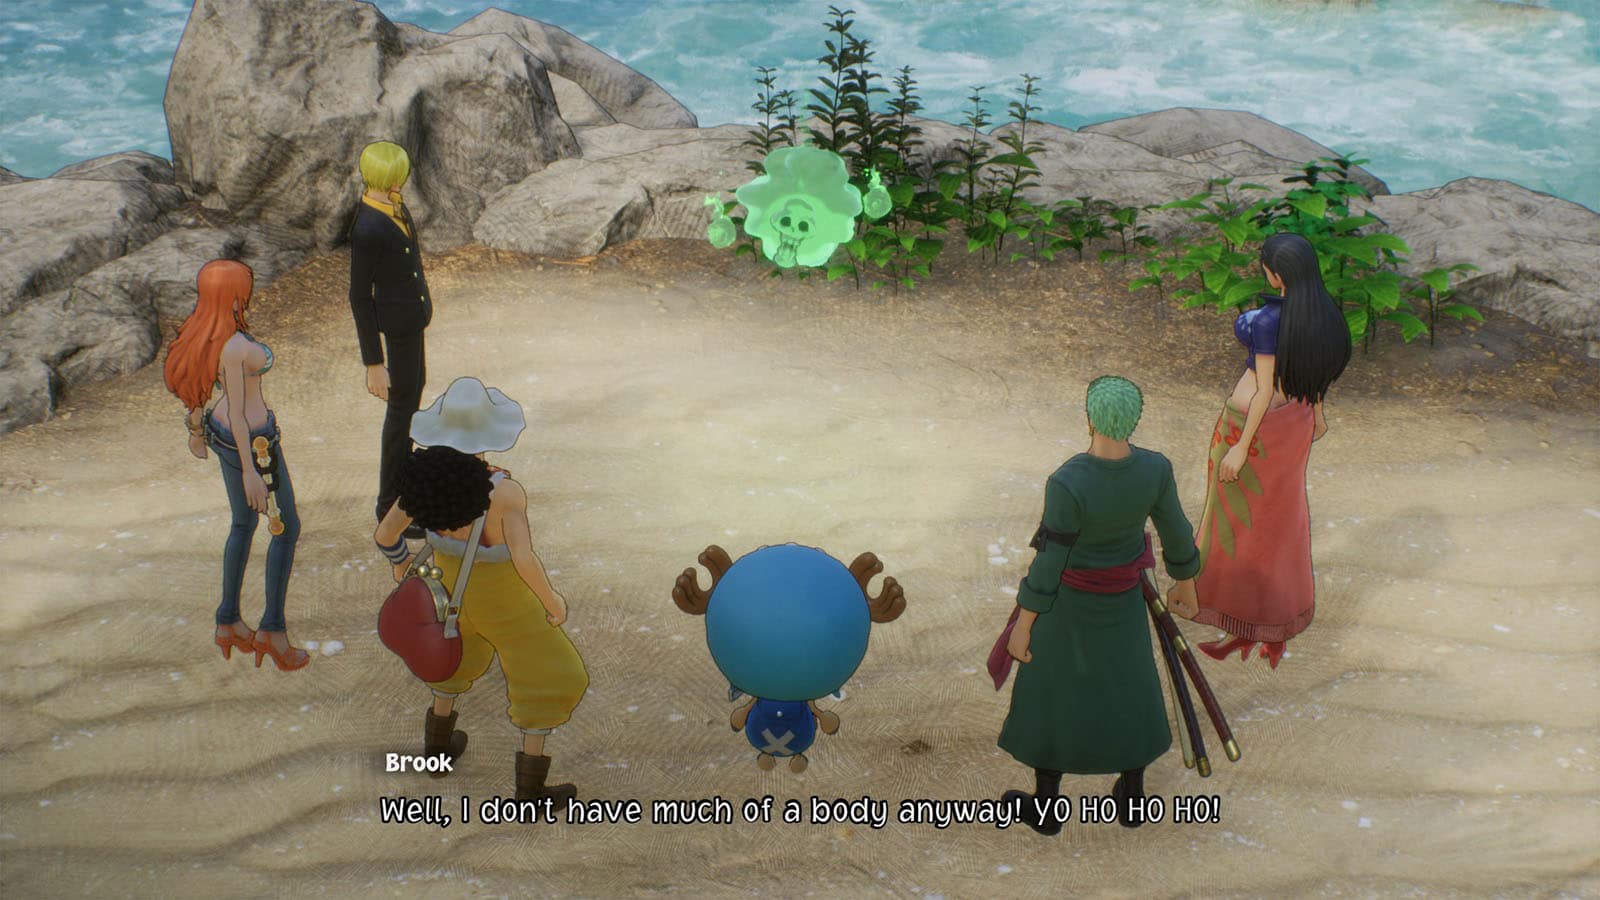
Once the boss has been defeated, you’ll head back to the beach where you’ll reunite with a body-less Brook.
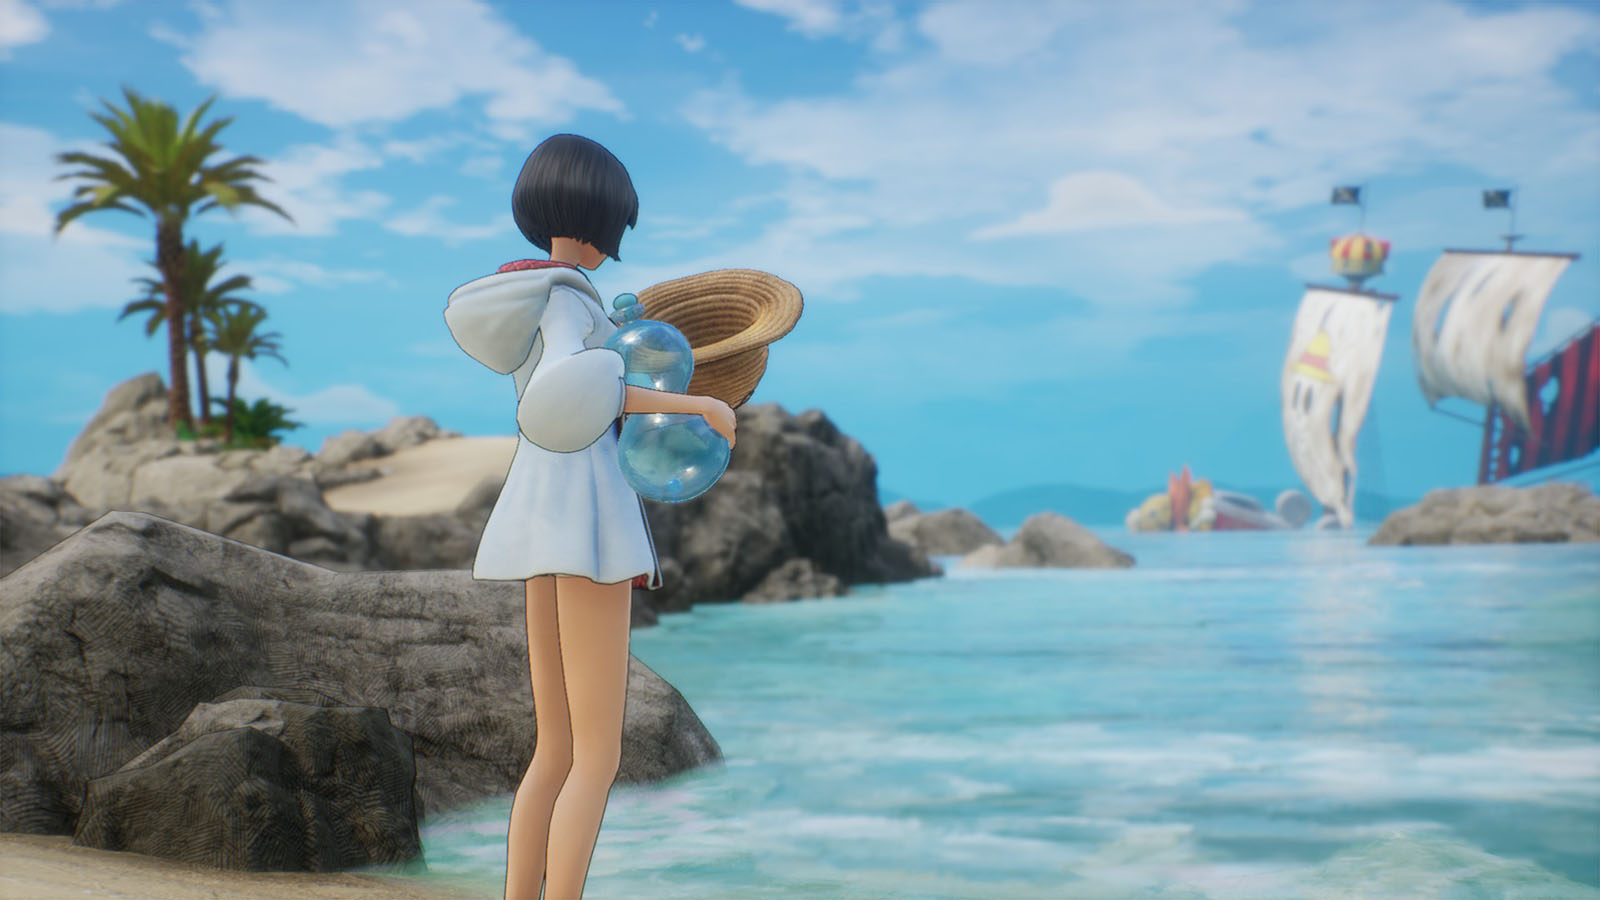
Find the Straw Hat
While Luffy is still searching for his hat, Nami tells him about the girl she saw who took the hat. Head back over to the cove where Sunny’s anchor is and Zoro will cut the rocks to reveal the path ahead.
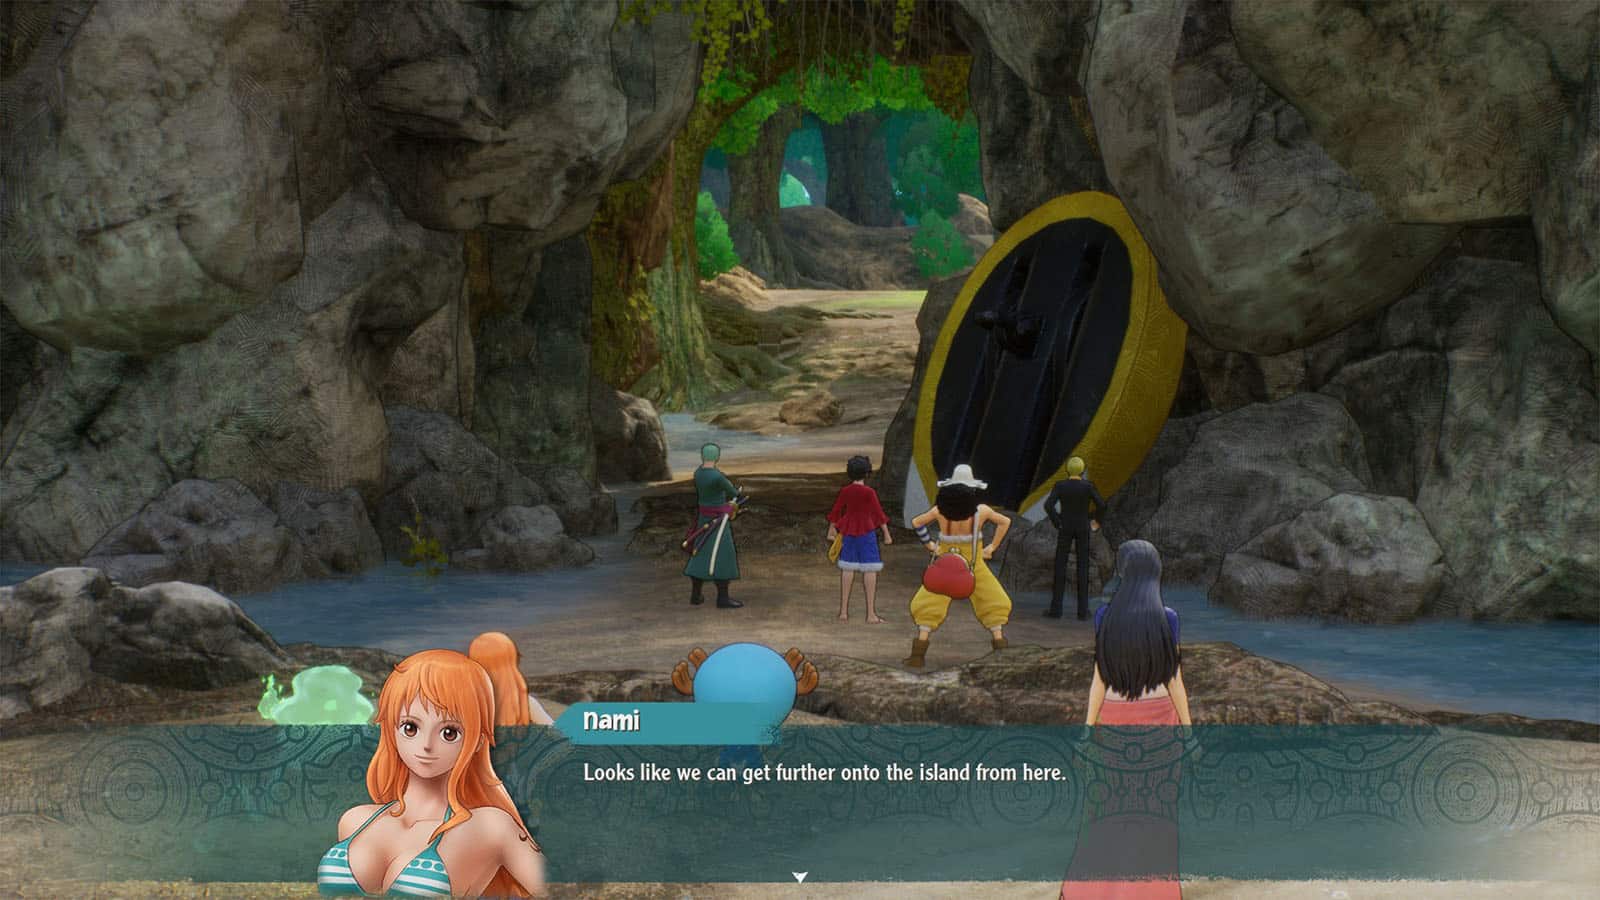
South Forest
Continue towards the forest where you’ll find another save point. Then, head towards the quest marker on the left path where you’ll encounter another enemy from above.
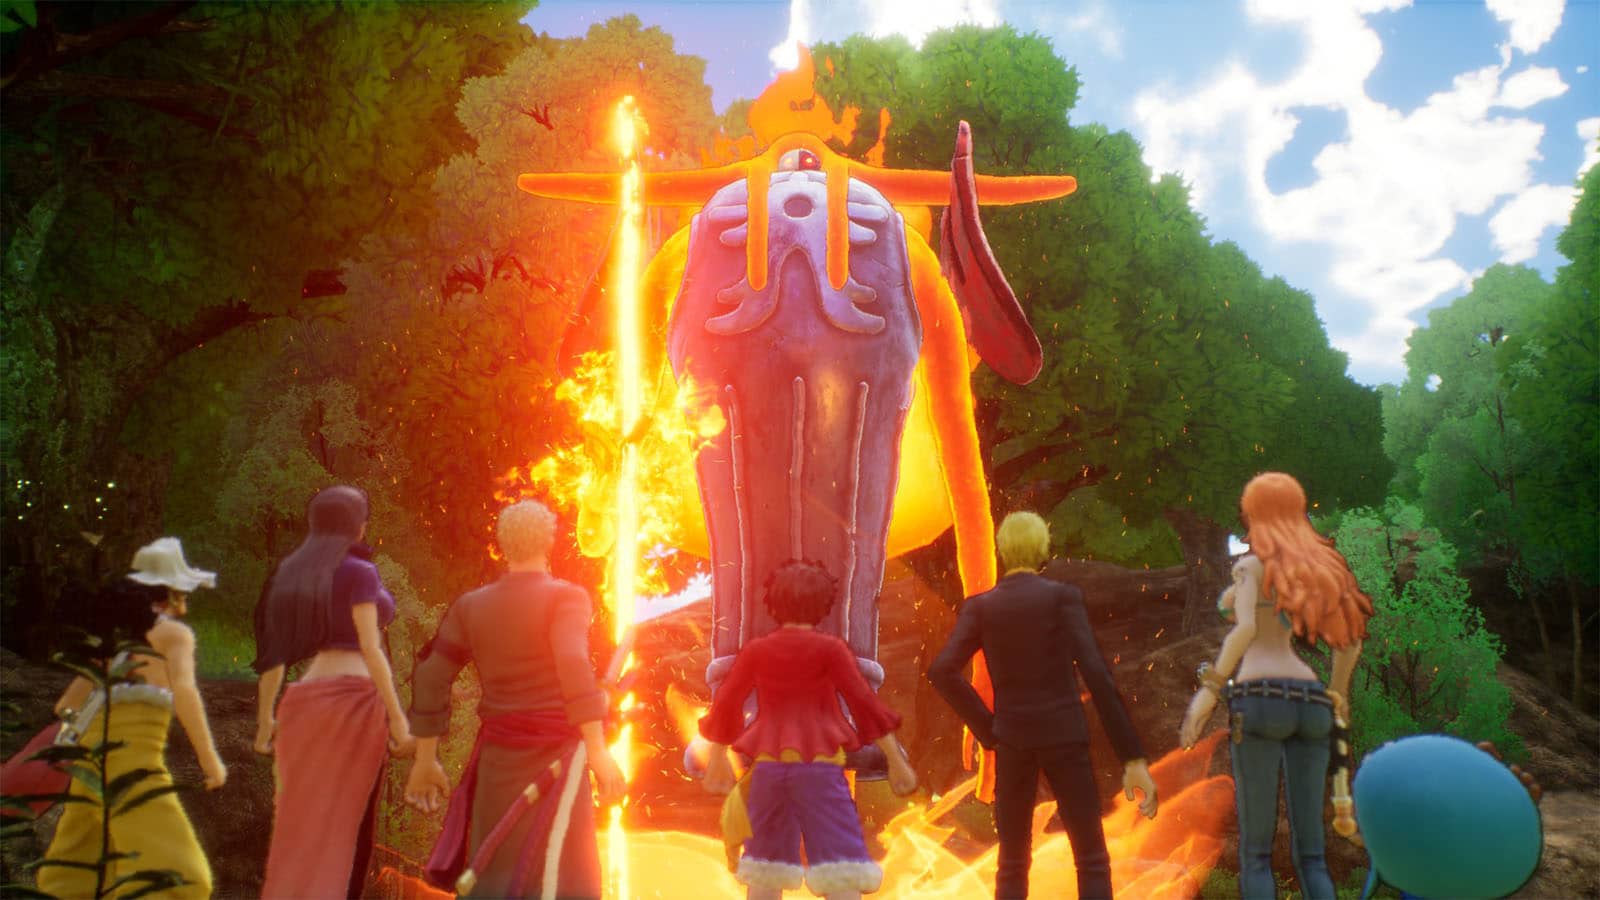
You’ll be fighting against a Fire Colossus which is a power type, so using technique attacks are effective against it, especially Zoro’s attacks. This enemy can deal AoE attacks, so beware and try to finish it off as quickly as possible.
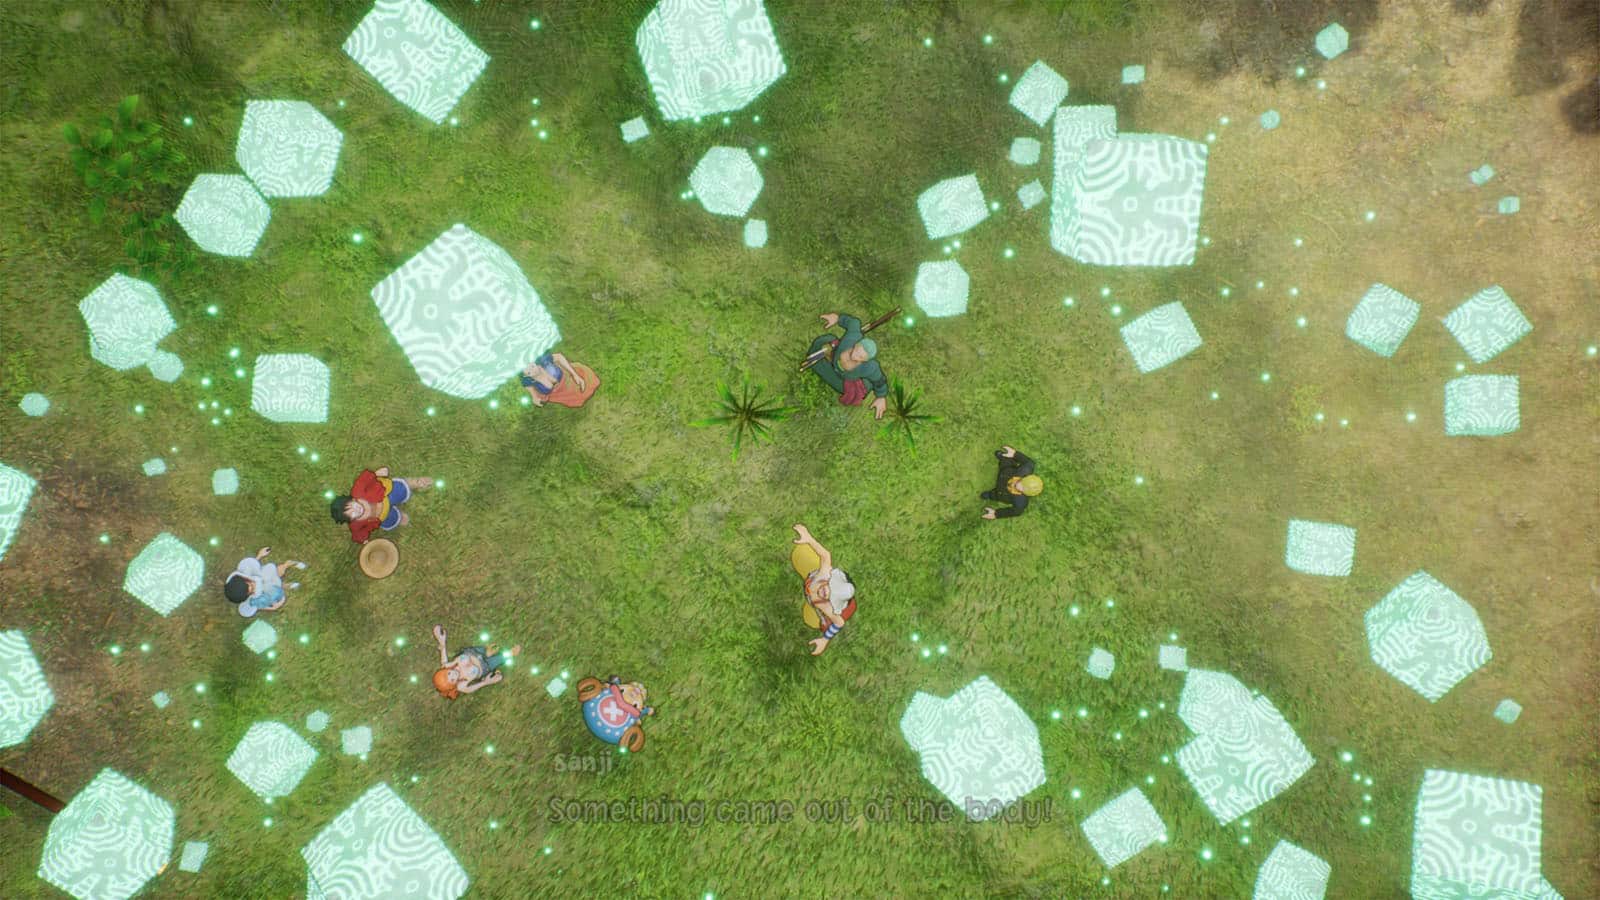
Once the enemy is down, the mysterious girl will show up and touches everyone in the team, causing glowing cubes to come out of their body and scatter away. This causes everyone to get weakened, leveling down from being level +40 down back to level 1, and losing most of their skills.
You’ll be fighting against the Fire Colossus once more, but in a weakened state. Continue attacking it until the mysterious man appears and tells you to leave the battle with him.
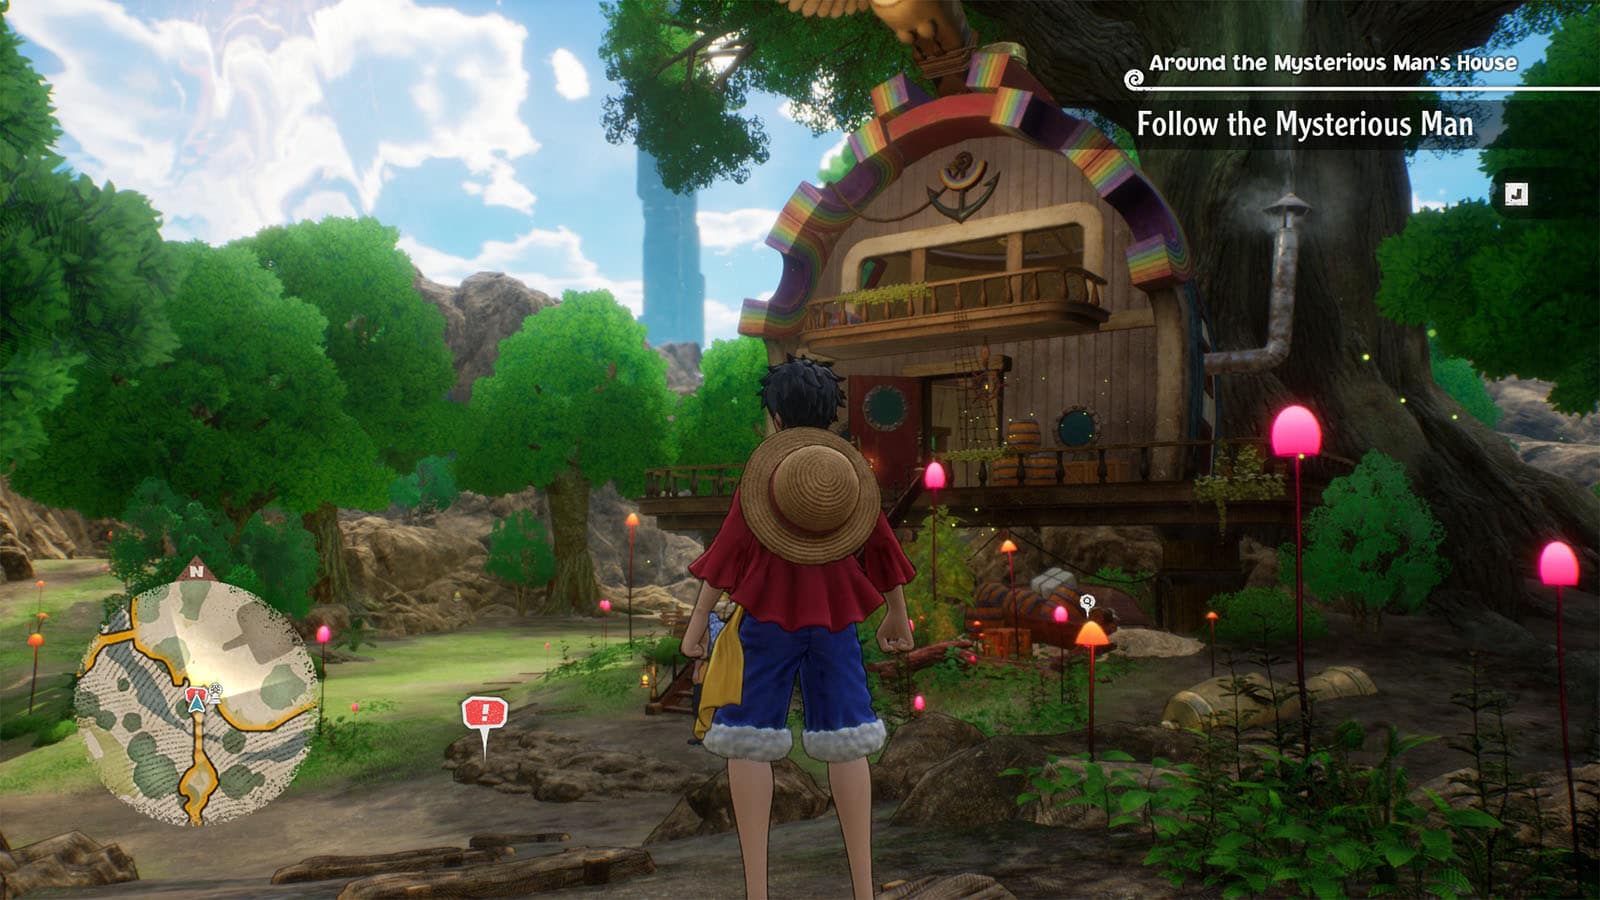
Follow the Mysterious Man
Area Around Adio’s House
Follow the mysterious man to his home where he introduces himself as Adio who also got washed up in the mysterious island. He is living along with Lim, the mysterious girl from earlier. After some dialogue lines, follow Adio in his hut where he offers the crew some food.
See next Retrieving Lost Strength Walkthrough One Piece Odyssey
If you like this guide, be sure to check out our other One Piece Odyssey articles:
- Will One Piece Odyssey be on Nintendo Switch? (Answered)
- How to unlock secret ending: One Piece Odyssey ending explained
- How to Defeat Divine Breath Final Boss Fight One Piece Odyssey
- One Piece Odyssey Ending Explained
- How Many Chapters in One Piece Odyssey?
- All One Piece Odyssey Outfits & How to Get Them
- Is One Piece Odyssey Multiplayer?
- One Piece Odyssey Berries: How to Earn Money Fast
- One Piece Odyssey Battle Skills Guide
- One Piece Odyssey Length – How long to beat?
- One Piece Odyssey Leveling Guide – How to Level Up Fast
- One Piece Odyssey Trophy Guide & How to Get Platinum
- Is One Piece Odyssey on Game Pass? (Answered)
- One Piece Odyssey Characters: All Playable Party Members
- One Piece Odyssey Voice Actors and Cast List
- One Piece Odyssey Story Explained & Everything You Need to Know
Check out this video by BennyBiohazard showing the events in Mysterious Island Exploration:


