
Trek to Yomi is the newest cinematic action game to get published by Devolver Digital. Set in feudal Japan, this game follows the story of Hiroki, a samurai who has to defend his town from a warlord that is out to claim lands to his name. Trek to Yomi is presented in the Kurosawa art style with everything in black and white and is set on a 2.5D world.
In this second part of the Trek to Yomi guide series, we’ll follow Hiroki through the second chapter of his journey. If you have not seen the previous chapter yet, check out our Trek To Yomi Chapter 1 Missions Walkthrough.
How to Complete Trek to Yomi Chapter 2
The steps below are the paths to take to get through the objectives quickly. There can be different paths that should be taken to get to secret areas and find upgrades or collectibles which can easily be missed, so we recommend to also check the artifacts section below.
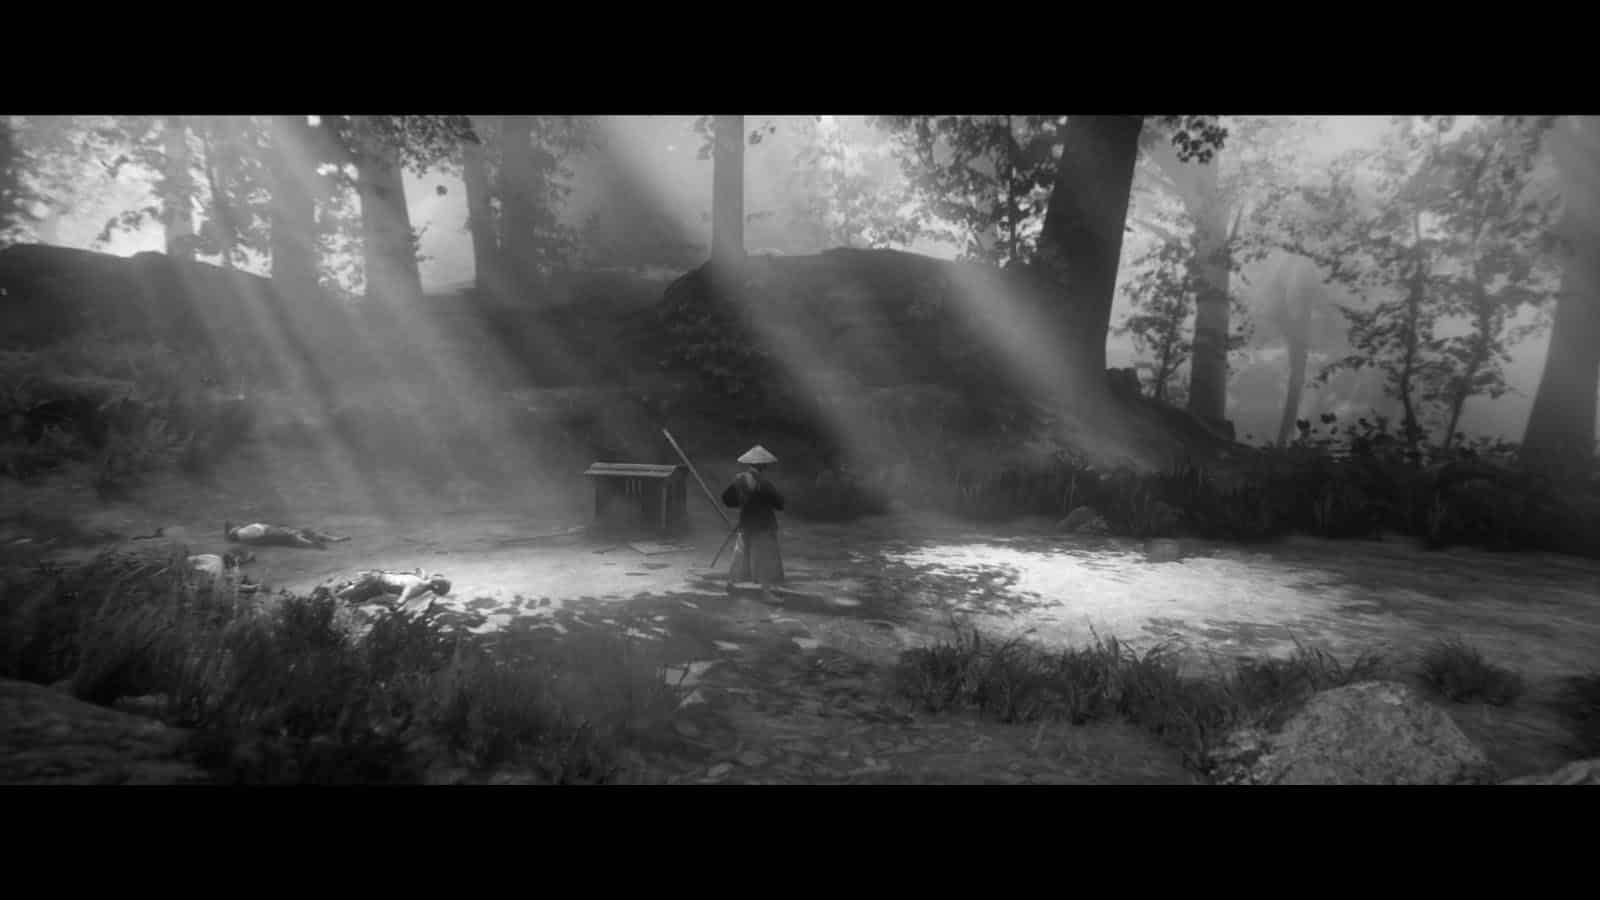
Find your companions
We start with Hiroki leading a couple of other men from the village as they investigate about the nearby attacks that they suspect is done by the warlord’s men. Most of your companions will then be taken away by the enemy, leaving you alone in an ambush. Defeat the ambushers and head left to get a Stamina Upgrade. Head back to the right path to proceed.
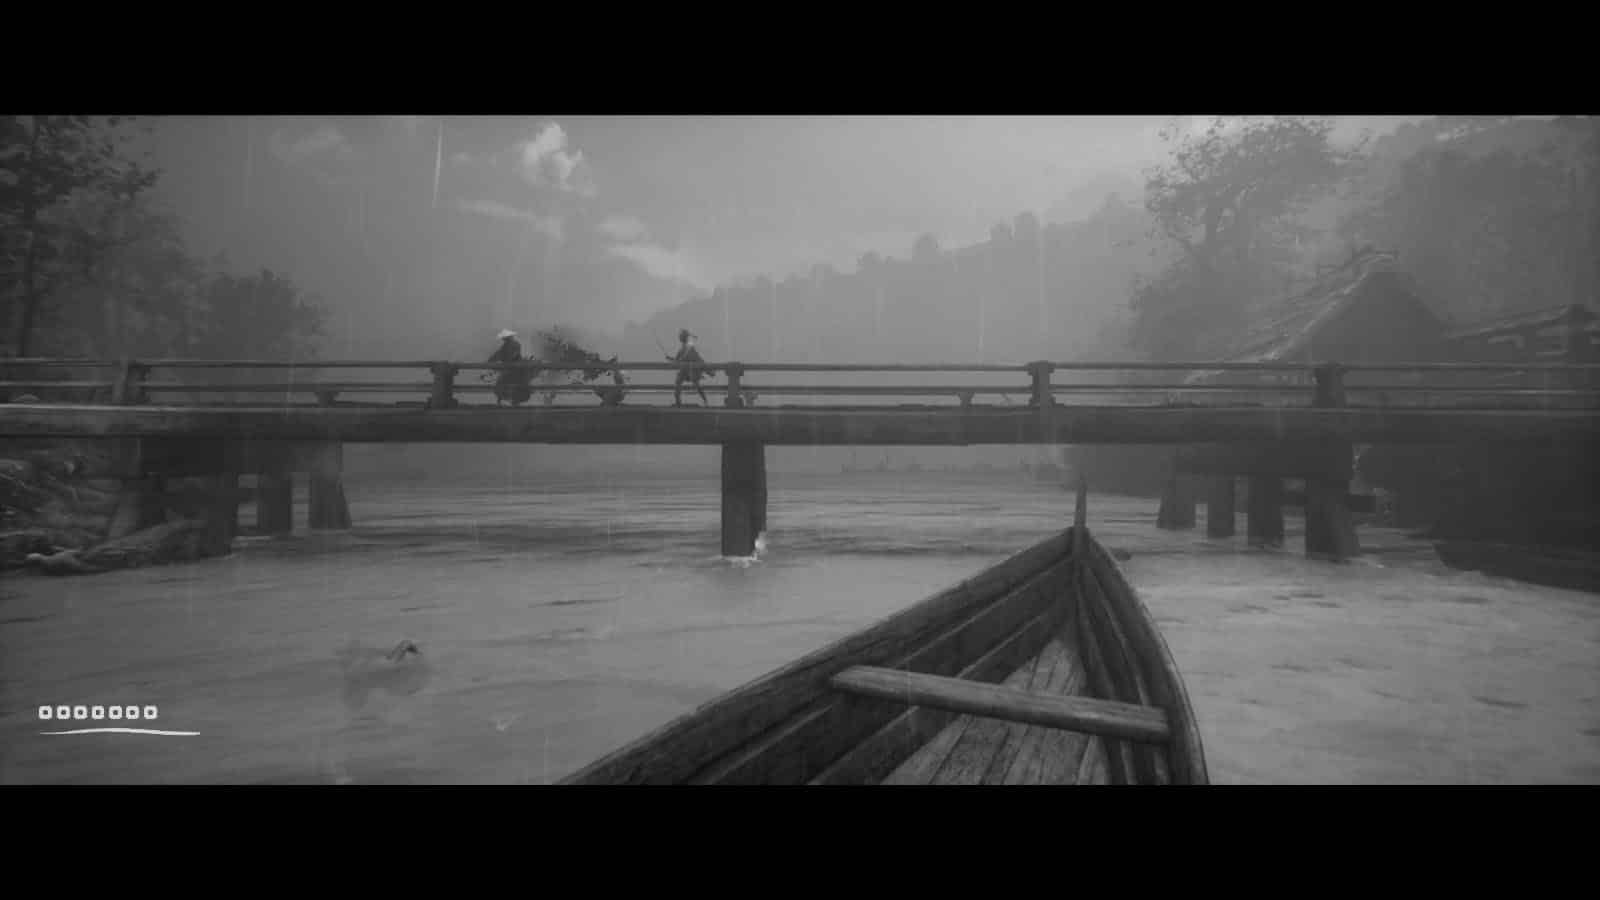
The bridge ahead of you has been destroyed. Interact with the tree to push it over to get to the other side. Proceed through the path until you reach a shrine. There’s also a Bo-Shuriken right across the shrine.
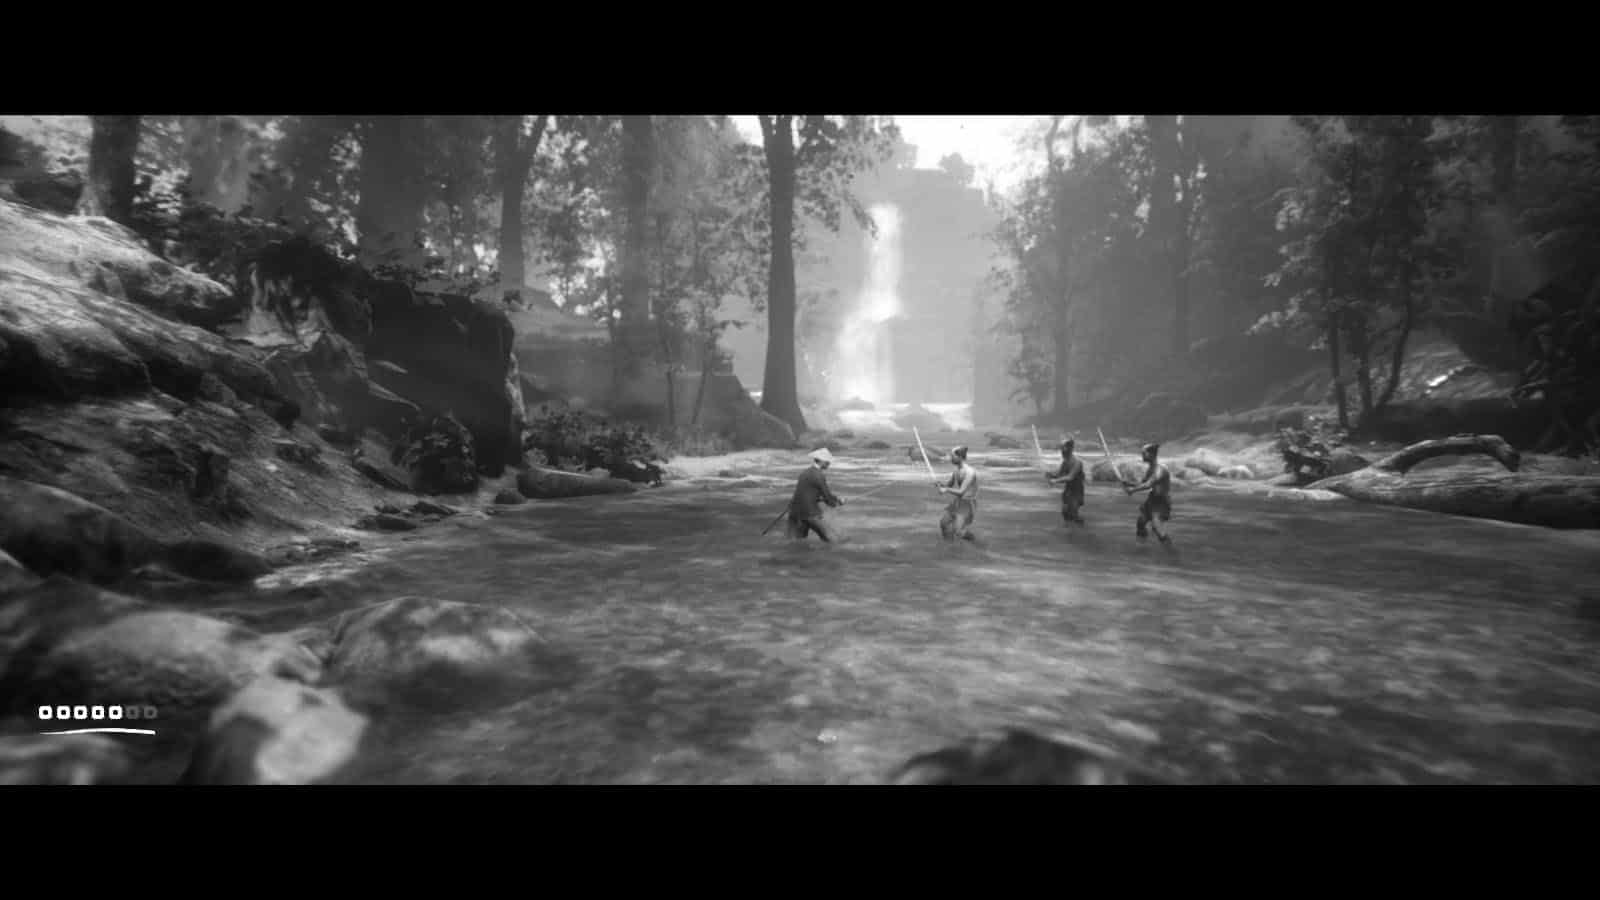
Go down the river and defeat the bandits. Try not to run in the middle of the river so as not to get surrounded by them. You’ll then get the prompt talking about the Stunning Combination (two light strikes followed by a heavy strike). Cross the other side of the river and use the shrine.
Make your way up to the forest. You’ll pass by a campfire that has a Bo-Shuriken near it. Continue forward and you’ll encounter a bandit. Defeat him by regular means or by doing a finisher. Proceed forward and before you climb the ledge to the right, there is another Bo-Shuriken at the end of the path.
As you climb the ledge, use the shrine to the left. Make your way up to the rocks and on to the fallen log. (Following the dog that passes by will lead you to the Discarded Kami Carving Artifact)
Fight the bandits guarding the ledge and the ones that cut off the bridge.
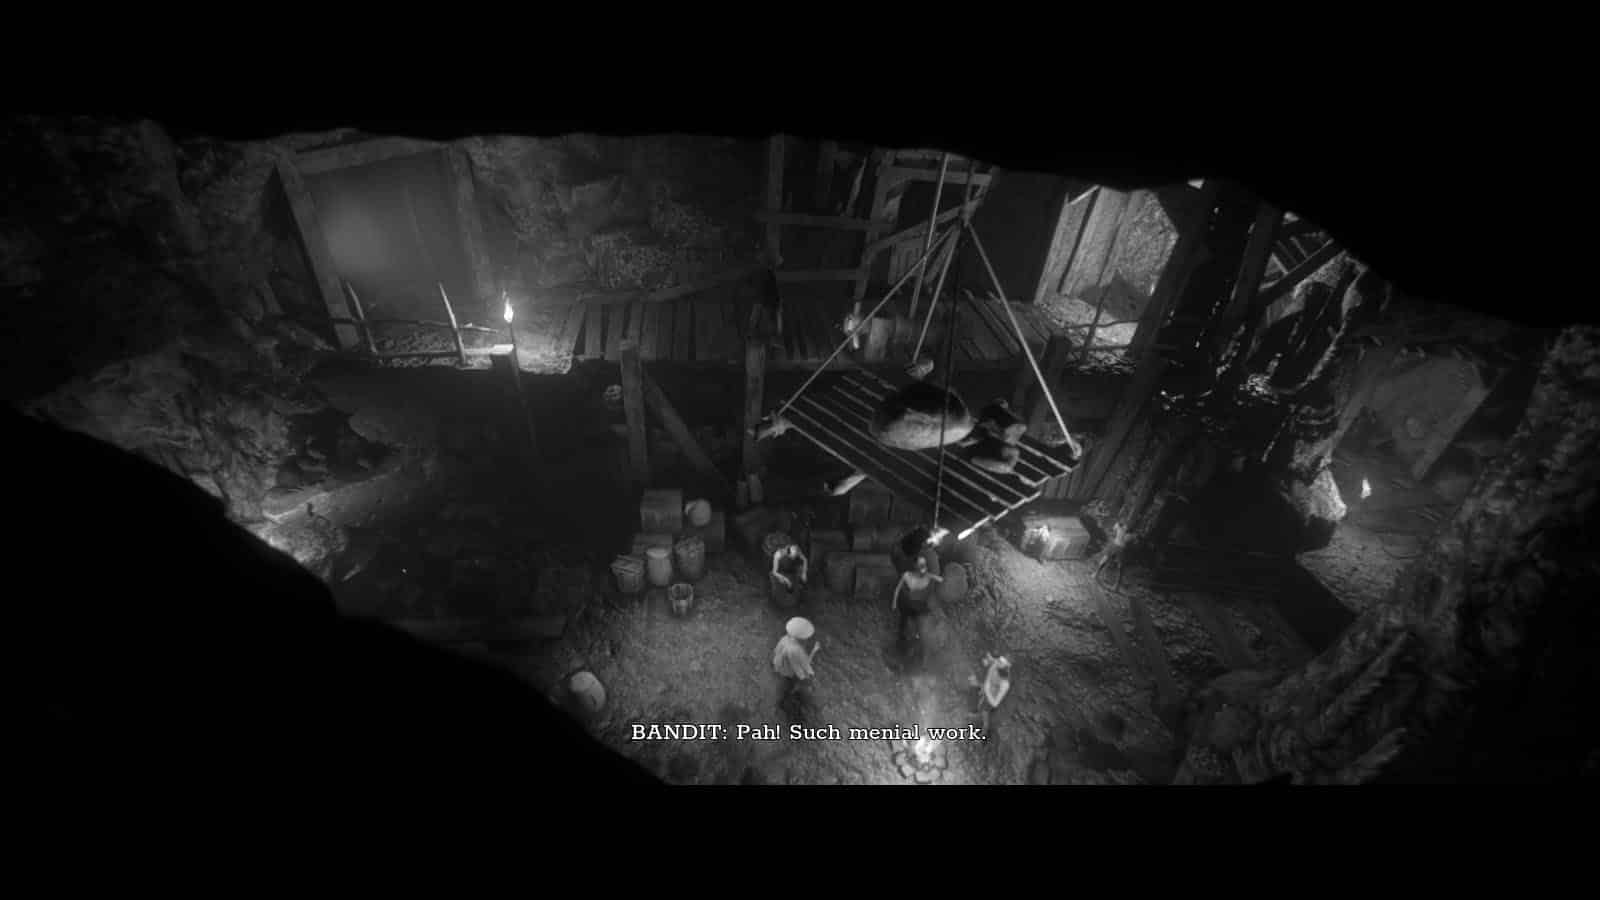
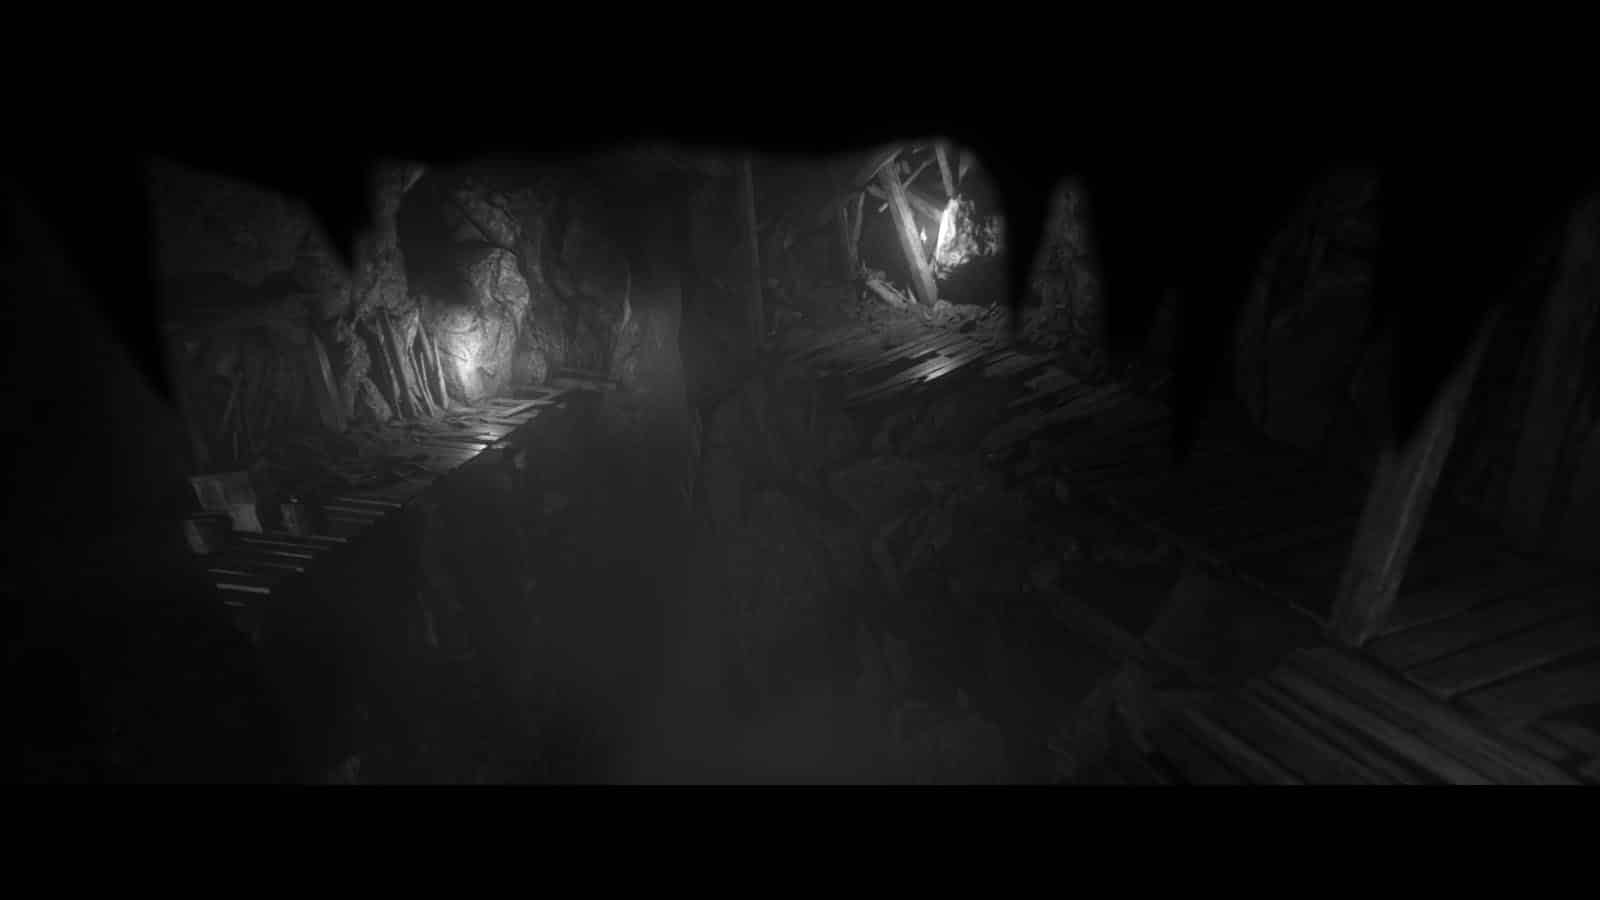
Reach Kamikawamura
Make your way over the ledges and into the mine. Use the shrine at the entrance of the mine and move forward. Climb up the stairs to the left to arrive at a higher ledge of an adjacent chamber. You can then cut the rope holding the platform of rocks down on to the bandits below. You can then talk to the prisoner to set him free.
Move towards the left and use the platform to go up. Head further right to proceed and exit the mine. (Moving up will lead to the Crude Tekko Artifact)
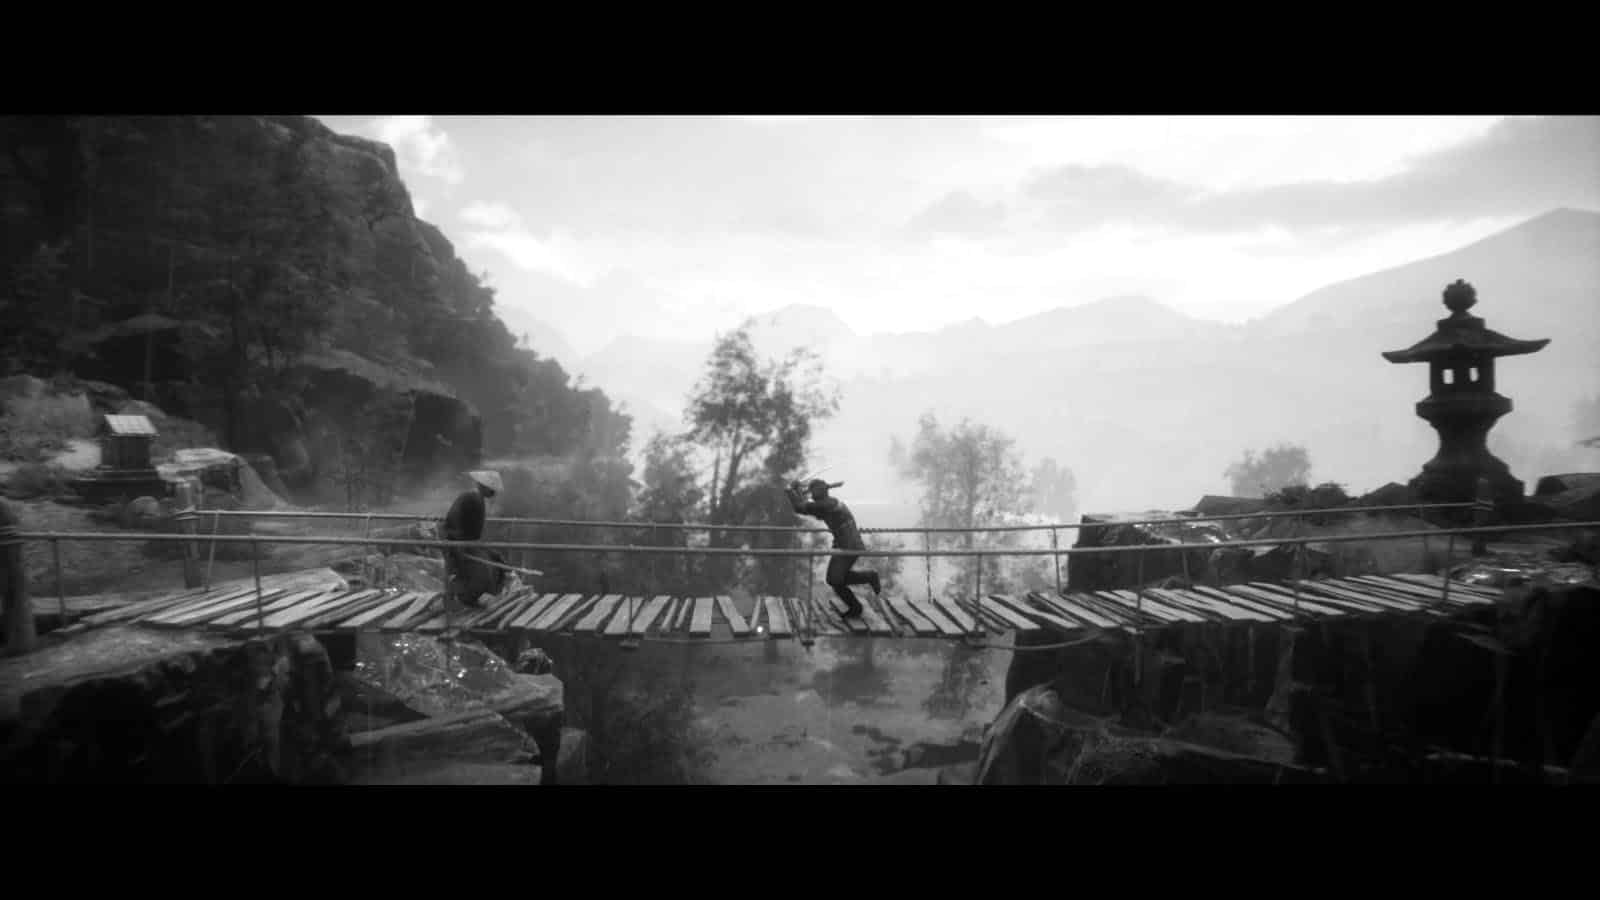
Outside the mine is another shrine and a Stamina Upgrade nearby. Continue heading to the right and defeat the bandits on the log bridge. At the junction, head to the right to proceed. (Moving to the left will lead to The Three Monkeys Artifact)
You’ll arrive at a shrine next to a bridge. You’ll then have to defeat an armored bandit and two more bandits. You will have to repeatedly do a parry followed by a double strike until the armored bandit falters. Then defeat the reinforcements by any means.
Rescue Morimitsu and his Samurai
You’ll see your companions being taken into the bandit camp. You’ll arrive near the woods where you can use a shrine and get a Bo-Shuriken.
Continue moving forward through the fields and defeat the bandits along the way. You’ll then arrive at a shrine before the bridge to the village. There will be two bandits and one armored bandits to defeat in order to cross the bridge.
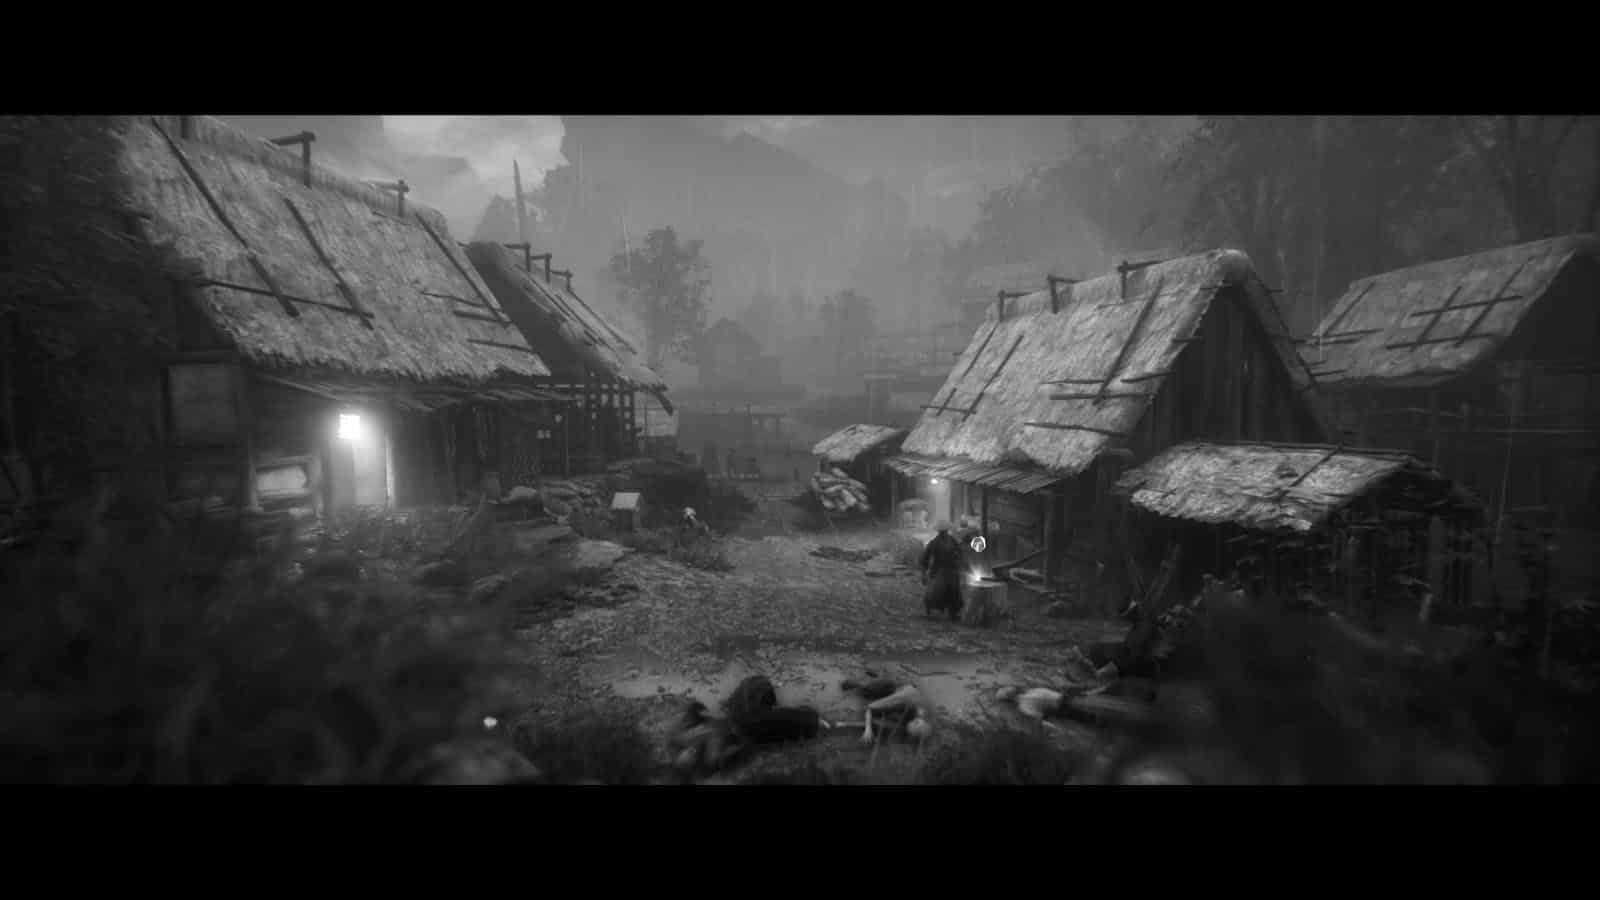
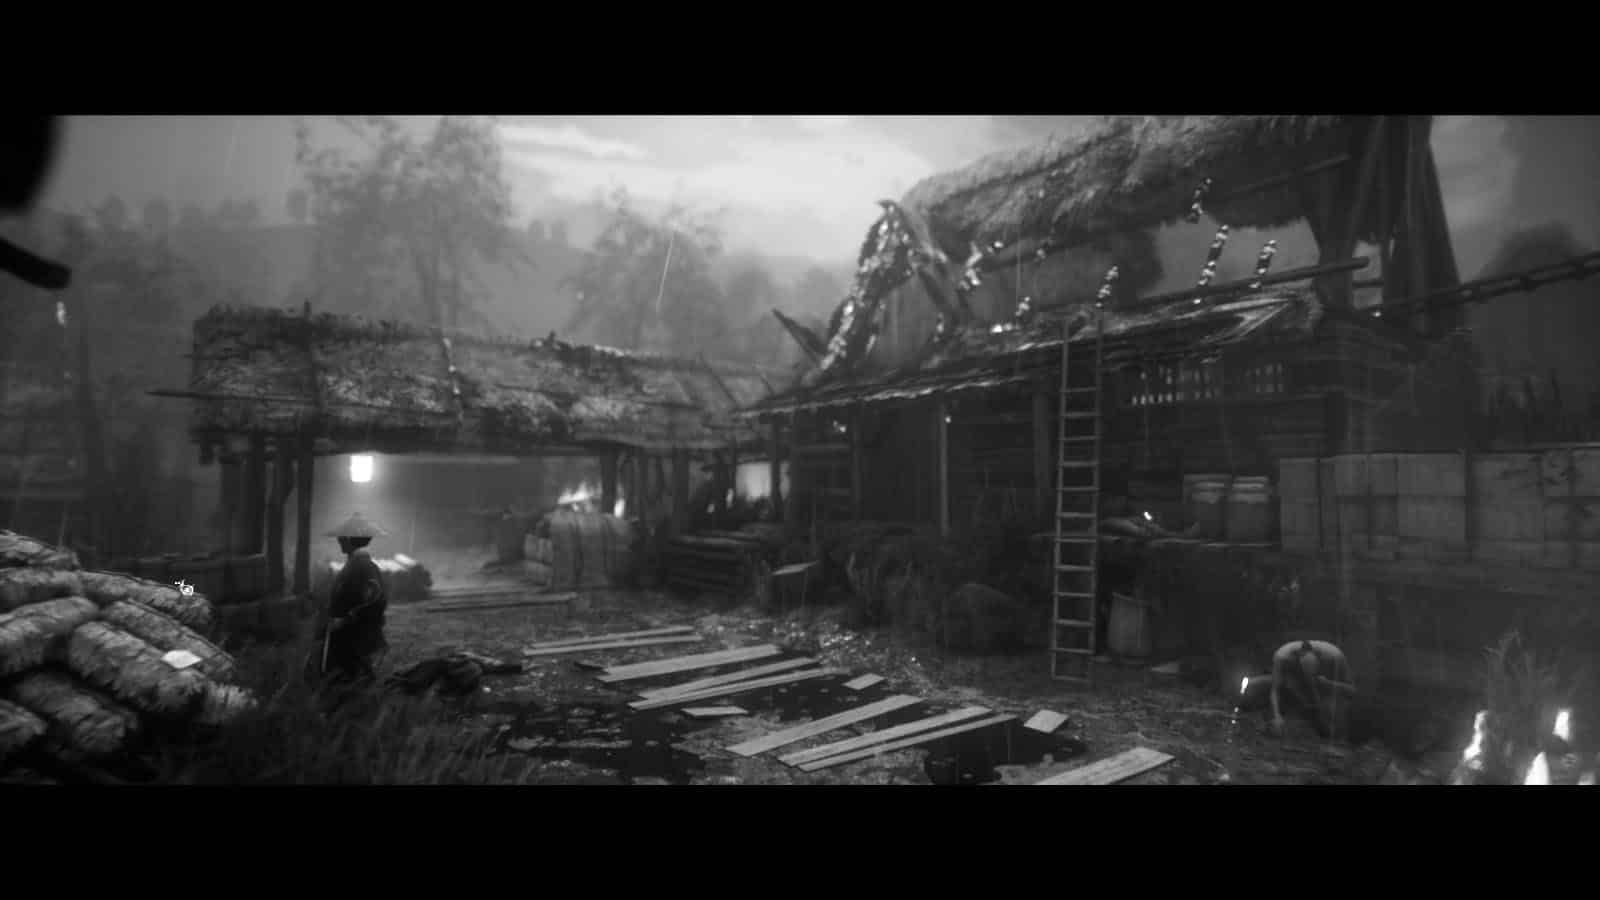
Save the villagers
Enter the village and climb and enter to the first hut to find a Stamina Upgrade and a Bo-Shuriken. Enter the second hut and defeat the bandit. You will also learn how to do a Sprint Attack.
Move further to the right until you reach a shrine. You’ll then have to move a cart of the way. Move to the next are and climb the stairs to the roof of the burning hut. Prepare to defeat an armored bandit once you enter the roof. (Before climbing up, check the haystack tot he left for the EMA Artifact)
As you cross over to the second roof, you’ll fall down and more bandits will rush in. Once defeated, you can move to the left to get a Bo-Shuriken and then proceed to the right. Continue moving through the burning building until you arrive at an open area.
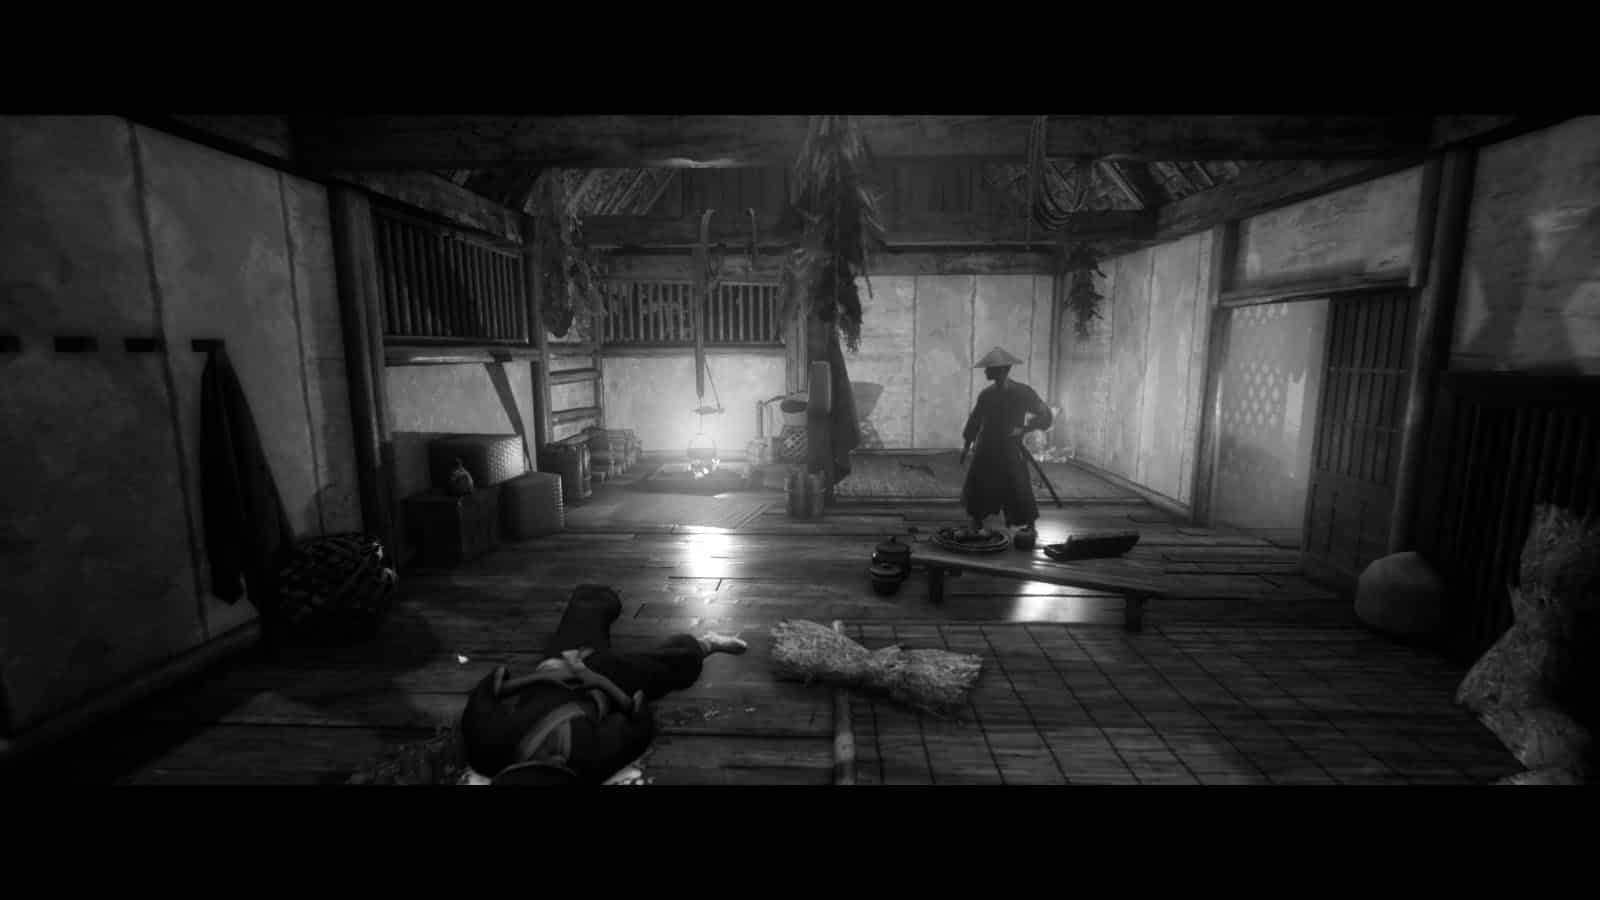
Go to the gate across the area to break down its door and you’ll see a shrine beside a house. Inside a house is an armored bandit. Defeat him and head back out to visit the fishing dock and find a Health Upgrade. Head back out to the gate of the house to talk to the cowering man and get some Bo-Shuriken.
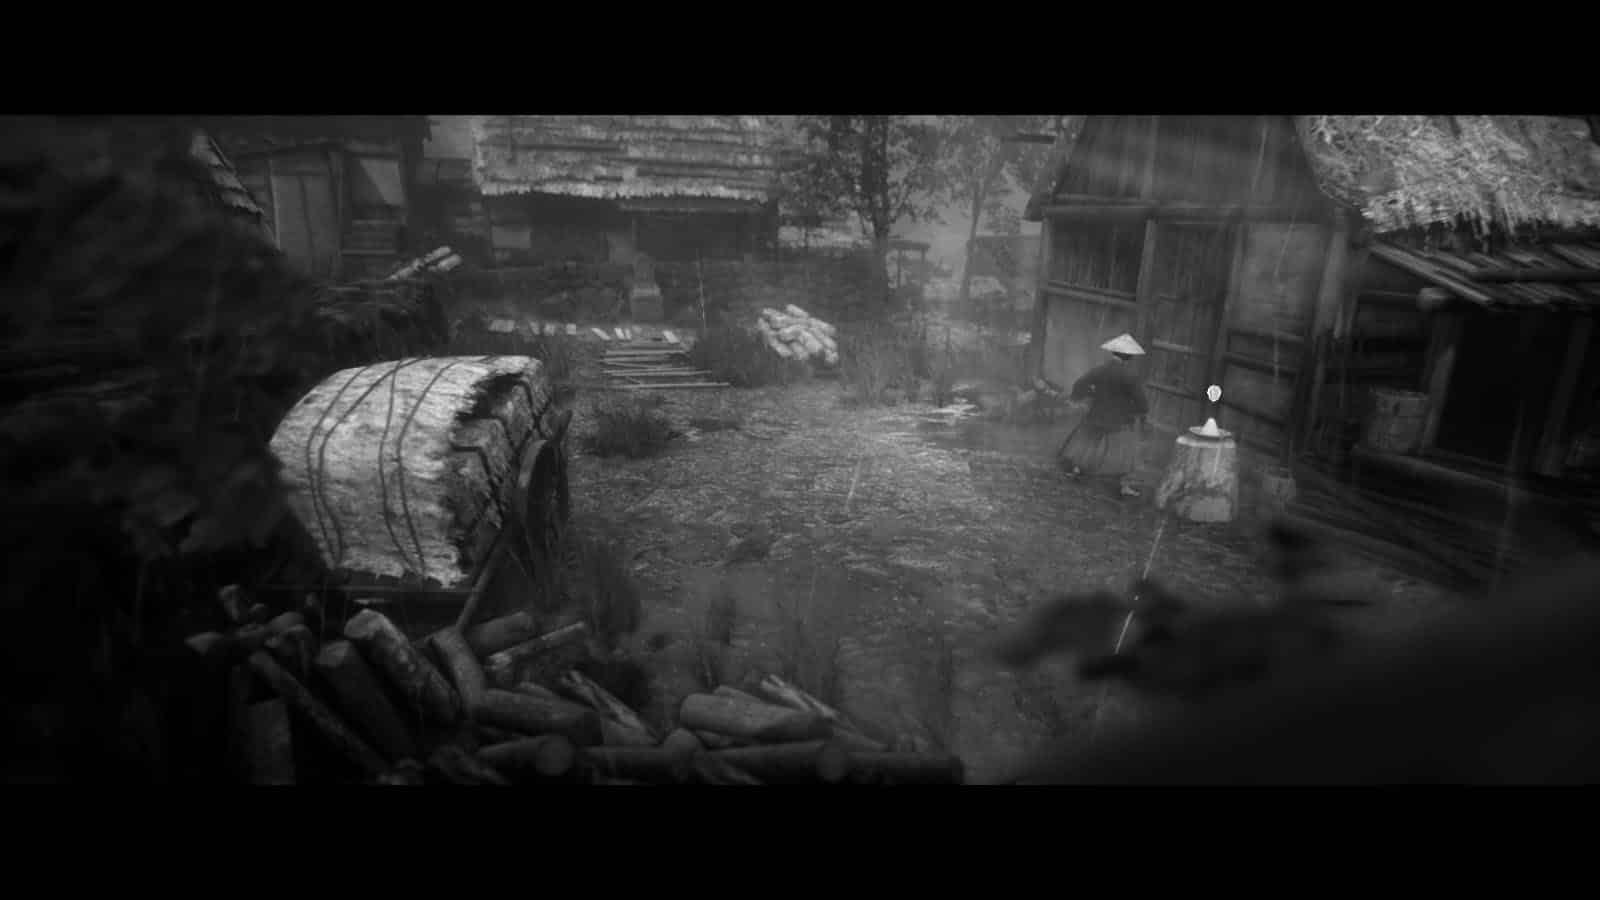
Search the Outskirts
Cross the bridge and defeat the bandits. Then, move to the left to reach another shrine. The first house to the right will have an armored bandit. Defeating him will unlock the Light Rotation Attack. The house on the end of the path has a Health Upgrade and the Lost Love Letter Artifact.
Head back to the boats and cross the planks to reach the bridge. Defeat the bandits as you go and you will reach another shrine to the right.
Continue moving towards the right as you defeat more enemies. There will be tough enemies from this leg up until the next shrine. Once you reach the barn, you will learn how to do the Double-sided Block and Parry. Exit the barn and move to the right to see a shrine. (Moving down from the shrine will lead to the Mori Shio Artifact)
Continue moving towards the path and climb the roof tops. You will encounter more bandits, as well as an armored bandit as you reach land. Cross the bridge and climb the stairs. Enter the crack in the wall to reach the next shrine and also get a Health and Bo-Shuriken Capacity Upgrade.
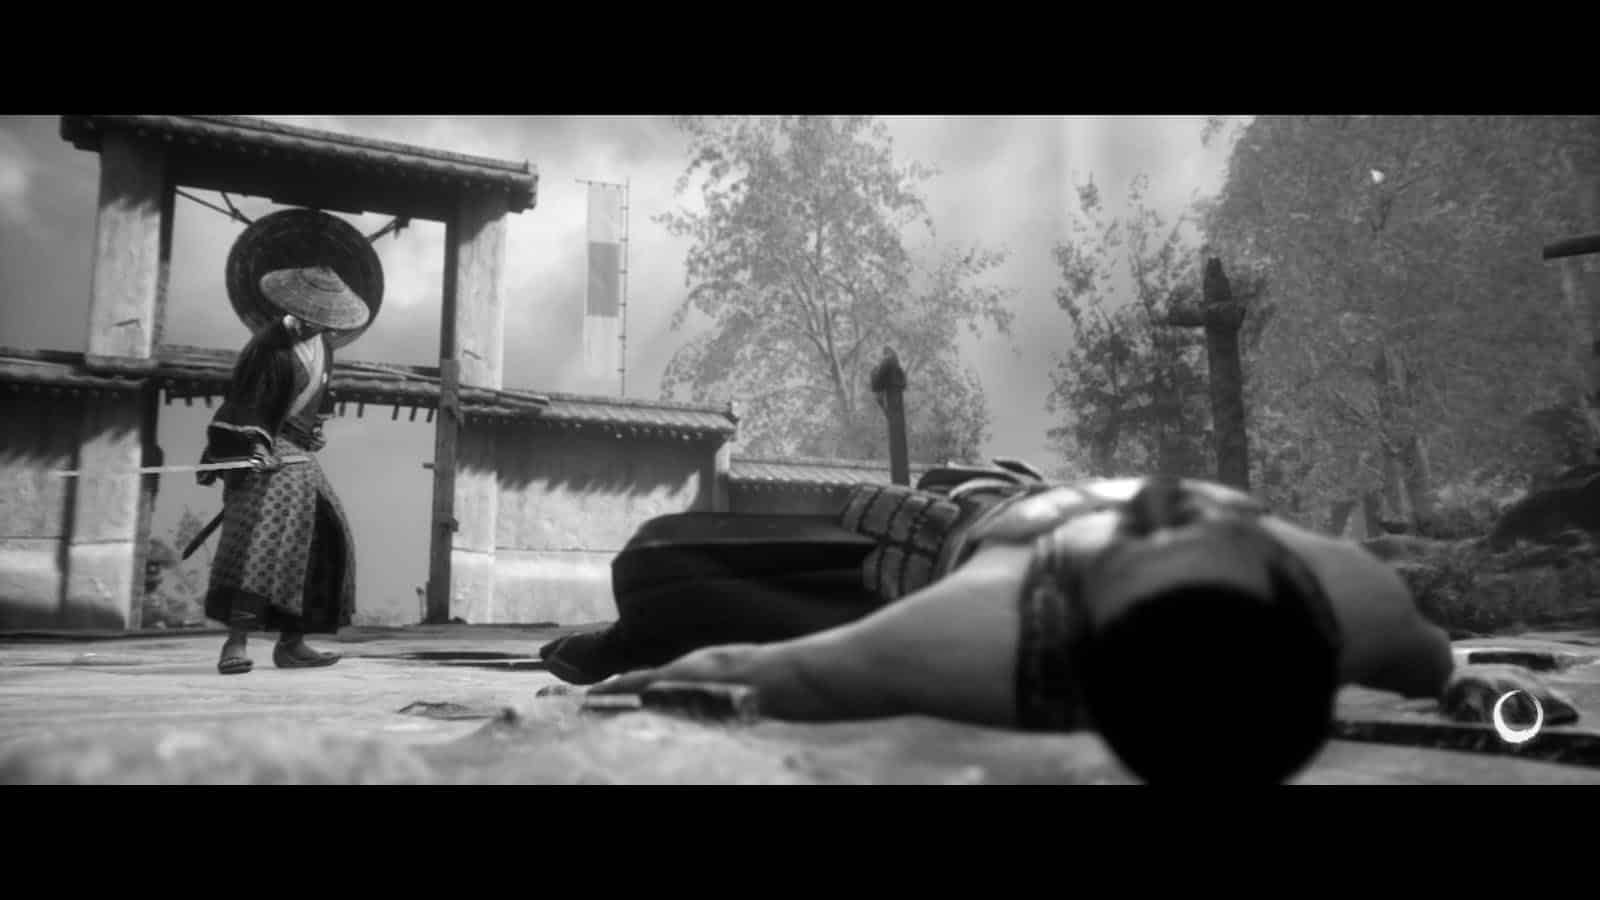
Cross the bridge and defeat the bandits and an armored bandit. You will then reach another shrine outside the temple walls. Enter the temple walls to engage in a boss fight against Sadatame. He wields a polearm and once his health goes down to half, he will step back and have his goons fight you.
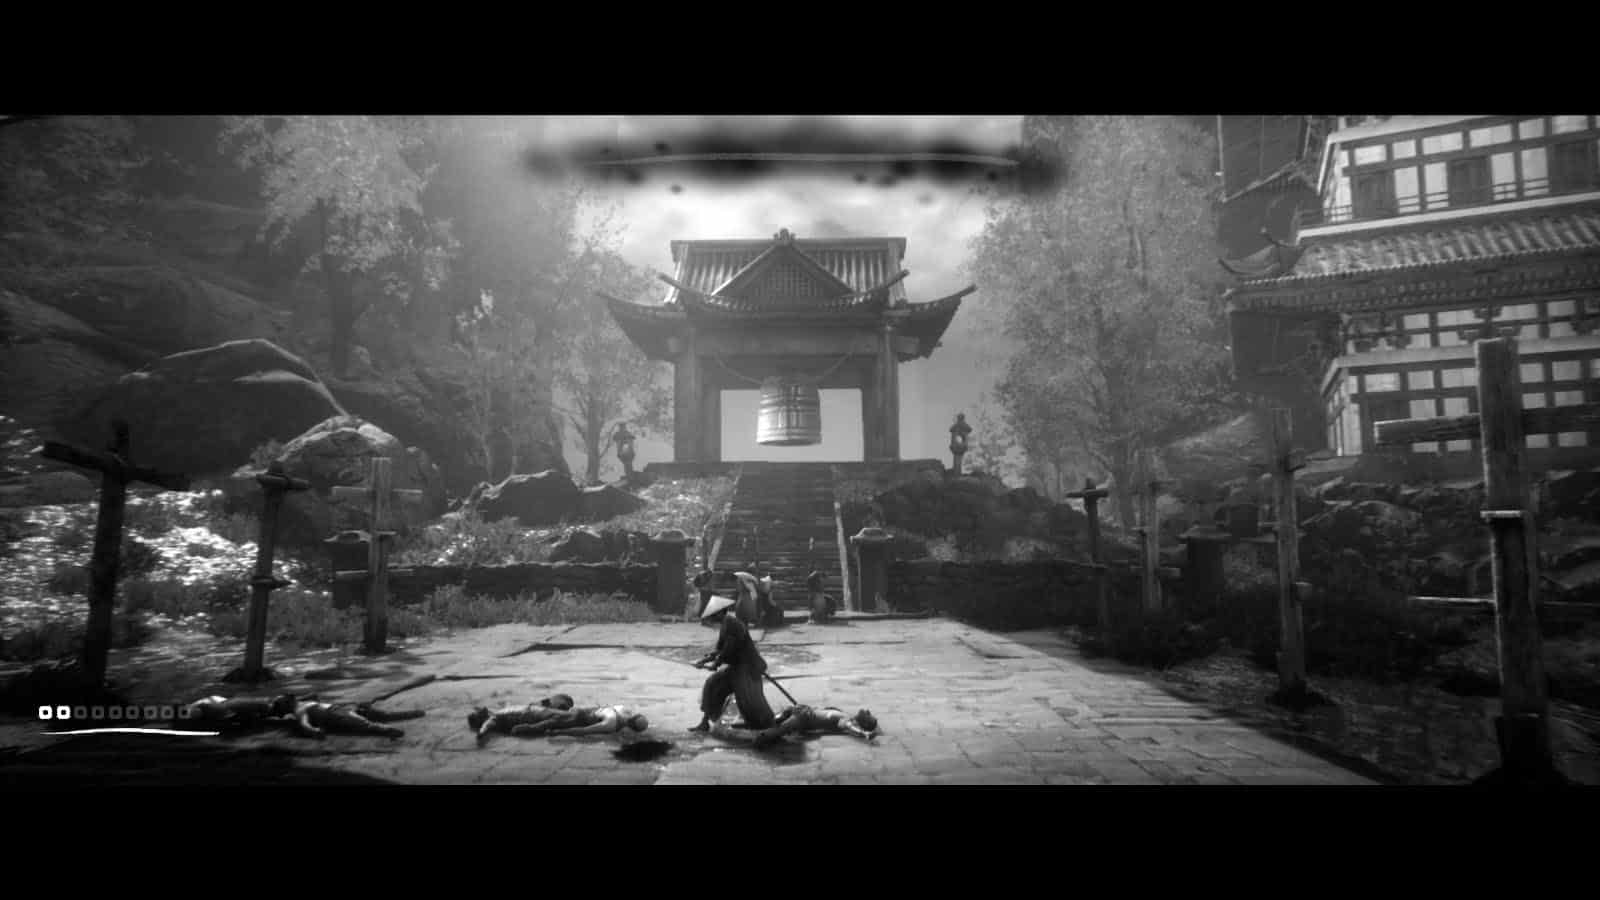
Some of Sadatame’s attacks have long wind ups, especially the swing attacks. These are the attacks that are easy to parry and follow up with two heavy attacks. In case you get hit, you can use the goons phase to heal up using perfect parry counterattacks.
After defeating him, Sadatame will reveal that he was just a distraction and that Hiroki’s village has been attacked by another group. This concludes Chapter 2.
Trek to Yomi Chapter 2 Artifacts
There are several collectibles to be found in each chapter and they can be easily missed and skipped. These items can be found through the path that Hiroki must take, or they can be found from secret areas. They are marked with a moving circle that can be interacted with.
There are six (6) collectibles to be found in Chapter 2. Also check out our complete Trek To Yomi Collectible Artifact Locations (Chapter 2) guide.
Discarded Kami Carving Artifact
Before climbing the rocks upward, follow the dog that passes by to the right path. This leads to a camp with the Discarded Kami Carving and a Bo-Shuriken.

Crude Tekko Artifact
As you use the first platform elevator inside the mine, go up and interact with the wooden beam to push and make it fall to the other side. Cross the gap using the beam and get the Crude Tekko.
The Three Monkeys Artifact
Cross the log bridge as you defeat the enemies. Then, follow the path under the torii and climb up the stairs to get The Three Monkeys and some Bo-Shuriken.

EMA Artifact
After moving the cart within the burning village, move to the next location and check on the haystack to the left to find EMA.
Lost Love Letter Artifact
After crossing the bridge, head to the left, and go the house on the left. You’ll see the Lost Love Letter on the table.
Mori Shio Artifact
As you exit the barn and use the shrine, go towards the path directly in front of the shrine to find the Mori Shio Artifact.
If you like this guide, be sure to check out our other Trek to Yomi articles:
- Trek To Yomi Collectible Artifact Locations (Chapter 1)
- Trek To Yomi Collectible Artifact Locations (Chapter 2)
- Trek To Yomi Collectible Artifact Locations (Chapter 3)
- Trek To Yomi Collectible Artifact Locations (Chapter 4)
- Trek to Yomi Chapter 1 Walkthrough Guide
- Trek to Yomi Chapter 2 Walkthrough Guide
- Trek to Yomi Stamina Upgrade Locations
- Trek to Yomi Health Upgrade Locations
- Trek to Yomi Achievements – Trophy Guide and How to Get Platinum
- How Long is Trek to Yomi?
Check out this video by theRadBrad showing a walkthrough of Trek to Yomi:


")