
Trek to Yomi is the newest cinematic action game to get published by Devolver Digital. Our Trek to Yomi Chapter 1 Walkthrough is the first part to a series of guides that will cover the entire game of Trek to Yomi. It will be done in parts that will cover each chapter of the game and it will cover notable enemy fights, as well as hidden secrets and collectibles.
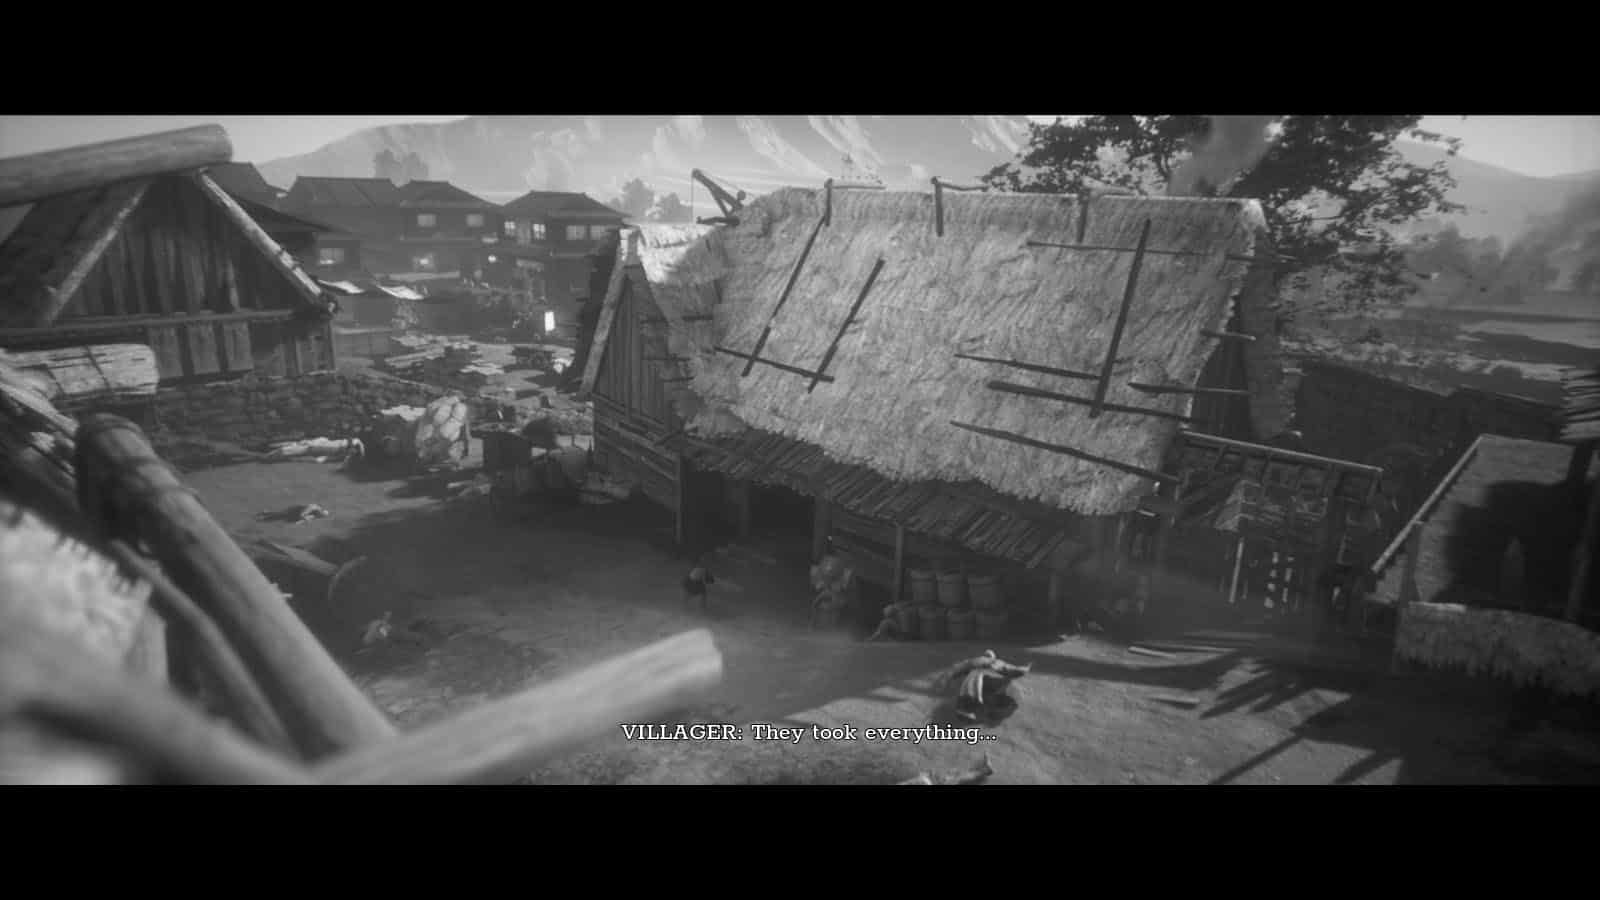
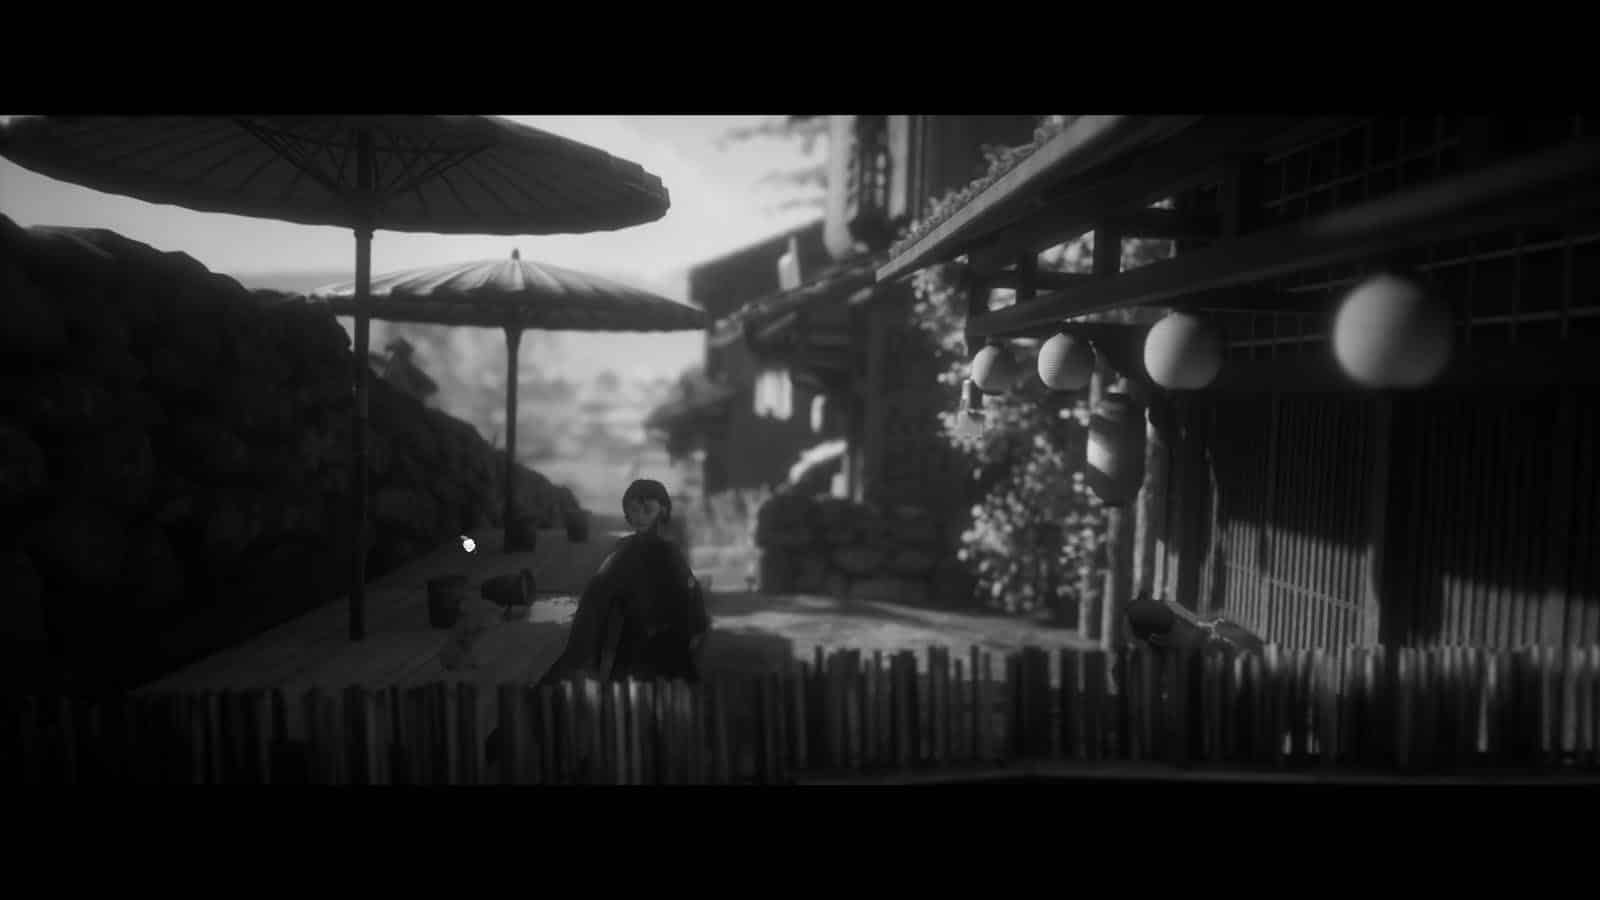
Set in feudal Japan, this game follows the story of Hiroki, a samurai who has to defend his town from a warlord that is out to claim lands to his name. Trek to Yomi is presented in the Kurosawa art style with everything in black and white and is set on a 2.5D world.
Hiroki’s main weapon is his katana and he uses it to slay his enemies. Due to the 2.5D nature of the game, fights happen in a linear, side-scrolling manner, which governs how Hiroki and his enemies move. Timed parries and quick slashes will allow Hiroki to defeat his enemies easily, but the challenge lies on when he gets surrounded by enemies.
How to Complete Trek to Yomi Chapter 1
The steps below are the paths to take to get through the objectives quickly. There can be different paths that should be taken to get to secret areas and find upgrades or collectibles which can easily be missed, so we recommend to also check the artifacts section below.
Find Master Sanjuro
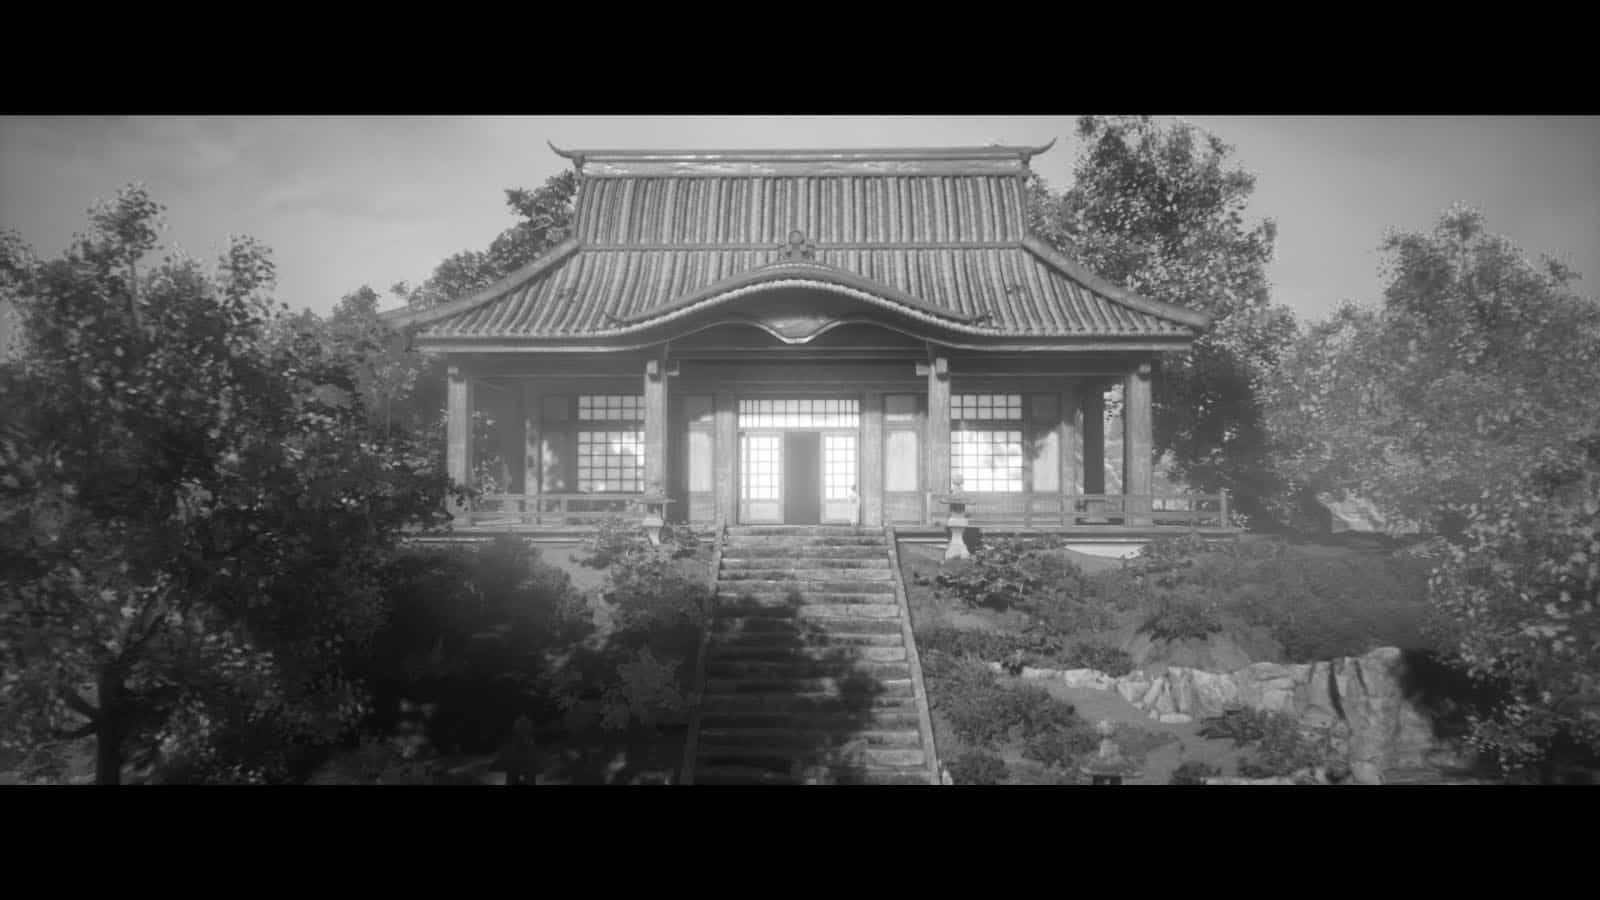
Head out from the dojo and take the left path through the stores. Then, help out the old man move the cart out of the way. (Tamaya Mirror Artifact can be collected behind the dojo)
Reach the main gates
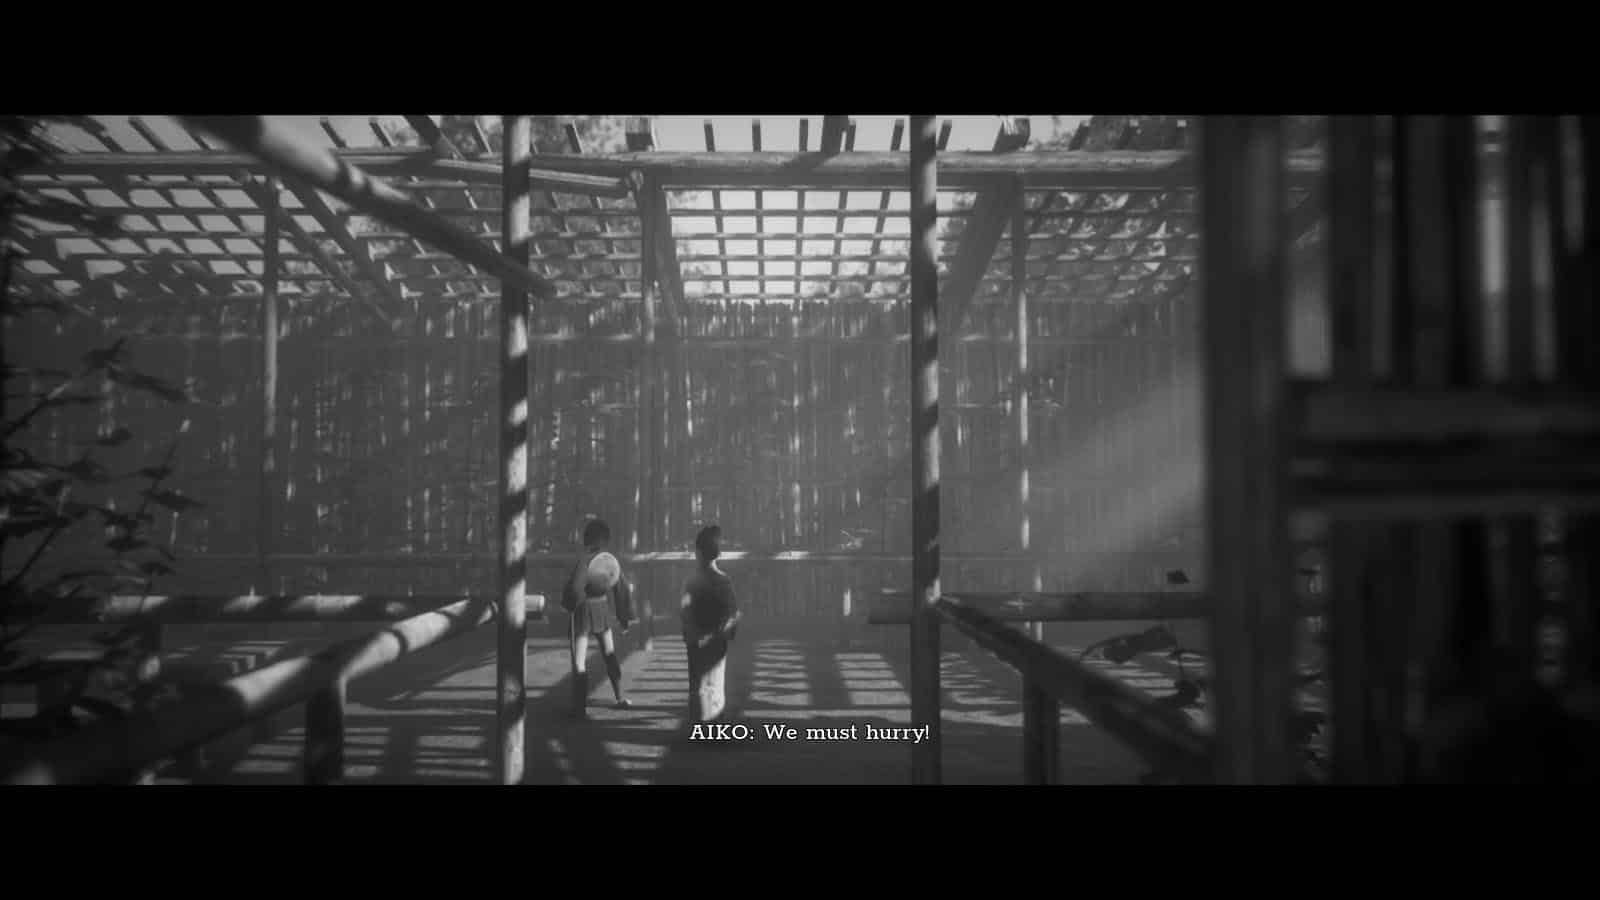
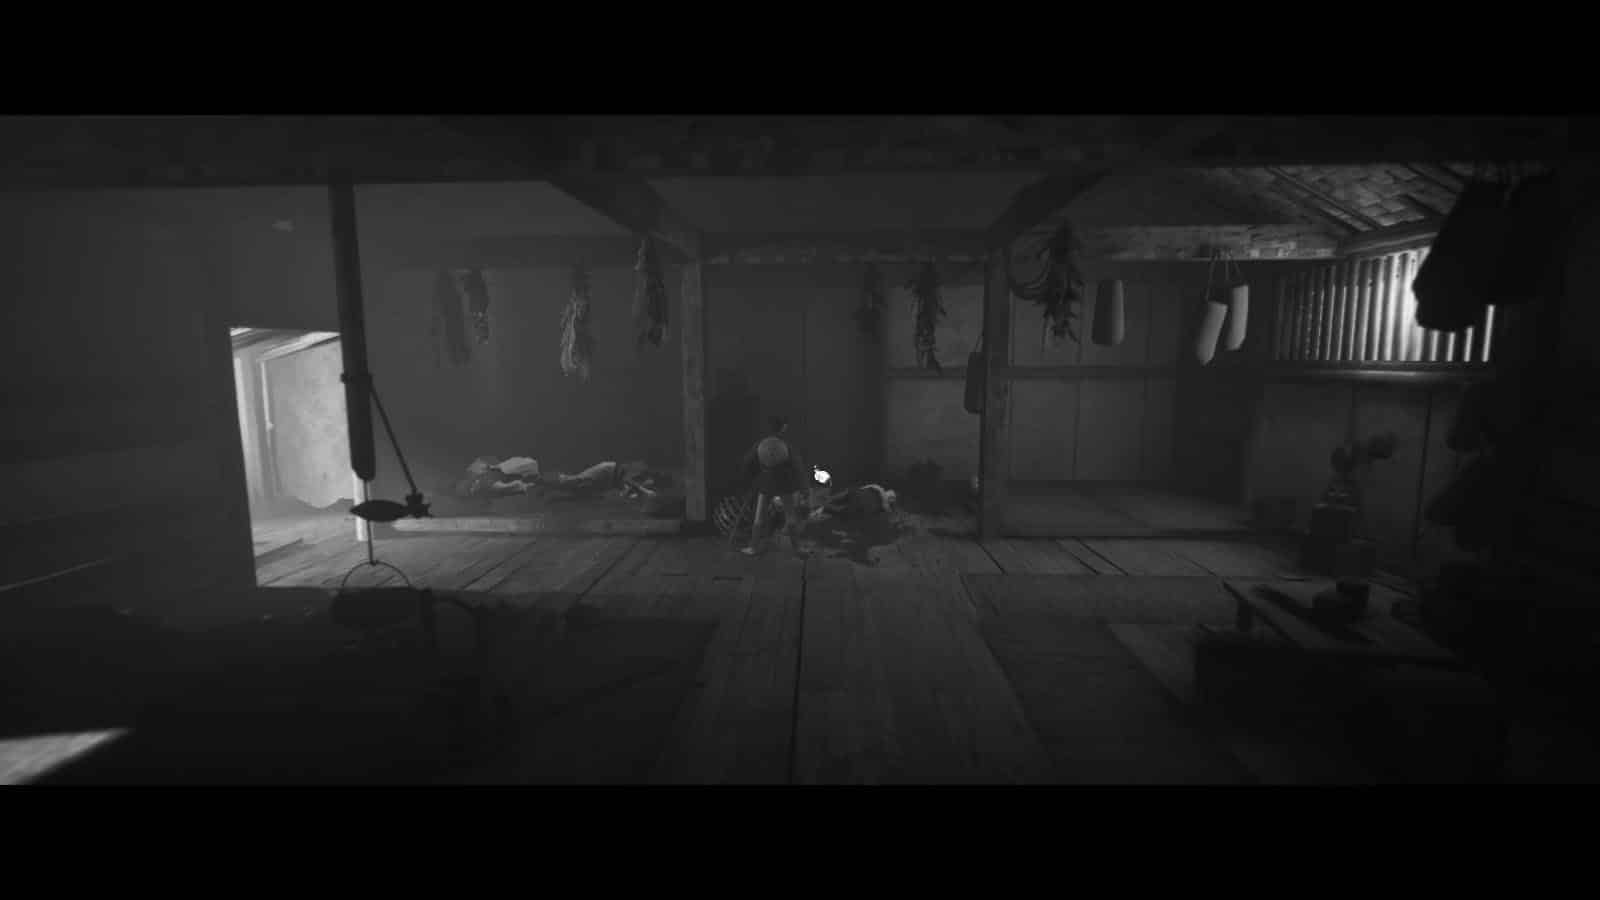
Make your way through the tea house, take the shortcut that goes through the storage hut, and you will arrive at the first shrine which serves as a checkpoint. Go to the market, the merchant whose barrels fell down can be talked to, but it’s optional. (Izanagi Print Artifact is inside the tea house, the Kai-Awase Shell Artifact is to the left path in the storage hut)
You will arrive at another junction with a wall lined up with bamboo. Take the path to the right to proceed. (Path to the left leads to the Sakura Bloom Artifact)
Follow the path until you arrive at the barricade by the gate. A small cutscene will play showing a bandit on a horse. Go through the gate after the cutscene and you’ll see another shrine. Past this will be your first fight against bandits.
Repel the attack
Fight the first bandit by the bell tower. Depending on the difficulty chosen, these bandits will need around 2-6 light attacks. Take your time parrying, then striking twice, before parrying again. On ronin difficulty, they will immediately attack after your second strike. After defeating the bandits, you will arrive at a shrine. (Behind this shrine is the Field Mouse Sculpture Artifact)
Proceed to the left to fight more bandits and you will arrive at another shrine with the weeping woman. Check the jar near the stack of planks to get a Health Upgrade. Across the shrine is an area with a bandit.
Continue moving forward through the bridge and into an open area with a bandit. After defeating the bandit, talk to the woman who will give you Bo-Shurikens to use.
Continue forward and you’ll pass by a shrine towards another part of the town where you will have to move a cart out of the way. (Enter the hut to find the Kakute Artifact)
You will then have to fight against three more bandits. Defeat them to pass. Though there is a bunch of logs hanging on top of them, the trigger to make them fall is past the encounter and you can’t get past the bandits until they are defeated. Visit the shrine next to the gate and head left. You’ll encounter more bandits on this path.
You’ll then have to enter a house with a prompt about secret areas. Head to the room on the opposite side to get a Stamina Upgrade. Then, head upstairs and outside the higher floor to see another shrine. Enter the house and prepare for another bandit encounter. Talk to the woman afterwards to get a Bo-Shuriken Capacity Upgrade.
Move forward and you’ll encounter some more bandits before you have to jump down to a lower ledge. Defeat the bandits trying to get through the gate.
Search the Outskirts
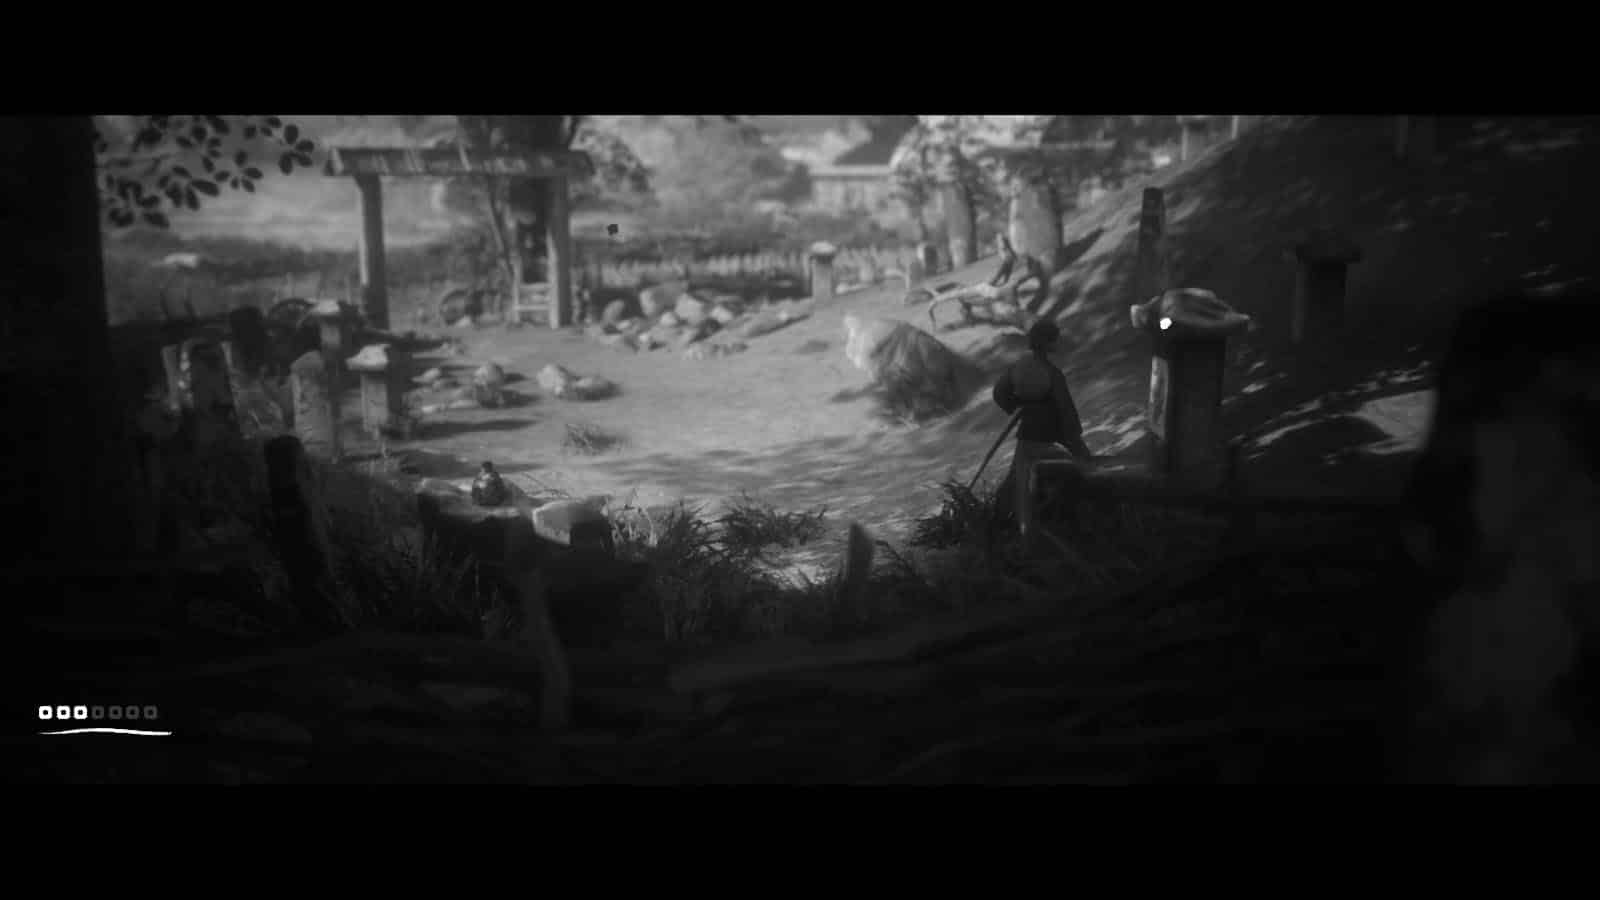
As you move through the fields and into a junction, head right to activate the shrine. (Heading further right will put you in an encounter and it is where you’ll find the Izanami Print Artifact and a Stamina Upgrade)
Head towards the left to find another shrine. Use this shrine to prepare for the following boss fight. You’ll then have to encounter Kagerou. He strikes twice which you can parry. You only need to hit him once before a cutscene appears and takes over the fight.
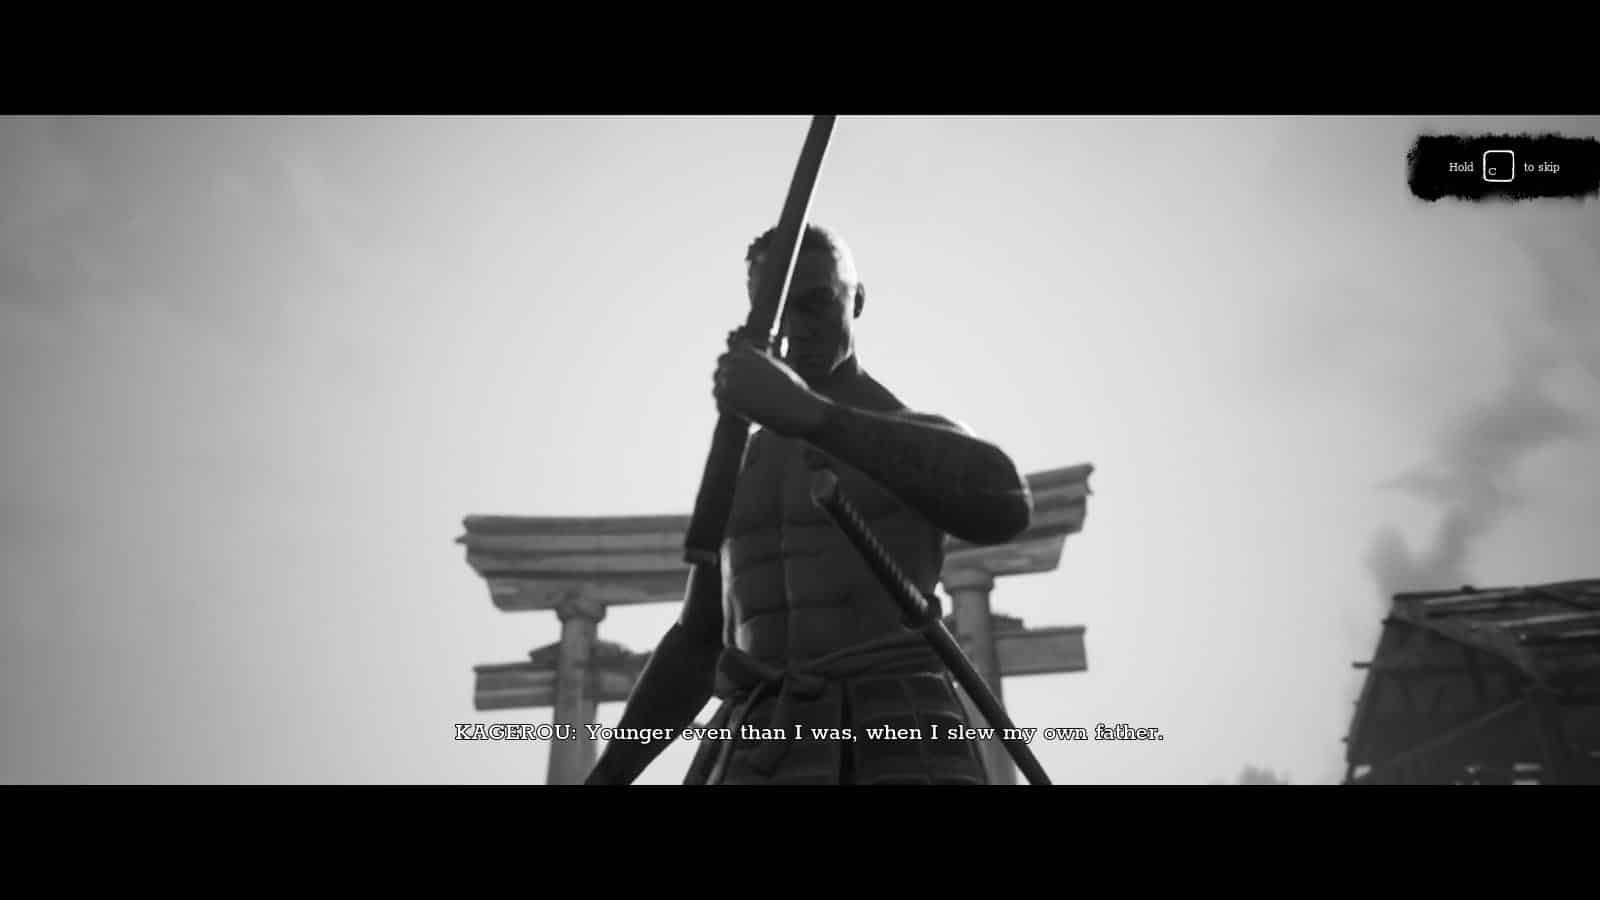
A custscene will end that fast forwards to Hiroki’s adulthood. This concludes Chapter 1.
Trek to Yomi Chapter 1 Artifacts
There are several collectibles to be found in each chapter and they can be easily missed and skipped. These items can be found through the path that Hiroki must take, or they can be found from secret areas. They are marked with a moving circle that can be interacted with.
There are seven (7) collectibles to be found in Chapter 1. Also check out our complete Trek To Yomi Collectible Artifact Locations (Chapter 1) guide.
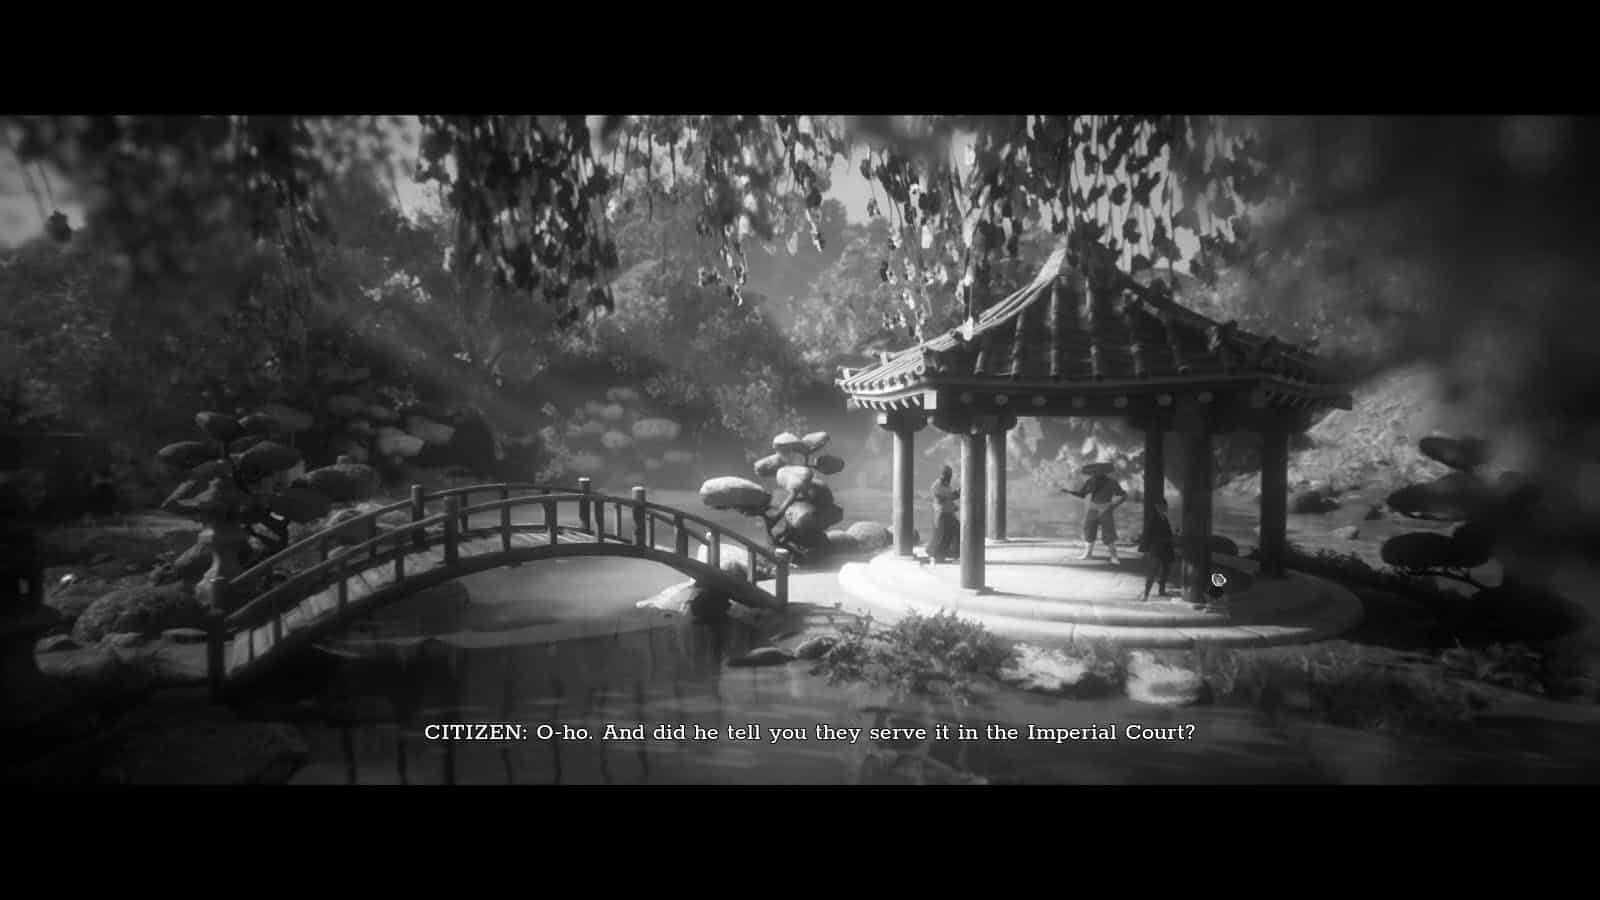
Tamaya Mirror Artifact
This collectible can be found at the garden behind the dojo. Exit the dojo right after Master Sanjuro heads out. Then, take either the left or the right path to arrive at the garden. Go to the gazebo where two men are talking to find the Tamaya Mirror on the ground.
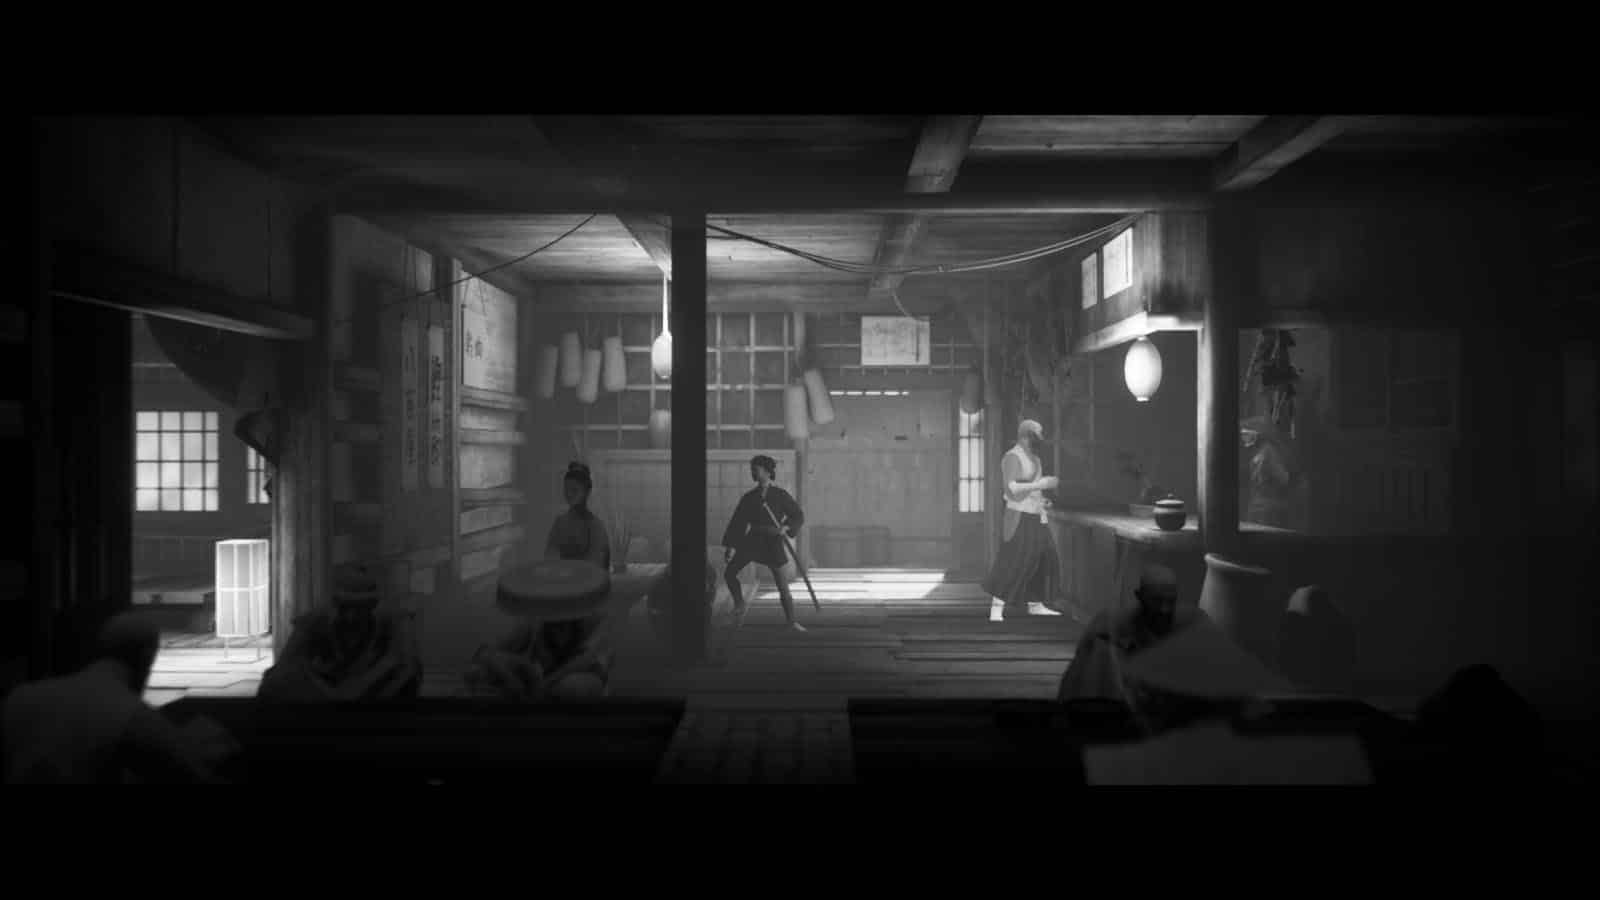
Izanagi Print Artifact
Right after pushing the cart, enter the tea house and you will see an item marker for the Izanagi Print on the table right across the counter.
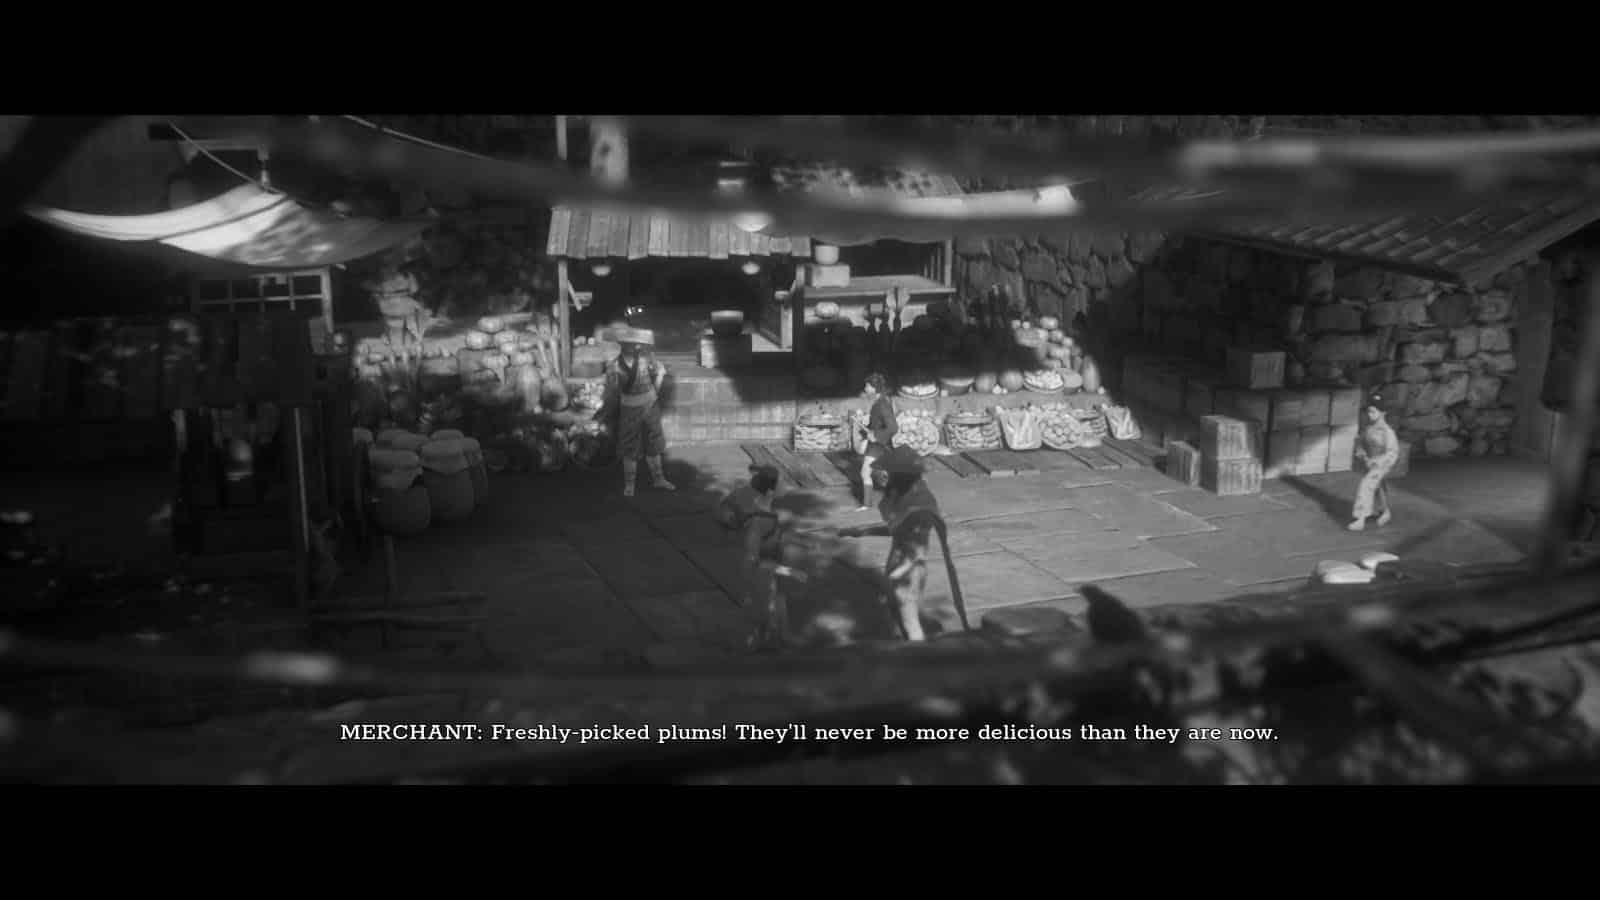
Kai-Awase Shell Artifact
Go past the storage hut shortcut and go to the left path past the Quartermaster. Speak to the Merchant who will give you the Kai-Awase Shell.
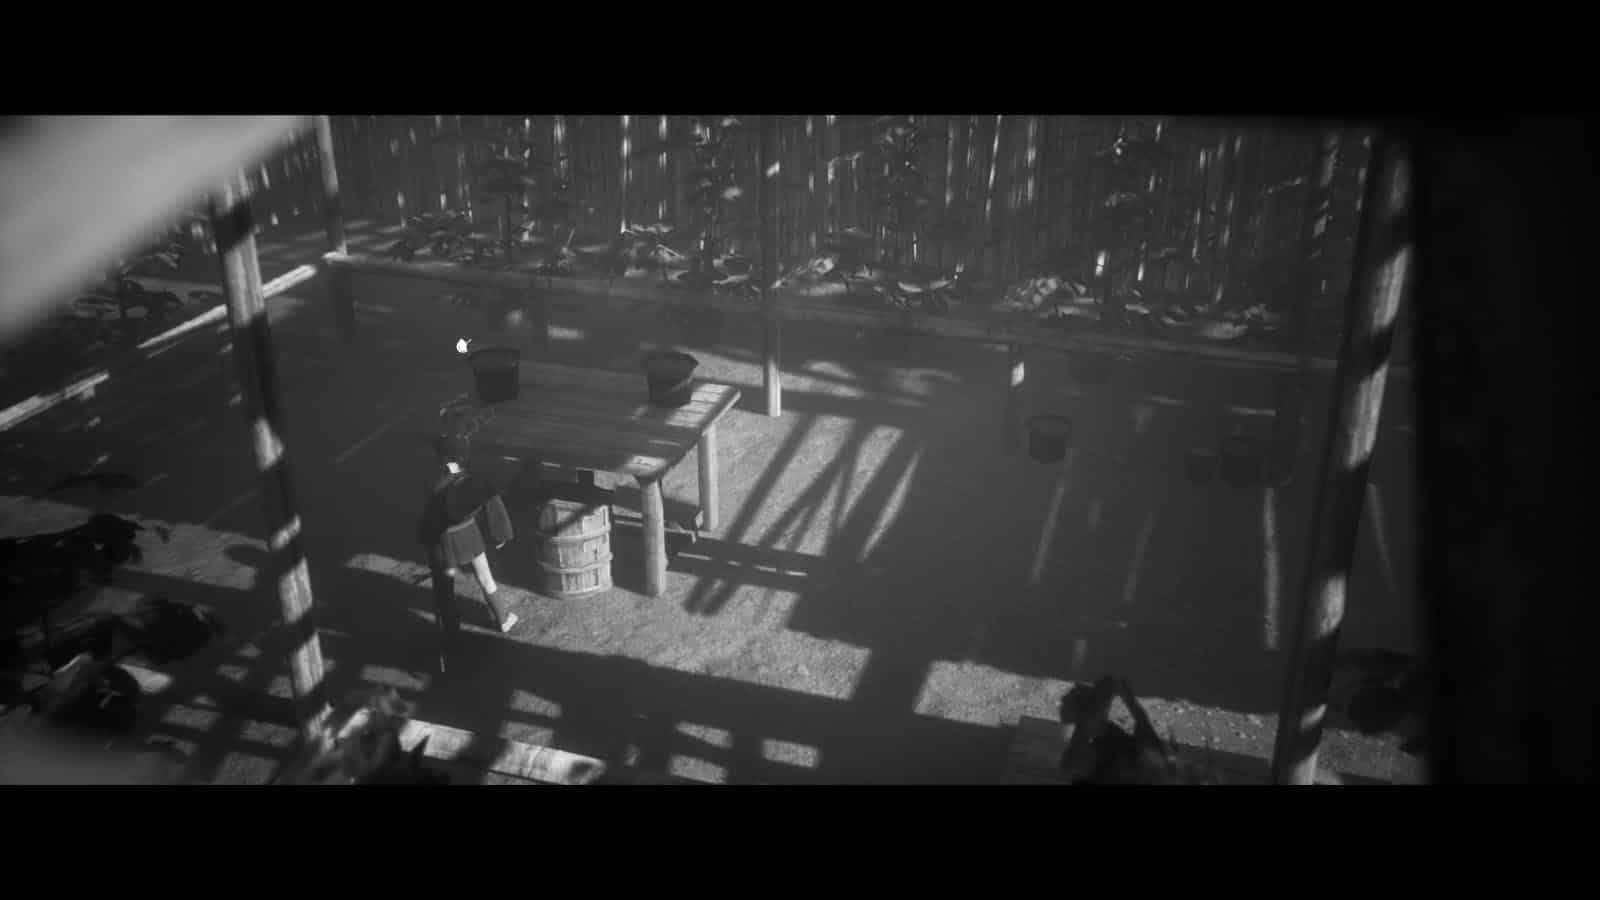
Sakura Bloom Artifact
At the junction with bamboo walls, head left and there is a table in the middle with the Sakura Bloom on it.
Field Mouse Sculpture Artifact
Behind the shrine following your first bandit fights, head to the path behind it where you will see a table with the Field Mouse Sculpture on it.
Kakute Artifact
On the other part of the town, you will pass by a hut with an open door. Inside, you will find the Kakute on the floor.
Izanami Print Artifact
After defeating the bandits at the gate, head to the junction and turn right. Go past the shrine and defeat the bandits in the cemetery. At the end of the path is the Izanami Print and there is also a jar on the table that you an get for a Stamina Upgrade.
If you like this guide, be sure to check out our other Trek to Yomi articles:
- Trek To Yomi Collectible Artifact Locations (Chapter 1)
- Trek To Yomi Collectible Artifact Locations (Chapter 2)
- Trek To Yomi Collectible Artifact Locations (Chapter 3)
- Trek To Yomi Collectible Artifact Locations (Chapter 4)
- Trek to Yomi Chapter 1 Walkthrough Guide
- Trek to Yomi Chapter 2 Walkthrough Guide
- Trek to Yomi Stamina Upgrade Locations
- Trek to Yomi Health Upgrade Locations
- Trek to Yomi Achievements – Trophy Guide and How to Get Platinum
- How Long is Trek to Yomi?
Check out this video by Arekkz Gaming showing a walkthrough of Trek to Yomi:

")
")