
Destiny 2 introduces a brand new storyline along with a new seasonal quest called Sails of the Shipstealer. This provides guardians with a set of objectives, each of which requires them to participate in seasonal activities in order to progress.
There are a total of 62 step in Sails of the Shipstealer, with up to seven weeks worth of content being made available weekly. It follows a similar routine, such as partaking in Expedition missions, completing Pirate Hideouts, as well as some character interactions.
How to Start the Sails of the Shipstealer Quest in Destiny 2?
Before you can start Sails of the Shipstealer, you must complete Season of Plunder’s Salvage and Salvation quest. As soon as that’s done, head on over to H.E.L.M. and finish Ahoy and Aweigh, which will introduce you to Ketchcrash and the Captain’s Atlas. Then, the Season of Plunder’s vendor will provide you the Sails of the Shipstealer quest.
As such, if you’re not sure how to get started, we’ve compiled a step-by-step guide that will teach you how to complete Sails of the Shipstealer in Destiny 2 below.

Sails of the Shipstealer Quest Guide – Week 1 (Steps 1-10)
As mentioned above, launching Destiny 2 will immediately throw you into an introductory quest that will lay the groundwork for the Season of Plunder’s overarching tale. At this point, the Sails of the Shipstealer quest will become available.
Step #1 – Visit the Star Chart in H.E.L.M.
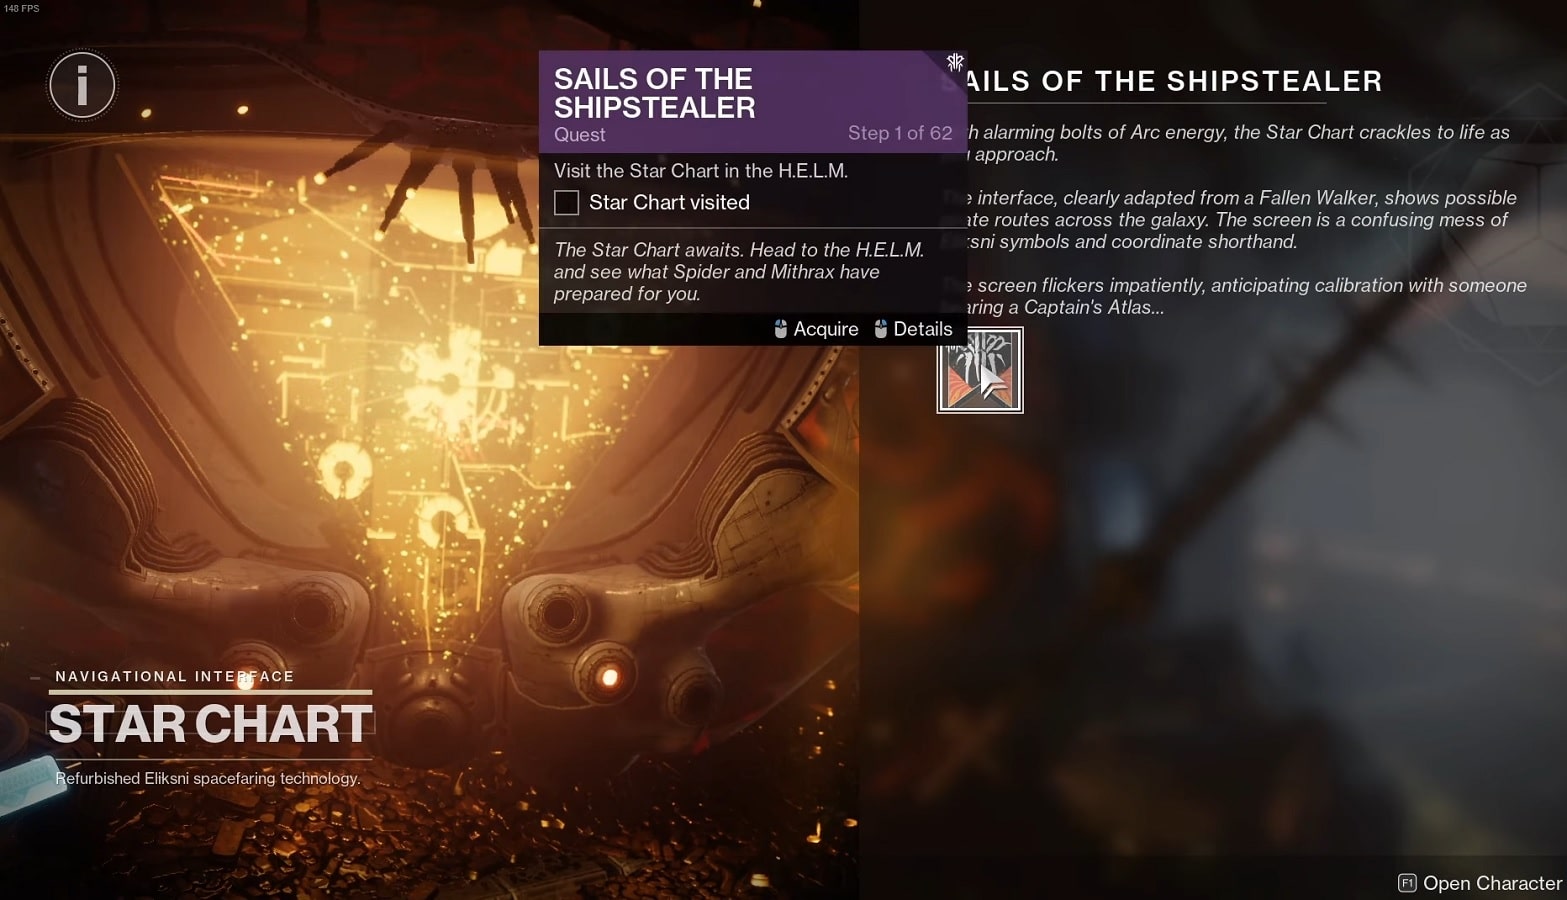

The H.E.L.M. is where you can find the Star Chart and should be your first stop. You’ll be visiting the Star Chart, the Season of Plunder vendor, repeatedly throughout the event to gain experience. If you’re looking for it, it’s likely in the hall to the left of the entrance.
Step #2 – Restore a Treasure Map in the Captain’s Atlas
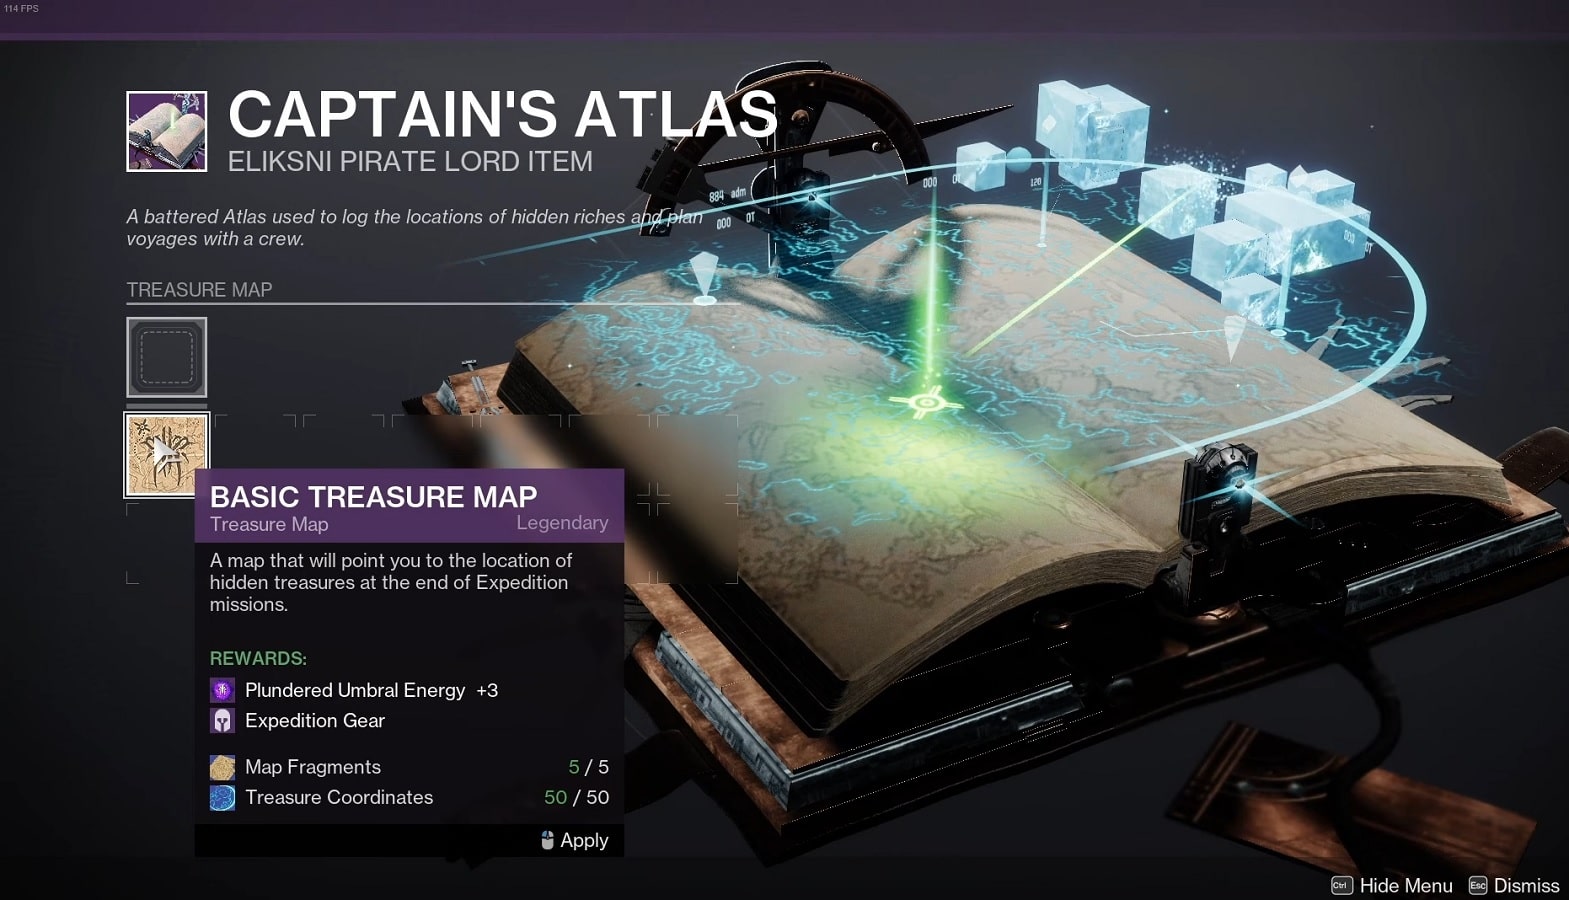
With the Map Fragments and Treasure Map information you gathered during your first Ketchcrash activity, you can now apply it to your Captain’s Atlas. The Captain’s atlas can be interacted within the Quest Tab.
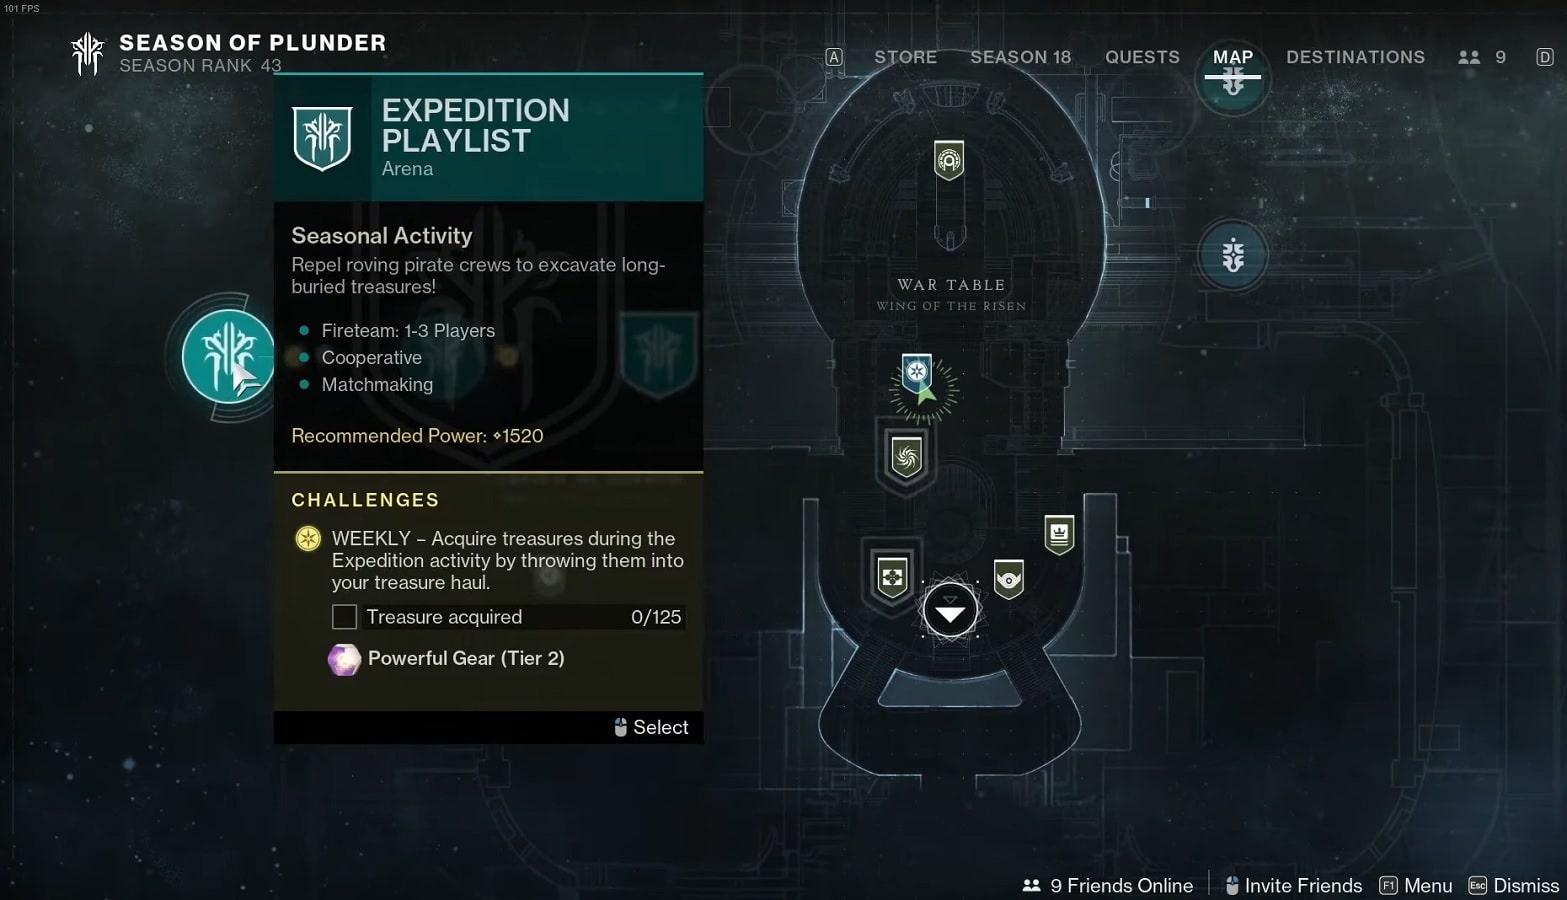
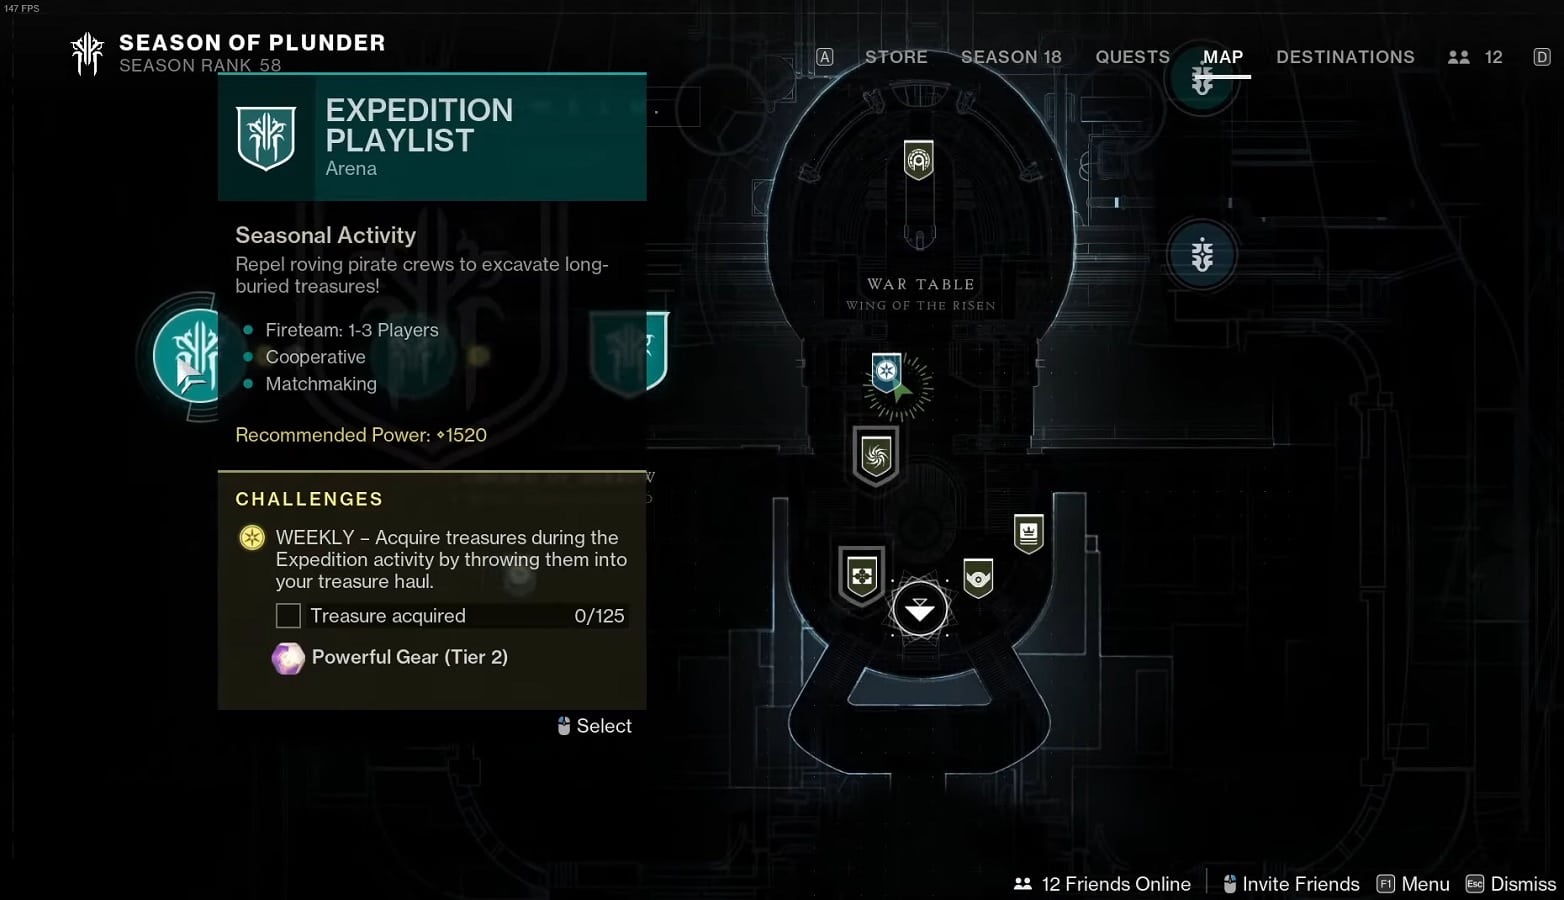
Step #3 – Complete the Expedition Activity
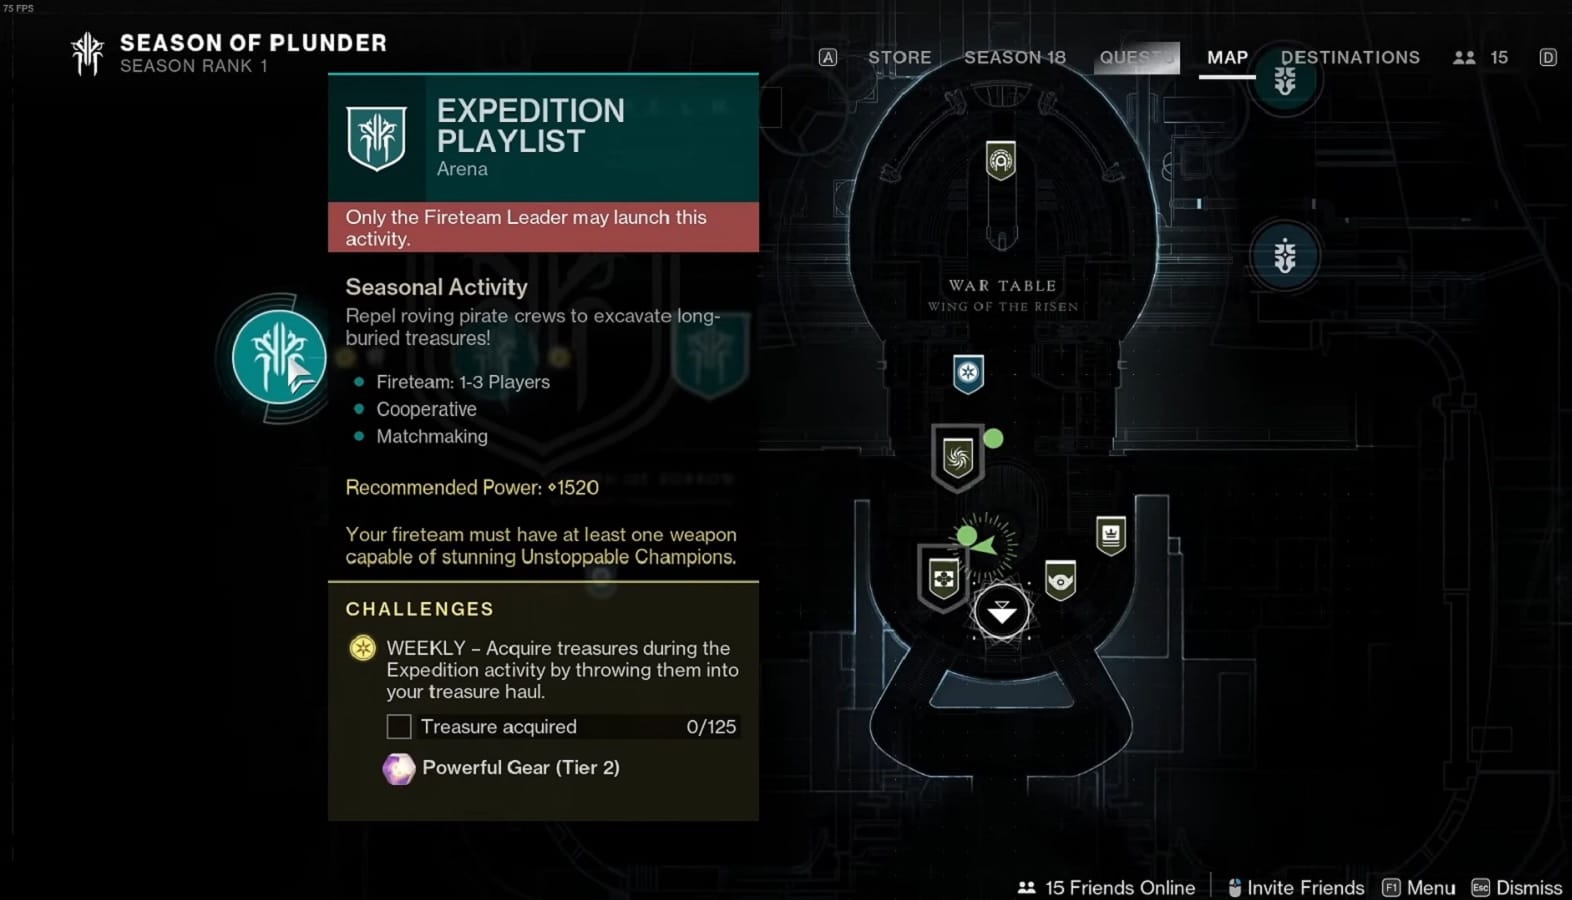

After using the Captain’s Atlas, the Expedition activity will show up on the H.E.L.M. map. Jump right in, finish the mission, and take the loot when you’re done.
Step #4 – Complete the “Successful Expedition” Weekly Challenge
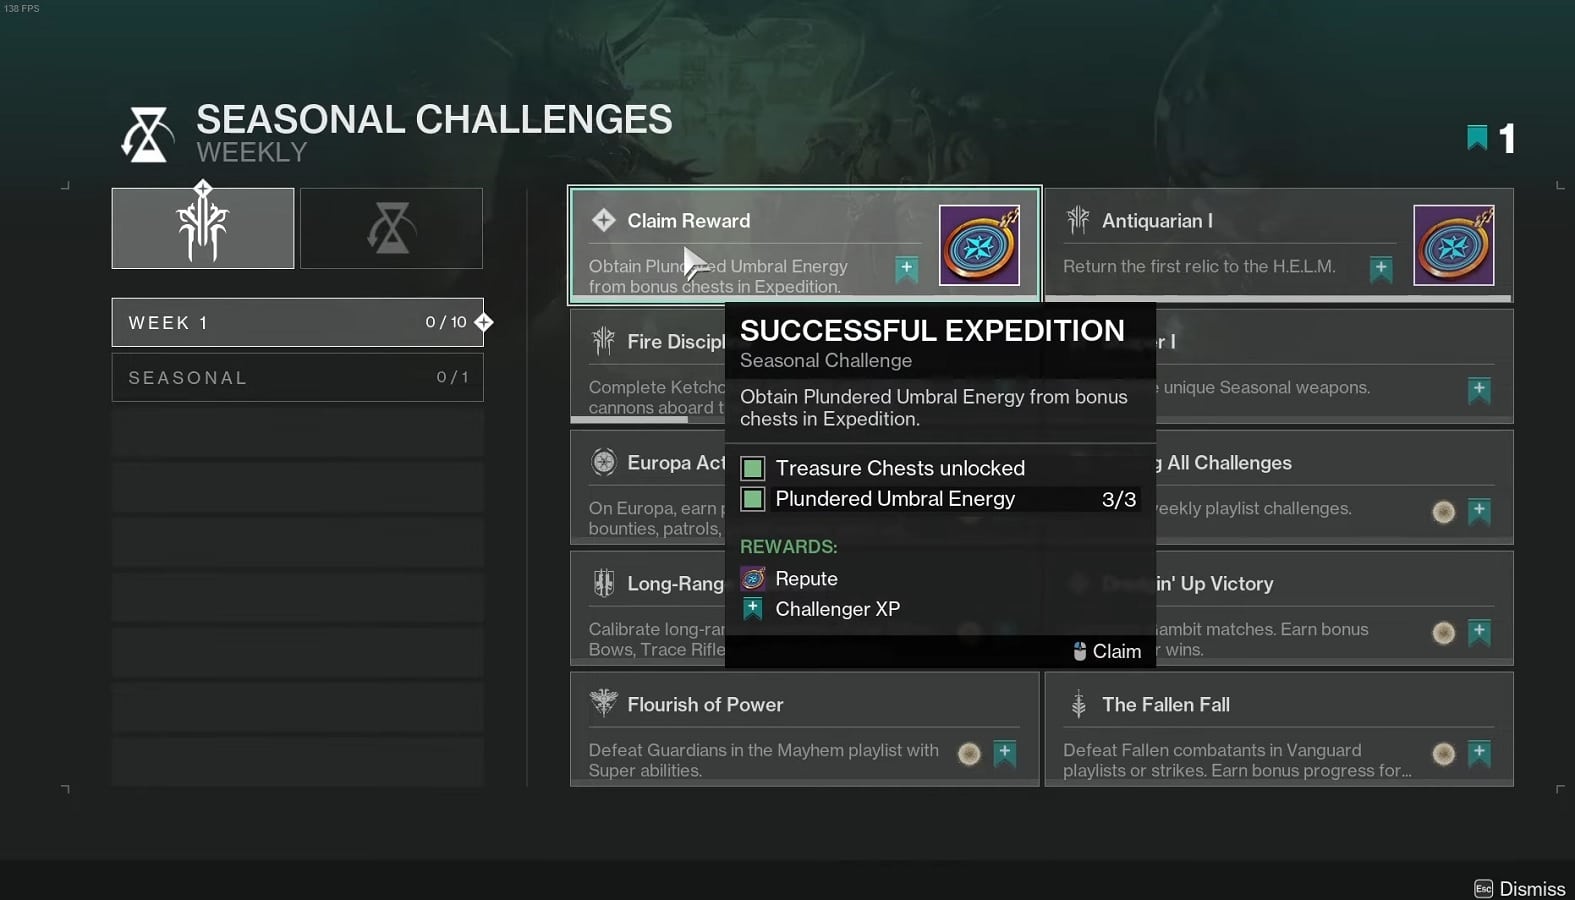
After completing the Expedition activity, you will need to access your quests, navigate to the Seasonal Challenges section (located under the blue banner at the top of the quests page), and claim the “Successful Expedition” seasonal challenge. This Step’s primary objective is to provide you and your companions with an abundance of buried treasure.
Step #5 – Upgrade the Star Chart in H.E.L.M.

Now, go back to the H.E.L.M. and interact with the Star Chart in order to select one of the many upgrades that are available to you.
You can find a large symbol representing the pirate crew in the Star Chart menu. When you open it, you’ll see a screen with several separate upgrades, grouped into three sections. As the majority are likely to be locked for the time being, choose one at least. Over the subsequent weeks, you’ll be given access to the remaining sections.
Step #6 – Complete the Pirate Hideout: The Brute mission
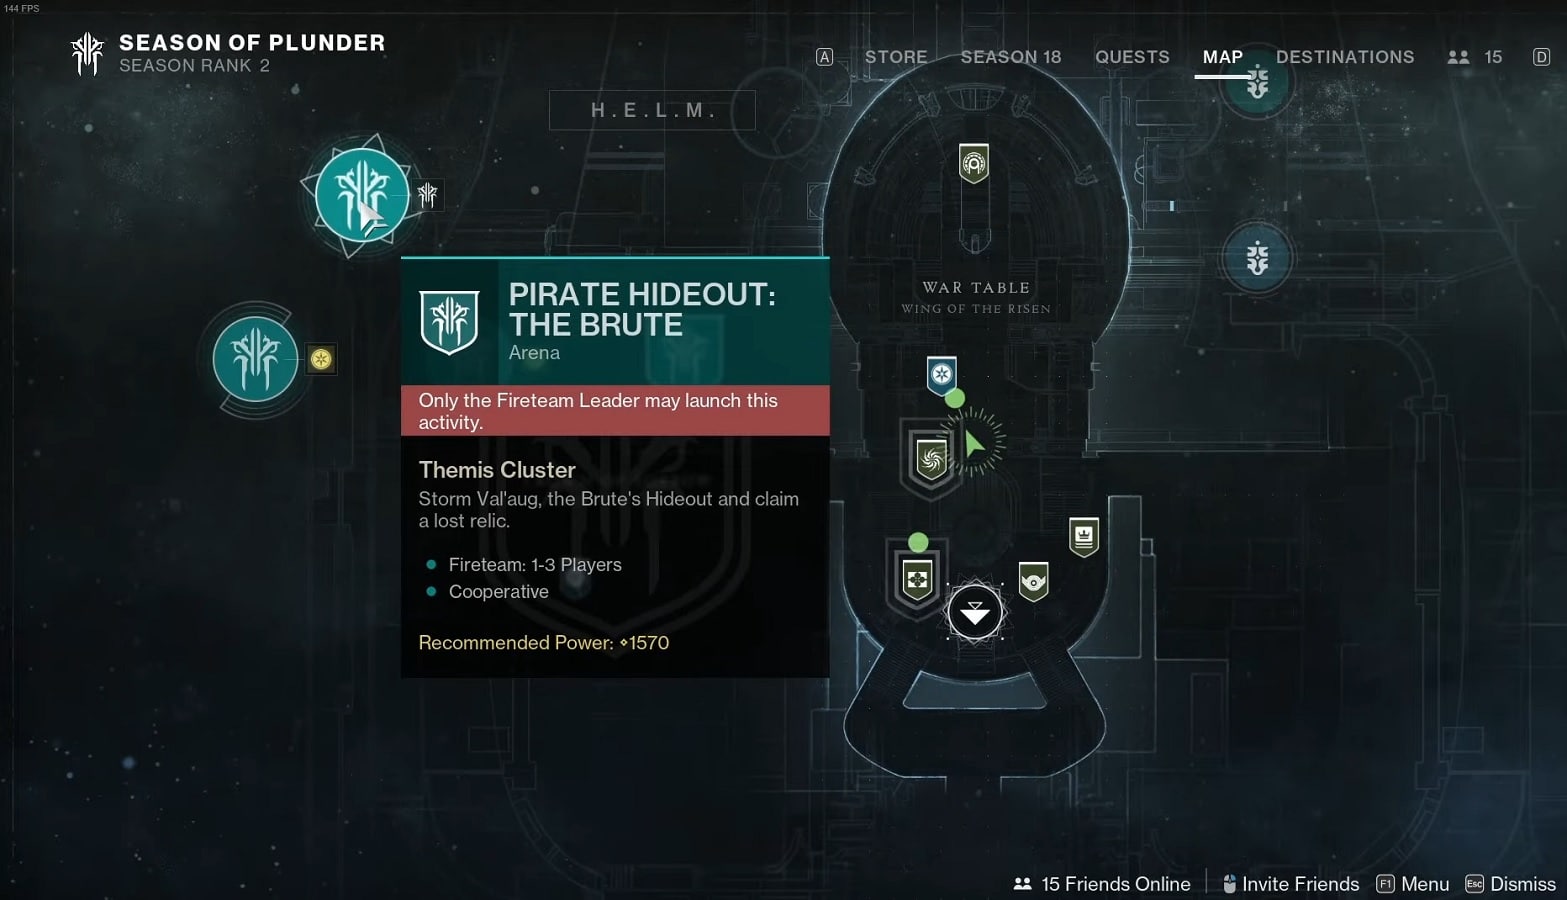
You can now access The Pirate Hideout: The Brute activity that will eventually unlock on the map. This one’s a bit challenging, but you can improve your chances of success by with the right upgrades to your existing Power. Finish the quest and take your rewards.
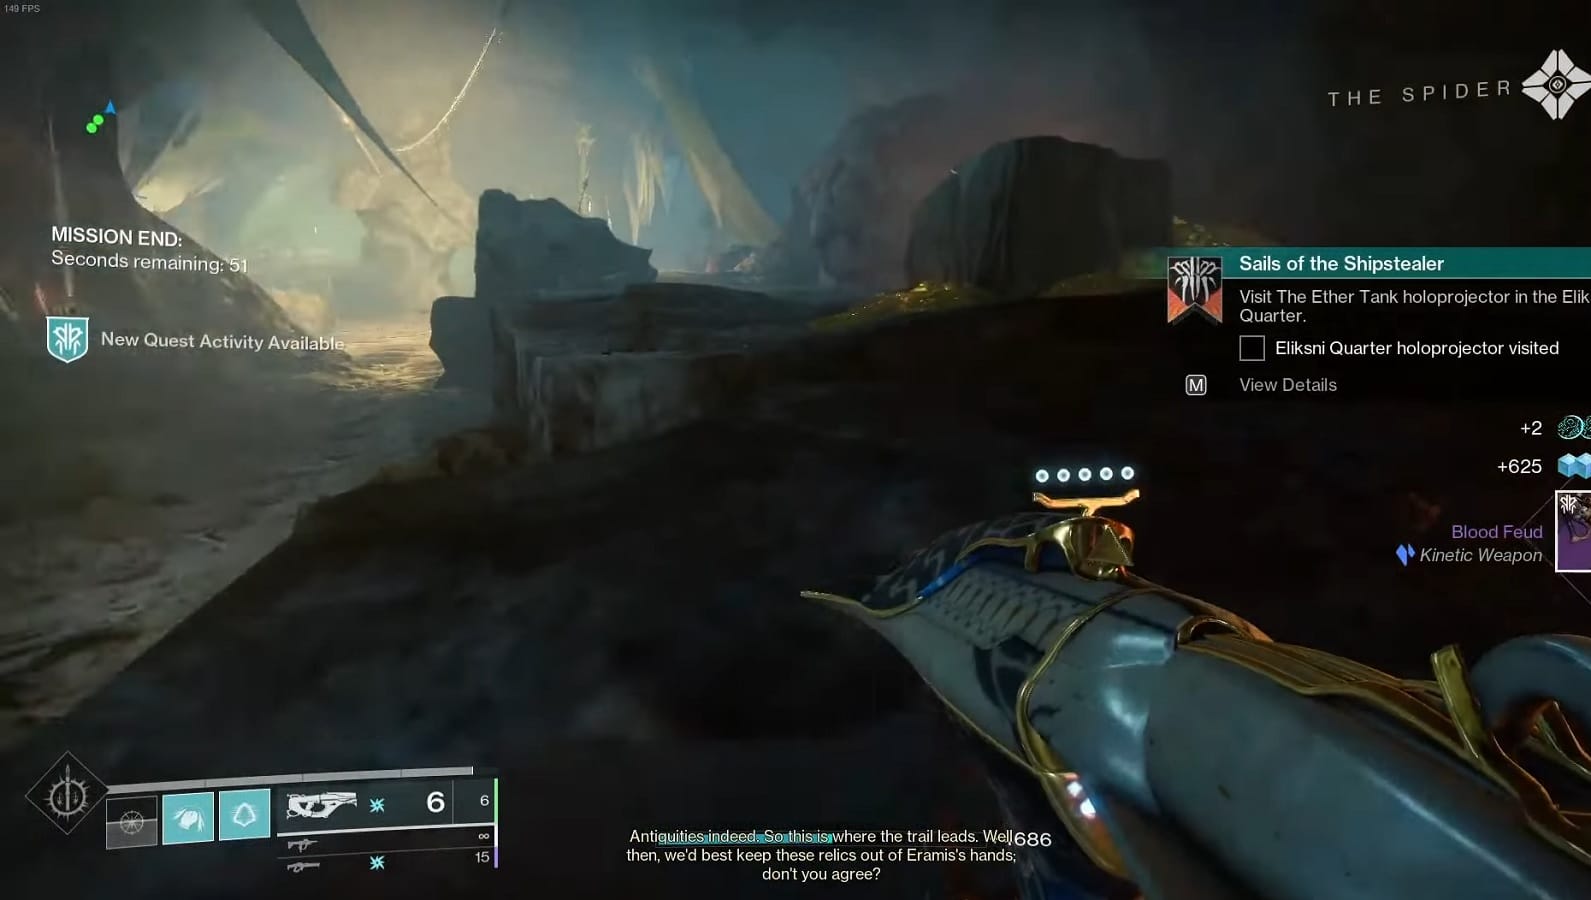
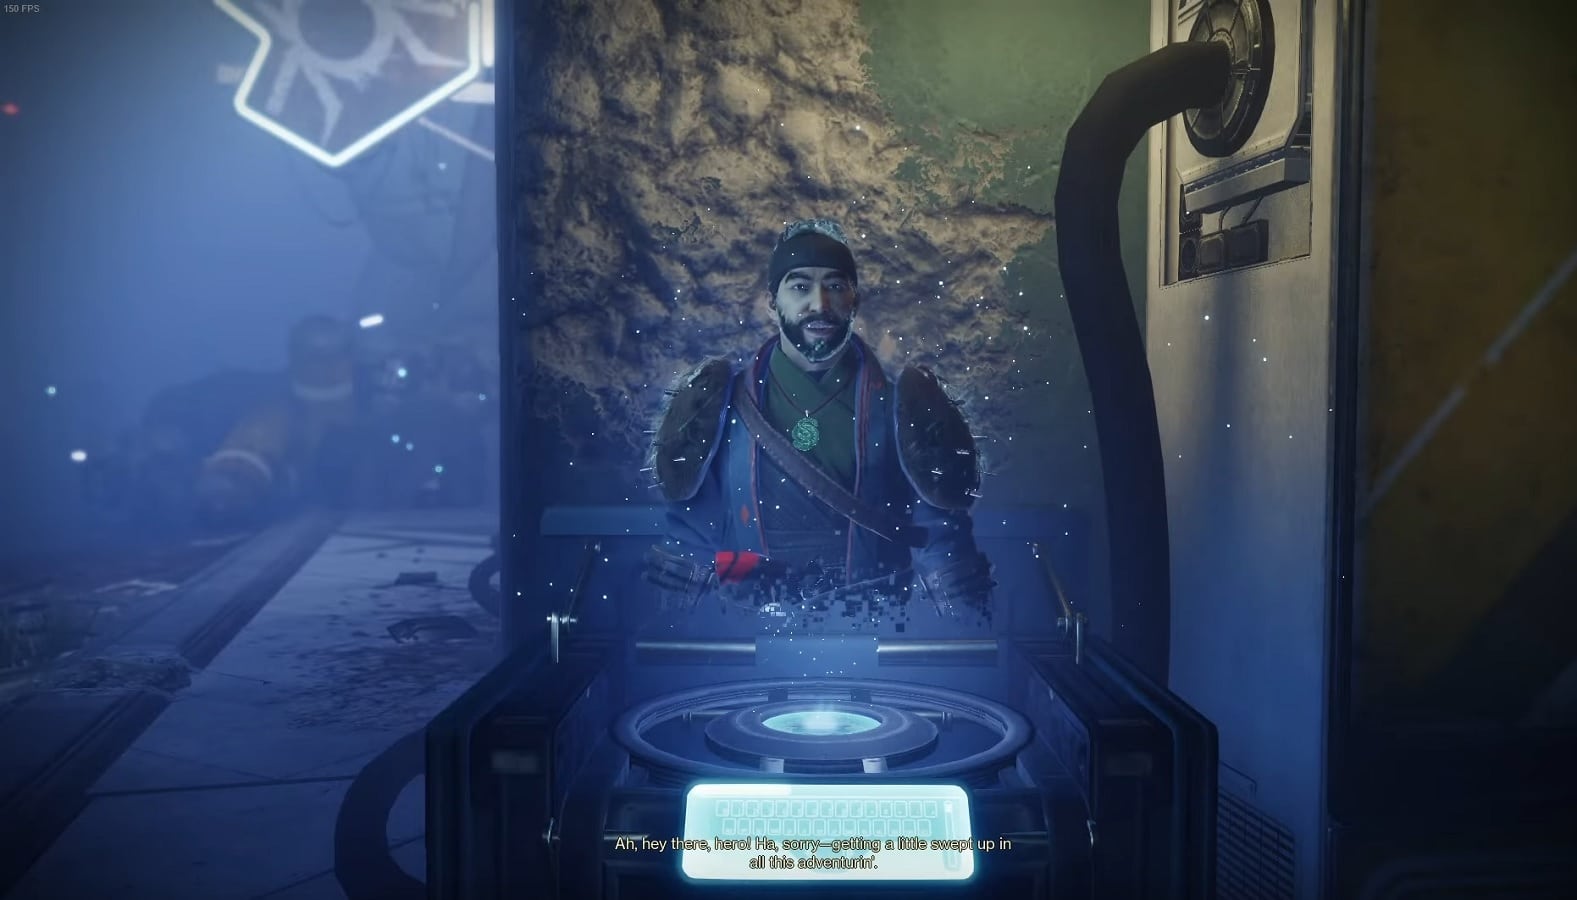
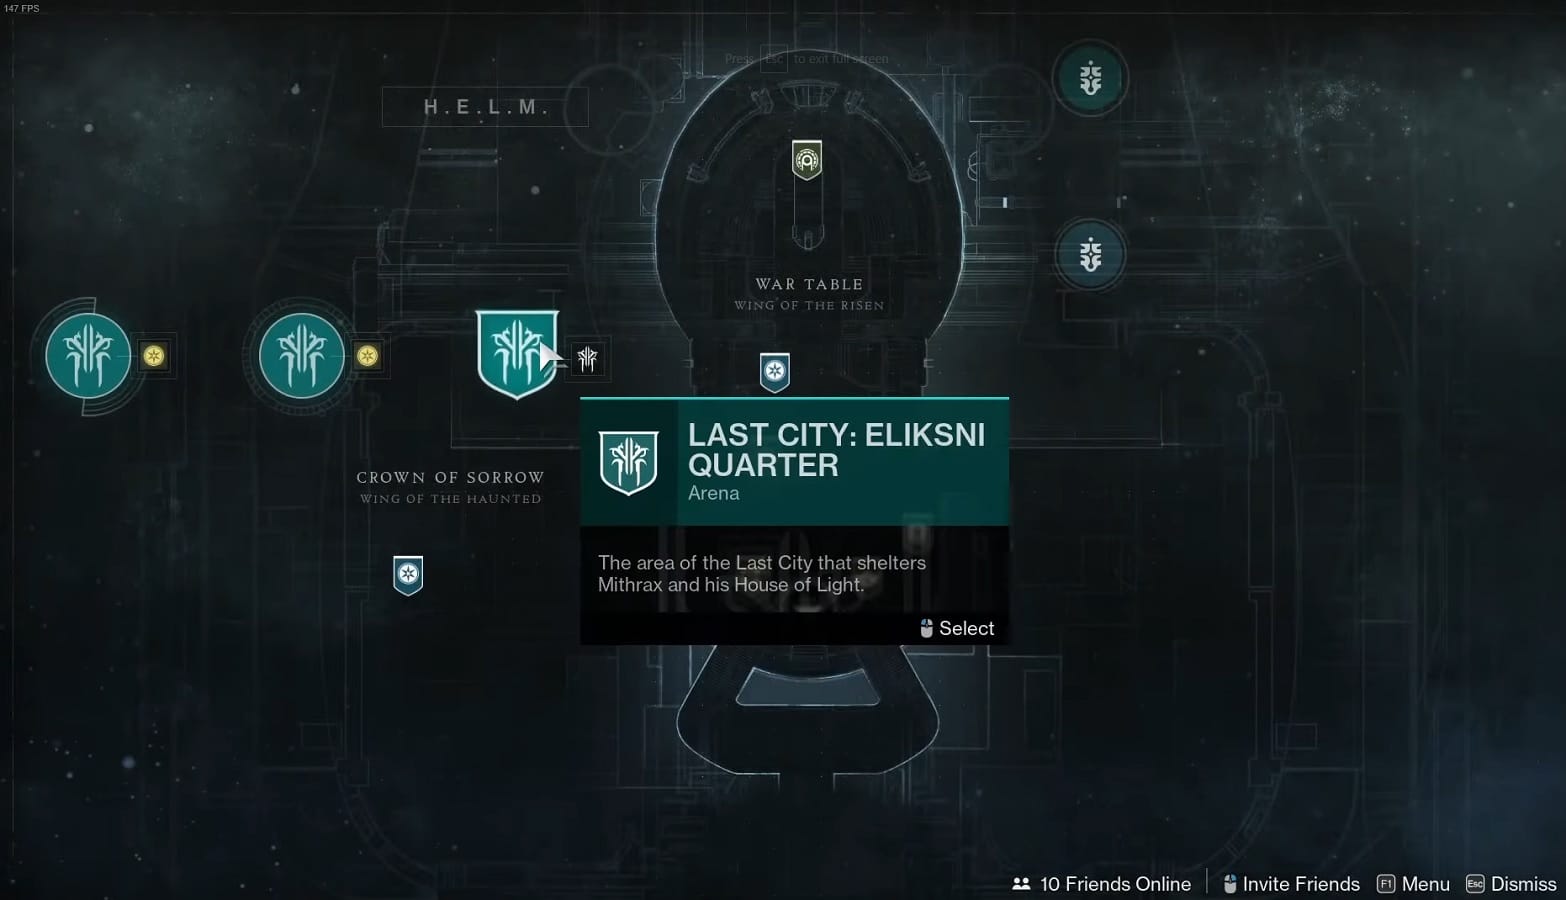
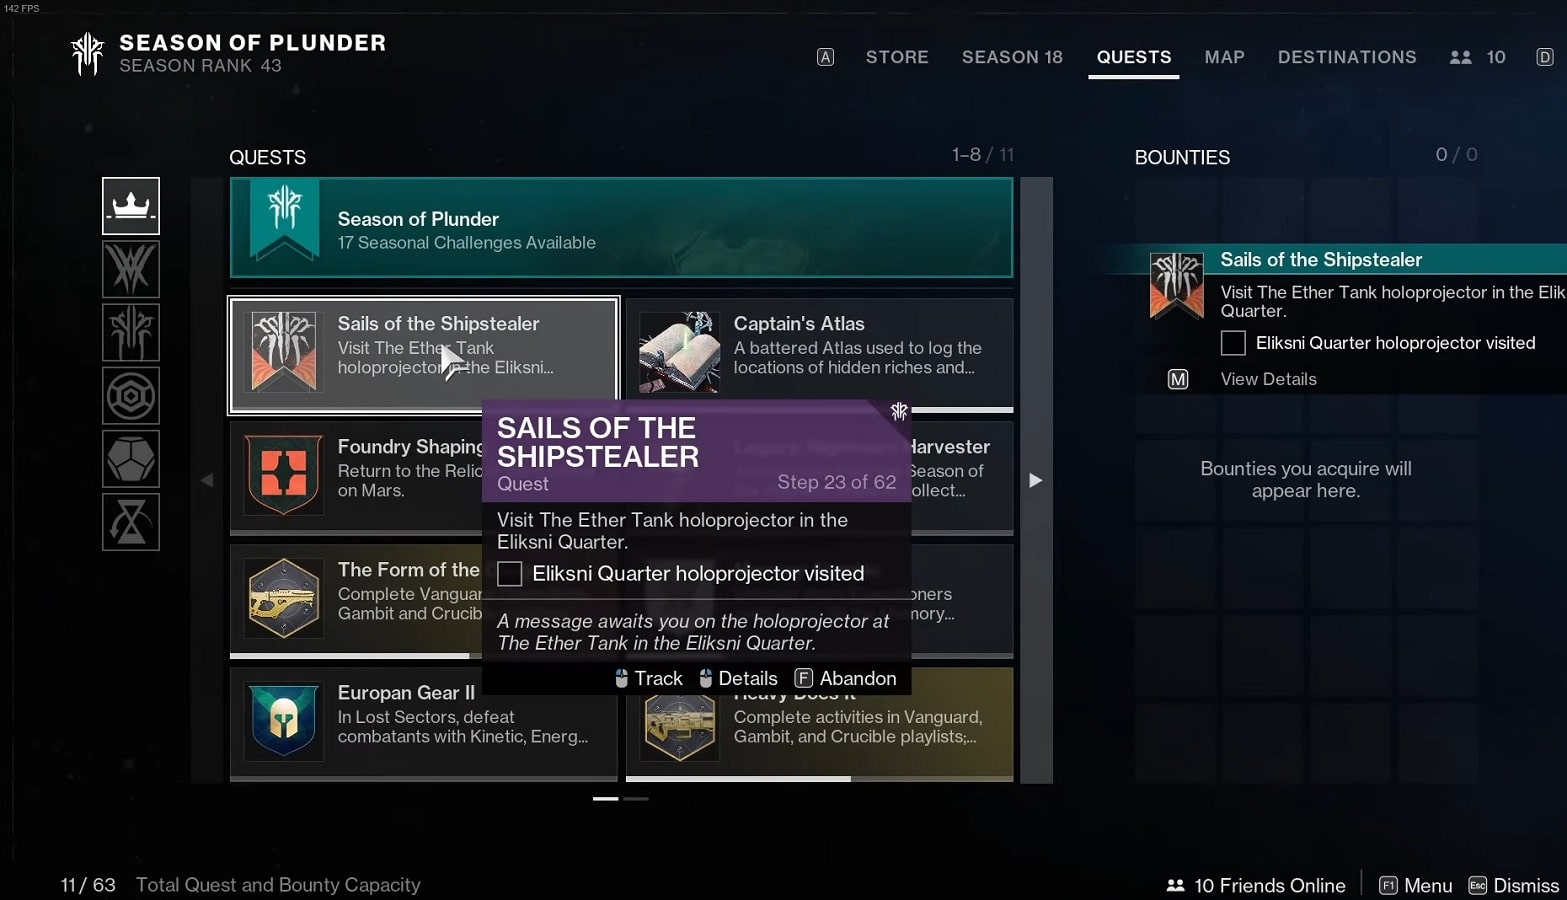
Step #7 – Visit The Ether Tank holoprojector in Eliskni Quarter
Next, visit the Holoprojector in the Eliksni Quarter and have a chat with Eido. In the Quarter, a holographic projector will be located quite close to where you will spawn.
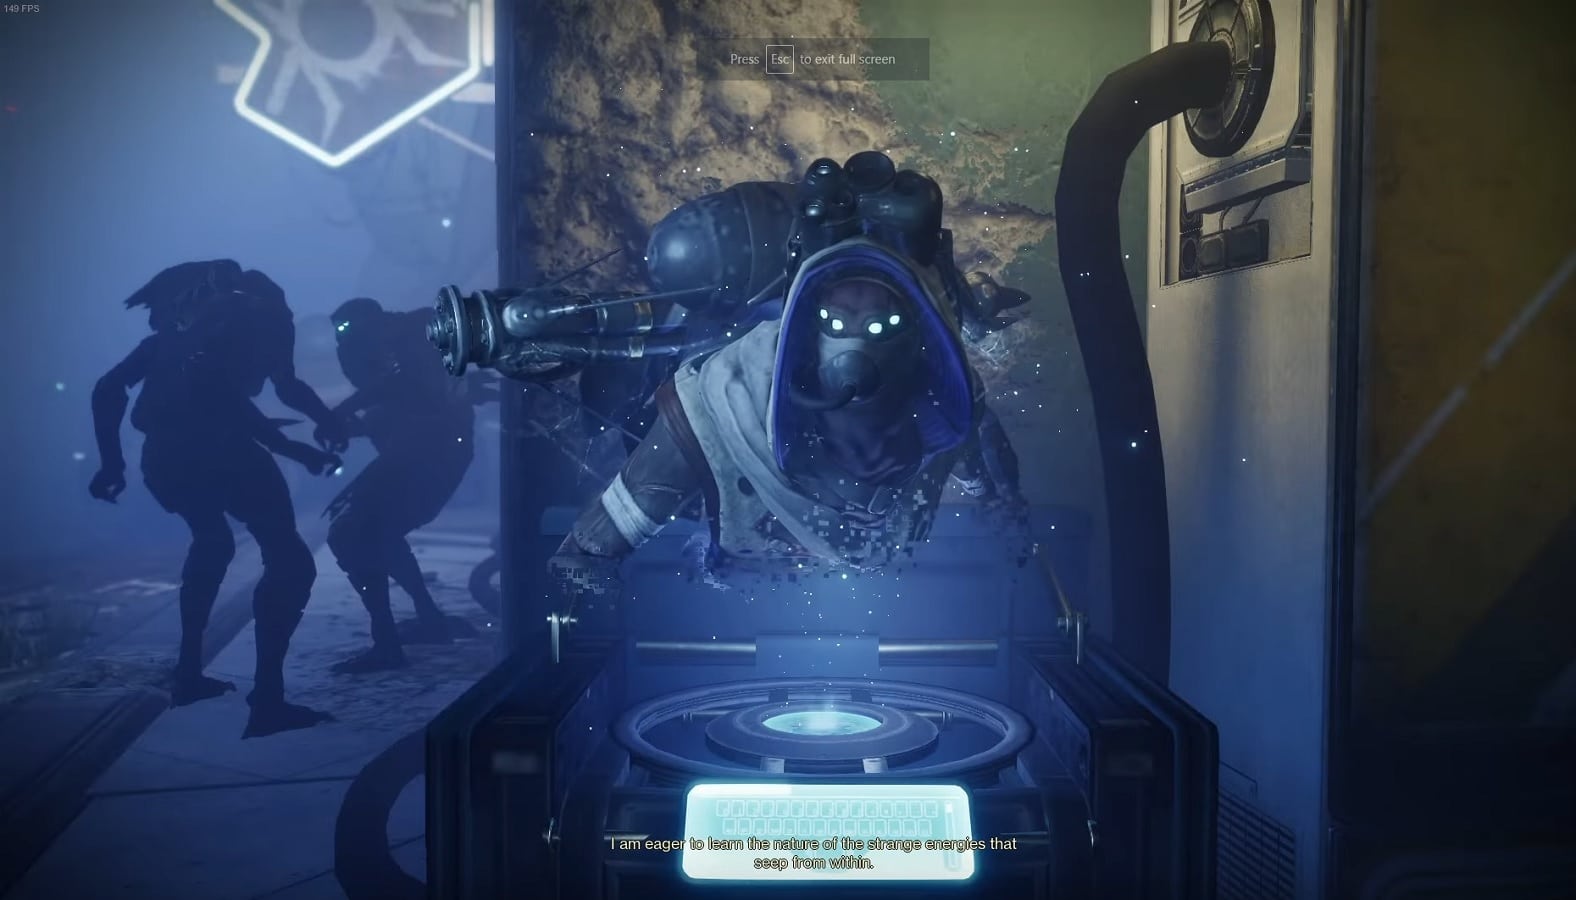
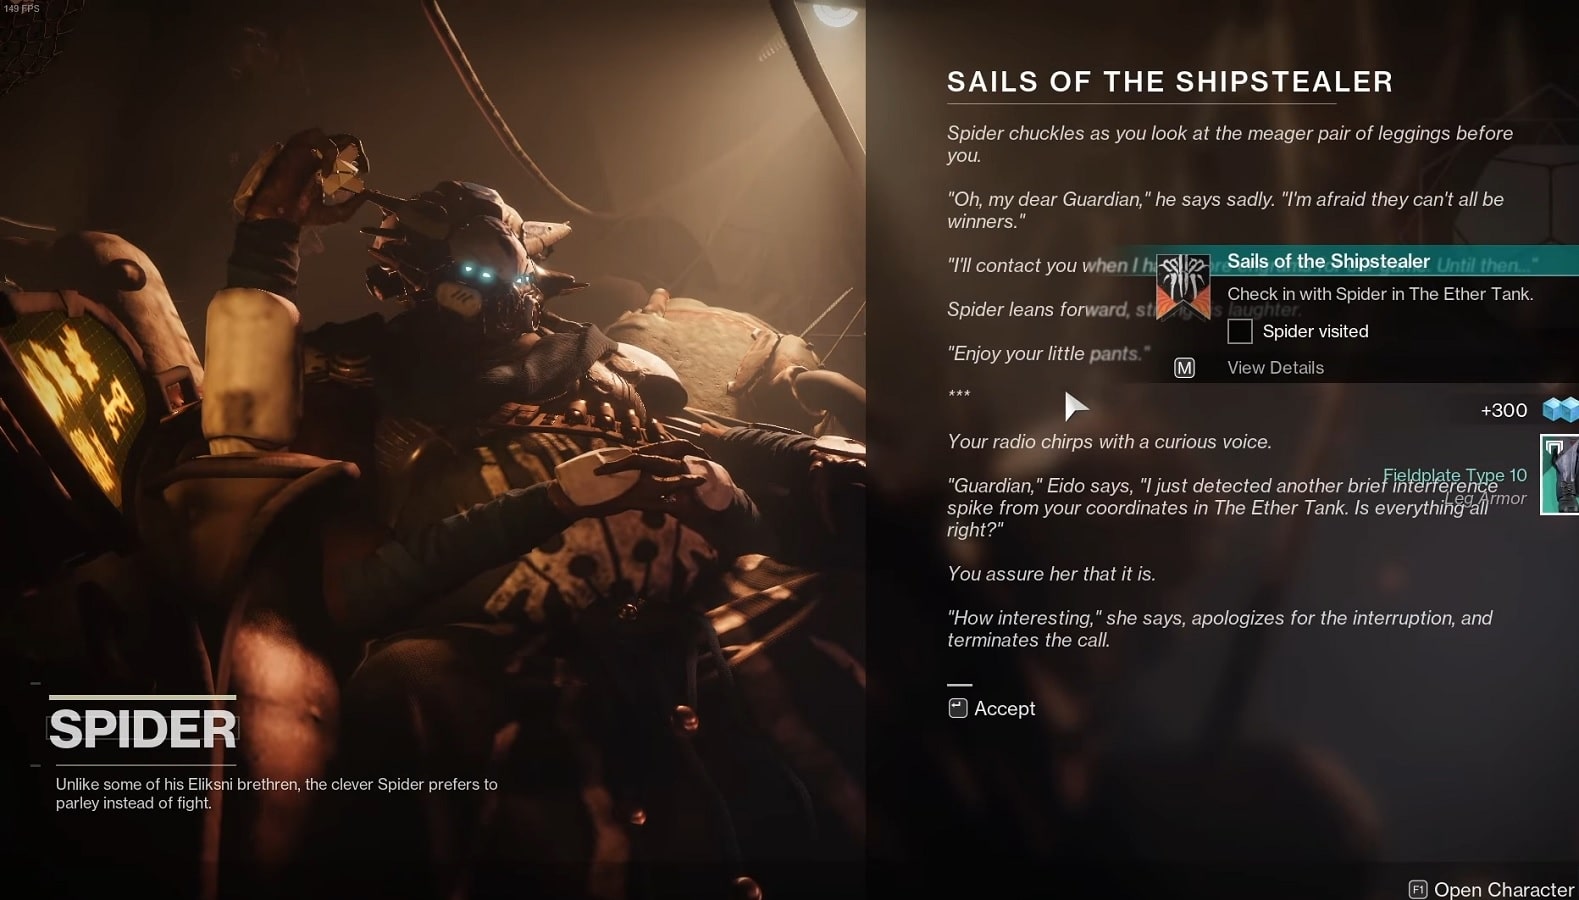
Step #8 – Visit Spider in The Ether Tank in Eliksni Quarter
Once you’re done using the holoprojector, head inside to speak with Spider. Just choose a reward and you’ll finish this step.

Step #9 – Check in with Spider in The Ether Tank
Checking in with Spider is tied to the previous step, so there’s no need to do anything as this will be automatically completed.
Step #10 – Progress to Next Weekly Reset
Mithrax and Eido will study what you recovered from the Pirate Hideout. Hence, you’re all set for this week.
Sails of the Shipstealer Quest Guide – Week 2 (Steps 11-18)
Week 2 of Sails of the Shipstealer will begin the same way that every other week will. The steps are as follows:
Step #11 – Visit the Star Chart in H.E.L.M.

Once you arrive, Mithrax is going to call you up for a little talk. Before he leaves you, you’ll learn the details of the seasonal story, at which point you can go receive your bounties from the Star Chart.
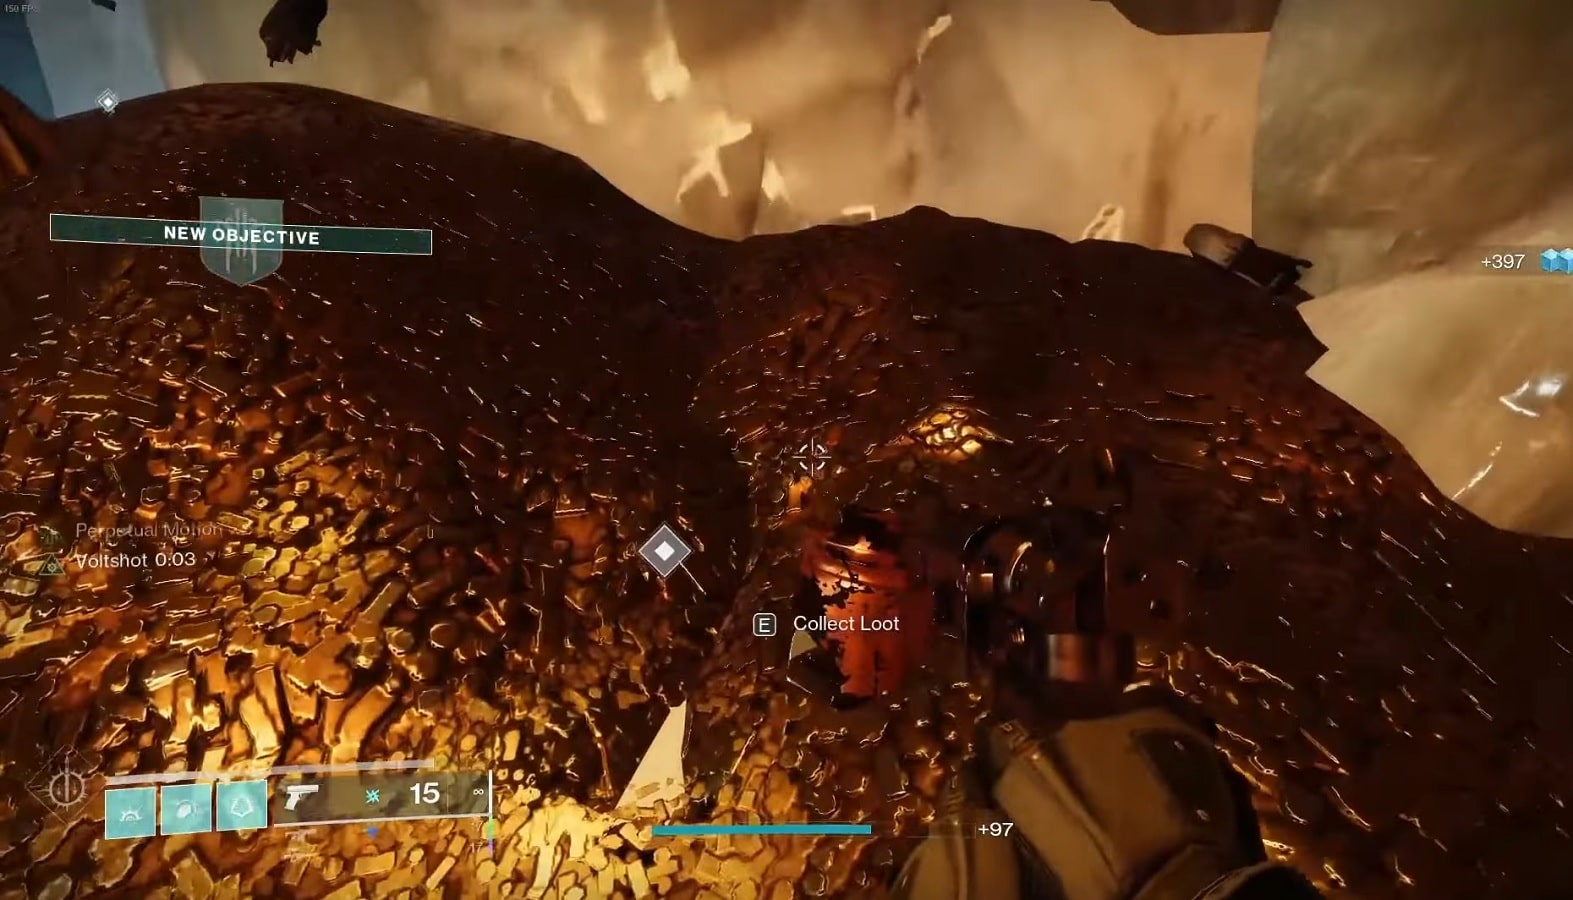
Step #12 – Complete the Expedition Buried Treasure (Cosmodrome)
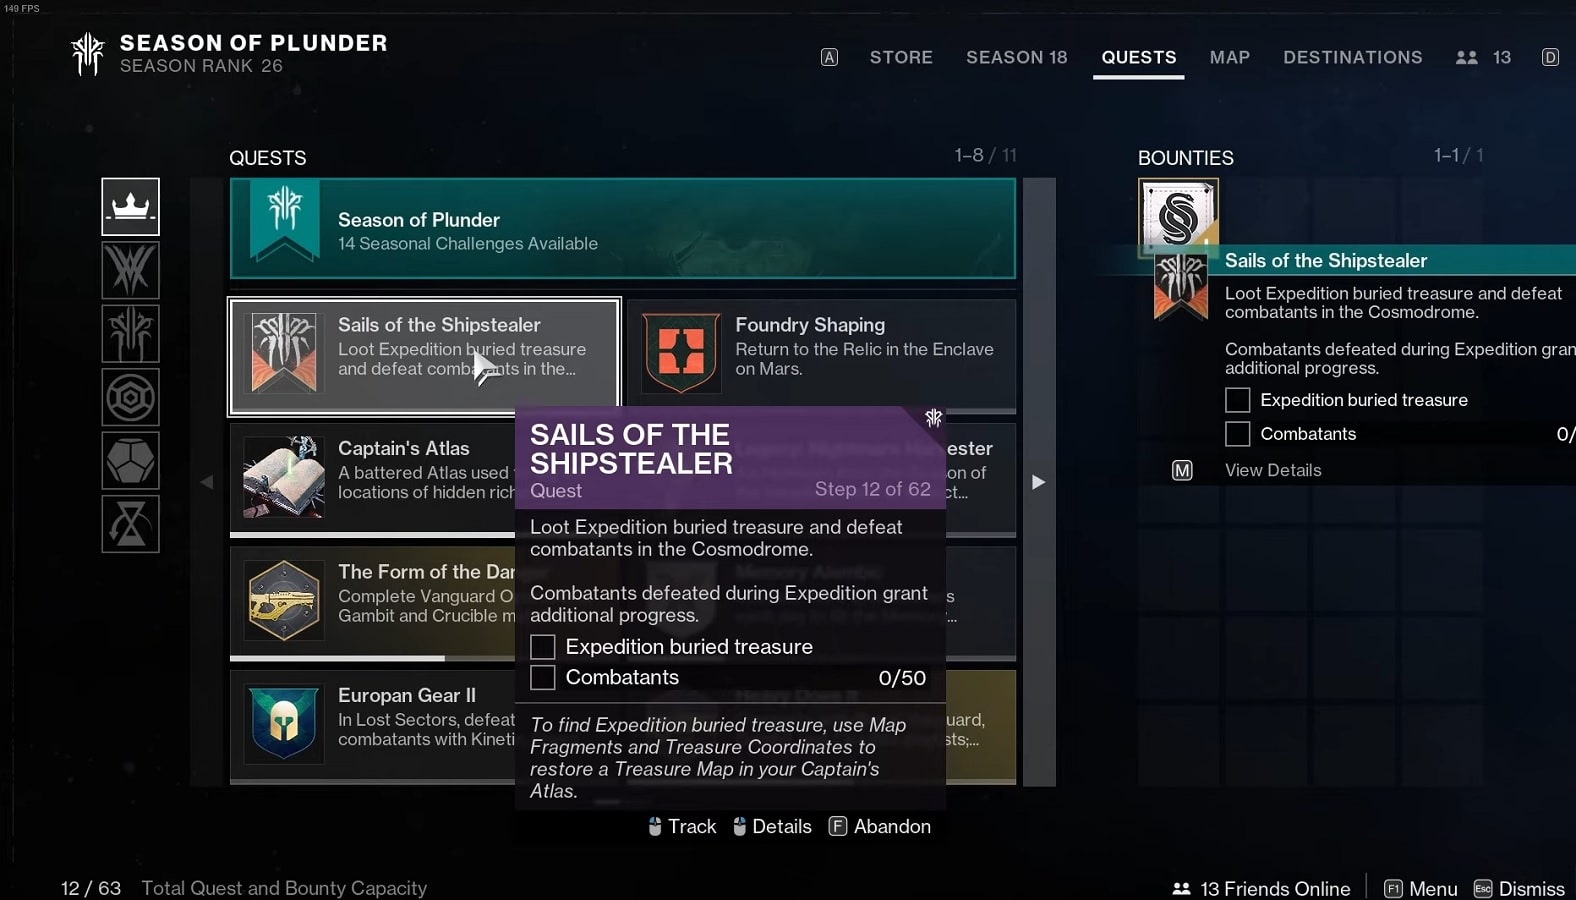

For this step, finish an Expedition at the Cosmodrome and loot the buried treasure. You’ll need a treasure map loaded into your Captain’s Atlas if you want to dig up the loot from the Expedition. Sails of the Shipstealer cannot continue without these materials, which you must obtain before progressing.
Step #13 – Complete the Pirate Hideout: The Sharpshooter Mission
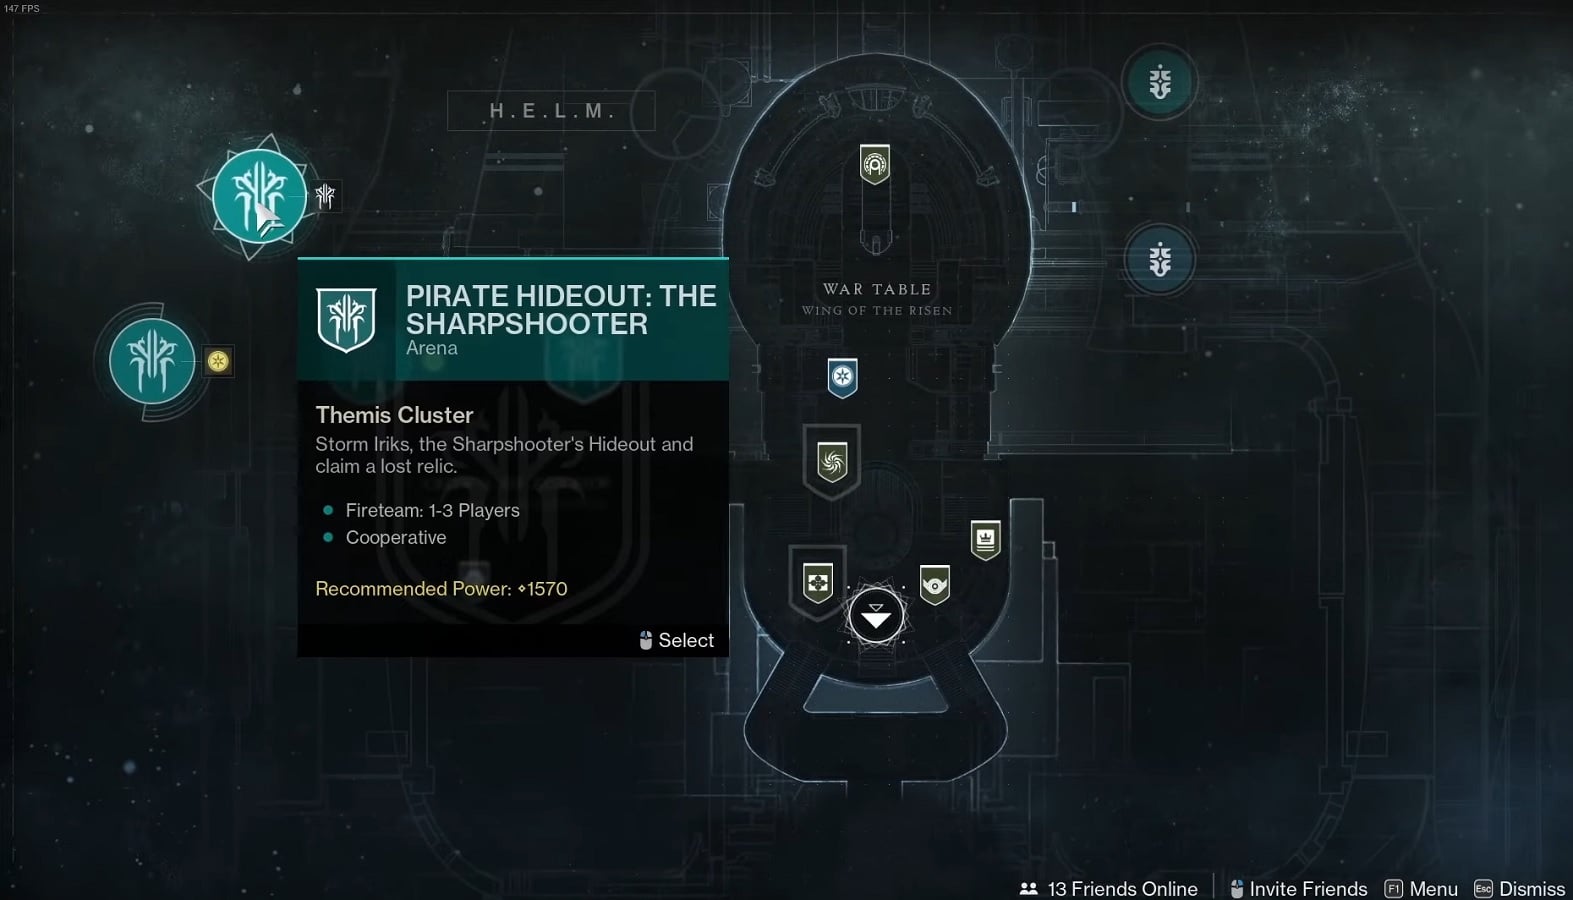
The Pirate Hideout: The Sharpshooter will become accessible if you have completed the Expedition and killed 50 combatants. Just keep plugging away at it, and you’ll soon be through with it and on to the next step.
Step #14 – Witness the Conversation in The Ether Tank
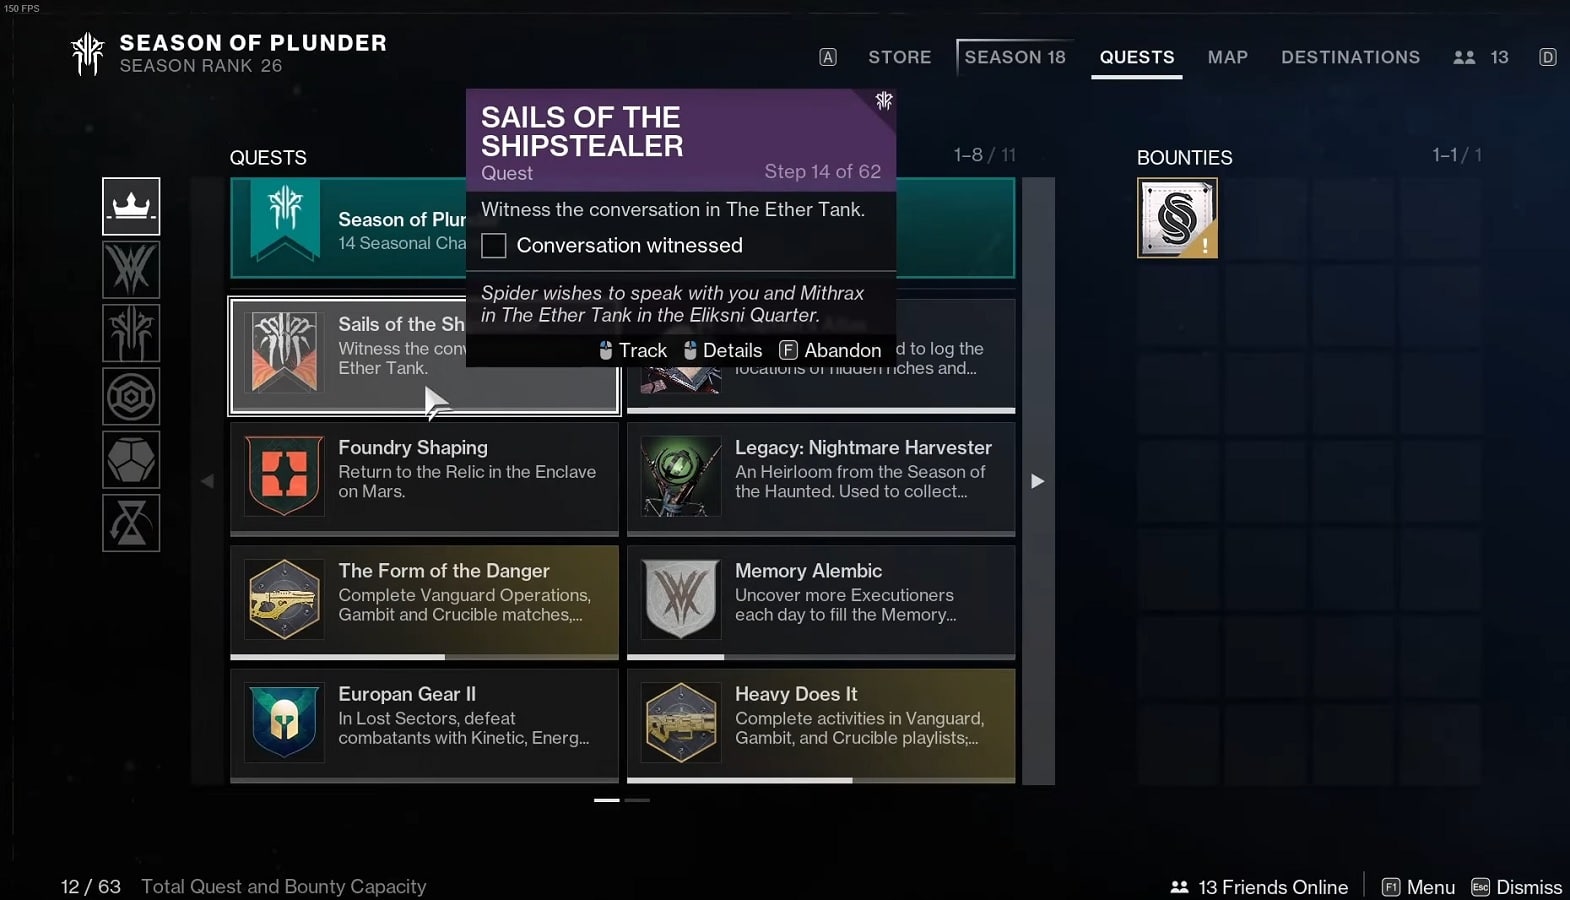

To complete this step, head to the Ether Tank in the Eliksni Quarter and stick around there while you witness Spider and Mithrax talk things down.
Step #15 – Visit The Ether Tank holoprojector in Eliskni Quarter
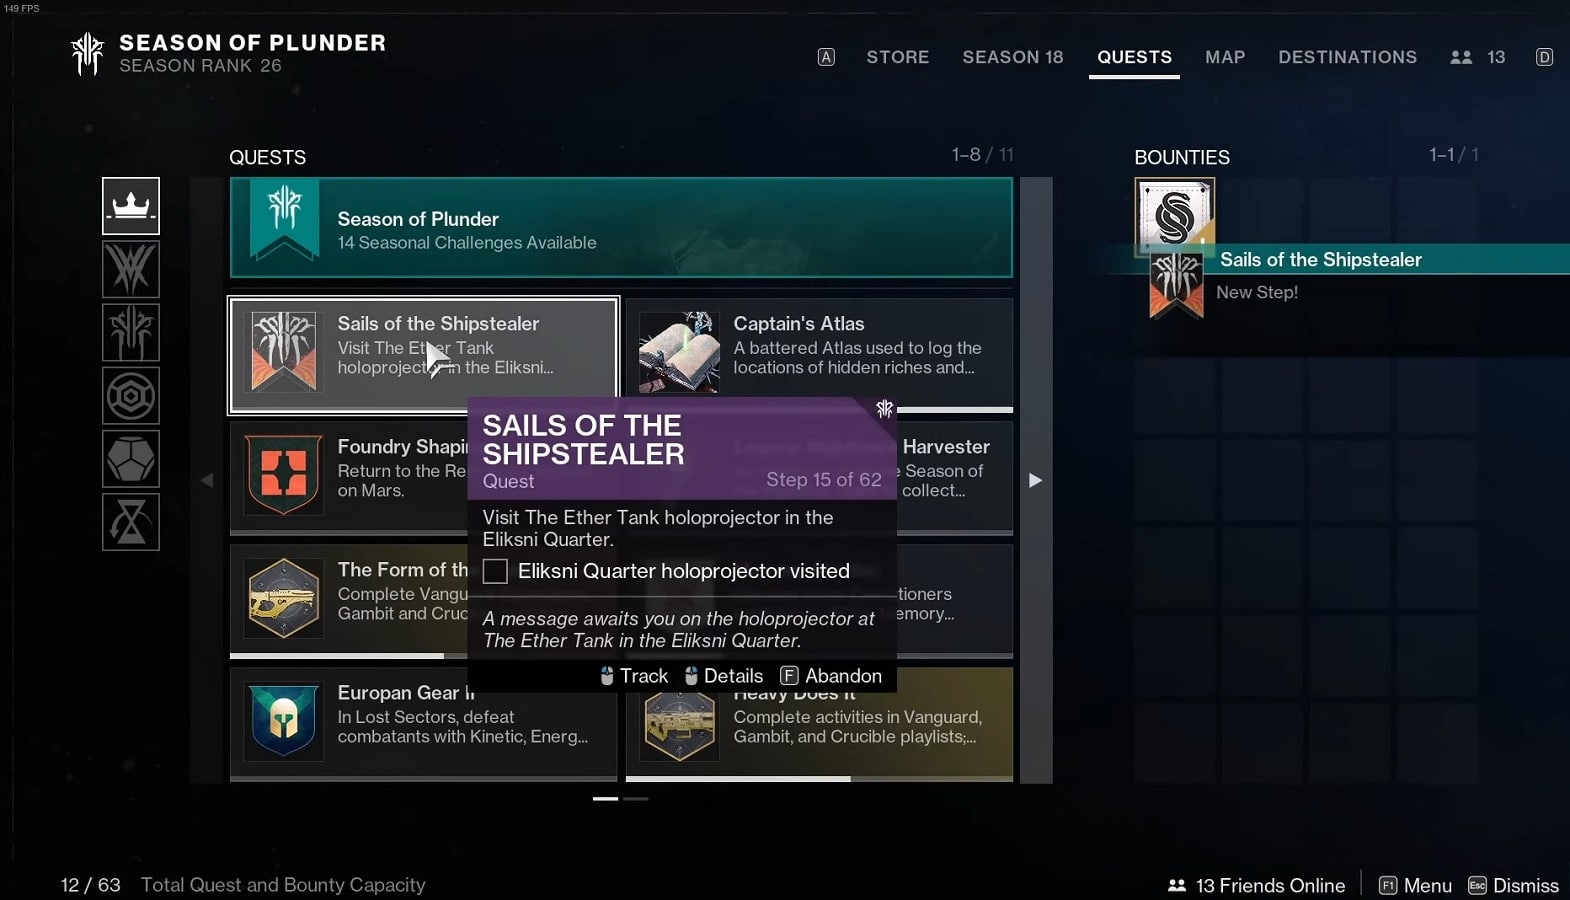
After they’ve finished talking, you’ll want to meet Drifter at the holoprojector outside the Ether Tank for a short chat about the Relics.
Step #16 – Visit Spider in The Ether Tank in Eliksni Quarter
Once you’re done using the holoprojector, head inside to speak with Spider. Just choose a reward as always and you’ll finish this step.
Step #17 – Check in with Spider in The Ether Tank
Checking in with Spider is tied to the previous step, so there’s no need to do anything as this will be automatically completed.
Step #18 – Progress to Next Weekly Reset
Mithrax and Eido will study what you recovered from the Pirate Hideout. Hence, you’re all set for this week.
Sails of the Shipstealer Quest Guide – Week 3 (Steps 19-26)
Week 3 of Sails of the Shipstealer will begin the same way that every other week will. The steps are as follows:
Step #19 – Visit the Star Chart in H.E.L.M.

Visit the H.E.L.M. again and interact with the Star Chart, where Mithrax will provide an update.
Step #20 – Complete the Expedition Buried Treasure (Nessus)

The third week of the Sails of the Shipstealer Expedition takes place on Nessus, and it finishes with a buried treasure that must be looted. There is no requirement that you do so on Nessus, but you will also be tasked with eliminating the Cabal there.
Specifically, eliminating these Cabal during an Expedition is optional, but does result in more gain upon doing so. Keep in mind, however, that when you access the Expedition playlist during week three, there is no assurance that Expedition: Nessus will load directly for you.
Step #21 – Complete the Pirate Hideout: The Blademasters Mission
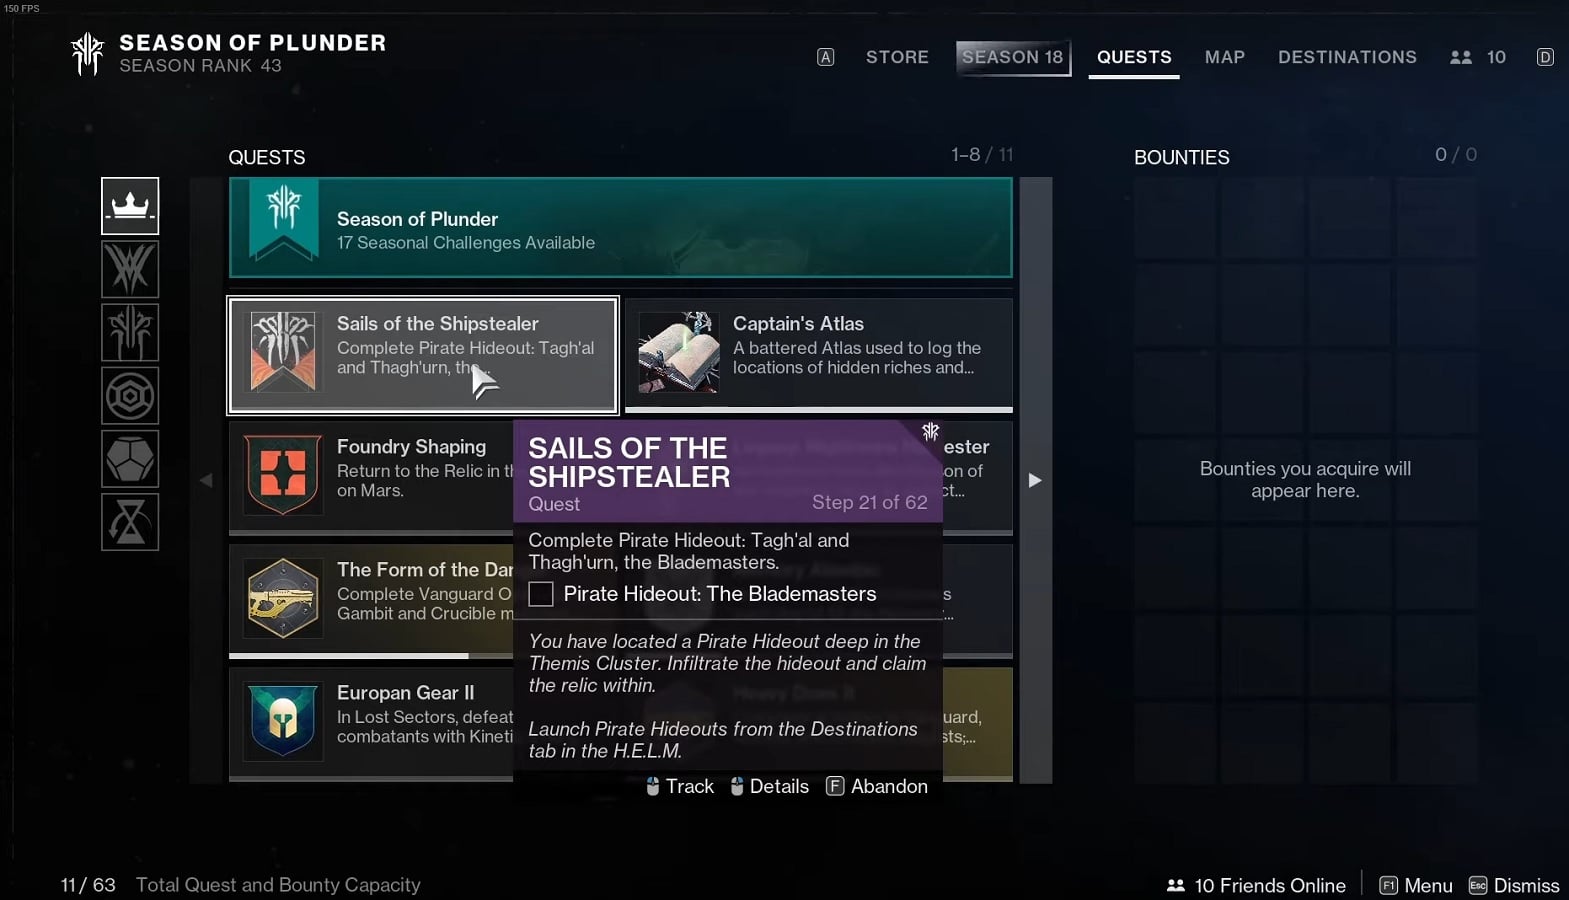

You need to launch the Pirate Hideout: The Blademaster mission at this point. Eliminate the first wave of enemies, take down the Blademaster Cabal, and retrieve the Relic. If you put in the time and effort, you will eventually succeed and move on to the next step.
Step #22 – Witness the Conversation in The Ether Tank

To complete this step, head to the Ether Tank in the Eliksni Quarter and stick around there while you witness Spider and Eido talk things out.
Step #23 – Visit The Ether Tank holoprojector in Eliskni Quarter

After they’ve finished talking, you’ll want to meet Drifter again at the holoprojector outside the Ether Tank for a short chat about Eido and her father.
Step #24 – Visit Spider in The Ether Tank in Eliksni Quarter
Once you’re done using the holoprojector, head inside to speak with Spider. Just choose a reward as always and you’ll finish this step.

Step #25 – Check in with Spider in The Ether Tank
Checking in with Spider is tied to the previous step, so there’s no need to do anything as this will be automatically completed.
Step #26 – Progress to Next Weekly Reset
Mithrax and Eido will study what you recovered from the Pirate Hideout. Hence, you’re all set for this week.
Sails of the Shipstealer Quest Guide – Week 4 (Steps 27-33)
Week 4 of Sails of the Shipstealer will begin the same way that every other week will. The steps are as follows:
Steps #27 – Visit the Star Chart in H.E.L.M.

Visit the H.E.L.M. again and interact with the Star Chart, where Eido will provide a bit of details about her father and the objectives ahead.
Steps #28 – Complete the Expedition Buried Treasure (Europa)
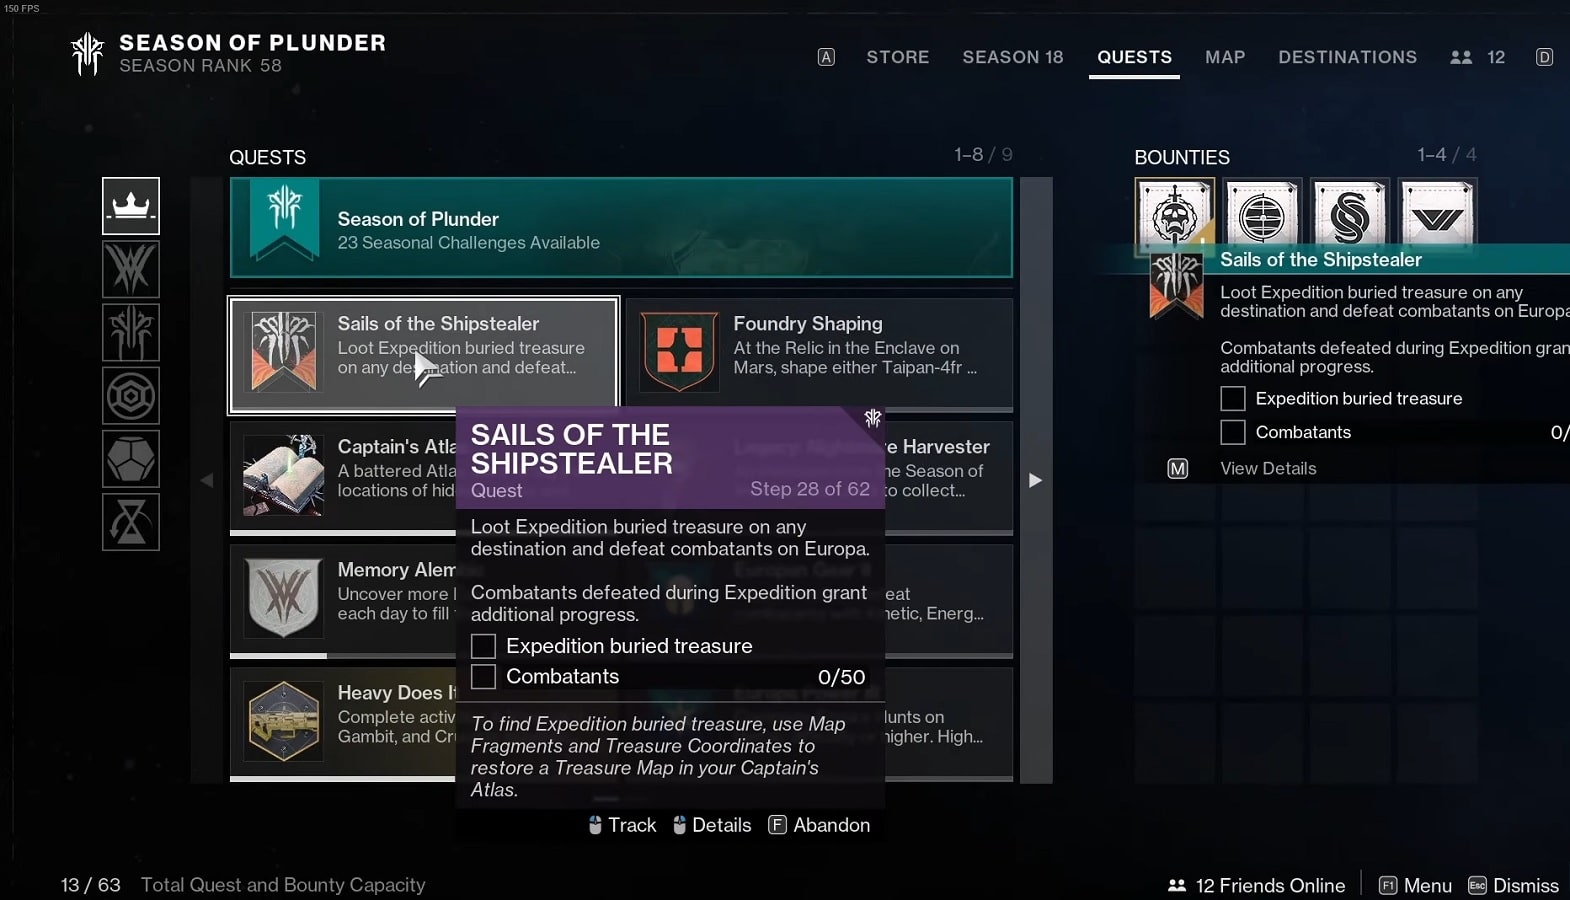
The course begins with an Expedition to Europa, and, like before, the reward is found by digging up some buried treasure. Make sure you have killed at least 50 enemies on Expeditions, as this is a prerequisite for additional progress.
Steps #29 – Complete the Pirate Hideout: The Beast Tamer Mission
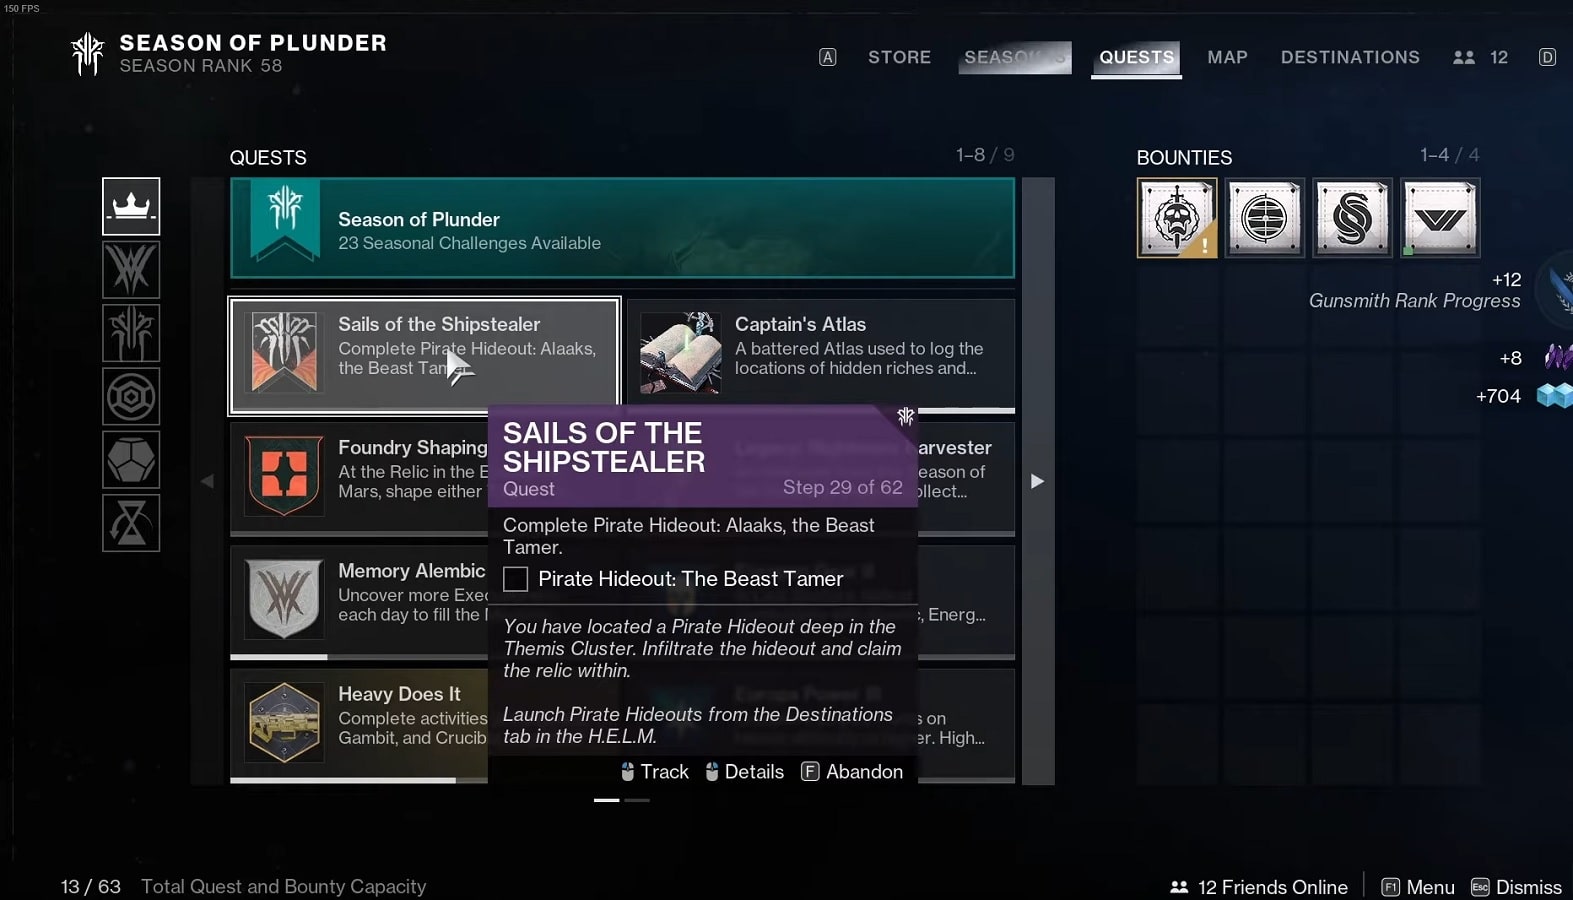

You need to launch the Pirate Hideout: The Beast Tamer mission at this point. After exploring the area, you’ll come across the boss in a room with Warbeasts. Until you dispose of all three beasts, the boss will remain shielded. Take them down first to inflict damage to the boss.
Once the boss’s health bar is drained, his shield will activate again, and he will summon three additional beasts. Repeat the process and you’ll eventually kill the boss. After that, it’s time loot the Relic and complete the mission.
Steps #30 – Visit The Ether Tank holoprojector in Eliskni Quarter
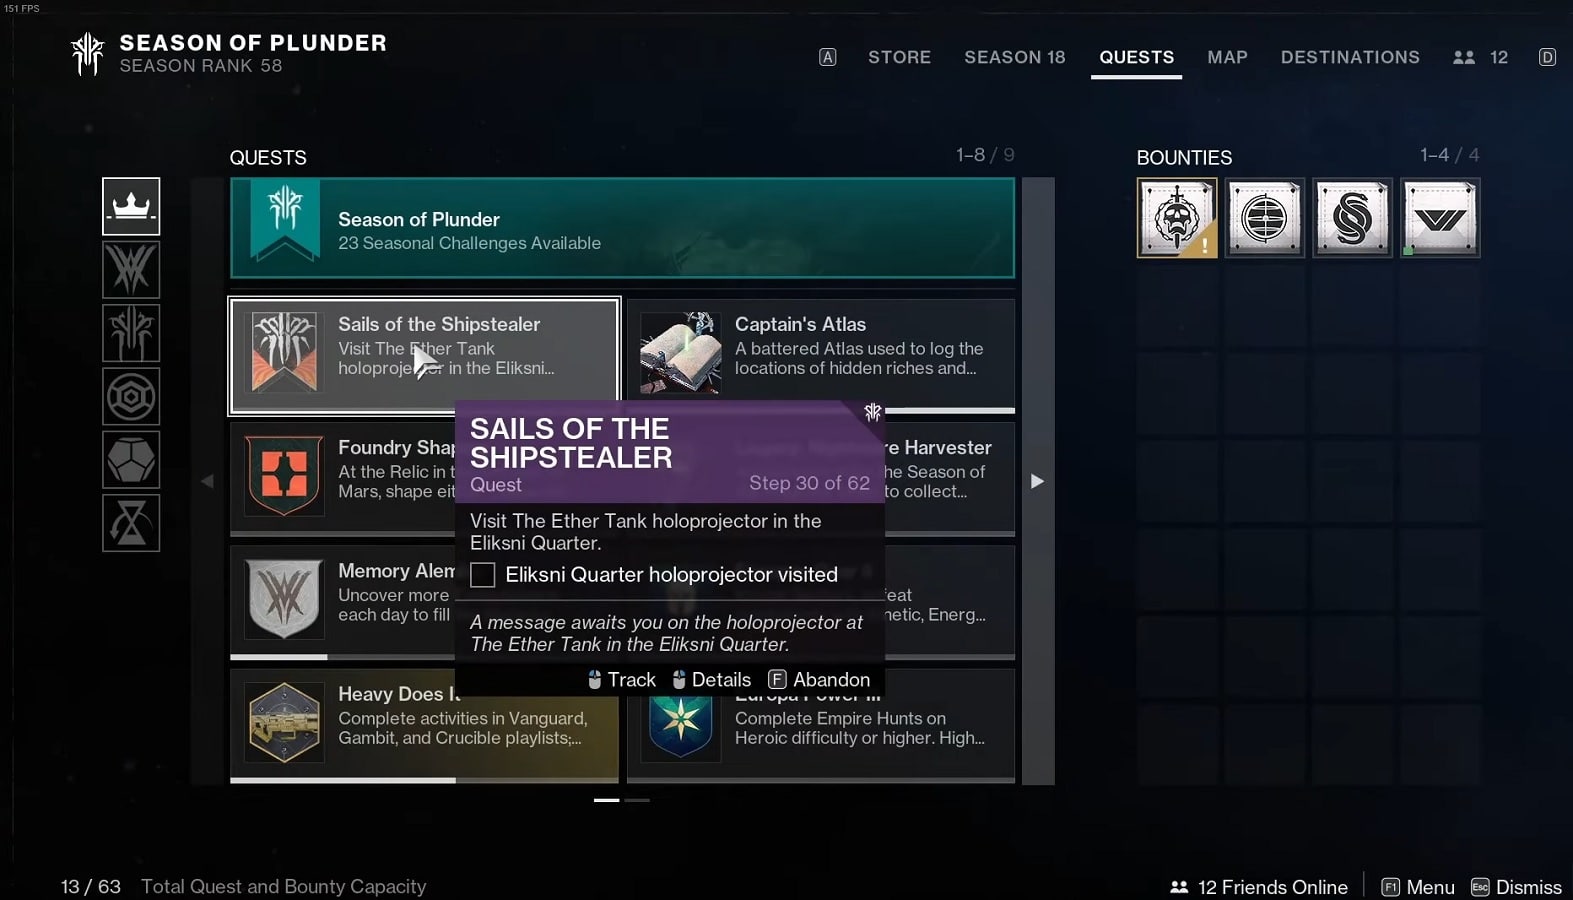
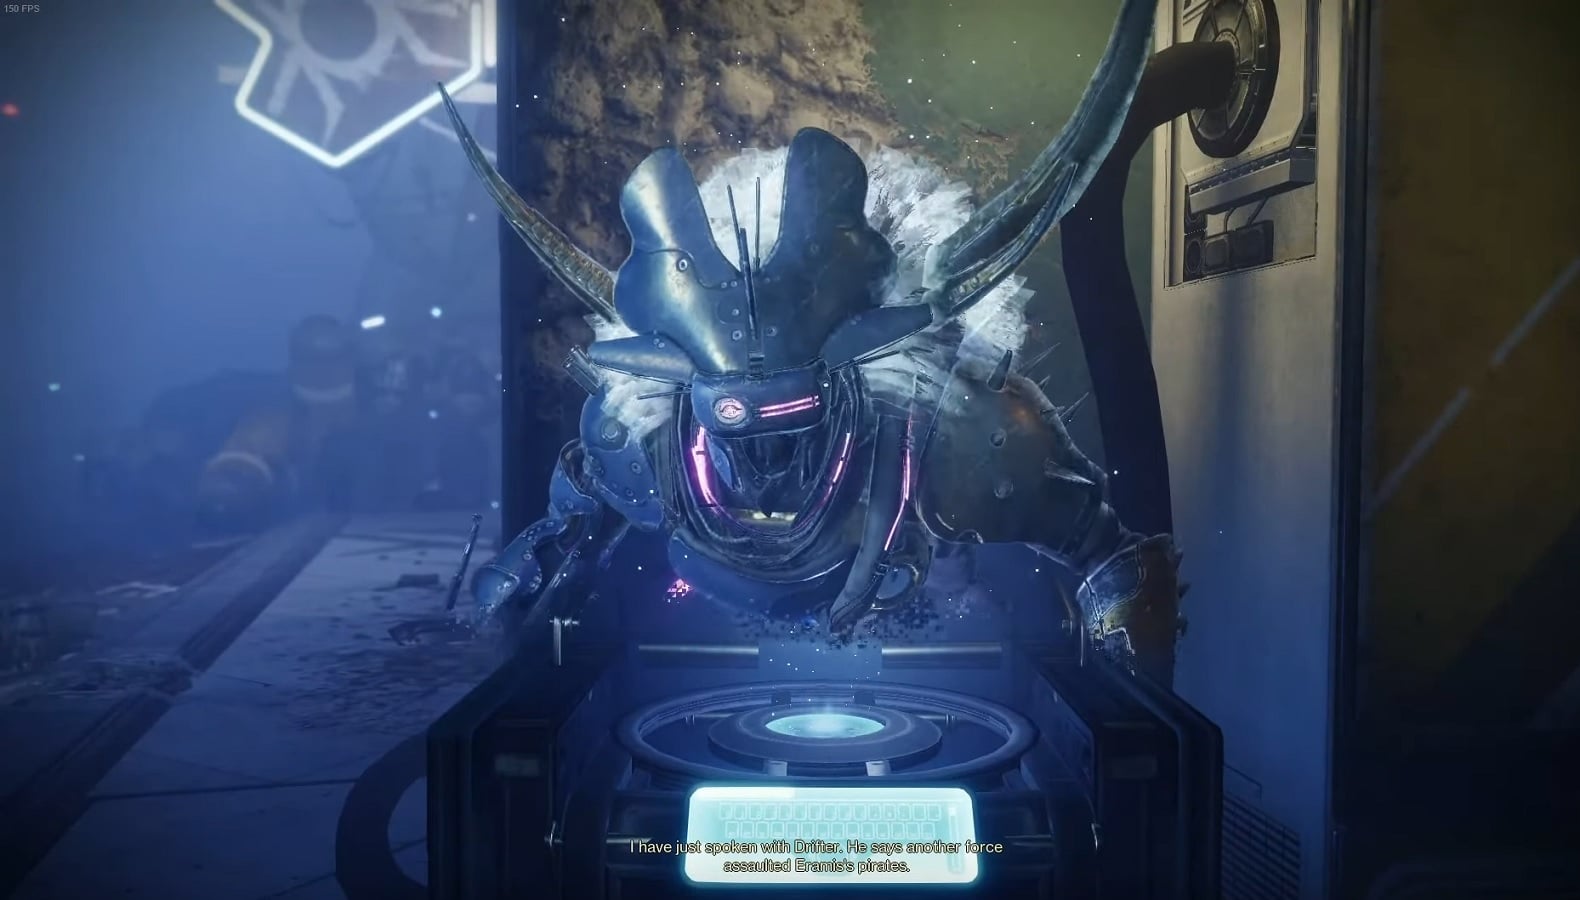
After the pirate hideout mission, you’ll want to meet with Mithrax at the holoprojector outside the Ether Tank for a brief conversation about some of his secrets and the Relics.
Steps #31 – Visit Spider in The Ether Tank in Eliksni Quarter
Once you’re done using the holoprojector, head inside to speak with Spider. Just choose a reward as always and you’ll finish this step.
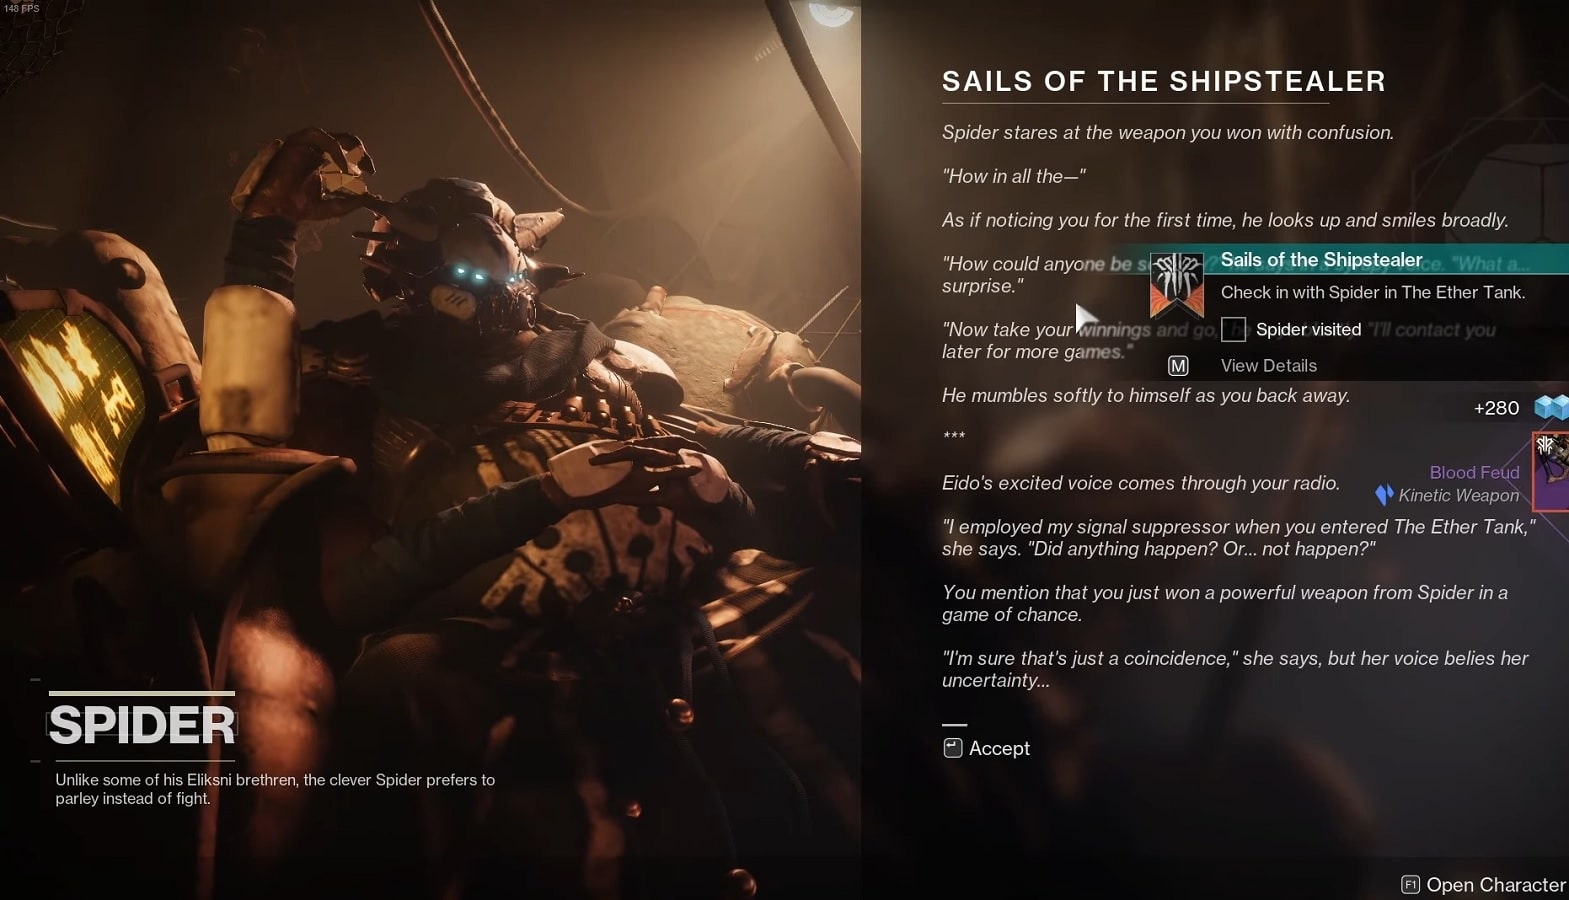
Steps #32 – Check in with Spider in The Ether Tank
Checking in with Spider is tied to the previous step, so there’s no need to do anything as this will be automatically completed.
Steps #33 – Progress to Next Weekly Reset
Mithrax and Eido will study what you recovered from the Pirate Hideout. Hence, you’re all set for this week. It’s now just a matter of time until Week 5 of Sails of the Shipstealer, we’ll make sure to update this page by then.
While waiting for the next weekly reset on Destiny 2’s Sails of the Shipstealer Seasonal quest, you might wanna check out our other Destiny 2 articles here.
- Destiny 2 Loreley Splendor Nerf – What Happened and Alternatives You Can Try
- Destiny 2 Weekly Reset September 13 2022 – Trials of Osiris Returns, Weekly Activities, and Eververse Store Updates
- Destiny 2 Incandescent Hunter Build Makes Everything Go Boom! Season 18 Onwards
- Who Is The Witness in Destiny 2?
- Destiny 2 Error Code Calabrese Fix
- Destiny 2 King’s Fall Secret Chest Locations
- All Destiny 2 Season Pass Rewards for Season of Plunder
Also check out this video by Dioxety on how to complete the Sails Of The Shipstealer Quest (Week 4) in Destiny 2:


