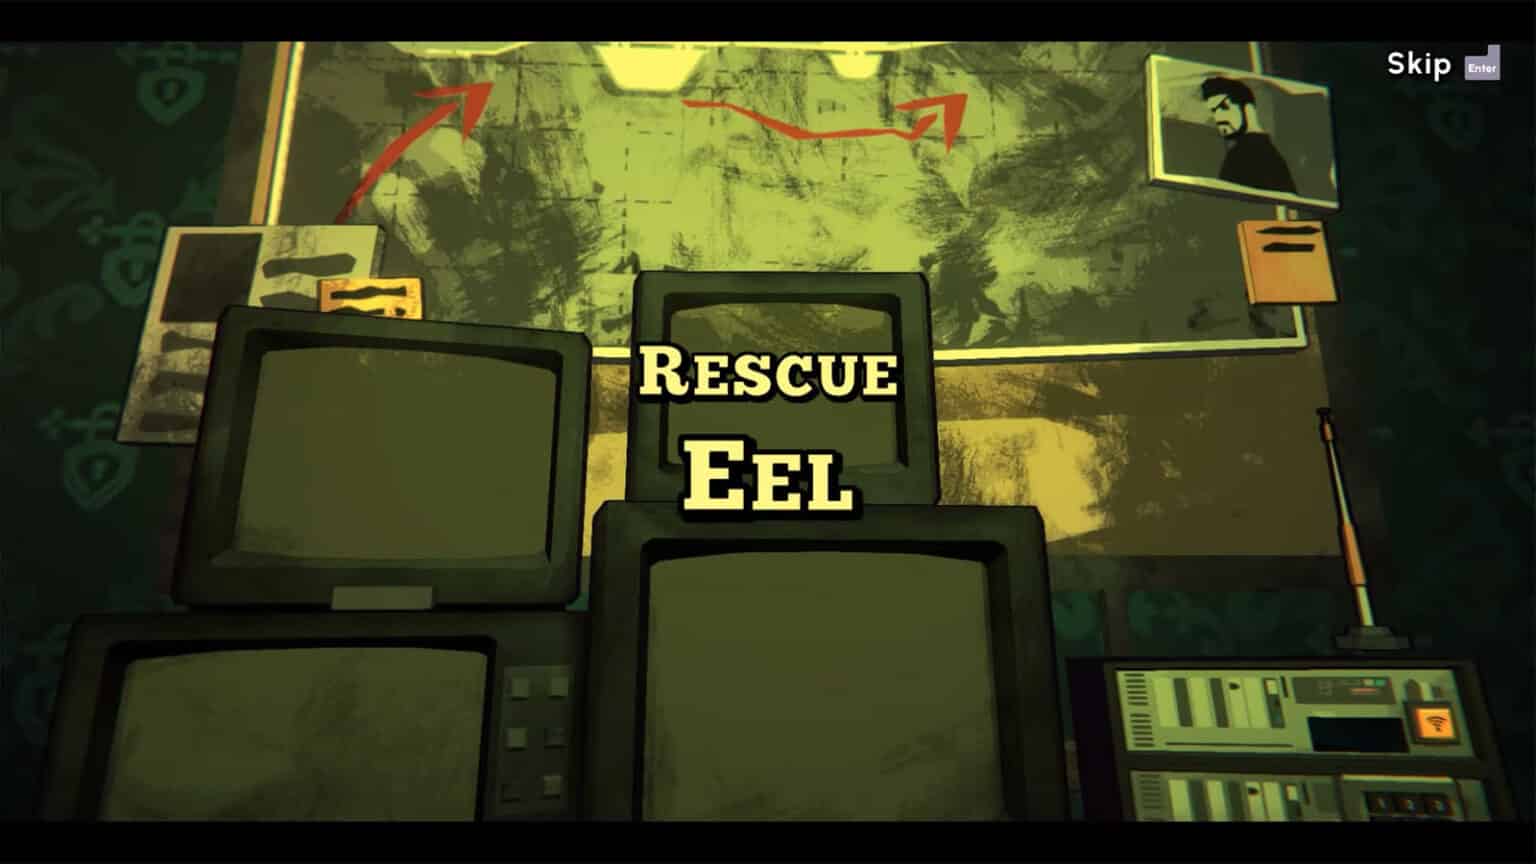
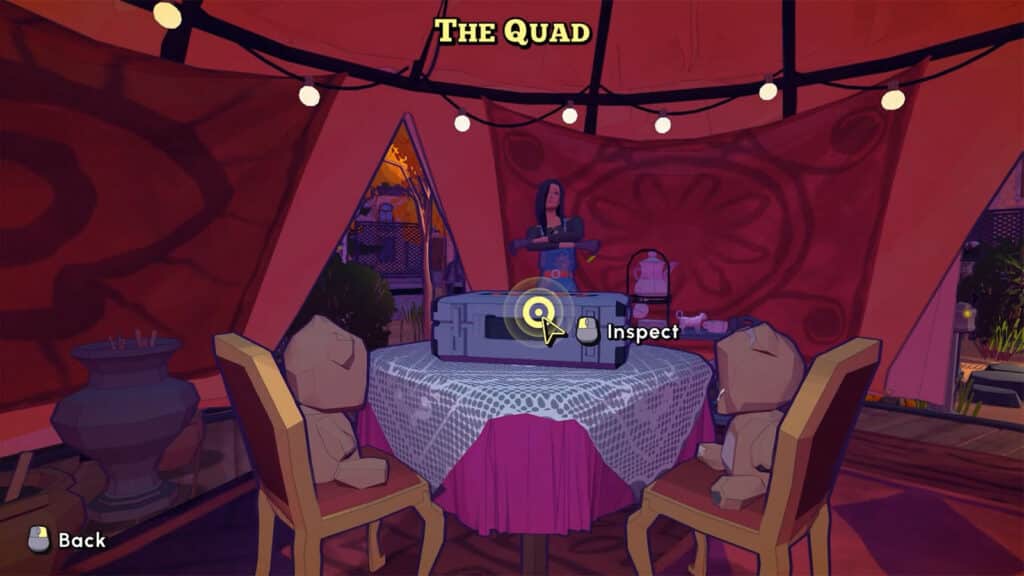
The Breakout is a level in Escape Academy where players are tasked to help The Headmaster rescue Eel Barnes escape a facility through the Academy’s HQ. Players will have to be quick in solving puzzles and communicating them over to The Headmaster in order to prevent the enemies from foiling the rescue operation.
In this guide, we will be walking you through The Breakout level by showing you what to look for and how to solve the puzzles.
How to unlock The Breakout level in Escape Academy
After completing the Under Pressure and Escape Artist levels, talk to The Headmaster in her office and the communications room will then become accessible. You will be introduced to Professor Quanty and you can then take on The Breakout level.

In the communications room, The Headmaster will introduce you to Professor Quanty who is a supercomputer who detected that one of the greatest escapist of all time, Eel Barnes, is still alive and is within a highly secured prison ship. The Headmaster will be the one out in the field to rescue Eel, while you will help in the operation by guiding her through the prison and making sure that the rescue will be done successfully.
The entire mission has to be done within 25 minutes. You’ll only be within the communications room the entire time, however you only have the radio to get in contact with The Headmaster on the field as you relay important info and crack codes for her.


Radio Response #1
Throughout the entire mission, you’ll have to use the radio to send your responses over to The Headmaster. Since the radio can only accept numerical responses over to her, all your responses will be composed of just numbers. Thankfully, there’s a cheat sheet nearby to provide you with the radio shorthand response codes that you can use.
For the first response, send a “10-4” over the radio to acknowledge that you have contact with The Headmaster.

Disable the Turrets
The Headmaster’s path will be blocked by turrets. You’ll find a note on the back of a turret with a pictogram for its disable code. The solution for this pictogram is “160“.

Find the Computer Terminal
The Headmaster needs to find a Computer Terminal to get into. She’ll ask if there’s one in the level where she is at. You’ll have to refer to the prison’s floor plan which can be found at the desk on the left side. Deck 01 has no Computer Terminal, so respond with a “10-10“.
She’ll ask which floor has one. You’ll find that there’s on on Deck 02. Send out “2” to proceed.

Re-align the Satellite and Radio Response #2
The signal to the prison ship has been lost. You’ll have to re-aim the satellite to the ship’s new position using the console to the right. But first, you’ll have to look at the mission clock and note the current time. Depending on how long you have been in the mission at this point, check the map and refer to the route and the checkpoints.


Approximate the position on the map and then use the joystick on the console to aim at the grid on the monitor. Once the signal is back, respond “10-10“.


Eel’s Cell Number
The Headmaster will then need your help in locating where Eel’s cell is. You’ll then receive prison data about Eel sent through fax. Each page has some info that will lead to Eel’s cell location:
- It’s not on the floor with cell compactor
- It’s between mail room and cafeteria
- It’s the floor with even number of cells, and has to be in a cell ending in 3
Narrowing it down, Eel’s cell is cell #503.


Eel’s Cell Key
Eel’s cell cannot be opened by any conventional keys and it has to be unlocked using a code.
An alarm will sound and the communications room’s walls will move, revealing a larger section of the room. You’ll then see two panels on both sides of the room and one of the monitors in the middle will show colored buttons.
Head to the right panel and push the buttons to show reference keys for other cell except for Eel’s. These keys’ teeth are colored either red, blue, white, or yellow and these colors represent how steep the transition of the angle is to the next tooth to the left. Here’s the code behind the colors:
- Red: Up +2
- Yellow: Up +1
- White: Down -1
- Blue: Down -2

On the middle monitor, the buttons that appear from left to right are colored white, red, blue, white, and red. Head to the panel on the left and starting from three and on the left, move the levers accordingly:
- Down by 1
- Up by 2
- Down by 2
- Down by 1
- Up by 2

Breaker Switches
The power to the communication room has overloaded and you’ll have to fix the breaker to get the power back.
You first have to grab a UV light and point it at the blank signs on the walls to reveal codes. These codes will reveal how to fix the breaker, but exactly how it should done is not told straightforwardly:
- Both G and C
- Not S
- Both R and H
- Either A or L

Based from these clues, you can deduce the right configuration of switches which will go something like this:
- C < L
- I > H
- G > A
- R < H
- T > G
- S > E

Hack the Turret
Once the power is back, you’ll find that The Headmaster and Eel are out of the ship, but they are being pinned by enemy fire. You’ll have to help them by hacking the turrets.
Once again, there will be a note behind one of the turrets that show a pictogram. Solving this pictogram will give you the number “713” which allows a turret to be taken over and be used against the other turrets.
Afterwards, Jeb will be able to lower down their helicopter to get them off the ship and fly back to safety. Congratulations!
If you like this guide, be sure to check out our other Escape Academy articles:
- Escape Academy Prologue Walkthrough Guide
- Escape Academy The Entrance Exam Walkthrough Guide
- Escape Academy Escape Artist Walkthrough Guide
- Escape Academy Under Pressure Walkthrough Guide
- Escape Academy The Breakout Walkthrough Guide
- Escape Academy Lab Rat Walkthrough Guide
- Escape Academy Trial By Taste Walkthrough Guide
- Escape Academy The Tea Kettle Walkthrough Guide
- Escape Academy The Rival Room Walkthrough Guide
- Escape Academy Tea ‘N Tea Walkthrough Guide
- Escape Academy Where There’s Smoke Walkthrough Guide
- Escape Academy The Confrontation Walkthrough Guide
Check out this video by Game Guides Channel showing how to solve The Breakout level:
Image screenshots credits to Game Guides Channel (YouTube)


