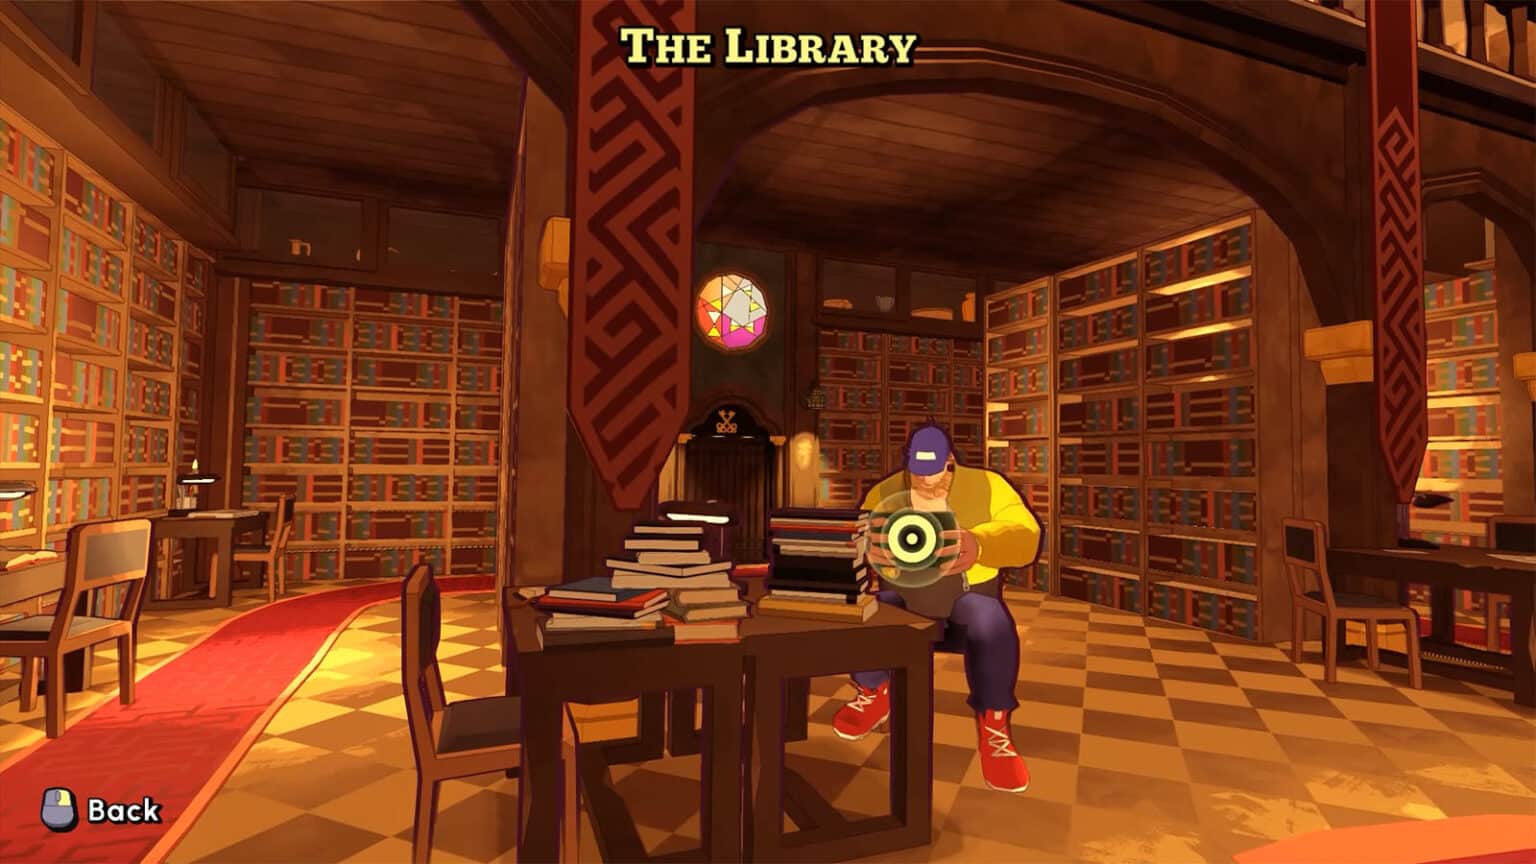
Where There’s Smoke is a level in Escape Academy where you find yourself in the burning library of the Academy. You need to think fast and look for a way to look and escape before the entire library burns down to the ground.
In this guide, we will be walking you through the Where There’s Smoke level by showing you what to look for and how to solve the puzzles.
How to unlock the Where There’s Smoke level in Escape Academy
The Where There’s Smoke level can be unlocked after completing The Rival Room level.
In the Where There’s Smoke level, you’ll be met with Jeb as he talks about how he loves to go in the library. However, fire started crawling through the books on the upper levels of the library and you have to figure out how to get out of it. You only have 20 minutes to clear the entire level.


Direction Tablets
In one of the display cases on the left side are four tablets and a space for a fifth one. Take note of the arrows on the tablet and then head to the door to your left to the Artifact Chamber, go down the stairs and you’ll see the fifth tablet.
Beside the tablet is a box that has a directional lock. You’ll have to move the middle piece of the lock towards the directions based on the order of the arrows on the tablet from left to right, like this: right, right, up, left, down, up, left, left.
Inside the box, you’ll get a Crank Handle and an Hourglass.


Think Twice
From the display case, head to the room to the right where you’ll see a painting on the wall saying “The Golden Rule: Think Twice.” and a scroll on the table that says “Cogito Ergo Sum ‘I think, therefore I am'”. There are also scrolls with Latin words and and reversed height charts on the wall and a locked chest that needs a 4-digit code.
To solve this puzzle, look for the numbers on the charts that line up with the words “Cogito Ergo Sum” on each of the scrolls. Then, write down the number for Cogito twice as hinted by the painting. The combination “2257” will open the chest, revealing a Strange Tile.

Rotating Clocks
Head to the three clocks in the middle of the library and slot in the Crank Handle. Then, rotate the middle crank until the big clock is upright (VI down, gap is pointing upwards). Next, rotate the right crank until the middle clock is upright (VI down, gap is pointing to the left). Finally, rotate the left crank until the small clock is upright, and it will reveal a button through the gaps that will open the entrance to the Inverted Chamber.


Moving Ladders
Inside the Inverted Chamber of the library, two ladders can be moved following the lines on the floor. Simply move the ladders by navigating through the paths until they reach the end where they will connect to upper decks of the hall. The grey ladder leads to a lever that has to be pulled first to free the Strange Tile, while the yellow ladder will let you go reach the deck the Strange Tile can be found.


Inverted Chest
Still inside the Inverted Chamber, there is an inverted chest at the very end that requires a 4-digit code, and some skulls that are hanging upside down. Go back to the main hall and you’ll find similar skulls in the display cases that are numbered.
To get the code, you need to get the numbers of the skulls by order of how they appeared “above” the chest, or from right to left. The code for the chest is “6989″ which has to be keyed in on the chest from right to left as well. Opening it will give you another Strange Tile.


Tip the Hourglass
Head back into the main hall and go to the door on the right wing where a door with hourglasses can be found that leads to the Chamber of Knowledge. Put the hourglass inside the fourth hole and then look at the stained-glass window on top. The window gives a clue on how to tip the hourglasses in order to open the door.
The solution to this puzzle is:
- Lower right: Tip it so that it becomes horizontal and parallel to the ground
- Upper left: Tip it to the right diagonally
- Upper right: Tip it to the left diagonally with the full side on top
It’s best to do the first two hourglasses first before doing the one on the upper right since that one requires a specific amount of sand on each of its sides.


Globe Scramble
Inside the Chamber of Knowledge are four globes, with one bigger globe with rings in the middle. There are also coded words on the side of the room. In each of the smaller globes, there are some continent names that are coded as well.
The coded words have their letters shifted once forward, for example: B is A, C is B, D is C, and so on. Decoding the letters on the side of the room will give you FIRE for the yellow ones, SUN for the red ones, and AIR for the blue ones.
Afterwards, go to the big globe and move the rings until the icons for fire, sun, and air are in their respective boxes. This will open up the globe to reveal another Strange Tile.


Find the Secret Exit
Head back to the main hall and read the book in the middle which says “There’s no time to read. If you wish to escape, just flip through“. Then, go to the northeast side of the main hall where you’ll see words inside a niche in the shelves, including the word “through”. Just simply click on the letters of the word “through” and it will lower down the entire shelf to reveal the secret exit.

To open the exit, you will have to place the Strange Tiles on their proper slots. There are plaques on the slots which serve as hints on what tile goes there. The solution to this is, from left to right:
- Top: Anvil, Lion
- Bottom: Bird, Scale
Once it’s solved, the gate will be lifted and you’re on your way to safety. Congratulations!
If you like this guide, be sure to check out our other Escape Academy articles:
- Escape Academy Prologue Walkthrough Guide
- Escape Academy The Entrance Exam Walkthrough Guide
- Escape Academy Escape Artist Walkthrough Guide
- Escape Academy Under Pressure Walkthrough Guide
- Escape Academy The Breakout Walkthrough Guide
- Escape Academy Lab Rat Walkthrough Guide
- Escape Academy Trial By Taste Walkthrough Guide
- Escape Academy The Tea Kettle Walkthrough Guide
- Escape Academy The Rival Room Walkthrough Guide
Check out this video by Game Guides Channel showing how to solve the Where There’s Smoke level:


