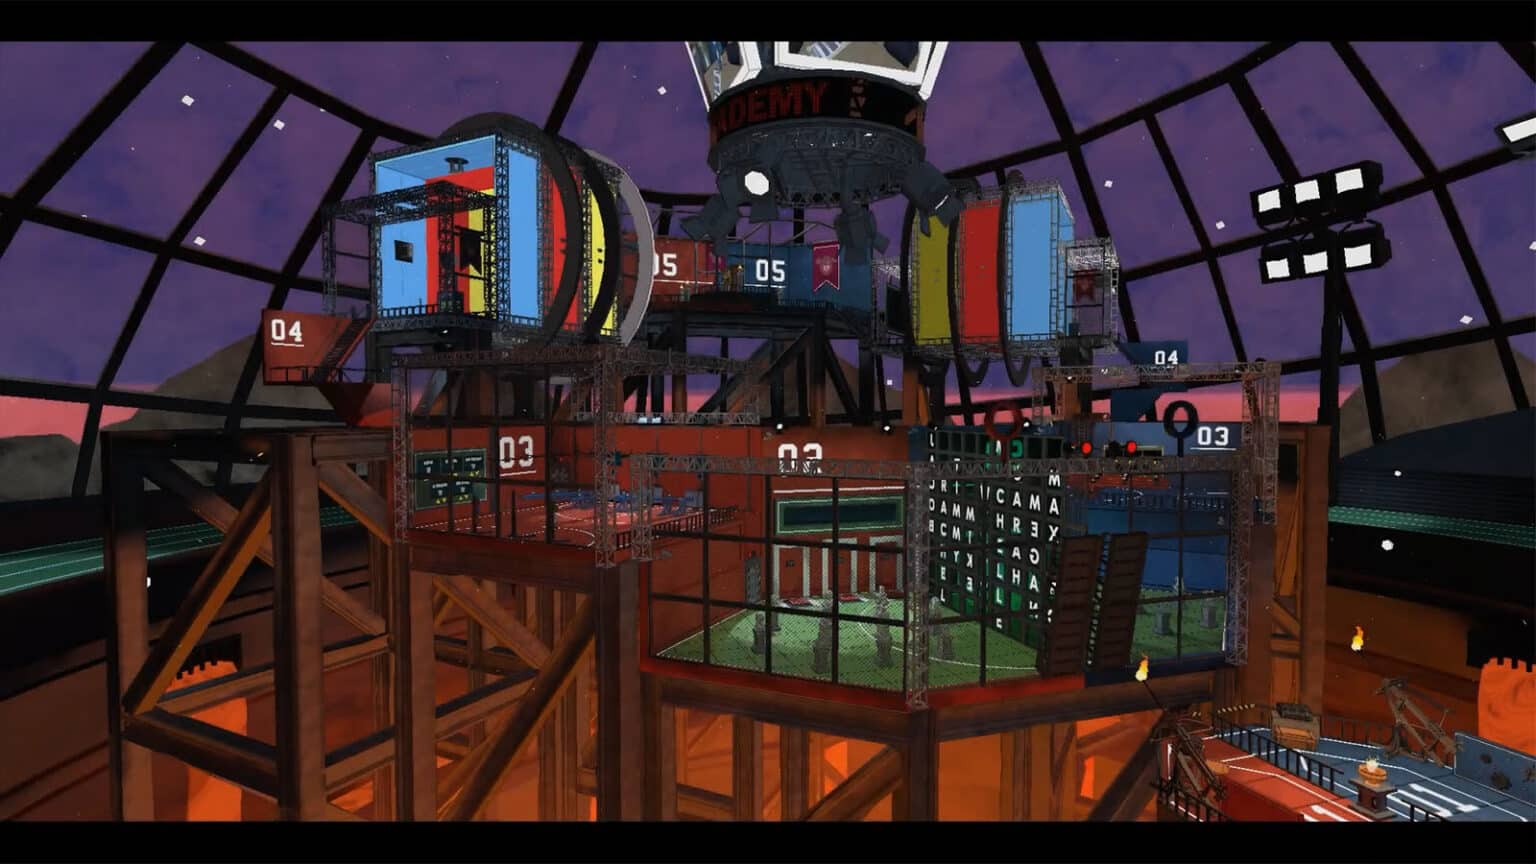
The Rival Room is a level in Escape Academy where players are pitted in a race against their rival to see who between the two can solve the gauntlet of puzzles the fastest.
In this guide, we will be walking you through The Rival Room level by showing you what to look for and how to solve the puzzles.
How to unlock The Rival Room level in Escape Academy
The Rival Room level will be unlocked by completing the Lab Rat level.
For this level, you will be competing against your rival, Gillian, in a race of solving different kinds of puzzles across the playing arena. There are several legs in the race and you only have 35 minutes to finish the entire level.

The Ballista
The first leg of the race is the Ballista where you have to make the ballista fire its ammo to bring down a bridge leading to the next section.
First, you’ll have to find three cogs inside the chests and cabinet. Once you have all three cogs, you will need to arrange them on the board so that cranking the wheel will make the entire mechanism work. The solution to this puzzle is, from left to right: big cog, little cog, medium cog.
Afterwards, crank the wheel to make the ballista shoot, then proceed to the next area.

Busts and Ambigrams
The next area is full of busts of people, and there is a huge glass fence with their names arranged in grids read from top to bottom.
Your objective is to move the correct busts to the pressure pads on the far end to open the path to the next area. The challenge requires you to pick the people whose names you can see on both sides of the glass fence.
The correct busts to move are from these people: Wyatt, Timmy, and Max. Move these busts to the pressure pads in no particular order, then proceed to the next area.


Find the Weights
The next challenge will require you to figure out the weights of the plates and use them to trigger specific weight gates to proceed to the next area.
For the first part, you need to get the five plates and compare their weights against each other to figure out how much they weigh. There is a scale in the middle where you can put a plate on each side.
To solve this, choose one of the plates and then compare it to the other plates’ weights. You only need to do this around four times to figure out what the weights are since you’ll be required to input their weight on a board which only has weight ranging from 1-5kg. The solution to this puzzle is, from lightest to heaviest: red, blue, green, orange, white.
The next part of the challenge is to use these weights on three seesaws to lift weights on the opposite ends without going over. Each of the seesaws has a specific weight requirement: 7kg, 9kg, 14kg. The seesaws each have three pegs at different lengths of their arms where the plates can be placed; the farther the weight is placed from the fulcrum, the greater force it can apply, effectively multiplying its weight.
To solve this puzzle, here’s how you should distribute the plates on the seesaws:
- 7kg: white on x1; red on x2
- 9kg: green on x3
- 14kg: blue on x1; orange on x3

Rotating Tunnel
This next challenge will require you to do some planning first. The objective of the challenge is to push the buttons shown in order from left to right in less than 10 rotations. The buttons that you need to push are situated on the square tunnels’ inside walls which can be rotated so that you can walk up to them.
There is a panel on the right that has three rows, each with its own pair of rotation arrows which can go clockwise or counter-clockwise. Each row is painted a secondary color and controls two sections of the tunnel that are its primary colors; for example: the purple row controls the rotation of both the red and blue sections of the tunnel.
To solve this, follow these steps:
- Purple row: clockwise; then Green row: clockwise
- Push the circle, then spade, then club buttons
- Purple row: clockwise; then Green row: clockwise
- Push the triangle button
- Green row: counter-clockwise
- Push the square and diamond buttons
- Orange row: clockwise
- Push the heart button

Double-Sided Safe
The final challenge will have you solve several mini-puzzles on an armoire that are interconnected with each other. In the middle of it all is a safe that can be opened after all the puzzles have been solved.

- First Puzzle
The first puzzle that you should do is the one that says start. For this puzzle, all you need to do is to flip the squares from white to black to match the background of the other puzzles. The squares that need to be flipped are: the two ends, two corners, and the middle square. Afterwards, you’ll get the Cabinet Key.

- Second Puzzle
The second puzzle requires you to use the Cabinet Key on the keyhole to the right. This will reveal a message written inside that says “Ring the bells my dear friend.” Then, go to the bells section and play the bells in this order: G > E >A > E > D. Once done, the cabinet will open to reveal the Bronze Medal and another message that says “You’ll escape when pigs fly.”

- Third Puzzle
For the third puzzle, go to the cylinder puzzle and use the message from the previous puzzle as a clue to the solution. Find the head and the rear end of a pig, then in the middle cylinder, find the body that has wings. This will open the cabinet and reveal an arrow sequence that goes: up, right, up, left, down.

- Fourth Puzzle
For the fourth puzzle, go to the D-pad puzzle and type in the sequence from earlier to open the cabinet and obtain a bunch of coins. You’ll need these coins for the other cabinet on the upper right corner. In this puzzle, you must put in coins in the right slots so that their sums will match what is written on the column and row headers.

To solve this puzzle, simply put these coins from left to right:
- Top row: 1c, 5c, 10c
- Bottom row: 1c, 10c, 1c
Once solved, the cabinet will open to reveal Playing Cards.

- Fifth Puzzle
For the fifth puzzle, you’ll need to use the Playing Cards to solve the clock riddle on the lower left corner. To solve this puzzle, you just need to point the clock’s arms to the right numbers so that the suits and the numbers will match the ones on your hand, which are: King of Hearts, Seven of Spades, Queen of Diamonds, and Three of Clubs. This can be done by pressing the suit button to move the arms; be careful not to overshoot as these buttons can only move the arms clockwise.
Once this puzzle is solve, the cabinet will open to reveal the Silver Medal and the word BANE written inside.

- Sixth Puzzle
For the sixth puzzle, use the code from earlier and key it in on the combination lock on the top side. This will open the cabinet and reveal a bunch of Marbles. Use these marbles on the puzzle on the lower right corner to load them up into the game.
The objective of this game is to sort the orange marbles from the yellow marbles so that they fall on the slots that match their color. This can be done by pressing the yellow (right) and the orange (left) colors to release one marble at a time. To solve this, press the buttons in this order: yellow, yellow, orange, yellow, orange, orange.
Once solved, the cabinet will open and reveal the Gold Medal.
Now that you have all the medals, all you need to do is to slot them in their respective spots to open the safe and obtain the trophy. Congratulations for conquering the Rival Room!

If you like this guide, be sure to check out our other Escape Academy articles:
- Escape Academy Prologue Walkthrough Guide
- Escape Academy The Entrance Exam Walkthrough Guide
- Escape Academy Escape Artist Walkthrough Guide
- Escape Academy Under Pressure Walkthrough Guide
- Escape Academy The Breakout Walkthrough Guide
- Escape Academy Lab Rat Walkthrough Guide
- Escape Academy Trial By Taste Walkthrough Guide
- Escape Academy The Tea Kettle Walkthrough Guide
- Escape Academy The Rival Room Walkthrough Guide
Check out this video by Game Guides Channel showing how to solve The Rival Room level:


