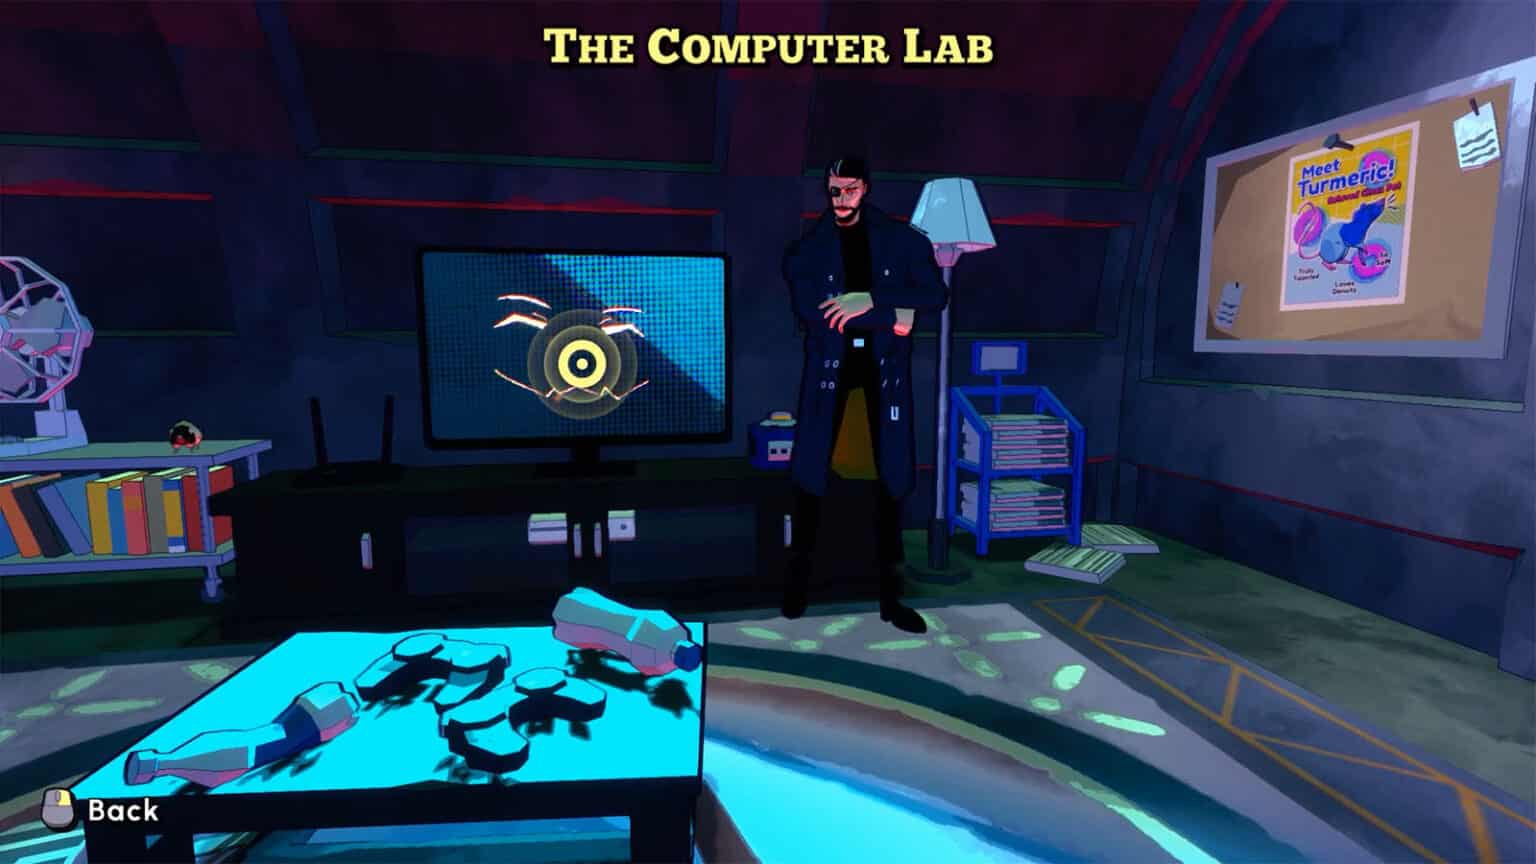
Lab Rat is a level in Escape Academy where players are put into a test to try and hack Professor Quanty using only their skills, knowledge, and resourcefulness. This is after Professor Quanty suspects the players of cheating on the previous escapes, and to avoid expulsion, they must successfully hack the supercomputer to prove it wrong.
In this guide, we will be walking you through the Lab Rat level by showing you what to look for and how to solve the puzzles.
How to unlock the Lab Rat level in Escape Academy
The Lab Rat Level is unlocked once The Breakout level has been cleared.
The first challenge that you will have to clear is now to get power back on to be able to access the system and hack Professor Quanty. You only have 25 minutes to complete the entire level.
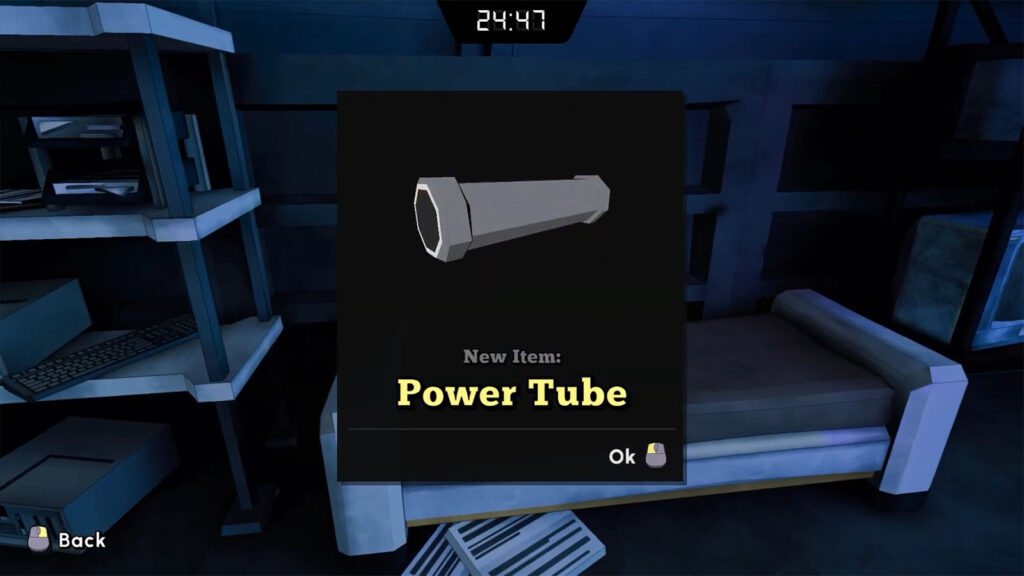
Collect Three Power Tubes
You’ll notice that a huge cable connected to a rat cage is missing its segments. You’ll need to find the three Power Tubes and connect them to the cable to fix it.
The wires can be found:
- On pegboard near the work station
- On the couch in the lounge
- On another couch near the dance floor
Solve the Sudoku Vending Machine
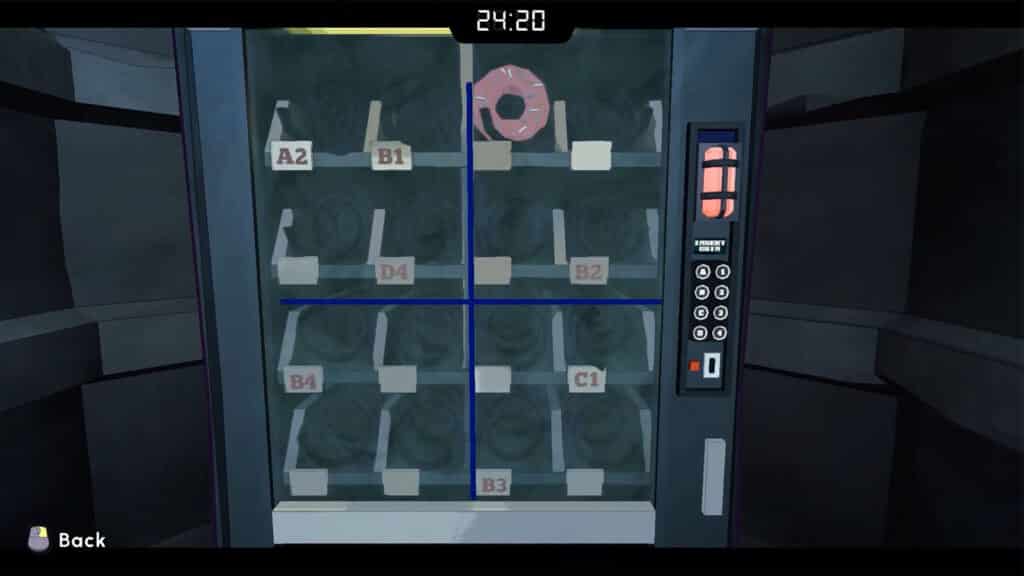
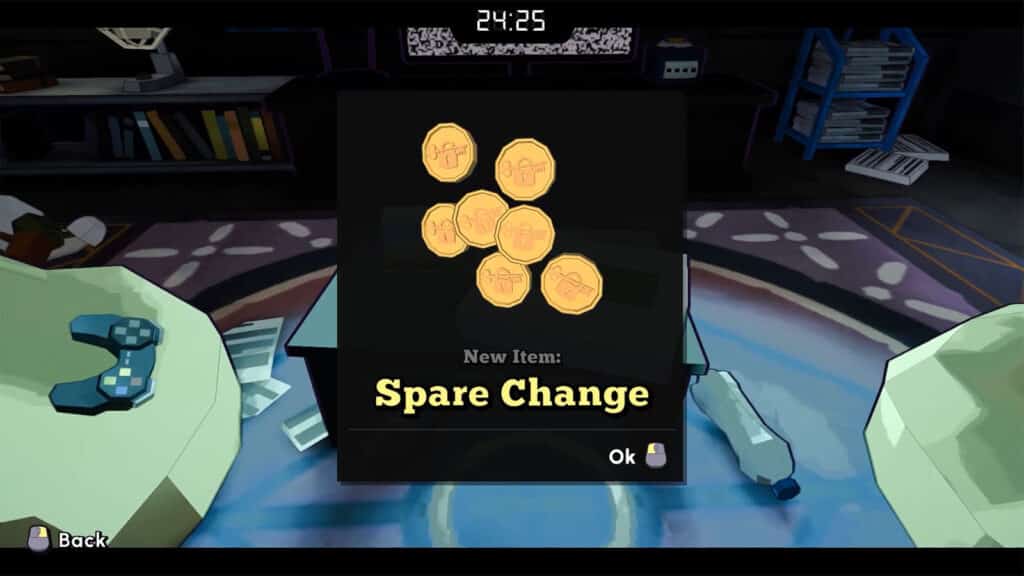
You’ll need to grab the Spare Change on the table in the lounge. There is a note stuck o the wall at the work station that provides the clue that you’ll have to solve a sudoku puzzle, though this particular note does not provide any clue to the solution itself.
The only item in the vending machine is the donut, but its grid number is rubbed off. You can solve this by doing a double sudoku between the letters A-D and the number 1-4.
The solution to this puzzle is “C4“. Put in the spare change inside the machine and press the button accordingly to get the donut from the machine.
Use the Donut to Lure the Rat
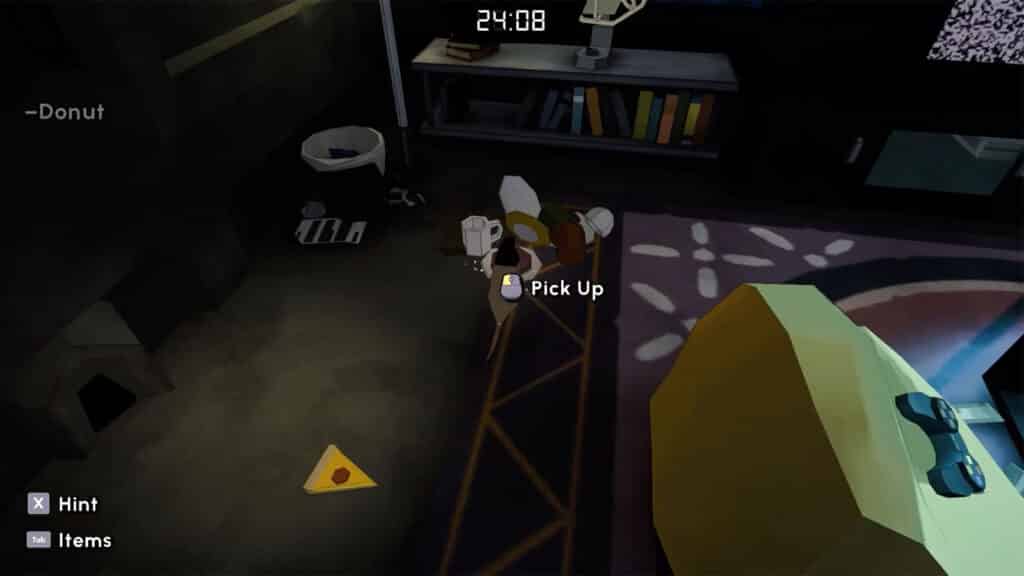
A poster in the lounge shows that Turmeric the Rat’s favorite food is donuts. Turmeric can be found at the lounge trying to eat the slice of pizza on the floor, but you can’t just catch it. You’ll have to place the donut on the plate nearby and wait for Turmeric to go for it. Then, just grab the rat and place it inside the rat’s cage. Doing so should make the rat generate power for the lab.
Afterwards, Professor Quanty will put out a laser barrier that will prevent you from approaching him.
Password Recovery
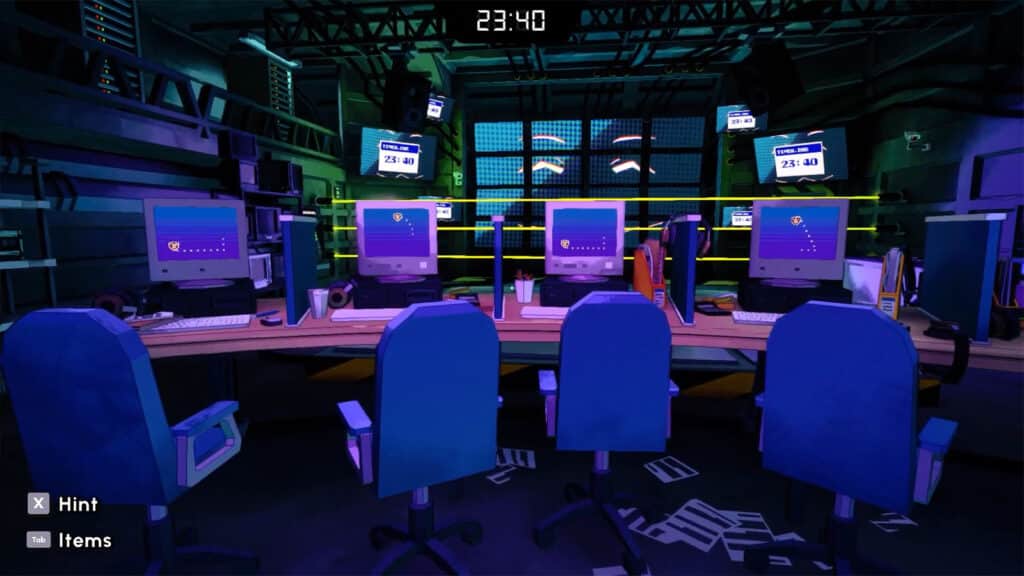
The terminal for the Laser Control can still be accessed, however it requires a password. This password can be obtained from the computers in the laboratory, but they also require passwords themselves.
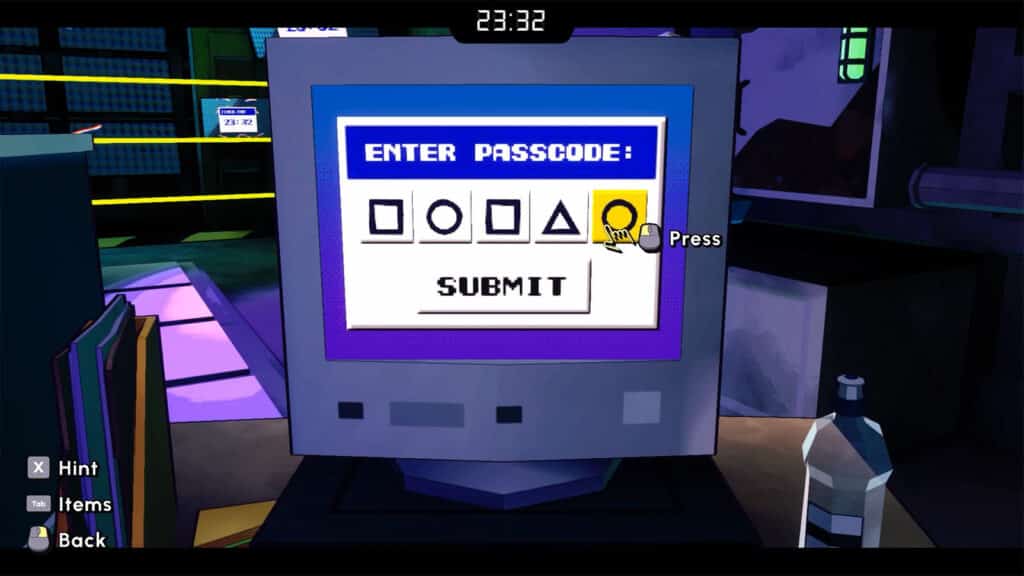
Pay attention to the screensaver of each of the five computers as they trace out specific shapes, which are: square, circle, square, triangle, circle.
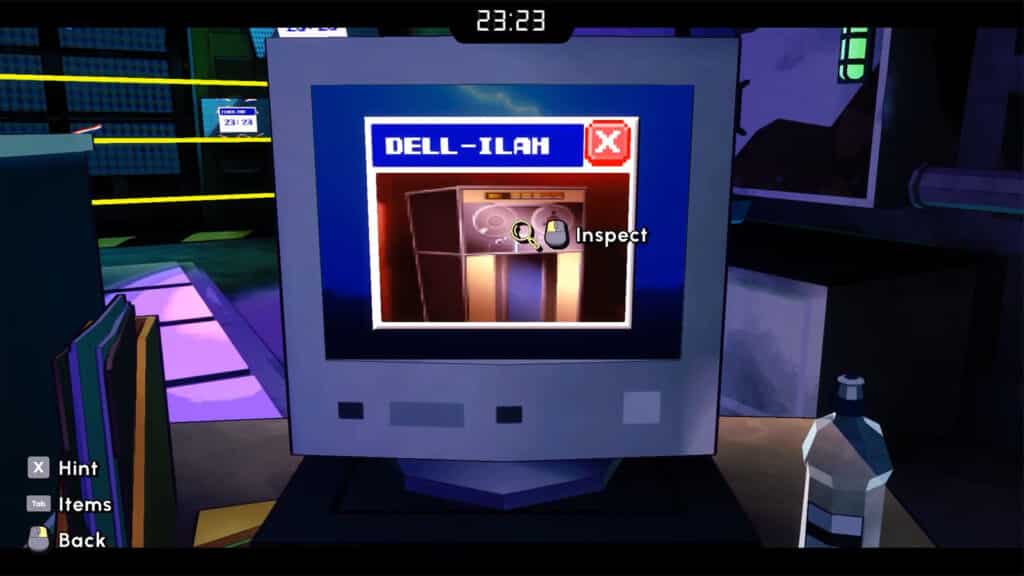
Once you have the shapes, log into any of the computers and enter the passcode.
Afterwards, access the Files Folder and look at each of the files inside:
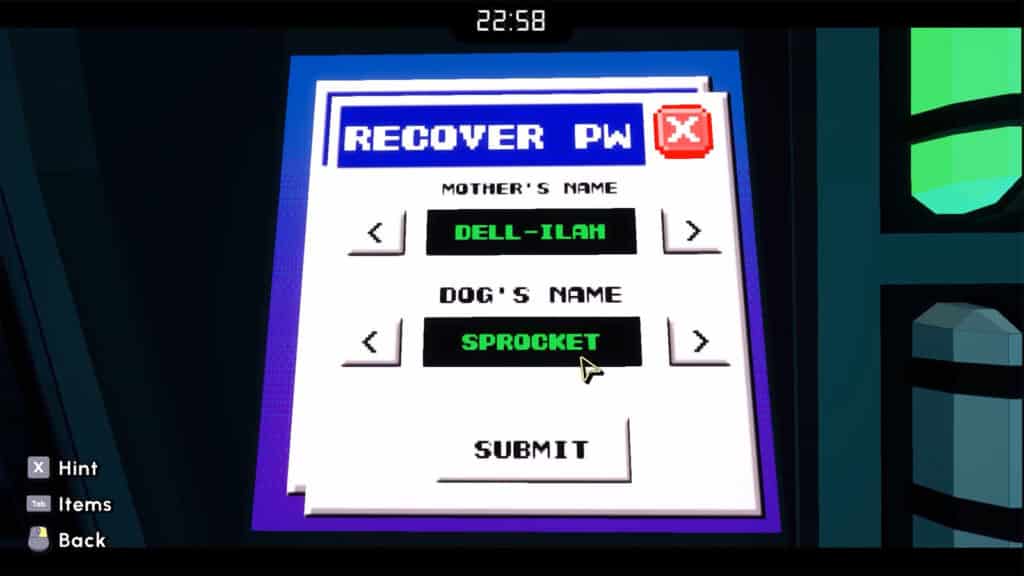
- Mama: Dell-Ilah
- Bark: Sprocket
- RH: Red Herring
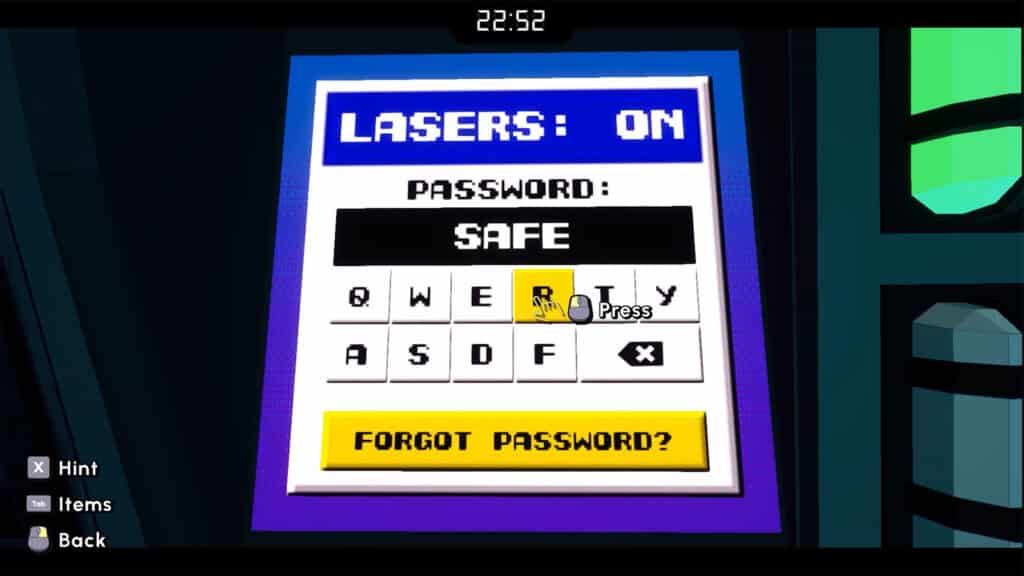
You only need to get Professor Quanty’s mom’s name and his pet’s name in order to proceed. Head back to the Laser Control terminal and press the Forgot Password? button. Then, find the names needed to recover the password and hit submit. You’ll then get the password “SAFER“.
Then, go back to the main screen of the terminal and type in the password to bypass the lasers.
Create a Virus
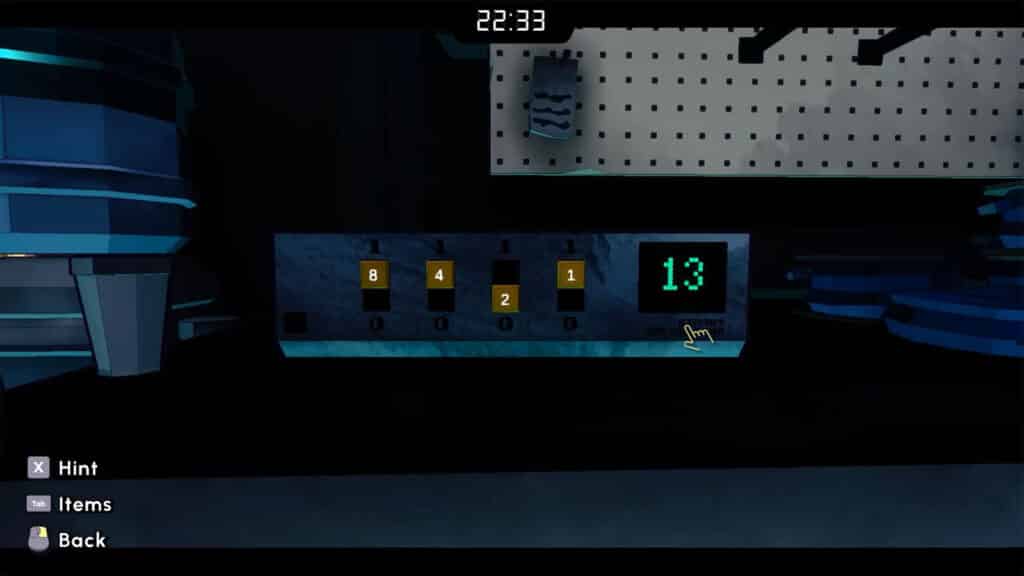
Your next objective is to create a virus since now you have access to the persona terminal. Pay attention to the model #13 as this will be needed to create a specific virus.
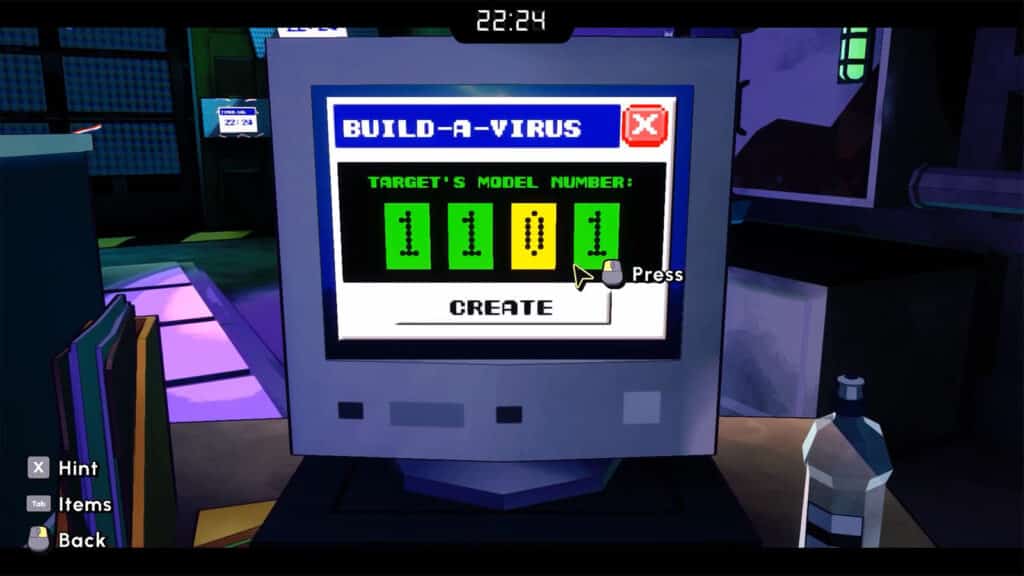
Going back to the computers, you can access the Virus program, but it will ask for a 4-digit code which points to the model number, but in binary. You can solve the binary for the number 13 yourself, or you can use the binary calculator found on the workstation to get the number.
The solution for this puzzle is “1101“. Put in the code and hit Create to create a virus saved on a floppy disk. Bring this disk over to the persona terminal and insert it to corrupt Professor Quanty.
Disco Fever
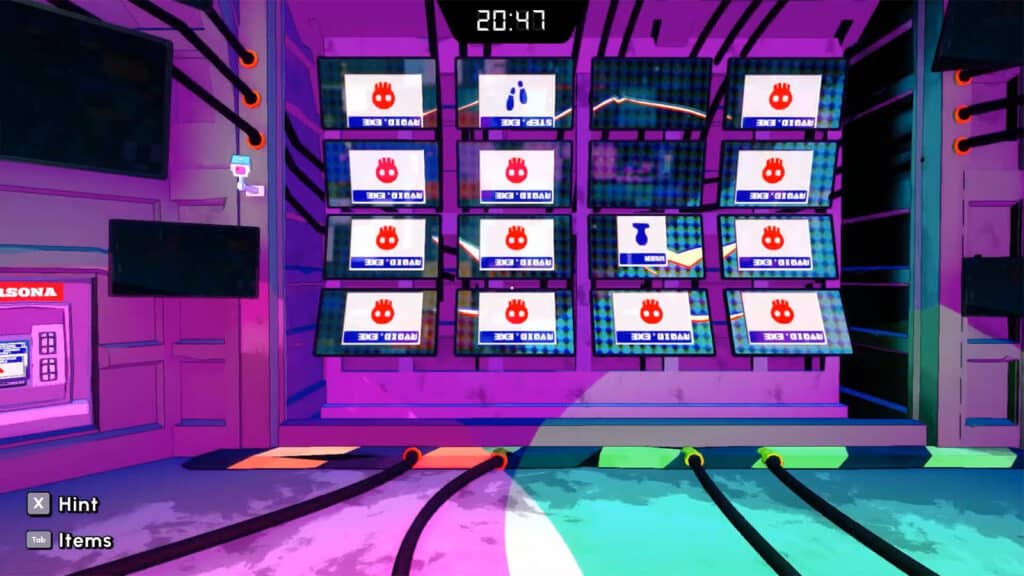
After corrupting the professor, the dance floor will activate and the screens will show prompt boxes. The box with the footsteps is your goal, while the boxes with the skulls are the ones you must avoid. When you step on the dance floor, whichever plate you are on will be shown on the screens as well.
You can step out of the dance floor and navigate around it to get to the next goal. However, if you accidentally step on one of the skull-marked plates, you’ll have to start over again. Be careful as in the last round, the professor will rotate the entire display upside down, which makes navigating a bit disorienting.
Server Room
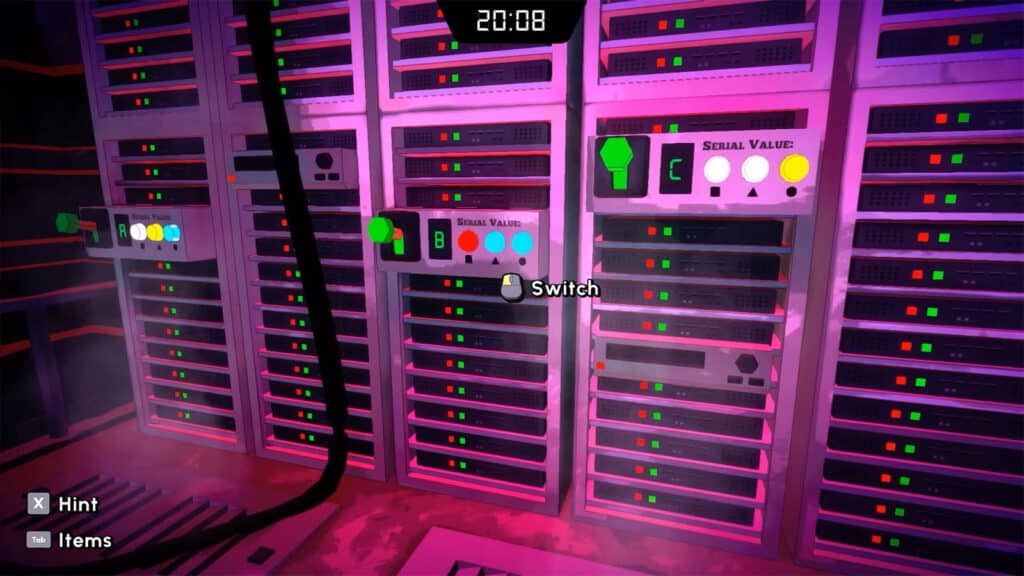
The server room is the final challenge for this level, and is quite the puzzling one. Once you enter the room, go to the panel and hack the Quantum Core. Once the hack is attempted, you’ll have to perform a Manual Overdrive Protocol or M.O.P. to push through with the hack.
Near the door is a panel that will light up showing a diagram made out of shapes and numbers, and on both sides of the room are a bunch of servers with levers and different colored lights. Your objective is to flip the switch in order, from decreasing value to increasing value to complete the protocol. If a wrong lever is pressed, it will restart the protocol.
To solve this, use the guide on the screen. Each shape per level are assigned a value based on the row they are one. For example, all the shapes on row #1 are assigned the value 1, row#2 the value 2, and so on.
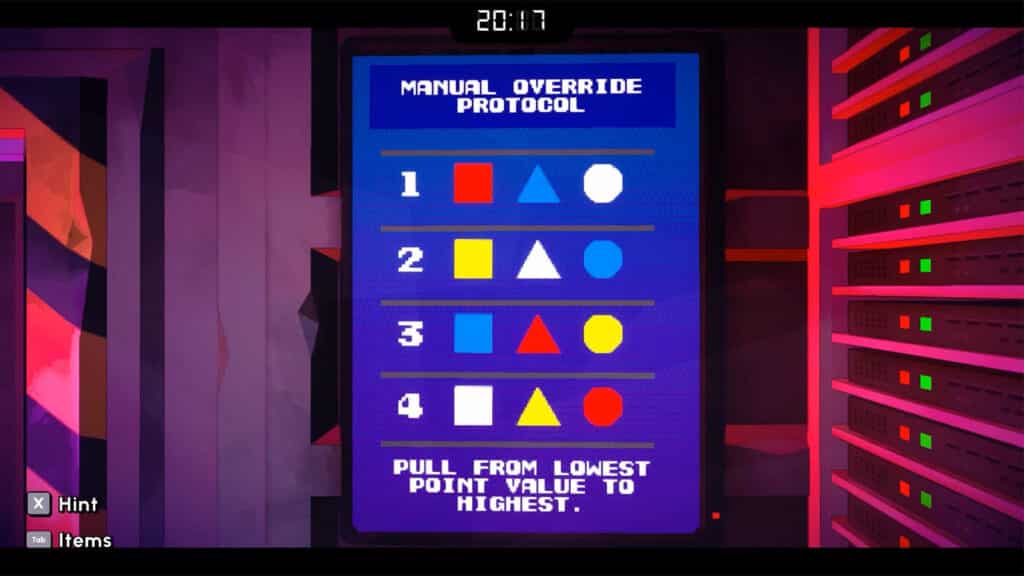
The lights on each of the servers will tell you what colors the shapes are on it. You’ll then have to match these shapes on the guide, get their individual values, and then add these three values up to get the server’s total value. For example, the shapes on Server E has the same colors as those on row #1, and therefore their total number is 3 (1+1+1); as for Server B, its square and triangle match row #1’s, but its circle matches row #2’s, giving it a total value of 4 (1+1+2).
In short, the solution for this puzzle is: E > B > D > H > F > G > C > A
Once all the servers are shut off, you’ll successfully shut down the Quantum Core and you’re safe from being expulsed. Congratulations!
If you like this guide, be sure to check out our other Escape Academy articles:
- Escape Academy Prologue Walkthrough Guide
- Escape Academy The Entrance Exam Walkthrough Guide
- Escape Academy Escape Artist Walkthrough Guide
- Escape Academy Under Pressure Walkthrough Guide
- Escape Academy The Breakout Walkthrough Guide
- Escape Academy Lab Rat Walkthrough Guide
- Escape Academy Trial By Taste Walkthrough Guide
- Escape Academy The Tea Kettle Walkthrough Guide
- Escape Academy The Rival Room Walkthrough Guide
- Escape Academy Tea ‘N Tea Walkthrough Guide
- Escape Academy Where There’s Smoke Walkthrough Guide
- Escape Academy The Confrontation Walkthrough Guide
Check out this video by Game Guides Channel showing how to solve the Lab Rat level:
