
Head to Rainbase is the second objective of Chapter 2: Memories of the Desert Kingdom, Alabasta in One Piece Odyssey. After knowing the involvement of Baroque Works in the problems arising in Alabasta, the Straw Hat Crew decided to head towards Crocodile’s base of operations in Rainbase.
Read ahead as we go through the events in Head to Rainbase, sharing some tips and tricks, as well as some hints on the whereabouts of the collectibles.
See previous One Piece Odyssey Defeat Crocodile Chapter 2 Walkthrough
Head to Rainbase Objectives
- Go to the Western Lagoon
- Prepare for Land Travel
- Help the Sick Man
- Get Back the Stolen Medicine
- Return the Medicine to the Shop
- Give the Apple to the Sick Man
- Return the Key to the Gate Guard
- Collect Food and Water Supplies
- Find the Sandy Shells
- Give the Soup to the Cook
- Cross the Desert Near Nanohana
- Cross the Great Sandy Desert
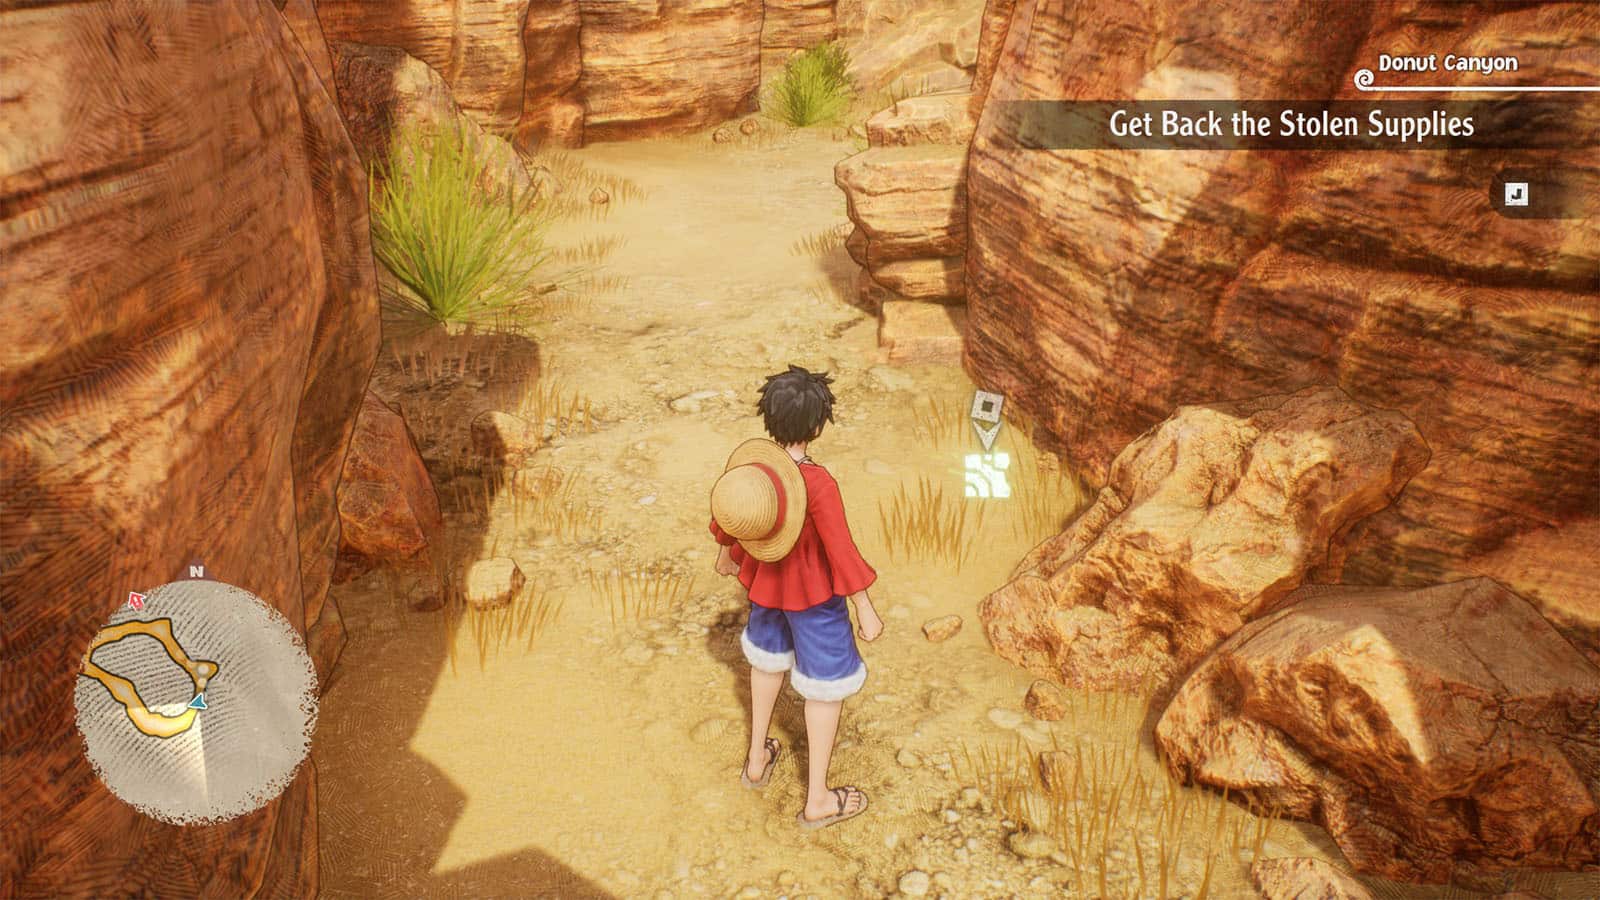
- Get Back the Stolen Supplies
- Cross Bone Bridge Canyon
- Fix the Frayed Memory
- Exit the Ruins
- Head East
- Head North
- Get the Wallet Back
- Find the Path to Rainbase
- Exit the Desert Cave
- Return to the Oasis
- Head to the Quicksand
- Access Crabby Port
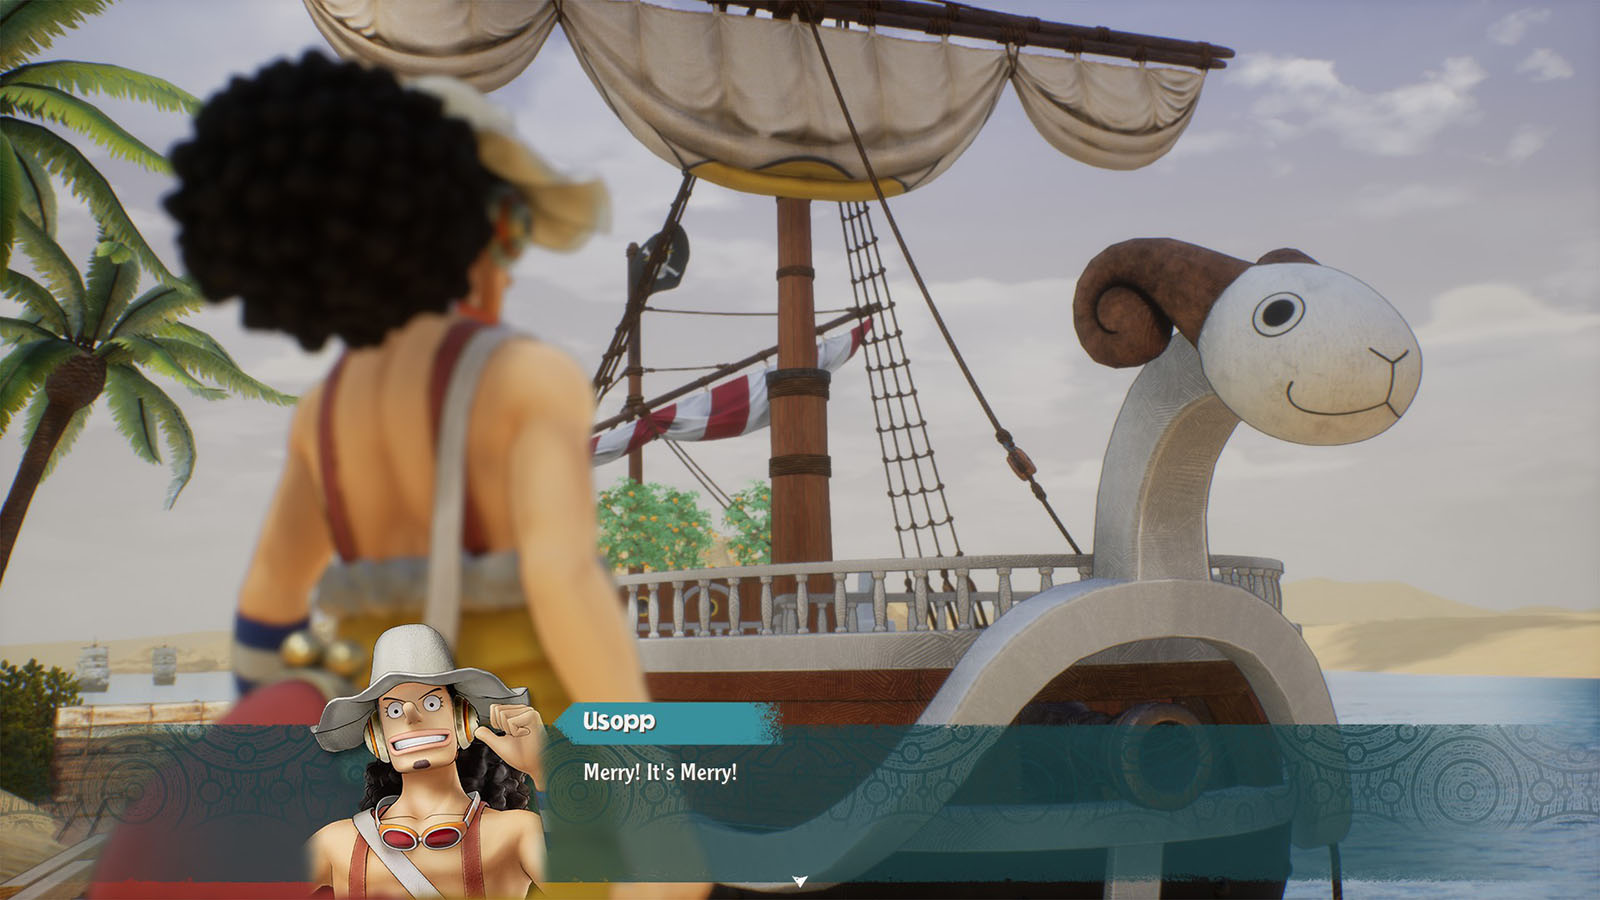
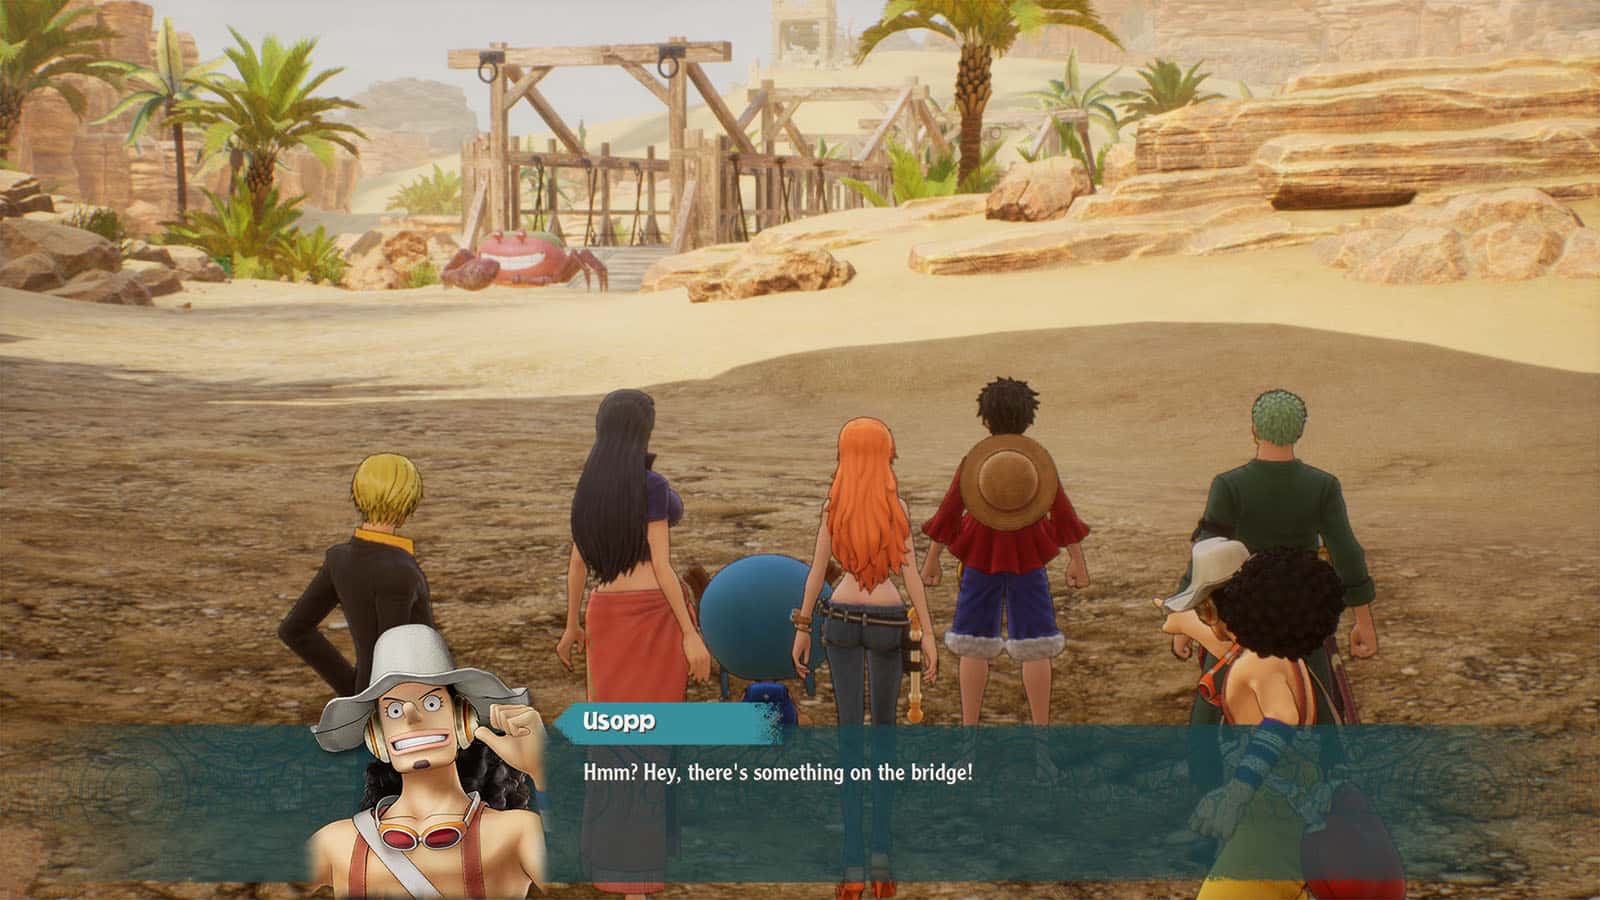
Go to the Western Lagoon
Western Cove
Go back to where you started and exit Nanohana into the Western Cove where you’ll find Going Merry, the Straw Hats’ previous ship. But because of the Marine’s blockade up ahead, the crew can’t travel by sea. You’ll need to head to Rainbase on foot.
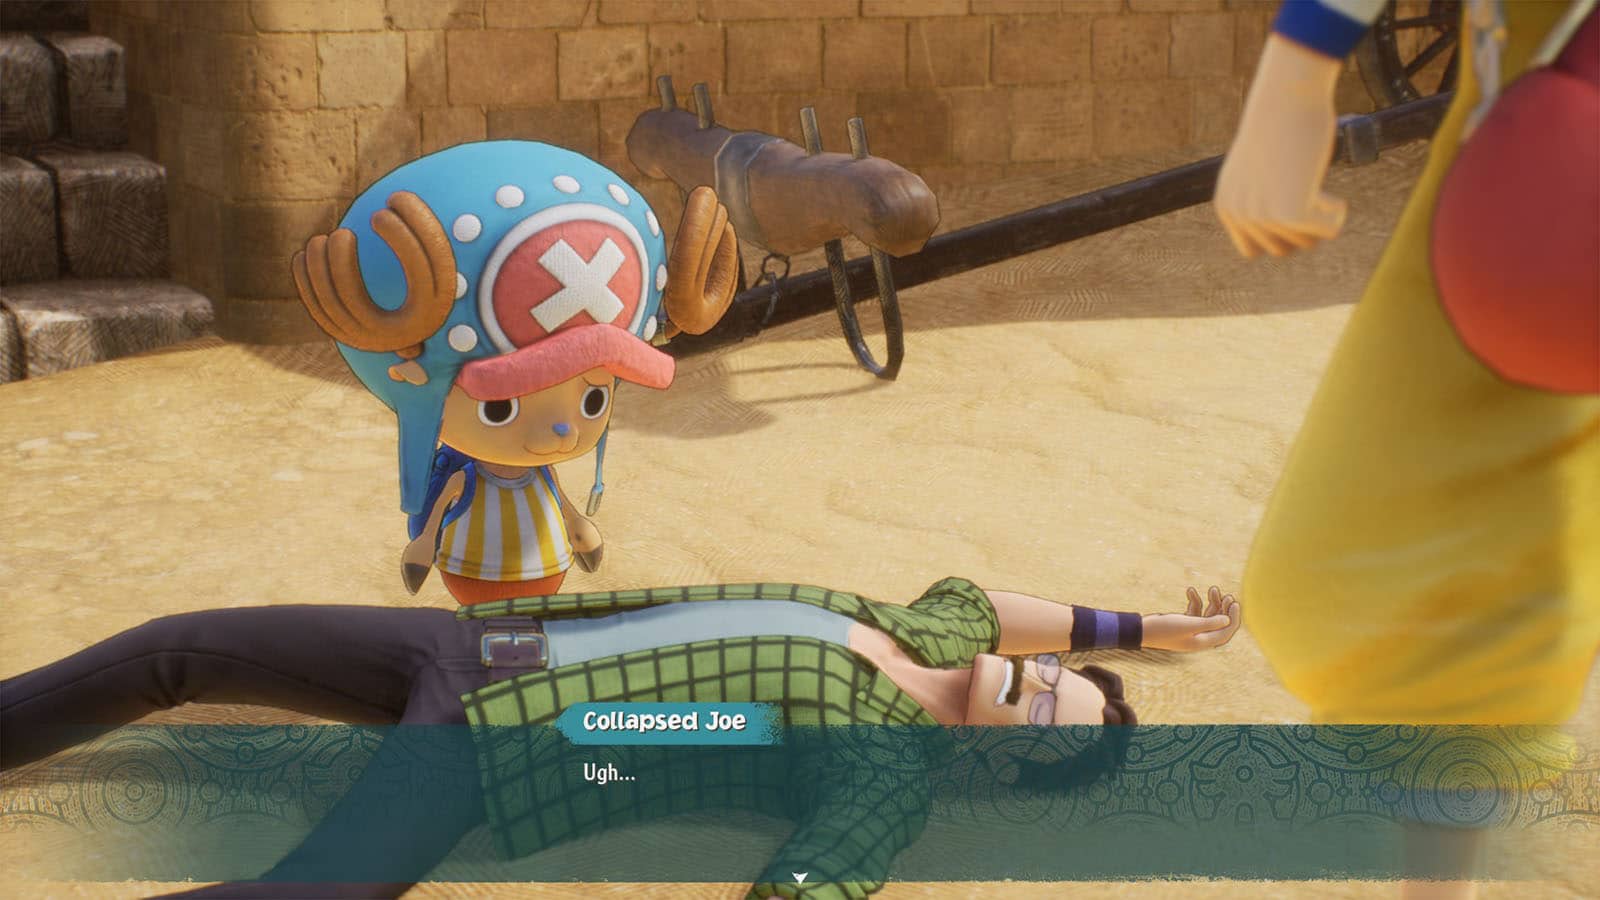
Prepare for Land Travel
Head back to Nanohana and as you make your way into the city center, you’ll see a man lying on the ground. He’s sick and so Chopper decides to look for medicine for him within the city.
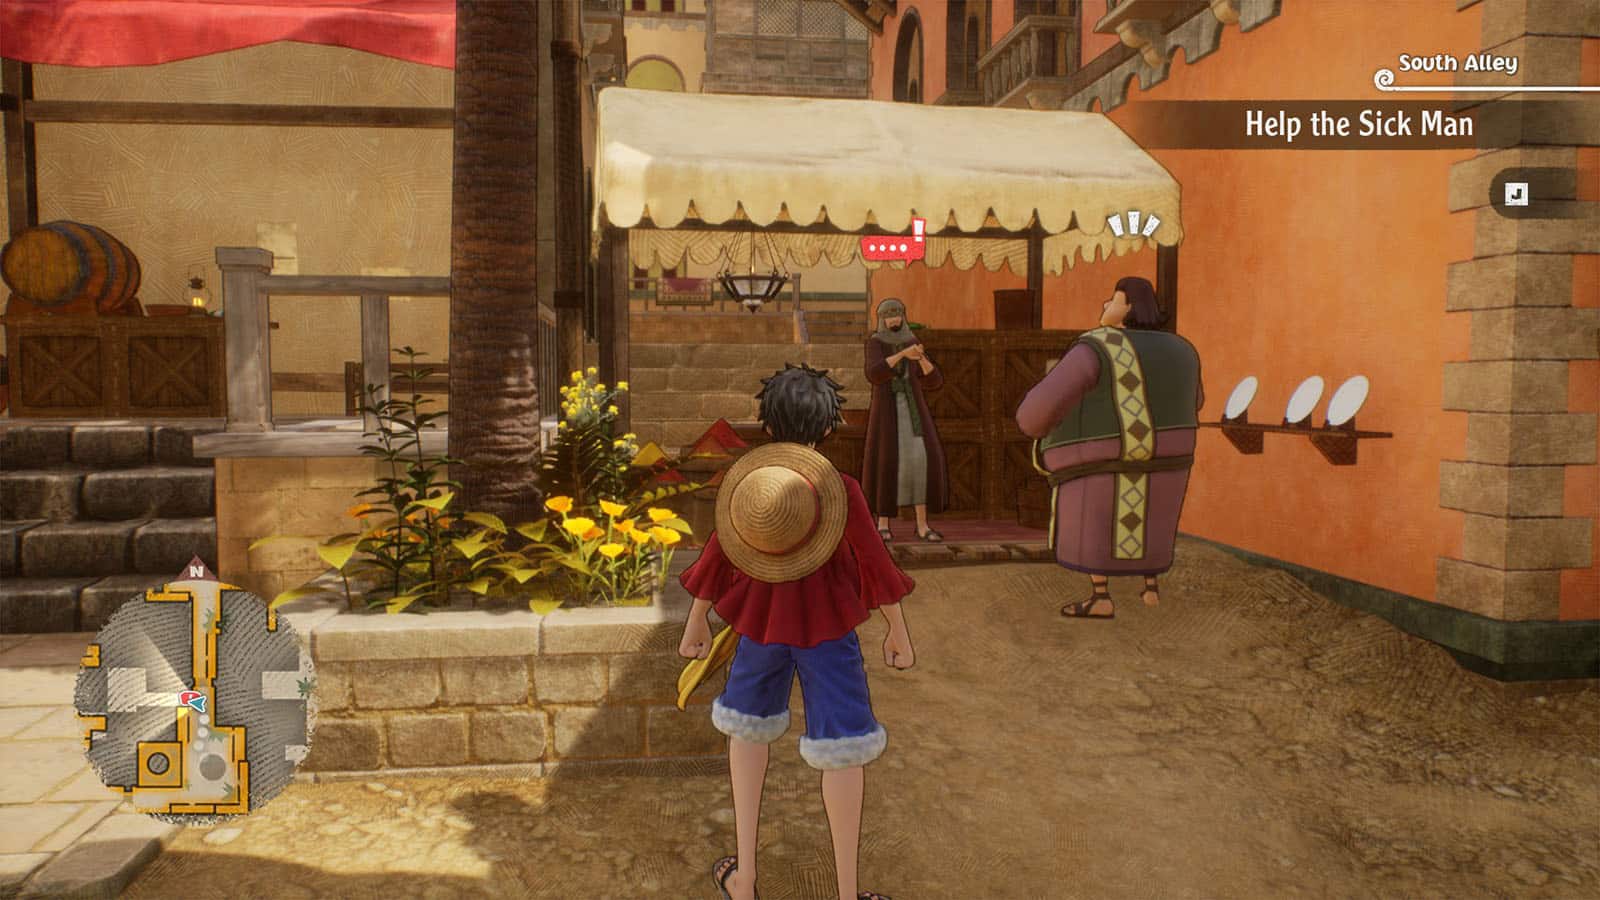
Help the Sick Man
Go to the city plaza and talk to the General Store Owner near the closed gate. He’ll reveal that the Royal Army has already locked up the gate and no one can pass it. They have also seized the medicines that you need to get. You’ll need to find them and get the medicine back.
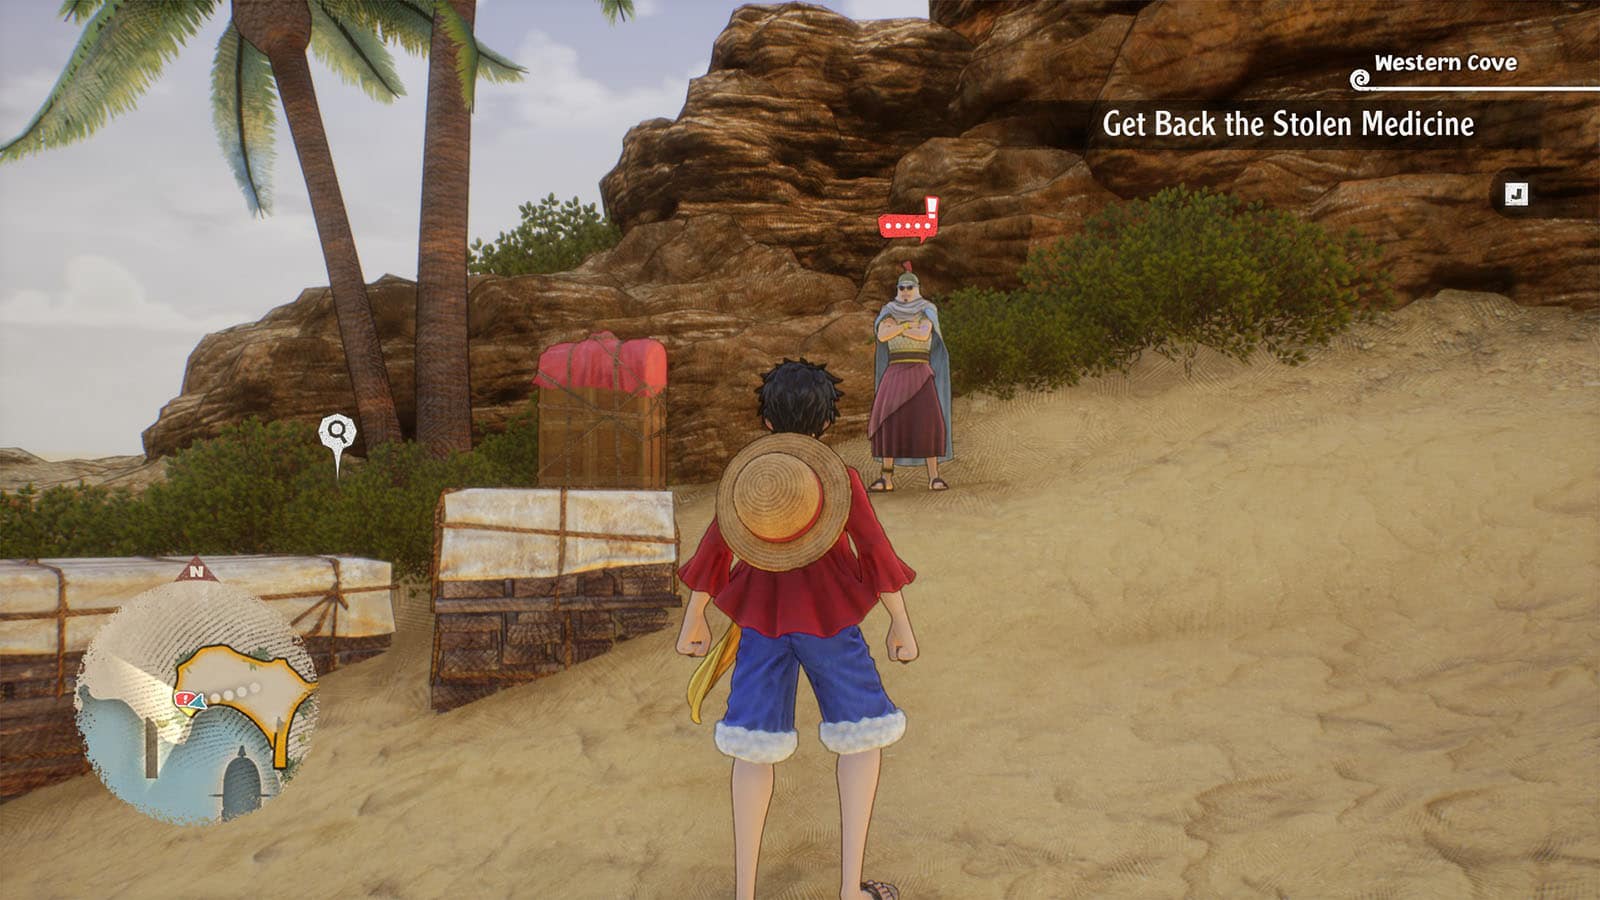
Get Back the Stolen Medicine
South Alley
Go back to the Western Cove and talk to the soldier at the far end of the beach who actually is someone who is working under Baroque Works.
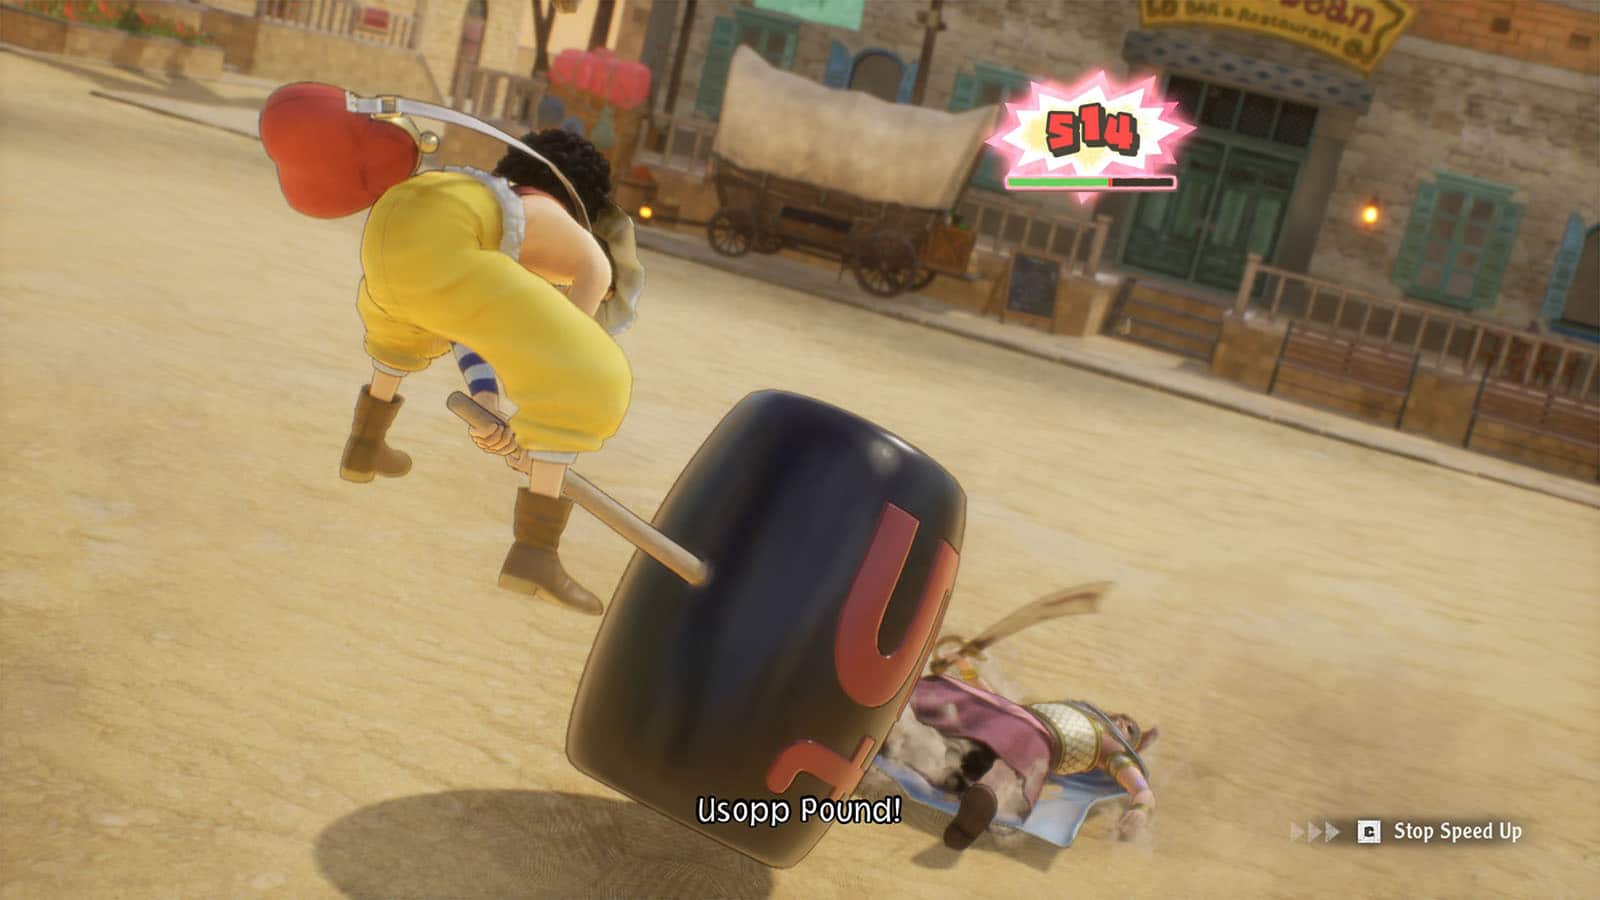
Usopp manages to fool the soldier, but Chopper wans to kick his butt for what he did to the cityfolk. Prepare to engage in a fight and use Usopp and Nami to deal effective hits.
Return the Medicine to the Shop
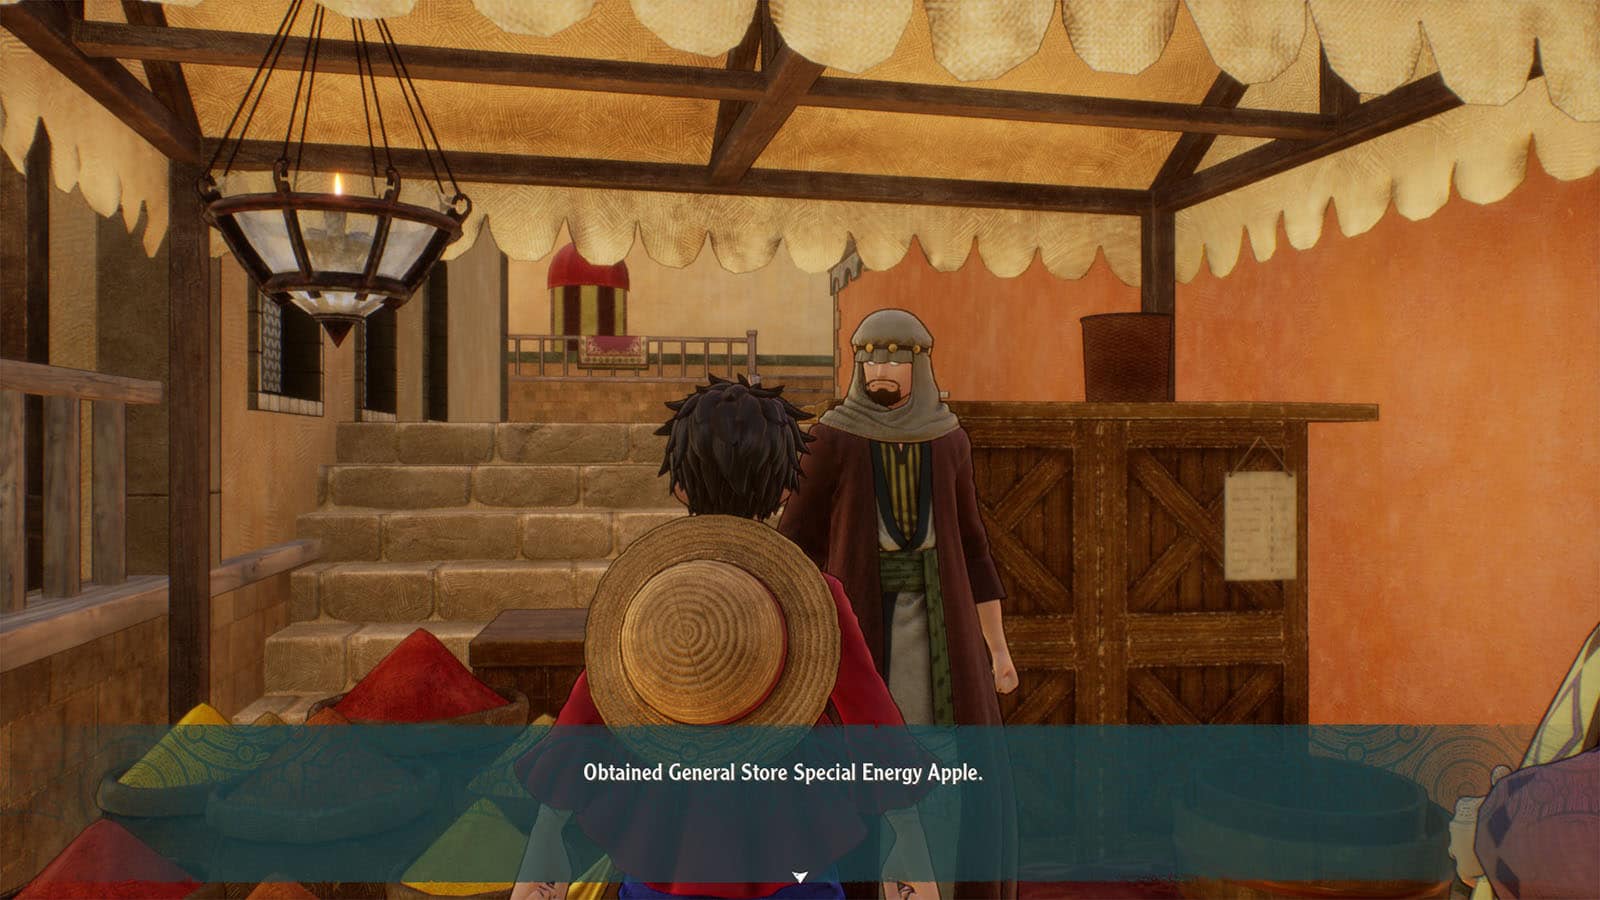
Go back to the store owner and return the medicine to him. As it turns out, the store owner knows who the sick man is and instead offers an Energy Apple to cure him.
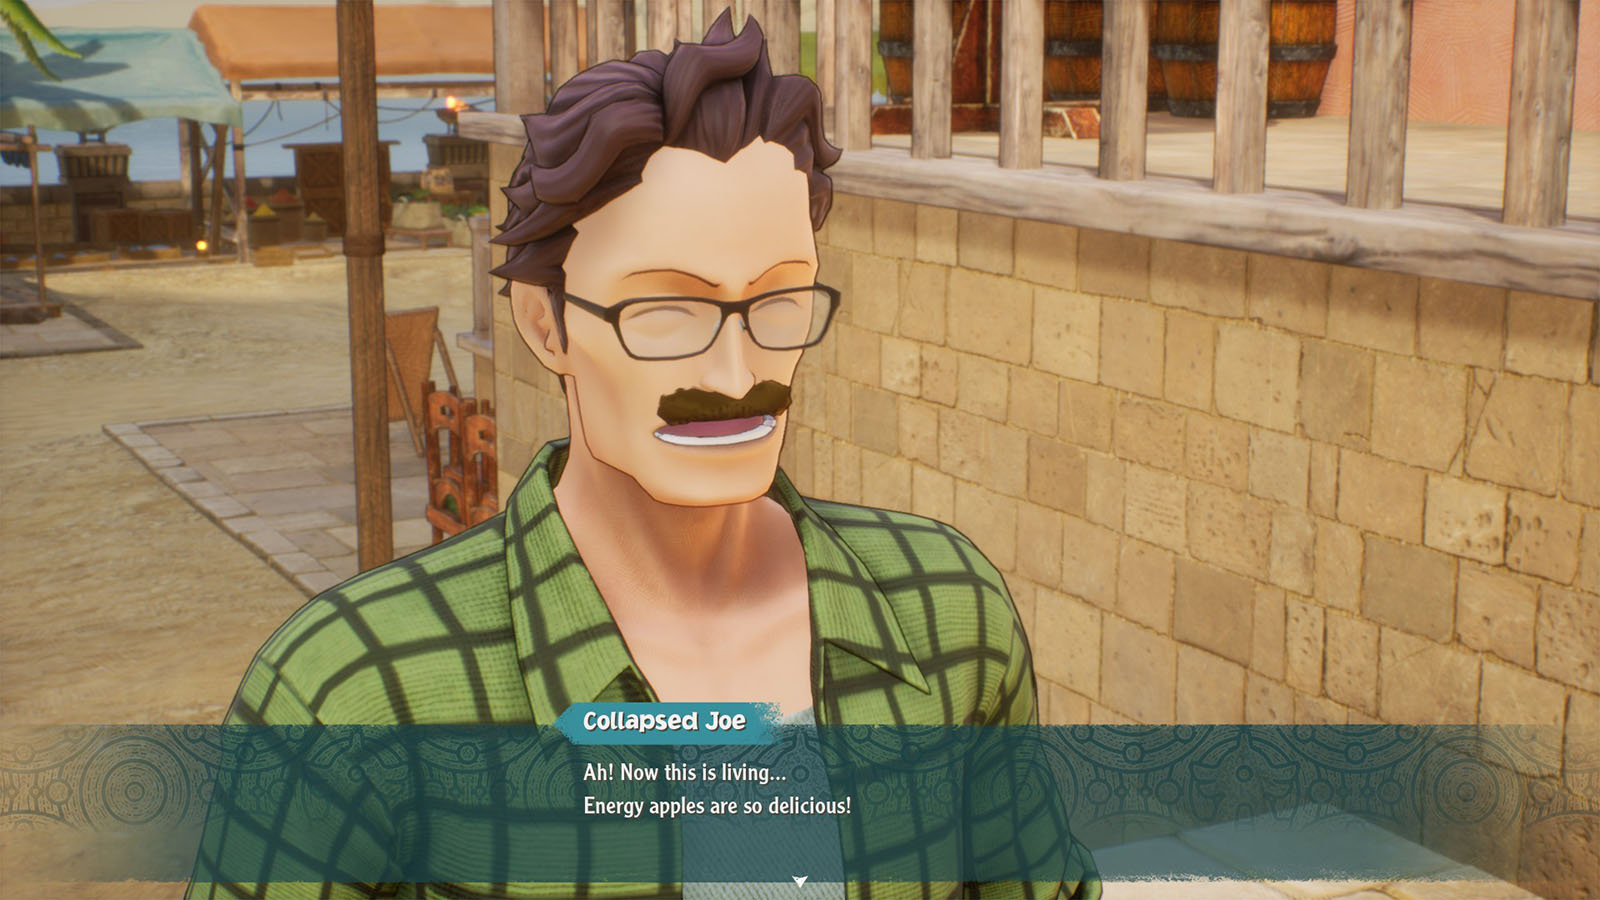
Give the Apple to the Sick Man
Hand the apple to the sick man and he will be back in shape. He also gives you the gate key as a way to say thanks.
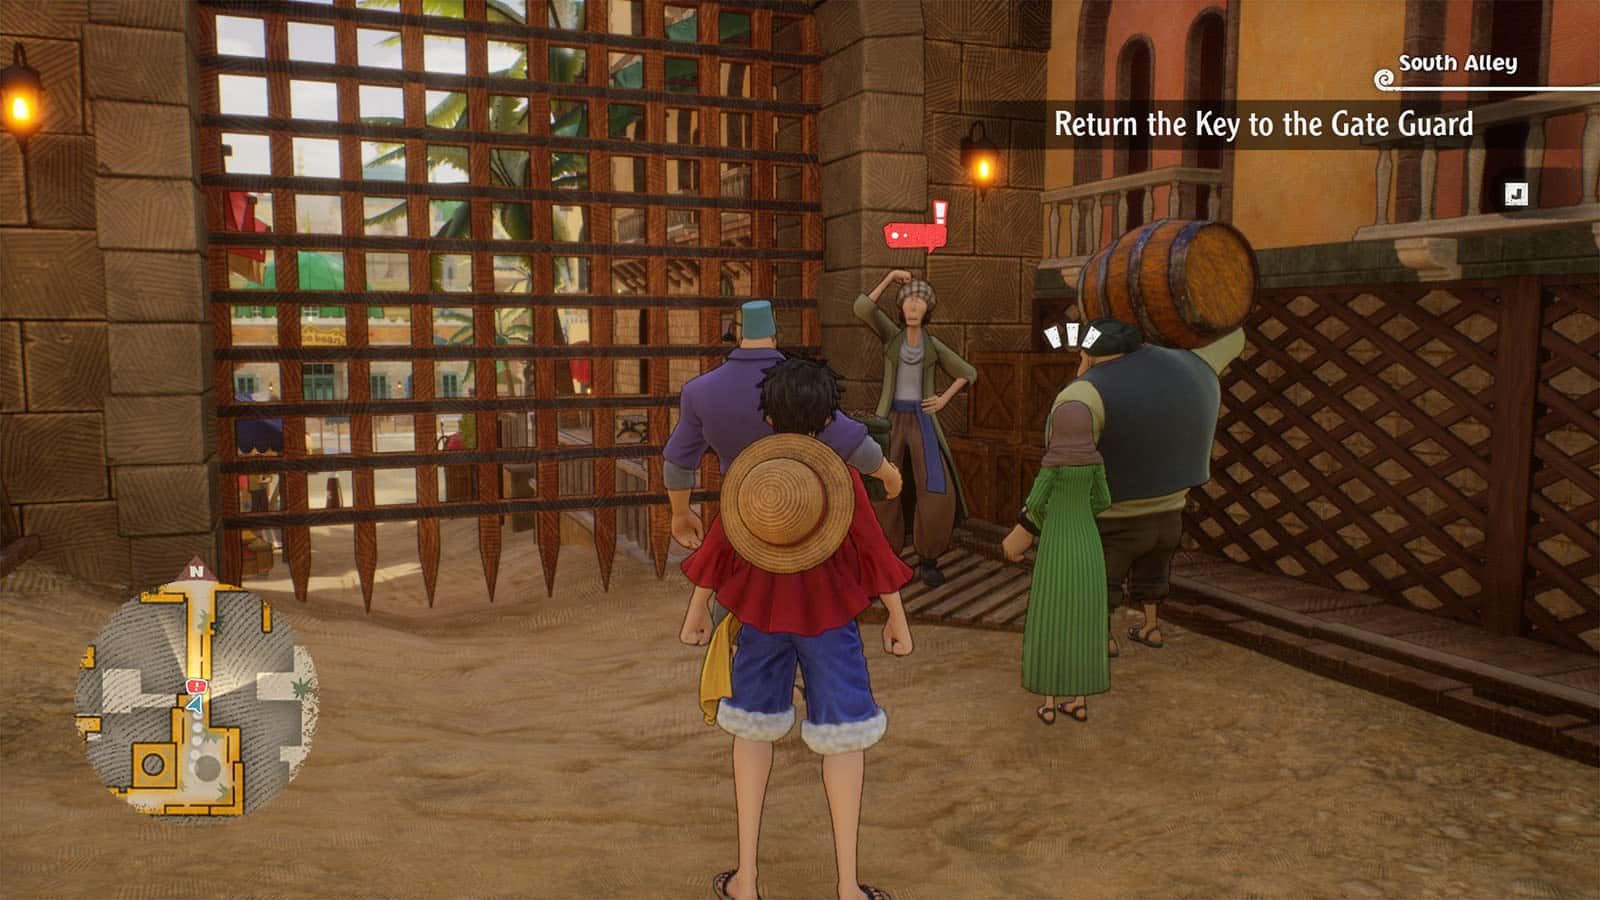
Return the Key to the Gate Guard
Go back to the closed gate and talk to the Gatekeeper and hand the keys to him. He’ll then open the gate for you and you’ll be able to explore the rest of the city.
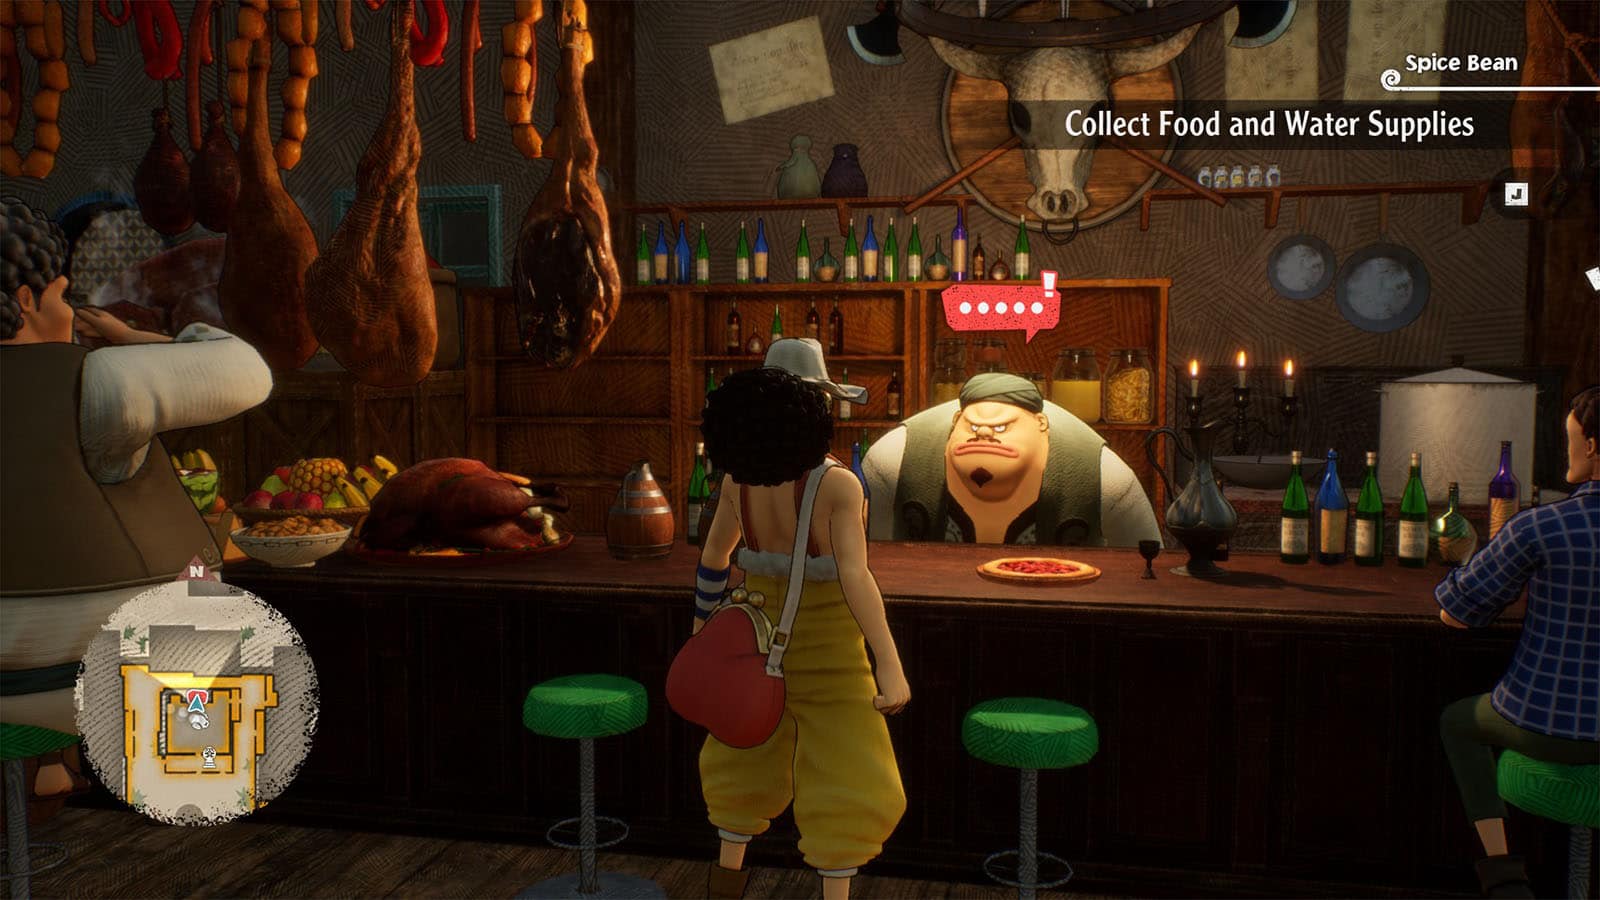
Collect Food and Water Supplies
Spice Bean Plaza
Once you arrive in Spice Bean Plaza, you can take the time to roam around and check the area. Stock up on your items are General Store Madras or learn about taking up bounties with Mediator Marzin.
Once you’re done, go inside the Spice Bean and talk to the Owner. He’ll then offer to help you out with stocking up for your trip and tells you to talk to the Cook.
The Cook then offers to help you, but only if the crew can make a soup that tastes better than his. Sanji then decides to make a better soup, but he’ll need some ingredients first.
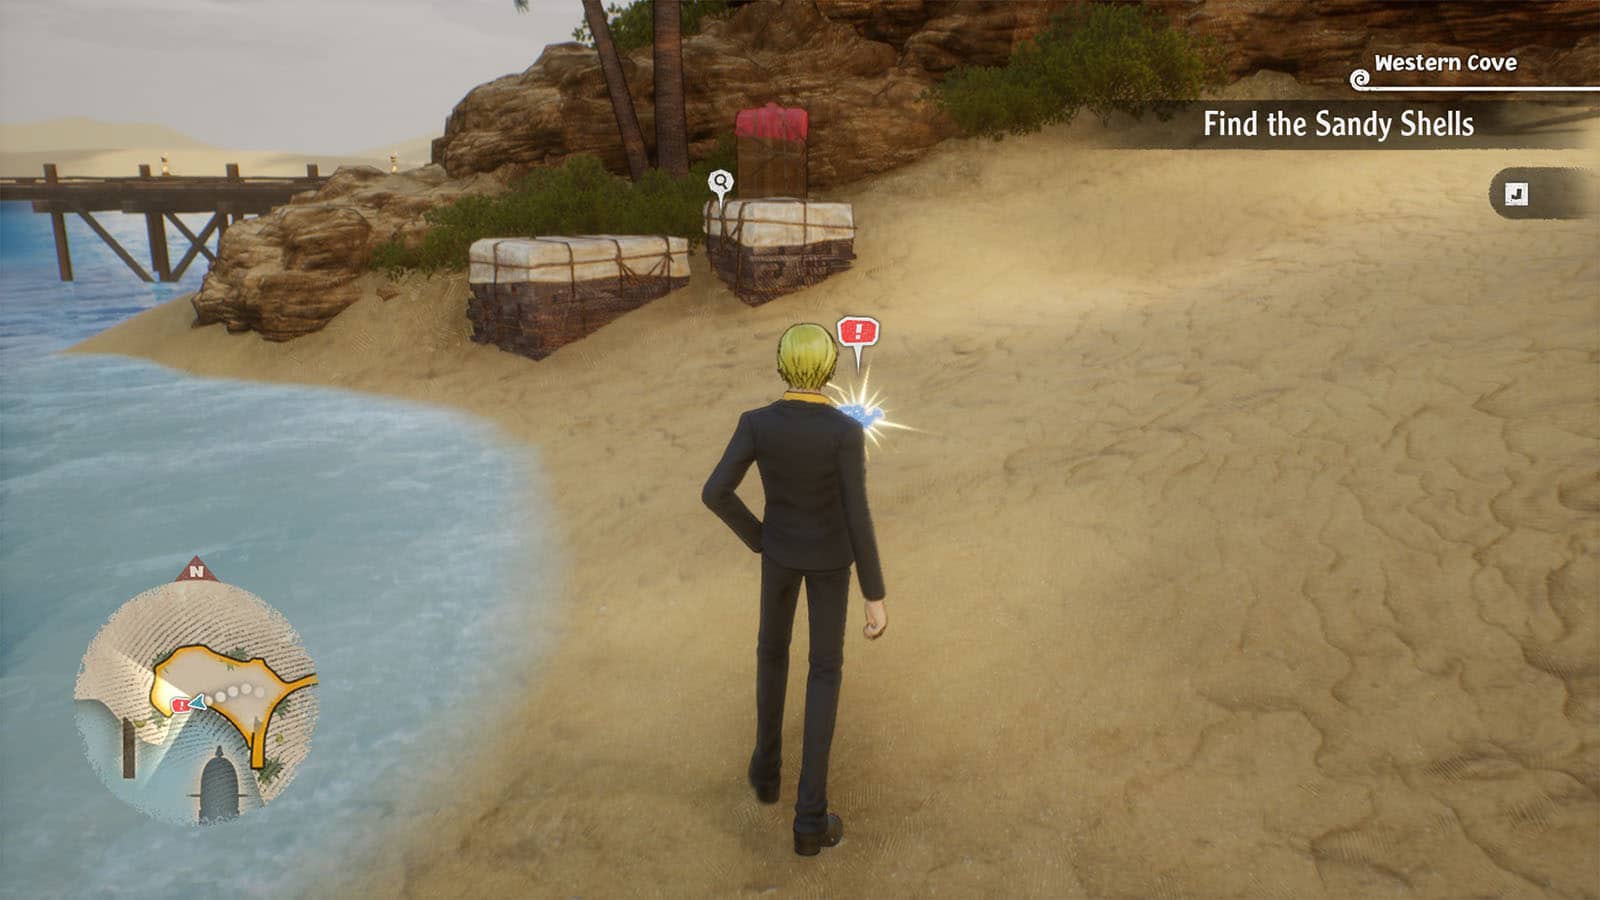
Find the Sandy Shells
You’ll find yourself back at the Western Cove with Sanji. You’ll need to use his skills to find the shells that he needs for the soup. The crew heads back to the Spice Bean to ask where to find some scorpion legs, and the Cook tells you to go to the Desolate Valley to find them.
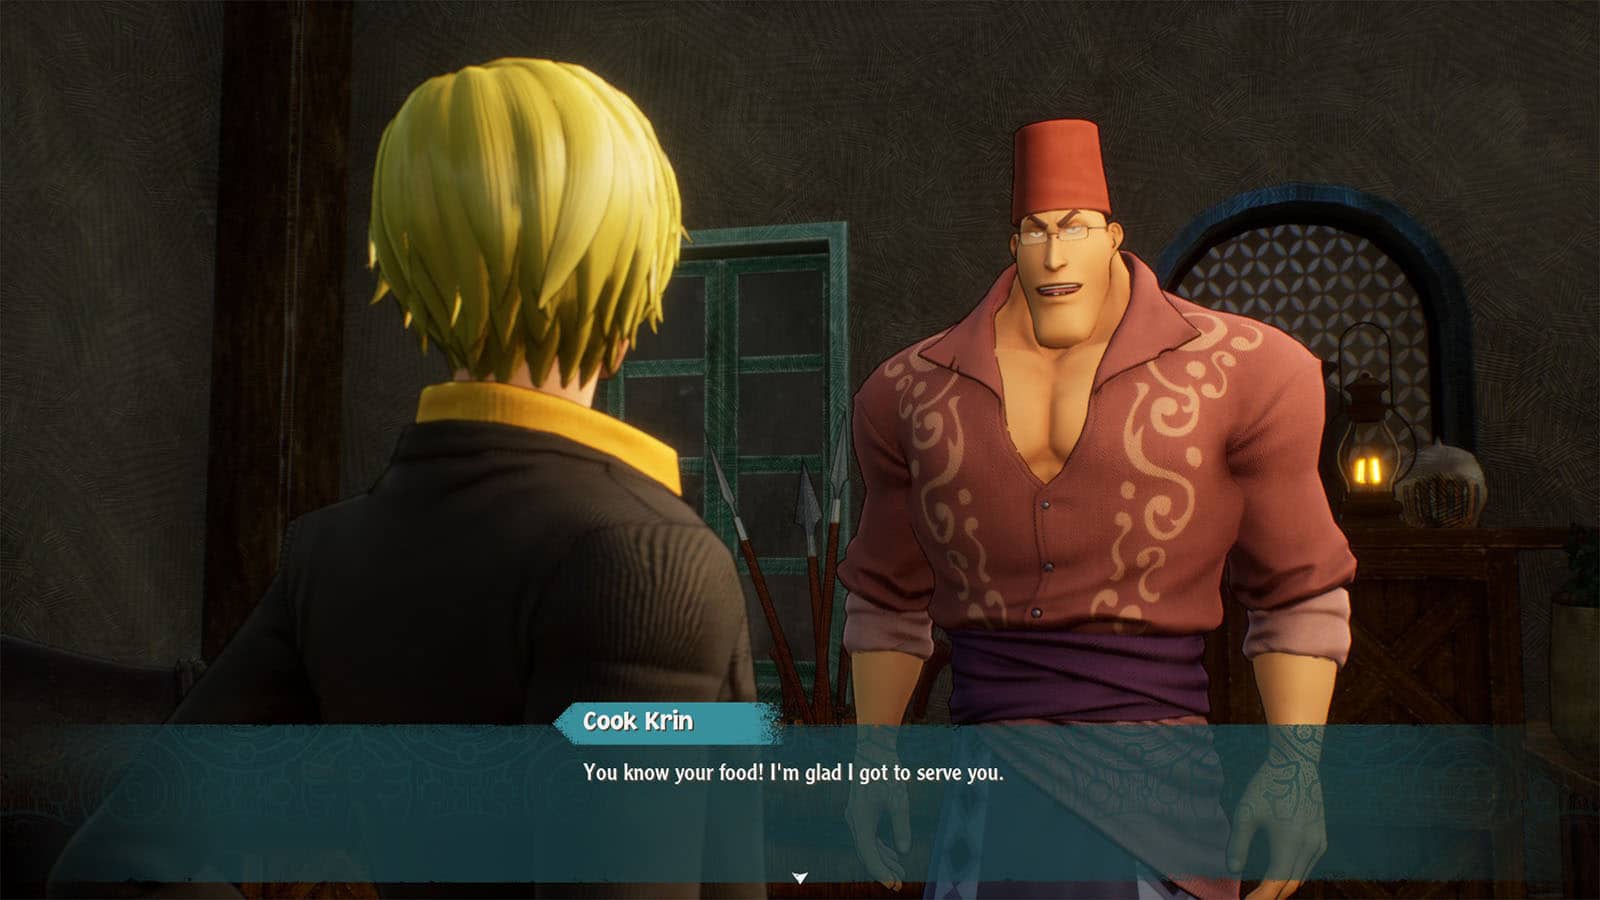
Give the Soup to the Cook
Make your way to the desert, but also take the time to find the loot and chests along the way. Then, go through the cave and you will end up in the Desolate Valley. Defeat one of the scorpions to get the legs that you need, then head back to the Spice Bean and talk to the Cook. Then, talk to the Owner to be able to use the kitchen.
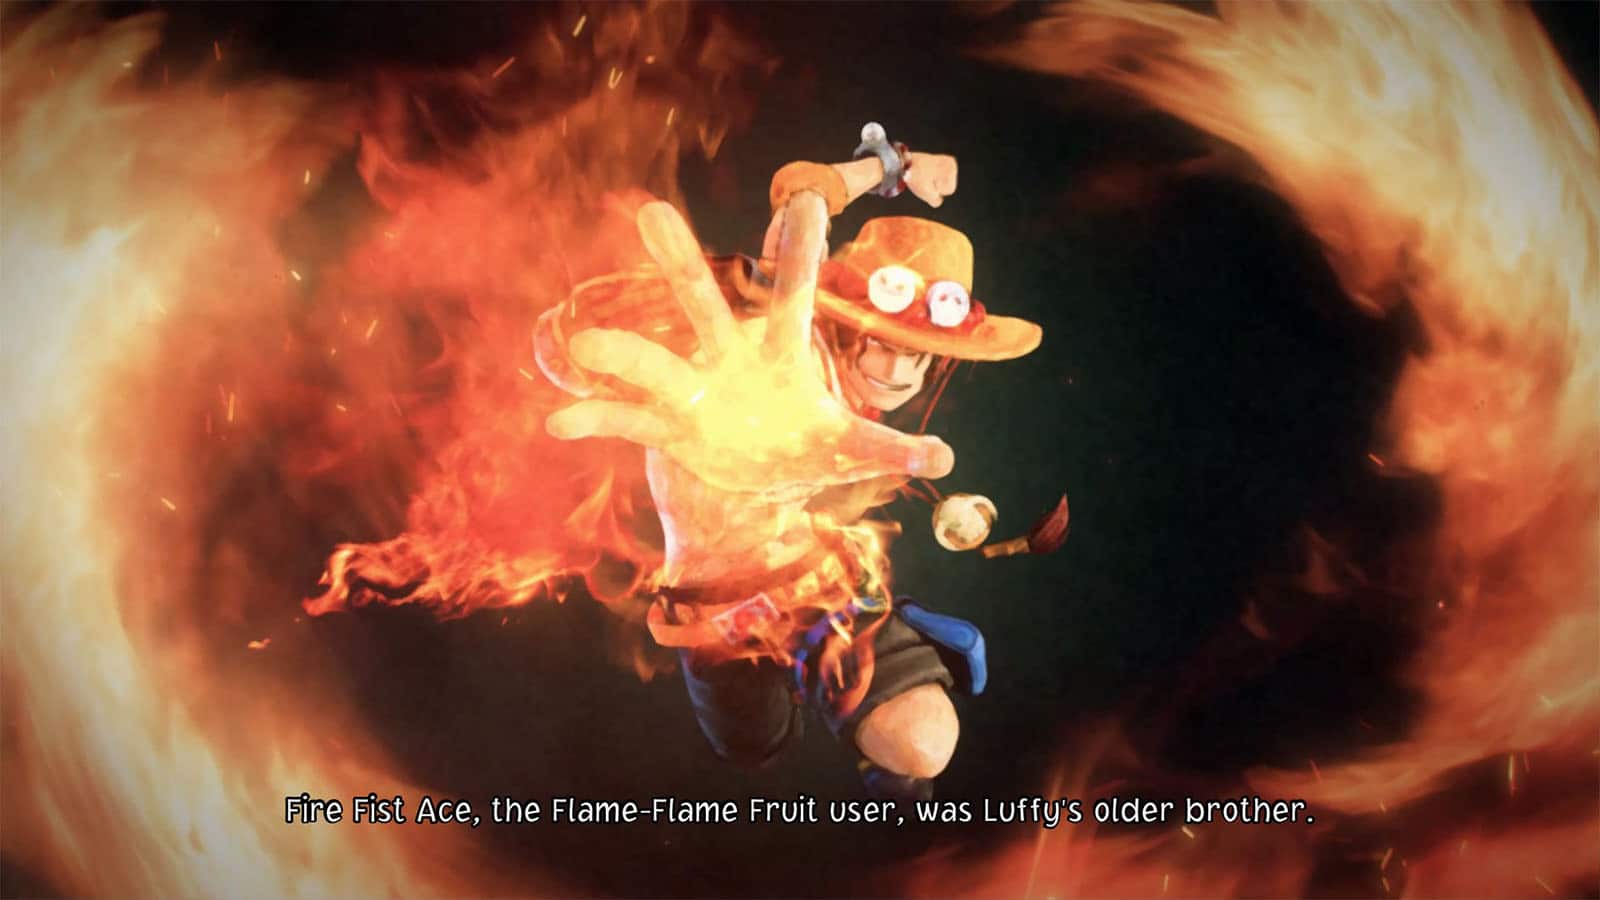
In the kitchen, select the Scorpion and Clam Soup and add 1 to the order to cook it. Then give it to the Cook. A cutscene will play where Luffy sees Ace once more. The Cook then gives the crew the food that they need for the journey.
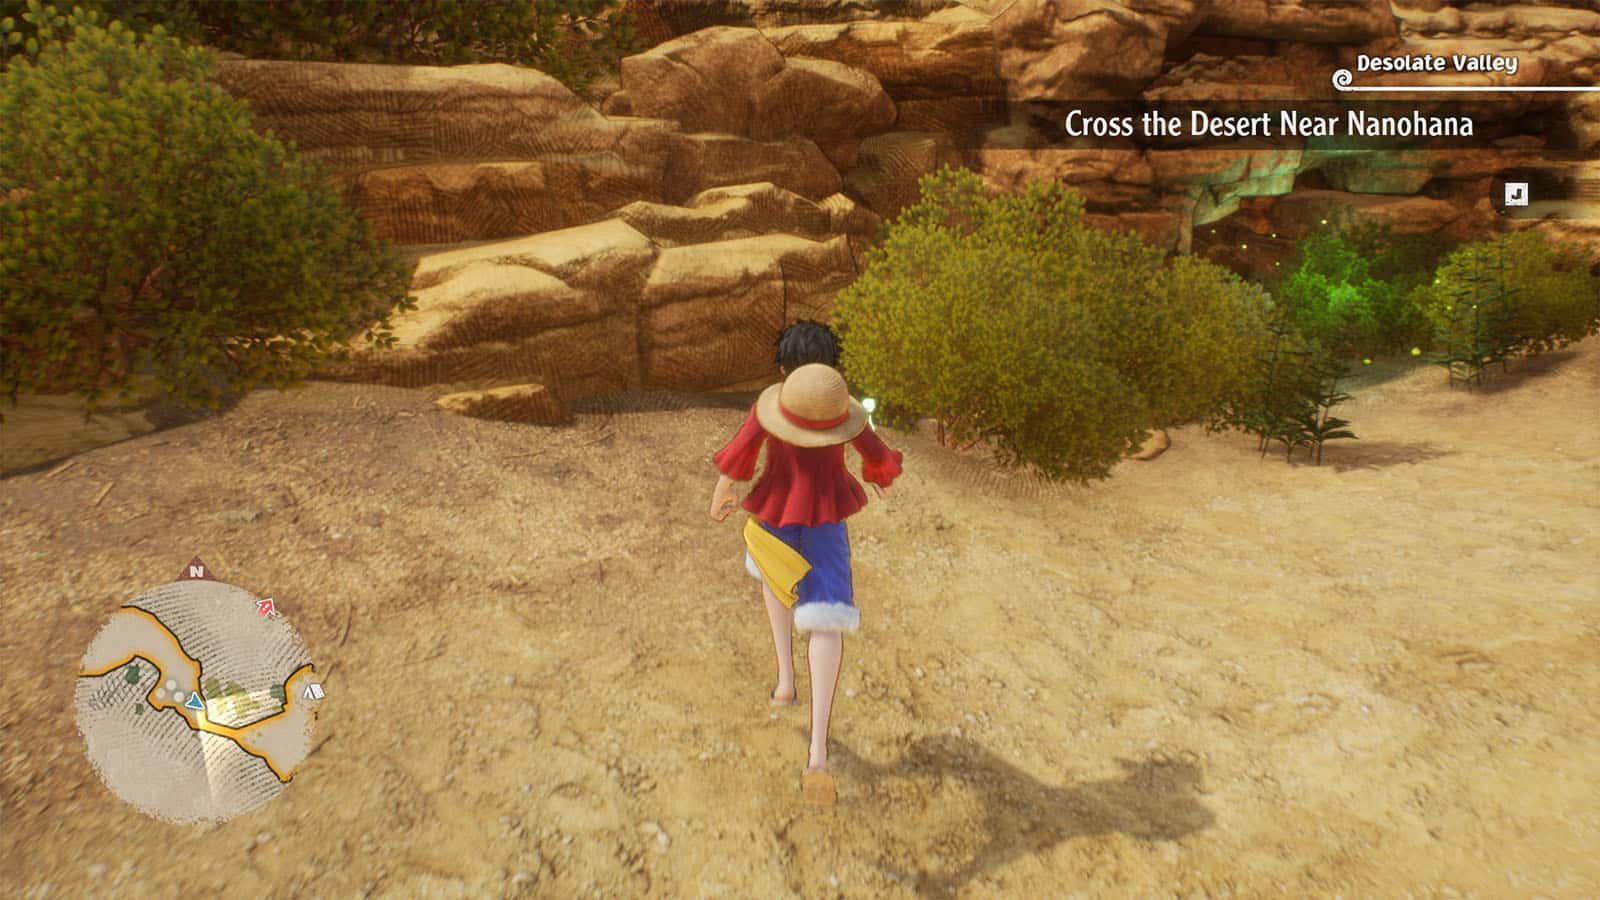
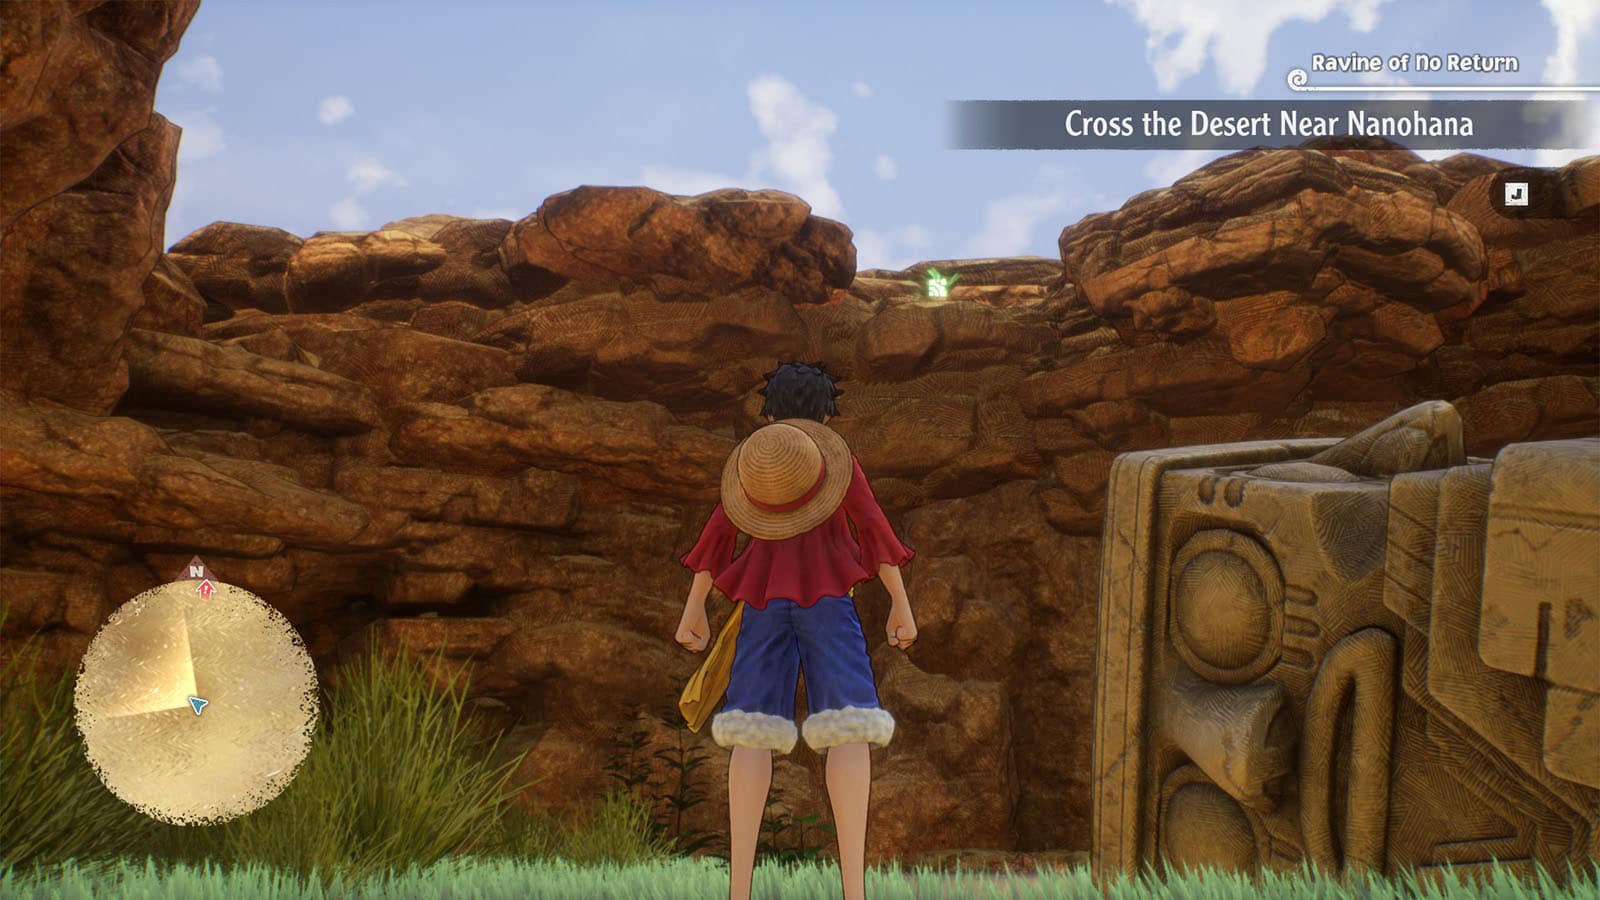
Cross the Desert Near Nanohana
Make your way through the Desolate Valley until you find a camping spot. You can take the time to further prepare and grind your crew’s level.
You can head out to the cave on the west of the campsite using Chopper, and just as you’re about to exit the cave, look to the right to find Robin’s cube fragment. There are chests off at a distance, but you’ll need Franky to build a bridge which you’ll have to do at a later time.
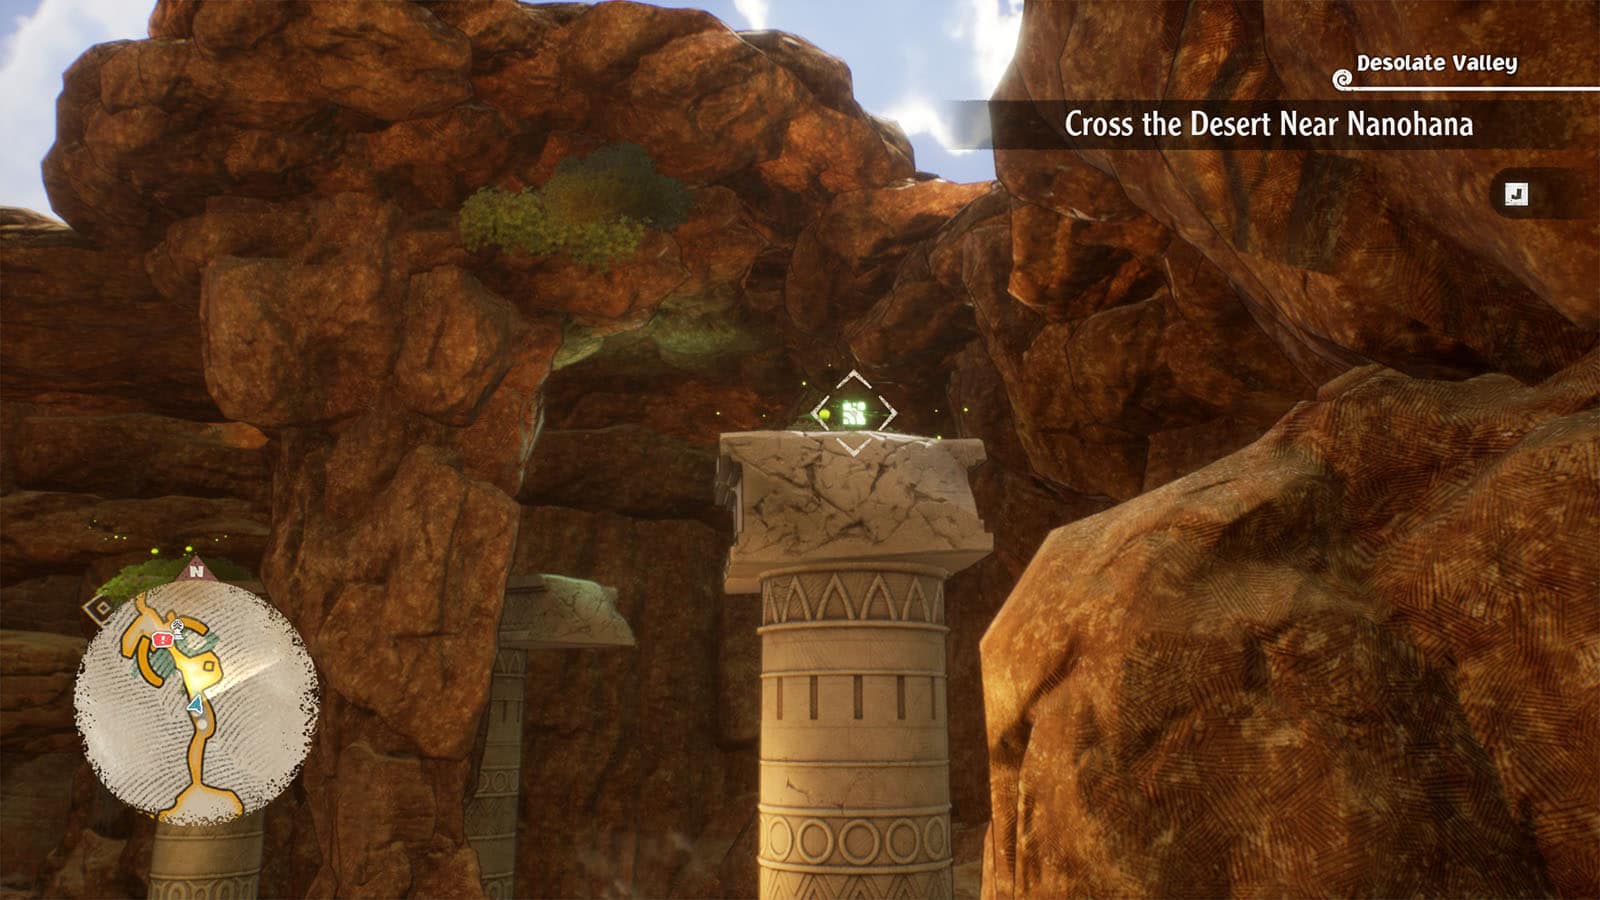
Head over to the east side and go through a tunnel. You’ll find Zoro’s cube fragment just on top of the first pillar that you see as you exit the tunnel.

Go talk to the Traveler and he’ll tell you to get yourself a Navi bird first in order to properly navigate your way through the ravine ahead. You’ll then be transported back to Nanohana to find the bird.
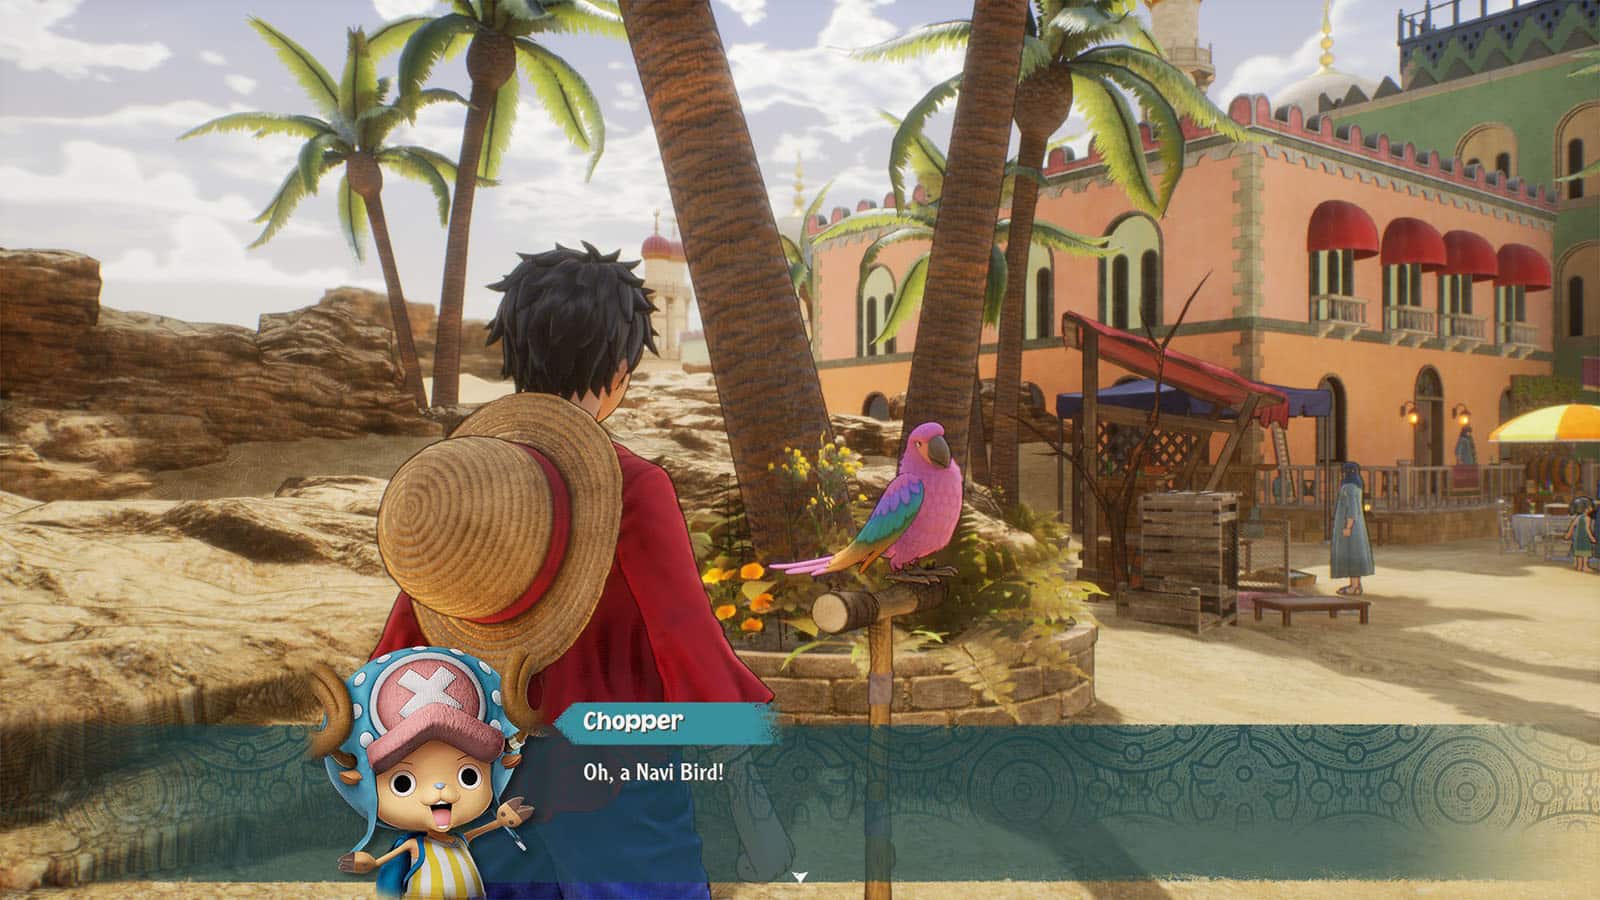
The bird can be found just at the Exit to Desert area. But it’s too hungry to join you, so it asks for 10 Desert Nuts first. These can be obtained from the nests in Nanohana. if you have been shooting down these nests since the start of this chapter, you should have enough to give the bird by now. However, Luffy decides to eat most of them, but the bird still decides to help anyway.
Ravine of No Return
Go back to the Ravine and you’ll find the bird perched on top of the statue. Head to the tunnel where it flies into; if you try going into the other tunnels, you’ll be sent back to the start. The tunnels to take are: right, left, middle, left, right. Once you reach the third statue right before taking the middle tunnel, check around and you’ll find Chopper’s cube fragment up top.
Once you’re cleared the maze of tunnels, you’ll end up in an area with an enemy and a chest. Clear the enemy and loot the chest before proceeding. You’ll arrive at another junction that has a save point and another NPC. There’s also a steel door that Zoro can cut once his Door Slice skill has leveled up. For now, follow the bird to the right tunnel and you’ll finally exit the maze.
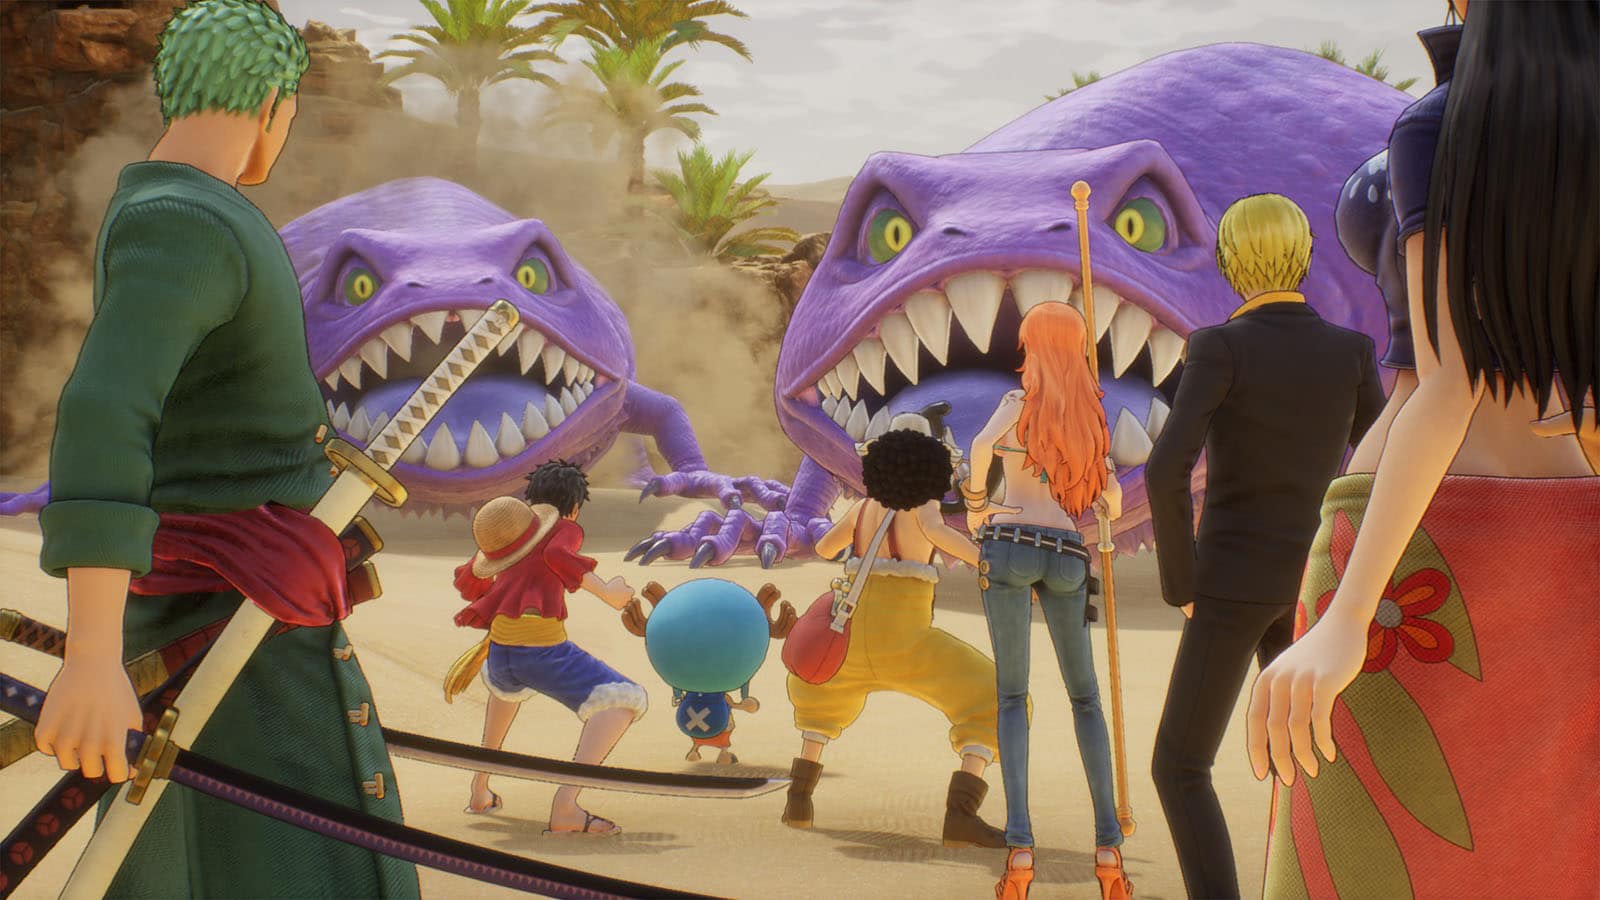
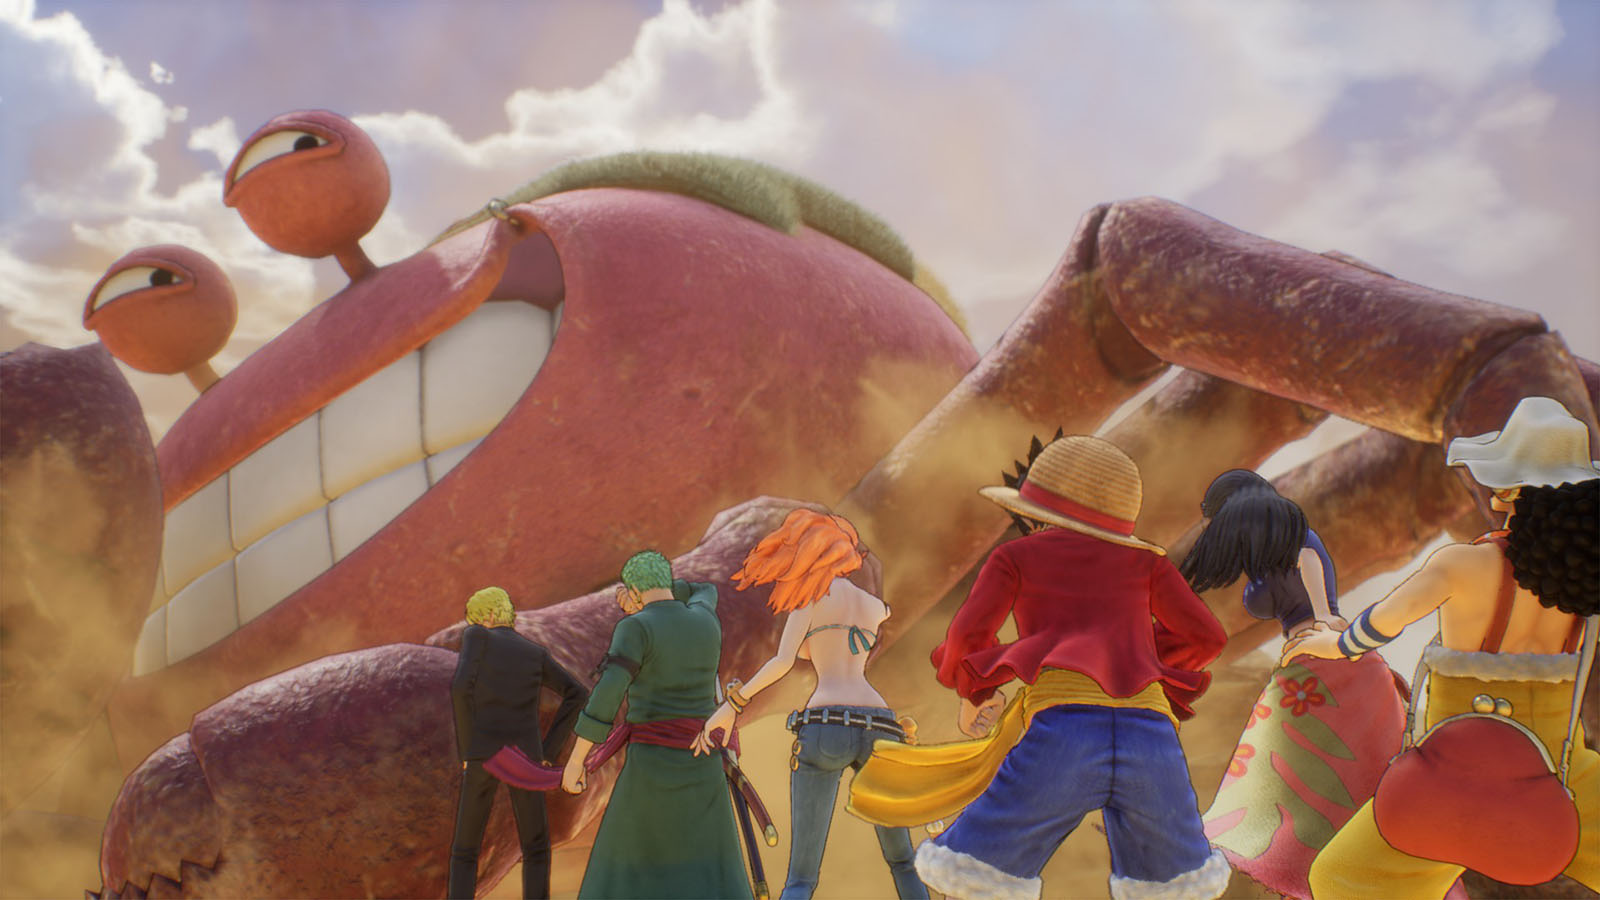
Prepare to have an encounter with two Sandora Dragons. These are tanky Technique types, so characters like Usopp and Nami will deal effective damage to them. Once they’re defeated, they’ll let go of the Navi bird and the crab that they ate. Continue to the next area to proceed.
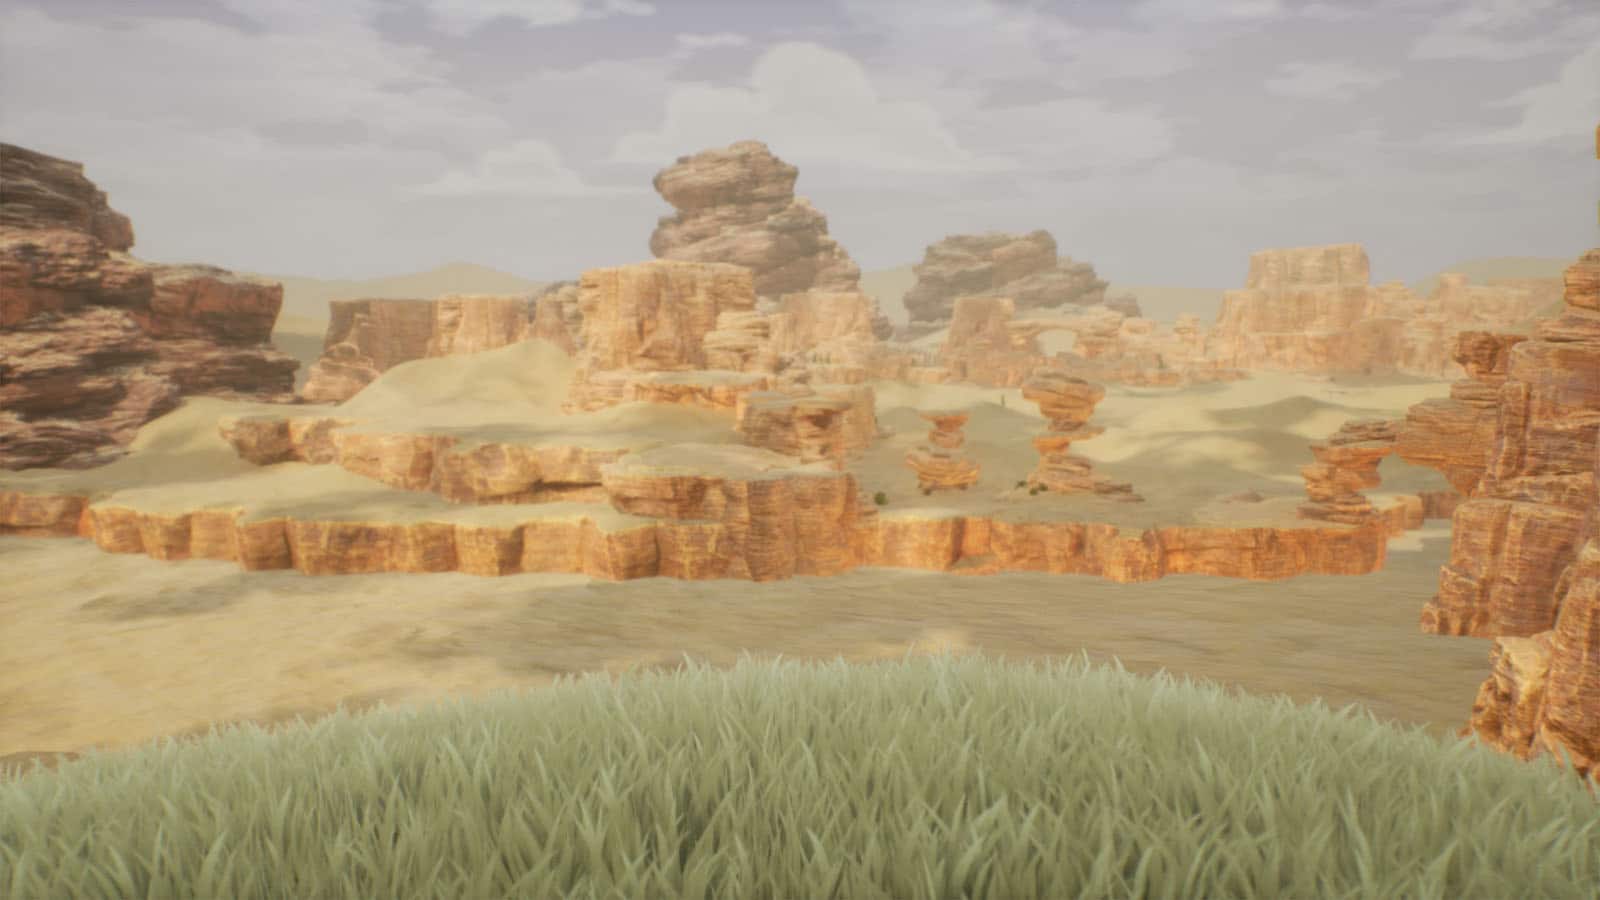
Cross the Great Sandy Desert
Great Sandy Desert
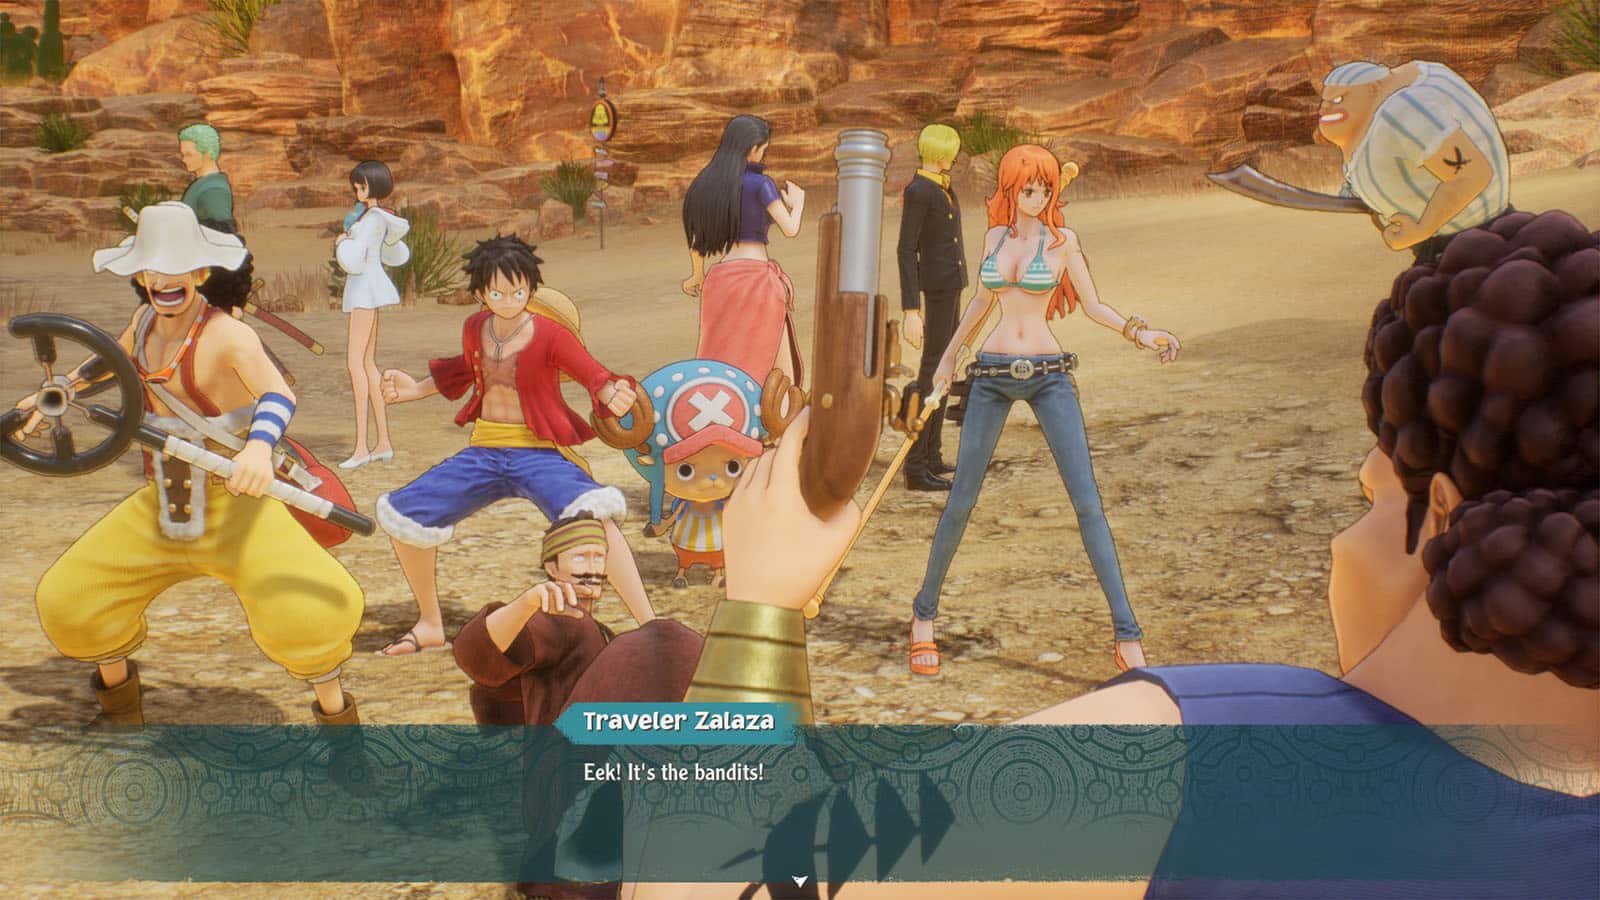
As you arrive at the Great Sandy Desert, you’ll be met by a traveler and get ambushed by bandits. After defeating the bandits, the crew will find that their supplies have been stolen.
Get Back the Stolen Supplies
You now get to explore the Great Sandy Desert. There are a couple of places that you can’t go into yet, but take some time to go to the other areas that you can visit.
Donut Canyon
To the east is the Donut Canyon where you can find Usopp’s cube fragment at the far end of the loop.
Once you’re done, you can approach the bandit at the far end and prepare to fight them. After defeating them, you need to head west next.
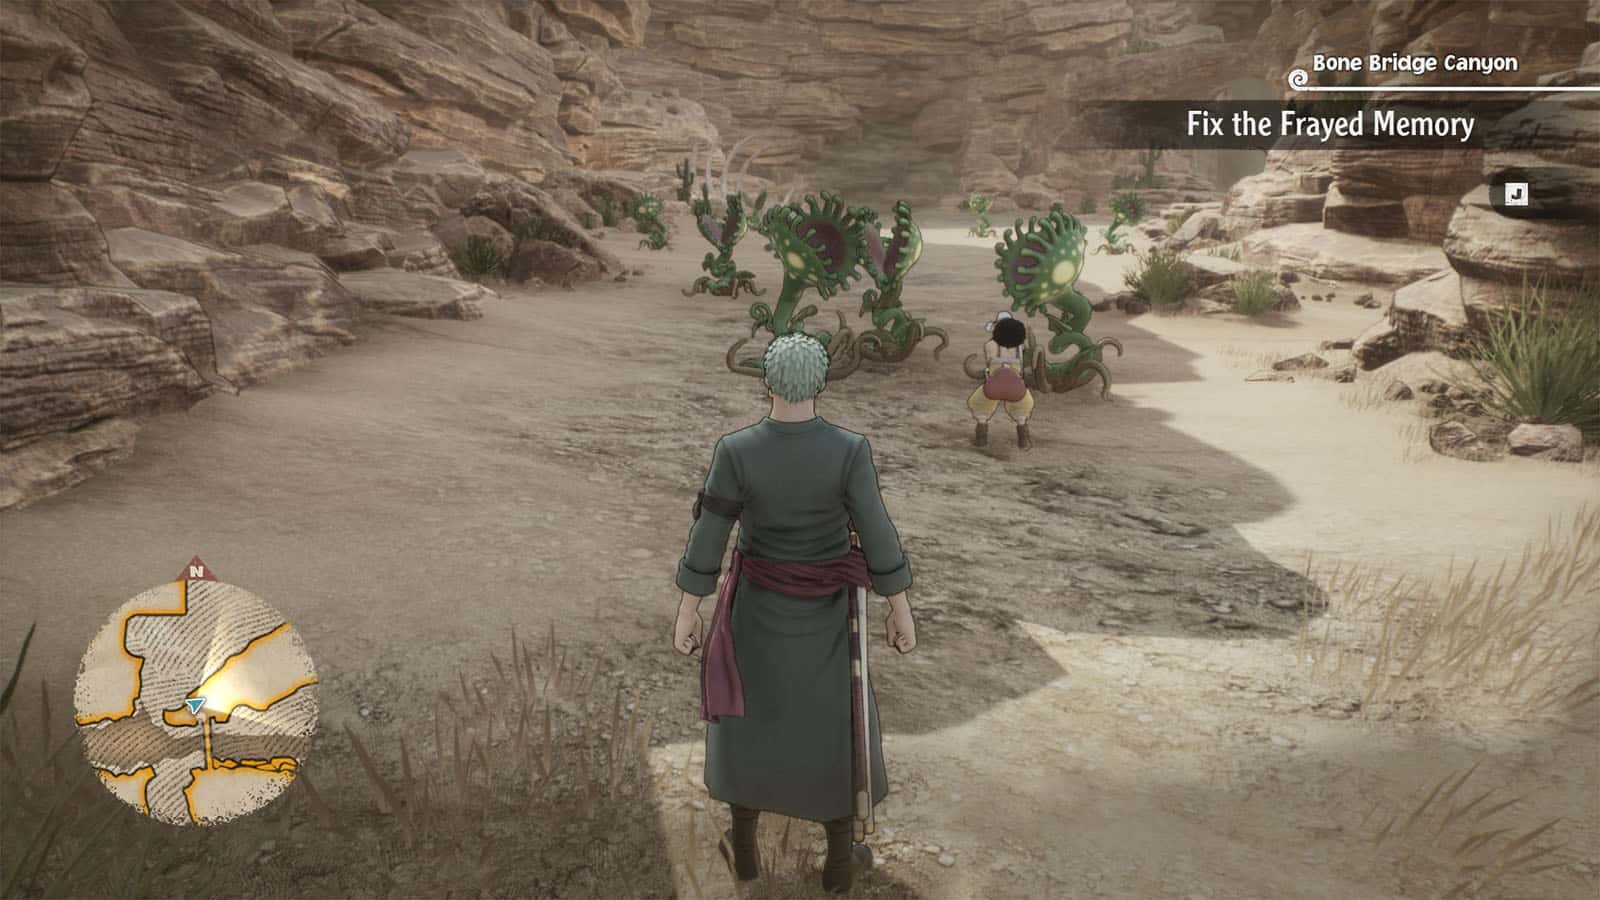
Bone Bridge Canyon
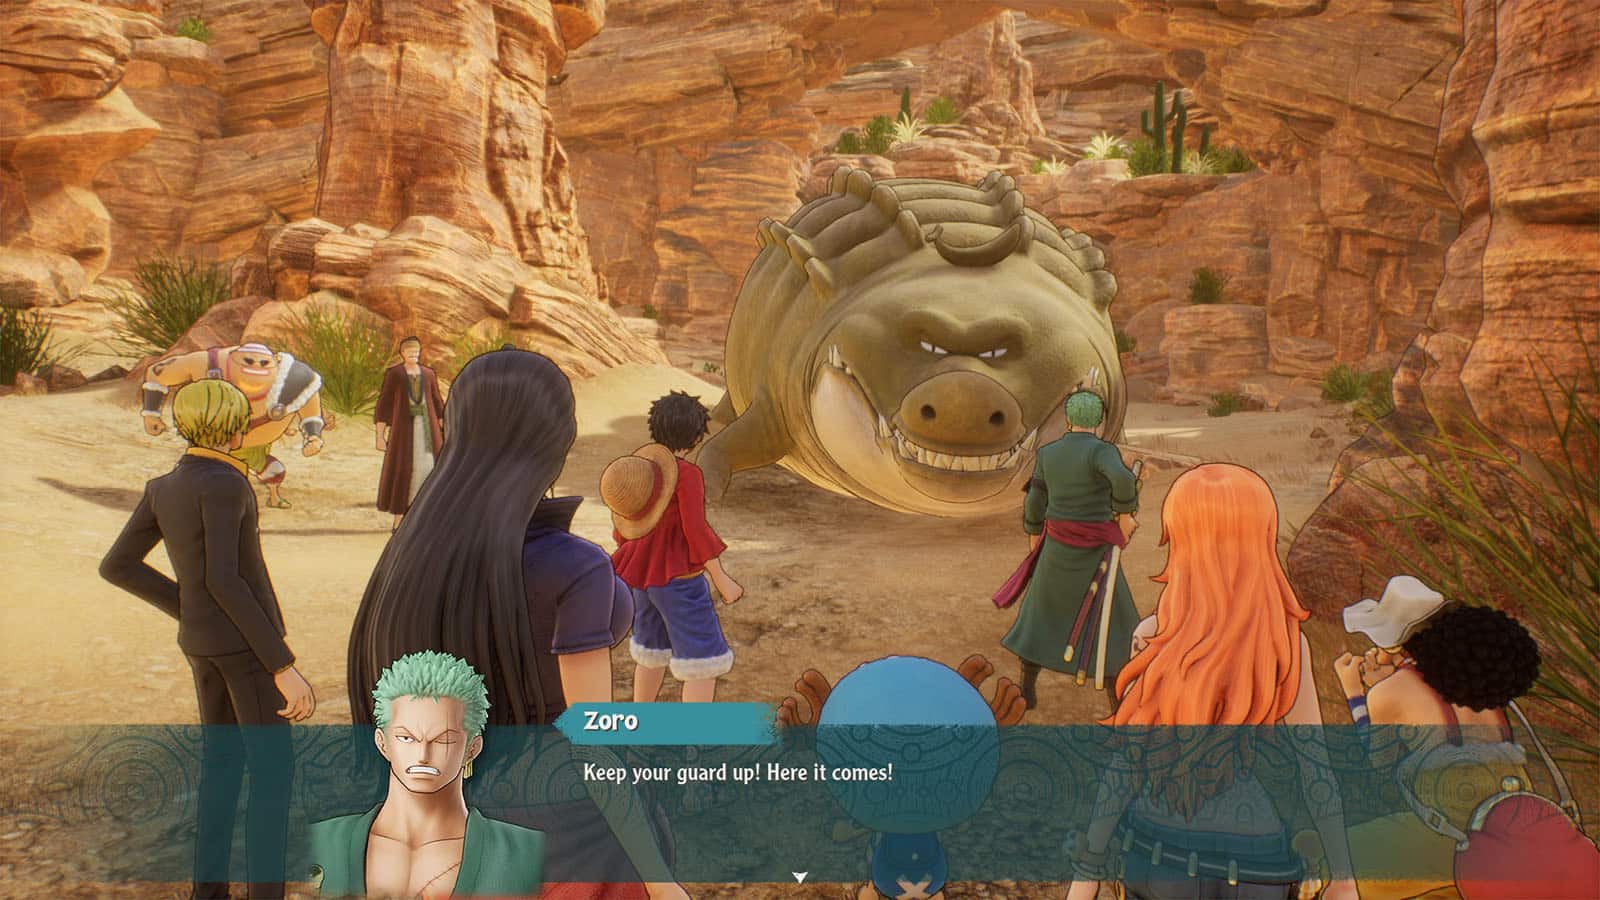
Head into the Bone Bridge Canyon and check out the chests hidden behind rock pillars and crevices. You’ll then find out that the traveler from earlier was working with the bandits. Another fight breaks, and this time, it’s against Desert Banana Gator and the bandits.
The best character to go against the gator is Zoro, however, the gator is so tanky that defeating it will take a lot of turns, so prepare for a long fight and don’t forget to heal up.
After defeating the bandits, they will return all of the crew’s supplies back. Nami can now also use her skill to sense treasure around.
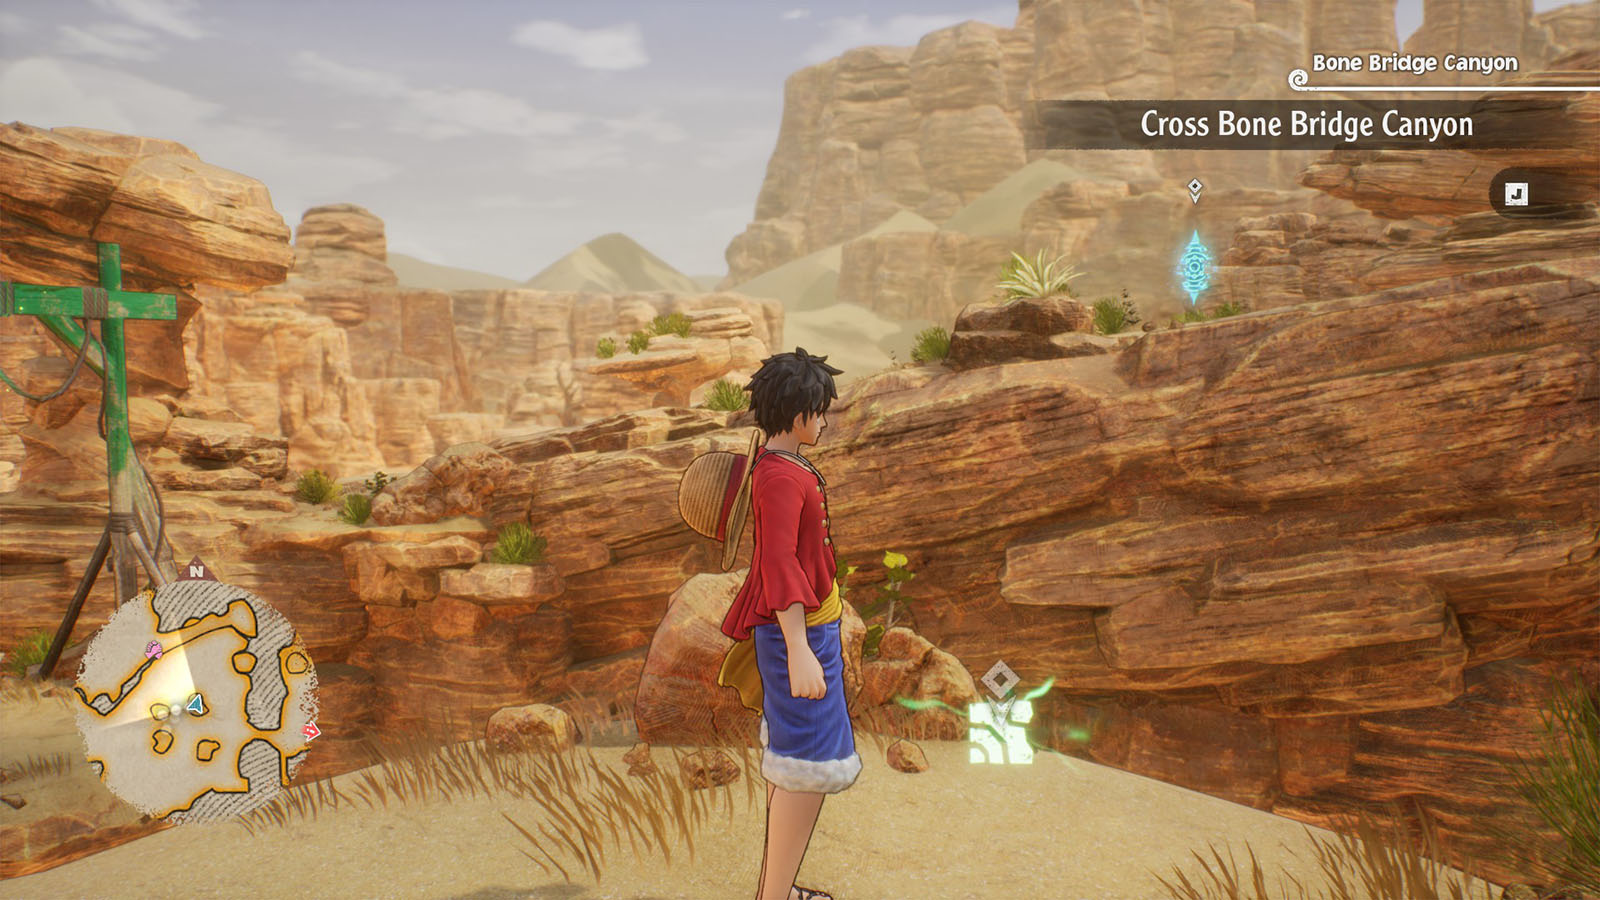
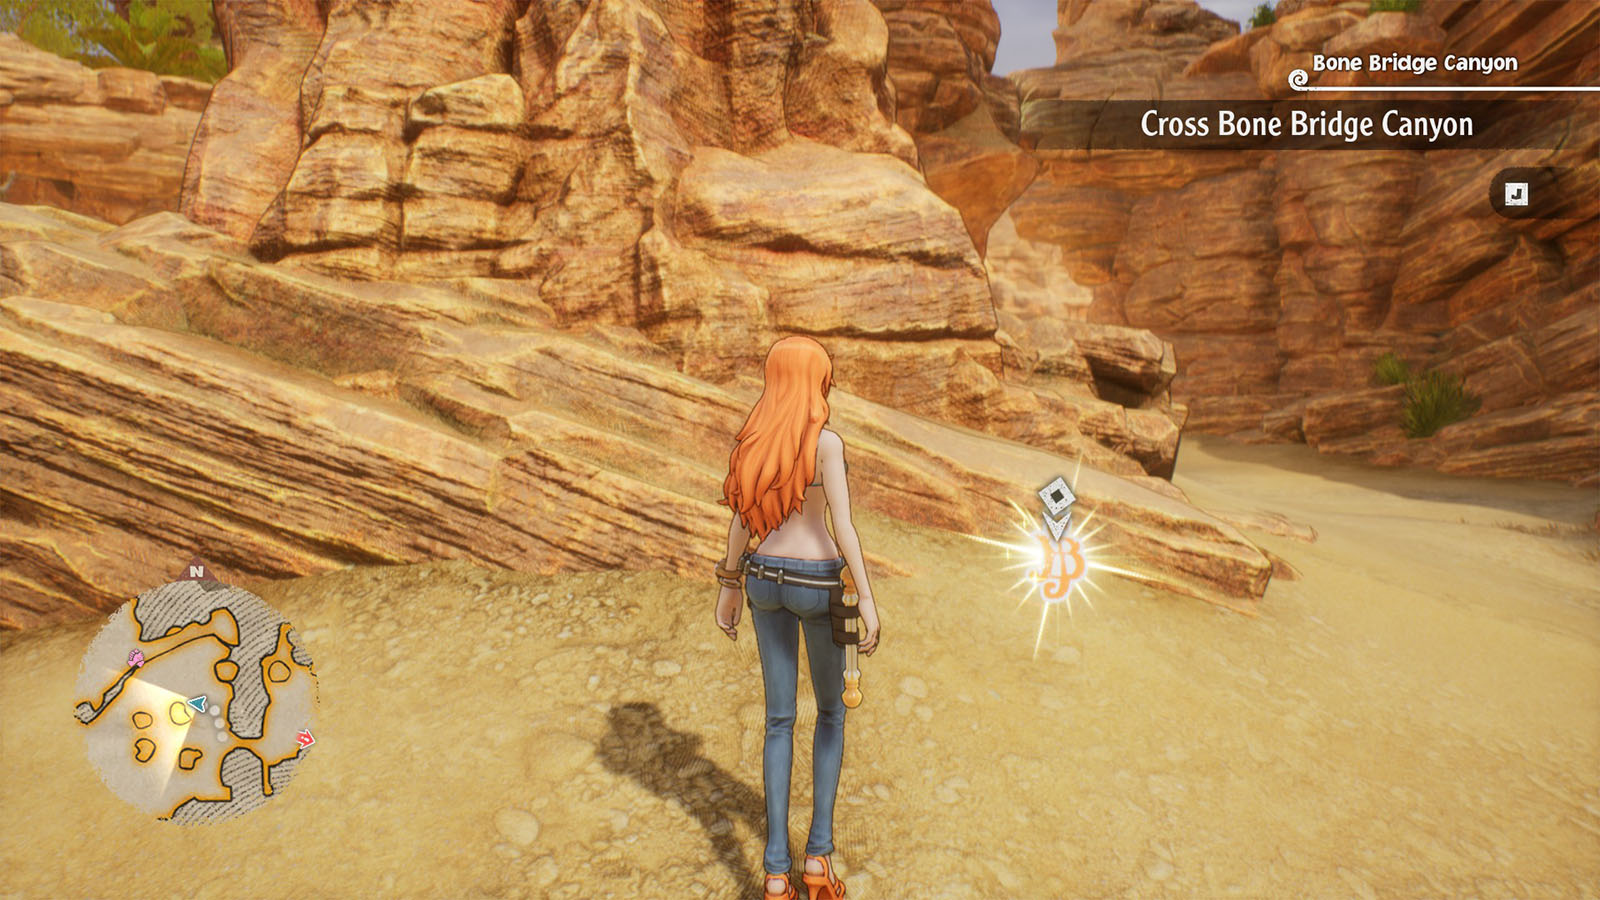
Cross Bone Bridge Canyon
Next, you’ll need to cross through the canyon to get to Rainbase.
You’ll be in an area where there are rock towers with hanging rings up top. Use Luffy to get on top of the lowest tower first, then swing from tower to tower. On the second ring you swing to is where you’ll find Usopp’s cube fragment.
Head back out to the desert and go the other way where the marker is pointing, then use the rings again to swing to the next destination.
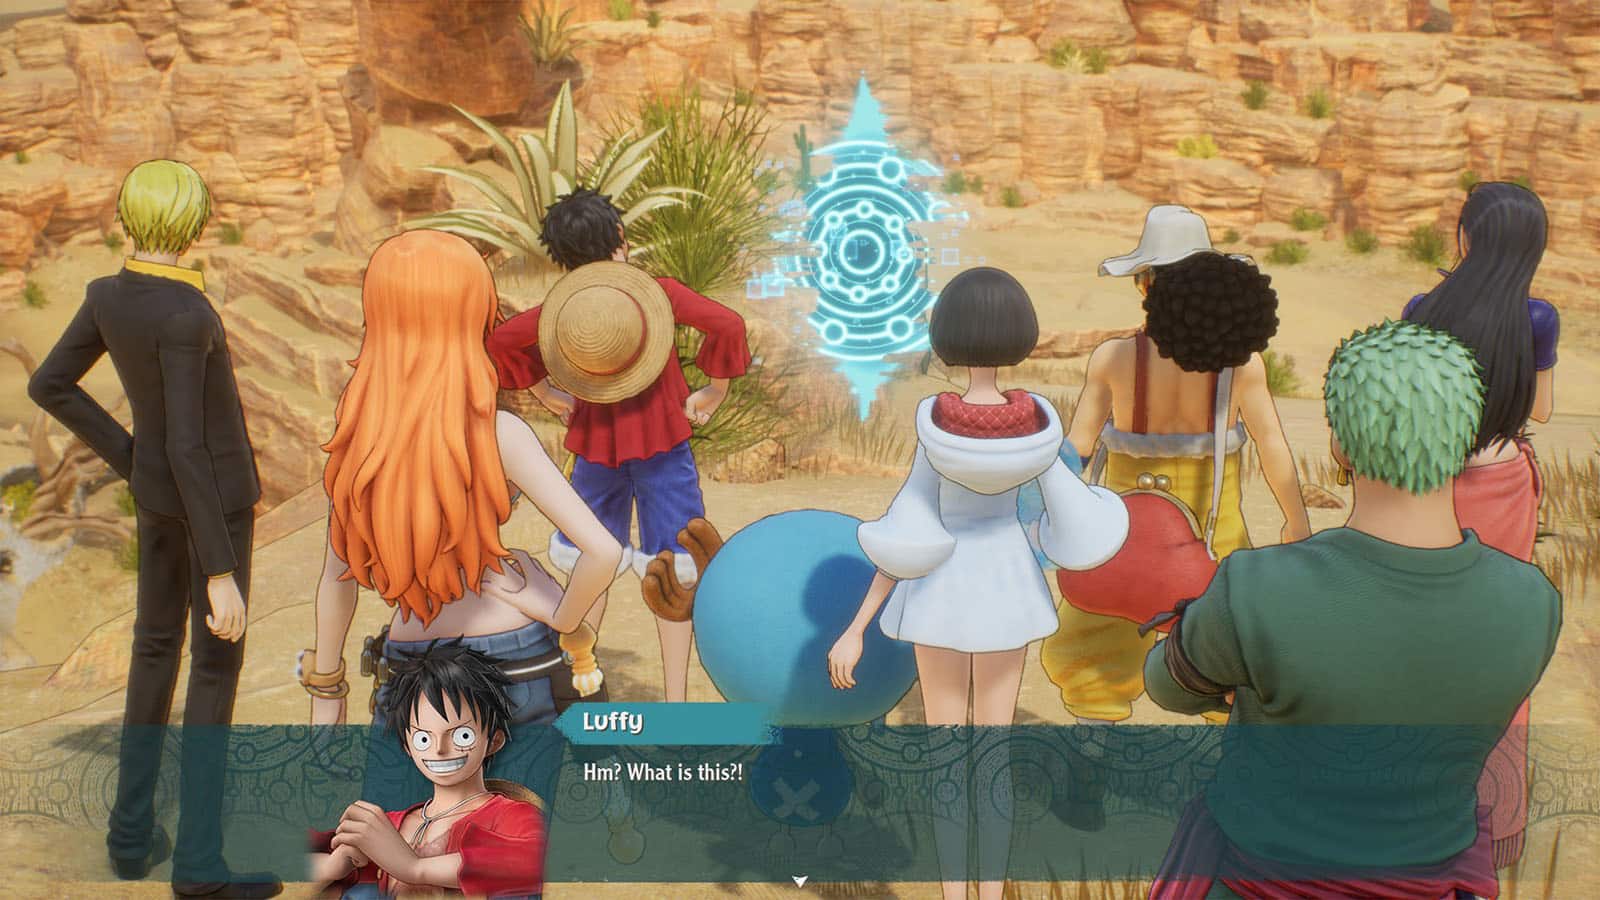
You’ll find sort of a rift known as a Hysteria which Usopp gets sucked into.
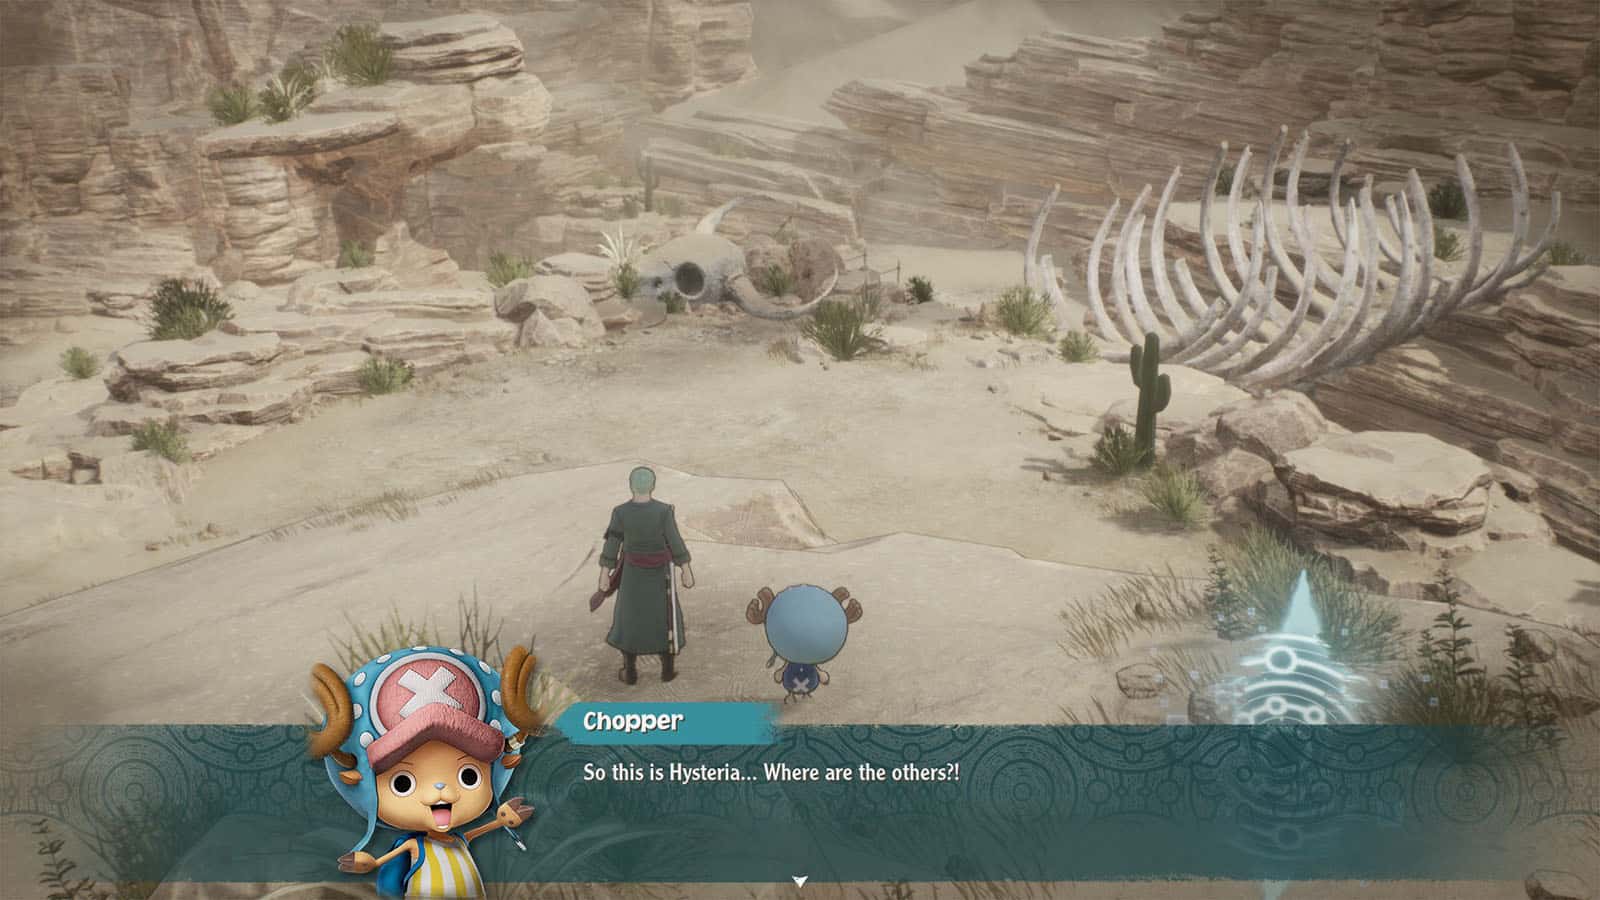
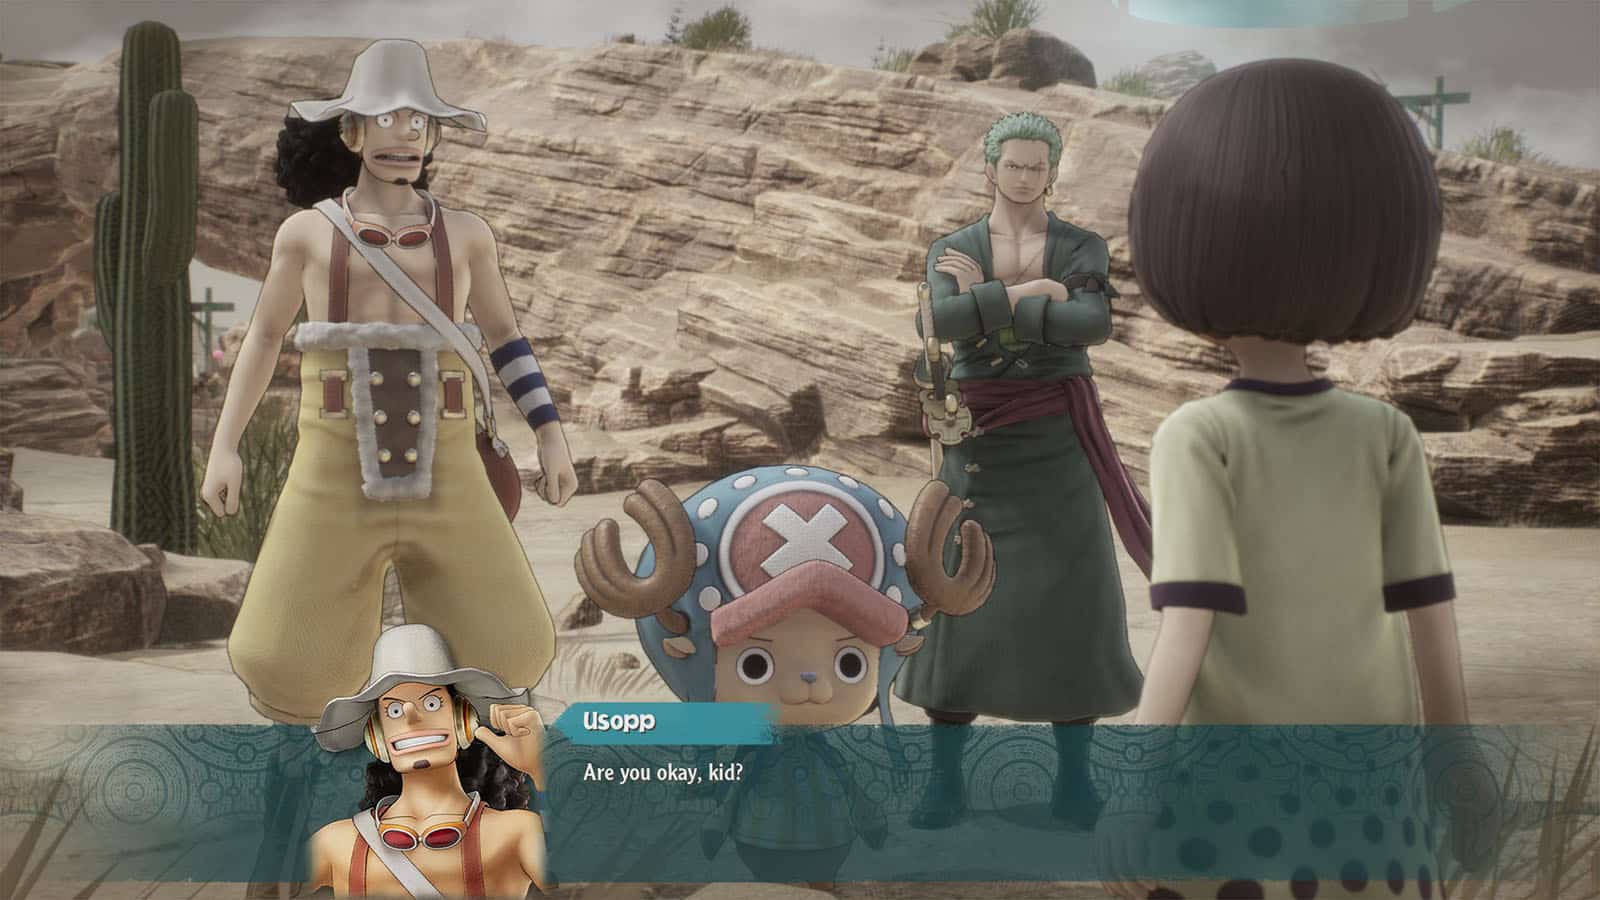
Fix the Frayed Memory
As you enter the Hysteria, Luffy and the crew find out that only select people can go inside it. We then find Zoro and Chopper who were able to go through the rift and into the Hysteria. This starts a Memory Link quest.
Frayed Memory Quests

Frayed Memories are quests where only certain characters can partake in, and therefore your options during battles are limited. Once you complete a Frayed Memory, your bond with the characters will deepen and you will unlock a special attack.
Head over to the kid to find out that Usopp is being surrounded by monsters. Cross the ribcage to get where Usopp is and prepare for a fight.
Go back to the kid and he will ask for your help to gather herbs that he need to take back to his mother. Cross to the other side again and head over to the opposite side where you’ll see a white marker on a bush. This bush is where you’ll find the herbs that the boy needs.
Another set of bandits arrive and wants to take the herb. Prepare to fight against them. After defeating them, the bandit boss kidnaps the kid. Chase down the bandit boss into the Spiral Canyon.
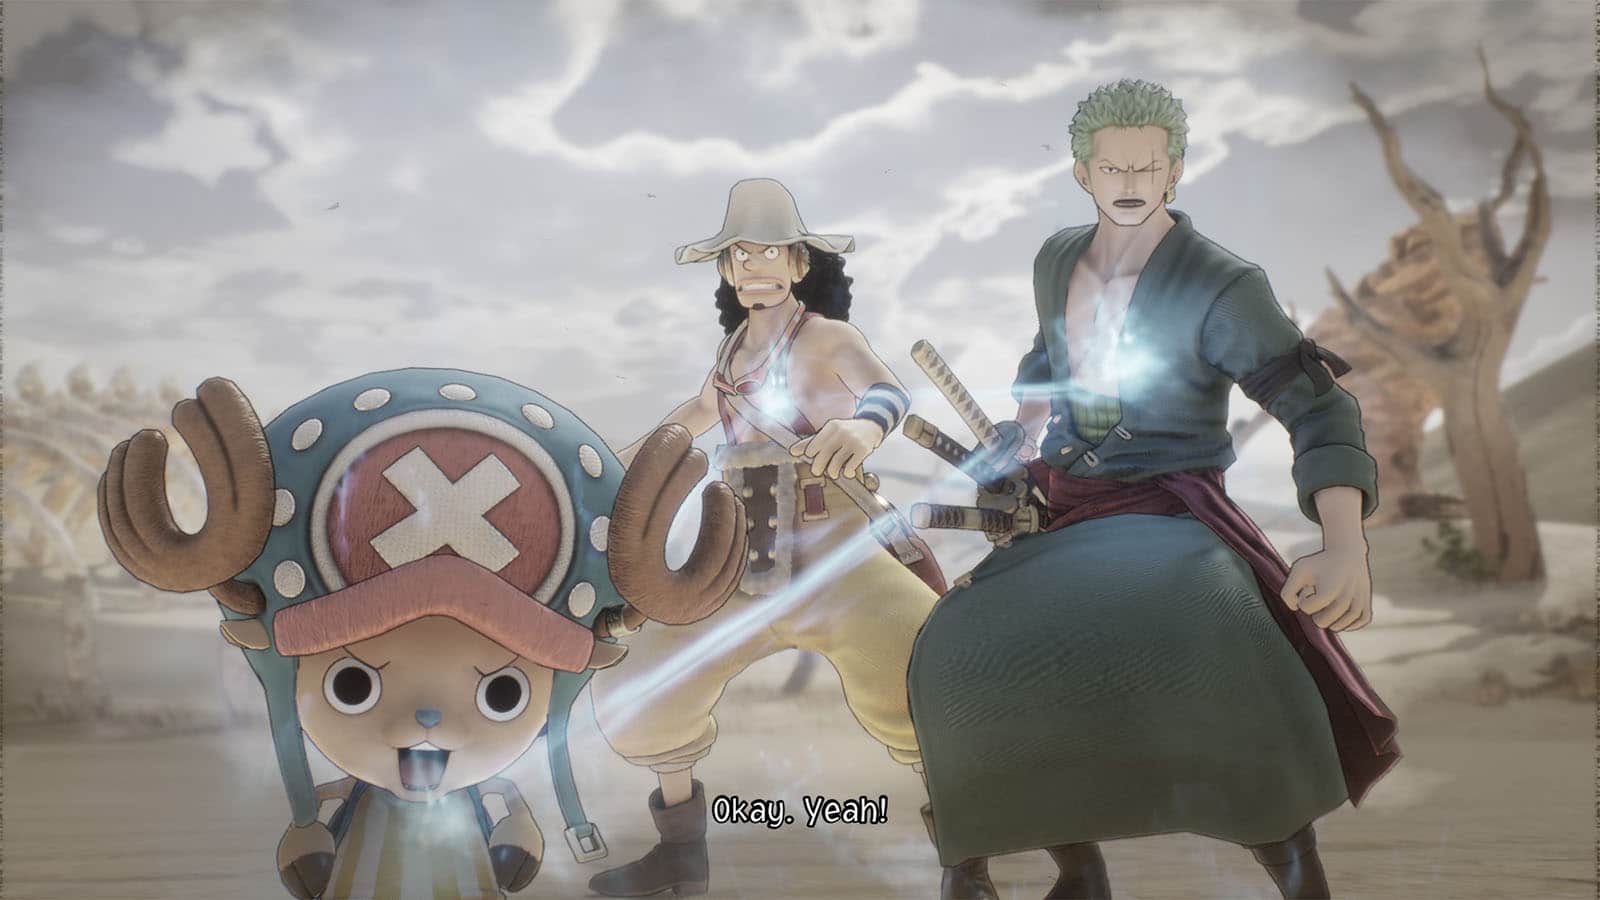
Just before the fight, Zoro, Usopp, and Chopper learn how to use Bond Arts which will help them do special attacks during fights.
Bond Arts

Bond arts are special attacks which allows characters do coordinated attacks to deal massive damage. These skills are triggered by the characters' bond with each other. Bond Arts require Bond Charge which goes up when doing acts such as when characters fight in a same area or when a character clear all the enemies in another character's area.
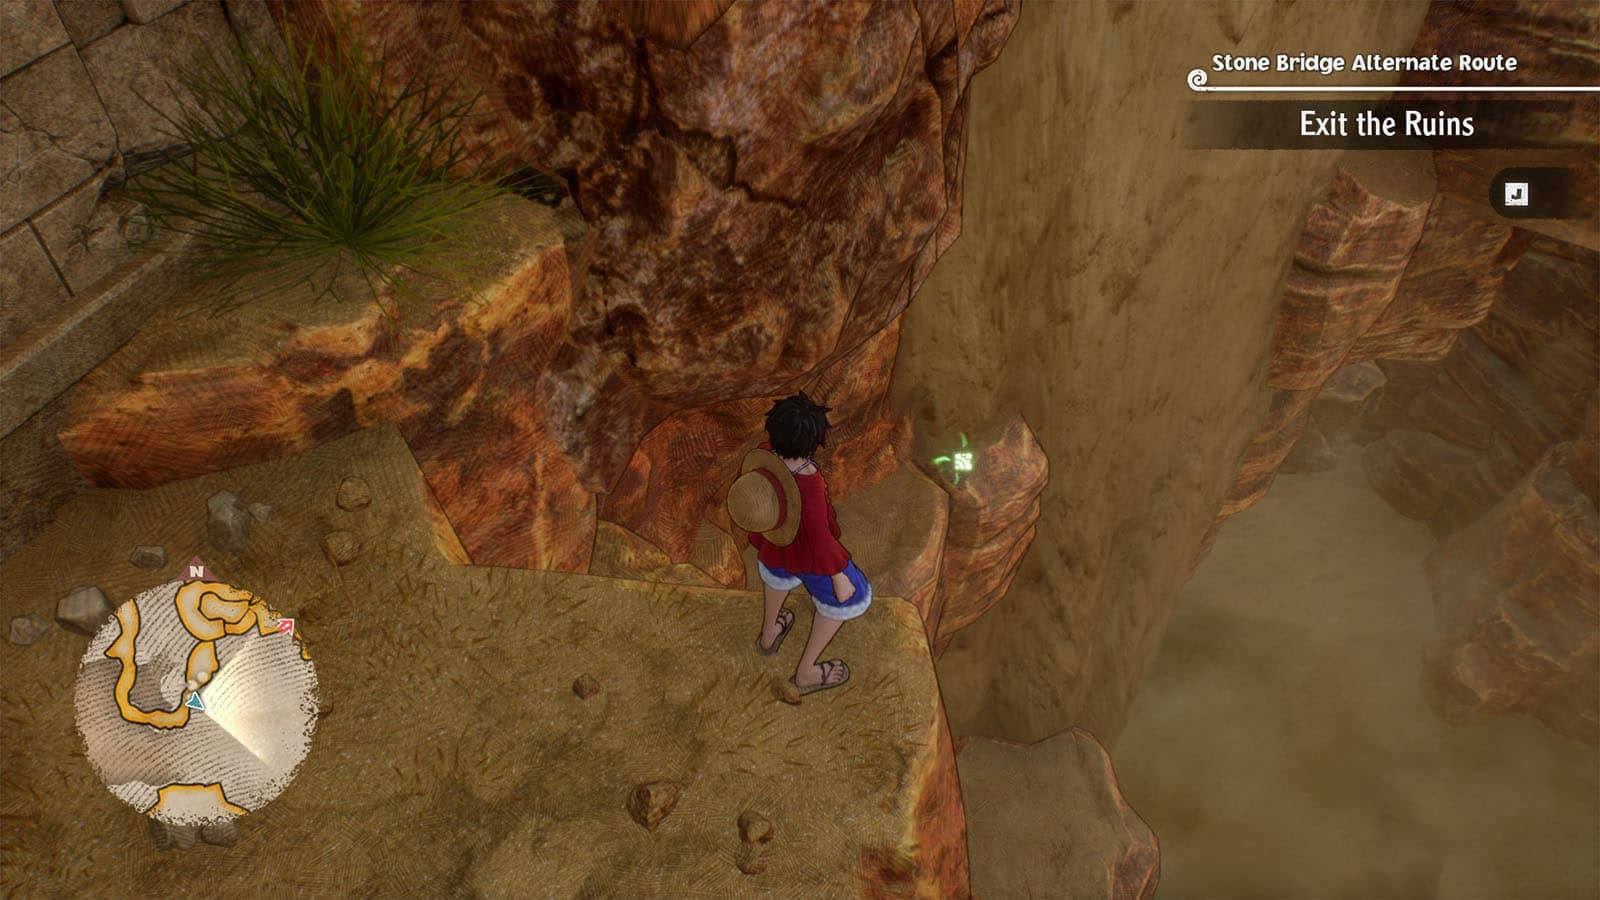
Exit the Ruins
Once the fight is over, you can then freely explore the rest of the canyon. Check the alternate route at the canyon where the sandfall is, then look down to see Luffy’s cube fragment.
Cosere you’ll find a campsite and a savepoint, then a cutscene will play where the crew talks about Vivi.
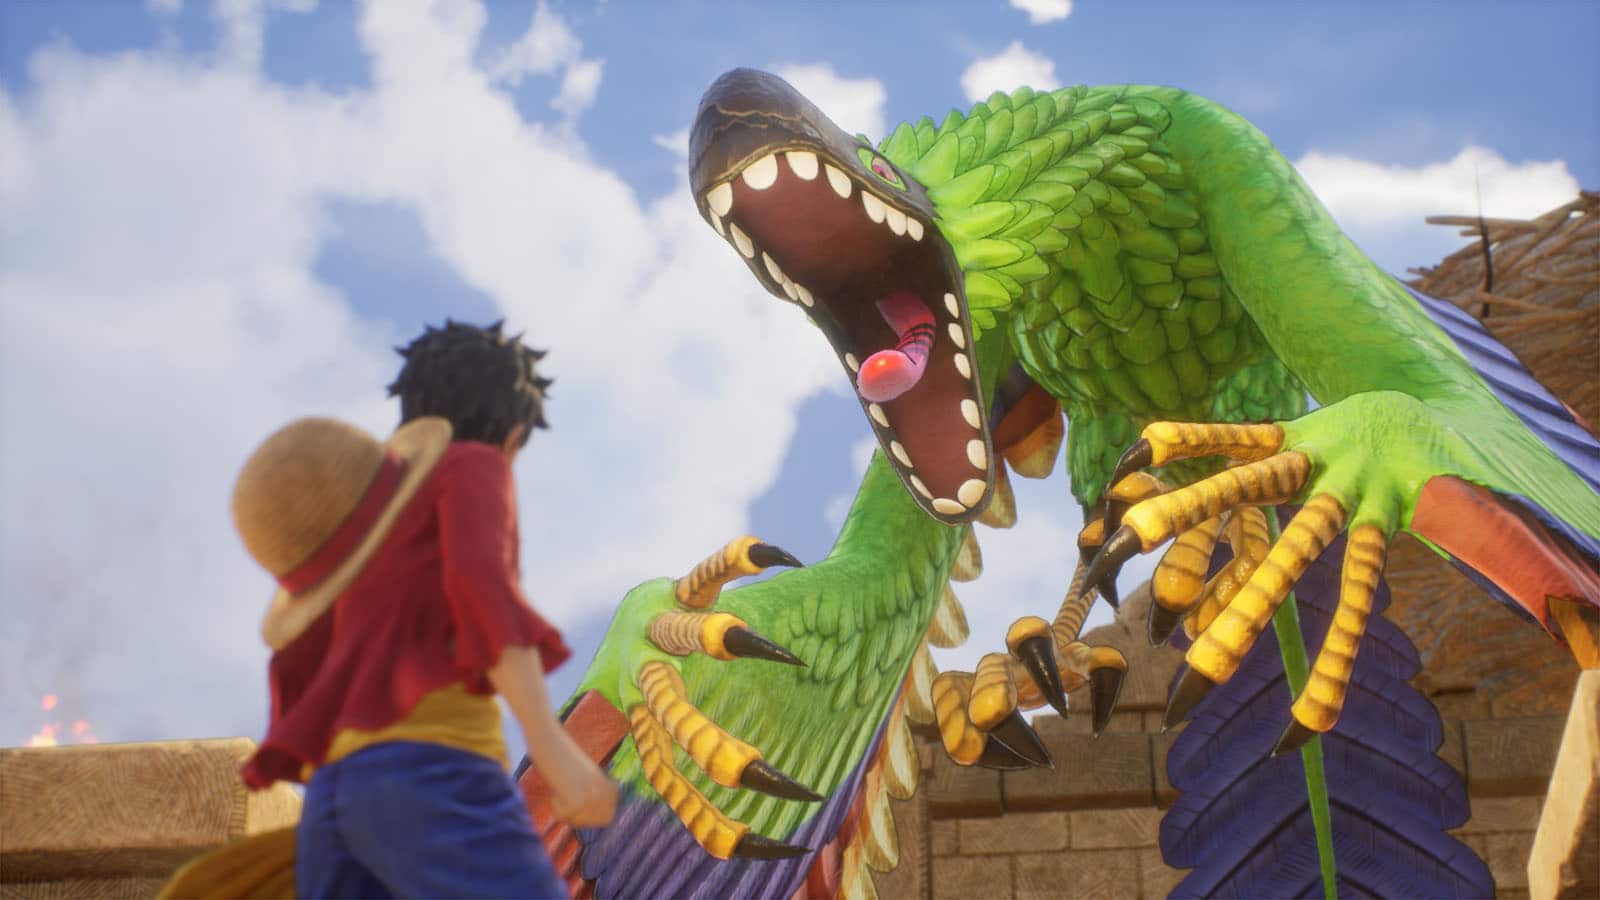
As you cross a bridge, a Jura Bird will ambush you. After defeating it, you’ll learn that these birds are attracted to sounds, so try to avoid stepping on piles of bones as you navigate through the ruins. You can still use Luffy to grab the loot that is on the piles.
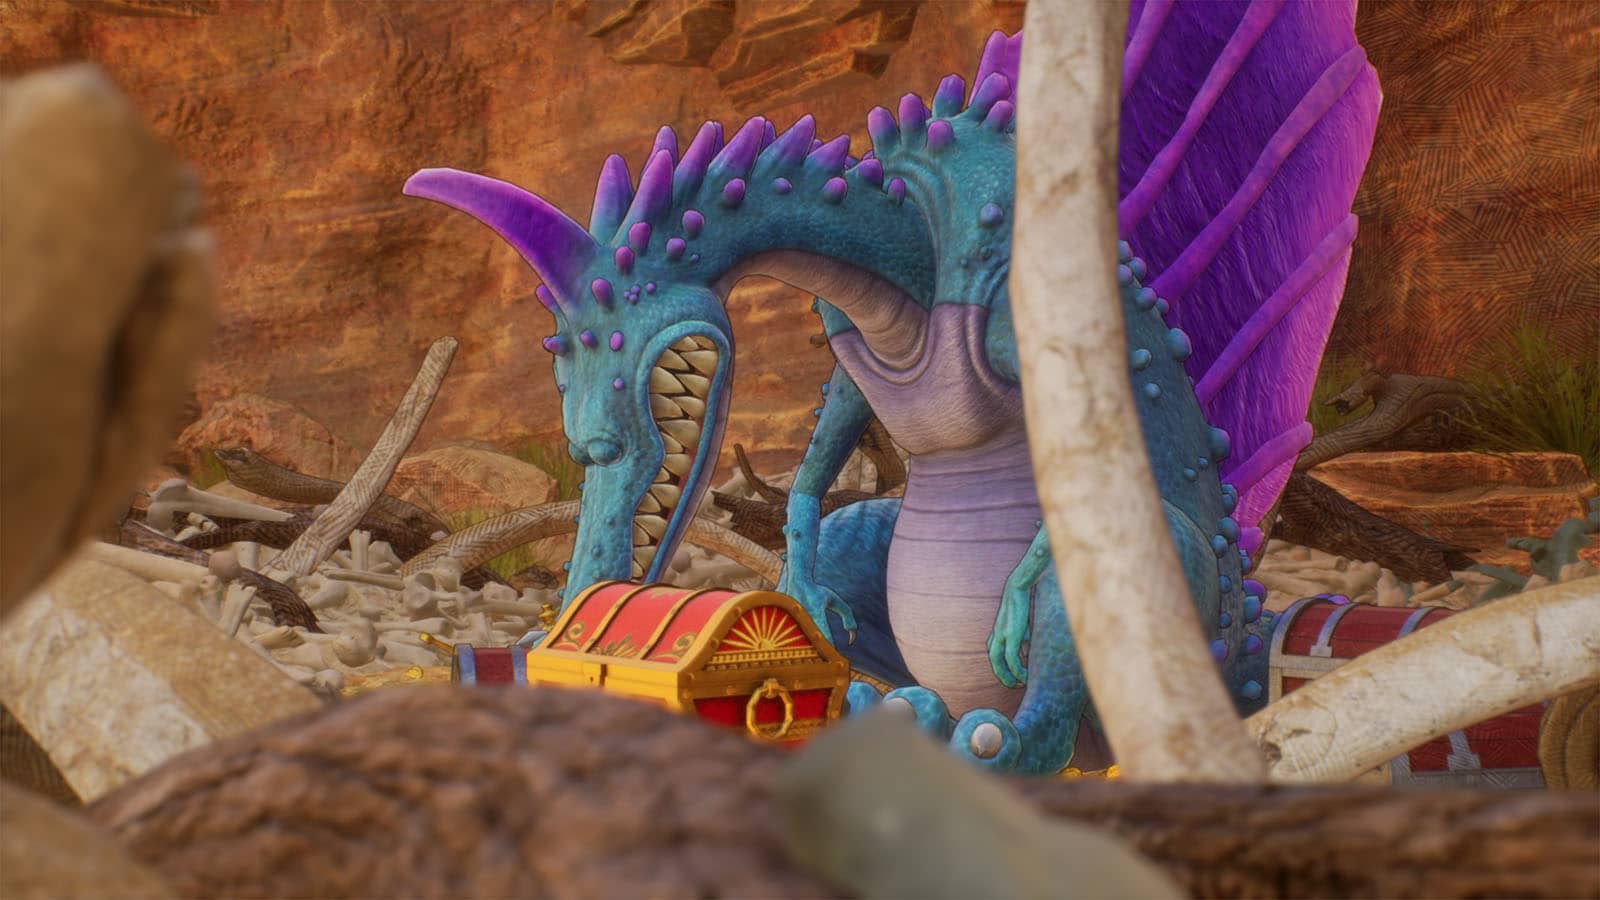
Up ahead, you’ll find a sleeping Leviathan guarding its stash of treasures. You can let it sleep and pass through, or you can intentionally step on the bones to wake it up and fight it. Use Luffy, Chopper, and Sanji for effective attacks. Once it has been defeated, you’ll receive the Leviathan’s Power which gives +14 GUTS, and a bunch of other loot from the chests, except for one chest that needs a key.
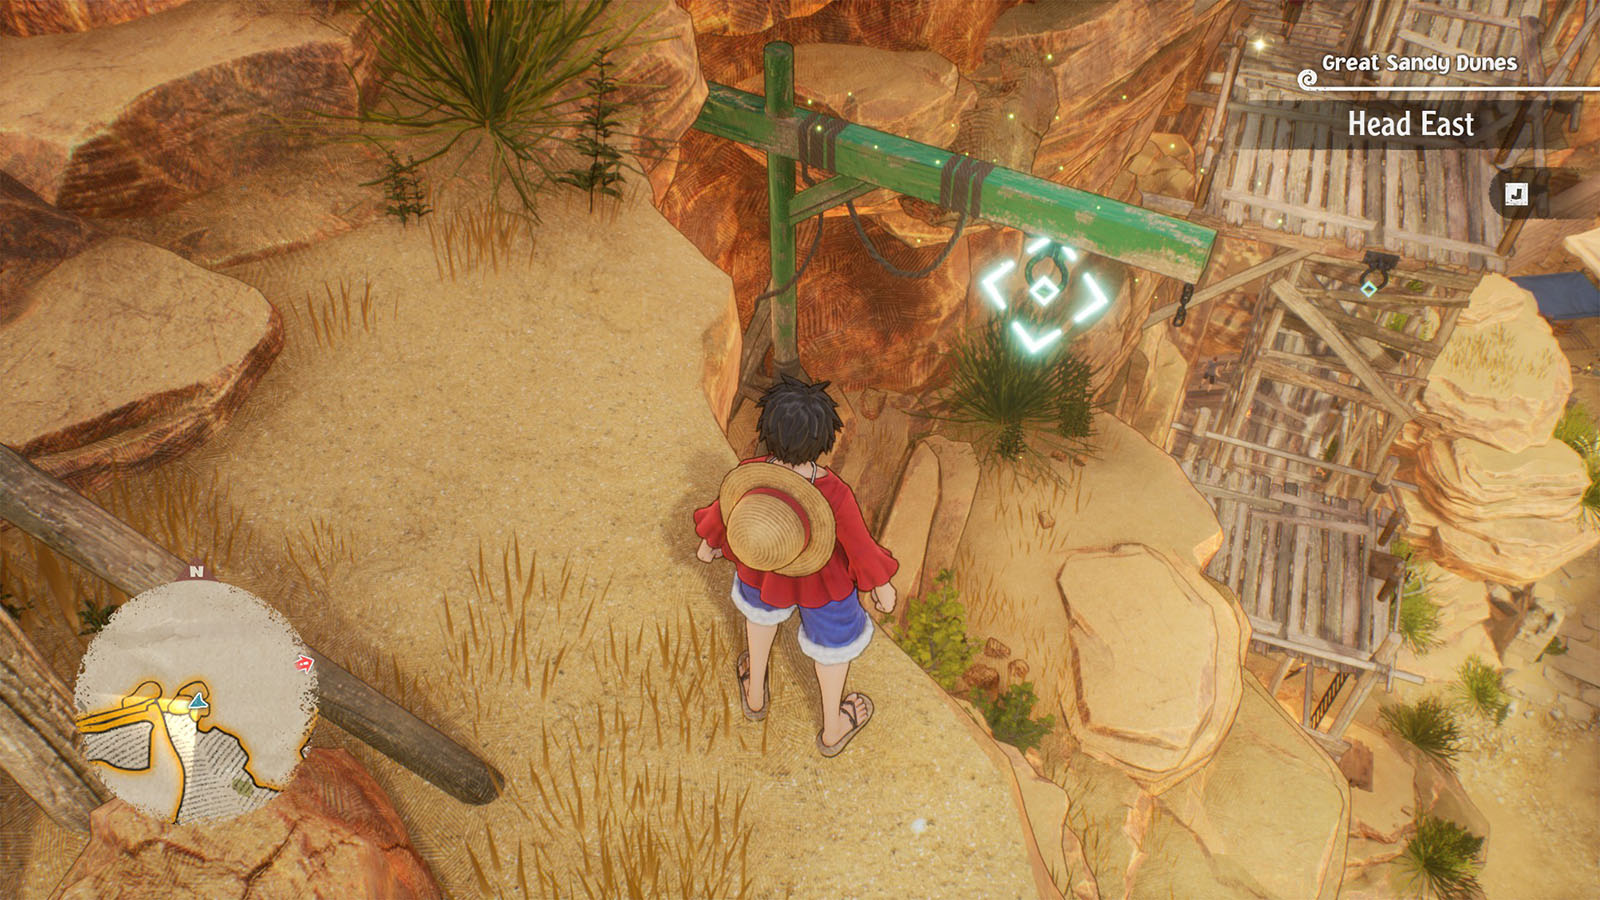
Head East
Go to the next area where there is a scaffolding. You can take a short to go down by using the rings on the side, or you can just take on the bandits that patrol the path. If you have accepted The Truth About Eye-lashes side quest from Saien the Scientist from earlier, you’ll be able to come across Eye-lashes, the missing camel.
Once you arrive at the huge river of sand, the crew will decide to head north instead.
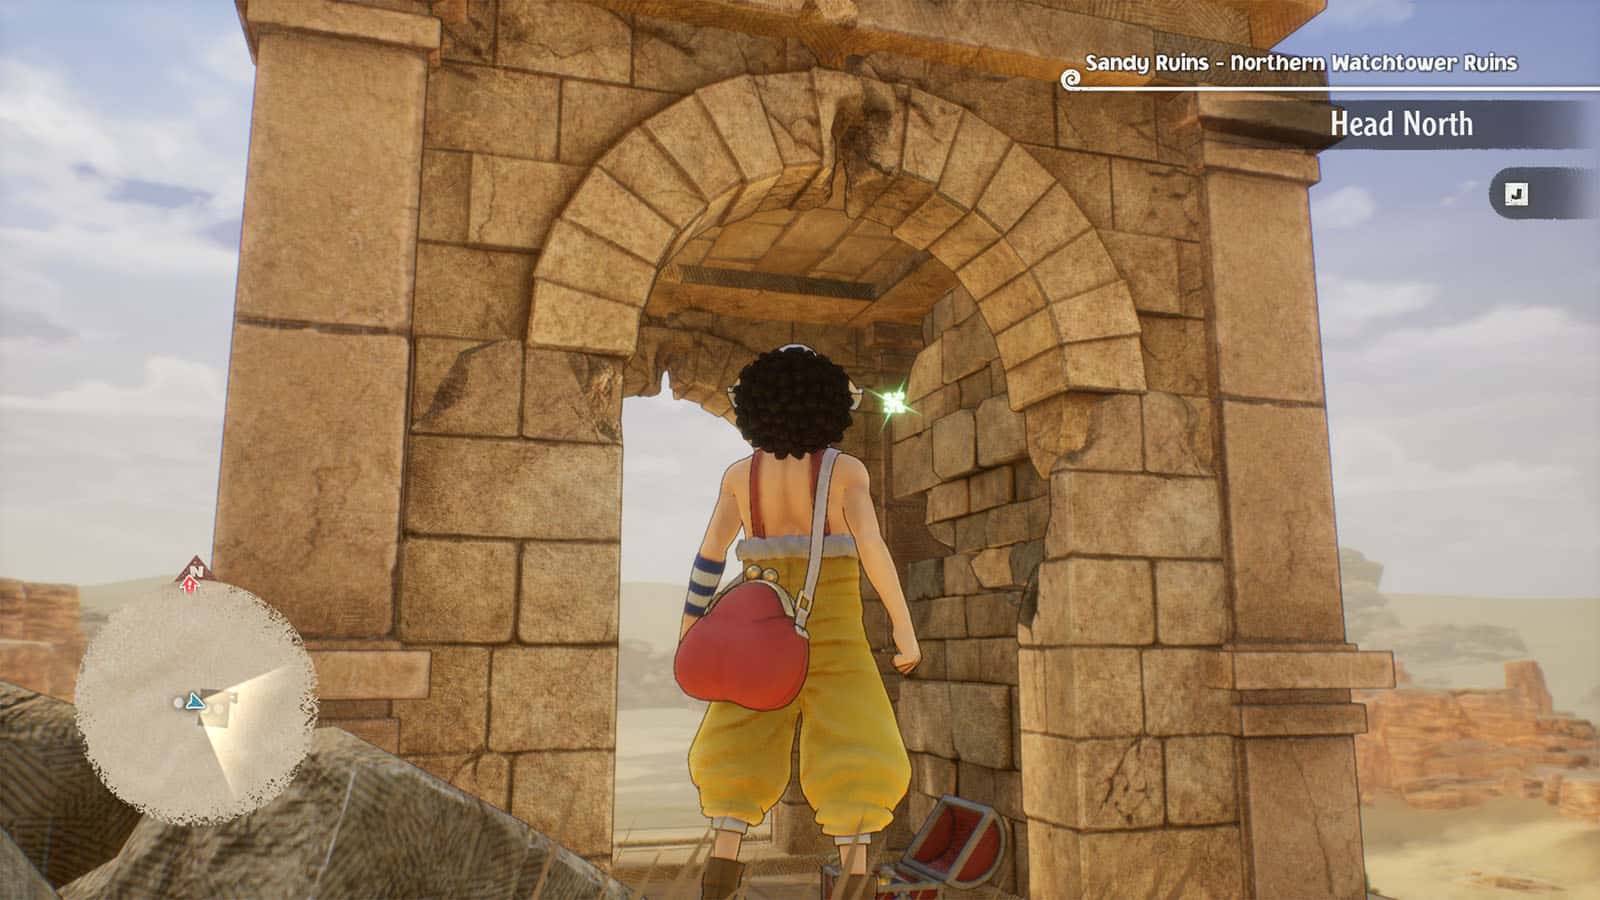
Head North
Make your way up north to the bridge. You can make a detour over at the Northern Watchtower Ruins to find Luffy’s cube fragment.
Once you arrive at the bridge, you’ll meet another Yoisa, but this time it steals Nami’s wallet.
Get the Wallet Back
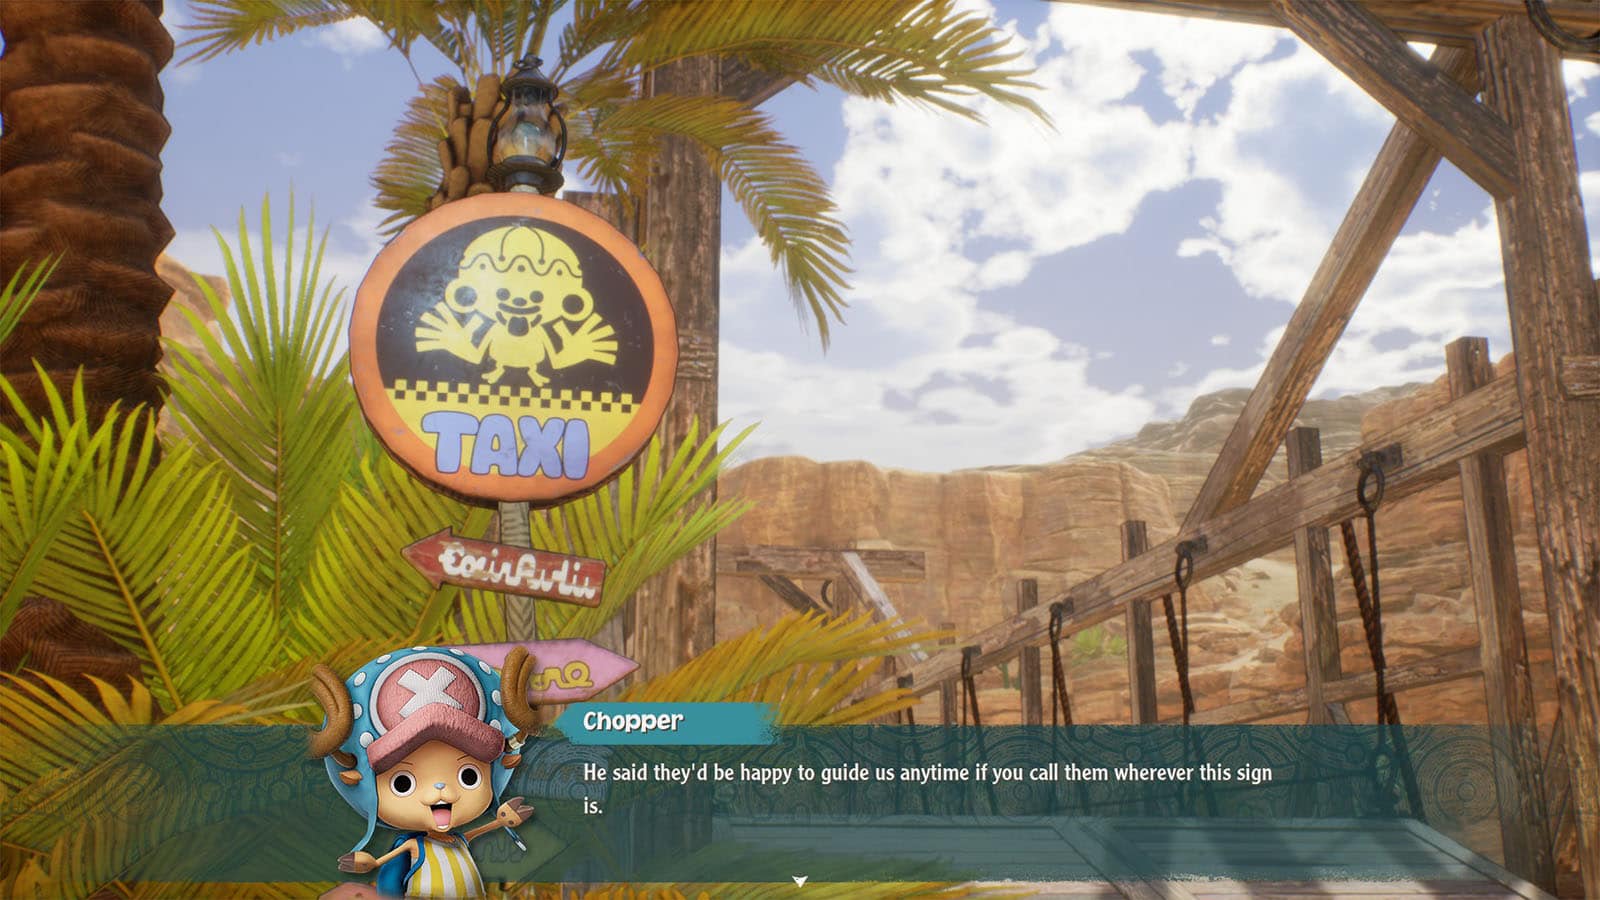
Head back to the hut near the base of the scaffolding to find the Yoisa. You’ll then have to fight a bunch of Eisas that has been bullying the Yoisa. After defeating them, the Yoisa will then provide its help by allowing you to fast travel to known locations via Yoisa Travel.
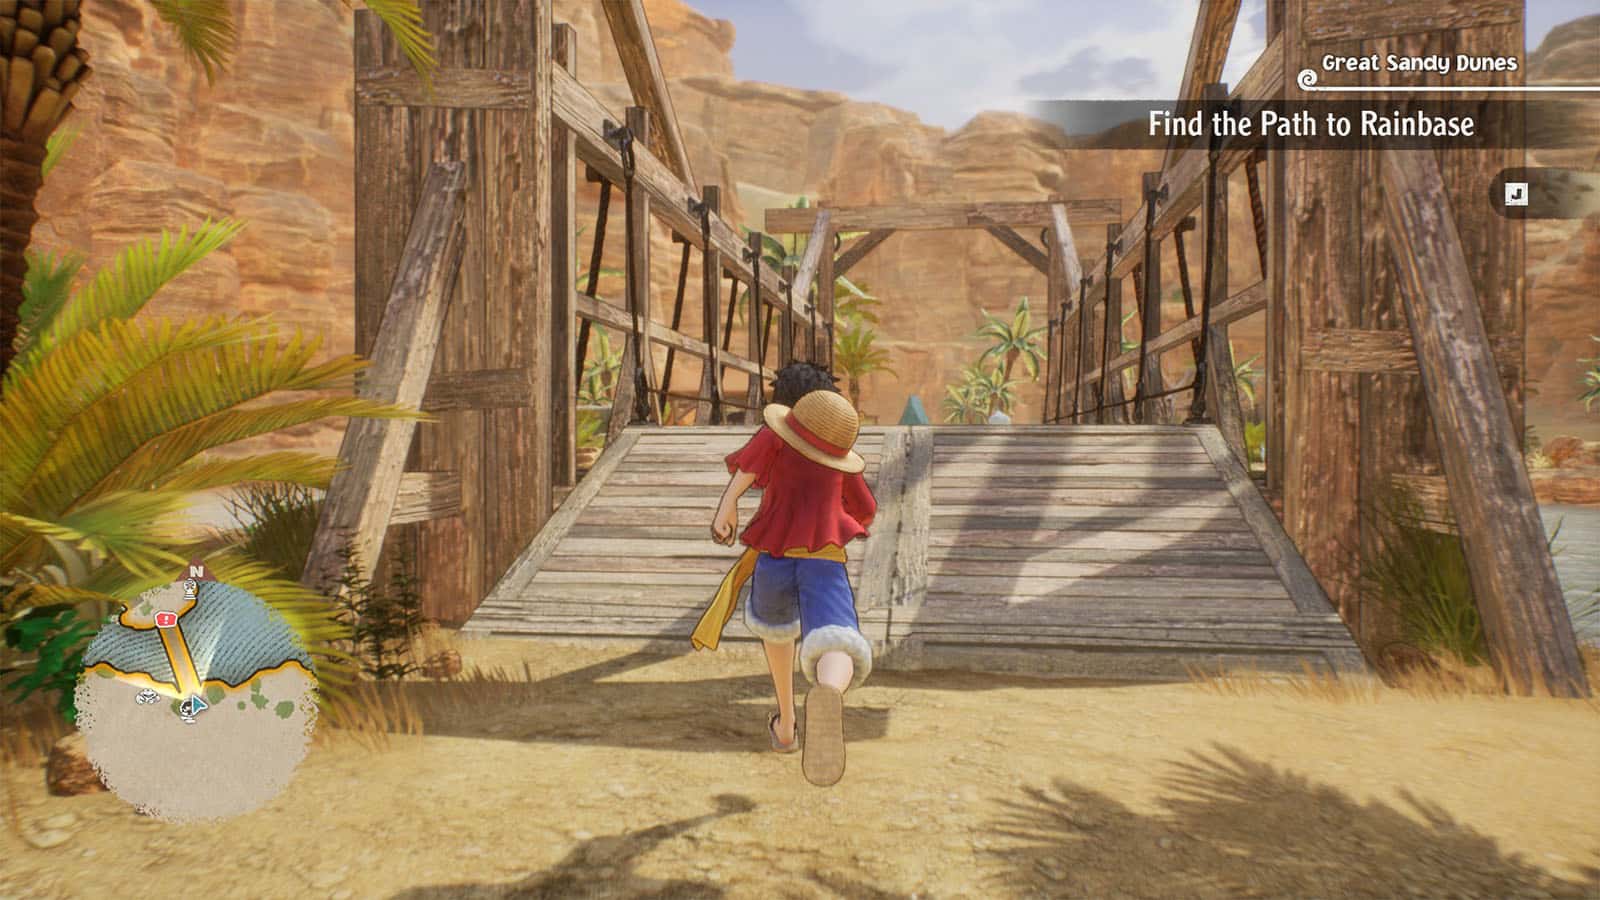
Find the Path to Rainbase
Sandy Oasis
Once you arrive at the oasis, you can take the time to do some preparations or even fast travel to the previous areas. You can then proceed to the cave once you’re done.
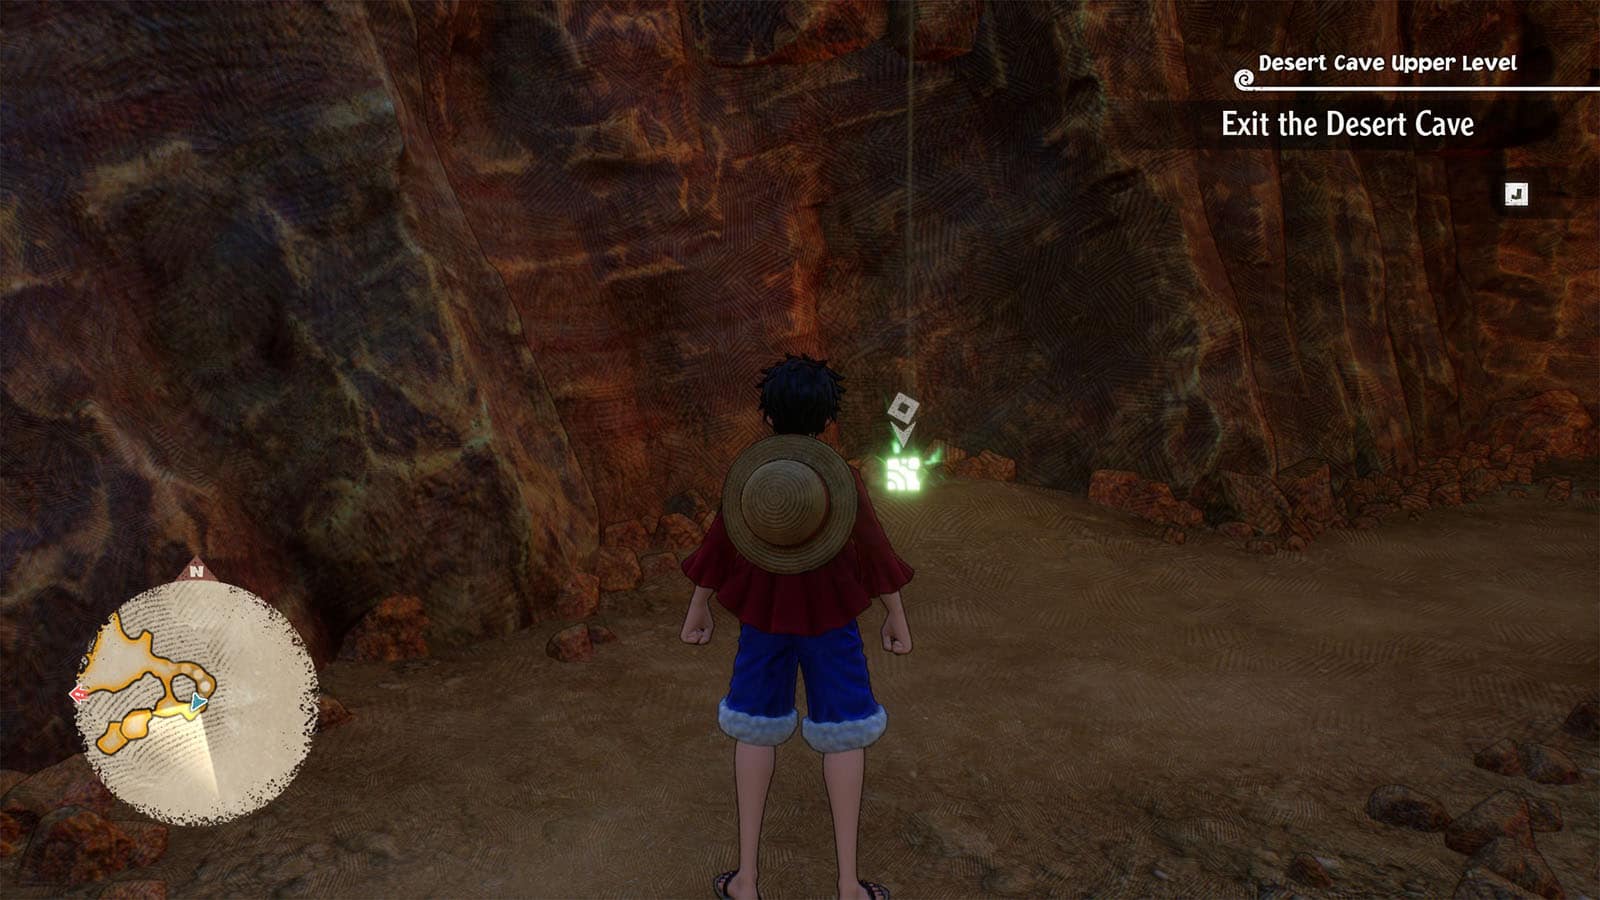
Exit the Desert Cave
There are several paths to take inside the cave, so take your time to explore them all.
Desert Cave Upper Level
On the first level of the cave, head over to the easternmost side of the cave to find Usopp’s cube fragment.
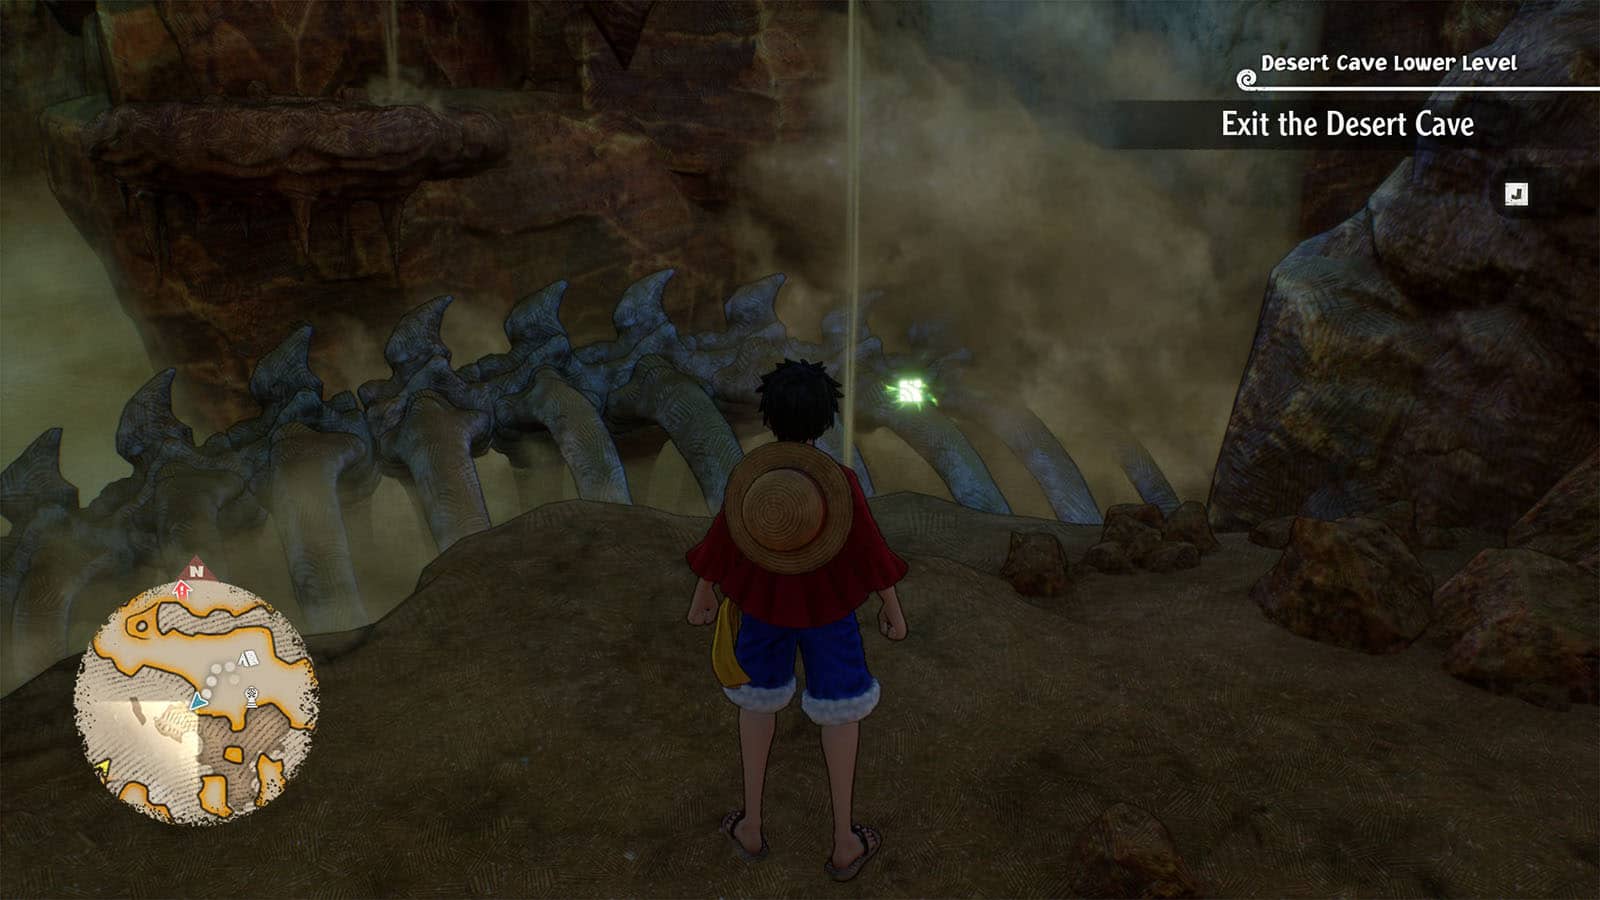
Desert Cave Lower Level
Once again, it’s a bit of a maze with the cave on the lower floor, but there’s one defined path that will generally lead you to a camp site and a save point. Near the sandfall on the ribcage is Luffy’s cube fragment.
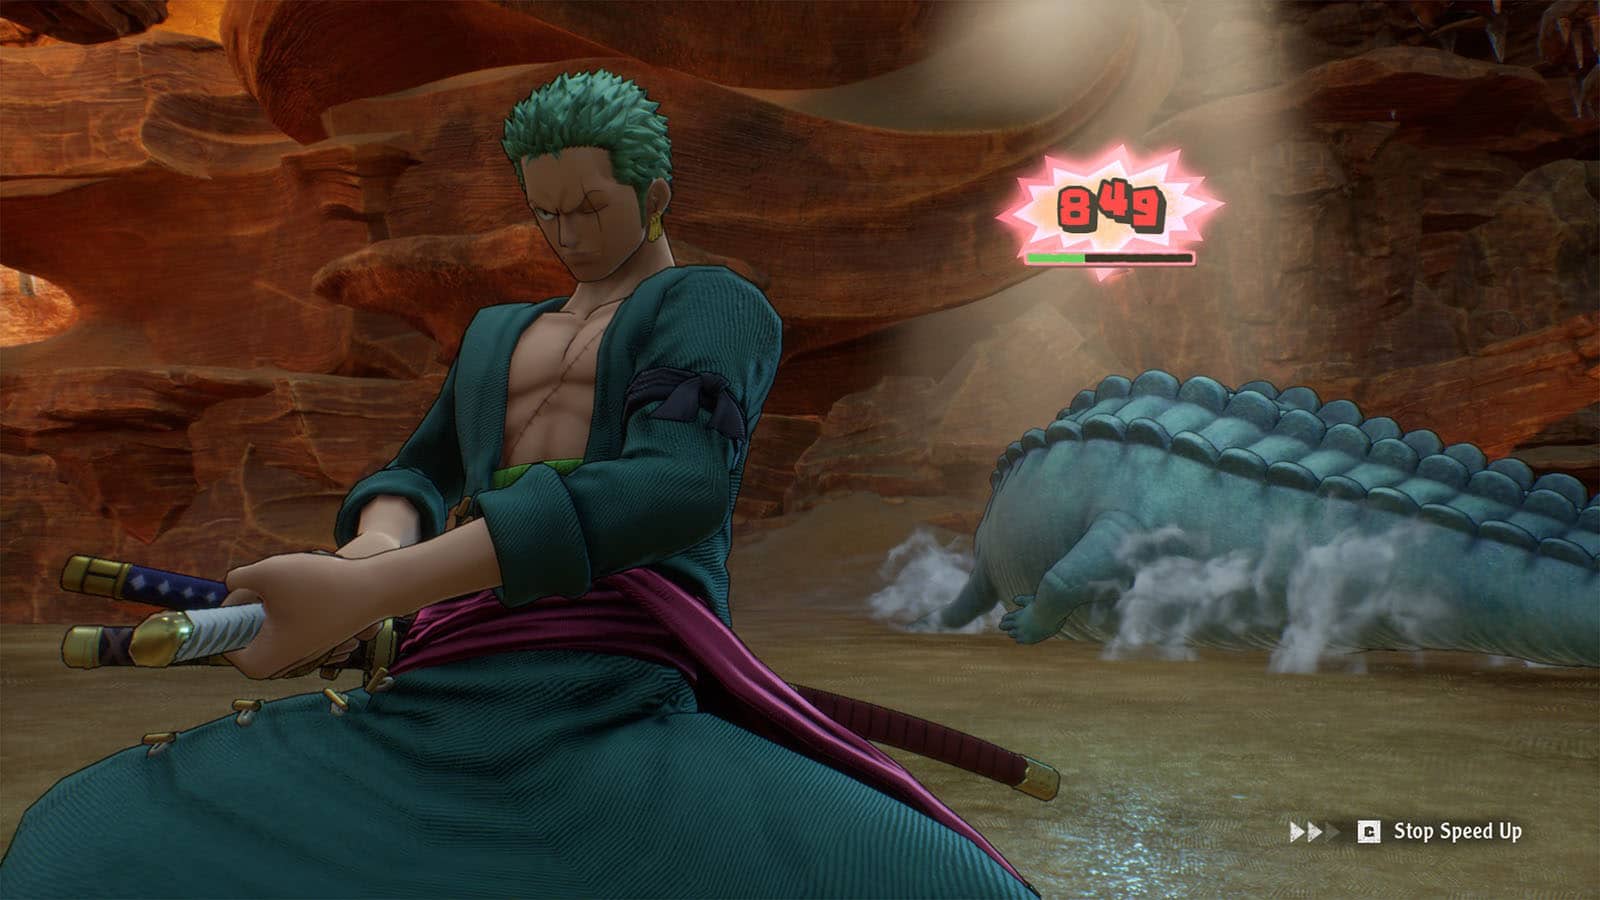
Continue on the path to the west to take on the Desert Banana Gator. Use Zoro to deal heavy damage on it, and Robin to make it go unconscious.
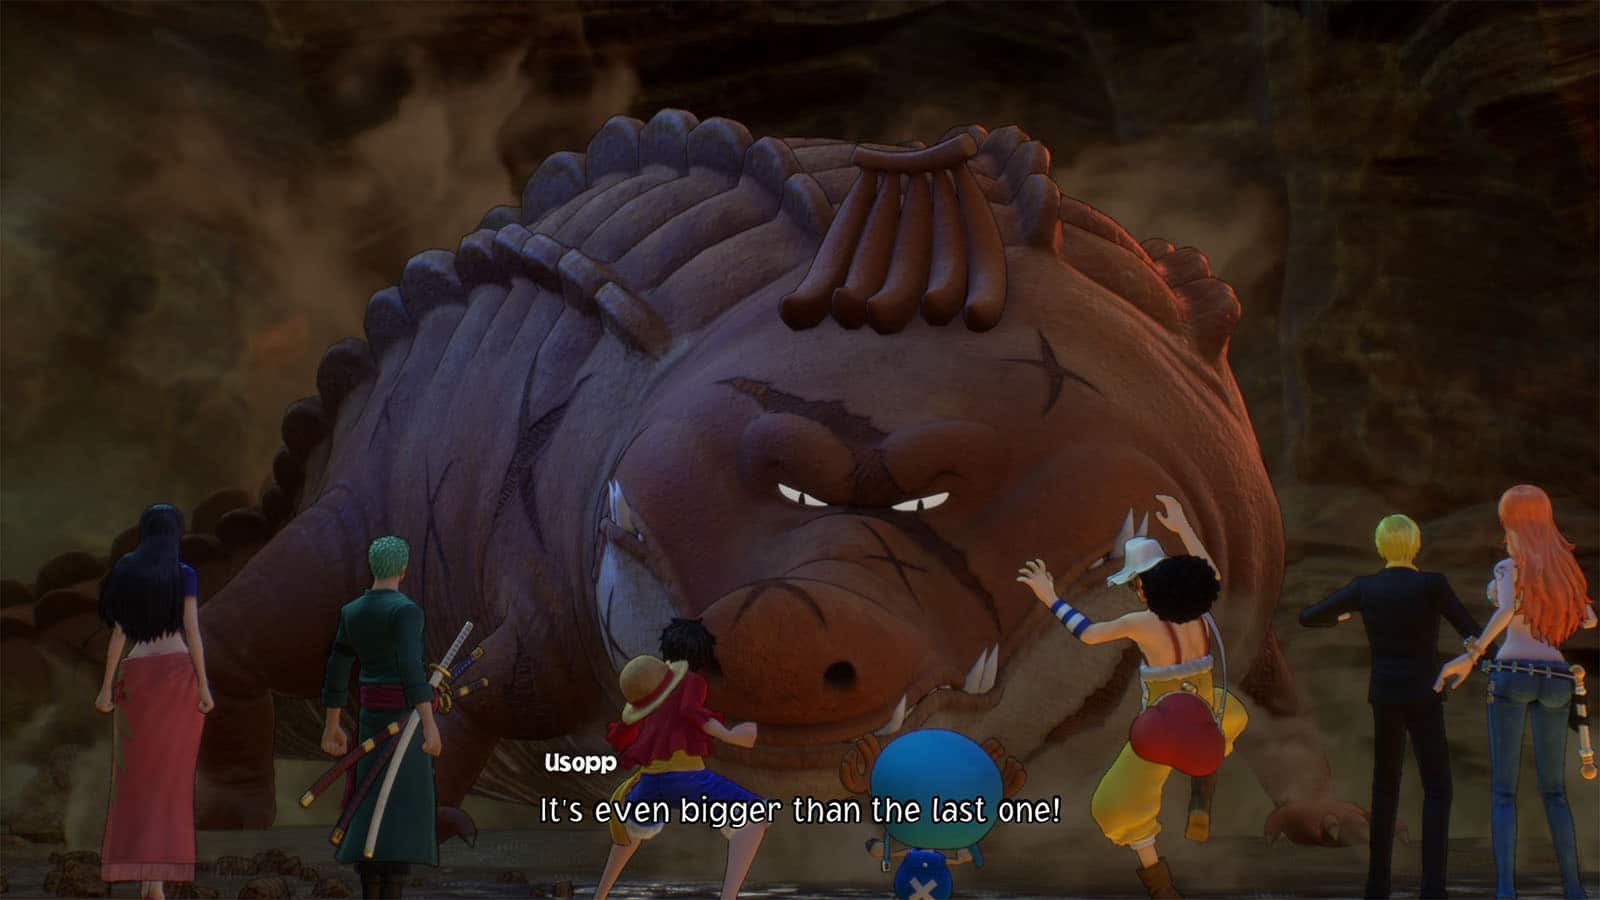
Once the first gator has been defeated, a larger Bushy Banana Gator will appear. It’s a much larger and tougher gator and it’s a Technique type, so Usopp and Nami are effective, so long as their attacks are not being resisted. Use the Bond Art attacks to make the fight a bit faster.
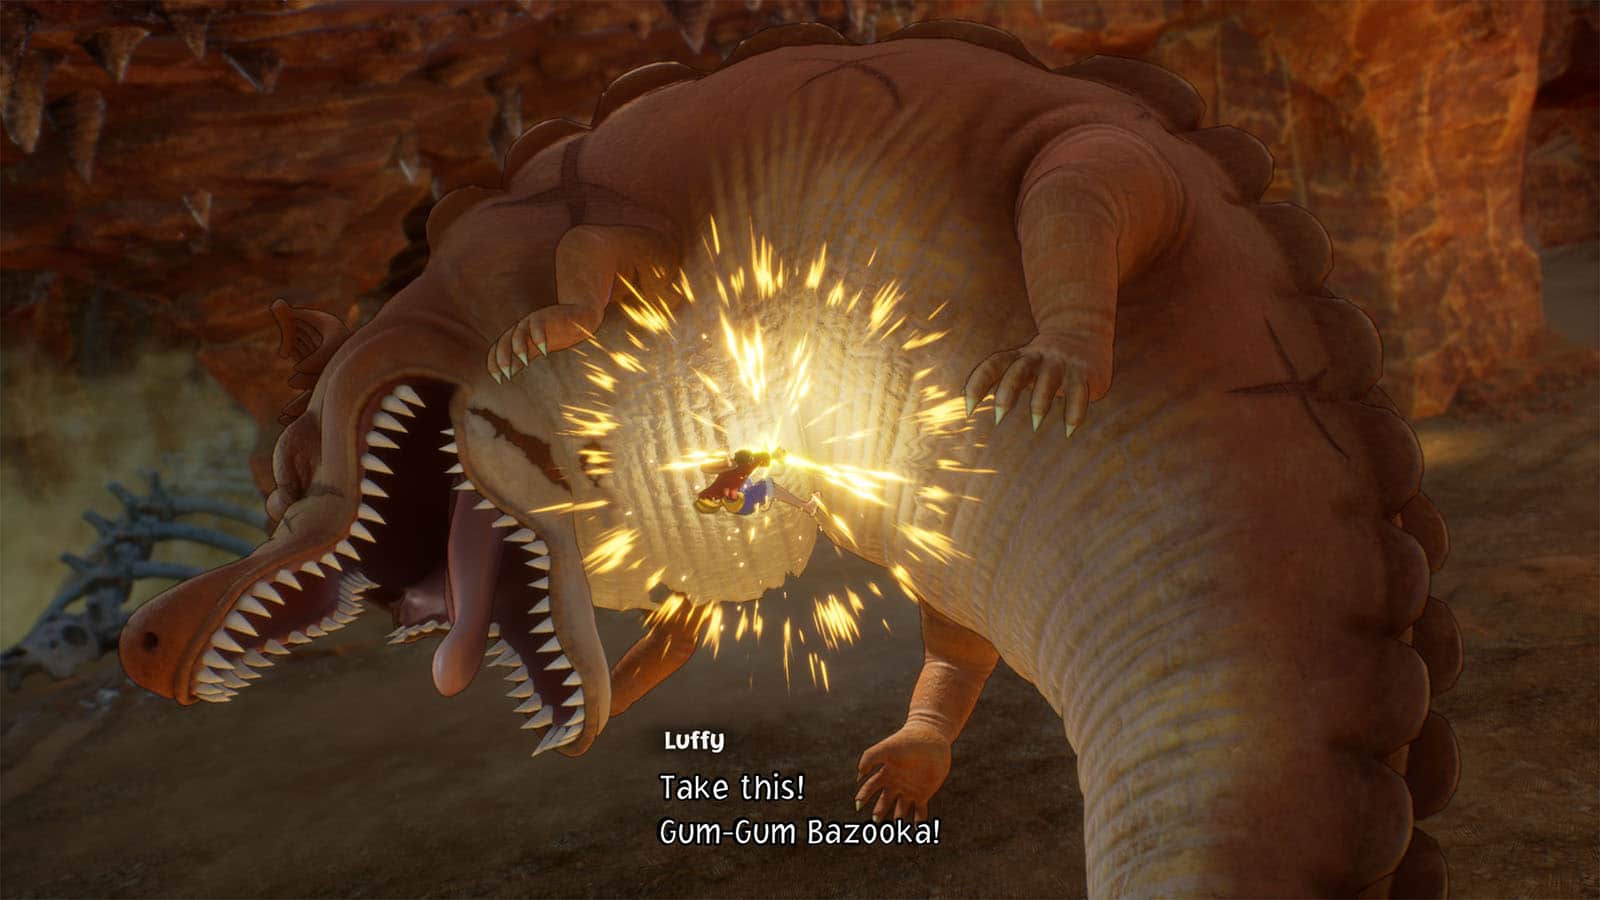
After defeating the gator, Luffy’s final attack causes parts of the cave to collapse, blocking the closest exit.
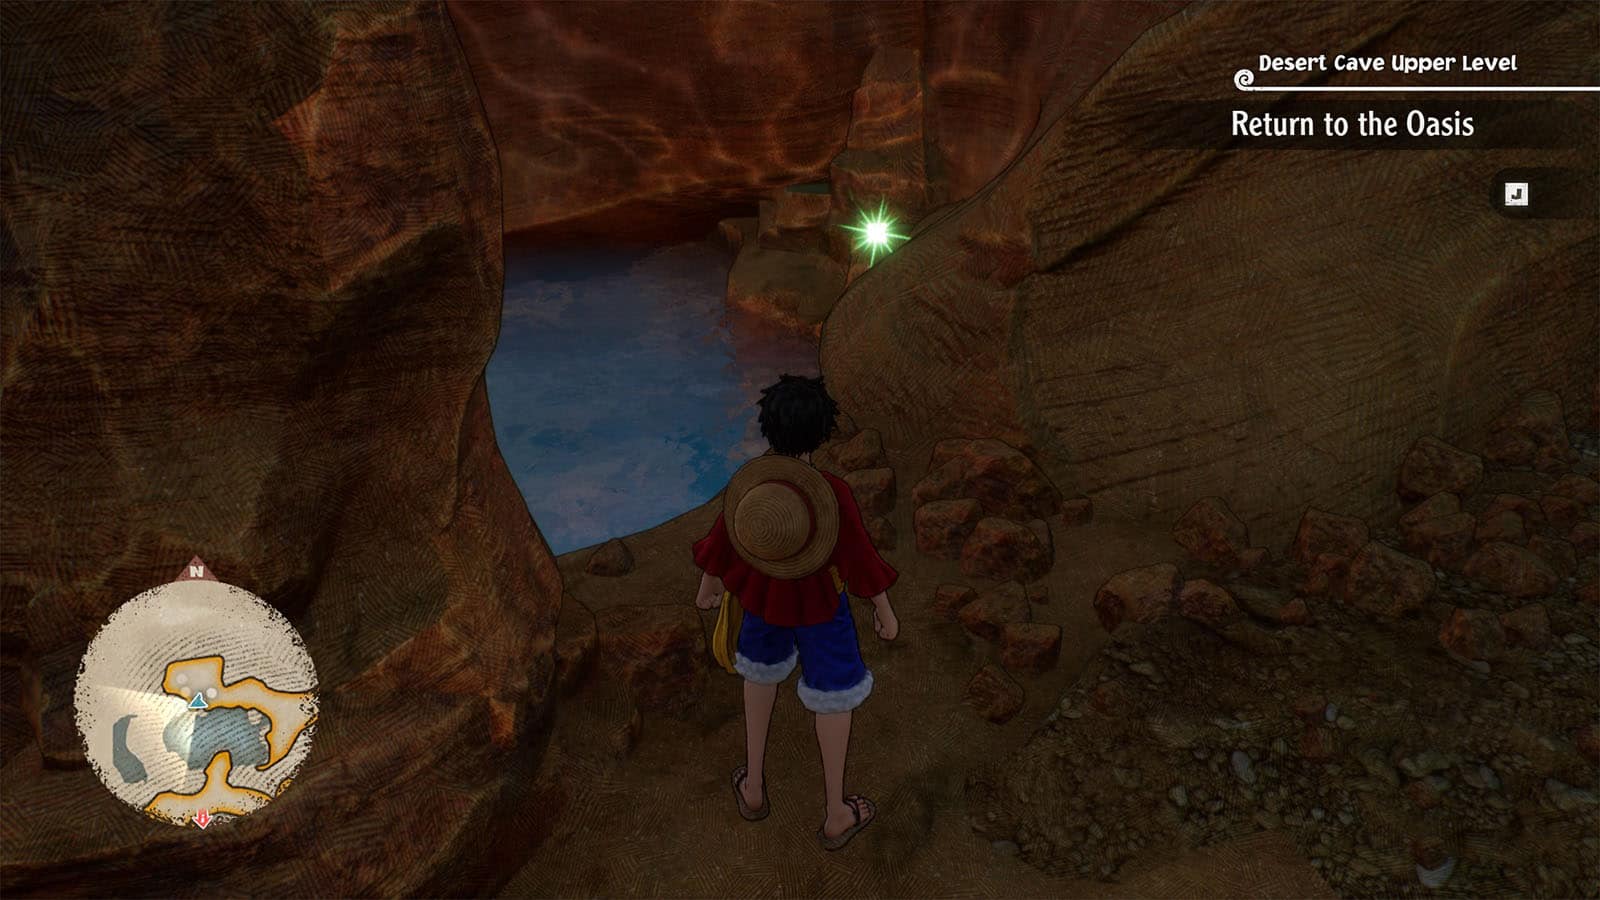
Return to the Oasis
Look for the hanging vines nearby and use it to climb up. You’ll arrive at the upper level once more and just up ahead are some chests and Usopp’s cube fragment. You can then swing across the pond and get back to where you entered the cave.
Once you’re out of the cave, you’ll find the same crab that you rescued earlier from the Sandora Dragon called Lil’ Mover. Interact with it and it will tell you to go to the Vast Quicksand.
Head to the Quicksand
Once you arrive near the quicksand, Chopper will arrive riding on a huge Crab Mover. You’ll then be able to use the Crabby Port to move across quicksand.
Access Crabby Port
Similar to the Yoisa Travel, the Crab Mover will allow you to travel between Crabby Ports that you’ve visited. The difference is that you’ll be able to see the ride in real time, which can also help you scout some parts of the areas that you pass by.
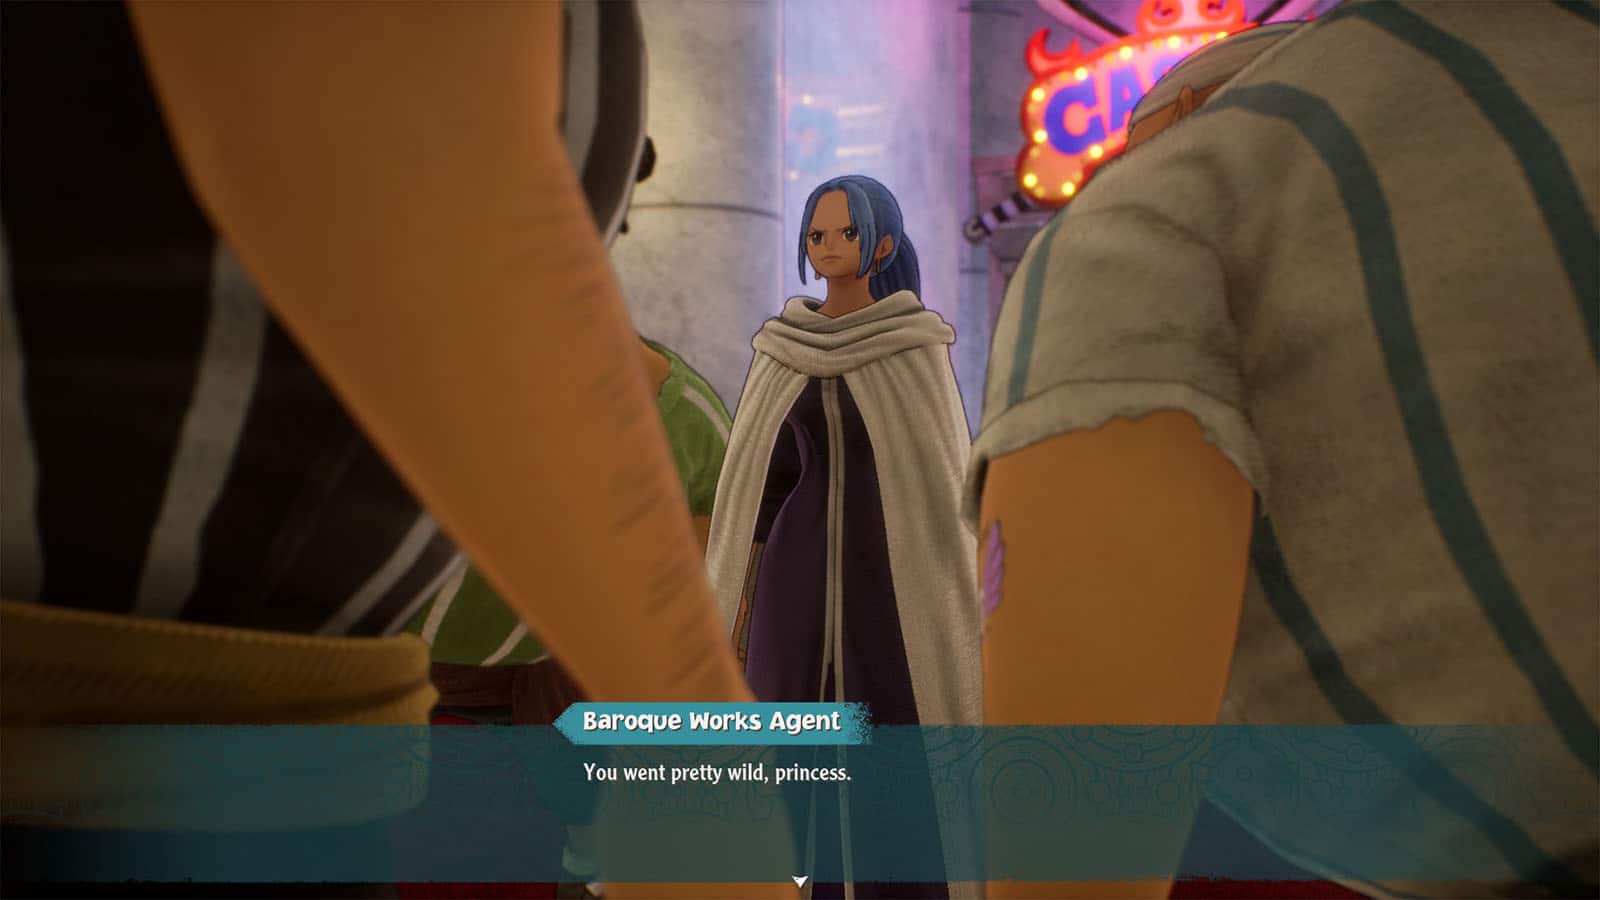
Interact with a Crabby Port marker, then select “Go to different region” and then choose Rain Dinners. A cutscene will then play showing Princess Vivi surrounded by Baroque Works goons.
See next One Piece Odyssey Find Crocodile Chapter 2 Walkthrough
If you like this guide, be sure to check out our other One Piece Odyssey articles:
- Will One Piece Odyssey be on Nintendo Switch? (Answered)
- How to unlock secret ending: One Piece Odyssey ending explained
- How to Defeat Divine Breath Final Boss Fight One Piece Odyssey
- One Piece Odyssey Ending Explained
- How Many Chapters in One Piece Odyssey?
- All One Piece Odyssey Outfits & How to Get Them
- Is One Piece Odyssey Multiplayer?
- One Piece Odyssey Berries: How to Earn Money Fast
- One Piece Odyssey Battle Skills Guide
- One Piece Odyssey Length – How long to beat?
- One Piece Odyssey Leveling Guide – How to Level Up Fast
- One Piece Odyssey Trophy Guide & How to Get Platinum
- Is One Piece Odyssey on Game Pass? (Answered)
- One Piece Odyssey Characters: All Playable Party Members
- One Piece Odyssey Voice Actors and Cast List
- One Piece Odyssey Story Explained & Everything You Need to Know
Check out this video by Cyberman65 showing the events in Head to Rainbase:


