
The Quarry Tarot Cards can give you a peek into the future events that unfold in the game. These premonitions may save your life if you heed them. However you first need to locate where The Quarry Tarot Cards are to get a reading from the Curator.
In a world where digital landscapes intertwine with the mystical, the allure of tarot reading extends far beyond the confines of a virtual game. As players embark on their quest to uncover the Quarry Tarot Cards within the game, the notion of seeking guidance through tarot readings online emerges as a parallel journey of discovery.
With a myriad of resources available at their fingertips, from websites offering interpretations to virtual consultations with seasoned practitioners, players find themselves drawn to the ancient art of divination in their quest for insight and foresight. Whether consulting the cards for guidance within the game or delving into the depths of tarot world, the allure of unlocking the mysteries of the future remains a potent force, guiding seekers towards enlightenment amidst the digital landscape.
Where to Find All The Quarry Tarot Cards?
Here are where each of The Quarry Tarot Cards are located:
Prologue
- The Fool: Once Laura’s boyfriend drops you down to explore the forest go to the left path. The camera will cut to the Fool Tarot Card on the side.
"The Fool" Tarot Card Explained: In Chapter 2, Jacob is required to choose between stealing the rotor arm or breaking the fuel line to the van. This vision reveals what will transpire if Jacob makes the decision to break the fuel line: the vehicle will catch fire anytime Mr. Hackett attempts to start it.
Chapter 1
- Temperance: After entering the main cabin of Hackett’s Quarry through the windows as Jacob, exit the small library and take a right turn. Don’t pick up the luggage just yet, instead take another right then go left into the kitchen. The camera will cut to the Temperance Tarot Card as you enter.
"Temperance" Tarot Card Explained: On this card, Emma can be seen taking the fireworks that she discovers in Chapter 2 with her. These fireworks will be used at a later stage to light the bonfire, and Emma will have the opportunity to pick up some of them to use as weapons later on in the game. If you decide not to take them, this will not have a significant effect on the story or the lives of any of the other characters.
Chapter 2
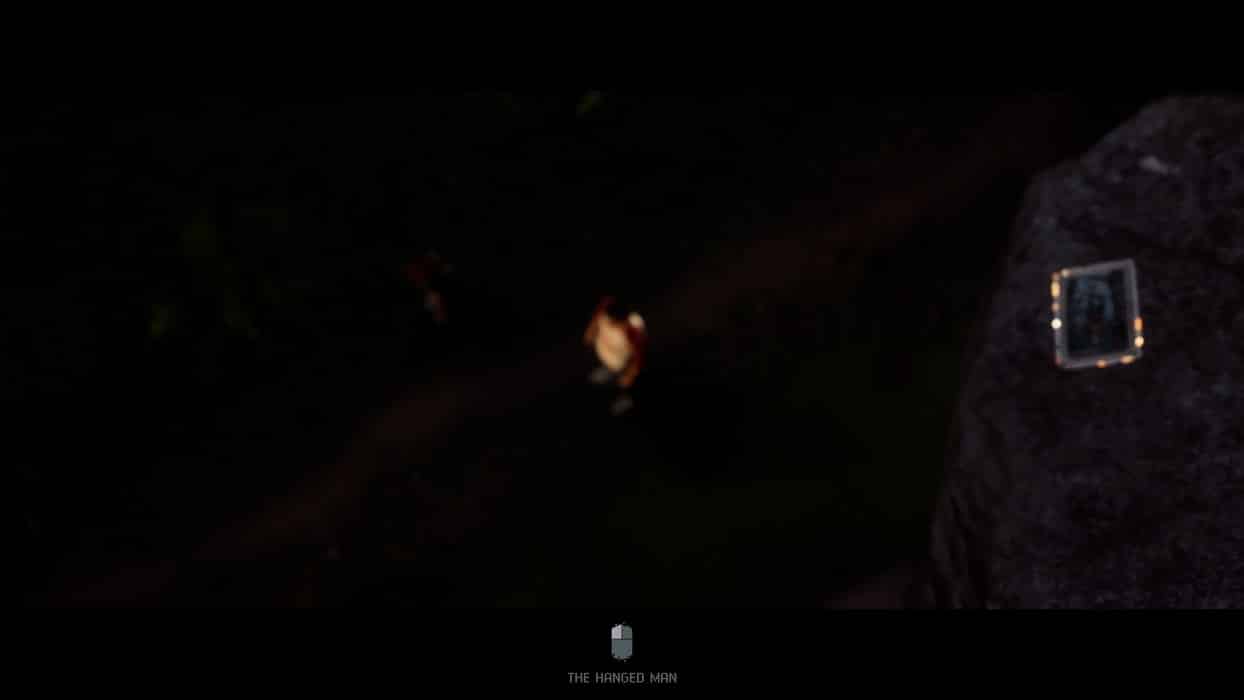
- The Hanged Man: When controlling Nick who is walking with Abigail, choose to take the Rocky Roads in the forked path. Continue and you’ll see a warning sign for falling rocks. Take the path to the left and on you way the camera will cut to the Hanged Man Tarot Card.
"The Hanged Man Tarot Card Explained: During Chapter 3, Jacob gets caught in a hunting trap and will be swinging from a tree upside down, as shown in this vision. This particular foreboding will actually happen regardless of the choice you take; what's really important are the choices you make after it.
Chapter 3
- The Star: When taking control of Jacob who goes to look for towels, you’ll quickly be able to see it shortly after leaving Emma at the dock.
"The Star" Tarot Card Explained: Emma will be exploring the island on her own in Chapter 4 and will eventually reach the Treehouse. As soon as Emma unlocks the Trapdoor in the Treehouse, a monster will emerge and assault her on this vision. Before you open the trapdoor, check the bag in the Treehouse first.
- The Tower: When controlling Abigail who is searching for a way out, you’ll find this near the exit just before you encounter Dylan.
"The Tower" Tarot Card Explained: Once Emma is trying to get away from the monster in Chapter 4, she is forced to use the zipline in order to escape to safety. However, this vision reveals what takes place in the event that things do not go as planned and Emma is killed after falling from the zipline.
Chapter 4
- The Magician: When controlling Emma who decides to explore the island, go down into the river instead of heading up . The camera will cut below to reveal the Magician Tarot Card.
"The Magician" Tarot Cards Explained: At the radio shack, in Chapter 5, this vision will reveal Ryan severing Dylan's arm with an ax. Once Dylan has been bitten, you have the option of amputating one of his arms to stop the infection from spreading.
- Strength: Unlike the other Tarot Cards this has to be received through a cutscene. When Dylan and the others enter the lodge, you’ll get a brief moment to respond to the prompt to get this Tarot Card.
"Strength" Tarot Card Explained: As Nick's infection worsens, this vision will show a hysterical Nick choking and tossing Bobby Hackett.
Chapter 5
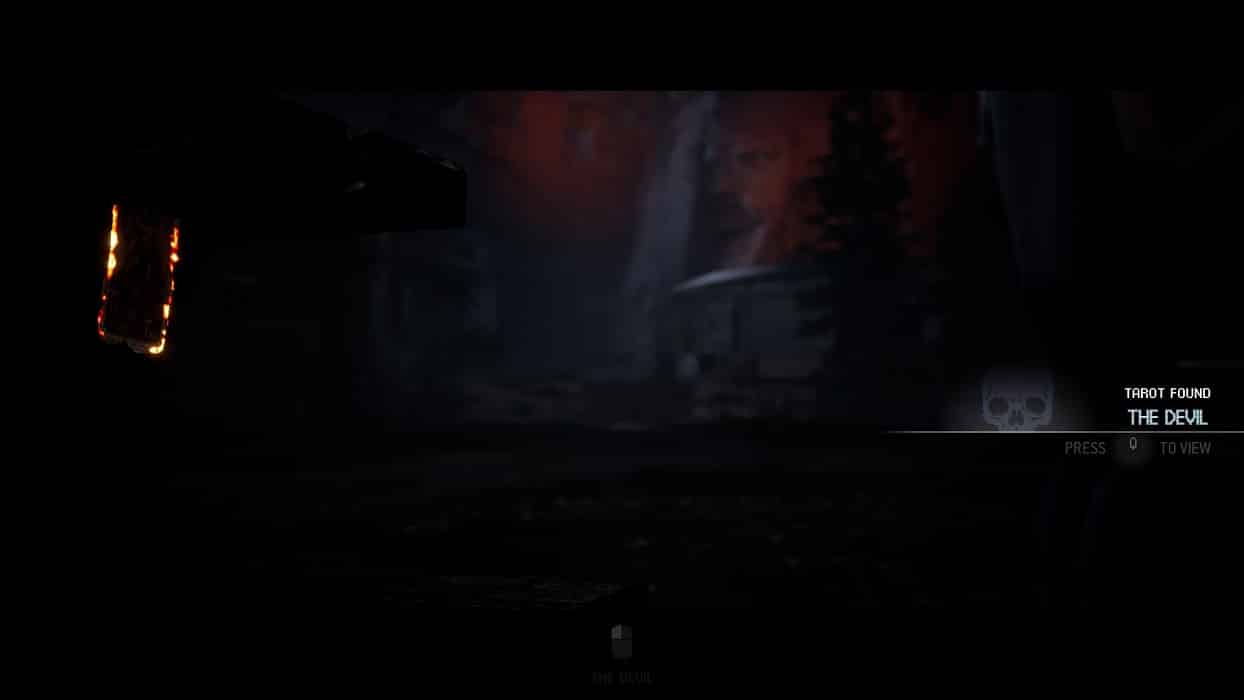
- The Devil: Go to the big tree at the center of the Camp Cabins. There is a swing and two picnic tables. The Devil Tarot Card is on the left picnic table.
"The Devil" Tarot Card Explained: This card depicts the progression of Nick's infection, leading to him viciously murdering Abi. Chapter 6 takes place in the poolhouse, and it is possible for Abi to stop this from happening by shooting Nick instead of doing nothing.
- The Hermit: Go next to the radio hut with the large metal signal tower. The camera will cut behind the mast to reveal The Hermit Tarot Card.
"The Hermit" Tarot Card Explained: In Chapter 6, Jacob will find himself into a bear trap by accident. In this vision, a failed QTE indicates that Jacob would attempt to remove his foot, then fall, and have his head ensnared in another bear trap.
Chapter 6
- Justice: Before climbing up the walkways to get to the island where Emma is, there is a path below that you can take. The camera will cut to show you the Justice Tarot Card on the walkway’s supports.
"Justice" Tarot Card Explained: In Chapter 7, Laura sees herself shooting Sheriff Travis Hackett in her prison cell. Laura will accidently shoot Travis if you mess up the QTEs during this sequence, but you have the option to try and steal his gun anyhow.
- The Moon: In the Poolhouse, walk into the second shower cubicle and you’ll find The Moon Tarot Card.
"The Moon" Tarot Card Explained: For this vision, using what appears to be a tranquilizer syringe, Laura injects Travis and then steals his keys in Chapter 7. The syringe can be found in one of the rooms upstairs.
Chapter 7
- The World: In the cell room, The World Tarot Card can be found under Laura’s cell bed.
"The World" Tarot Card Explained: In chapter 8, this vision reveals Laura watching as Ryan is seen falling down into the quarry. The next sequence of events has both Ryan and Laura investigating the Hackett House.
- The Chariot: When exploring the Sheriff’s Office at night, walk between the four desks in the main room. The camera will cut to The Chariot in a hidden location.
"The Chariot" Tarot Card Explained: This vision reveals Dylan and Kaitlyn opening the door of the broken van back at the camp, which will disclose something unsettling about the situation. This takes place on its own throughout Chapter 8, and it is not possible to stop it; the choices you make after this point in the scene are the ones that are the most significant.
Chapter 8
- The Lovers: Proceed through the walkway after you hear a woman’s voice and the rail breaks on its own. The camera will pan to reveal The Lovers Tarot Card. You can find this before entering the small tight gap warning you of a cave in.
"The Lovers" Tarot Card Explained: For this vision, Laura is shown biting Ryan's arm, although she isn't completely infected yet. In reality, she is acting on her own volition. After Bobby stabs Ryan, these events begin to unravel in Chapter 9. Laura offers to bite Ryan to pass on the infection's regenerative qualities; it's up to you whether you take her up on her offer.
- Wheel of Fortune: Enter and proceed through the mine shaft after Laura comments about the cave in, the camera will cut to reveal the Wheel of Fortune Tarot Card.
"Wheel of Fortune" Tarot Card Explained: In this vision, Bobby Hackett is targeted by a monster. If you stabbed Bobby early in the game, he will not be able to defend himself against the monster when it attacks in Chapter 9.
- The Empress: After taking control of Ryan, walk to the door on the left where you’ll find an old rum distillery. The camera will cut once you’re inside the room to show The Empress Tarot Card.
"The Empress" Tarot Card Explained: This vision shows a monster killing Constance Hackett in a manner quite similar to that of the Wheel of Fortune card. Once more, this takes place on its own towards the end of Chapter 9, unless you eliminated Constance previously while Laura was under her control.
- The Emperor: Walk through the distillery and back around again, The Emperor Tarot Card will show just at the side of where you found the above mentioned card.
"The Emperor" Tarot Card Explained: This vision reveals Jebediah Hackett succumbing to his wounds after being attacked by the monster. You have the option of eliminating him earlier on, similar to what you did with Constance; however, if you don't, the monster will eventually do it for you.
Chapter 9
- Death: When Ryan is alone in the Hackett family house, explore the room and you’ll find the Death Tarot card on top of the wardrobe.
- The Sun: As Laura, you’ll eventually come to a room with a piano. Go upstairs and entering the room to the right. The Sun Tarot Card will show after entering.
- Judgment: After opening the Scrapyard gate, take either the middle or right path. Follow the path and climb the large containers. The camera will cut to the Judgment Tarot Card.
- The Hierophant: Inside the storm shelter, walk to the staircase leading back outside instead of climbing the ladder. The camera will cut to show The Hierophant Tarot Card.
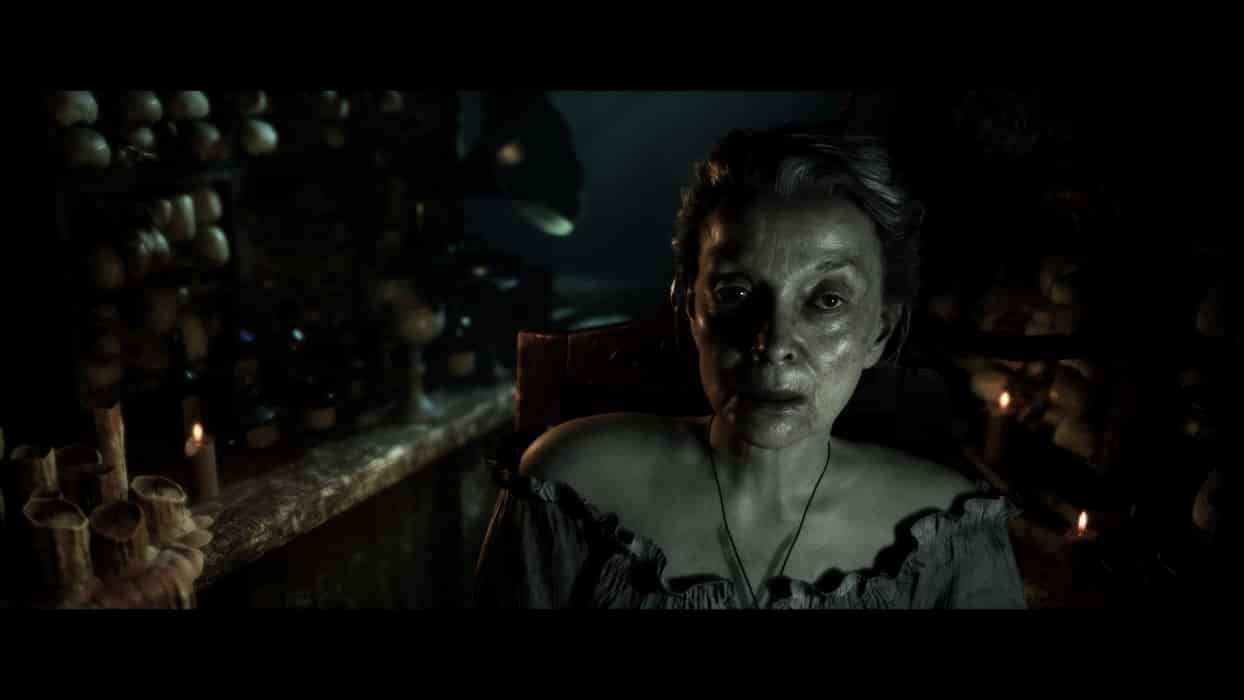
"The Hierophant" Tarot Card Explained: Once you have collected this card, you will be sent to a special, behind-the-scenes cutscene with Eliza, which will play out the events of the Freakshow Fire for which you have been searching for clues. During the scene, we gain some more information regarding the history of The Quarry as well as a sight of the alleged Hag of Hackett's Quarry and of Silas. In this very spot, there is also a quick-time event that you won't want to miss.
The Hierophant Tarot Card is also another card you cannot get a reading from Eliza. Collecting it will render The Sun, Judgment, and Death null as the Curator will get aggressive and refuse to give you any premonitions.
Chapter 10
- The High Priestess: In the Camp Lodge, go into the attic of the first staircase on your right. You’ll climb two sets of stairs. When exploring the attic the camera will cut above to reveal The High Priestess Tarot Card.
"The High Priestess" Tarot Card Explained: Prelude to the game's epilogue, this card doesn't give any insight into the future. Since the game is completed at the end of Chapter 10, there are no more visions of the future to be had, I believe this is the reason.
Finding all the Tarot Cards will earn you the Decked Out trophy. There is at least one Tarot Card per chapter and you can use them to get a reading from the Curator at the end of each. One of the only exceptions is The High Priestess that is found at the end of the game that provides no premonition as there is no subsequent chapter.
Read our The Quarry Trophy List for a list of all the trophies.
How to Use The Quarry Tarot Cards?
The Tarot Cards allow Eliza to give you a premonition of future events from her crystal ball at the end of each chapter. The cards themselves do not really influence the story. But they are a collectible that could potentially save your life if you get a clue on what they’re trying to tell you.
That’s our guide for The Quarry Tarot Card Locations. We hope you managed to get all the 22 Tarot Cards in the game. Don’t go just yet, because we have more The Quarry content that will help you 100% the game.
The Quarry Collectibles
The Quarry Background Lore
The Quarry Reviews & Other Content
- The Quarry – Review
- The Quarry Hands-On Preview
- The Quarry Story Length – How Long To Beat
- The Quarry Voice Actors and Cast
- Is The Quarry Coming to Xbox Game Pass?
Check out this Youtube video from 100% Guides showing you how to find all the collectibles (Tarot Cards included) in Chapter 6.

