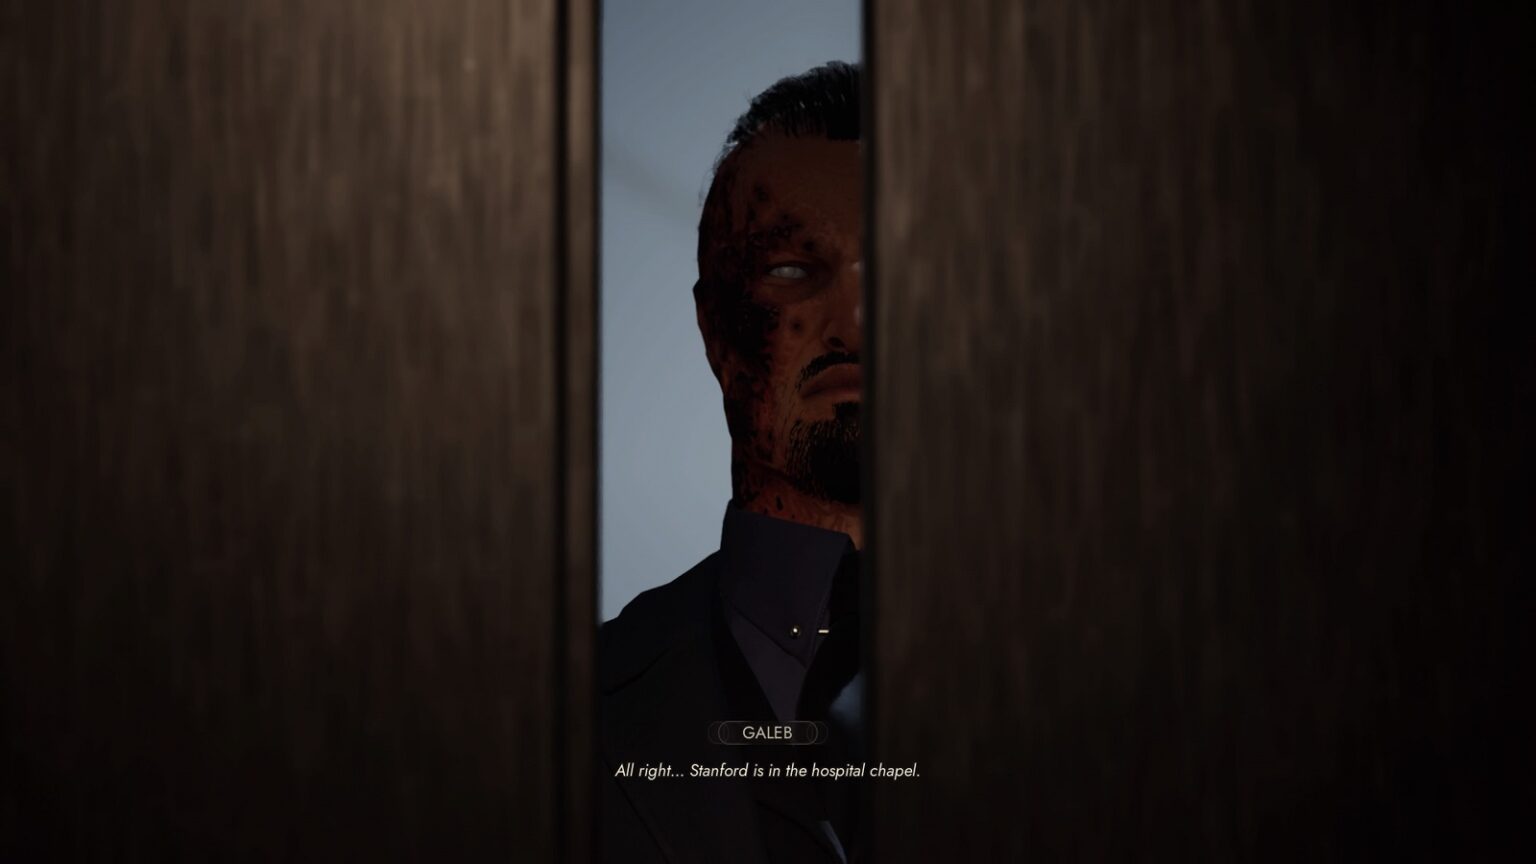
After Galeb escaped from the detention wing, he goes down to Basement 3 to finish his mission. Standford’s office is located on this floor and it is very likely that he will be there. The vampire doesn’t know what he’ll run into once the elevator doors open. But of all the expected to find… he was expecting to find a place of peace and recovery.
Check the rest of this guide to know which points to invest in before starting the level. And remember, just cause there is a solution that saves you Willpower in the end, it doesn’t mean it’s the best solution. You WANT to use your Willpower to improve your mastery of talents.
And with that out of the way, let’s start the level.
Basement 3 was very much different from any other part of the base. It looked more like a rehab center than a military base. Going through the rooms, we find out that the people here have expressed their gratitude to Monsignor and others. Be that as it may, it is still our job to end him. No matter how good of a man he was to the mortals.

The way to progress is on the second floor. But before going up there, you may want to Frank Lloyd. You can find him in the middle of the common area. Through our interaction with him, we find out about Paula Nielson, Stanford’s protegee. You can end the conversation there. But if you press on the subject, you find out that Paula, and the others on this floor, have a connection to the vampires, whether they’d been used by them or victims of something far worse.
So, here are your options for this level, you can go to Stanford’s office, or you can go talk to Paula. Either way will get you closer to finding out where Stanford ran off to.
Let’s start with going to Stanford’s office.

If you kept Father Joseph Manneh alive, you will find him going through Stanford’s office. Talking to him reveals that the entire operation is dependent on Stanford. If anything happens to him, their aspirations for the region will die alongside him. After gathering the things he needs to evade the SAD, Manneh leaves the facility for faraway places.
And that’s the last time we’ll see him… for this game.
The Easy Way
The fastest way to get what you need is to go through the ‘IMPLANT LOCATION SERVICE’ application on Stanford’s computer. You can brute force your way by going through IDs one by one. Or you can use this number as a reference.
ID: 964 512 243

We find out that Monsignor Stanford is located at H32 Hospital Elevator. That’s our next stop. But before that, let’s make up our clearance.
Replicating Stanford’s Implant
As the most important figure in this entire operation, Monsignor Stanford has the highest clearance out of anyone on the base. Basically, this will give us access to pretty much the whole place.
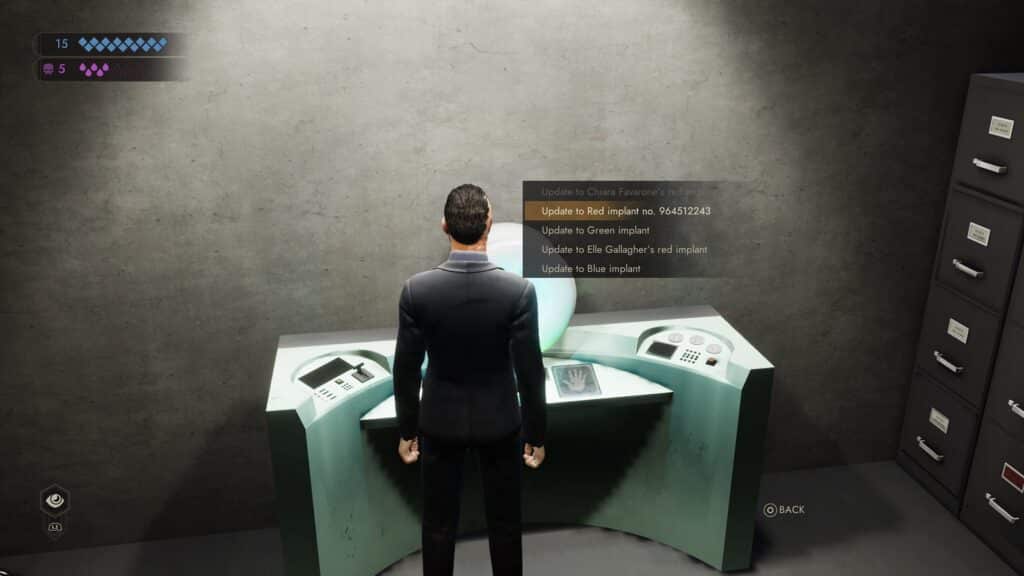
If you kept your Red implant from previous levels, you can use it to open an area behind Stanford’s office. Inside, there is a machine that engraves an Implant with whatever number you have on your person.
Start by picking up a blank implant from the drawers. There is a handful of them in case you mess up making the one you need.
Next, go over to the grafting machine and insert the blank implant.

Once you’ve done that, interact with the computer and input Stanford’s ID implant number. You can use the image above as a reference.
Take the newly made implant to the grafting machine and choose, Update to Red implant no. 964512243.

Using your implant, you can open the safe where Stanford keeps his secret.
There’s nothing to acquire after that. You can leave the level or you can talk to Paula to learn more about Stanford’s work.
Talk with Paula
If you talked to Frank Floyd, then you know that Paula drank the blood of a vampire. That makes her a Childe of one. Unfortunately, she was abandoned by her Sire when the Beckoning was too much for her to bear. Leaving Paula in a very dark place.
When Galeb walked into the reconciliation room, Paula instantly recognized him as a vampire from one of the pictures from Stanford’s office. Paula wasn’t afraid. Then again, she was with her mistress until she was abandoned.
The two continue to talk until Galeb brings up that he knows where Stanford is. At which, Paula asks what’s he going to do with him. Galeb quickly shuts her down.

You can choose to Erase her memories or Kill her. Either way, she won’t be a problem anymore.
If you walked into the place without knowing Stanford’s location first, you’ll have to Confront her in order to know where Stanford has gone.
Confrontation with Paula
To prepare yourself for the confrontation with Paula, you’ll want to head over to her room to gather some intel. You find out that Paula has a son, Adam. She also knows about Xu Feng. Her name can potentially come up.
The hardest part about the confrontation is gathering info on her. To have a detailed understanding of her, you’ll need Education(4). That alone is already kind of a hard ask on its own. Especially for this one Confrontation.
The Confrontation itself has 4 stages and you are allowed 1 miss.
In the first stage, you can either use at least Rhetoric(3) to convince her, or you can ‘Tell her about Feng’.
In the second stage, you need at least Psychology(3) to defend yourself. Otherwise, you can let that one go and focus on the last two stages.

For the third stage, you’ll need Persuasion(3) or Psychology(3) in order to advance. You can dig up clues about the life she left behind by analyzing the report findings in Standford’s office.
The final stage is a tricky one. If you didn’t successfully clear the dialog check with Frank Lloyd, then the option, ‘Make her think she can join us’ will not appear. Otherwise, you can use Presence to put an end to her resistance.
If you are successful with the Confrontation, she will give up Stanford’s location.
All Vampire the Masquerade Walkthrough guides:
- Vampire the Masquerade Swansong Walkthrough Part 1 – Prince’s Quarters
- Vampire the Masquerade Swansong Walkthrough Part 2 – Loft
- Vampire the Masquerade Swansong Walkthrough Part 3 – Moore’s Apartment
- Vampire the Masquerade Swansong Walkthrough Part 4 – Unknown
- Vampire the Masquerade Swansong Walkthrough Part 5 – Prince’s Quarters
- Vampire the Masquerade Swansong Walkthrough Part 6 – Long Island
- Vampire the Masquerade Swansong Walkthrough Part 7 – Anarch’s Domain
- Vampire the Masquerade Swansong Walkthrough Part 8 – Red Salon
- Vampire the Masquerade Swansong Walkthrough Part 9 – SAD Base (Leysha)
- Vampire the Masquerade Swansong Walkthrough Part 10 – SAD Base (Emem)
- Vampire the Masquerade Swansong Walkthrough Part 11 – SAD Base (Galeb)
- Vampire the Masquerade Swansong Walkthrough Part 12 – Intelligence Elevator
- Vampire the Masquerade Swansong Walkthrough Part 13 – Basement 3
- Vampire the Masquerade Swansong Walkthrough Part 14 – Server Room
- Vampire the Masquerade Swansong Walkthrough Part 15 – Basement 4 Labs
- Vampire the Masquerade Swansong Walkthrough Part 16 – Hospital Chapel
Check out our other Vampire the Masquerade: Swansong content:
- Vampire the Masquerade Swansong – Deeper Look into the Mechanics
- Vampire The Masquerade Swansong – Best Starting Profile For Each Character
- Vampire The Masquerade Swansong – Removing the Red Salon Guard
- Vampire The Masquerade Swansong – QR Code ARG
- Vampire The Masquerade Swansong – Which Coffin for Miley
- Vampire The Masquerade Swansong – The Right Dose of Trajax
- Vampire The Masquerade Swansong Secret Endings
- All Vampire The Masquerade Swansong Endings
Also, watch this video by 100% Guides on Vampire The Masquerade Swansong All Safe Zone Locations (Meet Me There Trophy Guide):


