
Galeb manages to infiltrate Long Island by pretending to be one of the corpses that are going to be delivered to the SI’s secret facility. The SAD soldiers deposit him in the morgue to move later. What they don’t is that this Vampire is alive and well. After they leave, Galeb breaks open the locker holding him and that’s the time mission starts proper.
As always, check the rest of this guide to know which points to invest in before starting the level. And remember, just cause there is a solution that saves you Willpower in the end, it doesn’t mean it’s the best solution. You WANT to use your Willpower to improve your mastery of talents.
And with that out of the way, let’s go start the level.
Galeb needs a subdermal implant to leave the morgue. You can find one in a metal bucket above a covered-up dead agent. The implant will be glowing blue and will be hard to miss. After you insert the implant into the white machine, use it again to graft the implant under your skin. Head to the door afterward.
After leaving the morgue, head straight to the closet to the right. Interacting with an implant scanner reveals that you need a higher clearance to enter. Leave the closet.
A doctor will ask you why you are here. You can either use your powers on her or kill her to ensure her silence. If you kept her alive, she have a chance to ask her a question. With Psychology(1), she reveals to you that you need a red clearance level to have full access to the facility.

To enter the facility proper, you need a higher clearance level. If you kept the doctor alive, you can convince her to help by giving you a green implant. To do this, you’ll need at least Persuasion(3) or Rhetoric(1). If successful, she will share her safe’s password with you, 423. That’s where you can get a green implant.
If you chose to kill her or don’t want to waste any Willpower, you can find a scalpel in the hallway behind her. From there, you’ll go back to the morgue and remove the green implant from the dead soldier.
Once you have the green implant, head to the implant machine to upgrade your clearance.
Head back to the closet to progress the story.

At the bottom of the elevator, you will come across a soldier who is shocked by your arrival. He aims the crossbow at you and demands you lie down with your hands above your head. You have no choice but to use one of your powers. Problem is, that none of them work. The soldier resists vampires’ powers.
You have the option to then use Intimidation(1) or Persuasion(1) on the soldier. If you choose neither option and instead walk towards him, the soldier will threaten to call his sergeant. Last Chance. You can either use Psychology(1) to bluff your way out or dispose of him before he draws attention.
Once you’ve passed that, you’ll find yourself in a hexagonal room with staff waiting for the doors to open.
There is a chance that this part of the level is bugged. You may find that you can’t move the camera up or down. That’s because, if whatever reason, pressing up and down moves the computer’s monitor. To fix it, simply head back to the main menu and load the game again. That should fix it.
To progress, you’ll need to interact with the mainframe computer. You need to use the implant database to find Standford. But you need a red implant from one of the members of St. Leopold.
To get to the members, you need to open the big door. One thing you can do is to use Dominate on the technician. You can also use Intimidation(3) to force him to move along. Or you can just fix it yourself.
To open it yourself, you need 220V on alternating current. To arrange it, you’ll need to turn off and on the buttons until you have 220V. Use this image as a reference.
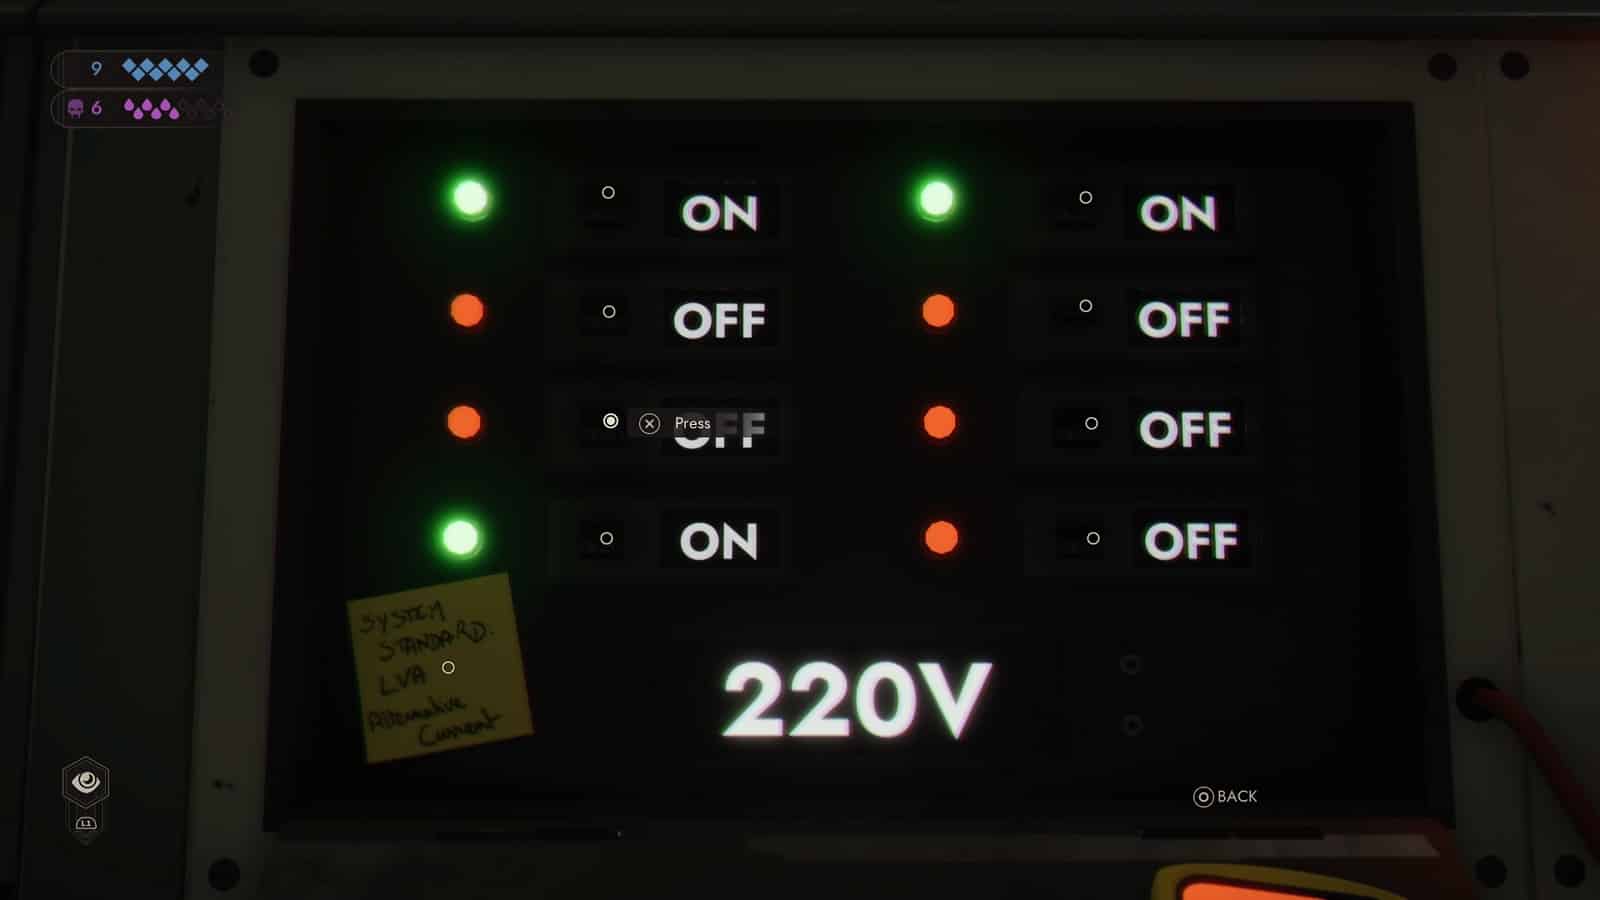
Once you have 220V, turn your camera to the switch to the right, and pull it. Now, you’re in the base.
You have the choice of going to the Clinic, the Treasure, or the Pyre for an implant. The easiest one to get is the one from the Clinic. But let’s set things up to make the most of things.
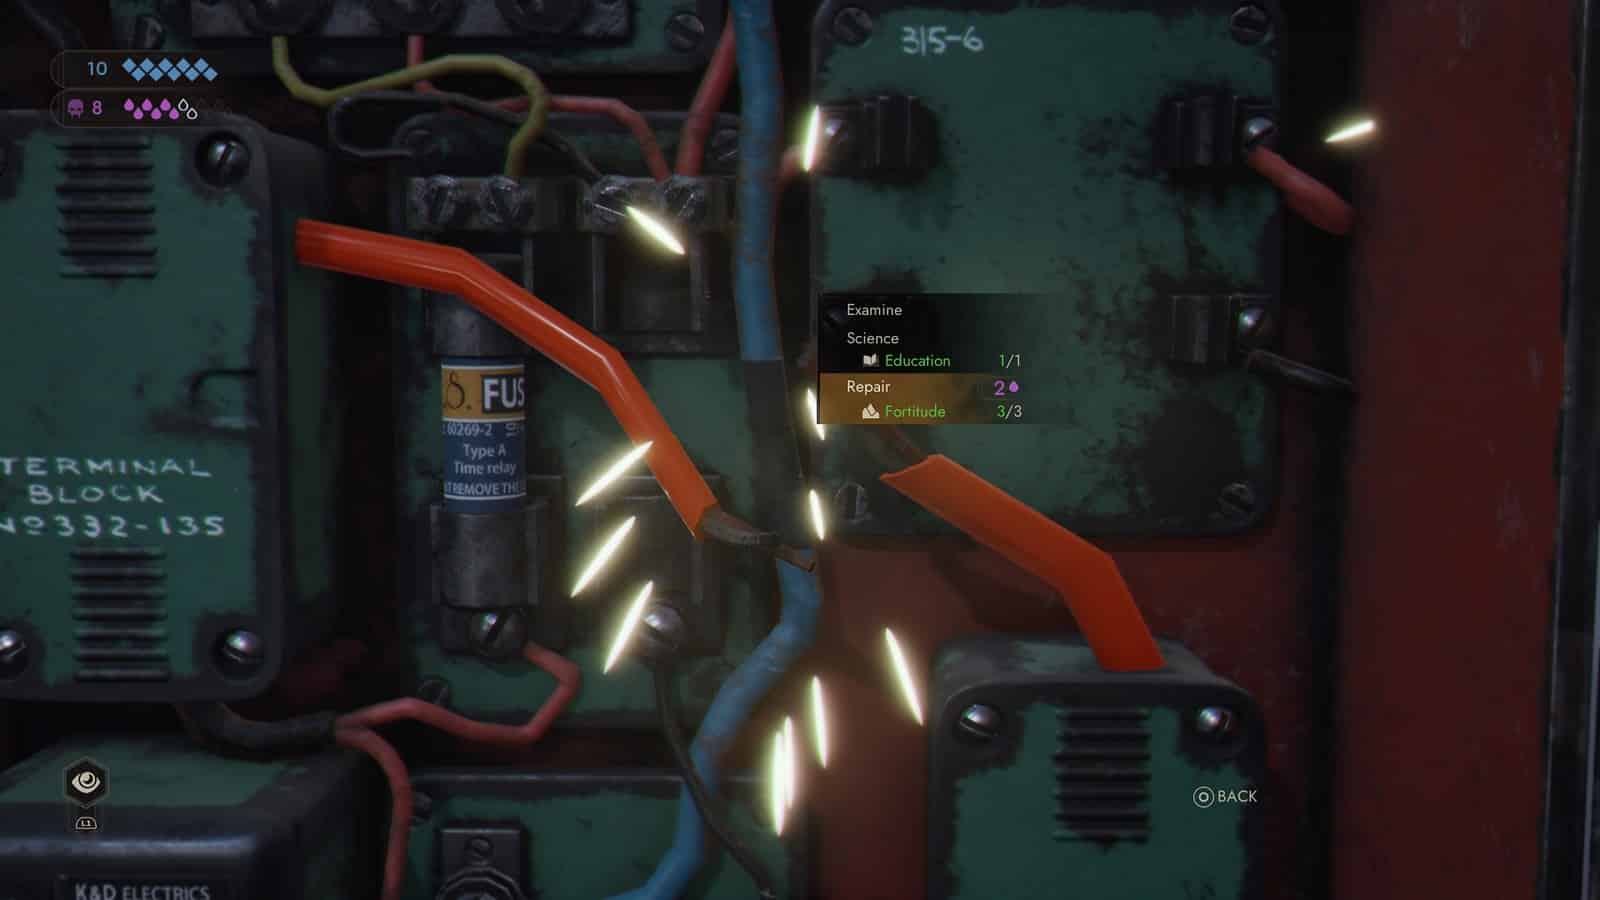
Let’s head to the Pyre first. Head straight to the control room and interact with the circuit breaker in the back. At this point, you should already have Fortitude(3) and are ready to take the pain to reconnect the wiring that controls the safety box. What you’re trying to change here is whether or not the St. Leopold book will burn alongside Elle. If you don’t have enough Fortitude though, you can always come back after you get Dr. Chiara’s red implant. Inside Elle’s room, you can find a set of electrical pliers. Use those to safely reconnect the wires.
After you’ve connected the wires. You can either jump the shark now by using Security(3) to lock pick the pyrolysis button open. It’s pretty steep though, so it’s better to find the key instead. And what we’ll do next besides securing ourselves a red implant.
Before heading to the clinic, you can get some blood from one of the assistants before your Hunger becomes too unmanageable. Just pick up the valve from the workbench, reinstall it on the tank, and turn to clean the tank of any organic matter Doing so will result in the mechanic opening up the storage room, giving you a nice spot to do your Vampire thing. Now, let’s head to the Clinic.
Getting Dr. Chiara Favarone’s Red Implant
In order to get to Dr. Chiara, you’ll need to pick up Professor Henry’s hazmat suit. If you have Security(3), you can open the locker containing it. Or finding the security code. Another option you have is to get a red implant from the other two and use it to get a hazmat suit from an adjacent locker.
To get Dr. Henry’s hazmat suit, you’ll need to consult his computer. Doing so will point you towards a certain ‘lucky patient’. On the other computer, you’ll find a reference to said patient. Its code is 1492 the same code you need to have access to the hazmat suit.
Once you have the suit, you get to watch a cutscene where you make your first attempt to get the implant. It fails, however, and the good doctor instructs you to get a new sample from cold storage. At least you got access to it without having to use your powers on someone.
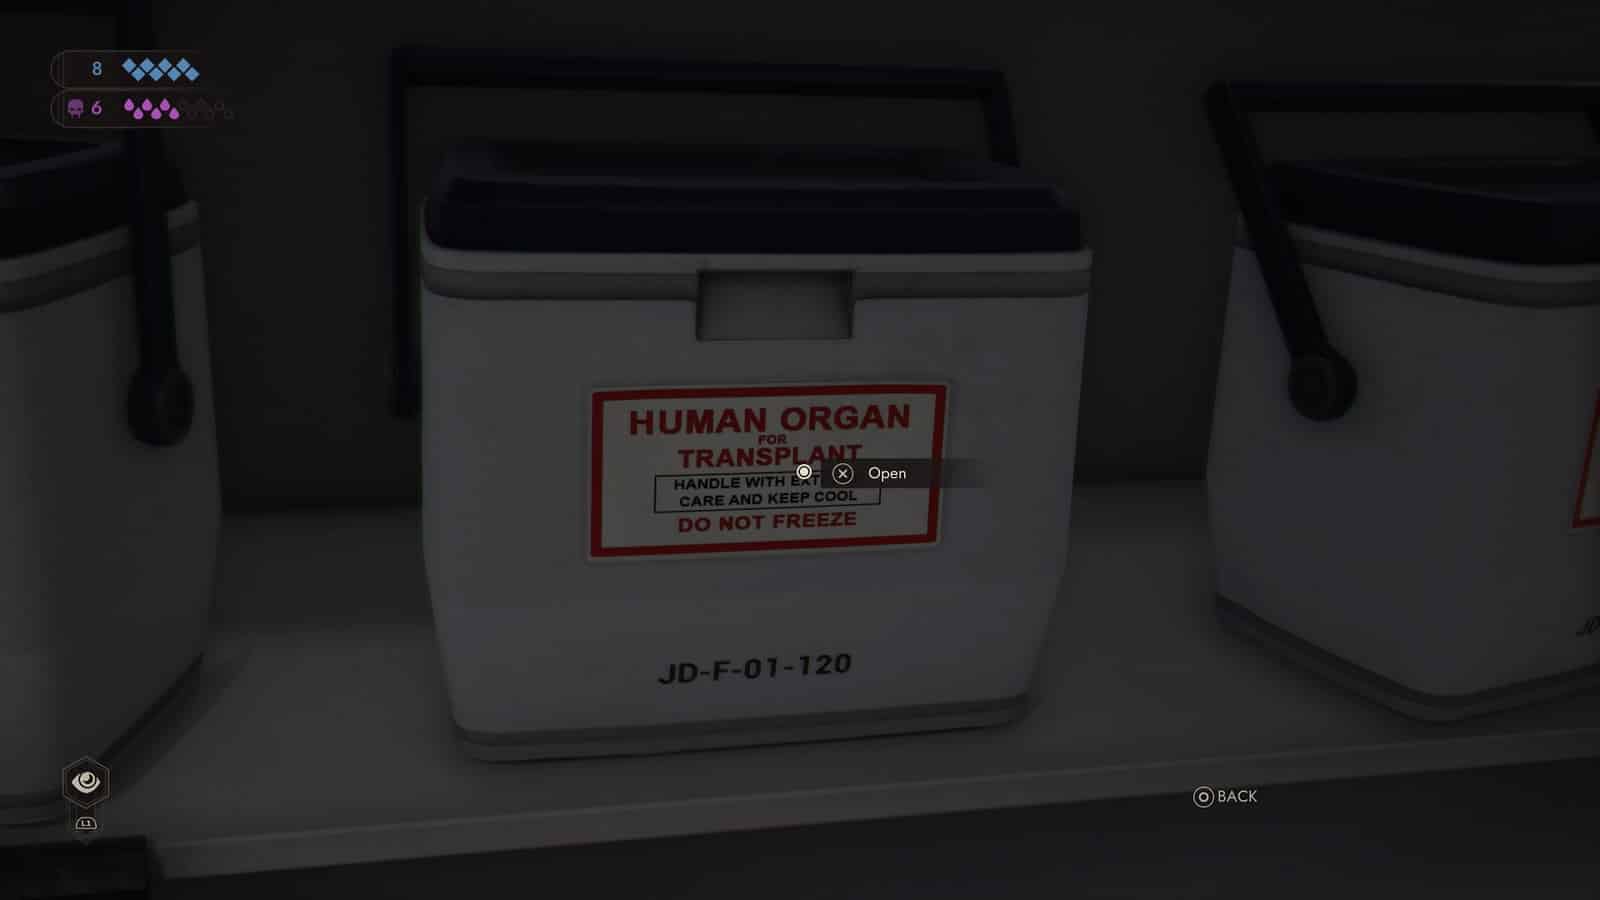
Inside cold storage, you’ll need to find and bring back the cerebellum of a vampire with a reference of JD-F-03-120.
But before heading in further, look to the shelf beside the door on the left and look for a Jobe Carver. On that shelf, you’ll find the security key for the weapons testing room. We’ll use it later.
The box you’re looking for is located somewhere in the back. Underneath the MUMMIFIED marker. Look for the shelf with the name… Jara Drory. Yes, that Jara. Look for the container with JD-F-03-120. Interact with it, take the cerebellum, and head back to Dr. Chiara one last time.
And that’s it. After you’re done, just go up to the nearest implant machine and upgrade your clearance. You can choose to end the level now or get a few more secrets now you have full access to the place. You can also complete your collection by getting Elle Gallagher’s and Father Joseph Manneh’s implants.
The History of St Leopold Secret
Now that you have access to the full place, let’s start with uncovering a few secrets.
Head back to Elle’s lab, close the safety box, and start the pyrolysis procedures. After that’s done. You’ll have gotten the ‘Library Rat’ trait. You can now read the contents of the book after you’ve collected Elle’s red implant.
Now that’s done, head to the Treasure for an interesting interaction with Father Joseph.
There are a couple of ways to force him out of his shelter, but the easiest way is to mess with the temperature controls. To change the temperature, you’ll need Dr. Chiara’s red implant. After scanning the implant, simply interact with the thermostat. This will cause Father Joseph to head back to the common area. Raising the temperature also destroys evidence that you don’t want humans to have. Galeb also gets the ‘censor’ trait as a reward.
Father Joseph Manneh Confrontation
The conversation with Father Joseph opens the door for a sort of cooperation between the two races. But Galeb must convince the Father that the people he is working for cannot be trusted.

There are 4 stages to this Confrontation and you are allowed 2 mistakes. If you have Education(2), you can win the first round without having used any Willpower. There’s also the option to use Persuasion(1) on him. For the free win, go for ‘I’ve seen their experiments on our kind’ after you’ve seen the experiments Joseph’s colleagues are performing.
In the second stage, you can use Presence to suggest that he has so much to gain from their exchange. You can go with the Rhetoric(3) option. You can choose the ‘Because his kind will condemn him as a heretic option’ to save up on Willpower and Hunger.
Father Joseph then asks Galeb if he would trust vampires if he was in the Father’s shoes. Your only option is to defend yourself with Psychology(2) or don’t defend yourself.
The last stage of the Confrontation sees Galeb with the choice to use Presence on him or the Intimidation(2) option. Don’t bother with the other choices. They will not work for the final stage.
If you are successful, you will find out that the only one who can operate the central computer is Dr. Chiara. That’s the implant you really need to finish the level.
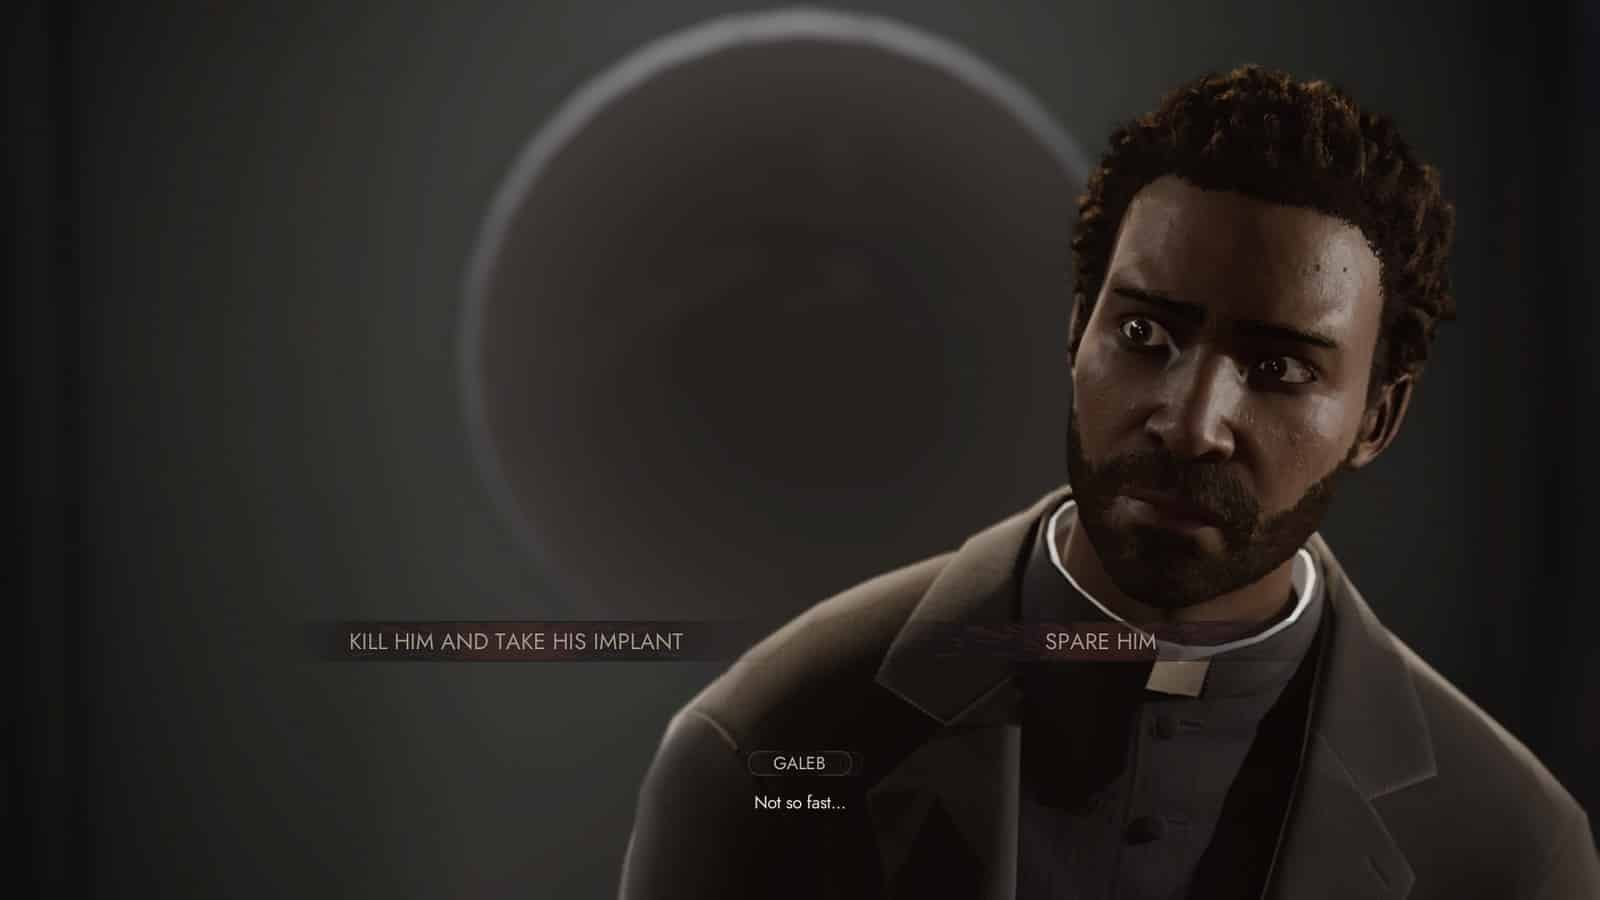
You have the option to kill Joseph and take his implant or spare him… for now.
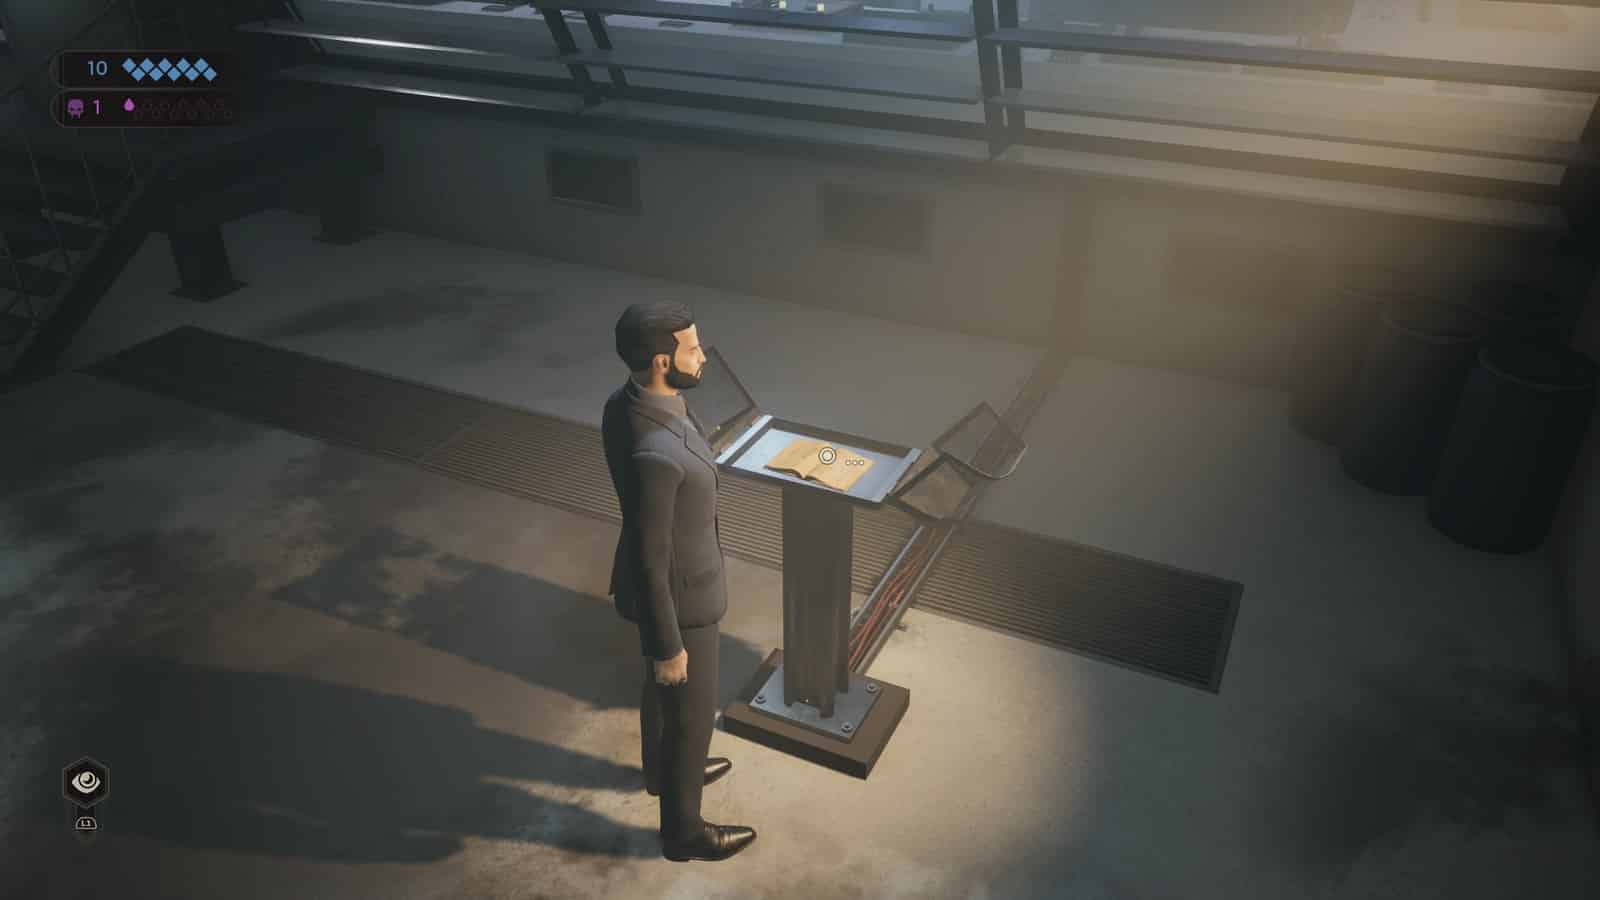
Either way, that’s everything checked off to finish the level. You can proceed to the computer to move on to the next part.
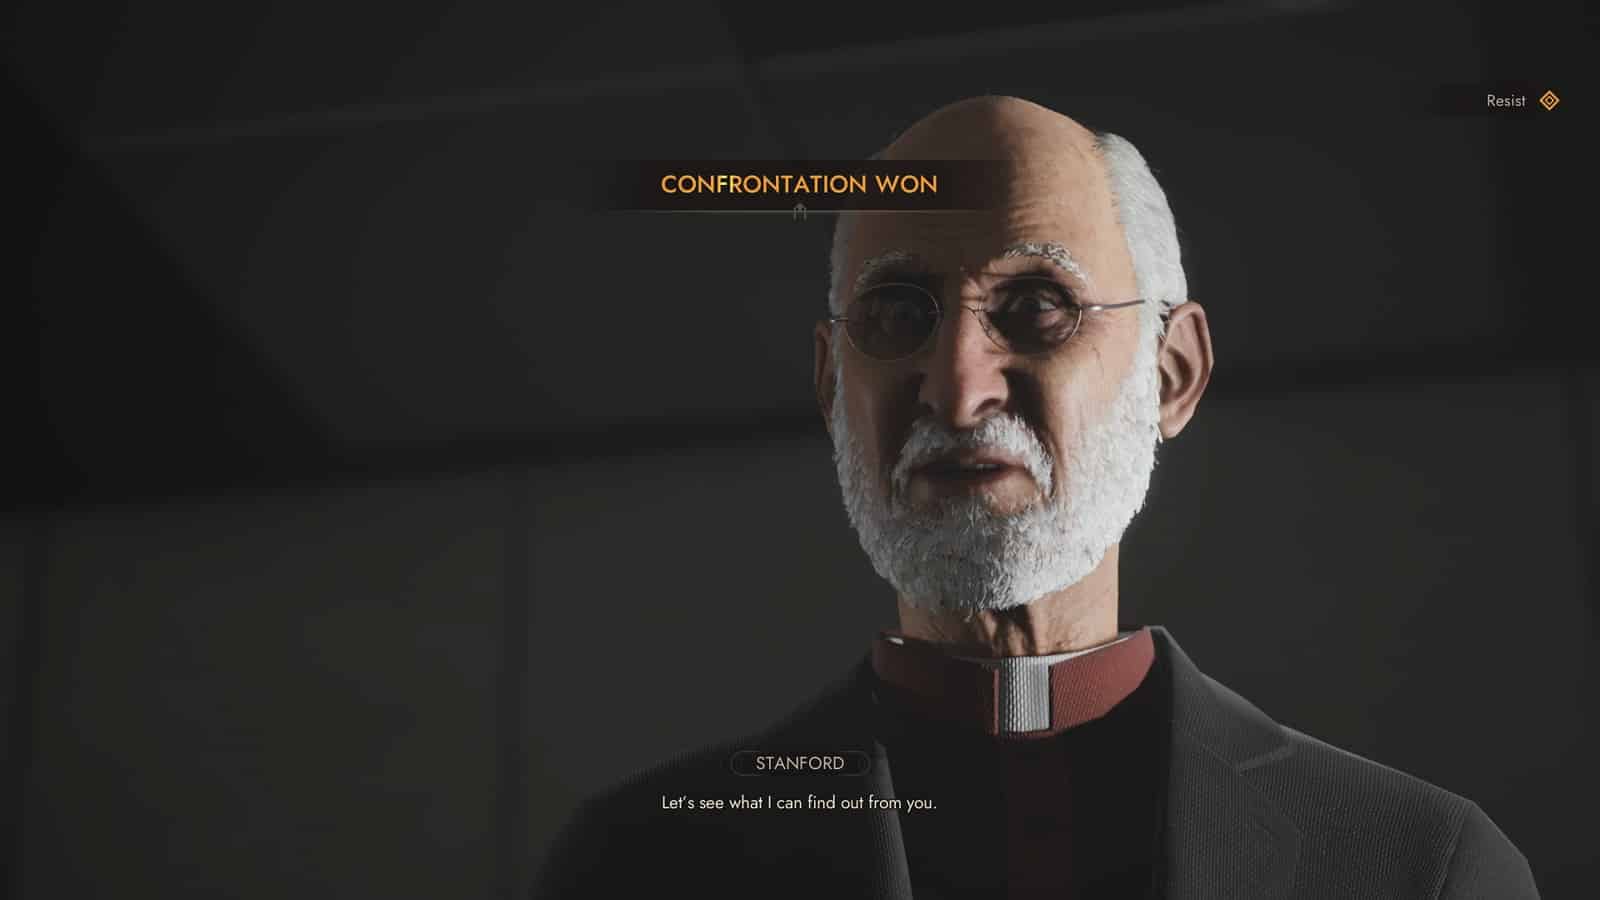
Stanford Confrontation in Interrogation
Galeb got caught while getting information from the computer. He wakes up strapped to a chair with Stanford getting ready to interrogate him. Galeb must endure this.

There are 4 stages in this confrontation. Should Galeb answer untruthfully, Stanford will use pain to get the information out of him.
One the first stage, it is best that you choose to ‘Tell him the truth’. Your other option is to go for Deduction(2) but that only buys you a little bit of time to rethink your answer. All other options will result in torture.
In the second stage, you have the option to use Intimidation(4) or tell him the truth. Any other option will result in torture. But do keep in mind that telling him the truth will result in him upping his defenses for when you inevitably break free.
On this third question, you can give Father Joseph up as your accomplice. But doing so will result in the Father’s immediate disposal. This alliance might be temporary and he might have outlived his usefulness. Otherwise, you can endure the resulting torture with Fortitude(2).
For the final question, if you have Persuasion(4), you can make up an address to throw him off the trail. Otherwise, you can give the address or just take it if you have Fortitude(3).
If you manage to finish the level without tipping him to your real intentions and keeping your home base’s location a secret, you’d have done well for this Confrontation.
All Vampire the Masquerade Walkthrough guides:
- Vampire the Masquerade Swansong Walkthrough Part 1 – Prince’s Quarters
- Vampire the Masquerade Swansong Walkthrough Part 2 – Loft
- Vampire the Masquerade Swansong Walkthrough Part 3 – Moore’s Apartment
- Vampire the Masquerade Swansong Walkthrough Part 4 – Unknown
- Vampire the Masquerade Swansong Walkthrough Part 5 – Prince’s Quarters
- Vampire the Masquerade Swansong Walkthrough Part 6 – Long Island
- Vampire the Masquerade Swansong Walkthrough Part 7 – Anarch’s Domain
- Vampire the Masquerade Swansong Walkthrough Part 8 – Red Salon
- Vampire the Masquerade Swansong Walkthrough Part 9 – SAD Base (Leysha)
- Vampire the Masquerade Swansong Walkthrough Part 10 – SAD Base (Emem)
- Vampire the Masquerade Swansong Walkthrough Part 11 – SAD Base (Galeb)
- Vampire the Masquerade Swansong Walkthrough Part 12 – Intelligence Elevator
- Vampire the Masquerade Swansong Walkthrough Part 13 – Basement 3
- Vampire the Masquerade Swansong Walkthrough Part 14 – Server Room
- Vampire the Masquerade Swansong Walkthrough Part 15 – Basement 4 Labs
- Vampire the Masquerade Swansong Walkthrough Part 16 – Hospital Chapel
Check out our other Vampire the Masquerade: Swansong content:
- Vampire the Masquerade Swansong – Deeper Look into the Mechanics
- Vampire The Masquerade Swansong – Best Starting Profile For Each Character
- Vampire The Masquerade Swansong – Removing the Red Salon Guard
- Vampire The Masquerade Swansong – QR Code ARG
- Vampire The Masquerade Swansong – Which Coffin for Miley
- Vampire The Masquerade Swansong – The Right Dose of Trajax
- Vampire The Masquerade Swansong Secret Endings
- All Vampire The Masquerade Swansong Endings
Also watch this video by 100% Guides on Vampire The Masquerade Swansong How To Open The Blast Doors On Long Island:


