
Emem, on orders from Hazel, has come into contact with the Anarchs. Through their mutual contact, Saule, Emem arranged a meeting with the current leader of the Anarchs to talk about the Anarch’s part in all this. Emem is warned ahead of time that her presence is not welcome among the members of the Anarchs.
Check the rest of this guide to know which points to invest in before starting the level. And remember, just cause there is a solution that saves you Willpower in the end, it doesn’t mean it’s the best solution. You WANT to use your Willpower to improve your mastery of talents.
And with that out of the way, let’s start the level.
The meeting with Baron Thane goes nowhere. Fear has its claws deeply embedded in the man, so Emem has to work around the problem and appeal to the other leaders in order to gain their support. You have to somehow convince Rafa and Cerys to support your cause before going off into the SI’s base.

But before we talk to the leaders, let’s head over to Thane’s office to pick up some stuff. It is the last door on the second floor of the hanger. Once inside look behind the door to get the key to the tunnels. This will save a bit of time and effort while going through there. On his desk, you’ll also find a ‘J61’ keycard that you can use inside the vault room.
With that out of the way, let’s go and talk to Cerys.
Cerys’ office is located in the Boxing Club. She won’t be there at first but it will give you chance to look around. To move things along, you need to go to the back where you’ll witness an argument between Cerys and Yardley in front of his boxcar. Chill for a bit and go back to Cerys’ office where she will kindly tell you to “Get out!”. After that, Yardley will call out to Emem and suggest that they make an agreement behind Cerys’ back.
The plan is to plant dirt on Cerys and have her kicked out as the leader of security. To do this, you’ll be heading to the vaults and planting the evidence inside her vault.

After the conversation with Yardley, you can pick his pocket using Celerity II for a keycard for his personal vault.
There are two ways into the vault.
- Use Celerity from the locked room on the second floor of the hanger. And then drop down from the roof.
- Or go in for the private next to Cerys’ office and convince the guard to leave by using Persuasion(3) or Presence(3).
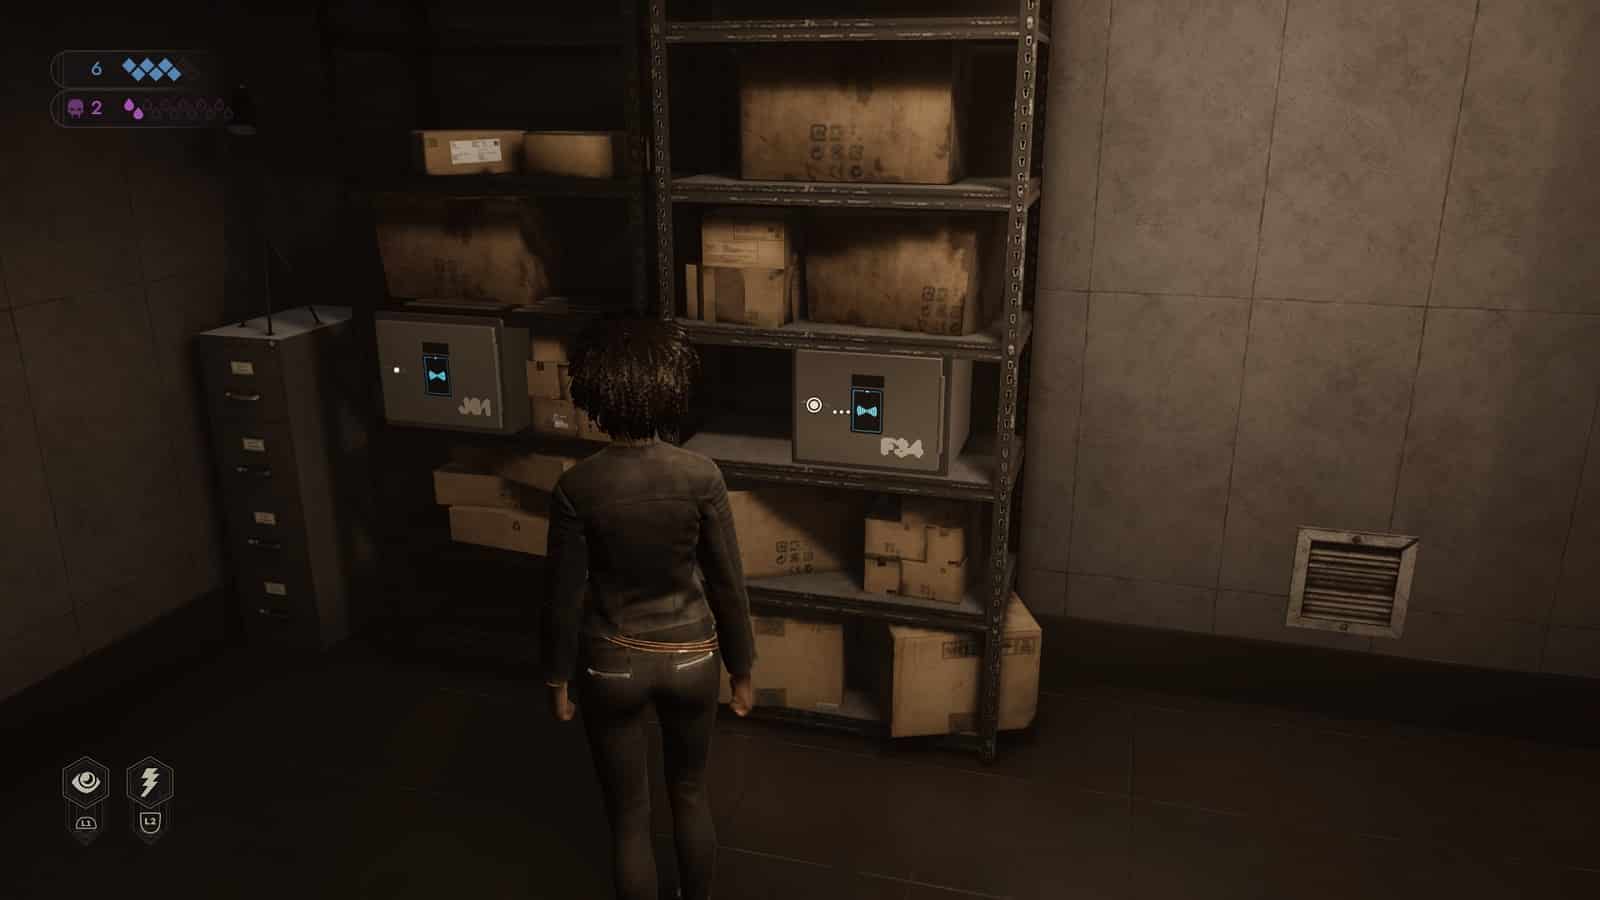
Inside the vault, you can go straight to planting the evidence in Cerys’ safe or you can open Thane’s safe using the J61 keycard we picked up earlier. Inside there is a thin-blood watch. Yardley’s vault (F34), however, shows proof that he’s been dealing with the Crimson Oaks for a while now. His motives now become clear.
If stabbing Cerys in the back isn’t your style, you can report Yardley to Cerys to earn some favor… after winning a Confrontation first, of course.
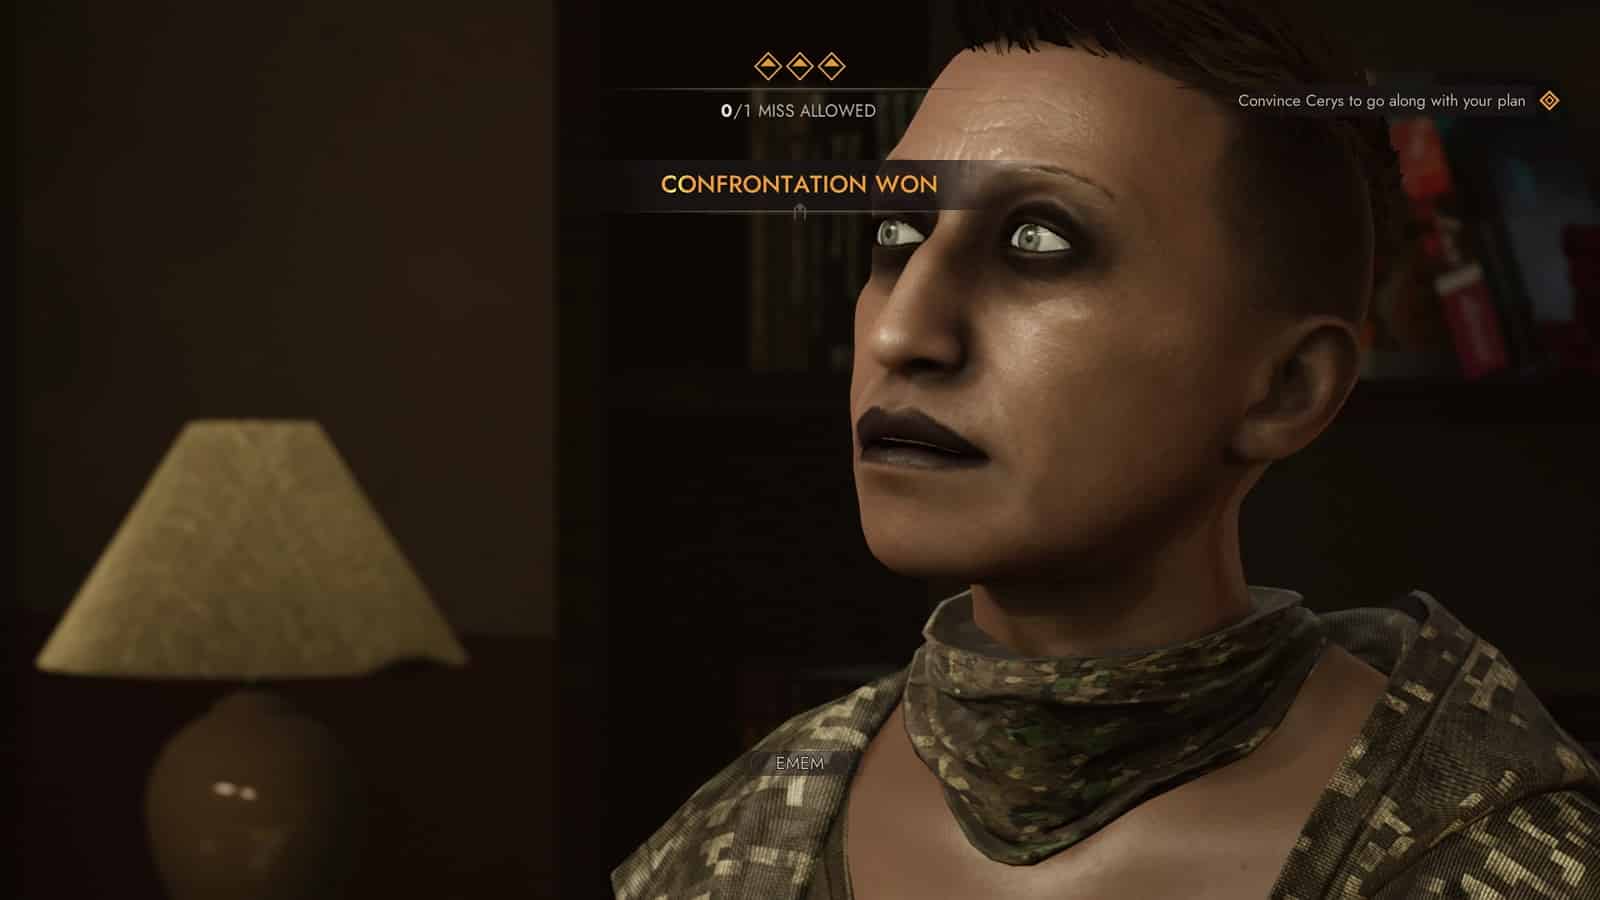
Cerys Confrontation
Even after Emem shows Cerys the fake files AND tells her that Yardley’s been a little something on the side, Emem still needs to convince her to back her up.

There are 3 rounds in this Confrontation. With only 1 mistake allowed.
The opening round shows a lot of options. There is the Intimidation(3) at the bottom but you’ll want to go ‘A deal on the blood trade’ to save your Willpower.
In the second round, Cerys brings up the potential of casualties in the upcoming battle. If you have at least Psychology(2), you can defend yourself. If not, take the hit and don’t defend yourself.
In the final round, you can choose the Rhetoric(4) option if you’re up to it. Otherwise, choose ‘I’m in the Primogen. I can protect her’ to seal the deal.
The Yardley Alternative
If you decided to help Yardley out instead, go back to him after planting the evidence. He’ll ask to head back to Cerys’ office while he makes some arrangements. When you walk into the office, chit-chat with Cerys long enough for Yardley to walk in, shotgun in hand, and “take care” of business.
As the new head of security, Yardley can take Cerys’ place in the next negotiation.
Getting Rafa on Board
Now that you have that mess sorted out, it’s time to recruit Rafa. Unfortunately, he can’t be reached and his lackeys are guarding the entrance to their ship. To get it to it, you’ll need to either;
- Reactivate the crane that’s to the left of the ship to give yourself a place to use Celerity on.
- Or go down to the tunnels from Saule’s place. Turn right and head towards the bay. And then use Celerity twice to reach the ship.
Once you’re onboard the ship, head straight to the top and there you will see a room with a couple of rows of computers.
(To open the cellphone with the moon landing wallpaper, input the following code: 1969. Or the year the moon landing took place.)
You will need to access these computers to help you in the Confrontation with Rafa later. Starting with the computer in the back left of the room. Use the ship’s registration number to open it. You can see that number before.
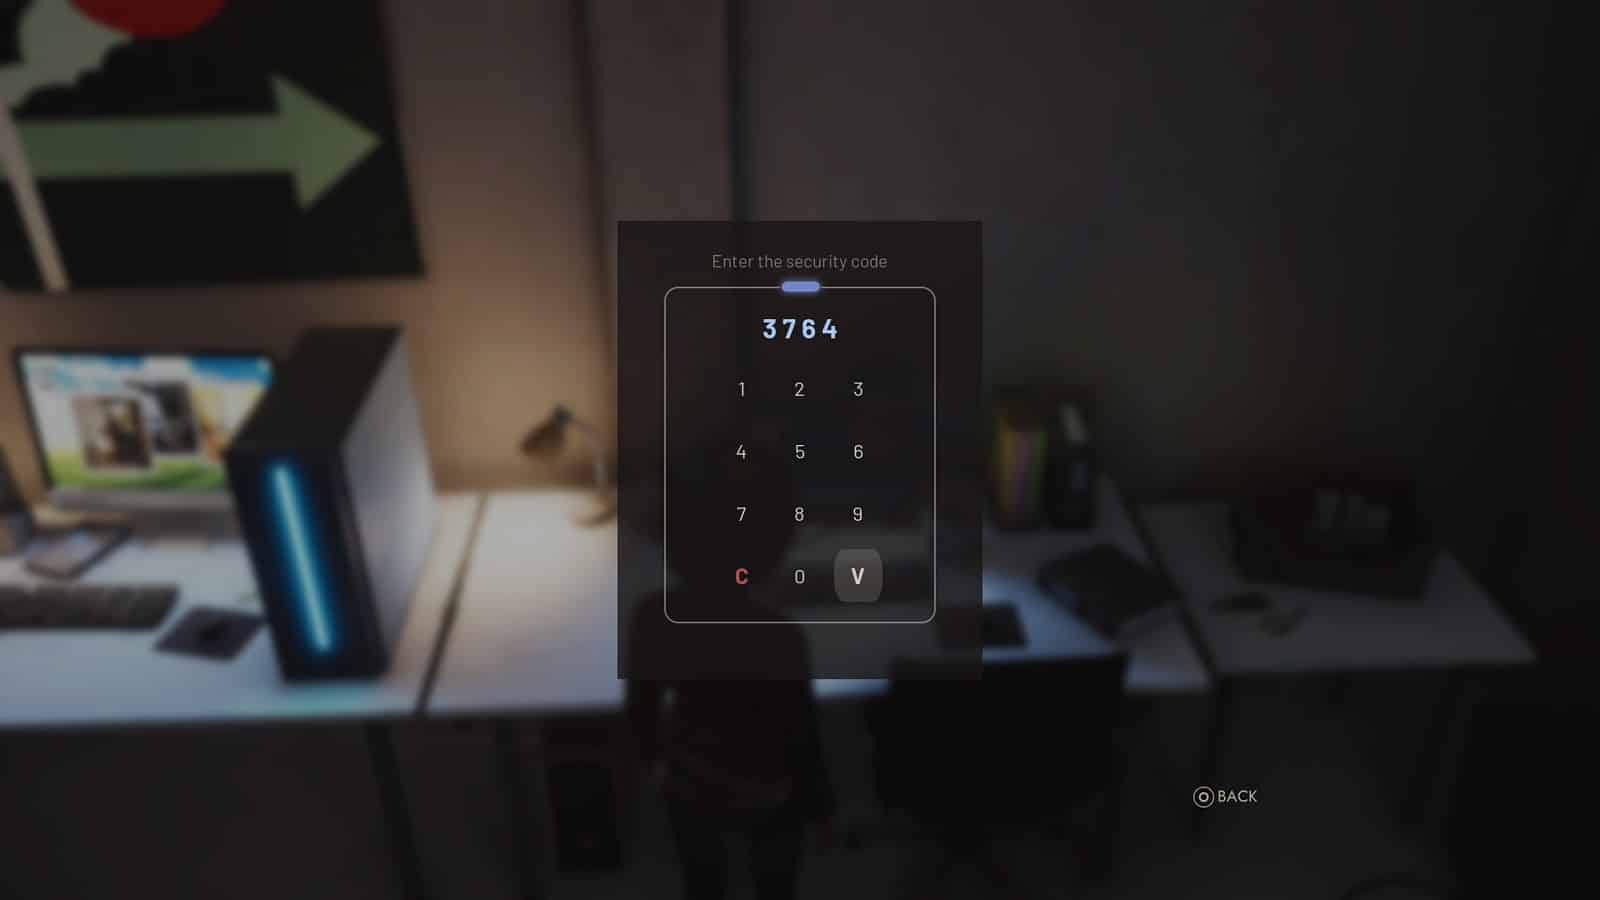
Enter the following code: 3764.
The second computer you may want to interact with is the one with the sticker that says, ‘stupid people stupid passwords
Just enter 1234. To open it get more information on Rafa.
Then what you want to do is to go to the back of the room and use Auspex II to reveal a memory of someone trying to open a hidden room. You’ll then want to use Auspex again to pierce Obfuscate and reveal a keypad that opens the room.

The key to opening the door is by following the arrows on the posters in the order that appear from left to right.
Starting from the top center button, you’ll want to drag the cursor using the posters as a reference.
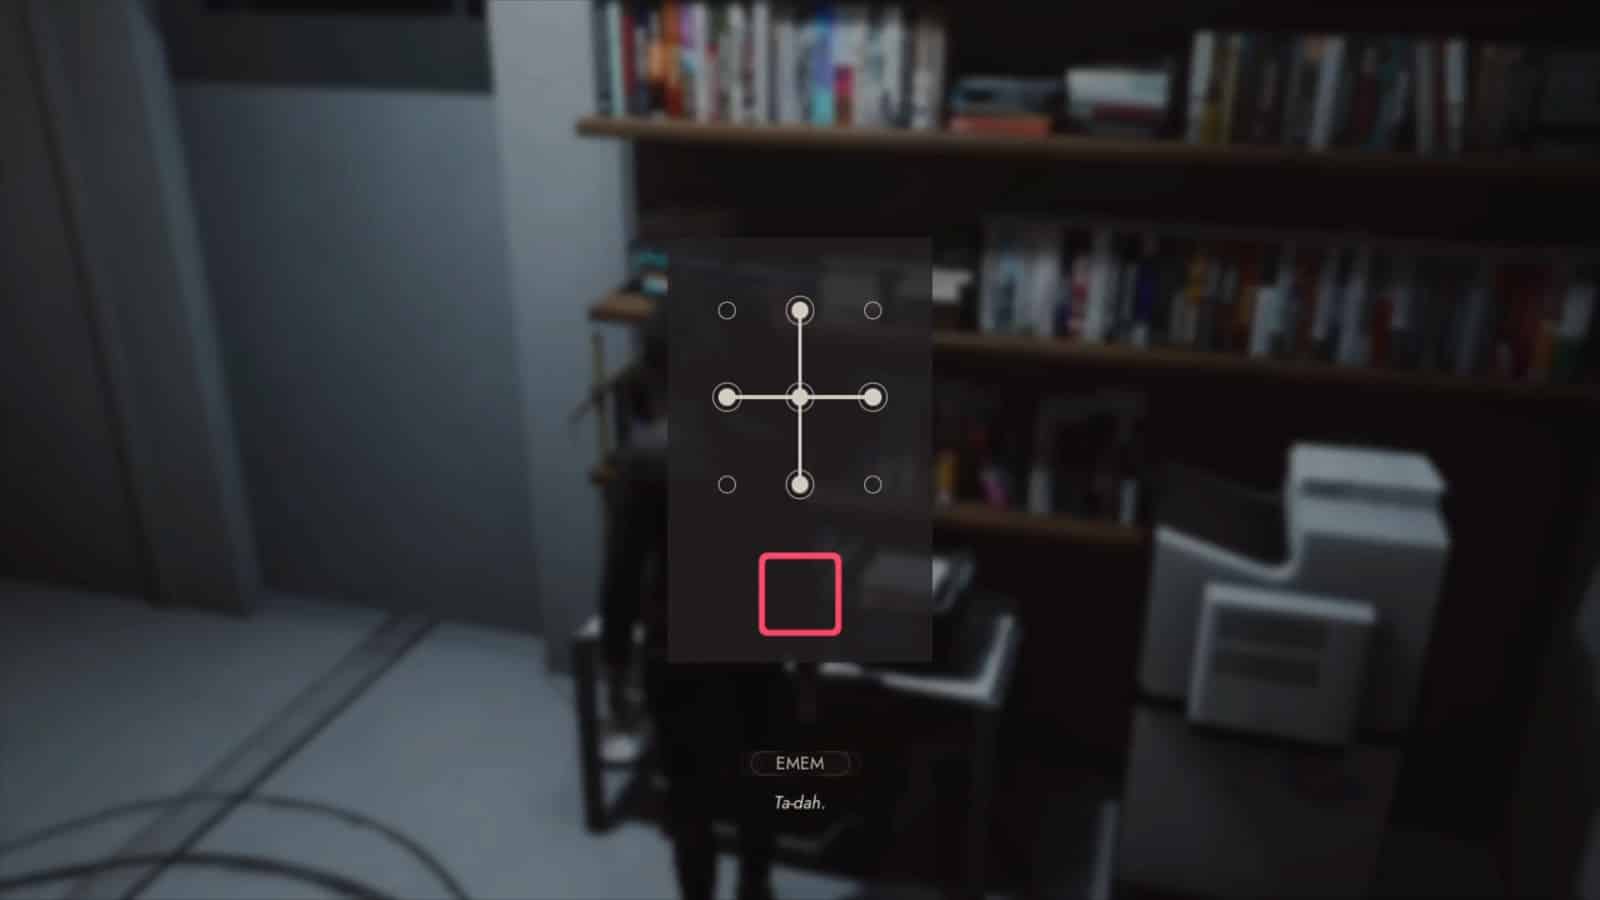
So, that’s Down, Left, RIght, Down, Up, RIght. Until the pattern above appears. It has to be done in that order or else the door won’t open.
Once you’re inside, the room will descend with Emem in it. There are a couple of computers in that room to get all the information you need.

The first one is the old computer. Across the room, you’ll find a cabinet with some drone gear inside. In a box at the bottom of the cabinet, you’ll find the floppy disk. And a newspaper clipping about a fire from 1991. Pick up the floppy and insert it into the computer to reveal something about Rafa… and Hazel.

The final bit of information can be found next to the old computer. On this one, you just need to input the date that’s written in the newspaper.
The keycode is 06161991.
And that’s where you get the final piece connecting Rafa with Hazel. You now have everything you need to confront Rafa.
To unlock the keypad beside the door, you’ll need to consult the manual that resets the door using a factory reset code. You can the manual in the middle drawer of the filing cabinet.

Enter 568974 to open the door.
The moment you open the door, there is Rafa. He’s not amused that you’ve made it so far into his inner sanctuary. This will lead to a confrontation.
Rafa Confrontation
You need to convince Rafa to join your mission. But before that, you’ll need to convince him not to kill you outright.
There are 4 stages to this Confrontation and you are only allowed 1 miss.

In the first stage, your options are Intimidation(2) and Rhetoric(3).
But you’ve been doing your own investigation on him, haven’t you? With what you found on him you have the option to go for, ‘He doesn’t want to anger his sire… does he?’.
In the second stage, you can use Persuasion(5) to plead your case for an alliance. Otherwise, go for ‘Because they’re next on the Second Inquisition’s list’.
Rafa is understandably scared. If London and Vienna taught him one thing, it’s that the SI cannot be stopped. You need Persuasion(5) or Intimidation(2) to make it past this stage. If you don’t have points in either, go for ‘We can win if there are more of us!’.
And here we are in the final stage. We finally find out the reason why Rafa doesn’t want to surface. He knows it’ll tip Hazel off that he’s still alive. You use Rhetoric(3) to seal the deal. But for a guaranteed win, choose ‘I’ll protect him with my place in the Primogen’.

You now have all the other Anarch leaders on your side. It’s time to convince Baron Thane to commit his forces to the assault. There’s just one issue though… Emem is now starting to doubt the plan. Is she ok with sending the Anarchs to their deaths? And what if they actually did succeed? The Anarchs will want blood after they discover that the Prince never intended to honor her side of the bargain.
You’re going to have to make this important choice. Choose to follow through with the plan or do the mission yourself without putting the Anarchs’ lives on the line for the Prince’s sake.
All Vampire the Masquerade Walkthrough guides:
- Vampire the Masquerade Swansong Walkthrough Part 1 – Prince’s Quarters
- Vampire the Masquerade Swansong Walkthrough Part 2 – Loft
- Vampire the Masquerade Swansong Walkthrough Part 3 – Moore’s Apartment
- Vampire the Masquerade Swansong Walkthrough Part 4 – Unknown
- Vampire the Masquerade Swansong Walkthrough Part 5 – Prince’s Quarters
- Vampire the Masquerade Swansong Walkthrough Part 6 – Long Island
- Vampire the Masquerade Swansong Walkthrough Part 7 – Anarch’s Domain
- Vampire the Masquerade Swansong Walkthrough Part 8 – Red Salon
- Vampire the Masquerade Swansong Walkthrough Part 9 – SAD Base (Leysha)
- Vampire the Masquerade Swansong Walkthrough Part 10 – SAD Base (Emem)
- Vampire the Masquerade Swansong Walkthrough Part 11 – SAD Base (Galeb)
- Vampire the Masquerade Swansong Walkthrough Part 12 – Intelligence Elevator
- Vampire the Masquerade Swansong Walkthrough Part 13 – Basement 3
- Vampire the Masquerade Swansong Walkthrough Part 14 – Server Room
- Vampire the Masquerade Swansong Walkthrough Part 15 – Basement 4 Labs
- Vampire the Masquerade Swansong Walkthrough Part 16 – Hospital Chapel
Check out our other Vampire the Masquerade: Swansong content:
- Vampire the Masquerade Swansong – Deeper Look into the Mechanics
- Vampire The Masquerade Swansong – Best Starting Profile For Each Character
- Vampire The Masquerade Swansong – Removing the Red Salon Guard
- Vampire The Masquerade Swansong – QR Code ARG
- Vampire The Masquerade Swansong – Which Coffin for Miley
- Vampire The Masquerade Swansong – The Right Dose of Trajax
- Vampire The Masquerade Swansong Secret Endings
- All Vampire The Masquerade Swansong Endings
Also, watch this video by 100% Guides on Vampire The Masquerade Swansong Arrow Poster Puzzle Solution:


