")
Leysha had just caught up with the soldiers that took Halsey away. She managed to get back to the docks leading to the base. Unfortunately, new security protocols have made things more complicated for Leysha.
Check the rest of this guide to know which points to invest in before starting the level. And remember, just cause there is a solution that saves you Willpower in the end, it doesn’t mean it’s the best solution. You WANT to use your Willpower to improve your mastery of talents.
And with that out of the way, let’s start the level.
We are now in the final stretch of the game. All the characters are now converging on the base. But for all different reasons.
Before we get to actually solving the level, let’s do some interesting interactions. You can cast Dominate on one of the two soldiers out of spite. Doing so will unlock the ‘Your Worst Nightmare’ trait.
You can copy one of the workers’ uniforms to gain access to the crane. Moving the crate will allow you to pick up the ‘Tremere Concoction’ consumable hidden in the back. You can use Obfuscate on the palm print scanner on the third floor to be able to get a set of lockpicks.
Solution 1 – Natalie Watson

For this one, you need to copy a worker’s uniform and head to the office overlooking the docks. Inside the left drawer of the front desk, you’ll find a key that you can use to open a locker that has the passcode for the front desk computer. This is purely for making your mind up about the name you’ll be using to get in.
‘Natalie Watson’
You need to be wearing a worker’s uniform before talking to the guard or else you’ll break your cover. Once that’s done, you’re inside the base.

Solution 2 – S.A.D. Captain
If you have Obfuscate IV, you can use Doppelganger to copy the Captain’s appearance to fool the guard to let you in. In order to succeed, you’ll want to talk to the other soldiers on the docks.
- The male soldier will inform Leysha that it was the Captain who captured Halsey. This will be brought up in the conversation to know more about him.
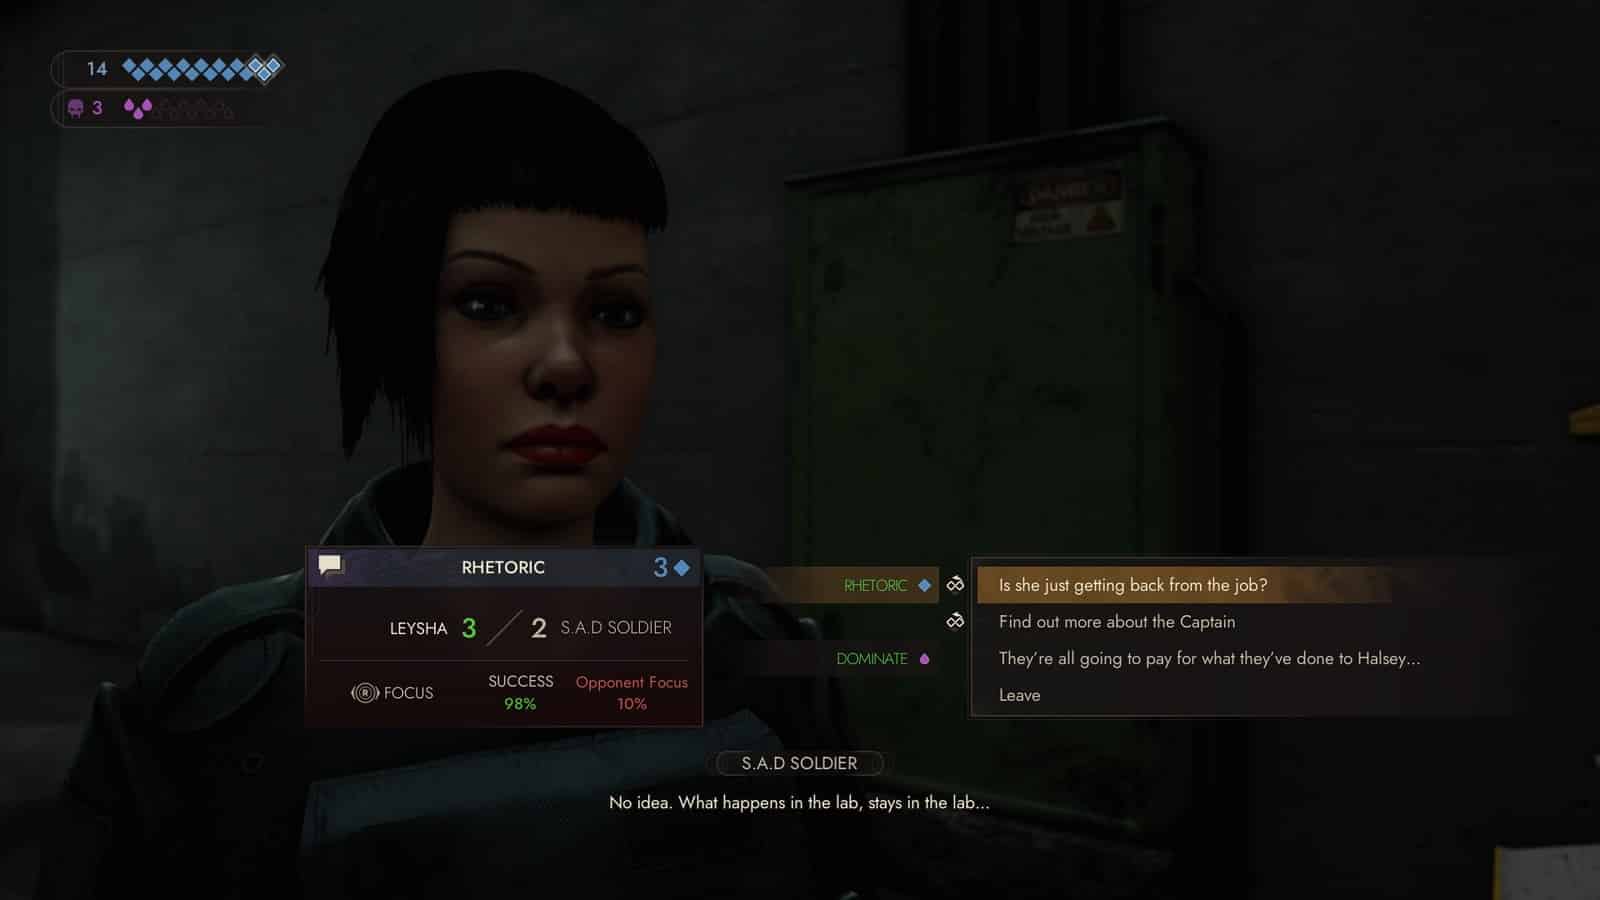
- For this next one, open the locker with the painkiller and meds, and then bring it up with the female soldier at the far dock. You’ll need at least Rhetoric(2) to make her open up about what happened to her.
- And finally, you’ll want to rummage through his locker until you find an out of view letter. This will tell us that he is doing what he’s doing for vengeance for the vampires did to Kendrick McDougal.

If you failed to get any information from the others, you can still accomplish the task with at least the Kendrik McDougal letter, Rhetoric(3), and Psychology(5) responses.
When you’re done, feel free to cast Dominate on him.
Inside the Base
After infiltrating the base, you’ll see a brief glimpse of Halsey’s coffin before it’s been taken away to the lower levels. Before going down yourself, you’ll need to know which floor they are headed to.
The Easy Way
The easiest way to reach Halsey is to go to the restricted meeting room. Fooling the hand scanner requires Hunger(2). Inside the room, simply go to the filing cabinet in the back and read the report about the incident that sent Halsey to the lower levels. You can head back to the elevator once you’re down.
Alternatives
If you have been captured at the ending of the Red Salon level, Leysha will start this level awaiting interrogation. But Halsey’s voice wakes her up. You first need to acquire an agent’s uniform to move around freely. Then you’ll want to go to a filing cabinet next to office’s entrance. Inside, you’ll find ink cartridges. Take the cartridges and replace the ink in the printer. The printer will complete its last task, a report about Halsey, which the operatives called her Subject C-23.
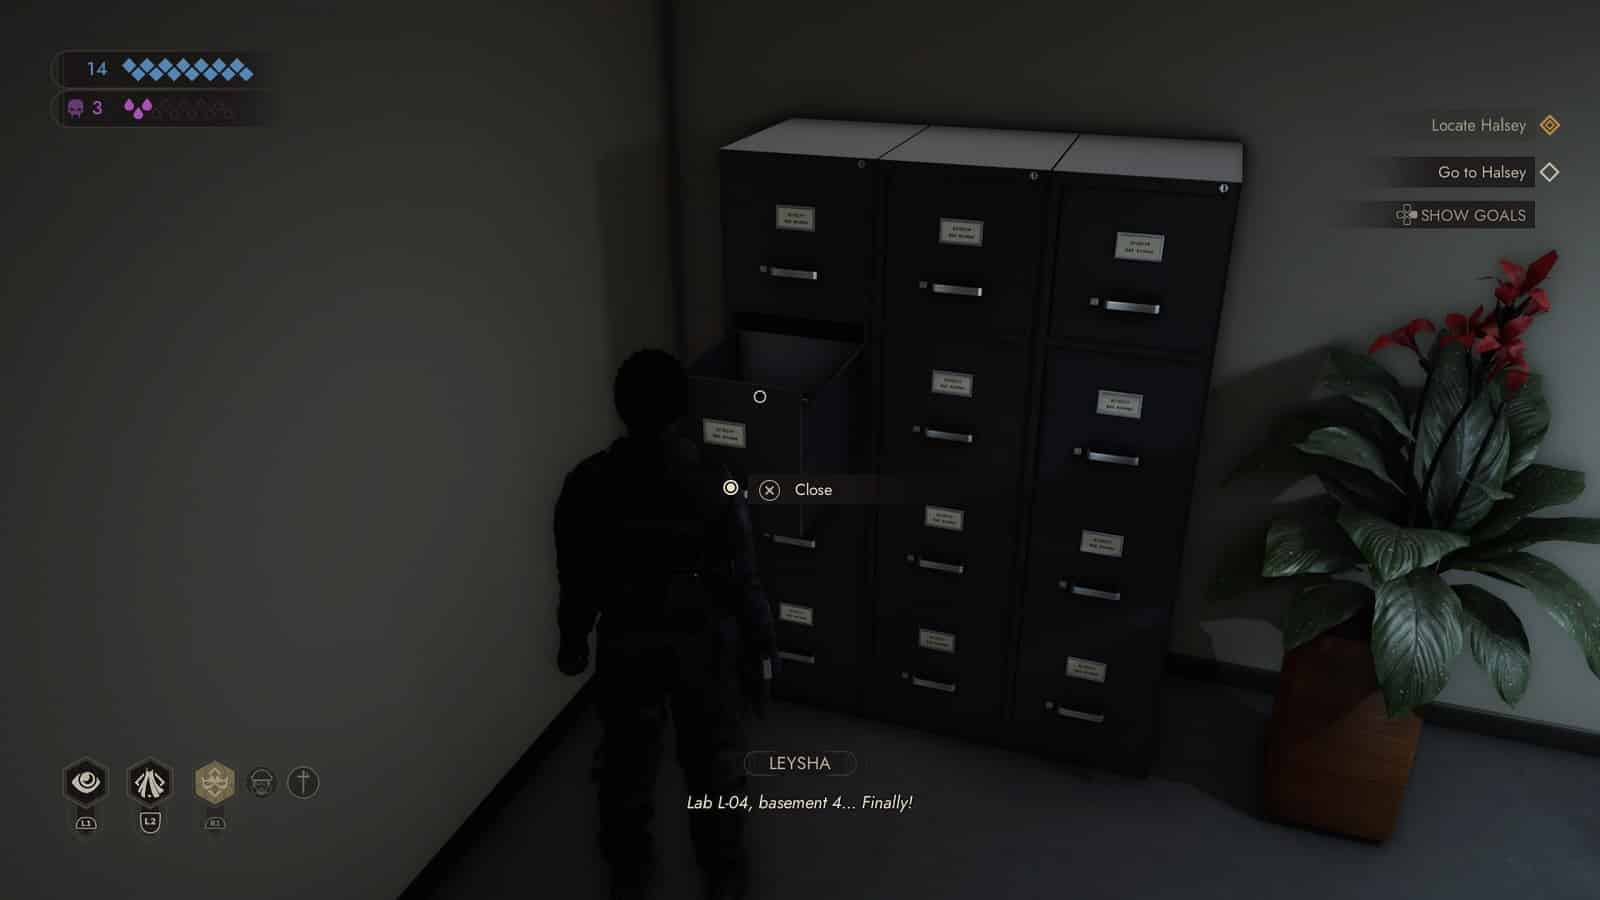
In one of the safe rooms to store humans, there is a filing cabinet under the word TRANSFERS. You can use your lock picking abilities on the C20-C29 lock or pick up the key for the cabinet on one of the agent’s desks. From Halsey’s file, you’ll find a reference number that you input in one of the computers in the back.
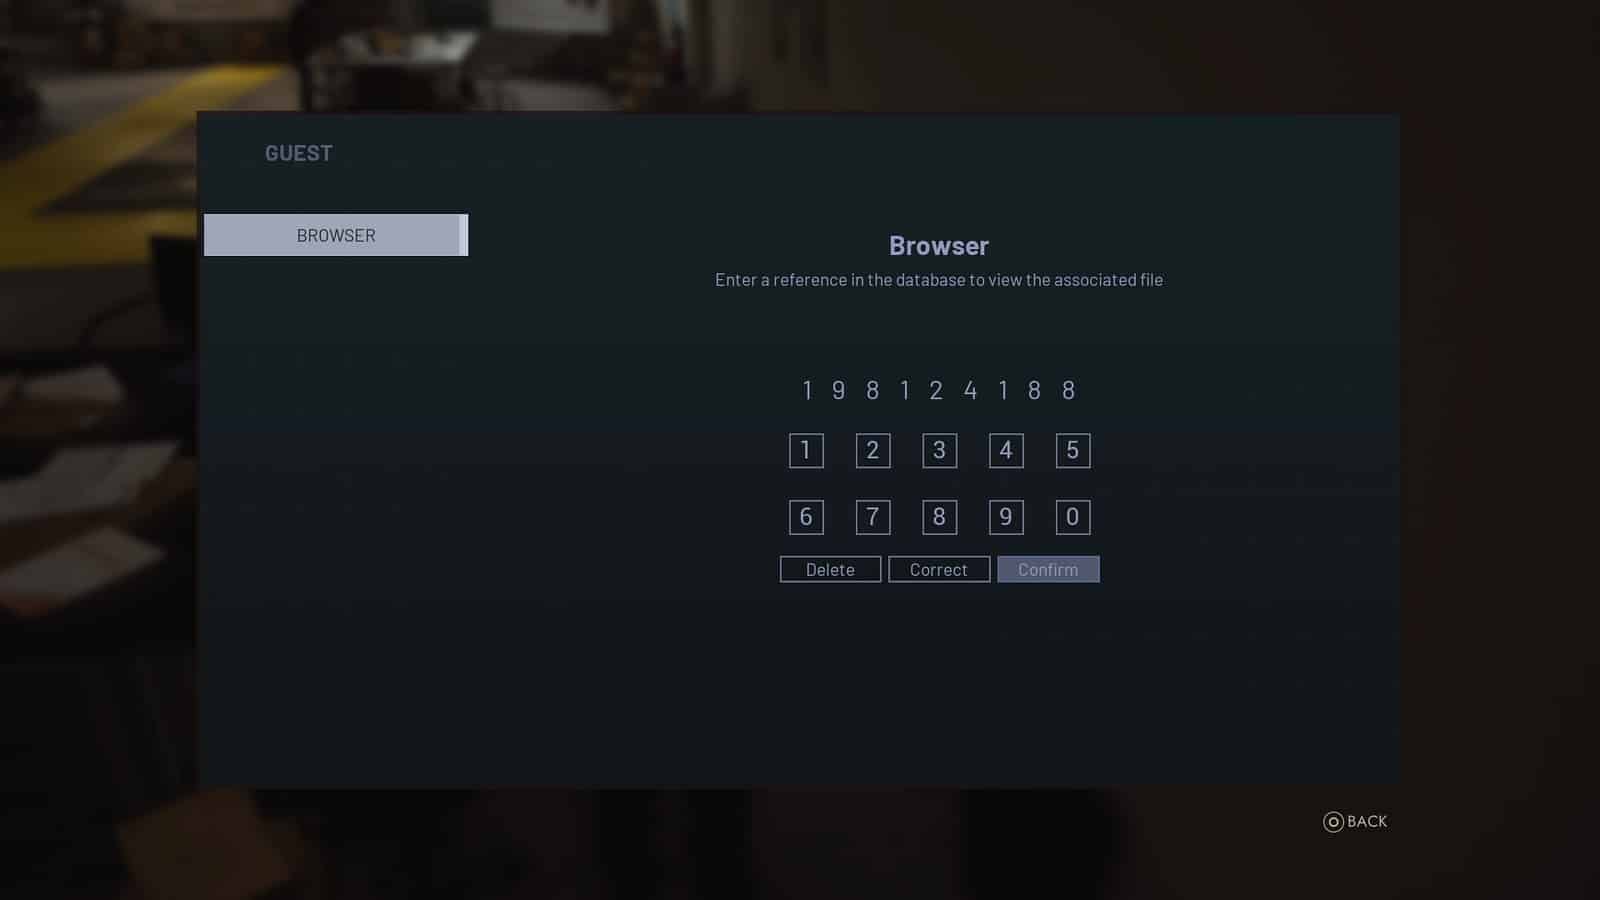
Input 198124188 to learn that they are taking Halsey to Basement 4 Labs. You can take the elevator down after that.
Emmett Olson’s Office
Use an upgraded version of Obfuscate to destroy the illusion that keeps Olsen’s office hidden. Inside, you’ll find Dr. Richard. You can use this time to finally make him admit why he’s been keeping you away from Halsey the entire time. You need at least Persuasion(3) and Intimidation(3) to make him reveal the whole story behind the separation.
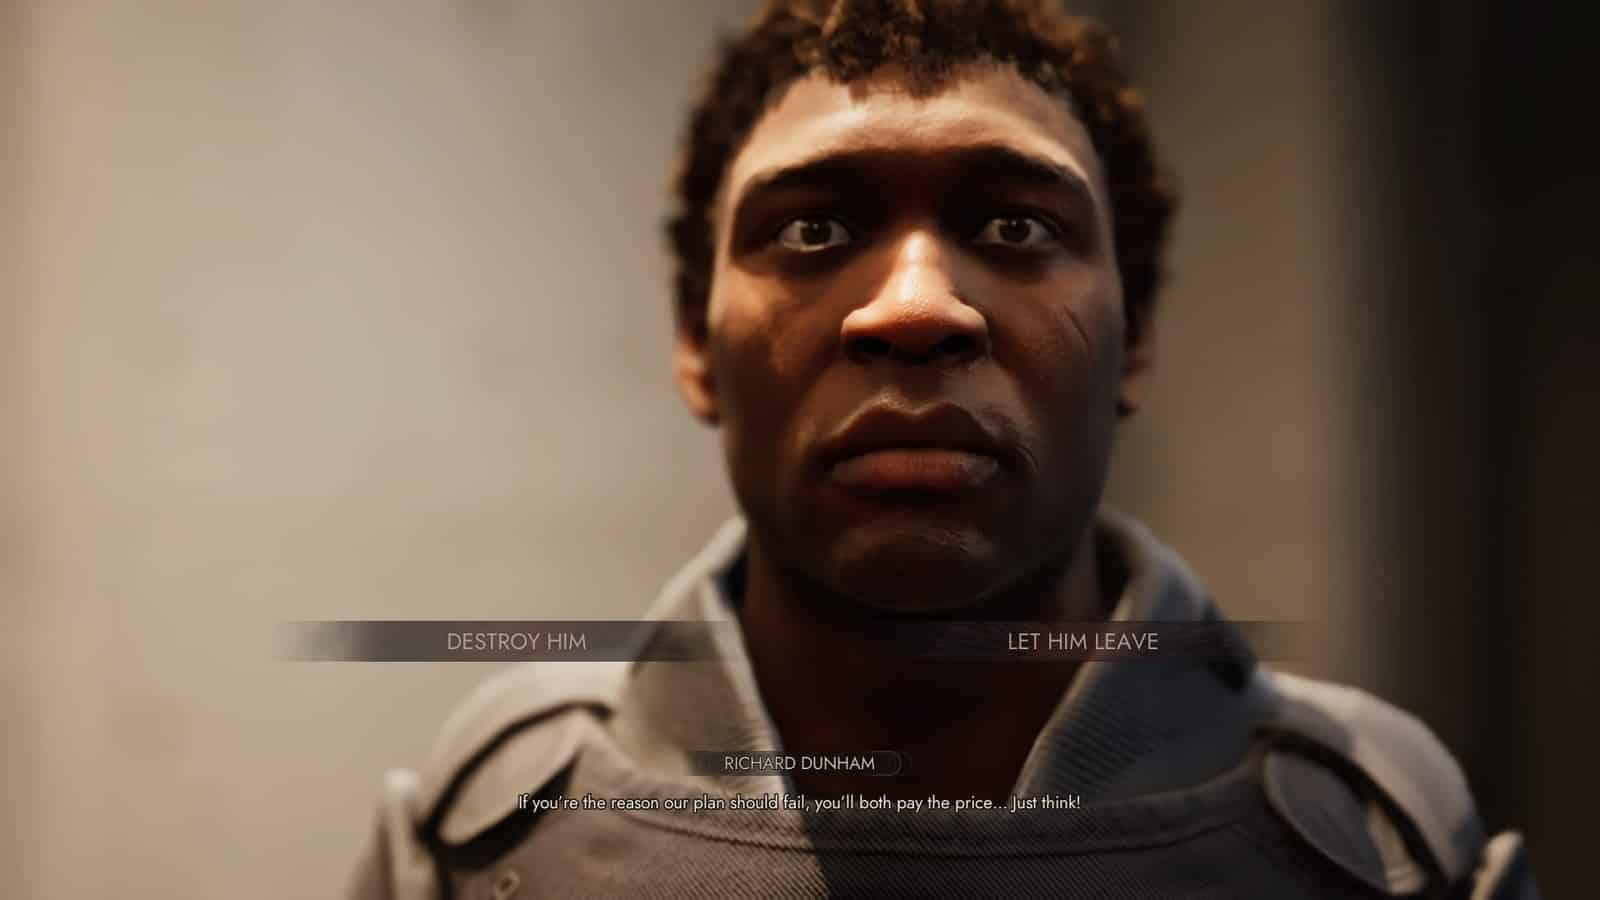
After listening to him, you have the chance to either DESTROY HIM for what he’s done or LET HIM LEAVE and carry on with his mission. Your choice here will change the ending of the game.
If you’ve already taken Emmett Olsen’s appearance during the Loft mission, you can simply take his appearance again and go talk to the soldier to reveal the location of where they’re taking Halsey. Alternatively, you can find Olsen’s keys o the ground which you can use on his desk to play a recording telling you where Halsey is being taken to.

(Note – As of the writing of this guide on PS5, it seems as though this interaction is broken. Emmett Olsen is floating in mid-air and you cannot speak with him. Additionally, if you leave the office, the game will consider this as you walking around with no disguise, even if you transform into Emmett Olsen himself.)
To end the level, walk up to the elevator and head to the lower levels.

All Vampire the Masquerade Walkthrough guides:
- Vampire the Masquerade Swansong Walkthrough Part 1 – Prince’s Quarters
- Vampire the Masquerade Swansong Walkthrough Part 2 – Loft
- Vampire the Masquerade Swansong Walkthrough Part 3 – Moore’s Apartment
- Vampire the Masquerade Swansong Walkthrough Part 4 – Unknown
- Vampire the Masquerade Swansong Walkthrough Part 5 – Prince’s Quarters
- Vampire the Masquerade Swansong Walkthrough Part 6 – Long Island
- Vampire the Masquerade Swansong Walkthrough Part 7 – Anarch’s Domain
- Vampire the Masquerade Swansong Walkthrough Part 8 – Red Salon
- Vampire the Masquerade Swansong Walkthrough Part 9 – SAD Base (Leysha)
- Vampire the Masquerade Swansong Walkthrough Part 10 – SAD Base (Emem)
- Vampire the Masquerade Swansong Walkthrough Part 11 – SAD Base (Galeb)
- Vampire the Masquerade Swansong Walkthrough Part 12 – Intelligence Elevator
- Vampire the Masquerade Swansong Walkthrough Part 13 – Basement 3
- Vampire the Masquerade Swansong Walkthrough Part 14 – Server Room
- Vampire the Masquerade Swansong Walkthrough Part 15 – Basement 4 Labs
- Vampire the Masquerade Swansong Walkthrough Part 16 – Hospital Chapel
Check out our other Vampire the Masquerade: Swansong content:
- Vampire the Masquerade Swansong – Deeper Look into the Mechanics
- Vampire The Masquerade Swansong – Best Starting Profile For Each Character
- Vampire The Masquerade Swansong – Removing the Red Salon Guard
- Vampire The Masquerade Swansong – QR Code ARG
- Vampire The Masquerade Swansong – Which Coffin for Miley
- Vampire The Masquerade Swansong – The Right Dose of Trajax
- Vampire The Masquerade Swansong Secret Endings
- All Vampire The Masquerade Swansong Endings
Also, watch this video by 100% Guides on Vampire The Masquerade Swansong I Never Want To See You Again & A Hard Pillow To Swallow Trophy:


