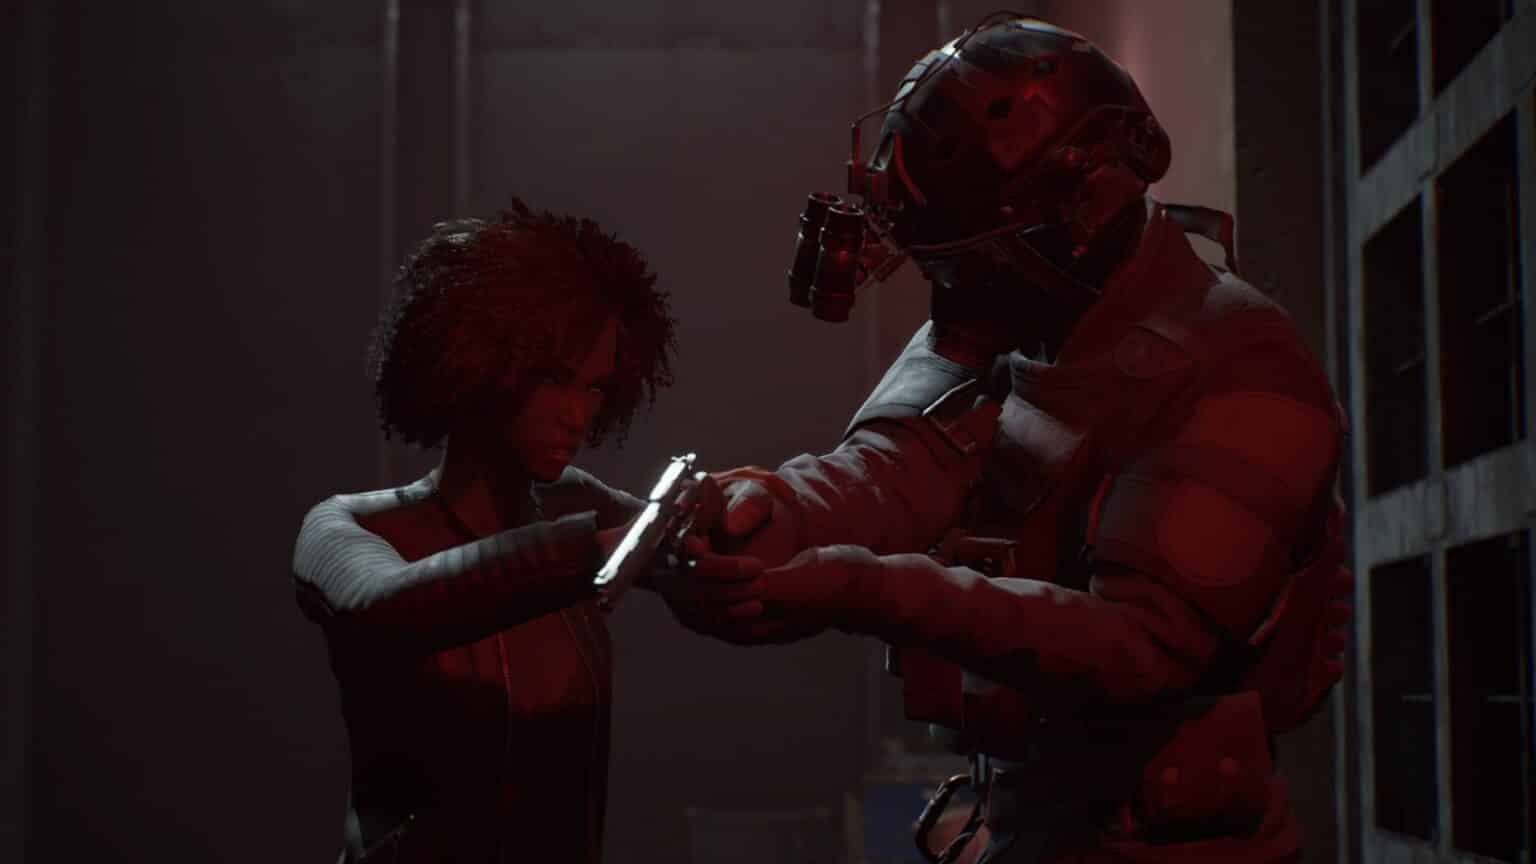
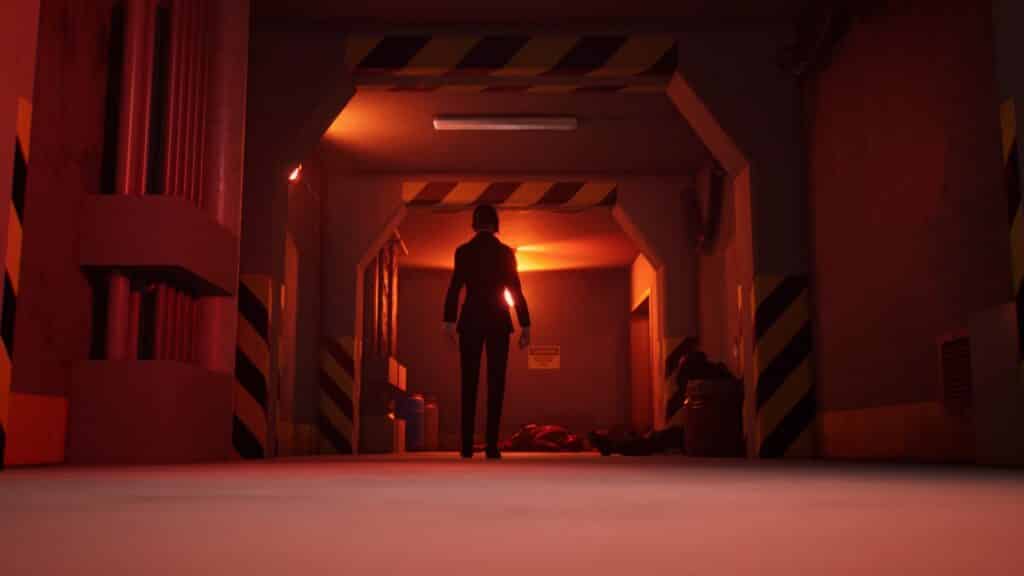
Emem finally reached the server room. A single guard stands between her and the objective. She quickly disposes of the guard and using the keycard he had on him, enter the facility’s server room.
Check the rest of this guide to know which points to invest in before starting the level. And remember, just cause there is a solution that saves you Willpower in the end, it doesn’t mean it’s the best solution. You WANT to use your Willpower to improve your mastery of talents.
And with that out of the way, let’s start the level.
The first thing Emem sees upon reaching the room is that she needs to bring up the Interface Room. The thing is though, the room requires two people in order to bring up. Being one person, she can’t be in two places… right?
Well, you can use Celerity to move really quickly to reach the other side. Also, note that you don’t need the enhanced version that allows for movements so quickly, it slows down time. But distance is too far for the ability alone. You need to bridge the gap between them.

To do so, head to the back and interact with the panel that raises and lowers the servers to be cooled by seawater. Choose to bring up Server 2. This will be your jumping-off point to clear the gap. Once the server is up, simply go back to the walkway and press the button underneath the yellow light. Use Celerity to join cross the gap and press the other button before the sequence resets.

Once you’ve pressed the buttons, you have a limited amount of time before the soldiers melt through the door using thermal lances.
Find the Identity of the Traitor
Before you start uploading the virus, you can look for the identity of the traitor using all the information you’ve gathered by going through the base.
While in the Interface room, choose ‘Search database’.
From there, you will have to input a keyword to add to your list of keywords after reading the document that has a keyword on them. The objective is to get the right combination of words to get the file that’ll reveal the identity of the traitor.
You can read the files to understand the process a little more. Otherwise, use this sequence to reveal the enemy within.
- Corvus, Informant
- Identity, Corvus
- Accomplice, Codename
- Terrorist, Informant
- Capture, Informant
- Interrogation, Jara Drory

This will bring up the ‘Interrogation-JaraDrory.wav’. This is what we needed to listen to in order to learn the identity of Corvus, the one who betrayed the Camarilla.
How to get the Administrator Password
Before you get the chance to upload the virus, you are told that you need the Administrator’s Password to allow you access to the mainframe. You’ll need to go back to the searches in order to get it. But what most aren’t aware of is that through your previous database search, you already opened the file that contained the password.
But in case you want to figure it out yourself, here’s the search query.
- Password, Administrator
- SAD, Creation
You will find what you’re looking for in the ‘Boston SAD Progress’ file.
If you put it all together, you now know that the password for the entire system is:

09092015
And that’s it. Simply run the program that has the virus and get out before anyone else is the wiser.
Everything the SI had on the vampires has now been deleted. The Camarilla remains in the shadows for the foreseeable future.
All Vampire the Masquerade Walkthrough guides:
- Vampire the Masquerade Swansong Walkthrough Part 1 – Prince’s Quarters
- Vampire the Masquerade Swansong Walkthrough Part 2 – Loft
- Vampire the Masquerade Swansong Walkthrough Part 3 – Moore’s Apartment
- Vampire the Masquerade Swansong Walkthrough Part 4 – Unknown
- Vampire the Masquerade Swansong Walkthrough Part 5 – Prince’s Quarters
- Vampire the Masquerade Swansong Walkthrough Part 6 – Long Island
- Vampire the Masquerade Swansong Walkthrough Part 7 – Anarch’s Domain
- Vampire the Masquerade Swansong Walkthrough Part 8 – Red Salon
- Vampire the Masquerade Swansong Walkthrough Part 9 – SAD Base (Leysha)
- Vampire the Masquerade Swansong Walkthrough Part 10 – SAD Base (Emem)
- Vampire the Masquerade Swansong Walkthrough Part 11 – SAD Base (Galeb)
- Vampire the Masquerade Swansong Walkthrough Part 12 – Intelligence Elevator
- Vampire the Masquerade Swansong Walkthrough Part 13 – Basement 3
- Vampire the Masquerade Swansong Walkthrough Part 14 – Server Room
- Vampire the Masquerade Swansong Walkthrough Part 15 – Basement 4 Labs
- Vampire the Masquerade Swansong Walkthrough Part 16 – Hospital Chapel
Check out our other Vampire the Masquerade: Swansong content:
- Vampire the Masquerade Swansong – Deeper Look into the Mechanics
- Vampire The Masquerade Swansong – Best Starting Profile For Each Character
- Vampire The Masquerade Swansong – Removing the Red Salon Guard
- Vampire The Masquerade Swansong – QR Code ARG
- Vampire The Masquerade Swansong – Which Coffin for Miley
- Vampire The Masquerade Swansong – The Right Dose of Trajax
- Vampire The Masquerade Swansong Secret Endings
- All Vampire The Masquerade Swansong Endings
Also, watch this video by 100% Guides on Vampire The Masquerade Swansong Main Server Password & Puzzle Solution:


