The fog is starting to lift on the events during the Unification Party. As more pieces fall into place, the stage is set for retaliation. After completing their missions; Emem, Leysha, and Galeb return back to the Prince to offer their services once again.
As always, check the rest of this guide to know which points to invest in before starting the level. And remember, just cause there is a solution that saves you Willpower in the end, it doesn’t mean it’s the best solution. You WANT to use your Willpower to improve your mastery of talents.
And with that out of the way, let’s go start the level.
(While choosing skills and disciplines, make sure you get Fortitude III before anything else. It’ll help greatly in the next set of missions.)
Galeb
The scene opens up with Galeb talking to Xu Feng about her having a conversation with Berel. Galeb greatly disapproves of this and instructs Feng to stay as far as possible from Galeb’s Childe. Galeb decides to have a child with the underhanded snake.
As he is leaving the bar, Klaus messages Galeb on his beeper.
‘Need you downstairs. Urgent issue.’
You’re going to have to choose. Speak to Berel or help Kaius. Let’s start with talking to Berel.
Confrontation with Berel
After entering Berel’s office, Galeb will ask Berel if he spoke with Xu Feng. Berel will attempt to deflect the question. But Galeb presses the issue.

If you chose to press the issue, you get the choice to either confront or walk away. Choose to confront Berel.
This certain confrontation has 5 stages and you are allowed to fail twice. You need to save at least Willpower(5) for the final stage or will straight up.
If you want a quick win in this round without using your Willpower, choose ‘I know he saw her here!’. Your other options are Psychology(3) and Persuasion(4). Wining either one will be enough to finish the round.
For the second stage, you’ll want to pick ‘Let me worry about her’. If you have Rhetoric(4), you can use the Trait option but don’t go all out on your Focus. You’ll need it to win the final round.
We are now in the middle of the Confrontation. At this stage, Berel is trying to play the guilt card to throw Galeb off balance. You need a minimum of Psychology(3) to defend yourself. But don’t waste too much on it, you still have 2 more rounds to go. If you need Focus(2) to get past, you may want to just bite the bullet and save it for the next round.
During the fourth stage, Berel brings up the Beckoning. This is what he’s been trying to angle for the entire time. You can use Intimidation(2) to put him in his place or Persuasion(4) to convince him that Feng will be ready when Galeb’s time in Boston comes to an end. The free option here is, ‘He’s being disloyal’.
This is it. The final round. You can use Intimidation(3) to put Berel in his place or Rhetotic(3) to remind him that it would not be in his best interest to cause friction now. Don’t bother with any of the other choices because they all lead to failure.
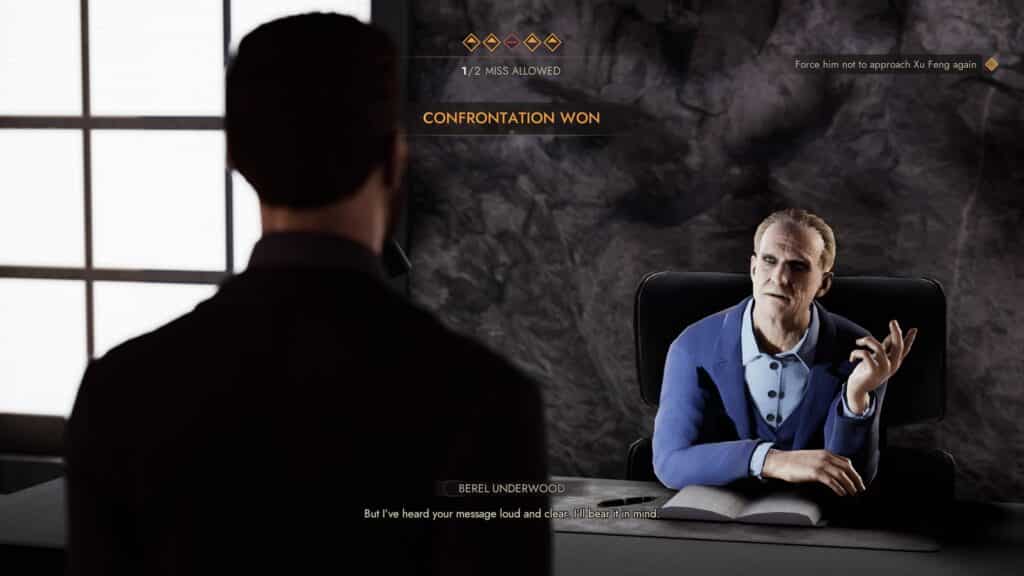
The result of Galeb winning this confrontation means that Berel will stay far away from Xu Feng and thus won’t be influenced by him should anything happens to Galeb.
Helping Kaius Leto
With this choice, we’re going to forego going to Berel and instead go to Kaius Leto to see what’s going on. You can take the elevator in the main lobby to go to the security level on the lower levels.
Before talking to Kaius, however, you may want to go talk to Jason Moore’s bodyguard down in the interrogation room. If you decided to help Jason Moore escape in the previous chapter and were unfortunately killed by the Council’s ghoul, you can also find her there. To get to the Interrogation rooms, take the hallway that leads to the server room and head right down the stairs. They will be in the left and right rooms awaiting questioning. Let’s start with the bodyguard.
James is very forthcoming with his answers. You’ll need Psychology(1) to attempt to calm him down and talk about the party. You find out that Jason was looking for Berel during the party and was stressing himself out over it. That’s pretty much all the information you’ll get from the bodyguard. Let’s move on to Officer Lehane.
Officer Lehane will keep insisting that she was just following orders. Be that as it may, it was may, this time she was serving the enemy’s interests. Whoever they may be. The only thing you will get out of the conversation is a few experience points. Lehane remained steadfast to the end. Now, let’s get back to Kaius.
Talking to Kaius reveals that someone sent a message out to an unknown party. Kaius suspects Jara Drory of the act. Kaius asks Galeb to investigate Jara’s room. You can accept or refuse and leave. Accept the job to proceed.
Now that you’ve decided to spy for Kaius, go to Jara’s room on the Primogen floor.
Before looking into Jara’s computer, you’ll want to open the box that’s on her bed. The pieces of paper needed to solve the puzzle are on her desk and in the trash can. Collect both pieces of paper to know how to open the box.
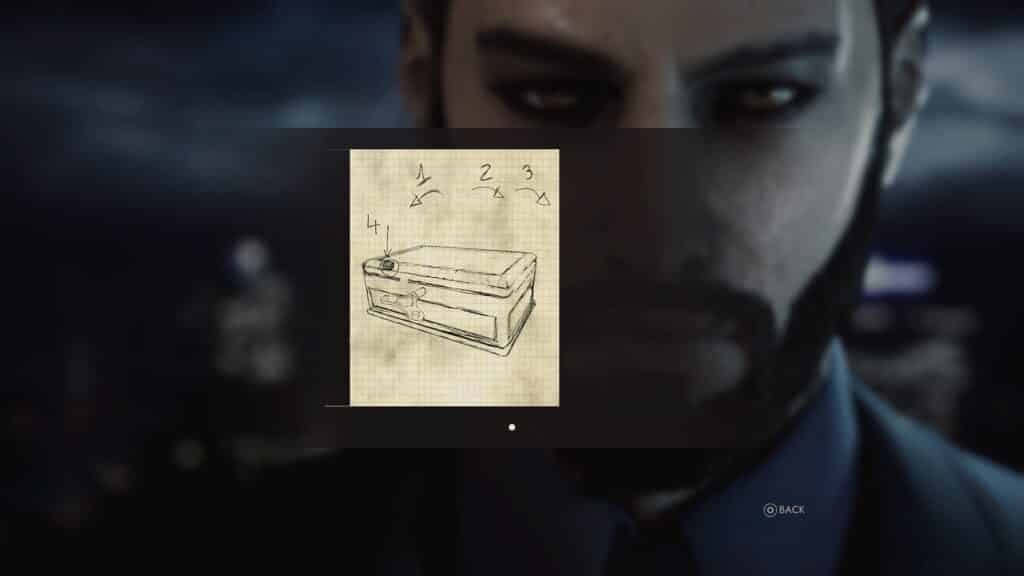
Inside the box, you’ll find notes that prove that Jara isn’t the traitor Kaius suspects her to be. It would appear that Jara and Kaius were looking for the same traitor. They were just looking in different places. You can use your L1 to get more information about Jara by looking at the piece of paper using your powers. With that done, let’s open up the computer and extract the information.
If you haven’t picked it up already, the password for the computer is 1841.
When the program has done its job, simply remove the thumb drive and talk to Kaius’ programmer on your way out. Give her the thumb drive to complete your mission.
After that’s done, simply go to the elevator and go to the Prince’s floor and be briefed on Galeb’s next mission; to kill Monseniour Stanford.
Emem
(While you’re in the skill select screen, you may want to get Celerity II before anything else. You’d be amazed by the stuff people just leave in the open.)
Now it’s Emem’s debrief. The Prince tasks Emem to upload a computer virus to destroy all of the Second Inquisition’s knowledge of the vampires and hopefully stale their operations in the region. To make sure this will be successful, she’ll need to convince the Anarchs to attack the SI and use them as a distraction. It’s a distasteful act, leading other vampires to die for the Camarilla but these are desperate times and ensures that no one will take advantage during the power vacuum while the city is in chaos.
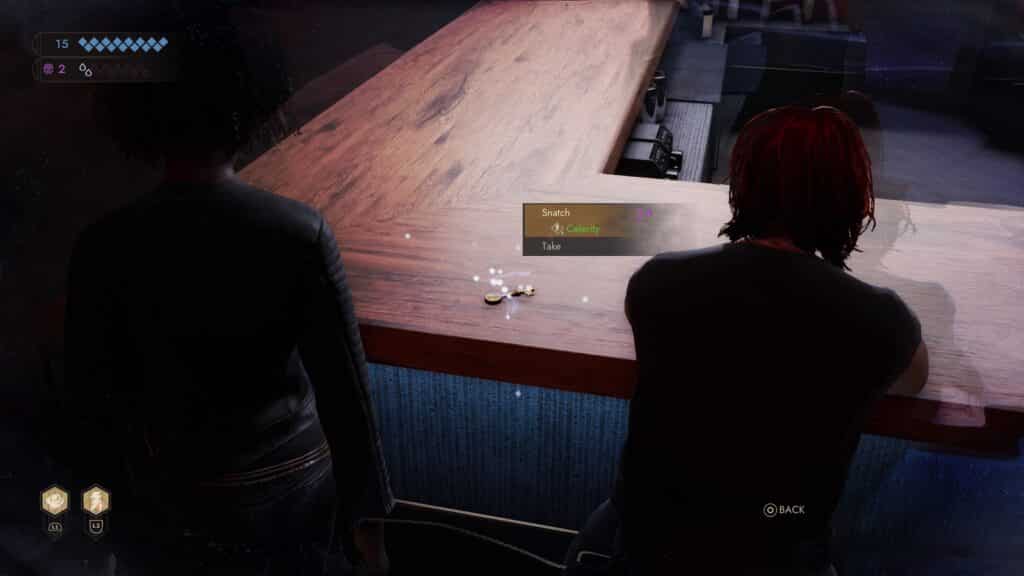
After the meeting, Hilda will be waiting for Emem by the elevator. If Emem is still experiencing memory loss from her time during the library mission, the two will sit down and clear up a few things before Hilda explains the true purpose of their meeting – to look into Hazel’s secrets. You can decide to do so or you can go ahead and start the Prince’s mission. After the conversation, you can use your Celerity II power to pick up Hilda’s keys to look into her secrets. It’s just sitting there beside her in the bar. Be careful about talking to Hilda directly. You may get caught up in a bigger mess if you aren’t careful.
Hilda’s Secrets
After picking up Hilda’s key, go behind the bar and take the stairs leading to the Primogen’s rooms. Inside her room, go straight to her table and there you’ll find interesting pieces of intel. Particularly, a cellphone. Something that’s been banned since Hazel became Prince.
Starting from the top left, following this pattern to unlock the phone.

Once you’re done, you can use Auspex(2) on Emem’s portrait to learn more about Hilda’s mindset.
With that done, you are free to head to Hazel’s room to get her secrets.
Hazel’s Secrets
If you decide to look into Hazel Iversen’s secrets, you’re going to want to go into her private quarters. To go there, you’ll have to go to April Bosley’s office and take the elevator there. Once you’re in Hazel’s quarters, you’ll want to look for anything that might be considered a secret.

If you managed to save Miley during your time in the Apartment, you can find her on Hazel’s bed, bandaged up from the attacks. You can use Rhetoric(1) or Persuasion(2) to lie your way out of it. You’ll get the ‘Childer United’ trait out of it. It won’t matter though, Miley won’t tell Hazel Emem was there.
While you’re in Hazel’s room you can find secrets such as Dajan’s sire and the death of Hazel’s previous Childe. But what you’re really looking for is the brass swan that is located on a shelf behind the bed. Pick it up and insert it into the swan statue. Pick up the Silver key and insert it into the bookcase to have access to the books inside.
There is a hidden compartment underneath the library. To access it you’ll need to push the books in this specific order;
B – F – D – A – C
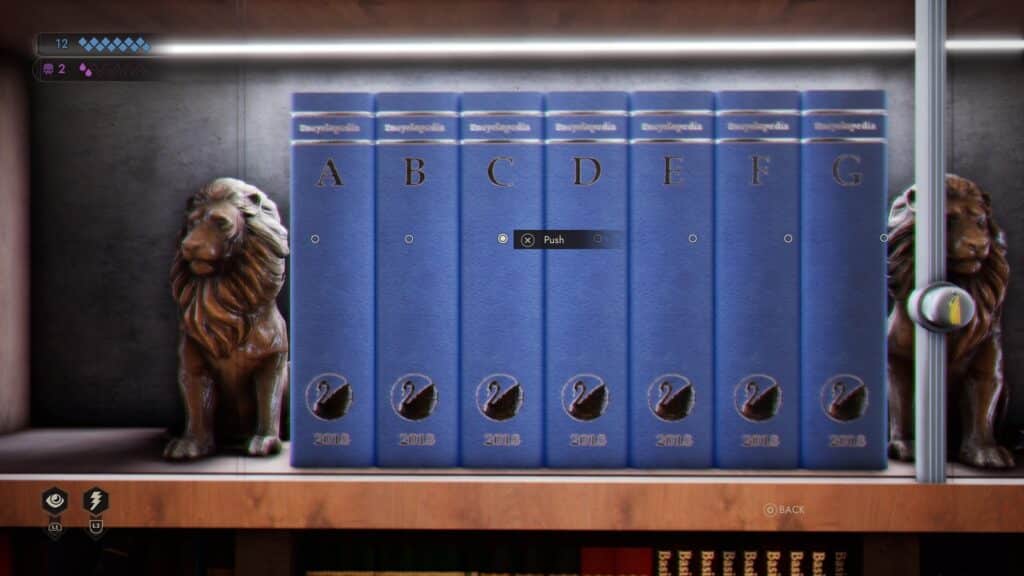
If you get the combination right, a drawer will open up containing secrets about the 3 main characters.
Once you’re done, simply take the elevator to finish the level.
Leysha
After Leysha talks to Halsey, Richard enters the room and confesses that the Halsey she sees is a figment of her imagination and that the Prince was just using her for her visions. He then tells her that the only reason why the Prince wants to keep her in that delusional state is that Leysha’s visions become more accurate. Before they talk further, Leysha gets summoned by the prince. Richard gives her the option – drink or remain the Prince’s tool.
Leysha demands the Prince why she lied about seeing Halsey. You can either use Intimidation(4), Psychology(3), or Rhetoric(4) to get a straight answer from Hazel. Otherwise, you can press on the subject or just trust Hazel’s judgment. If you are successful, Hazel will tell you the truth.
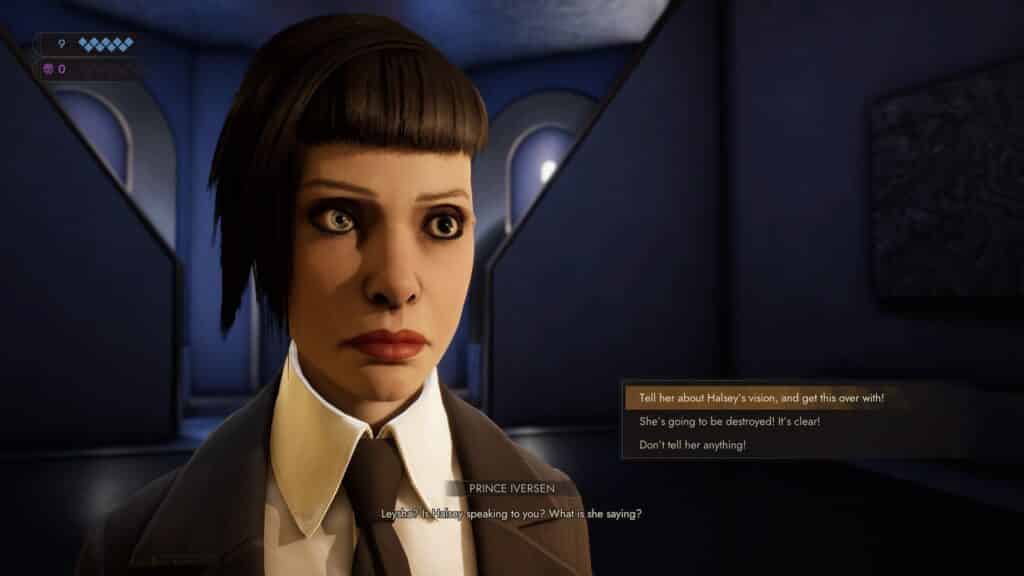
At the peak of it all, Halsey will have a vision. She tells Leysha that the swan will lose its head in 2 days. You can either tell Hazel the truth or not. This walkthrough suggests that you tell her the truth.
The news causes Hazel to panic. She sort of knows what the vision could mean, and that scares her. She asks Leysha to leave.
Alone, Leysha has one more decision to make, will she trust Richard and drink her medicine. Or will she choose not to do so, and keep Halsey around.

This decision will determine the fate of Leysha for the rest of the story. Whichever choice she makes, she now knows that she must confront Richard in the Red Salon.
And that’s it for this level. Don’t worry too much about the consequences too much if this is your first playthrough, there are many more choices out there and many more things to fix in your subsequent playthroughs.
All Vampire the Masquerade Walkthrough guides:
- Vampire the Masquerade Swansong Walkthrough Part 1 – Prince’s Quarters
- Vampire the Masquerade Swansong Walkthrough Part 2 – Loft
- Vampire the Masquerade Swansong Walkthrough Part 3 – Moore’s Apartment
- Vampire the Masquerade Swansong Walkthrough Part 4 – Unknown
- Vampire the Masquerade Swansong Walkthrough Part 5 – Prince’s Quarters
- Vampire the Masquerade Swansong Walkthrough Part 6 – Long Island
- Vampire the Masquerade Swansong Walkthrough Part 7 – Anarch’s Domain
- Vampire the Masquerade Swansong Walkthrough Part 8 – Red Salon
- Vampire the Masquerade Swansong Walkthrough Part 9 – SAD Base (Leysha)
- Vampire the Masquerade Swansong Walkthrough Part 10 – SAD Base (Emem)
- Vampire the Masquerade Swansong Walkthrough Part 11 – SAD Base (Galeb)
- Vampire the Masquerade Swansong Walkthrough Part 12 – Intelligence Elevator
- Vampire the Masquerade Swansong Walkthrough Part 13 – Basement 3
- Vampire the Masquerade Swansong Walkthrough Part 14 – Server Room
- Vampire the Masquerade Swansong Walkthrough Part 15 – Basement 4 Labs
- Vampire the Masquerade Swansong Walkthrough Part 16 – Hospital Chapel
Check out our other Vampire the Masquerade: Swansong content:
- Vampire the Masquerade Swansong – Deeper Look into the Mechanics
- Vampire The Masquerade Swansong – Best Starting Profile For Each Character
- Vampire The Masquerade Swansong – Removing the Red Salon Guard
- Vampire The Masquerade Swansong – QR Code ARG
- Vampire The Masquerade Swansong – Which Coffin for Miley
- Vampire The Masquerade Swansong – The Right Dose of Trajax
- Vampire The Masquerade Swansong Secret Endings
- All Vampire The Masquerade Swansong Endings
Also watch this video by NamelessDreadx37x on his Vampire: The Masquerade – Swansong Walkthrough of Leysha – Prince’s Quarters:


