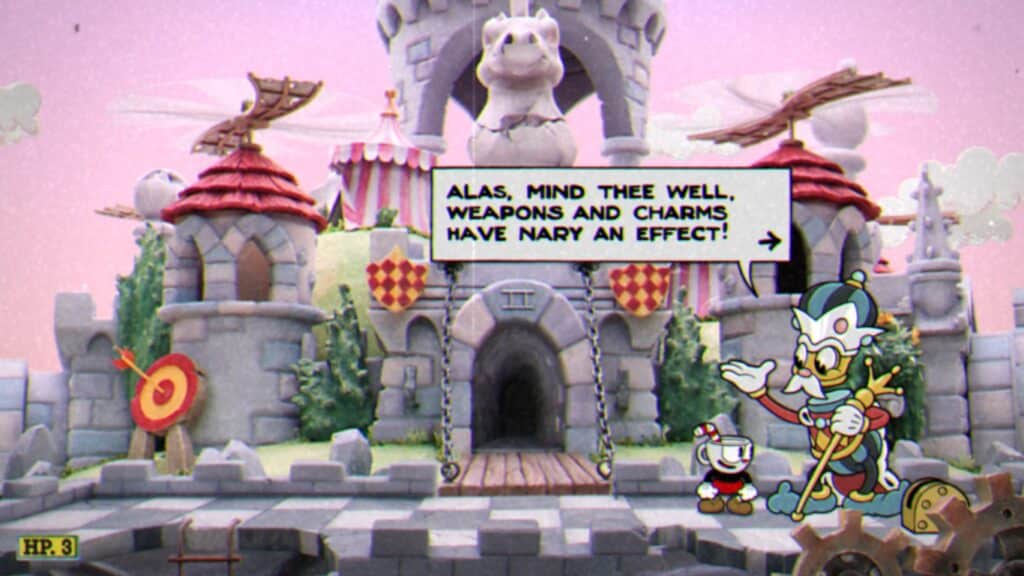
Similar to the Crypt challenges in the main game, the King’s Leap Challenge in Cuphead DLC is a tournament of skill in the art of parrying. No weapon allowed. Just your ability to parry, nothing more.
It is spread across 5 normal challenges of varying degrees. And a 6th Gauntlet Challenge wherein it incorporates all the challenges in a single run. Yes, it is as brutal as it sounds. The player wins around 3 coins per challenge, with a special bonus for beating all 5 challenges.

Ms. Chalice is the recommended cup for these challenges. Her dash parries work well against the what’s thrown. Although with enough practice and perseverance, you can take on the challenges with regular jumping parries.
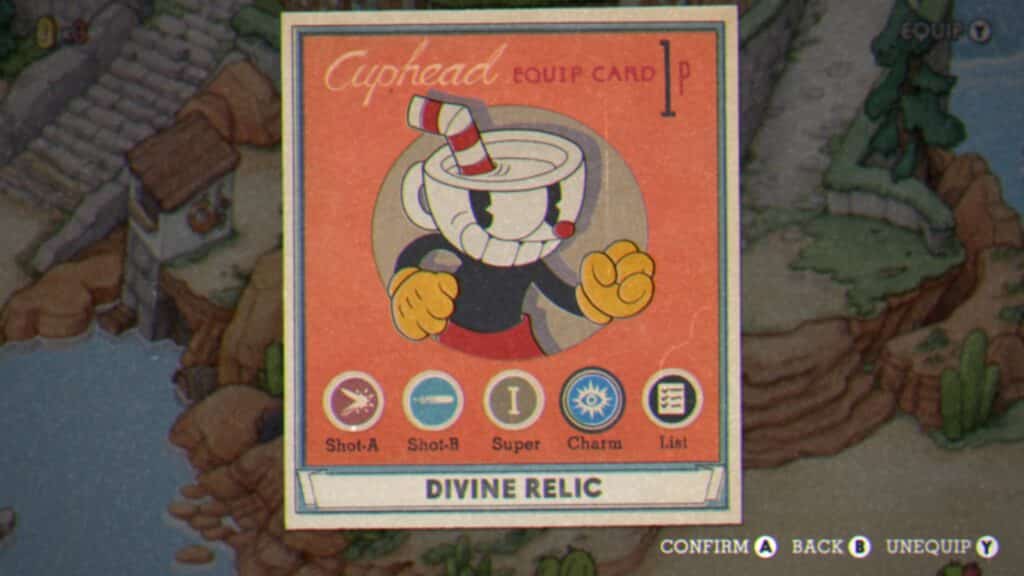
Also, note that Charms are not allowed in the challenges as well. So don’t be wasting money on the Hearts charm and expecting to get more health after performing a set number of parries.
Challenge #1 – The Pawns
The Pawns’ parry challenge may look like a simple one paper but until you experience the challenge’s truly hector final leg, its brief description doesn’t do it justice.
The Pawn’s challenge sees our cups try to parry 8 pawns ready to launch themselves off the rafter. You need to parry all of their heads to complete the challenge. The catch? The heads may be gone but these pawns are still running to the exits like they’re on fire or something.
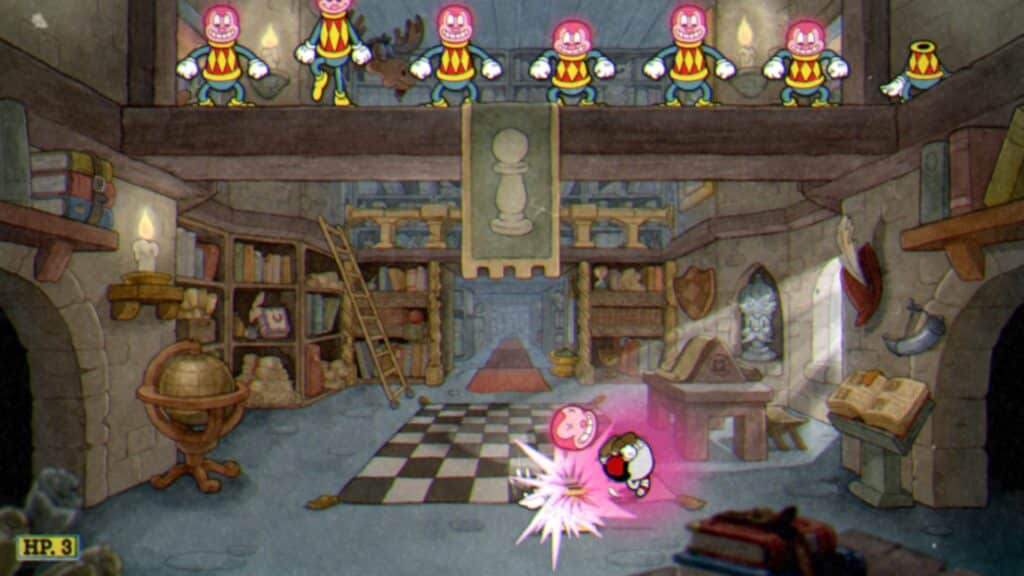
Another issue you’ll run into is that the pace increases the more headless pawns are there. It was nice and cool when there were down one by one but when 6-8 of them are headless, you shouldn’t be surprised to be jumping over 2 of them at a time.
So here’s how I made it easier for myself. When the pace starts to pick up and more of them drop down, I focus less on running around and more on jumping. If I can get a parry, good. Otherwise, my objective is just to stay alive. Then I’ll start shifting to large open spots where 2 of them are not there yet. I’ll keep doing this until I beat the challenge, or run out of lives.
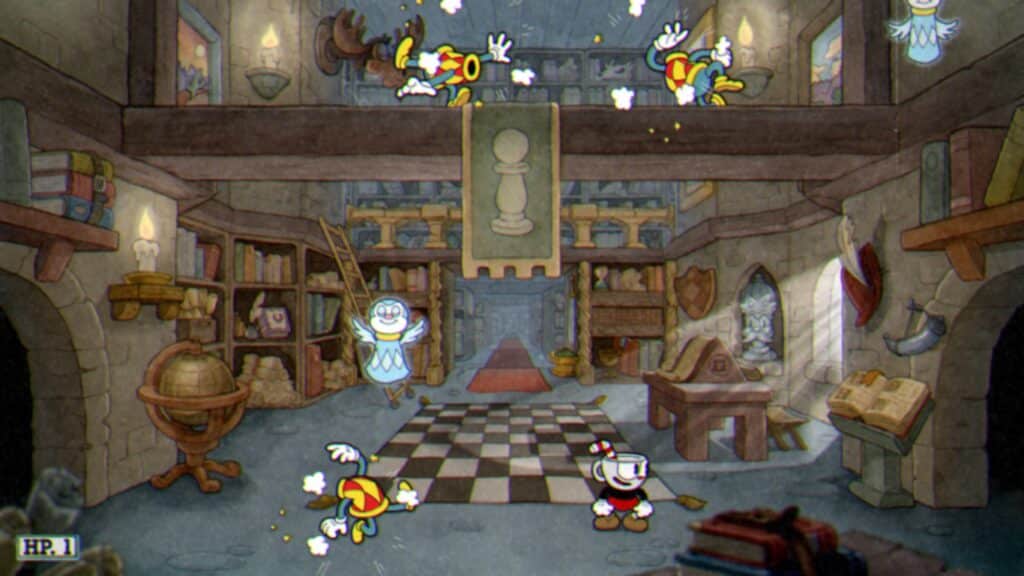
This is a quick challenge overall, and a good warm-up to what’s to come in the challenges ahead. Oh, and you’ll get something like 3 coins for your troubles afterward.
Challenge #2 – The Knight
The Knight is a test of patience, in my opinion. His mane is usually protected by his sword when he’s in a neutral stance, and the location of it makes it hard to just dash parry into on a whim. The good news is that he’s practically blind with the visor down. He won’t react to any of your actions. Instead, he’ll keep performing the same moves over and over again until one of us taps out.
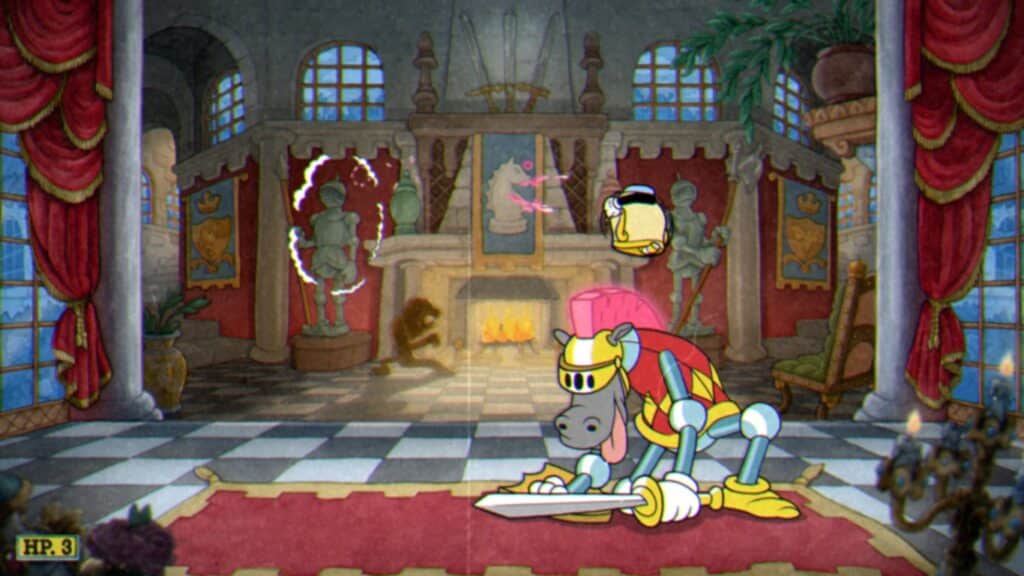
To beat this challenge, you’ll need to parry the knight’s mane 20-22 times. If you have your timings right, you can parry twice in one move, otherwise, look for times when he’s exhausted.
The knight usually keeps his sword above his mane, so your best chance is looking gaps before and after the attack animation. There are a couple of standard moves like stabbing upwards and swinging wildly that he is really fond of doing. If you’re quick enough you can parry the mane before he stabs upwards and after he’s performed his wide slash.
Once he’s done a few moves, he’ll usually be tired, which will give you a couple of seconds to do 1-2 parries before he recovers.
The final move you’ll want to watch out for is his charge. You’ll want to be above sword point when he’s doing this attack since a parry is the only way to avoid it outside of double jumping.
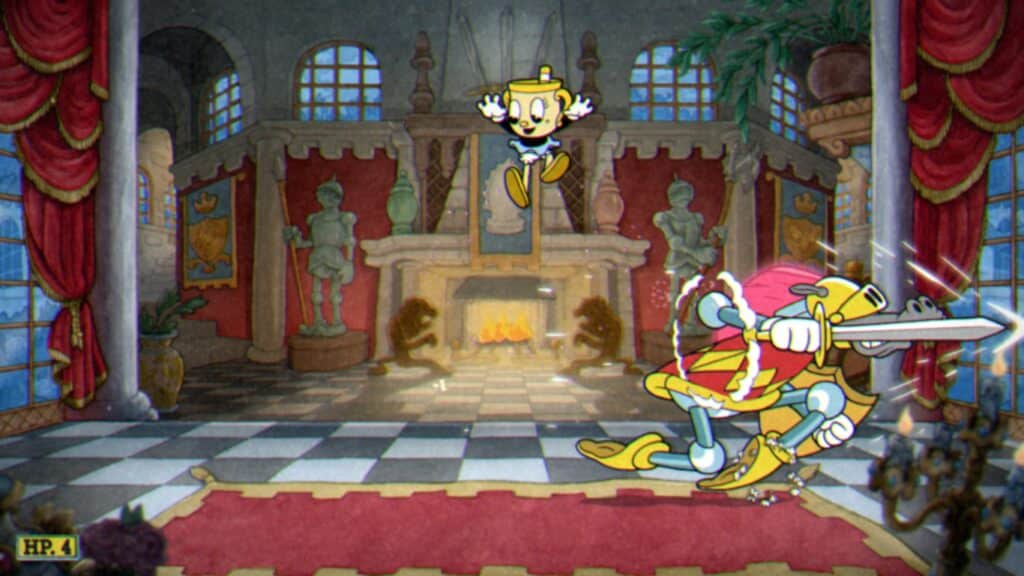
There are no late challenge transformations in this challenge. It is specifically made to test your patience.
One more thing, if you somehow get hit by any of his attacks, try to a couple of parries off before your invulnerability wears off. It’s not much but if you already got hit, you might as well get some parries in before you reset.
Challenge #3 – The Bishop
The Bishop’s challenge is one that is most similar to the crypt parry challenges found in the base game. Except you are dealing with parry target that keeps going around the screen. Oh, and a couple of incense burners aimlessly floating around.
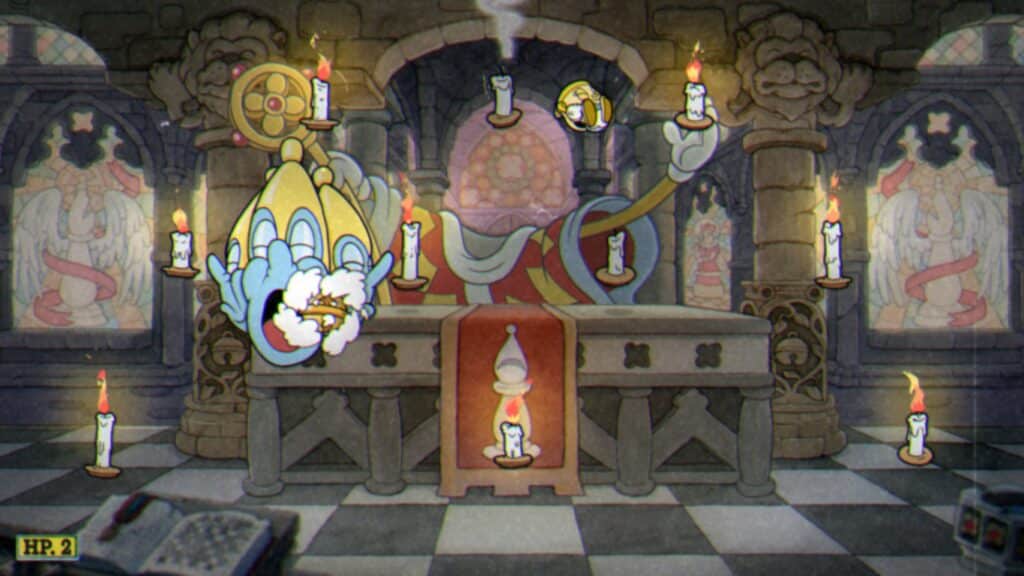
Your objective is to parry the bishop’s head until the challenge is over. The head won’t be vulnerable at the start. That’d make things too easy. You’ll need to keep extinguishing candles by running past time. When you’ve put out the last of the candles, only then will the Bishop’s head becomes parriable.
The incense burners don’t factor in too much in this fight unless you get unlucky and happen to corner yourself while the Bishop’s head happens to be close to you. You also don’t need to get all the candles in one go to, as well. You can tackle them in whatever order you wish.
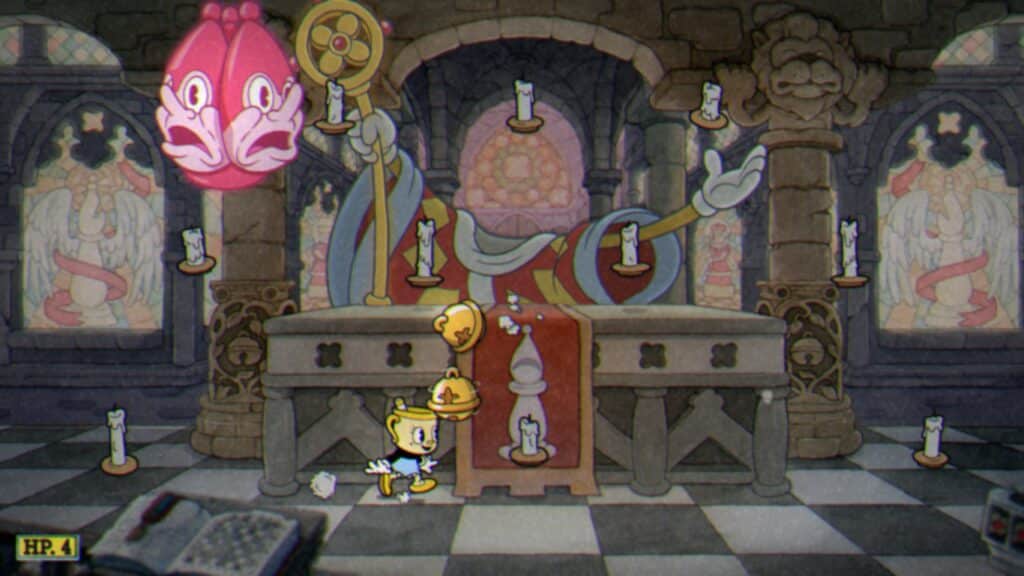
When all the candles are lit, that’s the sign that you’re in the final part of the challenge. Extinguish them all and you can end the fight with one last parry on the Bishop’s head. No surprises at the end.
Challenge #4 – The Rook
The Rook challenge is where things start to heat up. The fight requires you to parry heads to do damage to the Rook. You’ll be doing this while dodging skeleton heads and incoming sparks from the grinder itself.
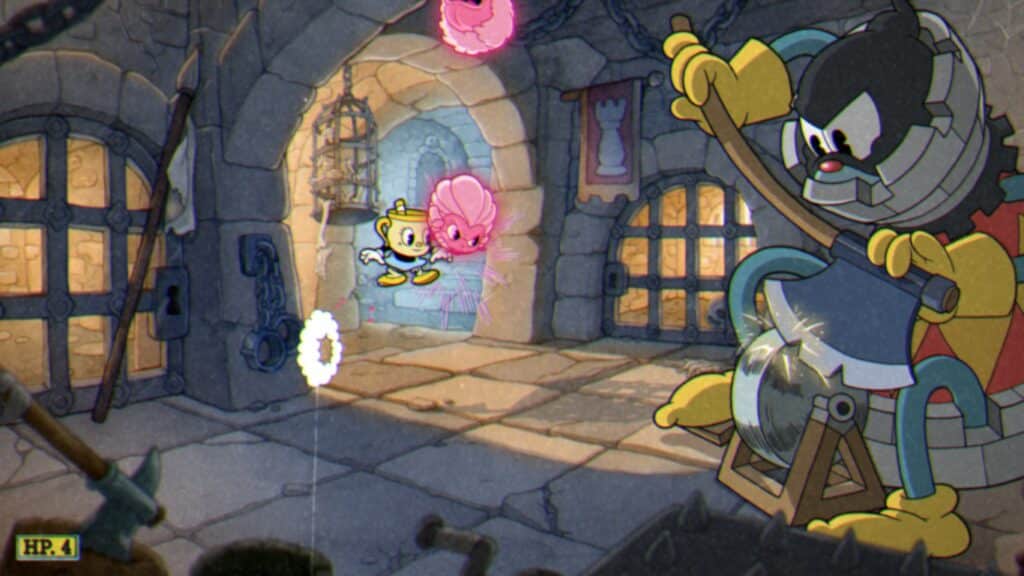
In order to win this challenge, you’ll need to parry heads at him no less than 8-9 times. And I’m not talking about doing a parry, cool, and onto the next one. You’ll be knocking the head back at him. Each parry knocks the head high at reasonable speeds. The catch is that the heads don’t move as much along the horizontal. Essentially, you’ll be setting the heads up like volleyball and floating them onto the Rook.
You’ll be doing all this while evading skeleton heads, and eventually, sparks. The sparks don’t start appearing until after he’s been hit a third time. After which, he’ll be visibly annoyed at the cups and will increase his grinding speed. Furthermore, the increased grinding launches the heads further into the back, meaning you’ll have to do more parries in order to damage him.
You can wait for a that’s nearer to him but opportunities are few and far in between.
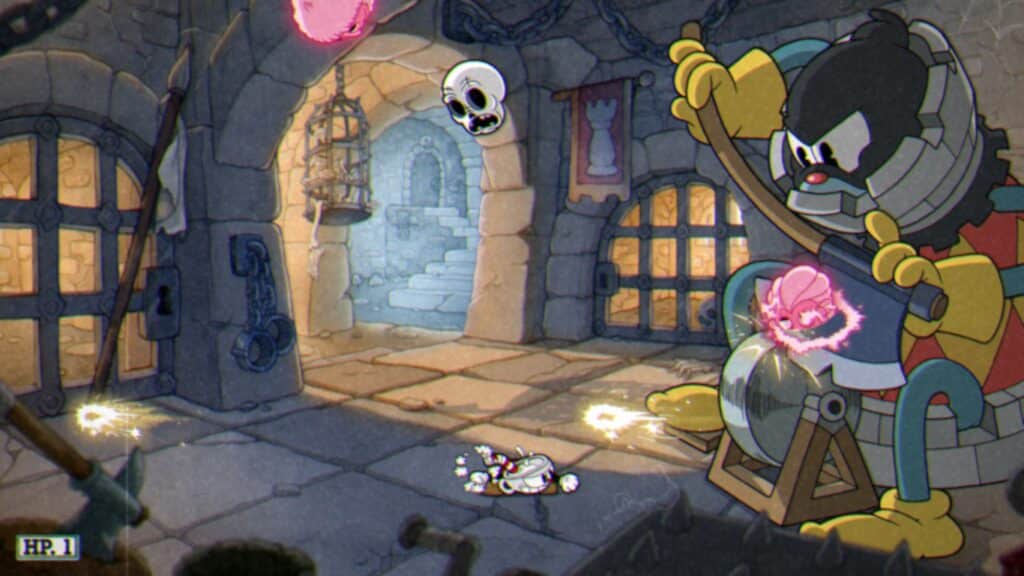
You can easily get hit by a random spark if you put all your focus on bouncing heads back to the Rook. And as I said previously, the sparks appear after the third hit. After the sixth hit, the frequency of sparks only increases, and they’ll be coming in from two different angles. This is why you don’t want to keep this going any longer than you need to. But apart from the faster pace, there are no other surprises.
Challenge #5 – The Queen
The Queen is the final challenge you’ll face aside from the dreaded Gauntlet Challenge. She only has 2 actions throughout the entire fight – launching many, many Fabergé eggs in one continuous stream and throwing a bunch of lion statues across the screen.
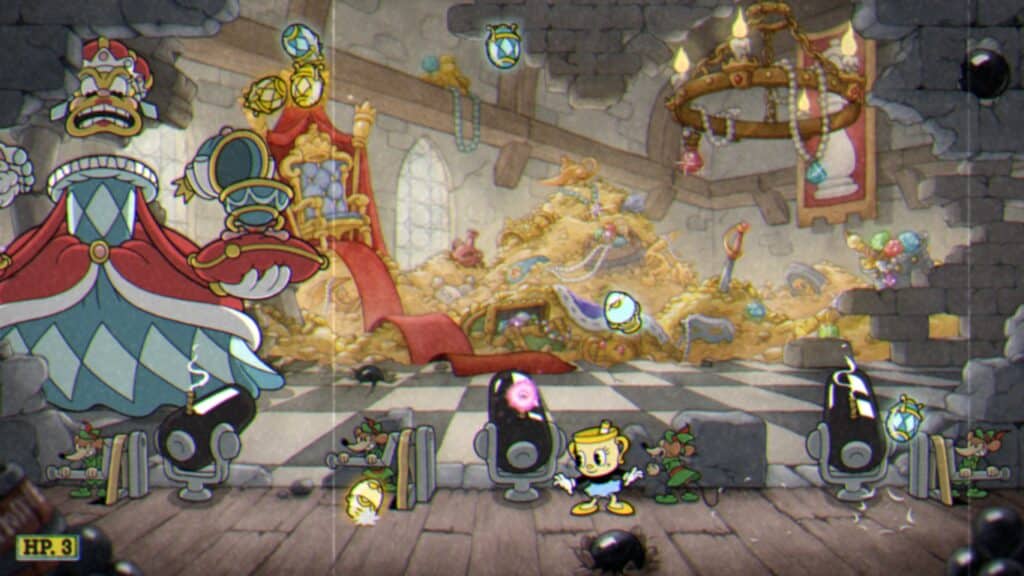
To put away the Queen, you’ll need to parry fuses and shoot cannon balls at her. You need to do this around 9-10 times. The thing you need to know about the cannons is that they constantly swing left and right the entire time. And not only that, the Queen is constantly moving, even when she drops glass eggs on top of you. As you can figure, the challenge here is to aim the cannons to a place YOU THINK she’s going to go. There’s also travel time to the cannons, so even if you line the two up perfectly, by the time the cannon reaches the spot, she could be long gone.
For this challenge, my advice is to use the cannons sparingly. Only one can be used at a time and the next one requires a little bit of time to ready up. When firing the cannon, take note when the Queen changes direction. She’ll usually stay in that direction for a bit before going the other way.
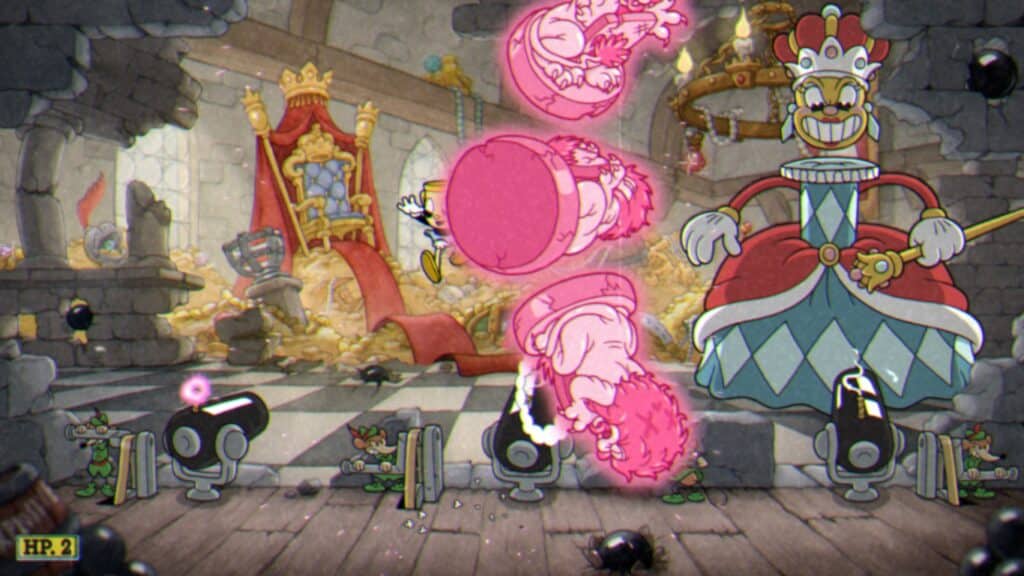
Watch the corners of the screen after the Queen does her attack. That’s usually when the lion statues come flying in. Just parry the one closest to you. No need for some fancy jump. In fact, that’s likely to get you hit.
Around the halfway mark of the challenge, the Queen will speed up her attacks. She’ll be raining in eggs more frequently and the break between lion statue attacks will shorten.
That’s our guide on How to Beat All King’s Leap Challenges in Cuphead DLC. To stay up to date on the newest Cuphead: The Delicious Last Course news, guides, and features, you can check out our related Cuphead: The Delicious Last Course Articles here.
- Cuphead The Delicious Last Course – High Noon Hoopla Boss Fight Guide
- Cuphead The Delicious Last Course – Gnome Way Out Boss Fight Guide
- Cuphead The Delicious Last Course – Snow Cult Scuffle Boss Fight Guide
- Cuphead The Delicious Last Course – A Dish To Die For Boss Guide
- Cuphead The Delicious Last Course – Doggone Dogfight Boss Fight Guide
- Cuphead The Delicious Last Course – Bootlegger Boogie Boss Fight Guide
- Cuphead DLC Achievements and Trophy Guide
- Cuphead The Delicious Last Course – Review
Also check out this video by Level20 Games on How to Beat All The King’s Leap Challenges in Cuphead DLC (All Bosses Tutorials):


