
Retrieving Lost Strength is the second objective of Chapter 1: Island of Storms in One Piece Odyssey. The Straw Hat Crew found themselves losing most of their strength and all of their skills after a mysterious girl named Rem released their powers and turned them into cubes. The crew now has to go explore the entire island to retrieve their strength back.
Read ahead as we go through the events in Retrieving Lost Strength, sharing some tips and tricks, as well as some hints on the whereabouts of the collectibles.
See previous Mysterious Island Exploration Walkthrough One Piece Odyssey
Retrieving Lost Strength Objectives:
- Talk to Adio
- Test Yourself in Lake Shore Cave
- Return to the Entrance
- Return to Adio’s House
- Throw a Party
- Talk to Adio / Follow Adio
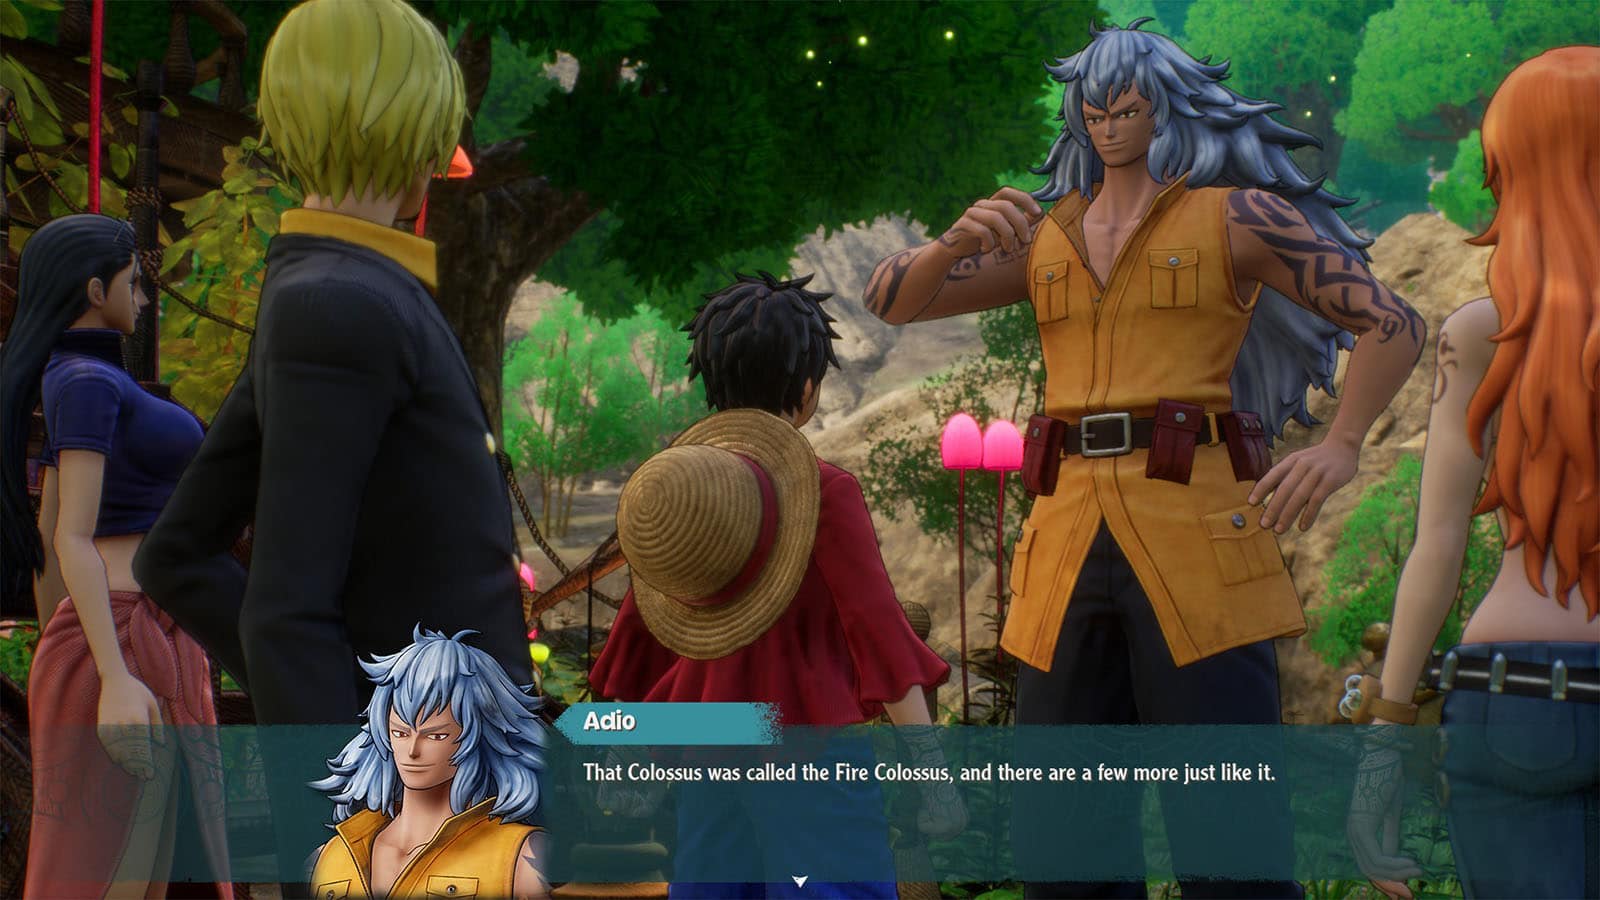
Talk to Adio
Before heading to Adio, take some time to explore his hut, especially on the balconies where there are chests. Once you’re done exploring the place, go to Adio and he’ll bring you to the cave and join your party. Before leaving the area, take the time to explore the other areas around the hut where you can pick up loot from the ground.
Test Yourself in Lake Shore Cave
Circular Inland Sea
Follow the path up ahead and you’ll end up in the Circular Inland Sea. Here, you’ll be able to roam the area and fight monsters to level your crew up. Remember to try and approach enemies from behind to take the initiative to attack first in the battle and gain a critical attack boost.
Leveling Up

Since everyone in the crew is back in their weakest state, you'll need to grind to get their levels back up again. Whenever a battle ends, the entire crew will get experience points whether or not they have participated in the fight. So, it's best to focus on building a crew for the fight that has the best type advantage against the enemies to finish the fight quickly.
Once you arrive at the cave entrance, Adio will leave your party and you’ll be able to explore the cave on your own.
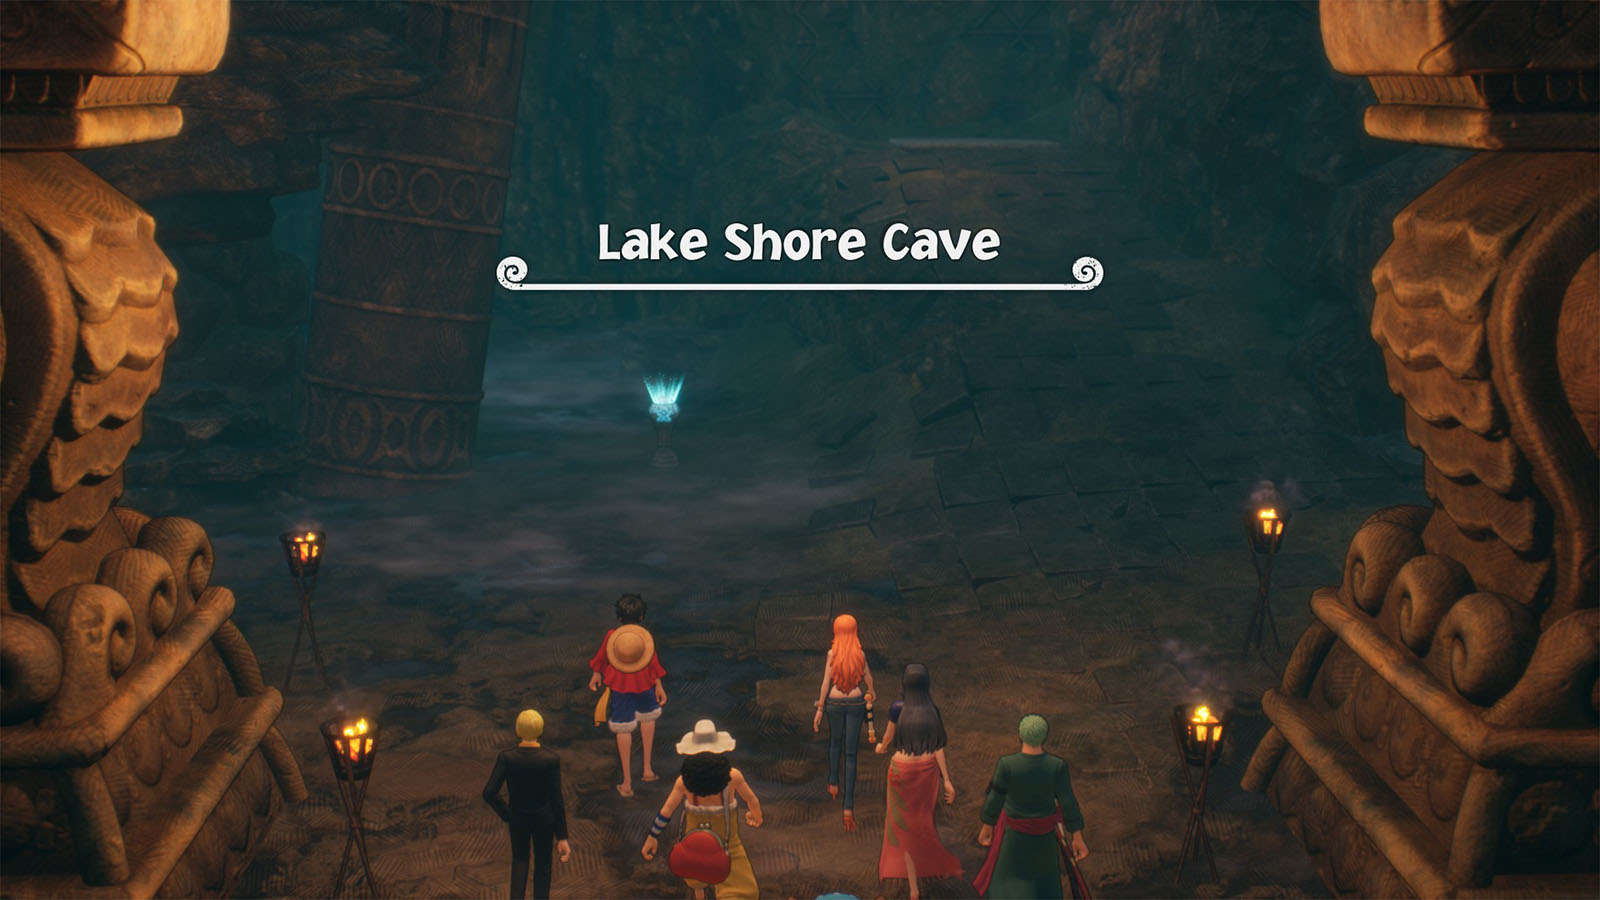
Lake Shore Cave
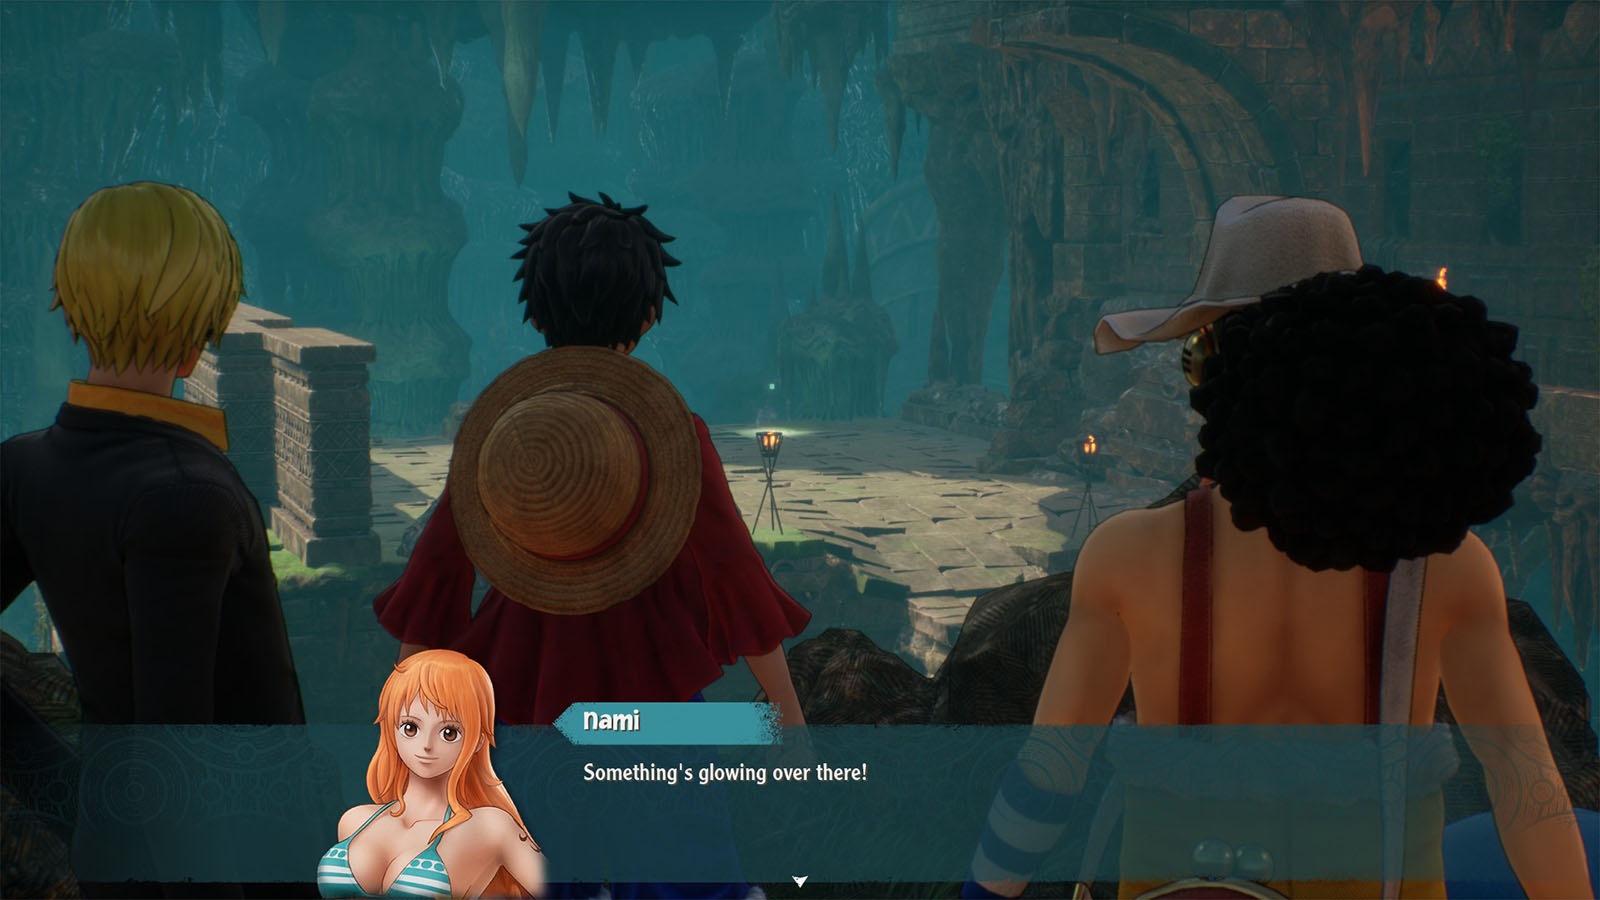
After the short cutscene, look around before moving away from your spot to see a marker; this will be useful later on once you unlock the fast travel feature. Head up to the save point up ahead to save the game.
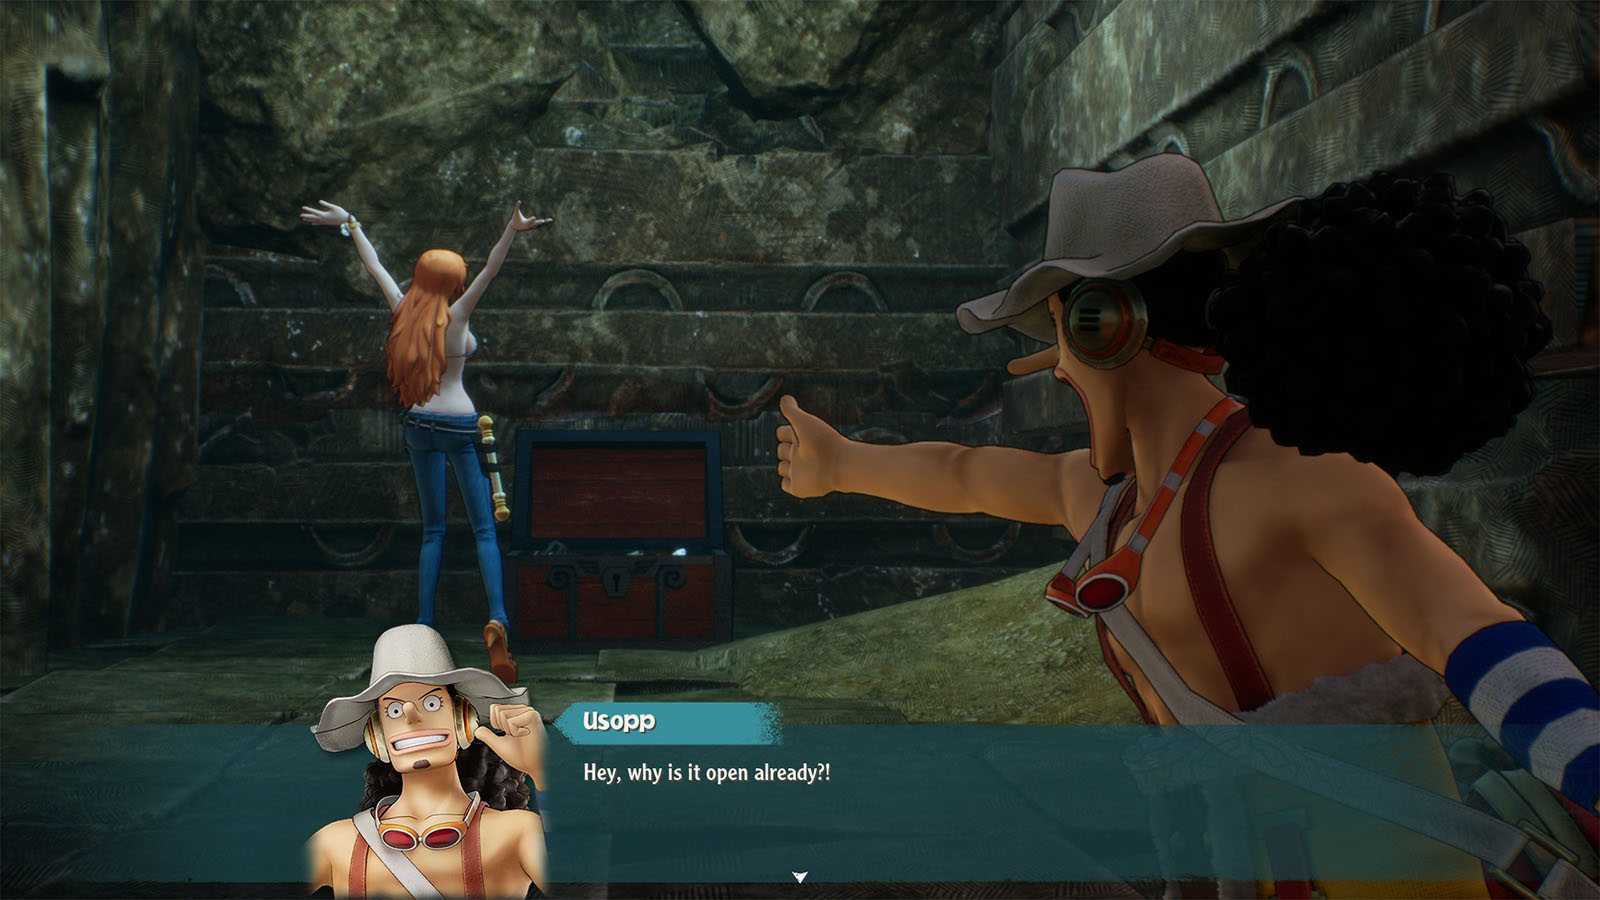
To the right of the point is some Bedrock Salt. Head up to the ramp and up the ledge to proceed. Another cutscene will play showing Nami finding a chest full of accessories.

Accessories

You'll then learn how to equip accessories which takes on an inventory-management like mechanic. An accessory can be selected first and it will show up the stats page for the character currently selected. You can also move through the other characters' pages to have a better idea whom to give the accessory to based on their stats.
Follow the path up ahead where you’ll find your first cube. Continue down the stairs and look to the left before crossing the bridge to find a Cracked Herb.
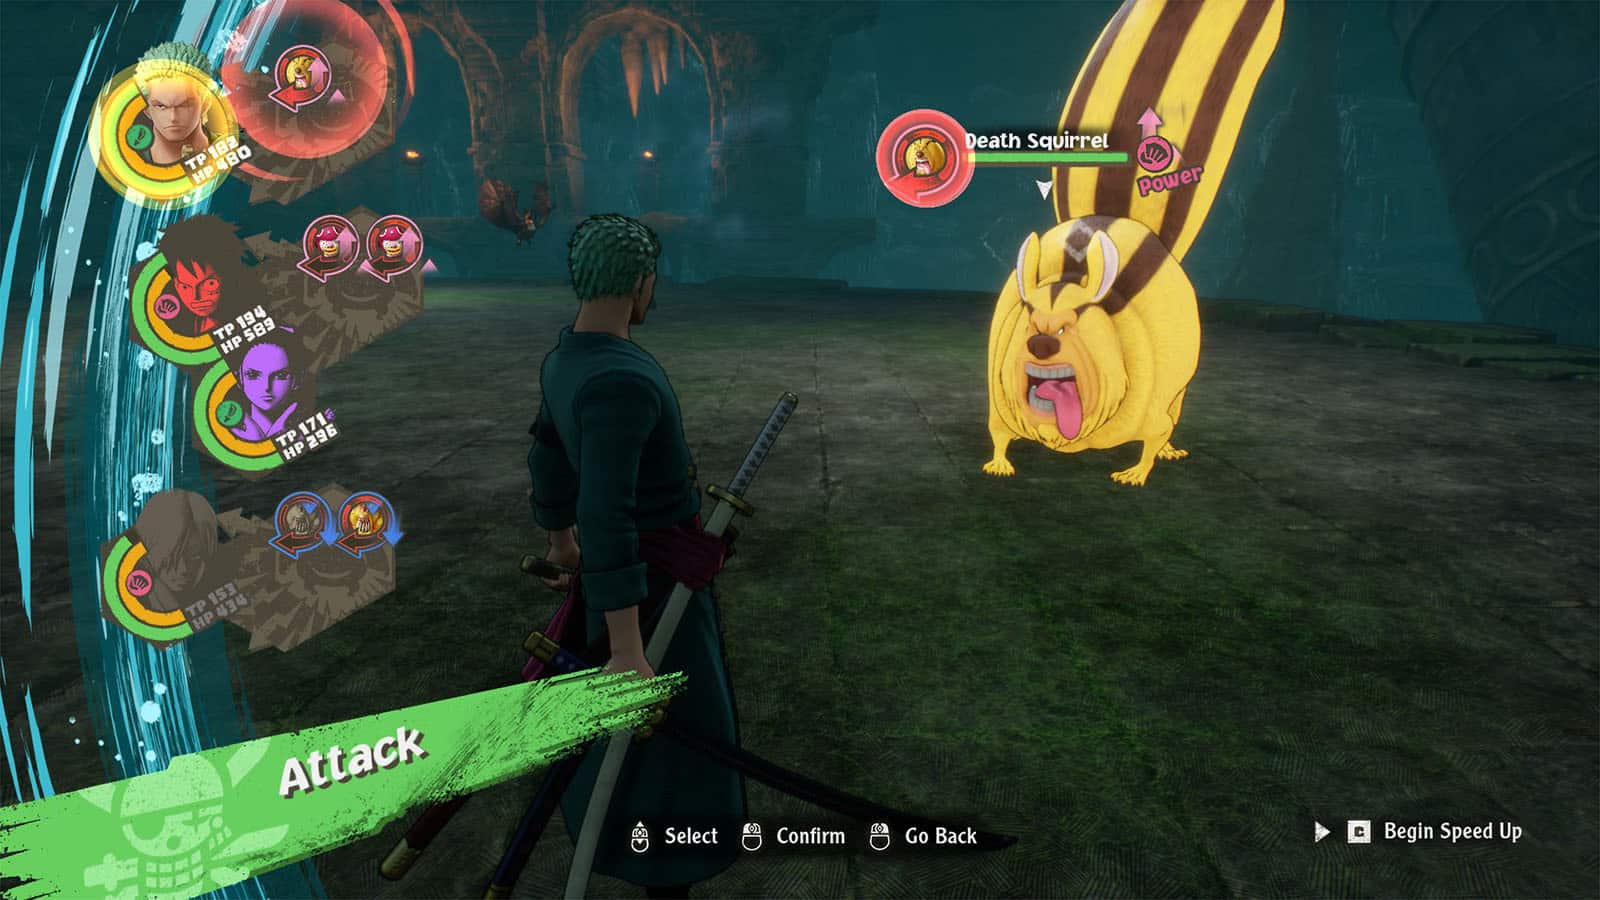
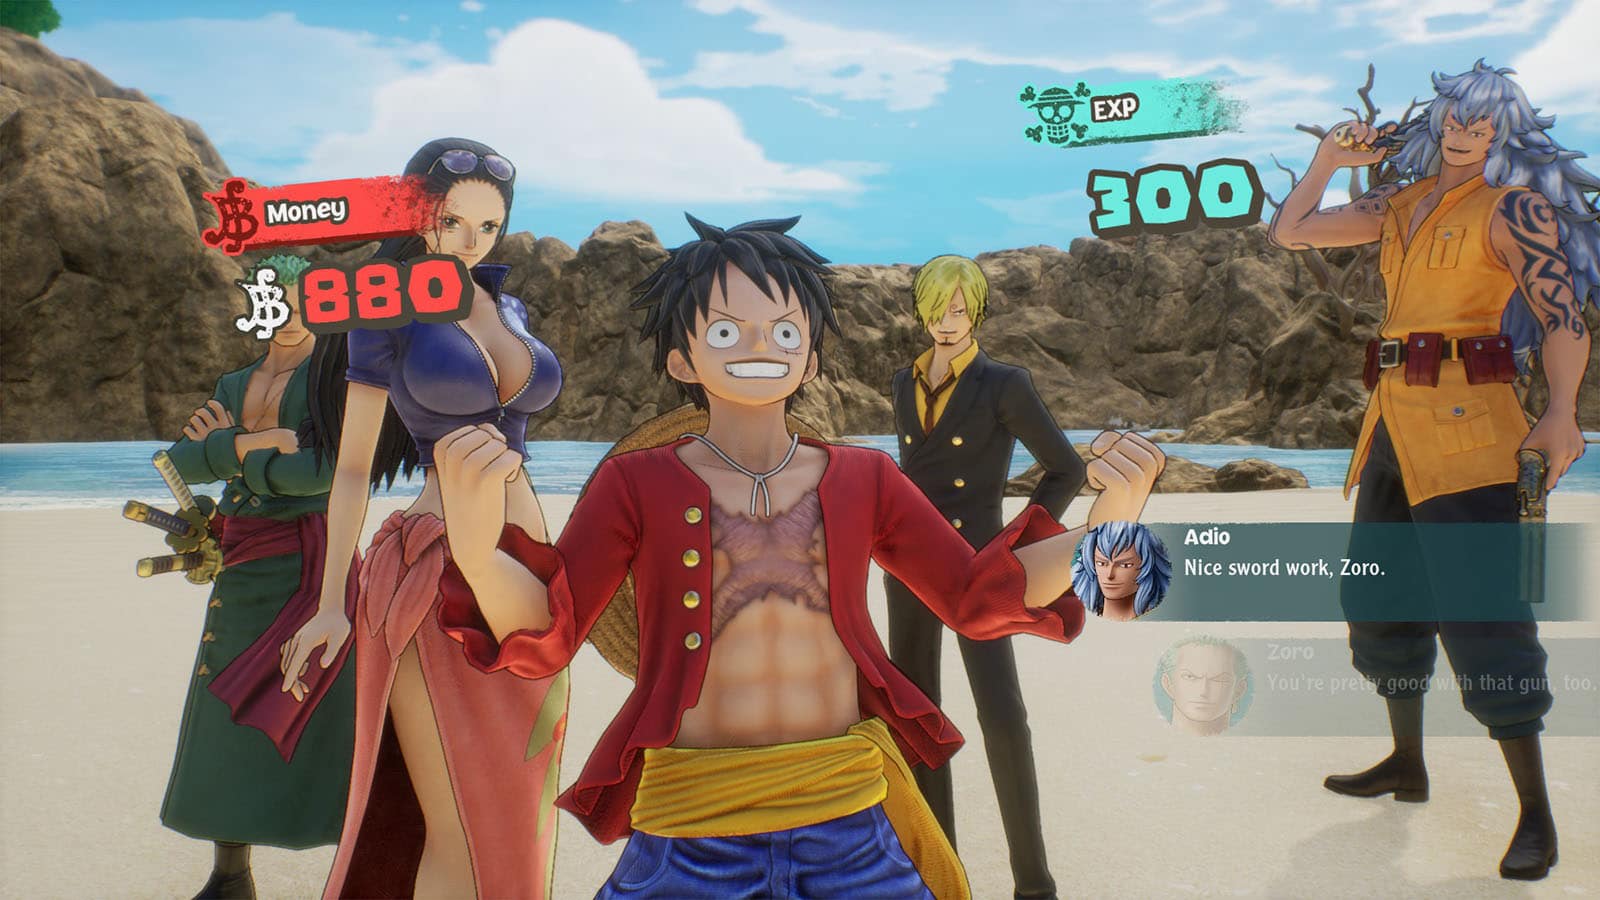
The bridge will crumble after crossing it and you’ll be in another enemy encounter. Use Power and Technique for this fight. Remember that your crew can only hit the enemies that they are up against and they have to be defeated first before your crew can join up with the rest.
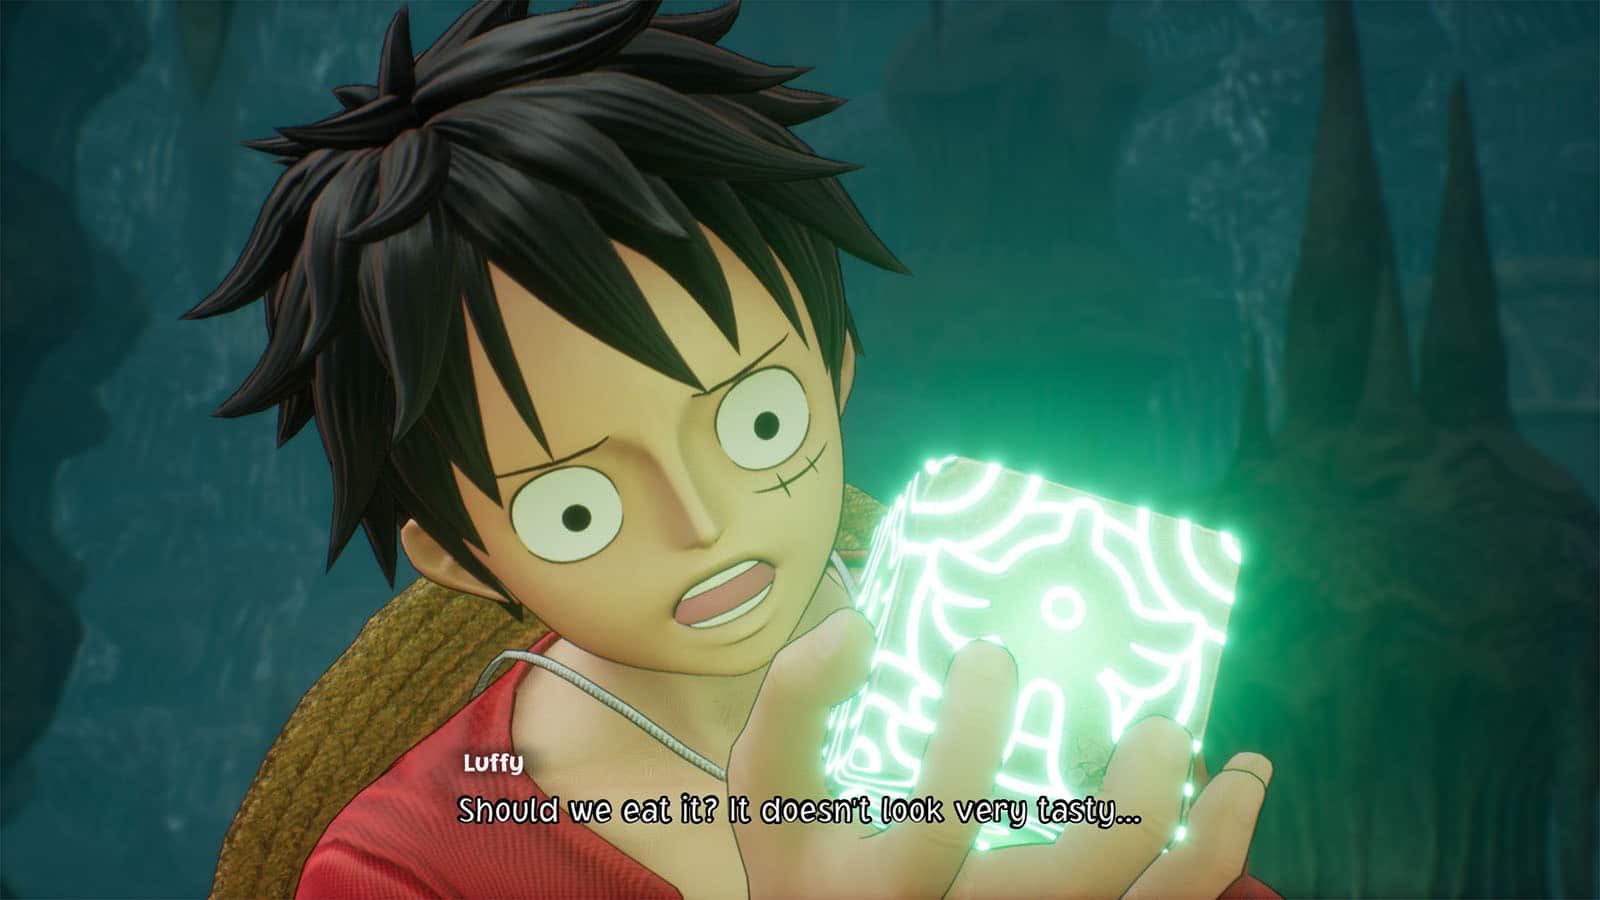
After the fight, you’ll be able to obtain the cube which gives back some of the crews’ skills. You’ll also learn about breakable walls, the color of enemies when using the Observation Haki.
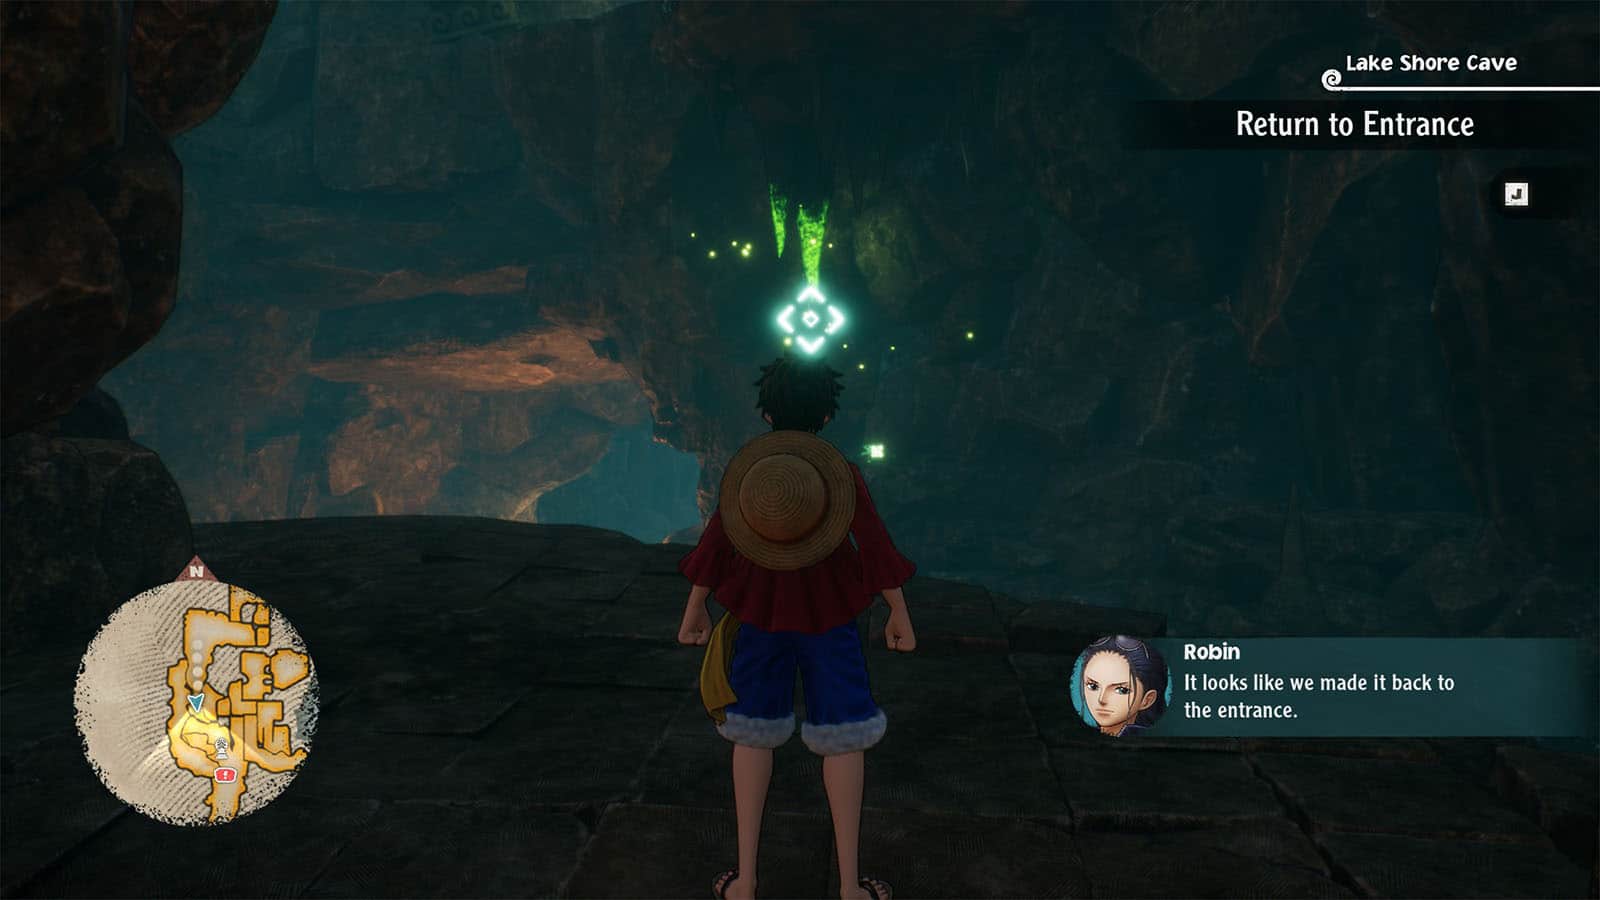
Return to Entrance
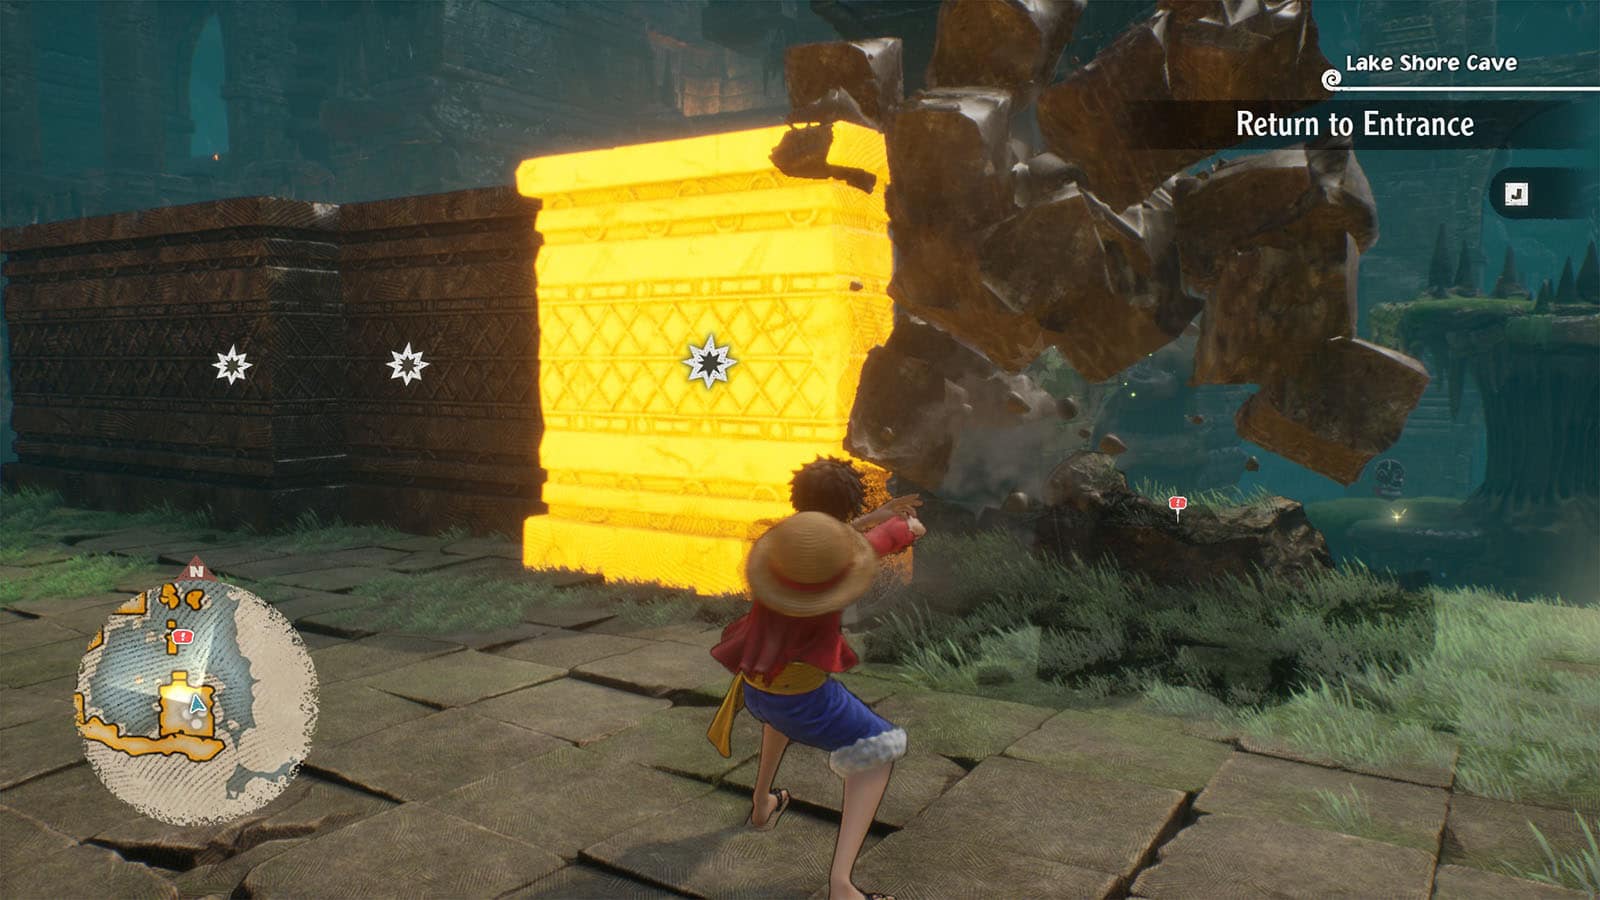
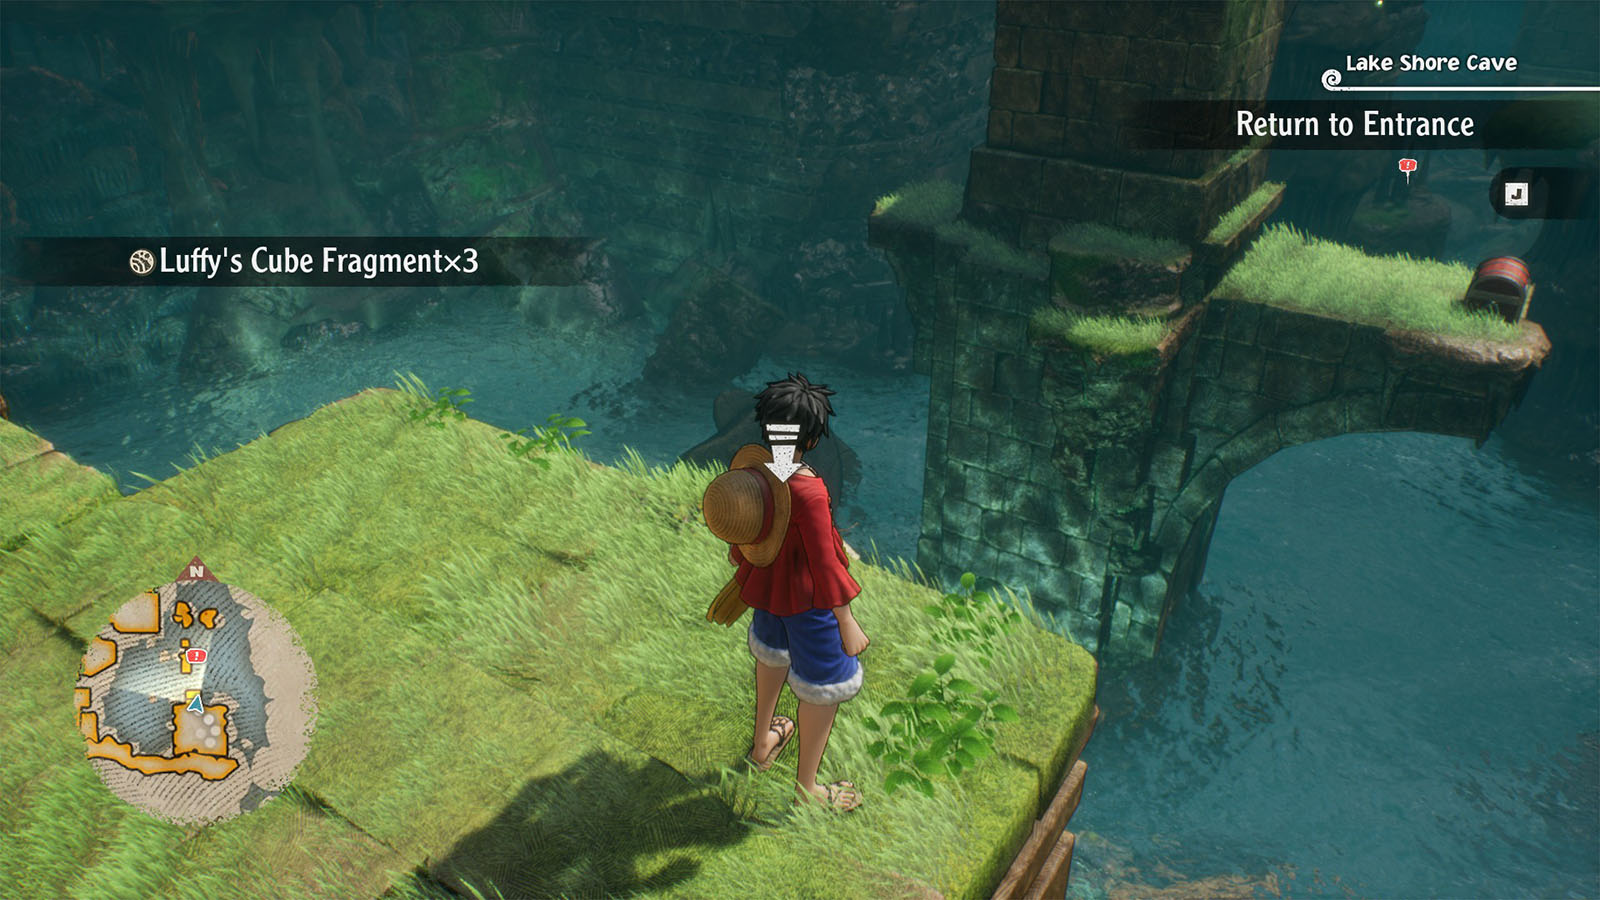
Break the walls up ahead to reveal an item and some of Luffy’s cube fragments.
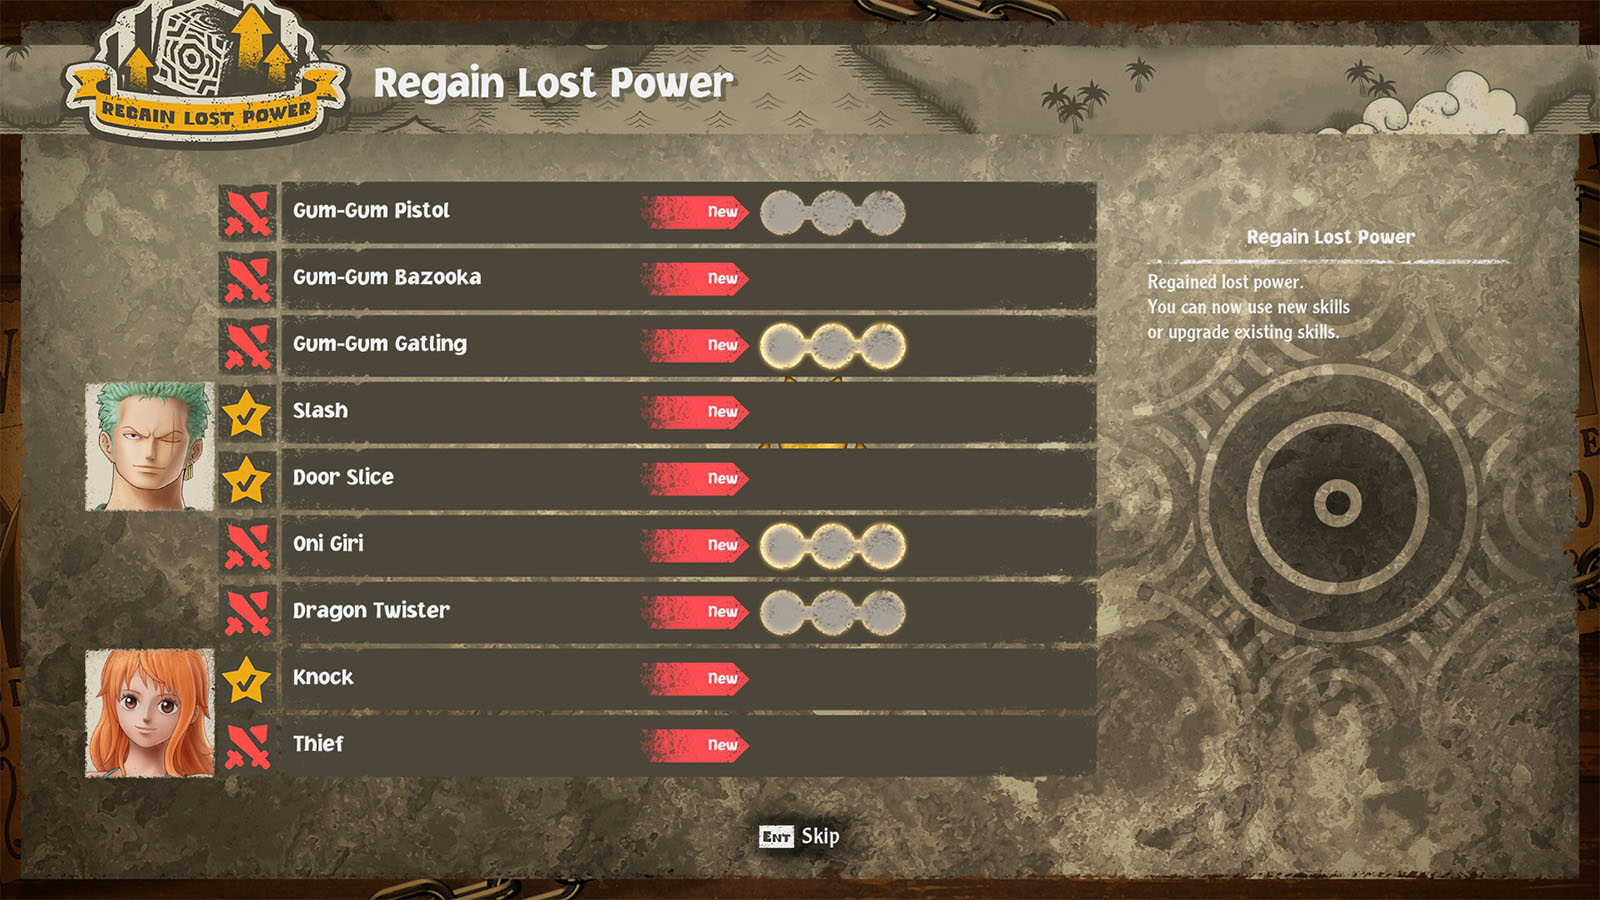
Allocating cube fragment to skills

You can go to the menu and go to Crew Information > Skill Up where you can allocate the cube fragments you've collected into the unlocked skills. Only skills with slots in them can be given fragments. Fragments are also specific for each character and cannot be shared among the crew.
Once you’ve collected the fragments, swing towards the next ledge to find a Gust +42 Badge in the chest. The next enemy up ahead has a special objective of defeating an enemy in one turn. Try to complete this objective to get a massive exp bonus. You can grind this enemy for at least one more time by waiting for it to respawn again.eeqq
Turn around and swing to the higher pillar, then climb up to reach the enemy. Defeat it and get Nami’s cube fragment and an HP +130 badge. Move to the next pillar and grab the Viper Herb. You can aim and grab Zoro’s cube fragment from here. Swing on the next vine towards the enemies.
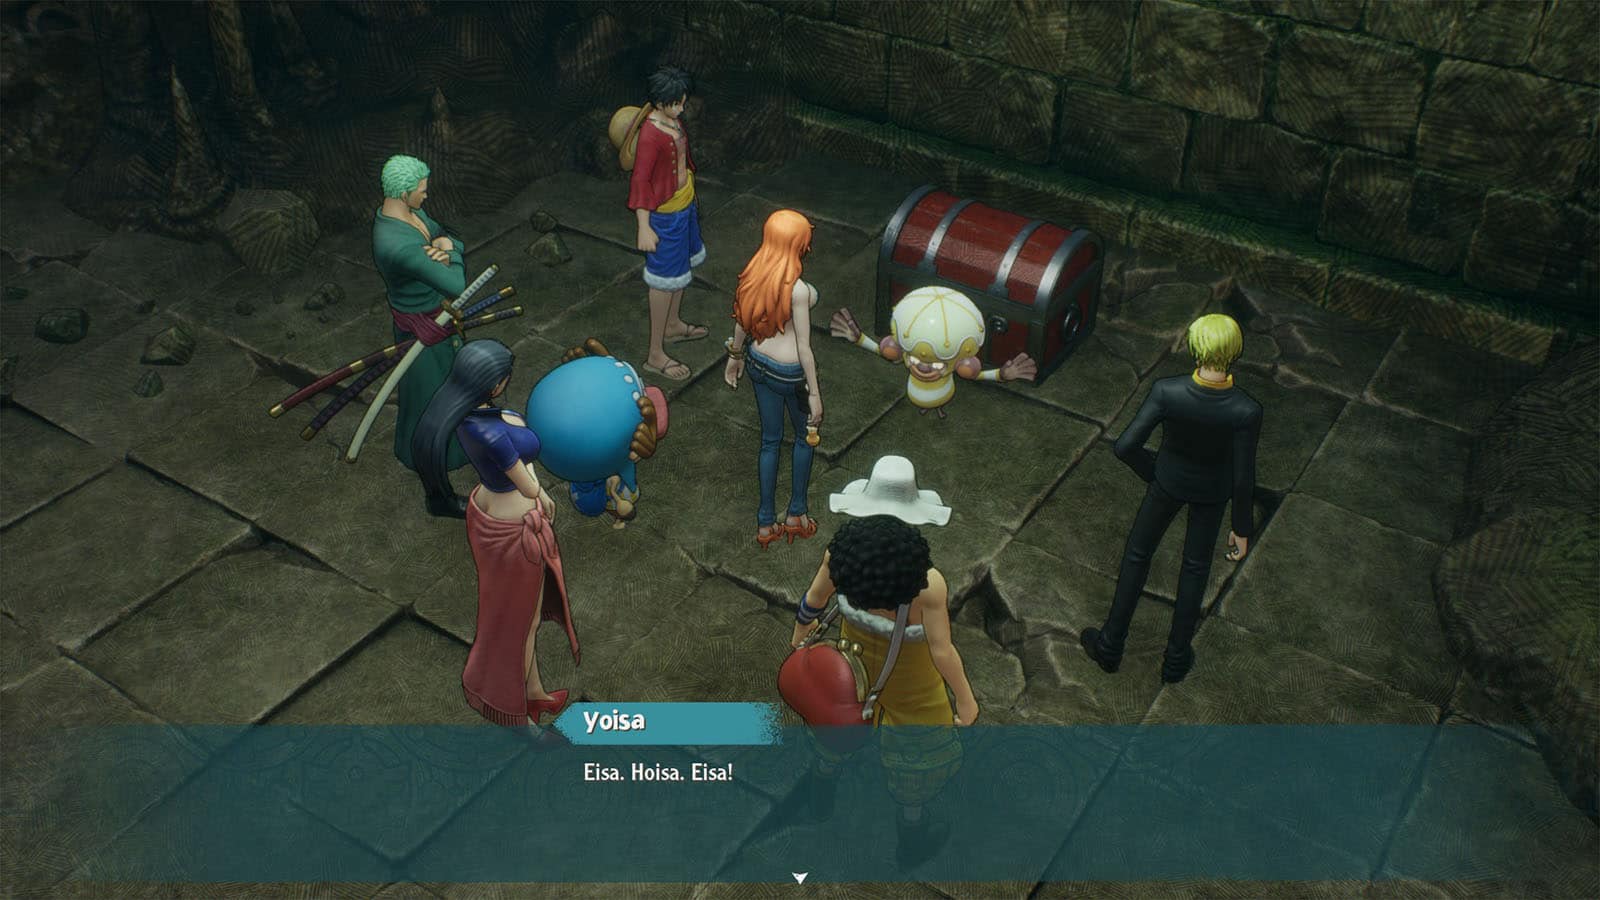
After clearing the enemies, you’ll meet a strange, but friendly Eisa by the chest. Then, open the chest to get an ATK +87 badge. Break the walls to the right to find an Energy Apple.
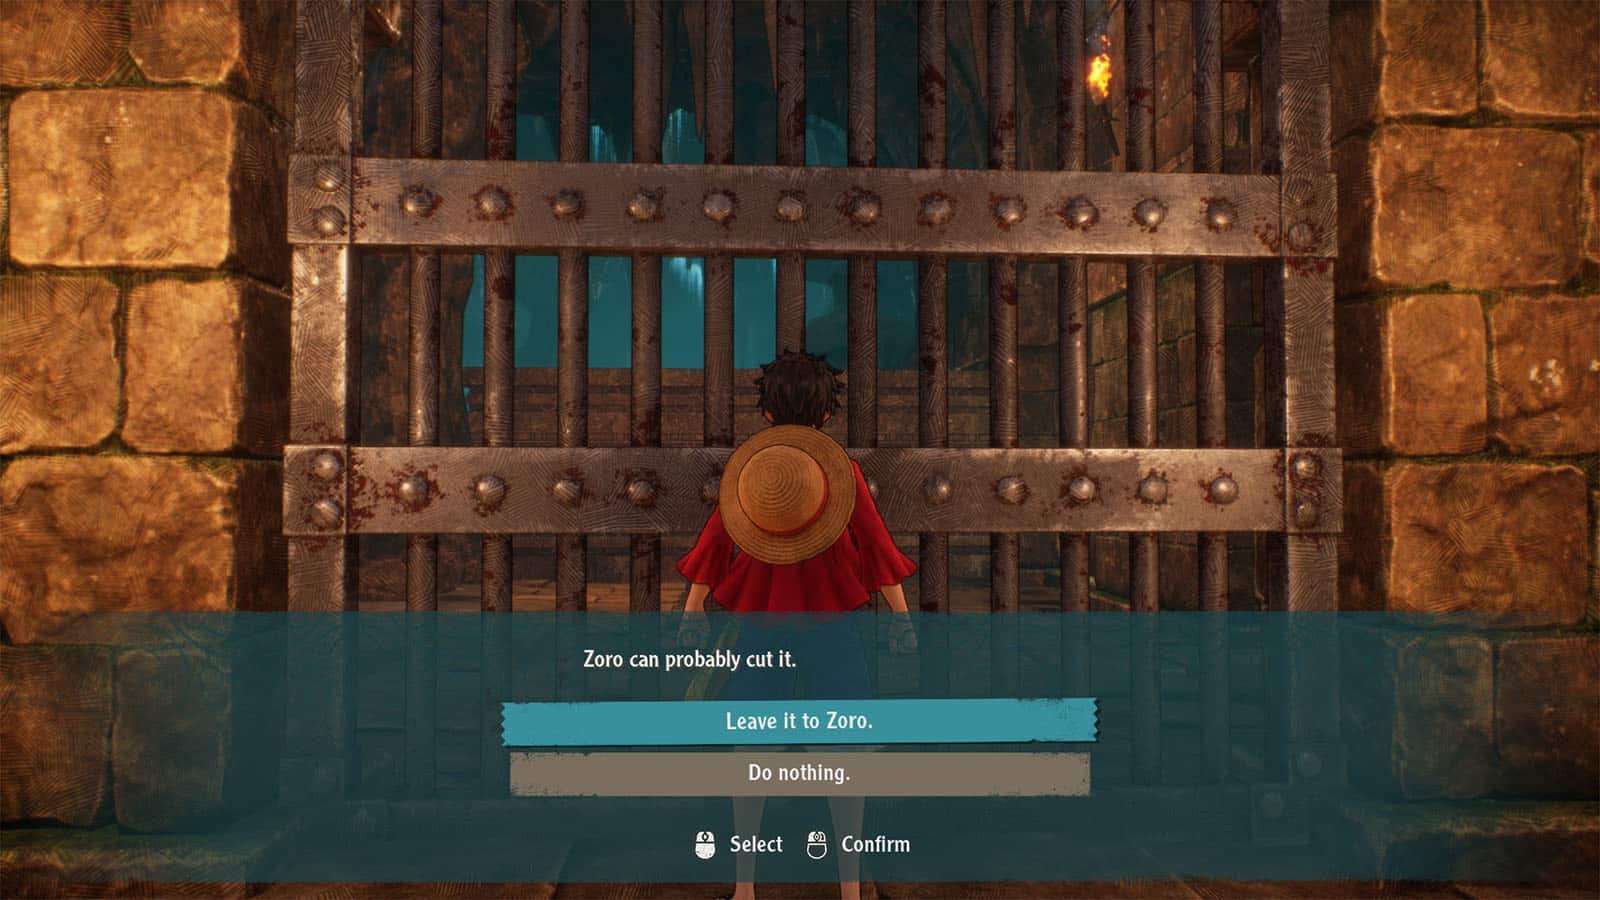
Continue moving up ahead until you reach the locked gate. If you don’t have Zoro in your main party yet, swap him in then interact with the gate to make Zero cut it down.
Defeat the enemy up ahead then grab the Energy Apple by the chest, and then switch back to Luffy to reach Luffy’s cube fragment from the cliff.
Then continue moving down the platforms where another enemy is at. Proceed to the next path and grab Usopp’s fragment before swinging across to get the Powder Wheat.
You can then jump down the ledge where you’ll be back at the starting point where the save point is. You’ll be ambushed by the exit where you’ll learn more about elemental advantage. Defeat the enemies to proceed.
Return to Adio’s House
From here on, you can choose to move ahead and go back to Adio’s house, or do another run in the cave to grind your crews’ levels some more.
Go outside the cave and you’ll meet up with the mysterious Eisa from earlier who introduces himself as Doctor Sarbay. He will then give you his encyclopedia for his gratitude. These encyclopedia will log all of the enemies that you’ve encountered.
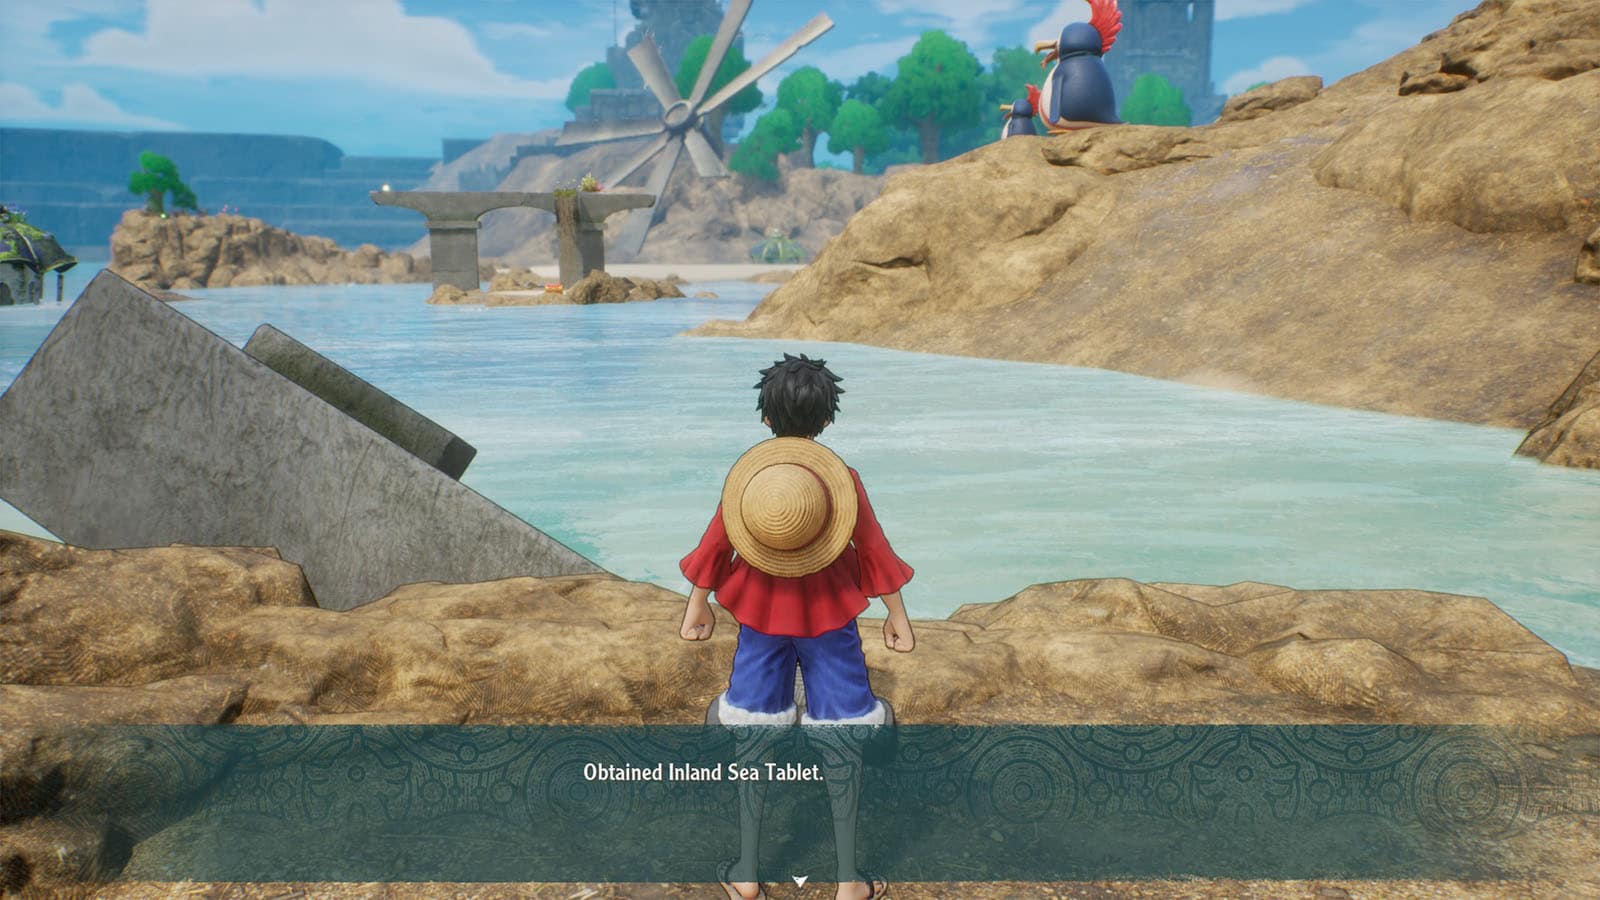
Before heading back home, you can take a detour by taking the path to the right. At the end of it, switch to Chopper and you’ll be able to go through the small cave into another part of the island. There’s another save point here and a fast travel marker, along with some items and the Inland Sea Tablet.

Go back to the main path and move ahead some more and you’ll see another pillar near the patch of sand where Luffy can swing. Swing once more to the next pillar and check below it to find Sanji’s cube fragment.
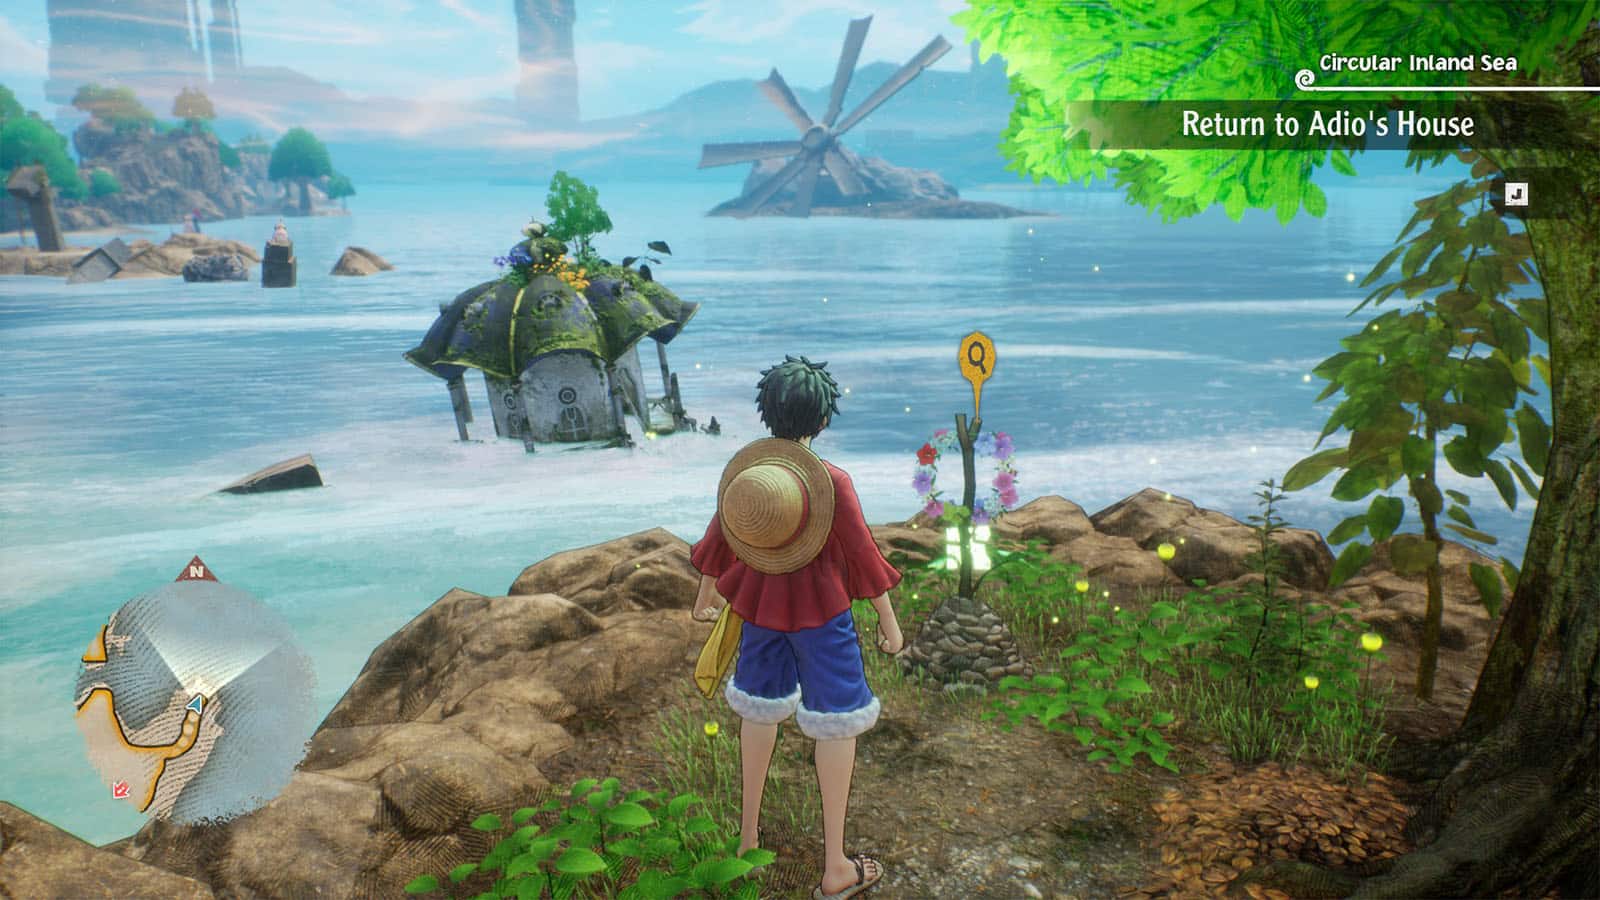
Move across the sand patch and up towards the grave by the tree where you’ll find Nami’s cube fragment. The pillars on the other side have some more items to pick up, but the chest up ahead cannot be opened yet without a key.
Head back to Adio’s house and follow along with the cutscene.
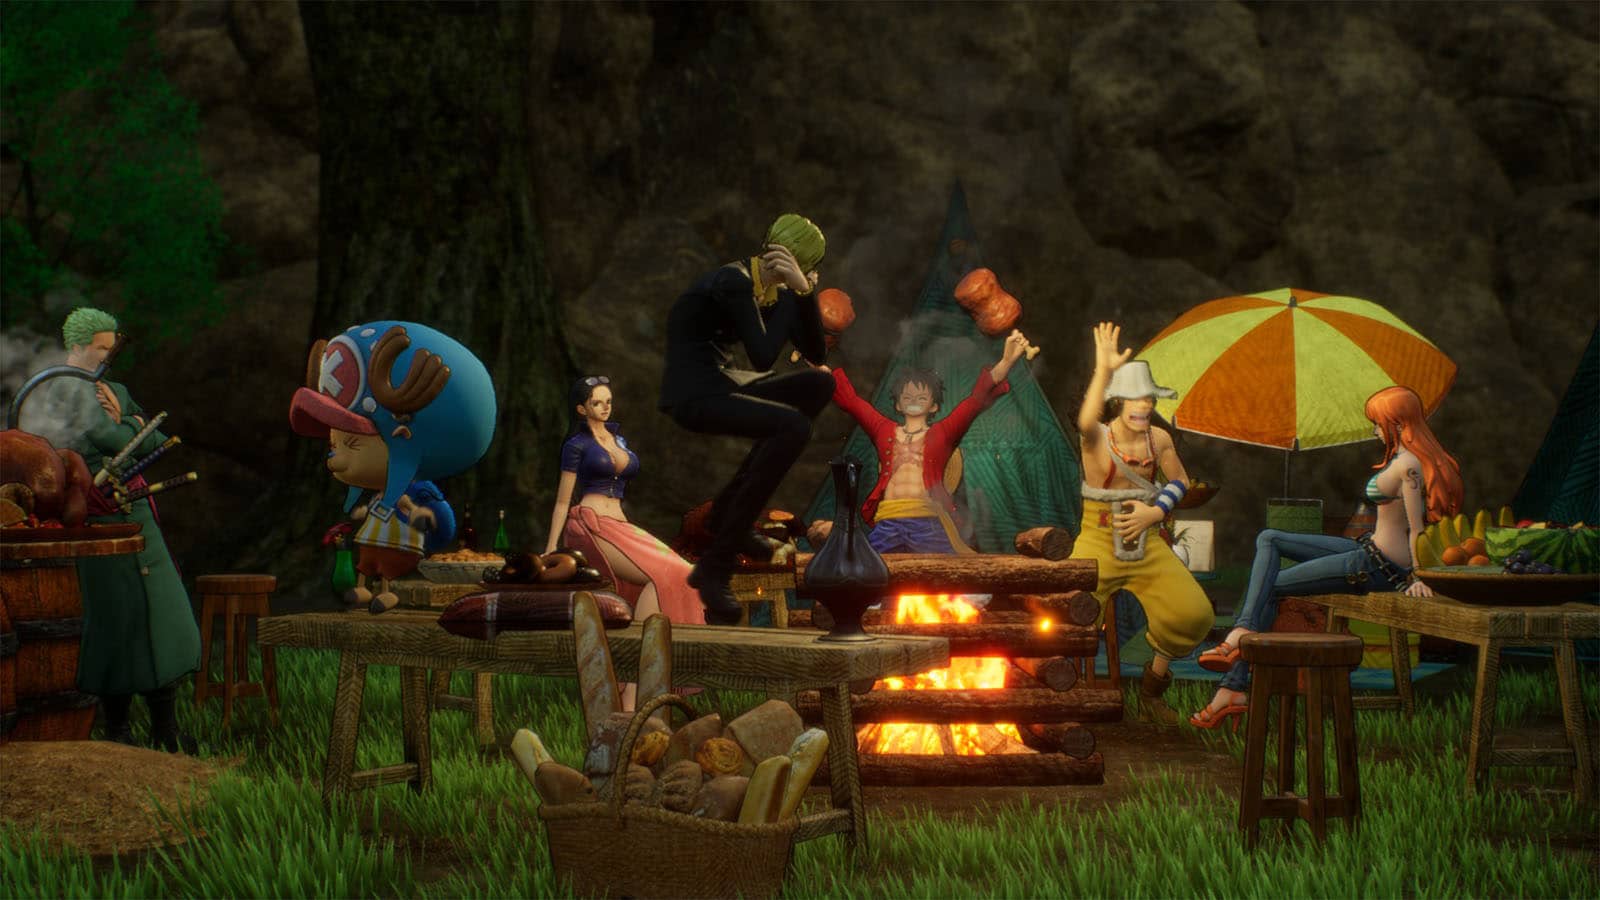
Throw a Party
The crew decides to rest up for a bit and throw a party. Use this time to talk to the rest of the crew, check the encyclopedia, or change your outfits. Interact with the bonfire to proceed.
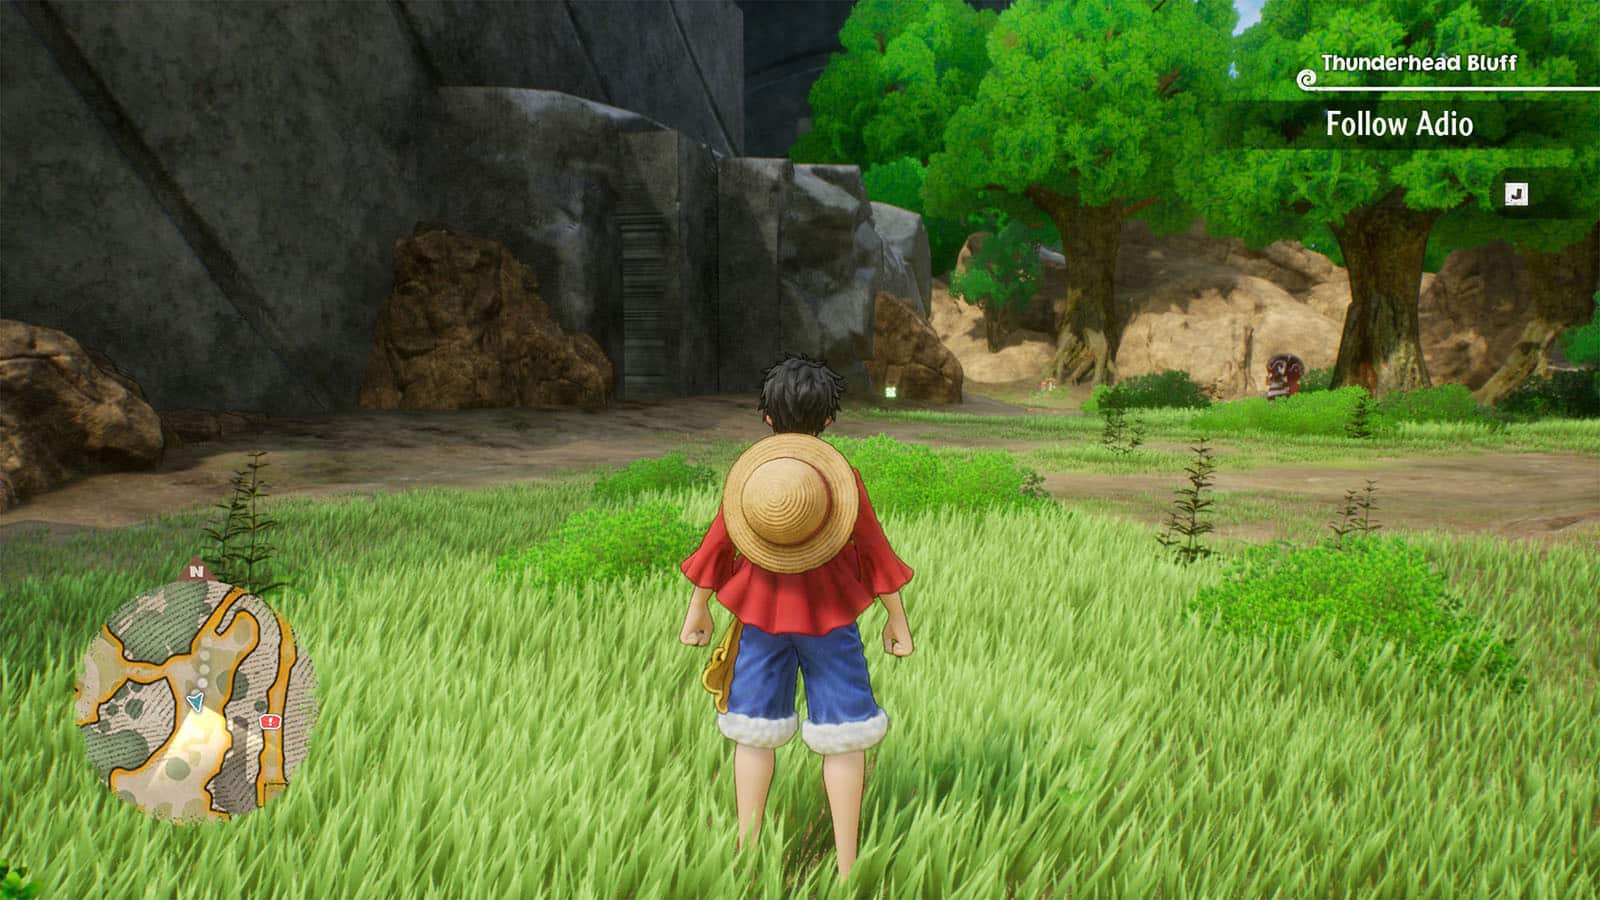
Talk to Adio / Follow Adio
Take the time to explore around the house to get any items that you can pick up. Then, talk to Adio and follow him through the jungle. You can take some detours to fight some of the monsters along the way.
Just as you pass the Del Kong, head to the right to get Luffy’s cube fragment. Continue moving ahead and you’ll find a chest and a fast travel marker.
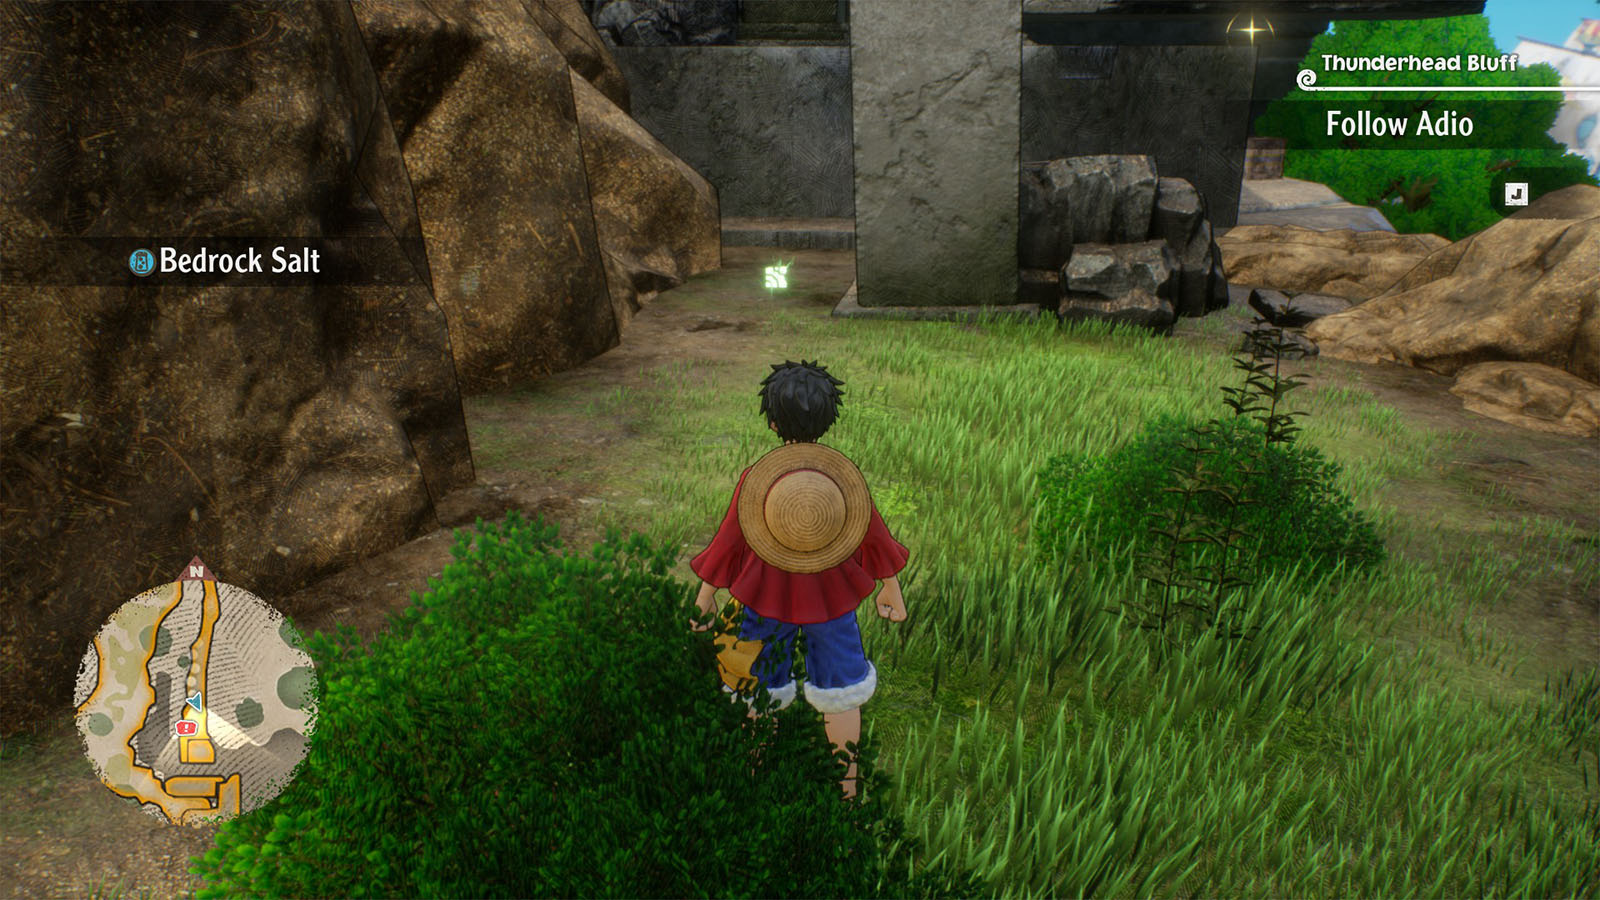
Thunderhead Bluff
Continue following Adio into the ruins. Just near the entrance by the pillars is Chopper’s cube fragment. Climb up the pillars and defeat the enemies up ahead to reach Adio. Play through the cutscene to proceed.
See next Explore the Thunderhead Ruins Walkthrough One Piece Odyssey
If you like this guide, be sure to check out our other One Piece Odyssey articles:
- Will One Piece Odyssey be on Nintendo Switch? (Answered)
- How to unlock secret ending: One Piece Odyssey ending explained
- How to Defeat Divine Breath Final Boss Fight One Piece Odyssey
- One Piece Odyssey Ending Explained
- How Many Chapters in One Piece Odyssey?
- All One Piece Odyssey Outfits & How to Get Them
- Is One Piece Odyssey Multiplayer?
- One Piece Odyssey Berries: How to Earn Money Fast
- One Piece Odyssey Battle Skills Guide
- One Piece Odyssey Length – How long to beat?
- One Piece Odyssey Leveling Guide – How to Level Up Fast
- One Piece Odyssey Trophy Guide & How to Get Platinum
- Is One Piece Odyssey on Game Pass? (Answered)
- One Piece Odyssey Characters: All Playable Party Members
- One Piece Odyssey Voice Actors and Cast List
- One Piece Odyssey Story Explained & Everything You Need to Know
Check out this video by BennyBiohazard showing the events in Retrieving Lost Strength:


