Sunless Maze is the tenth chapter in Soulstone where the sisters try and find a way to escape the sewers and get back to the surface. Not only are the sewers full of enemies and obstacles, it’s also built like a maze which can get confusing to navigate.
See previous Soulstice Chapter 9: Underworld Guide.
In this guide, we will talk about Chapter 10: Sunless Maze in Soulstice, showing any tips, tricks, or collectibles that can be found within the chapter.
Soulstice Chapter 10: Sunless Maze Walkthrough
Chapter 10 picks up from the fight against the Abomination. There are 5 encounters in this chapter, 1 Challenge of the Void, and 2 Upgrades.

Sludge Stein, Sewers
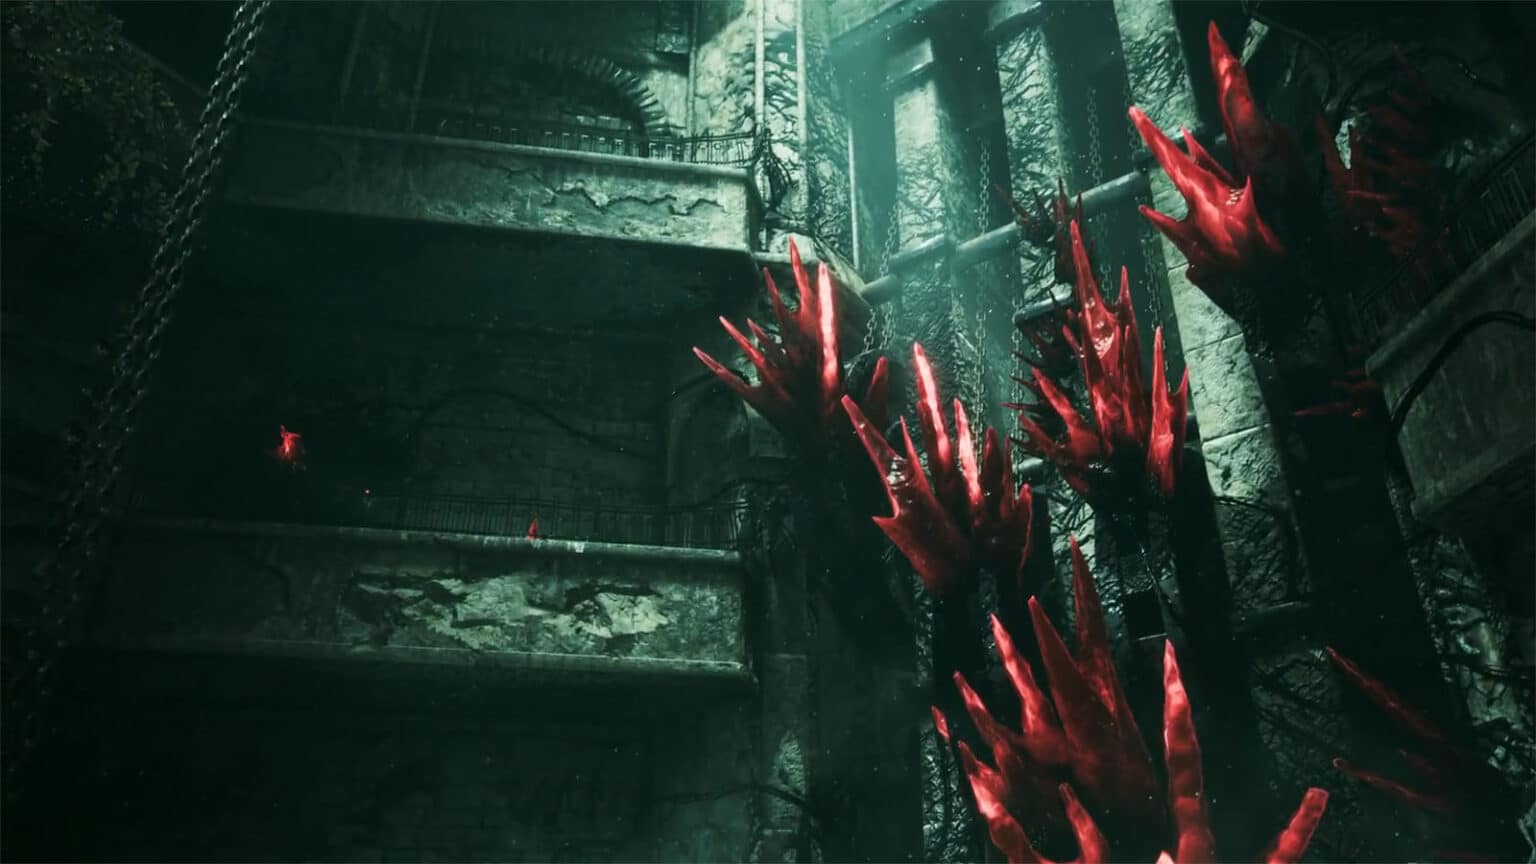
Upon arriving at the Sludge Stein, simply follow the path through the sewers where you’ll see some Crimson Tear Crystals along the way. You will eventually arrive at a huge chamber with a bunch of overgrowth roots on one side of the wall where the bridge pulleys are, and their sprouts scattered all over.

To the left, go past the hole in the wall to smash the first two sprout crystals. After that, head into the hole and at the intersection, turn left to see a Cobalt Motherlode. Then, move across to the right path that leads to a huge room. In here, you will meet with Layton where you can stop by and get some upgrades. Leave this room for now and go towards the middle path in the intersection going forward.
Follow the path until you arrive at another junction; a Cobalt Vein is up on your left. Follow the path to the right to arrive at another room. Go through the lit passageway and follow the path until it connects to another room where you will find your first encounter.
After clearing the enemies, go to the next room where you’ll find another mechanism. Pull the lever and the water levels in the room that we’ve been to will be lowered down. Also, a gate that we’ve passed through has been shut as well.
Head back to the room before and drop down the hole where the water once was. Continue down the tunnel to get your second encounter. After the fight, explore the connecting room to find a Crimson Tear Motherlode.

Head back up to the upper levels using the outcroppings, and past the passageway at the top level is an Emerald Tear Crystal that you can grab. Head through the passageway where you will see some Crimson Tear Crystals and an overgrowth blocking the way. Destroy the overgrowth and you’ll arrive at another room where the third encounter is in.
After clearing the enemies, head to the next corridor where you’ll find a Cobalt Vein and another overgrowth. Follow the path and to the left side close to the screen is a Crimson Tear Motherlode. Continue forward to the other passageway to arrive back at the huge chamber. Destroy the two crystal sprouts to the right to destroy another overgrowth, but be careful about the unstable ones.

Head to the other end of this path where you’ll see two more sprouts that are connected to another overgrowth that is blocking the way. Jump back down to the lower level and make your way back to the room where Layton is. Check the other side of the room where the Challenge of the Void: Cautious X can be found. Afterwards, jump down the hole in the middle of the room. Follow the path to another section of the room to find a Feeble Ethereal Fragment.
Make your way back to the huge chamber and then cross the bridge to the other side of the room. Then, destroy the three sprouts, two of which will destroy one of the overgrowths in the middle. Head right and use the outcropping to climb a higher level where another sprout can be found, along with some more Crimson Tear Crystals.
Enter the passageway and destroy the overgrowth at the end while being careful about the unstable crystals. Go through the door to get to the next section.

Disposal Pit, Sewers
While in the pit, take the tunnel to the right where you will see another door leading back to the Sludge Stein. Run past the lever for now and continue down the path to get a Malformed Husk Fragment. Head back to the lever and pull it to drain more water.
Head back to the main pit and cross the platform using the outcropping to reach the room on the other side. Inside the room are a bunch of Crimson Tear Crystals and Motherlode.
Head back out to the main pit and then climb up higher and take the next door. This will lead you back to the huge chamber. Destroy the crystal sprouts on this level to destroy another overgrowth. Just be careful on the sprout that is in between two unstable crystals.
Go back to the pit and jump down to the very bottom to get the fourth encounter. Once cleared, check the room for some Cobalt Veins and Motherlode. Then, climb back up to the upper floor and head to the door where you can find an Emerald Tear Crystal plus some sprouts to destroy another overgrowth.

Sludge Stein, Sewers
Back in the huge chamber, jump down from the bridge to get to the sprouts and destroy them to destroy the final overgrowth. There are also some more Cobalt Veins and Motherlode in the nearby passageway. After breaking the final overgrowth, you will be ambushed by the fifth encounter.

Clear the enemies and then climb back up to the bridge using the outcroppings. Once on the bridge, pull the lever to raise the bridge higher. Before proceeding forward, head back towards the camera and turn to the right to find a Cobalt Motherlode. Move towards the exit to complete the chapter.
See next Soulstice Chapter 11: Invisible Strings The Weavers Boss Fight Guide.
If you like this guide, be sure to check out our other Soulstice articles:
- Soulstice Chapter 1: All the Lost Souls Guide
- Soulstice Chapter 2: Echoes from the Past Guide
- Soulstice Chapter 3: Point of No Return Guide
- Soulstice Chapter 4: The Shadeless Guide
- Soulstice Chapter 5: Death from Above Arrowhead Boss Fight Guide
- Soulstice First Echo Memory Guide
- Soulstice Chapter 6: The Fall Guide
- Soulstice Chapter 7: Lights and Shadows Guide
- Soulstice Chapter 8: Unstoppable Boss Fight Guide
- Soulstice Second Echo Memory Guide
- Soulstice Chapter 9: Underworld Guide
- Soulstice PS5 Trophy Guide – How To Get Platinum
Check out this video by GamerFuzion showing the gameplay for Chapter 10:


